The Conversation (0)
Sign Up

Start out by getting a square origami paper

Fold it into half diagonally

Open it, this is how it should look like now
Fold it the other way

Now, it should be having two diagonal lines

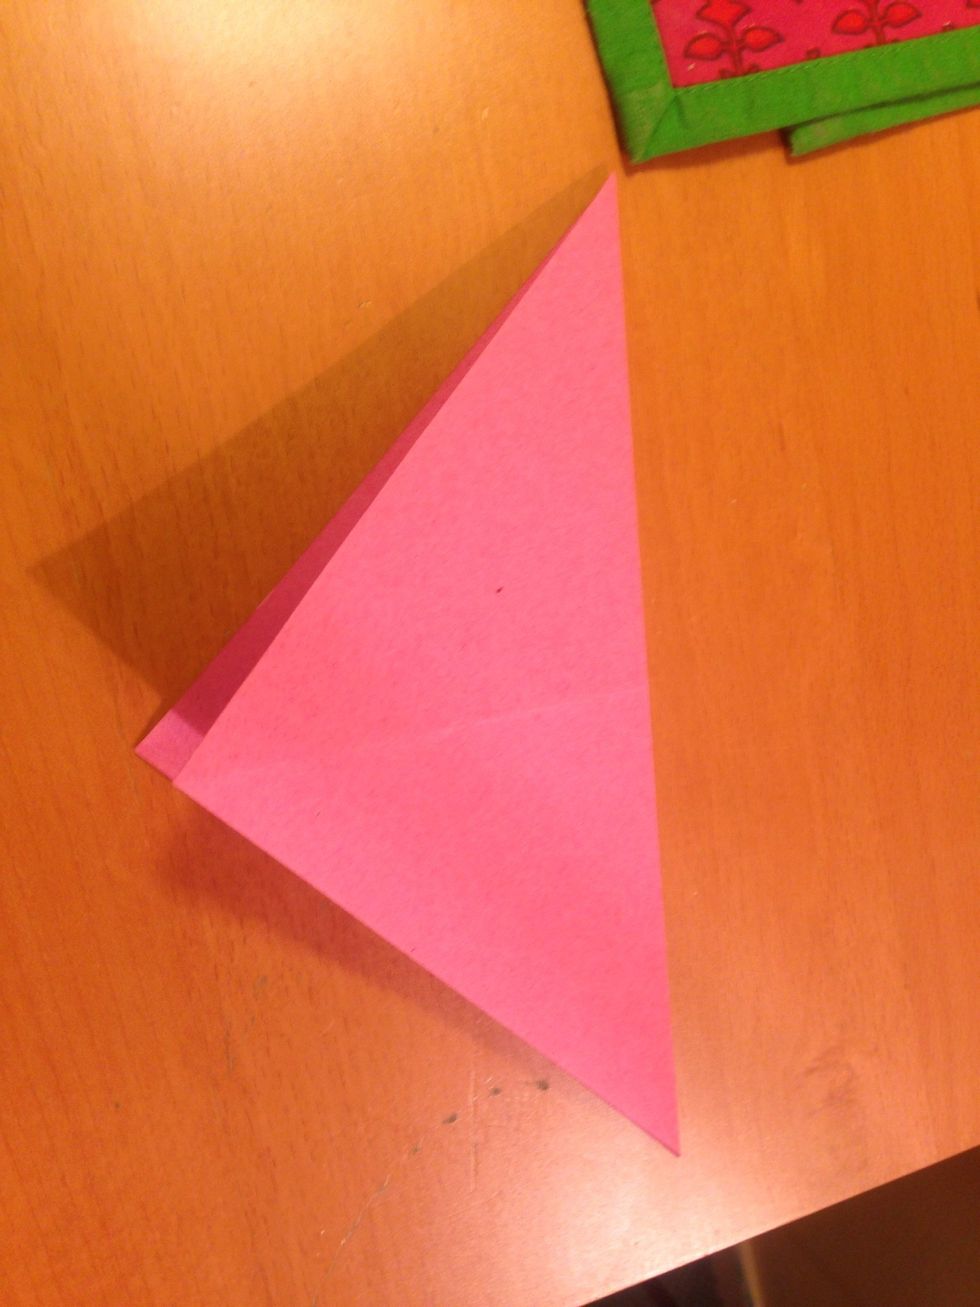
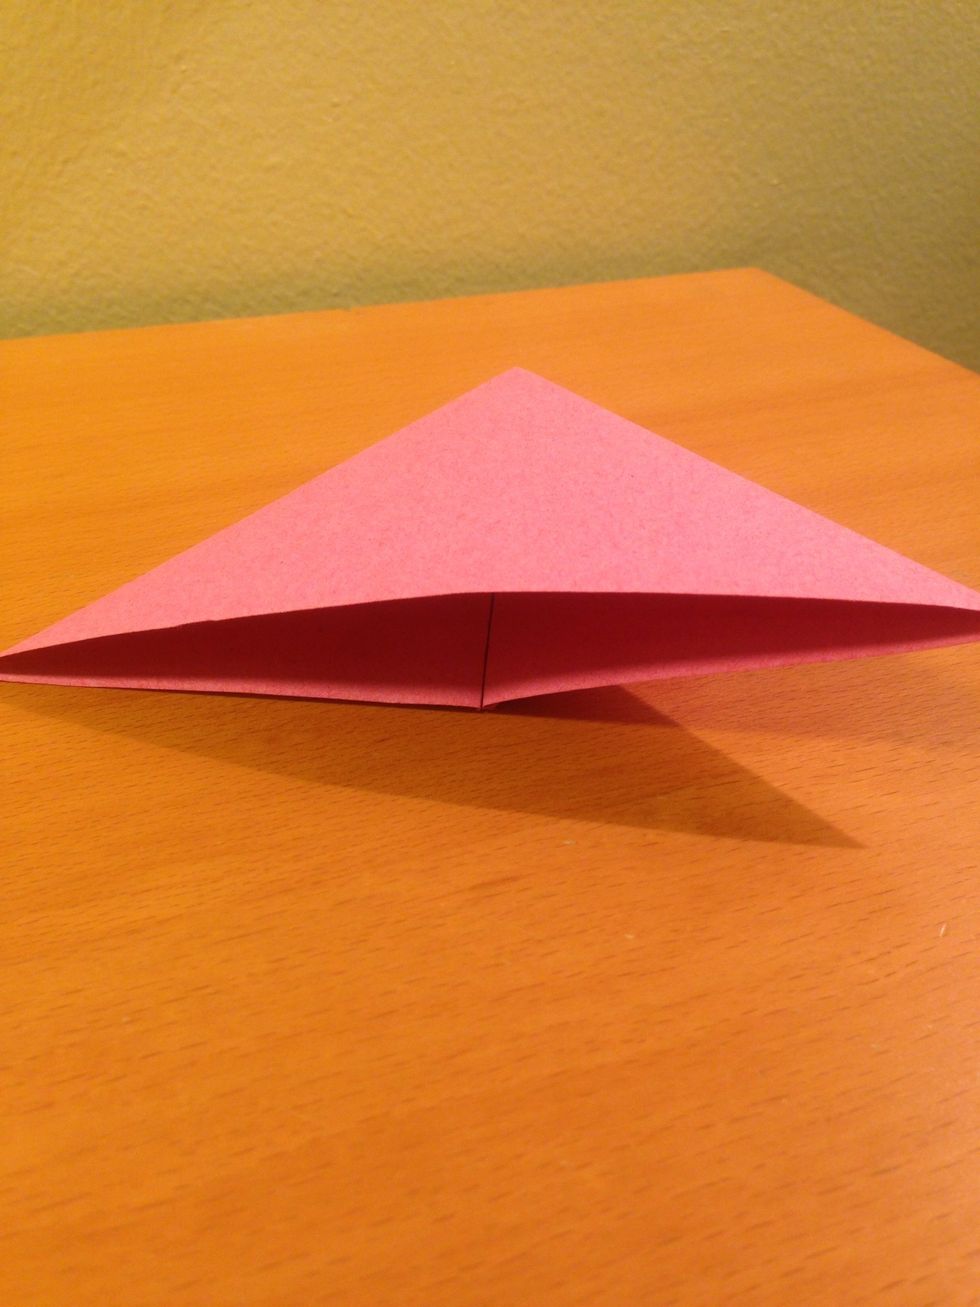
The tricky part: follow the creases and fold it to the centre of the paper..
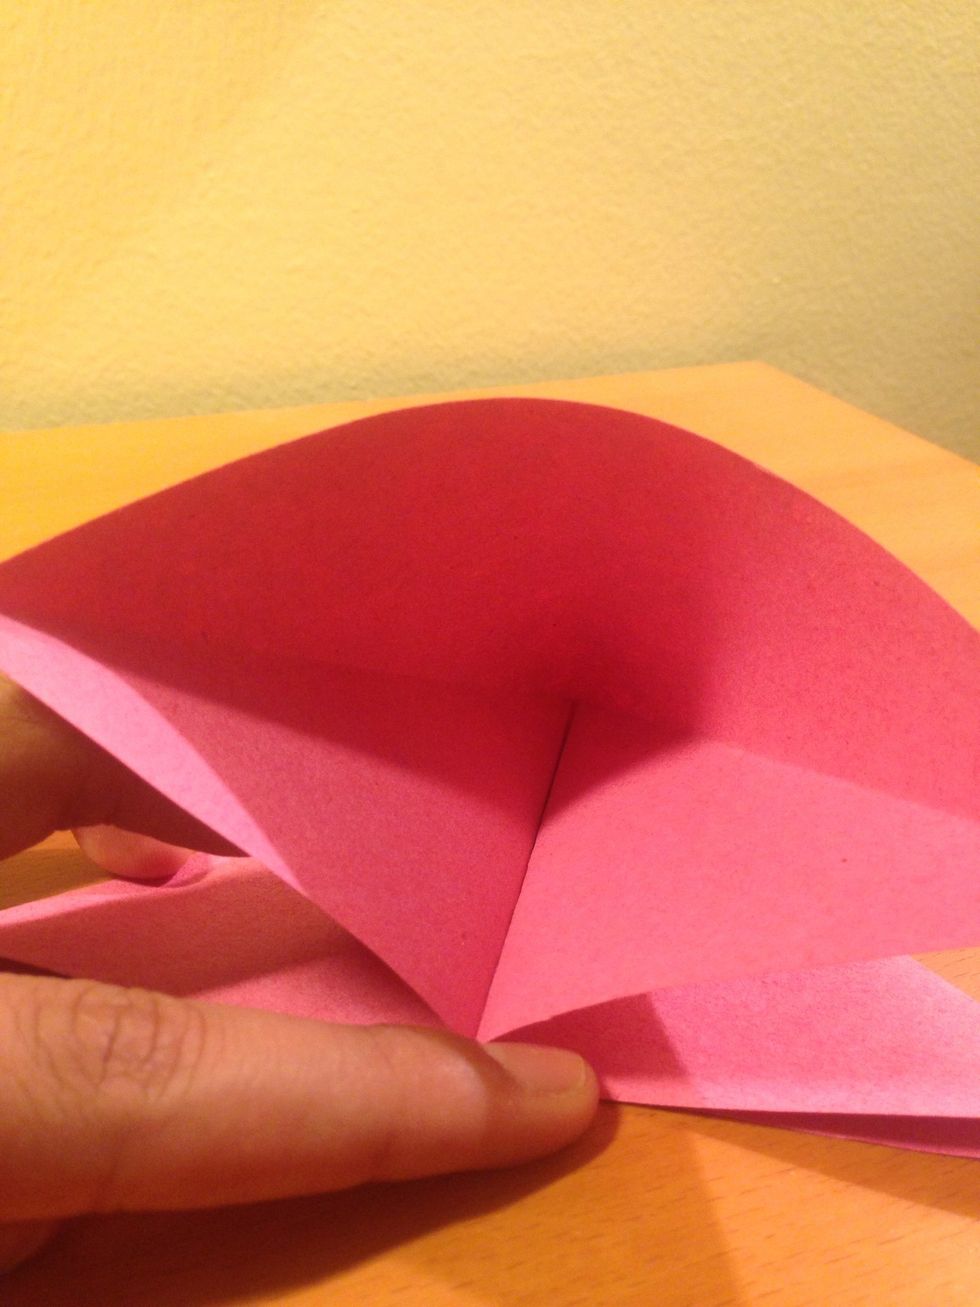
..

This is how it should look like, a triangle
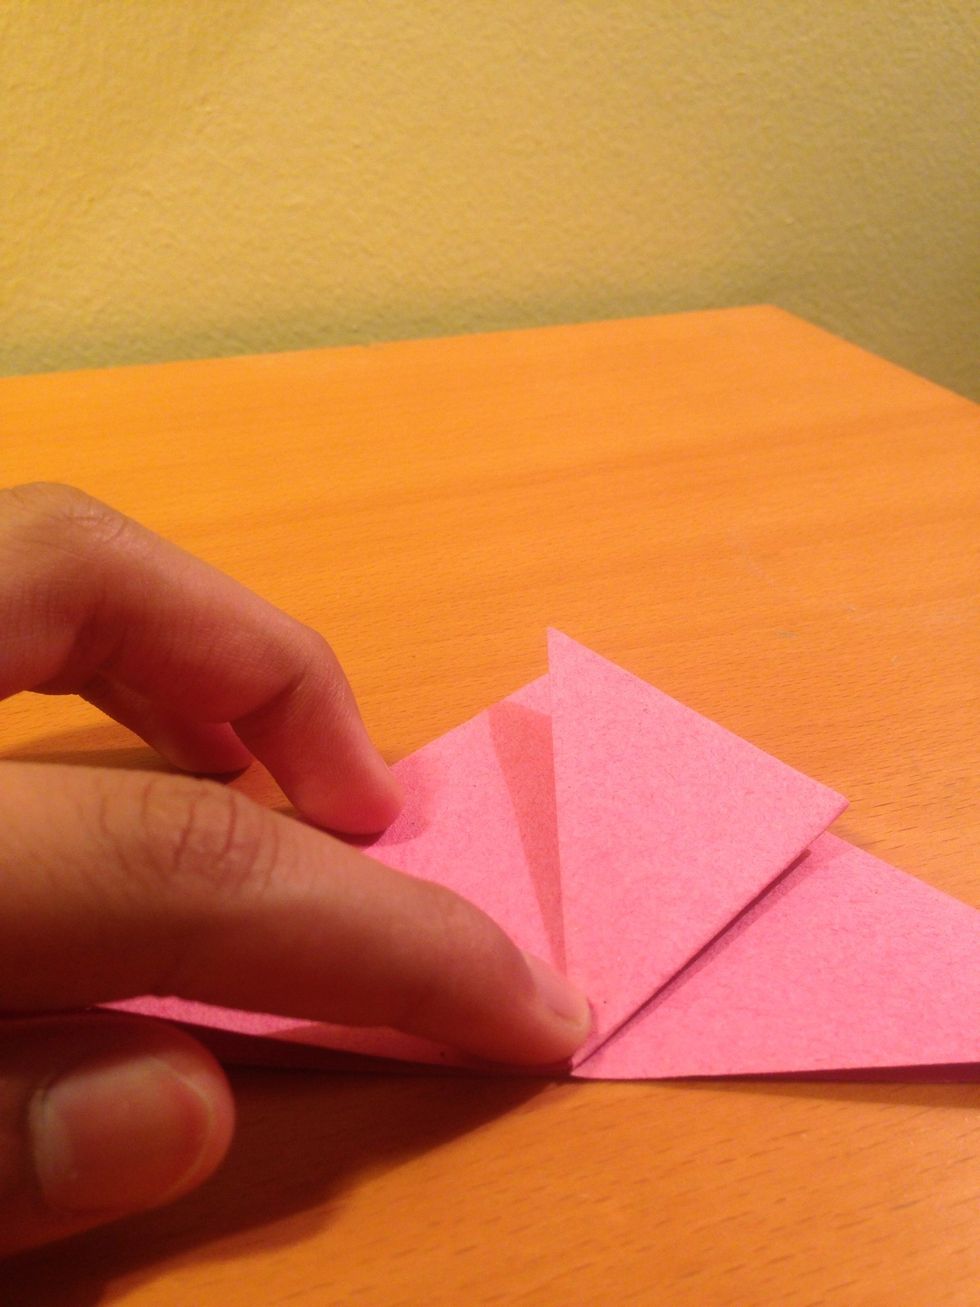
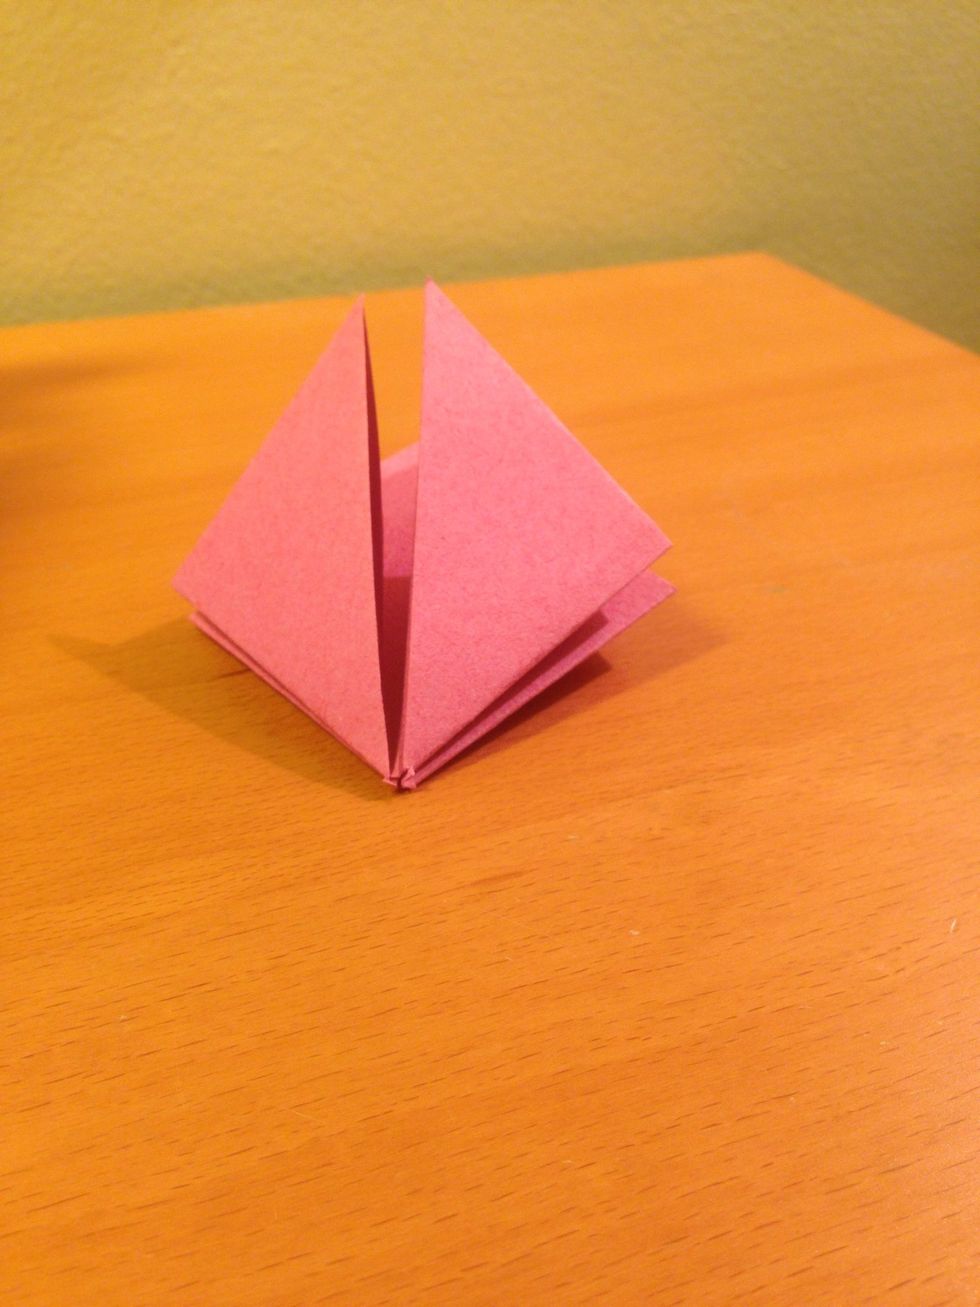
Now, take one side and fold it halfway
Same for the other side
Turn the paper

Do the same as you did in steps 9 & 10
..
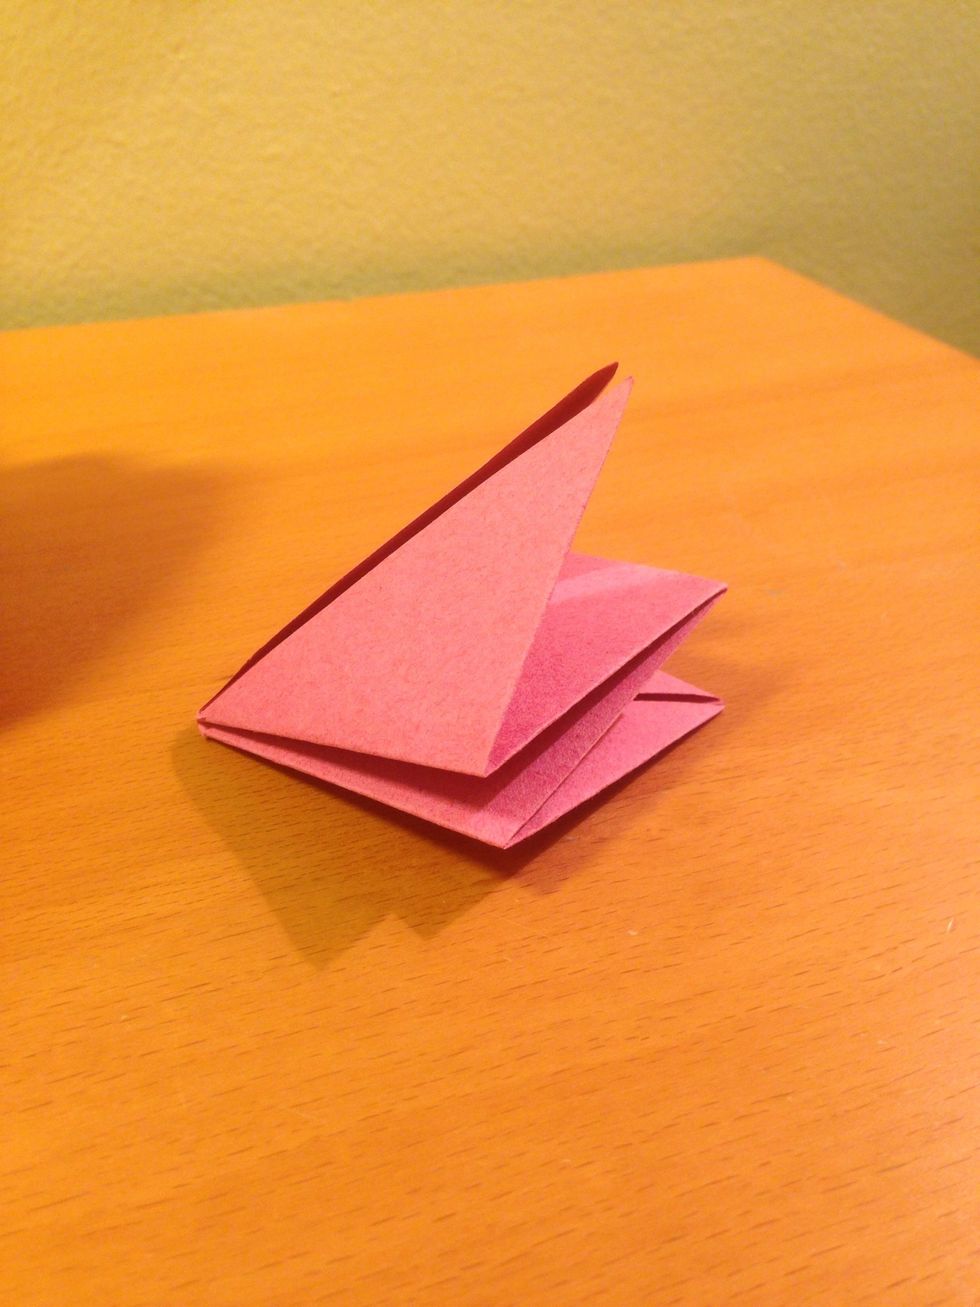
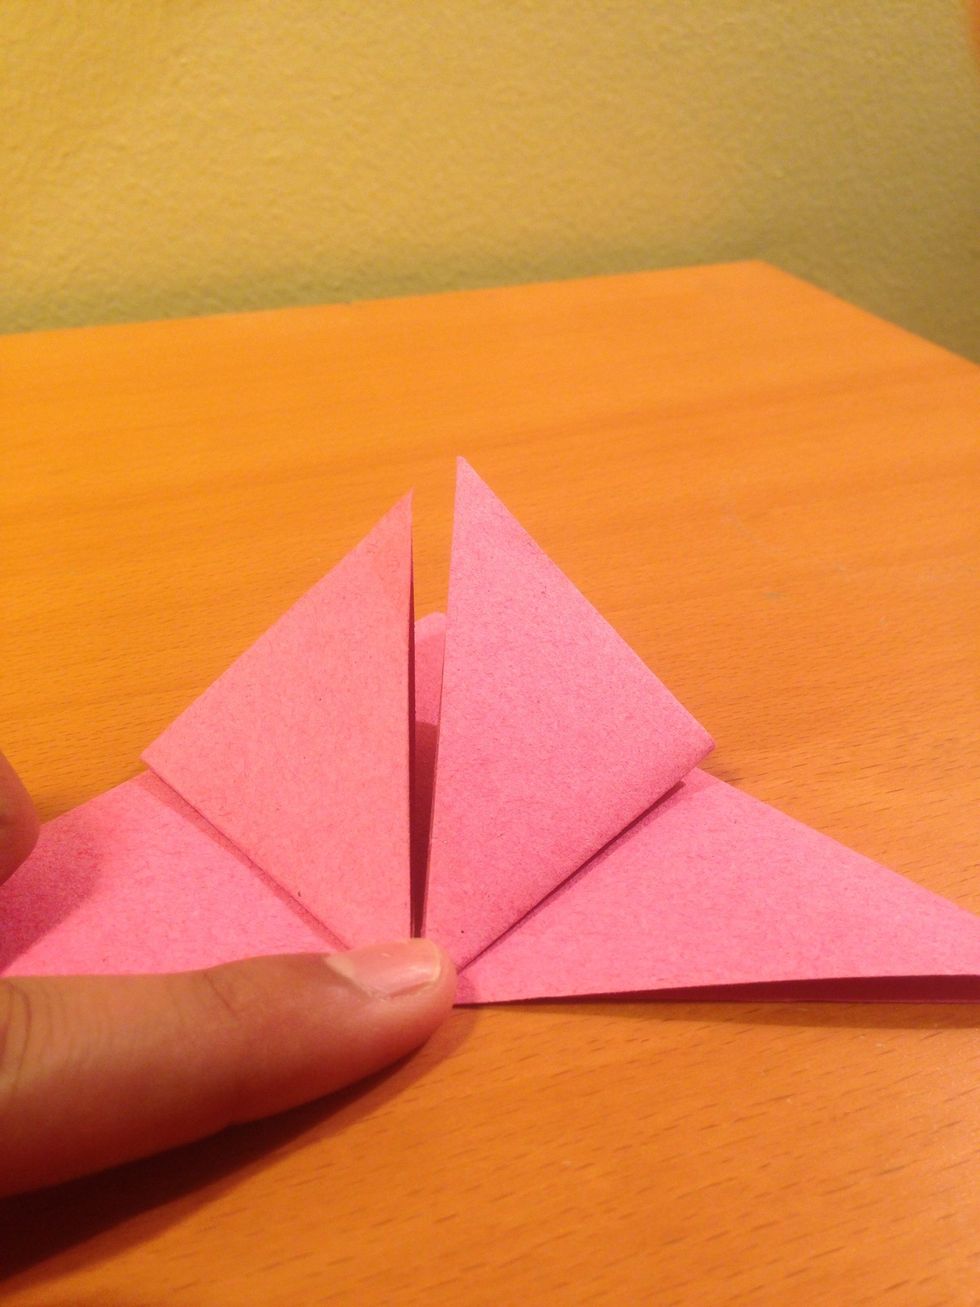
It should look like this
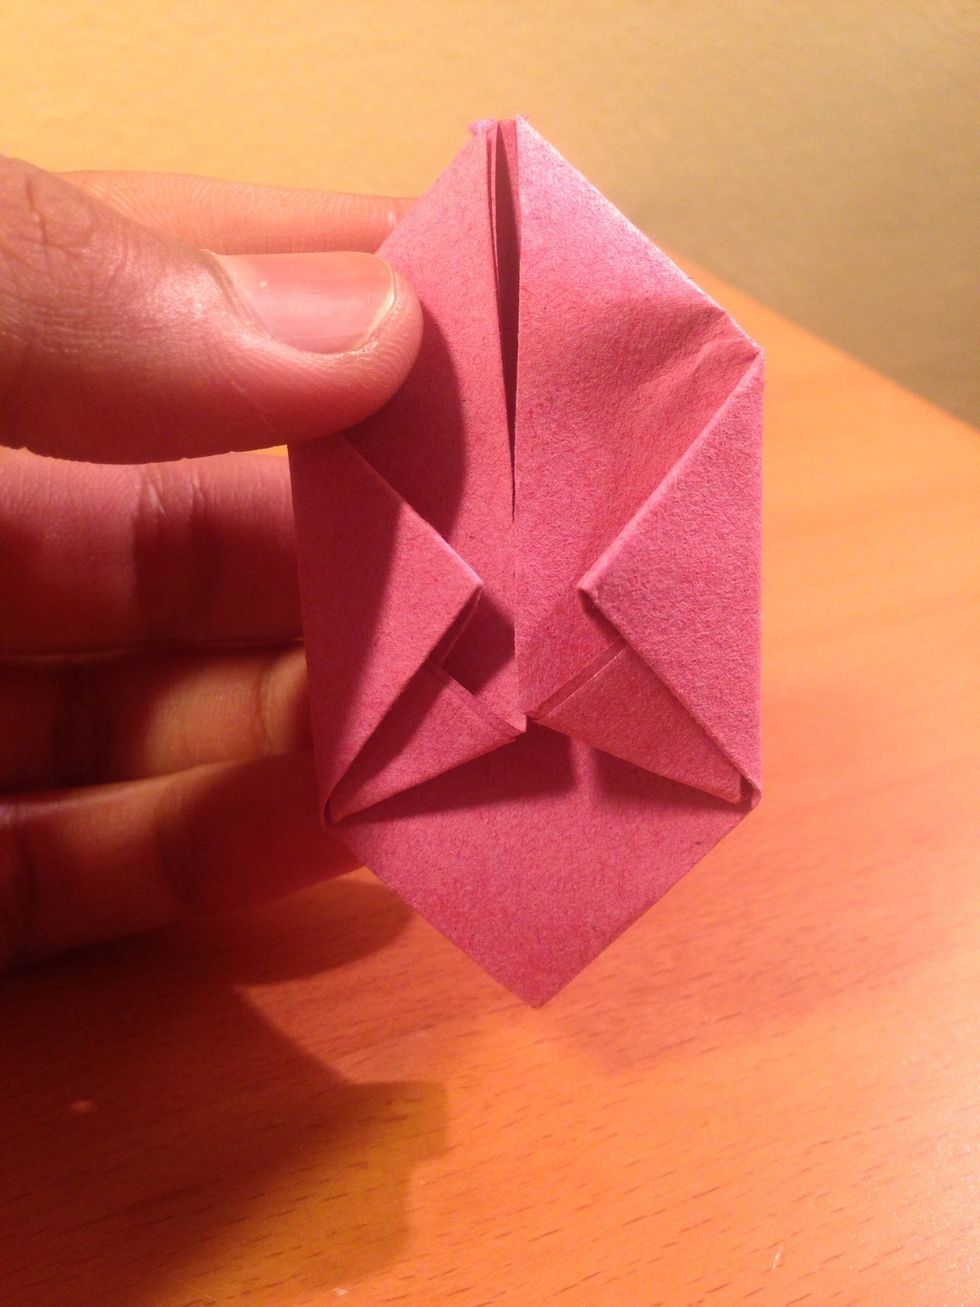
Now, fold one flap to the centre

Do the same for the other side
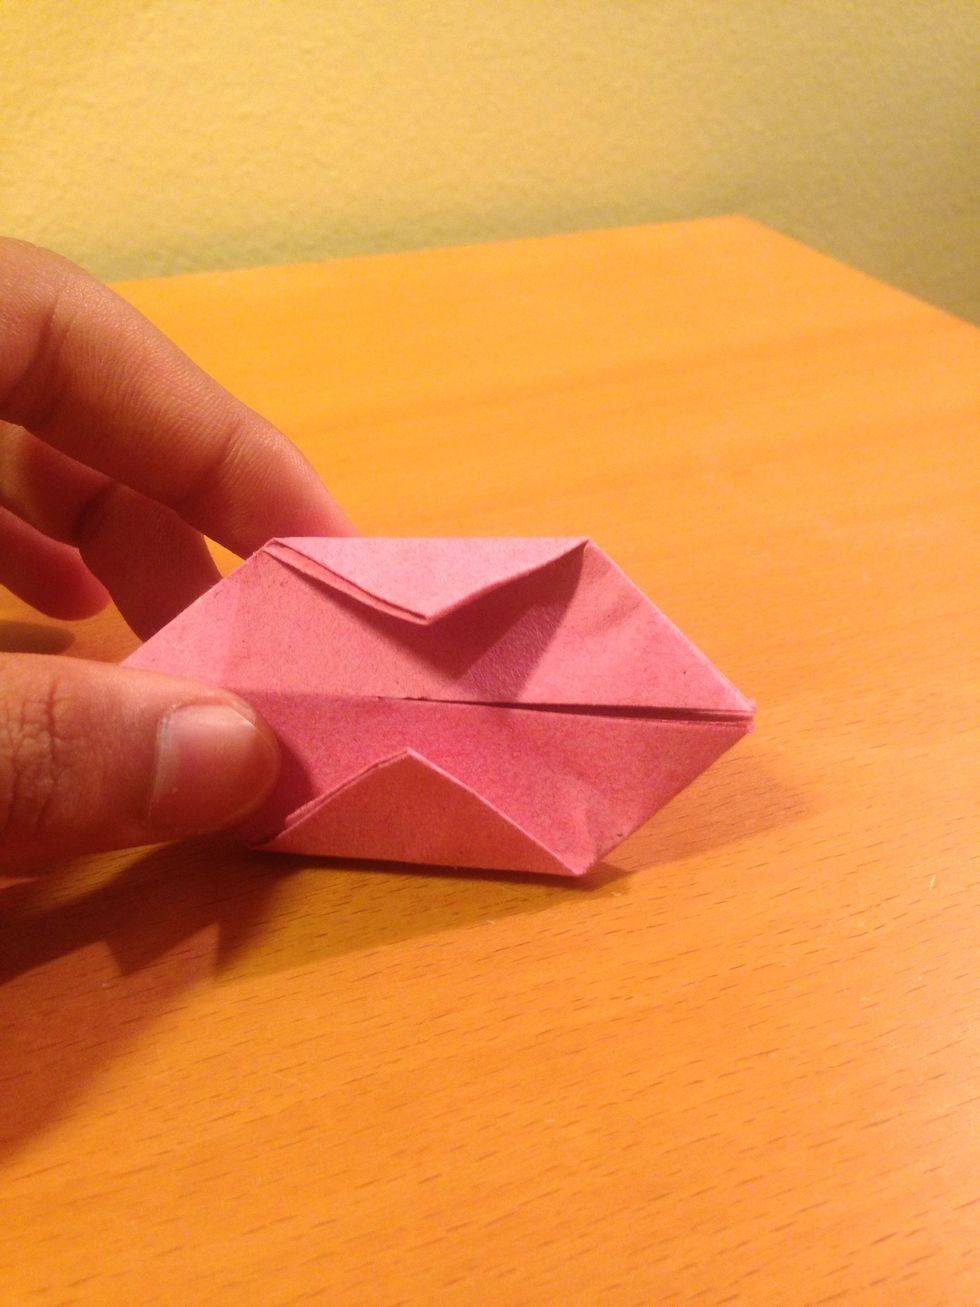
Should look like this
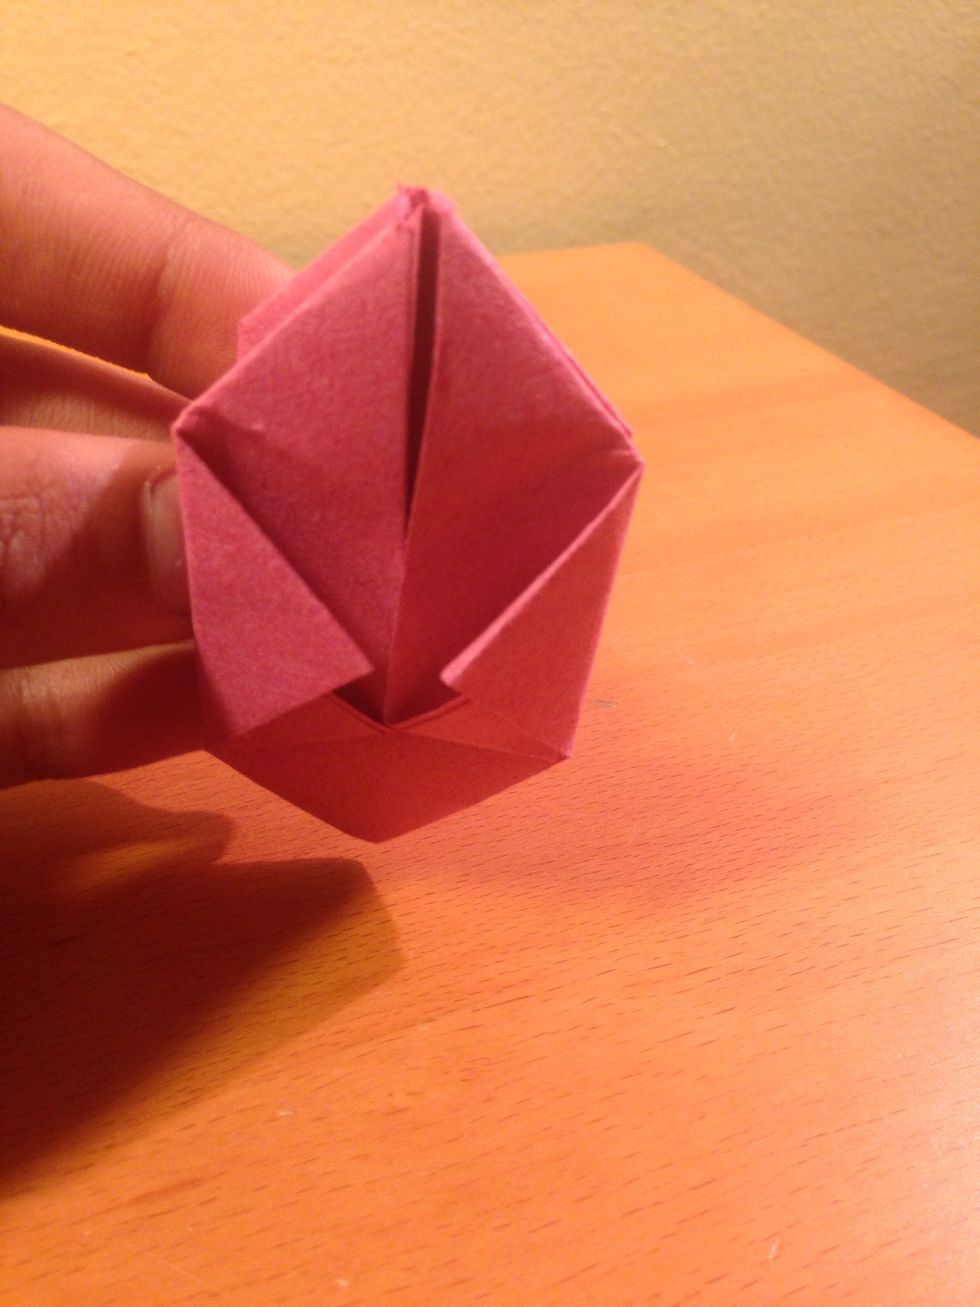
Flip the paper and do the same as done previously in steps 15 & 16..

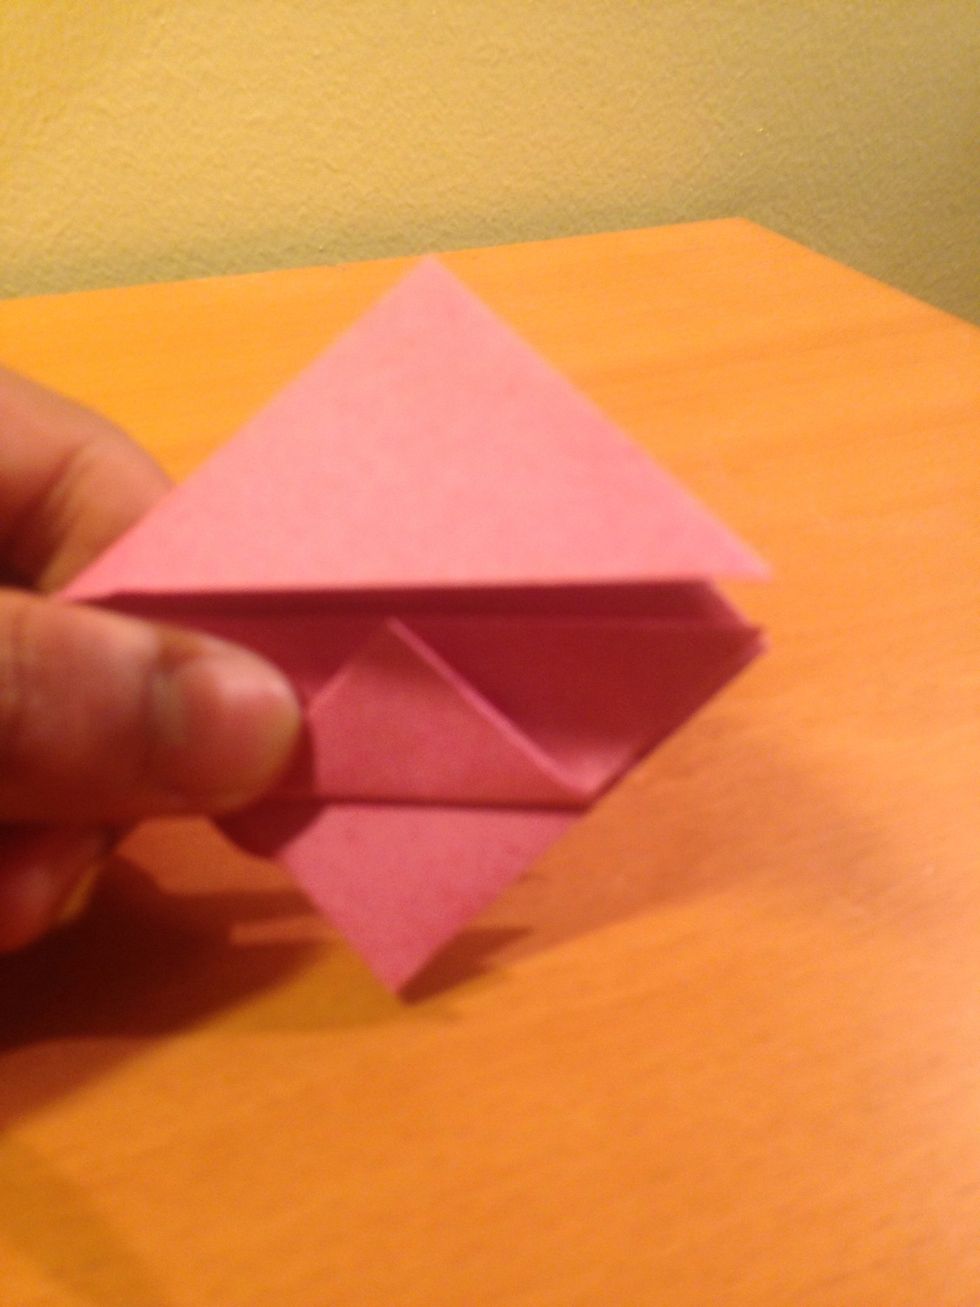
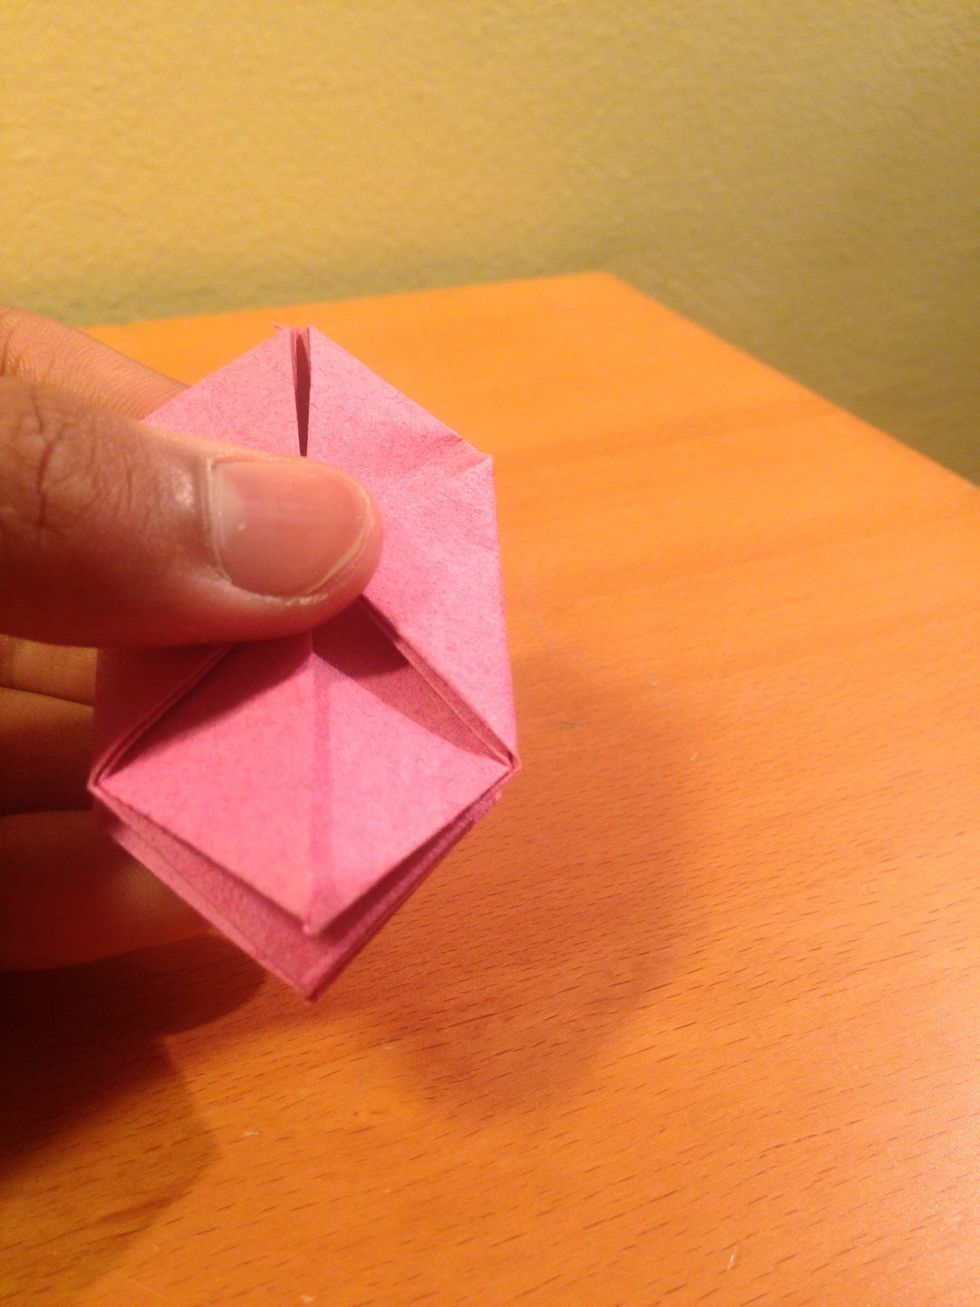
The flaps you folded, should have an opening like this..
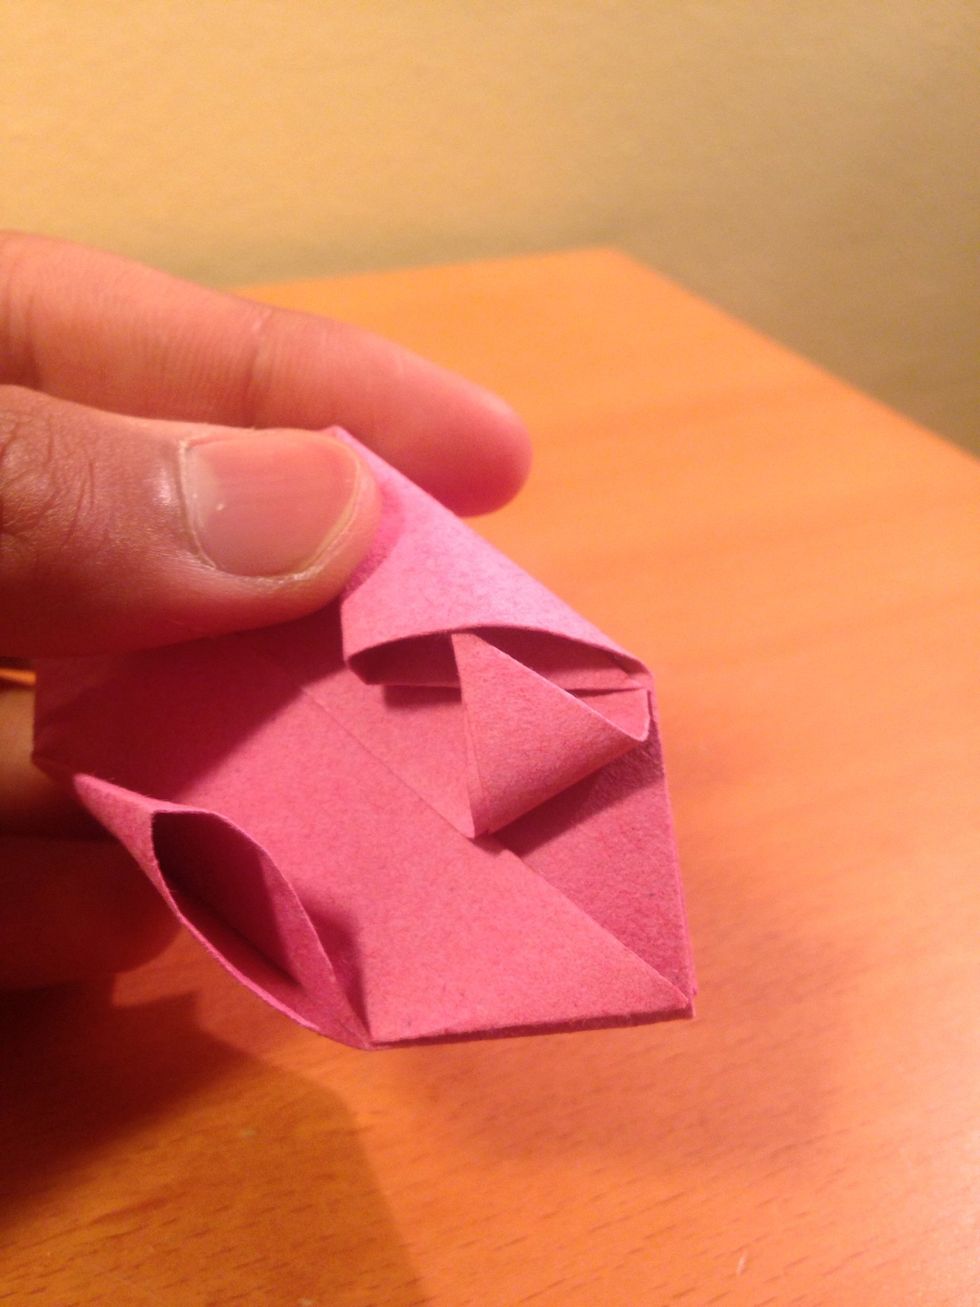
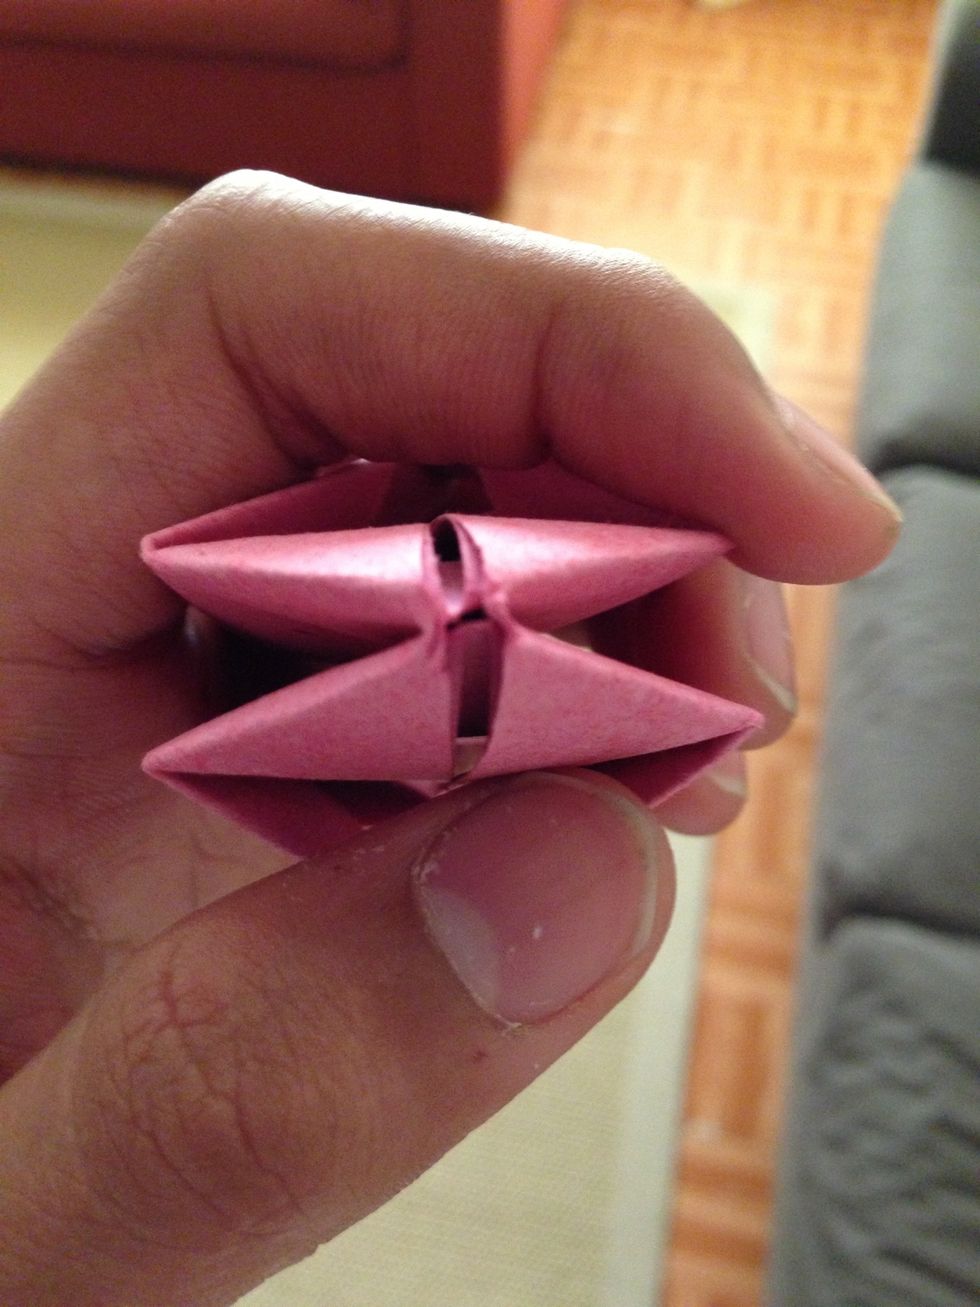
Now, take a corner and fit it inside each flap..
Like so..
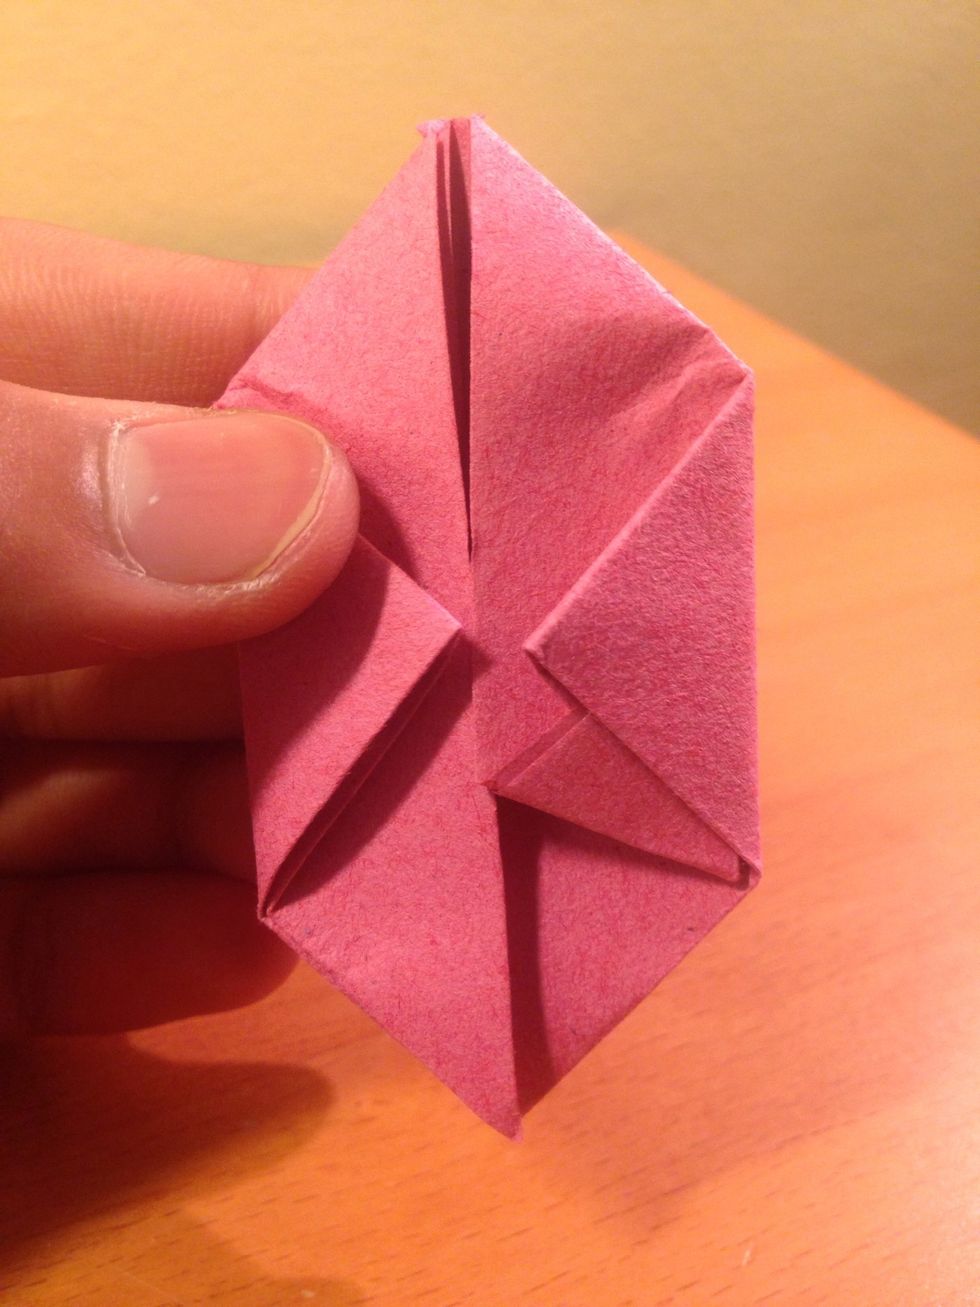
As always, symmetrical!
Flip and copy the same what you did previously..
Blow into the hole at the top of the piece.

Voila! It will look like so after inflating! :D