The Conversation (0)
Sign Up
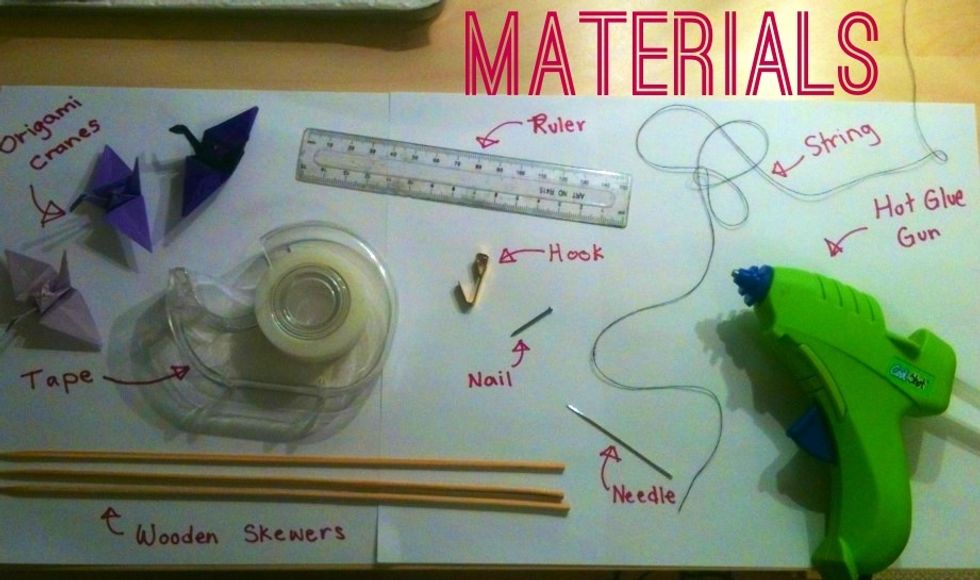
If you have not learnt how to make origami cranes yet I have a previous step by step guide that will teach you how. Now let's get started!
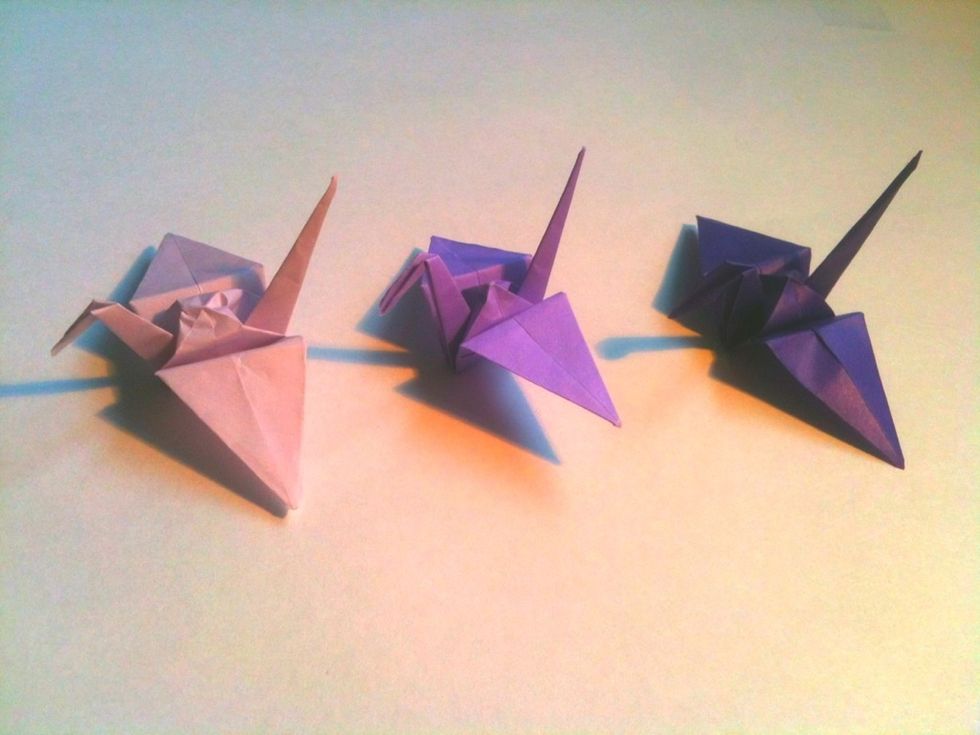
Make as many origami cranes as you would like and lay them out in the order they will be strung on.You can try to be creative with different colors, patterns, sizes etc.

Cut a long piece of string and insert one end through the needle hole.
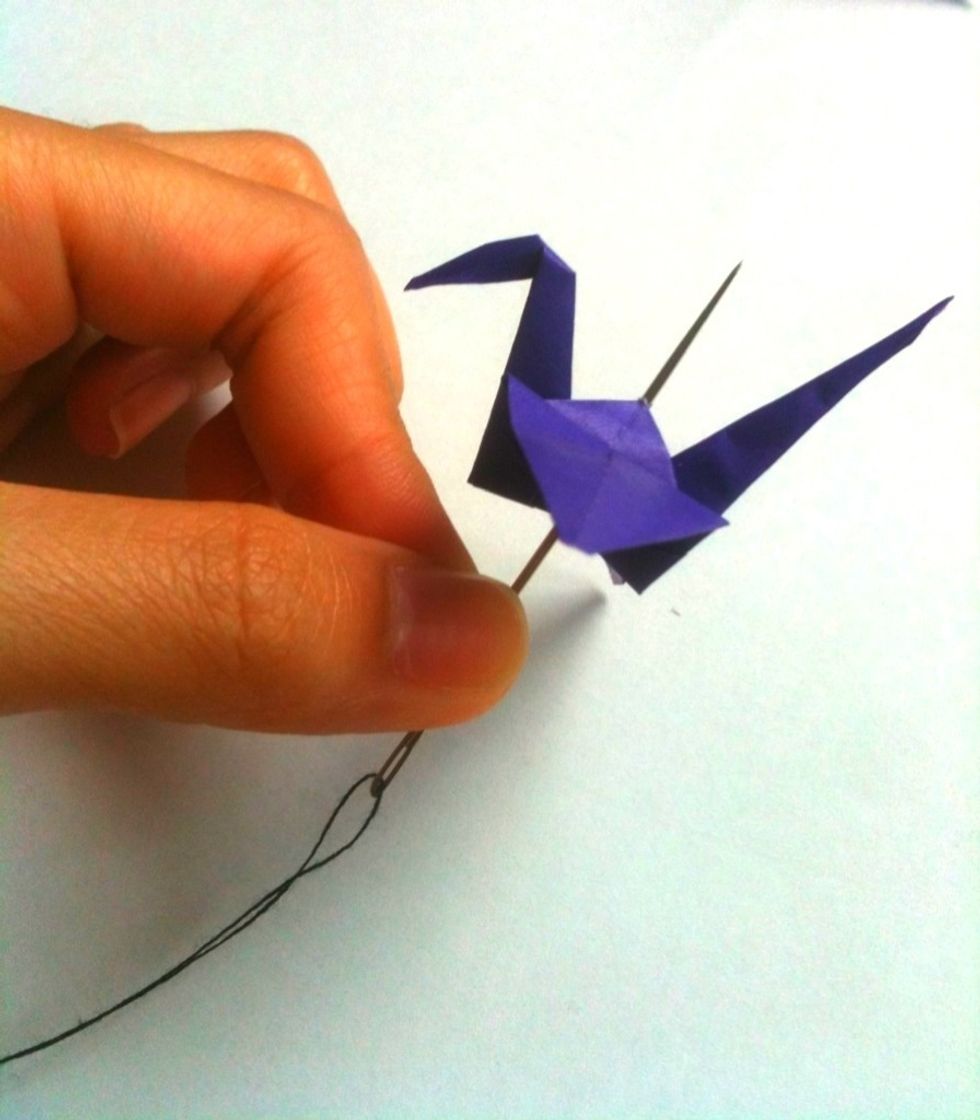
Now take the needle and poke it through the bottom of the first crane.
Slide the needle all the way through the crane and push the crane down the string leaving some excess string at the bottom. The excess string will be used later on to tie it to the wooden skewer.

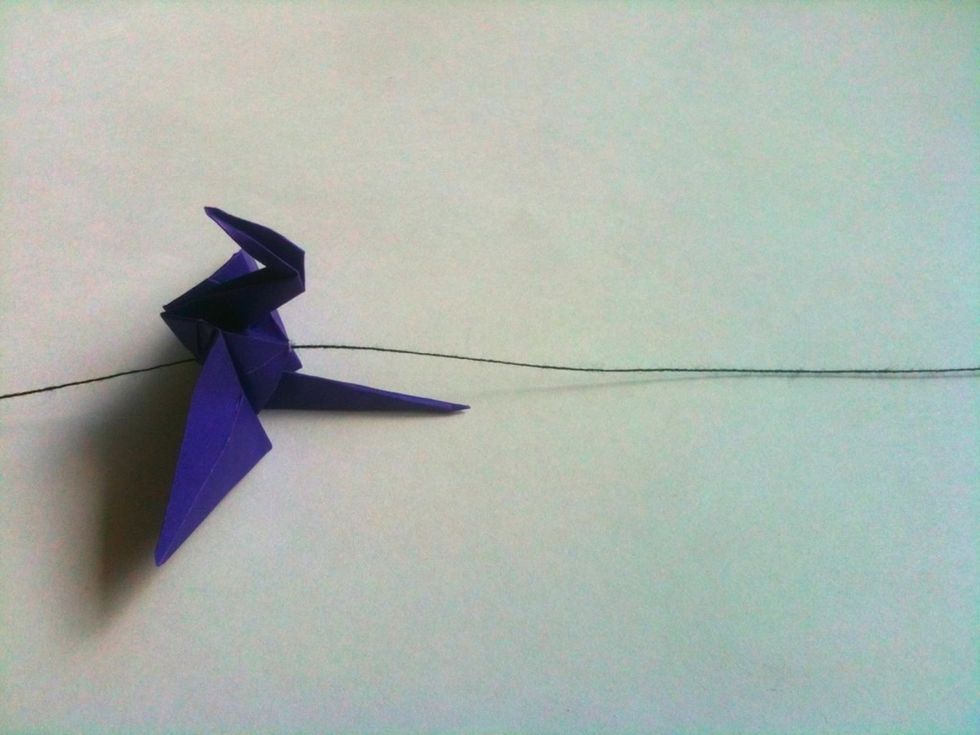
Repeat the last two steps with the next cranes.
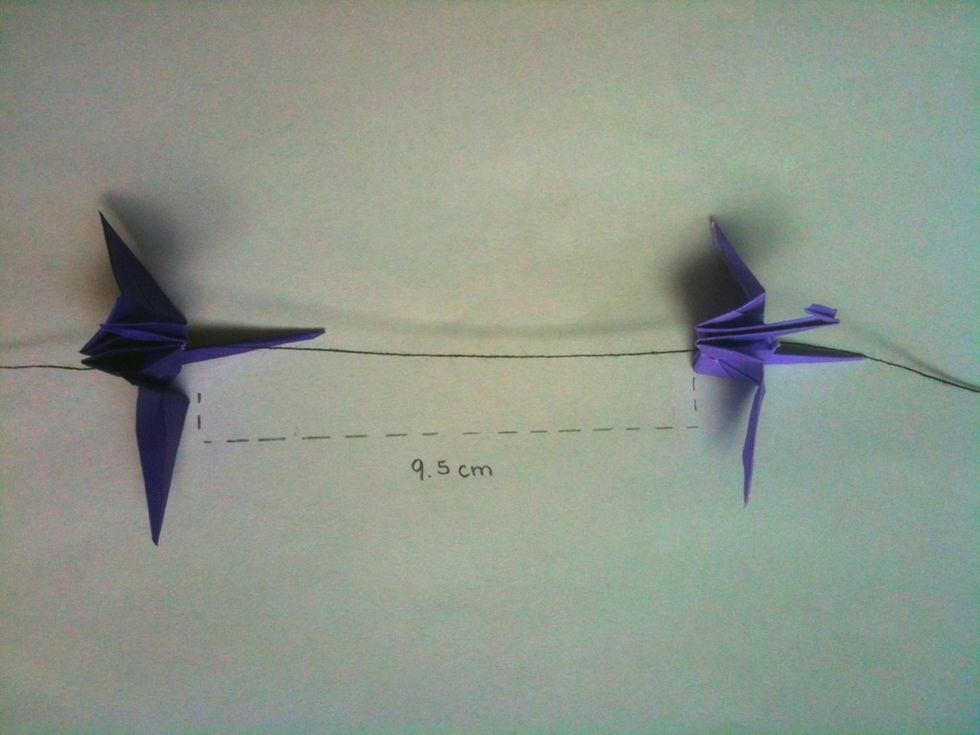
Be sure to leave a uniform gap between each crane. In this demo I left a 9.5 cm gap between them.
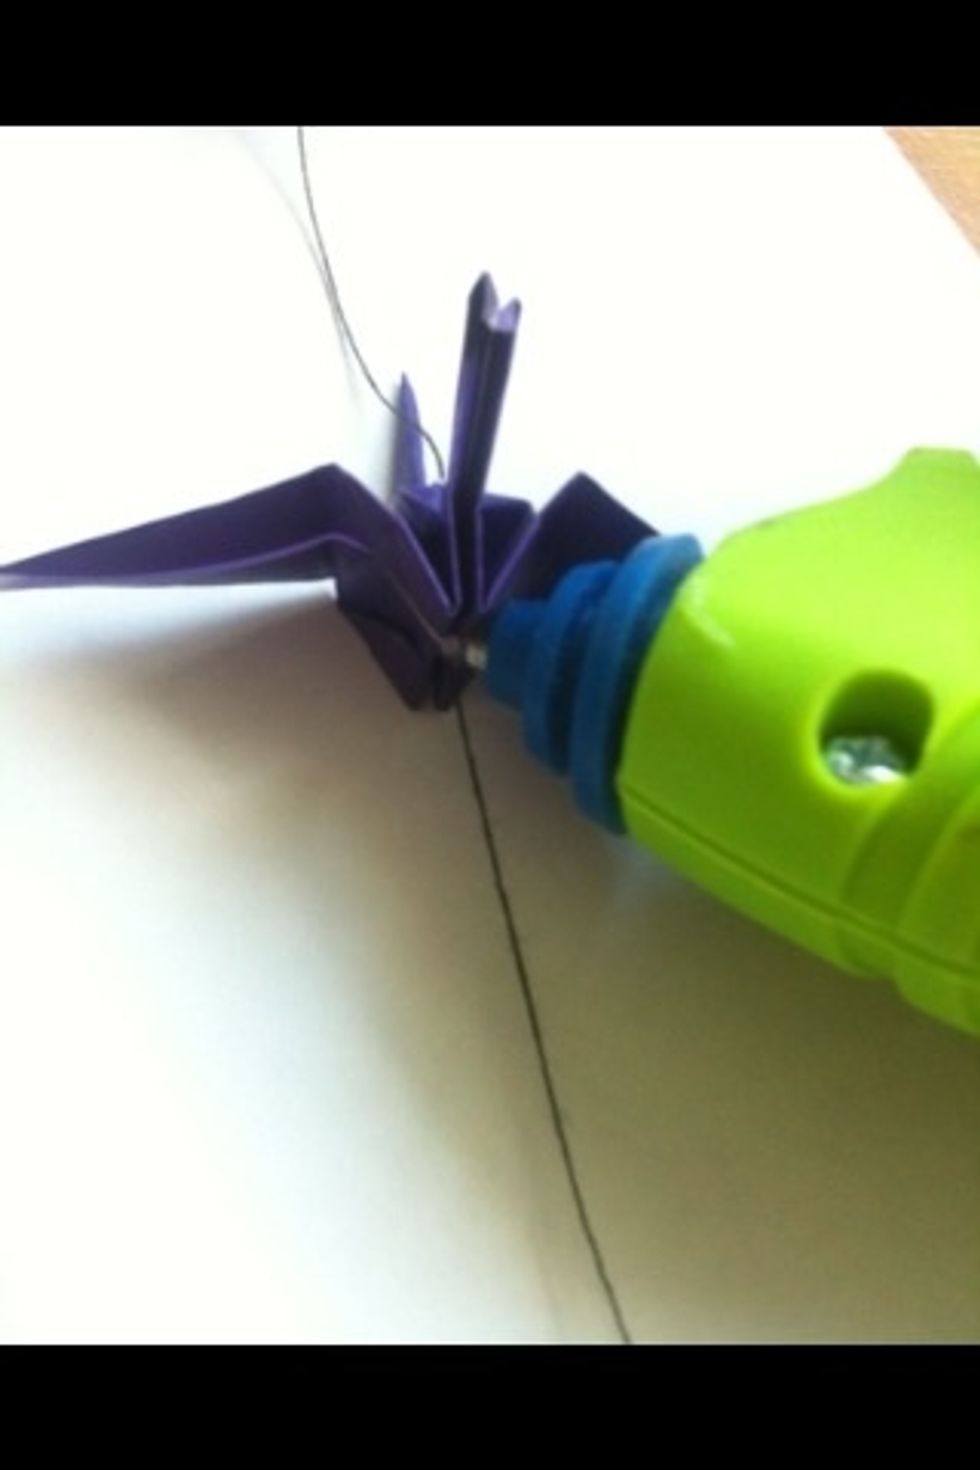
After all cranes are strung, dab a small dot of hot glue onto the hole where the string runs through at the bottom of each crane. This is done to prevent the cranes from sliding up or down the string.
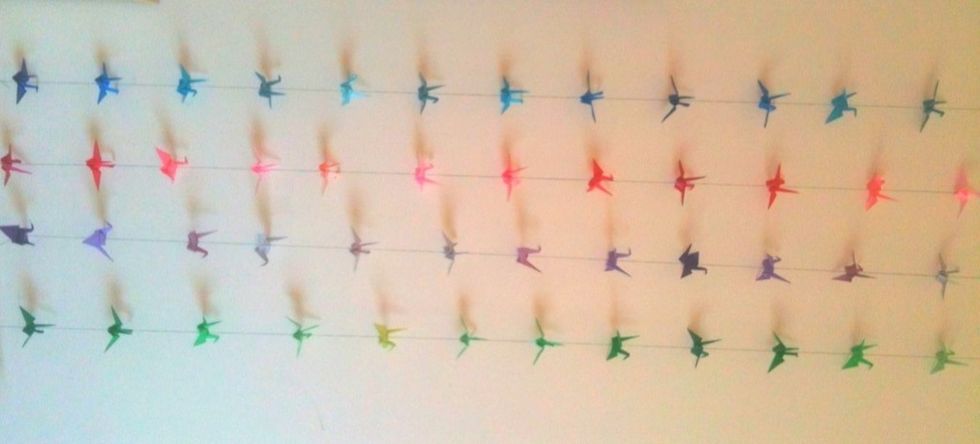
Repeat as many times as you want with your desired number of cranes and strings. In this demo I have four strings with 13 cranes per string. Then lay them out beside each other with a uniform gap.
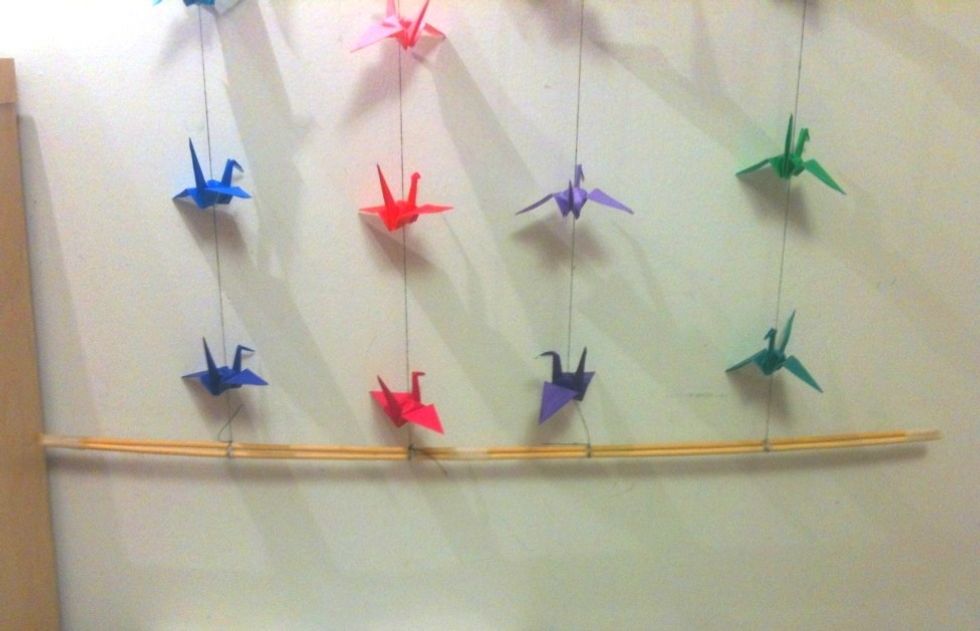
Take your wooden skewer and tie the bottom strings onto the skewer. Repeat this with the strings at the top. In this demo I increased the thickness of the skewers by taping two together.

Next take out your desired number of hooks and nails.
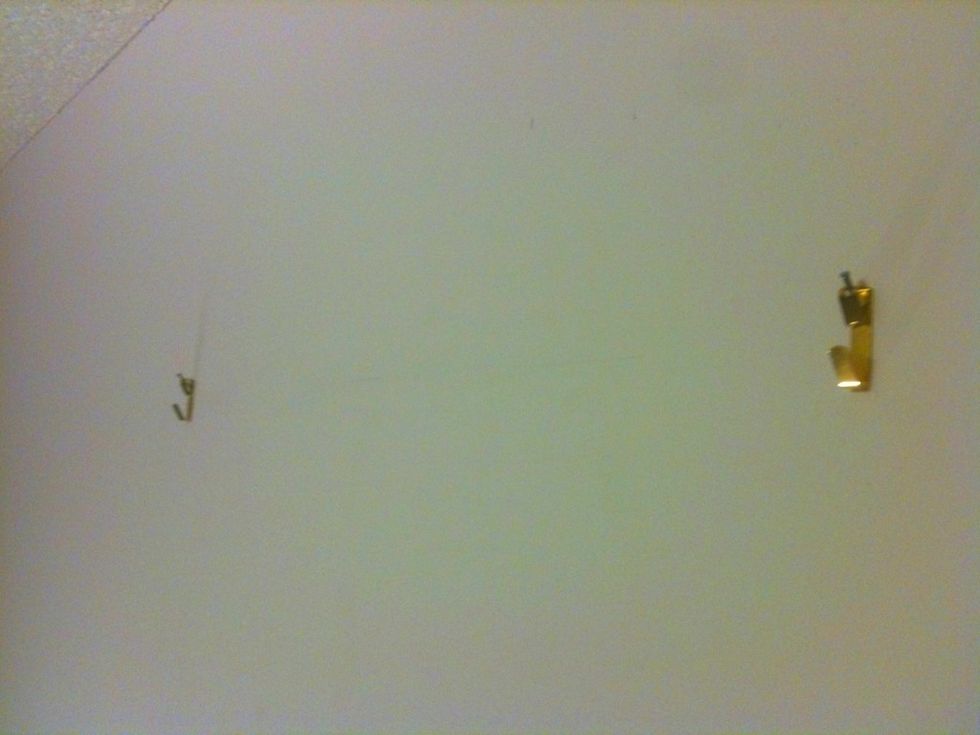
Mark dots on the wall where the hooks will be nailed. Make sure that the dots are aligned with each other and can form an invisible parallel line to the roof/floor. Then nail the hooks into the wall.
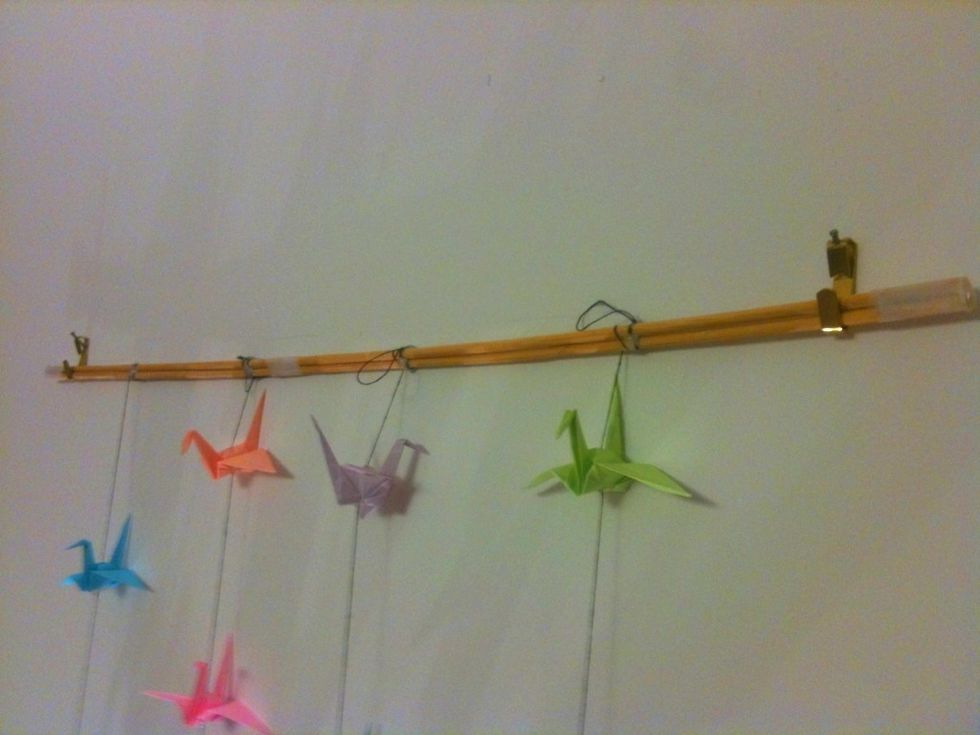
Take your wall decoration and hang the skewers from the hooks.
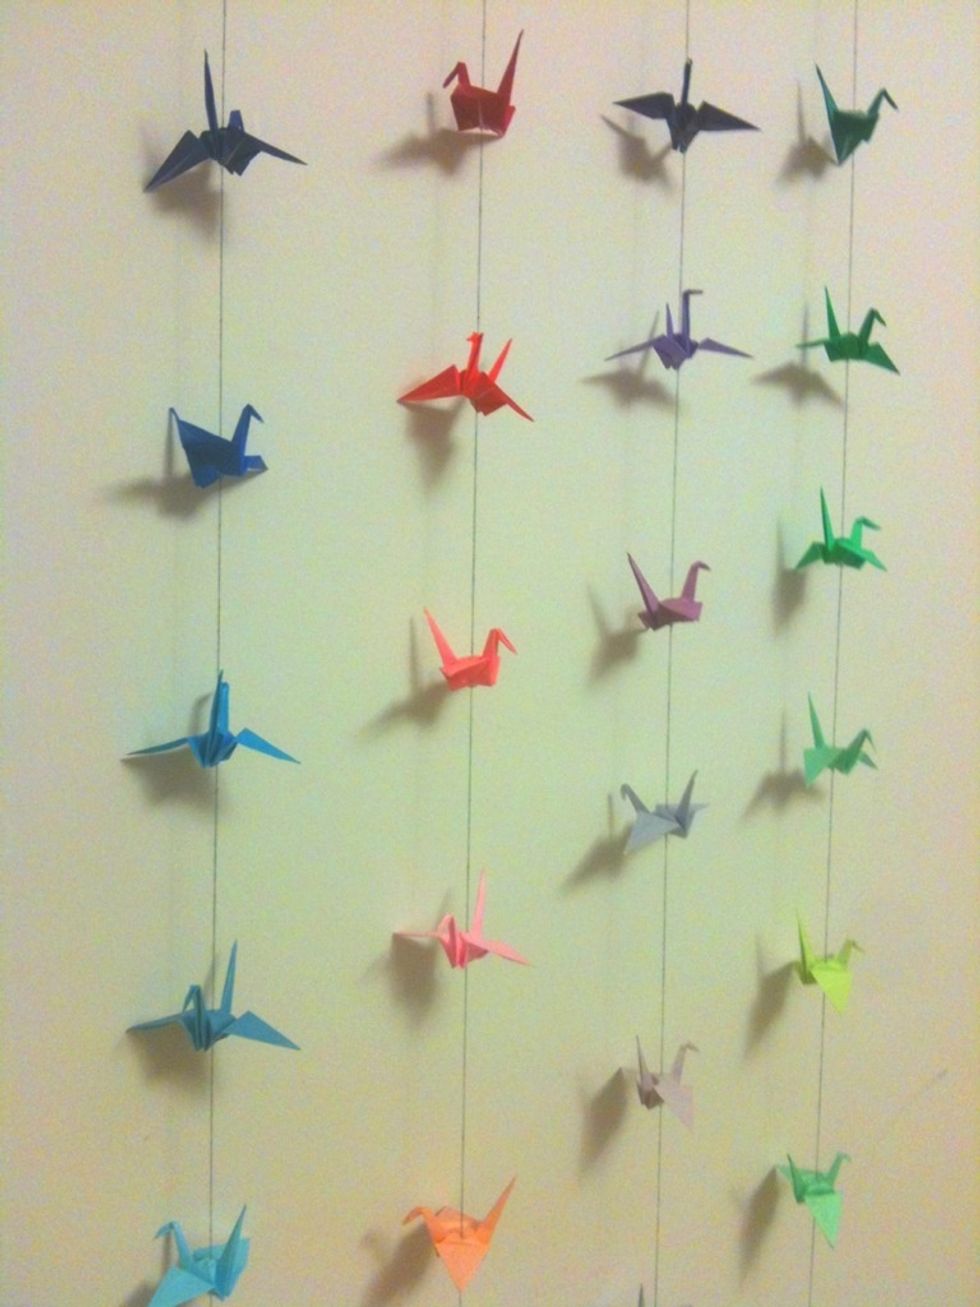
You are now finished! :D Here is a close up look of the cranes on the string. A neat idea would be to use clear string which gives an illusion that the cranes are floating and flying around.