The Conversation (0)
Sign Up
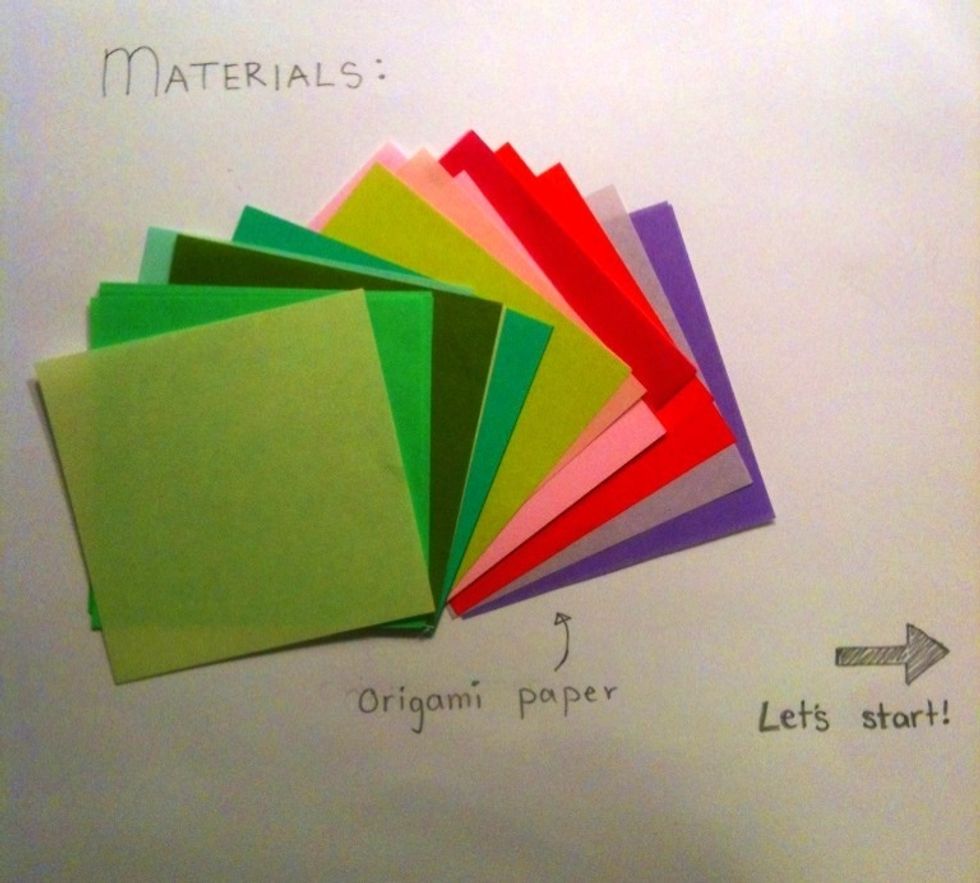
Origami paper can be bought in packs at any craft store or you can easily cut squares out from colored construction paper.
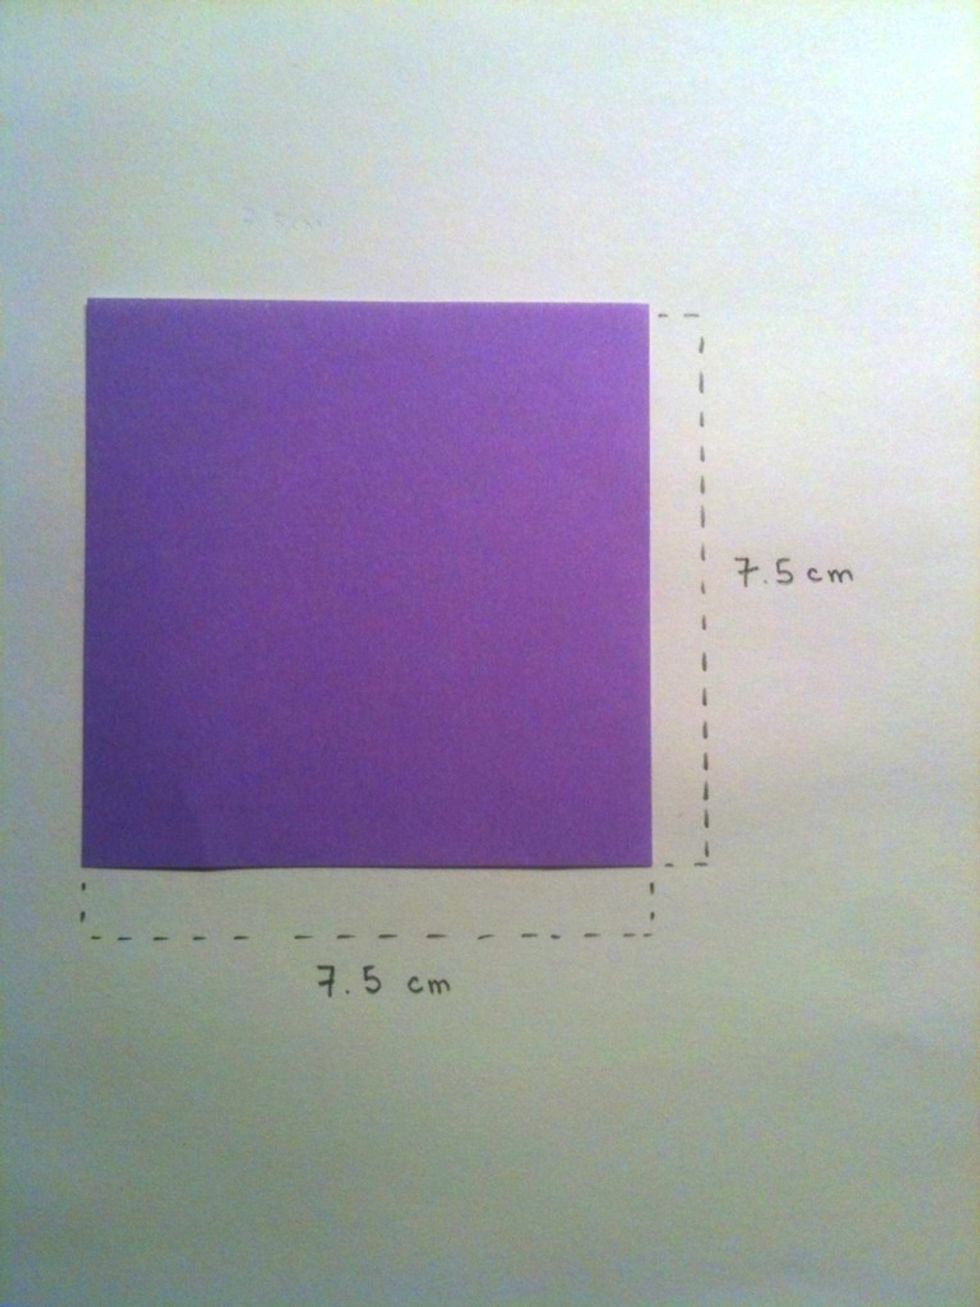
Begin with a square sheet of paper. I will be using a 7.5 cm by 7.5 cm sheet in this demo.
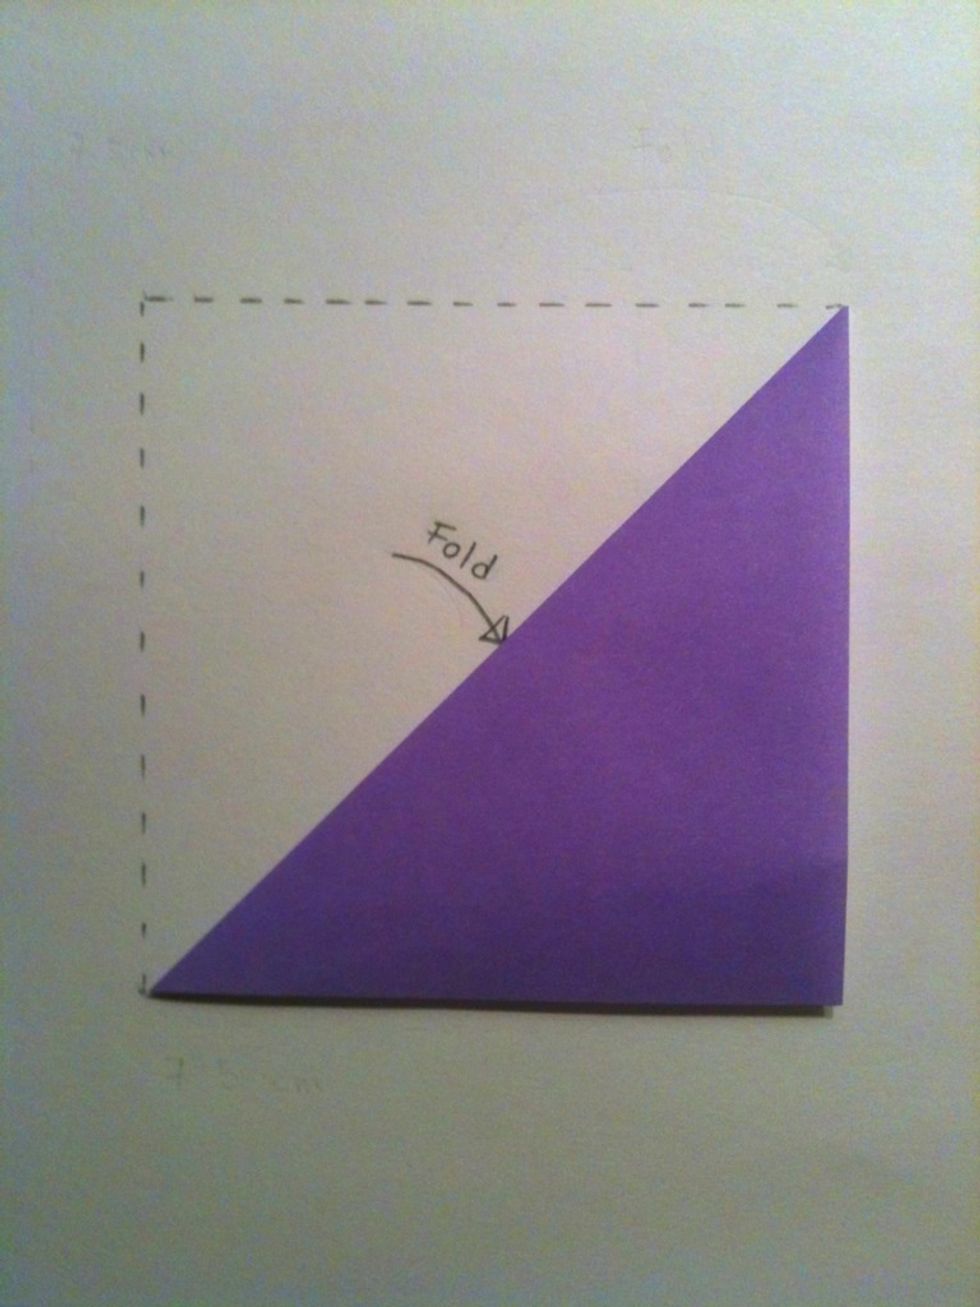
Fold the sheet into a triangle
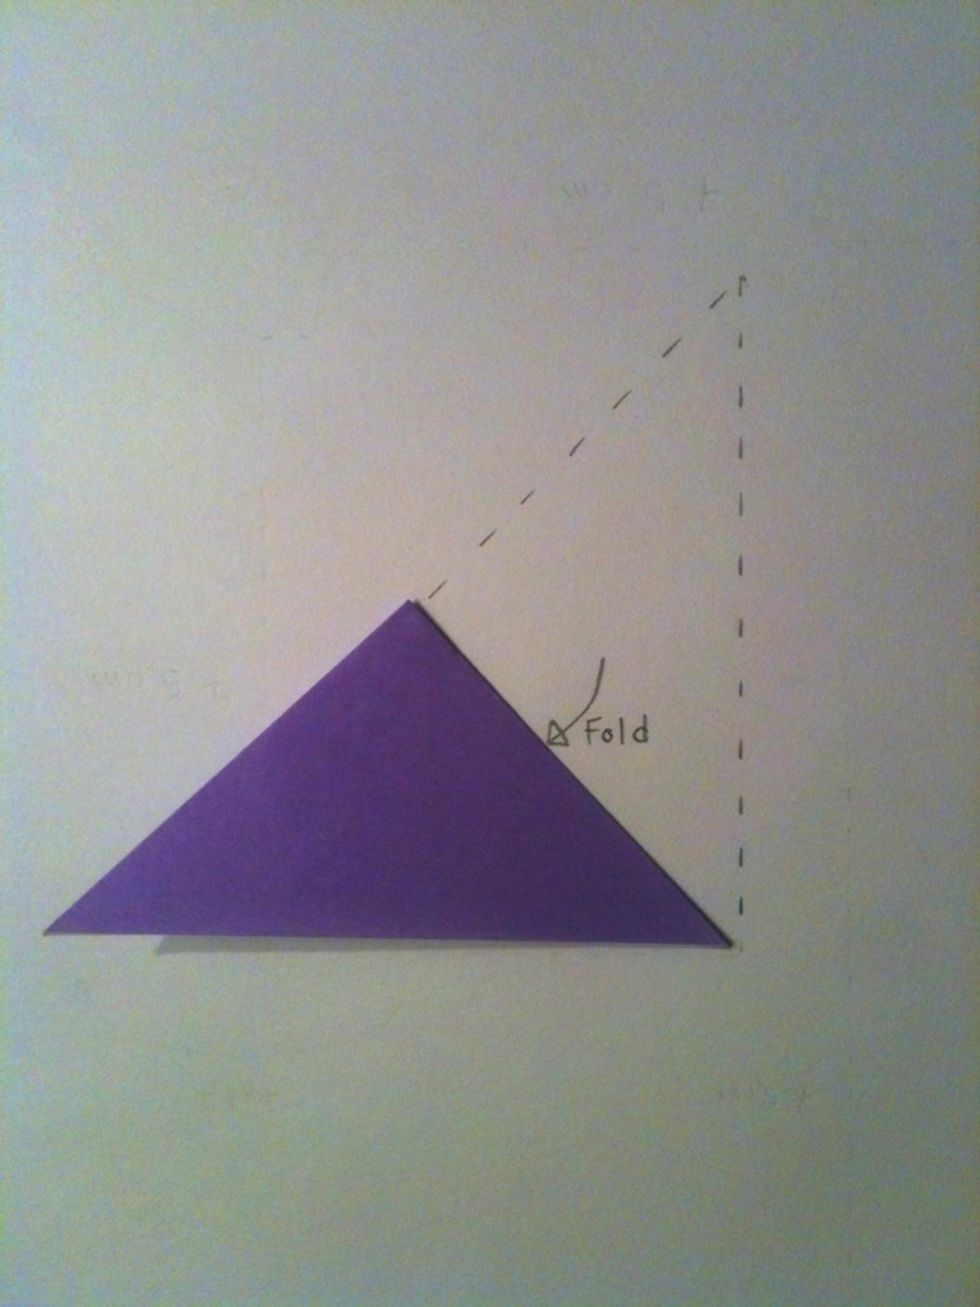
Fold the the sheet again into a smaller triangle.

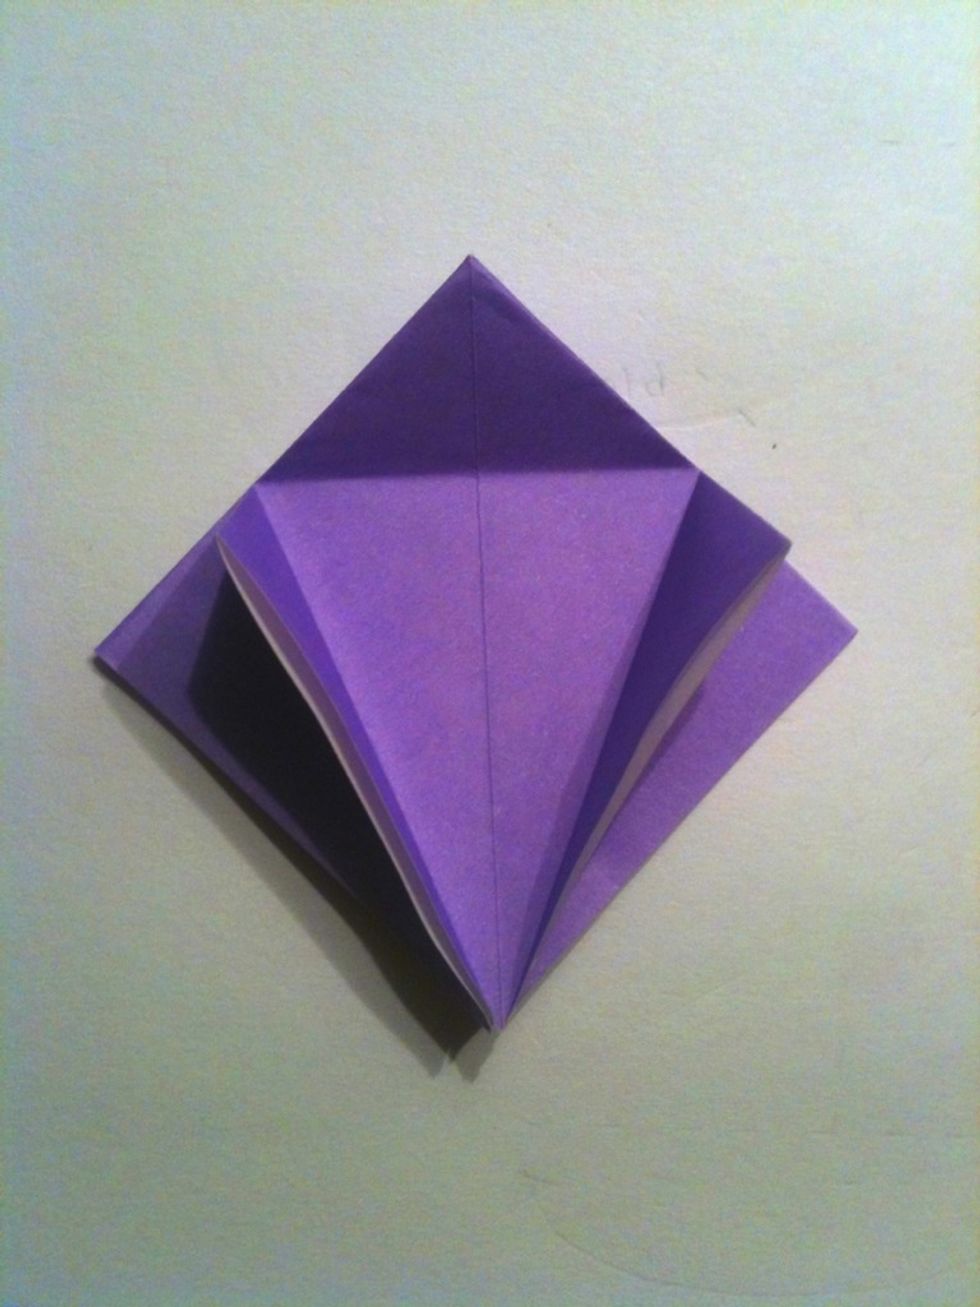
Lift up one flap of the folded paper.

Open up the flap of paper.
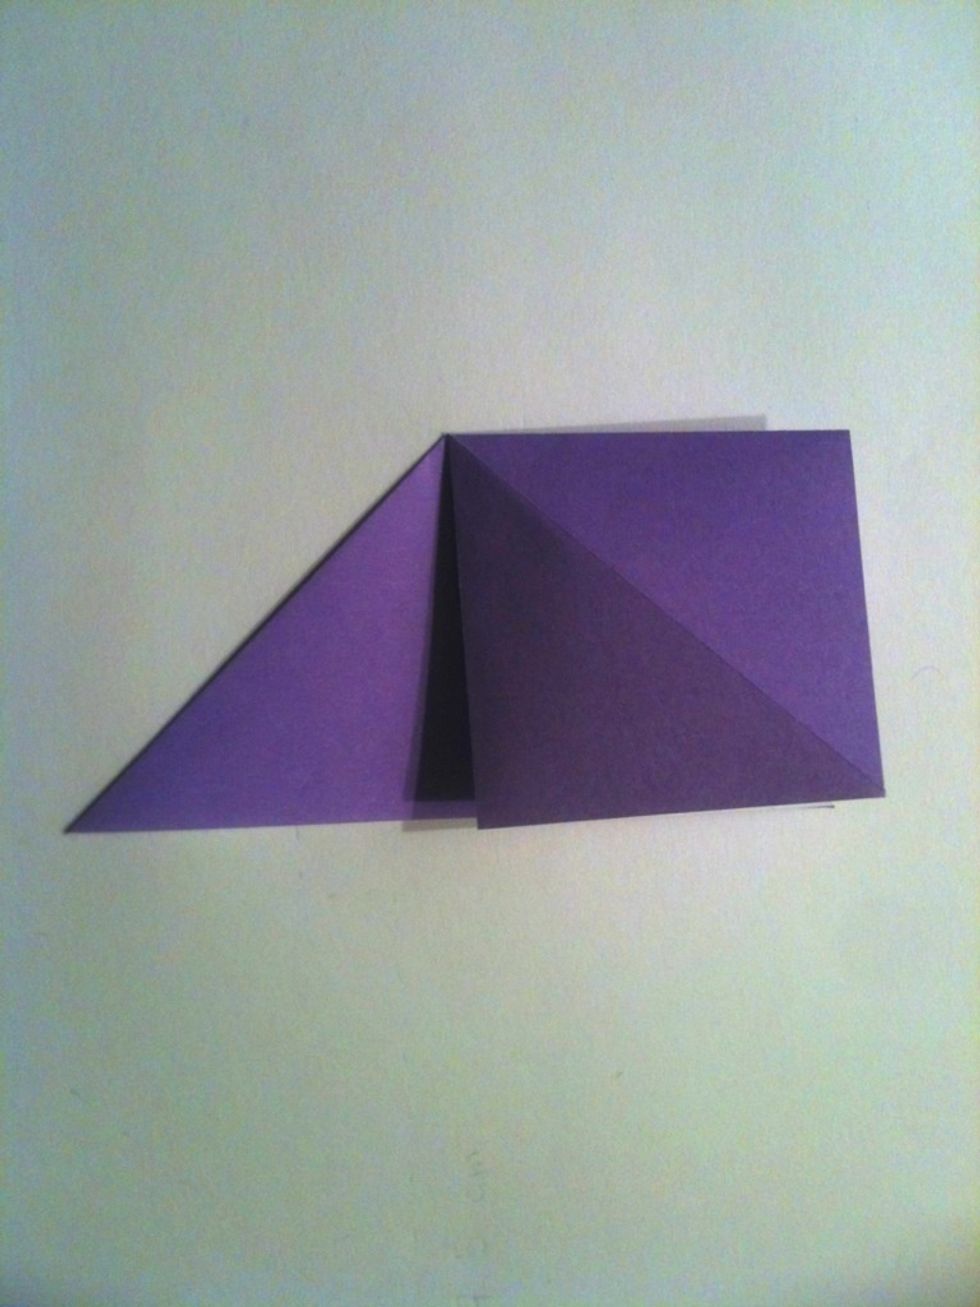
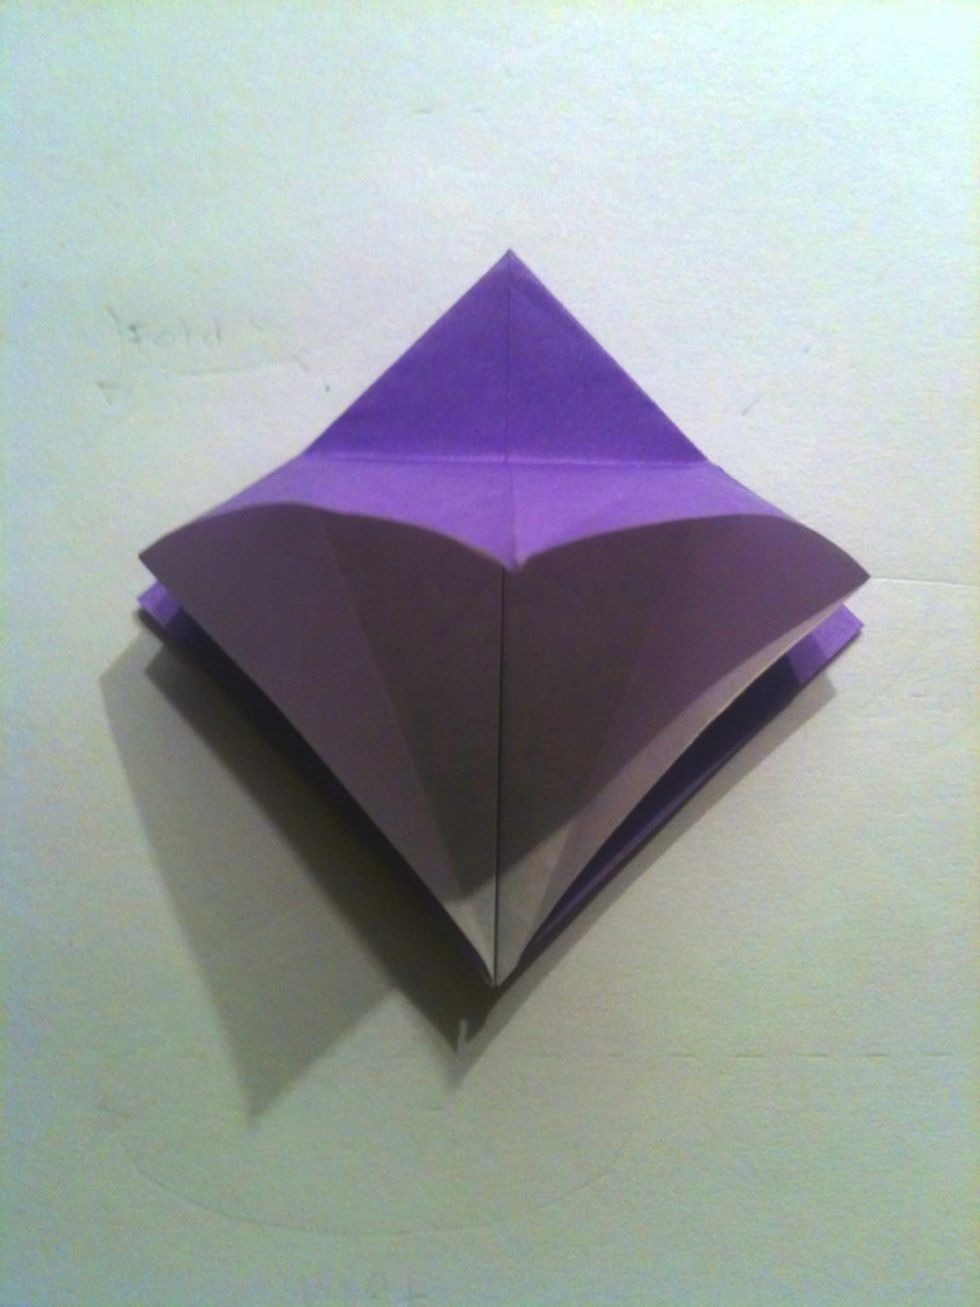
Press the opened flap of paper down and match the corners together.
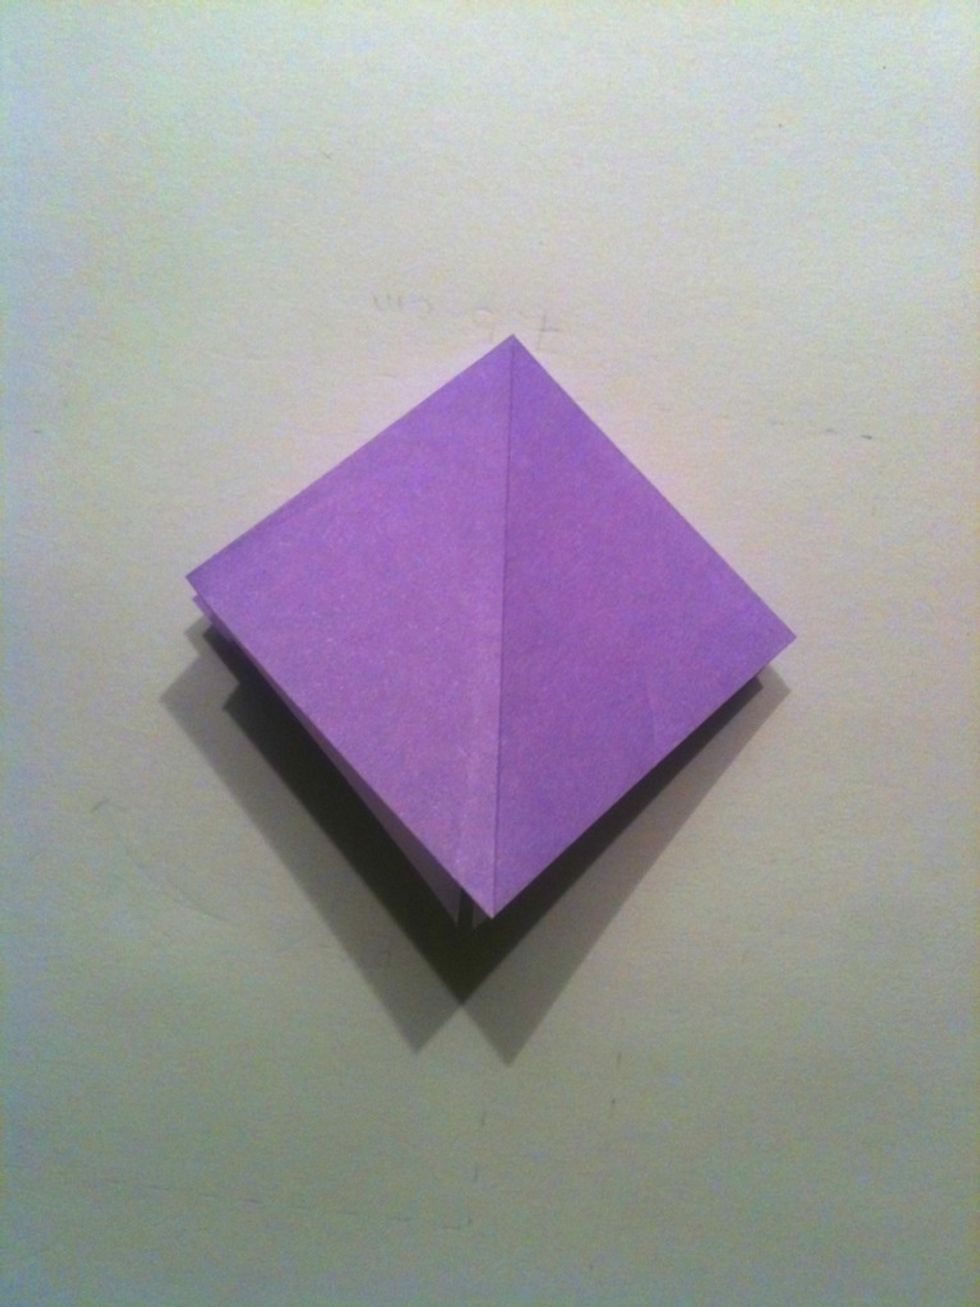
Repeat this on the other side.
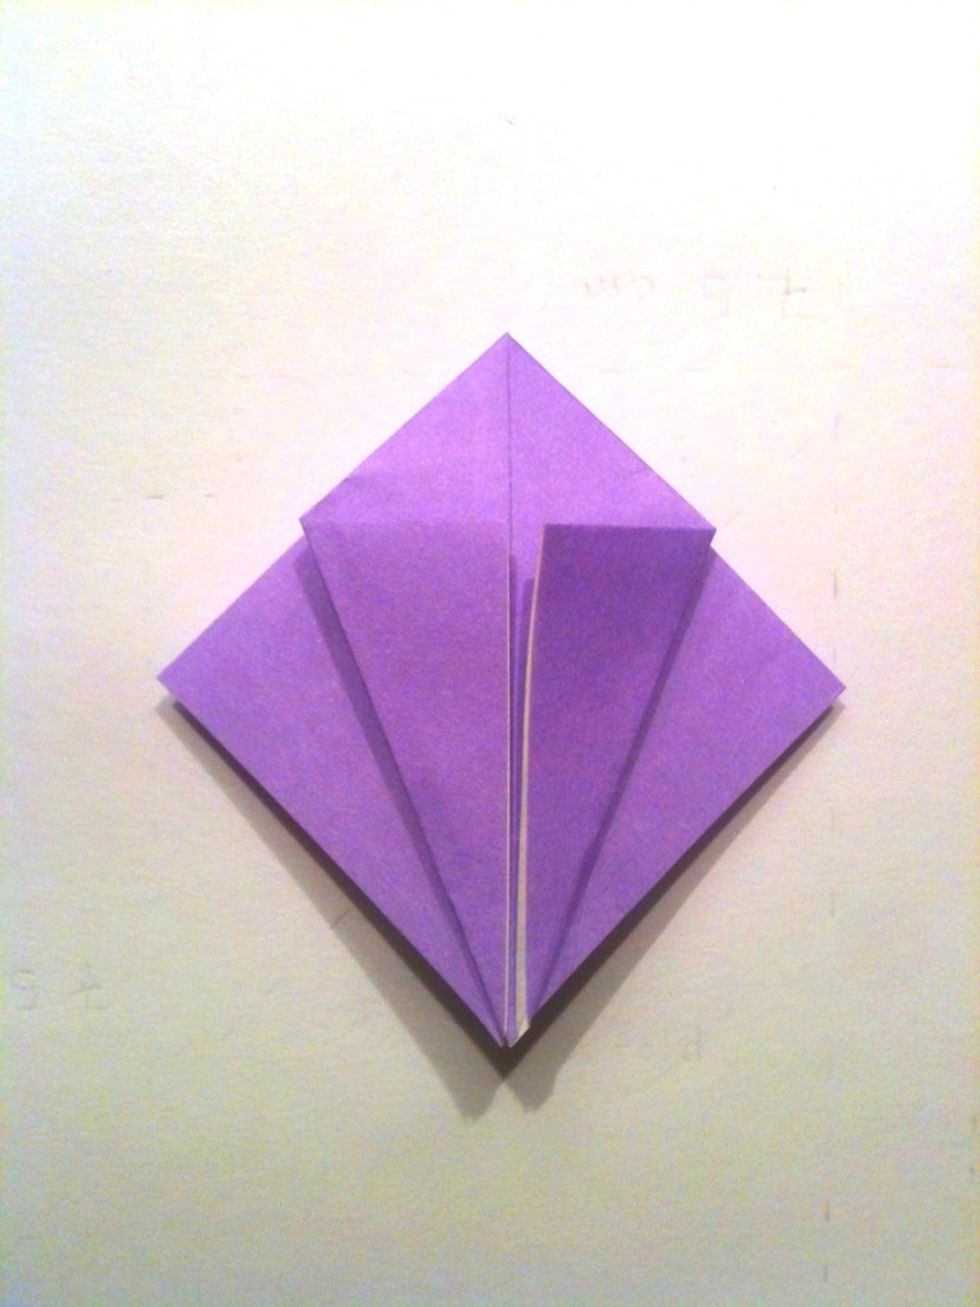
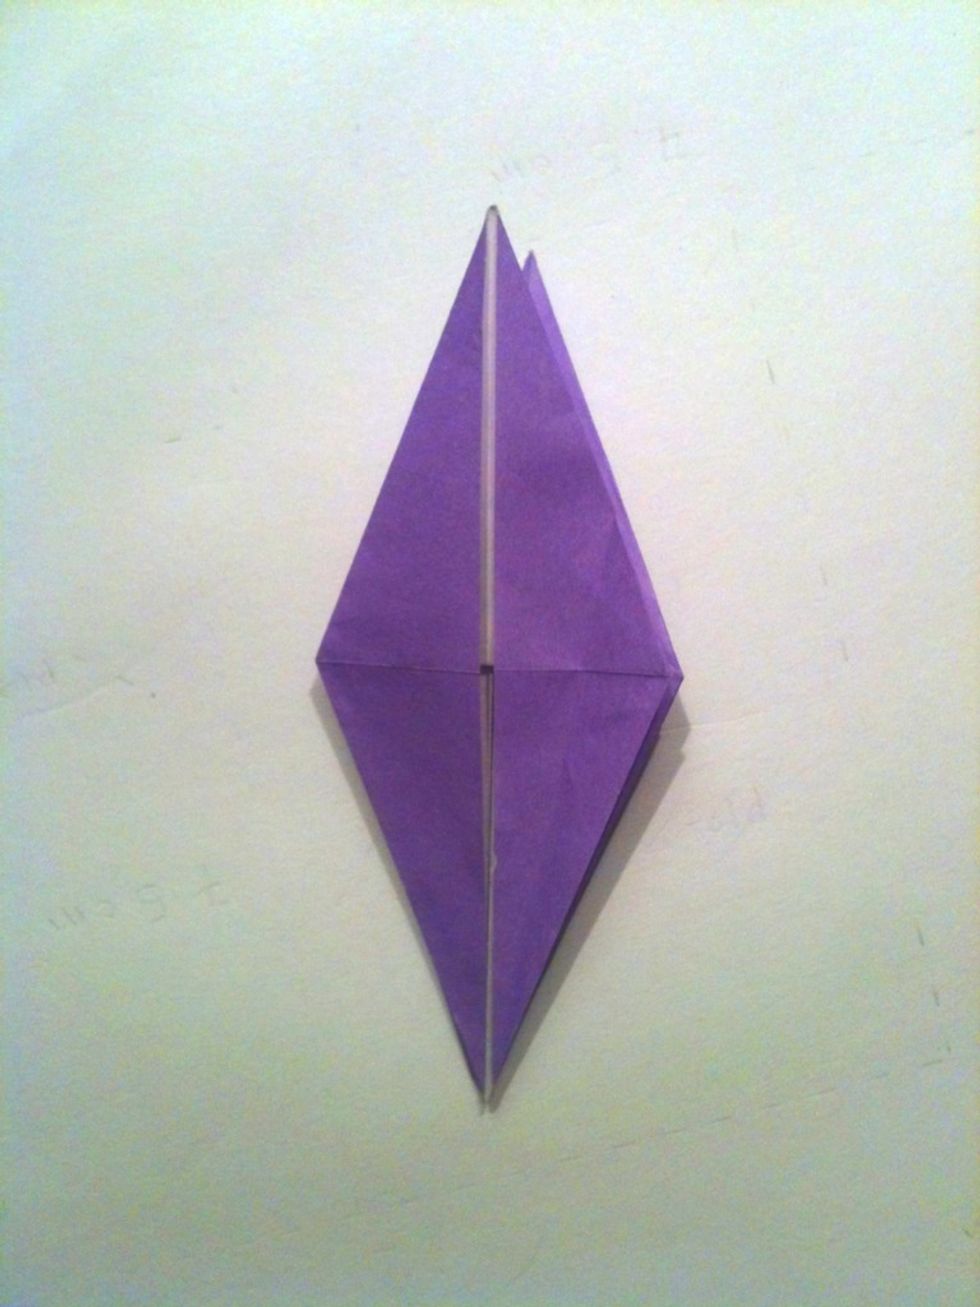
Fold the horizontal corners towards each other, making sure that the bottom sides are parallel to each other and are also aligned with the center line.
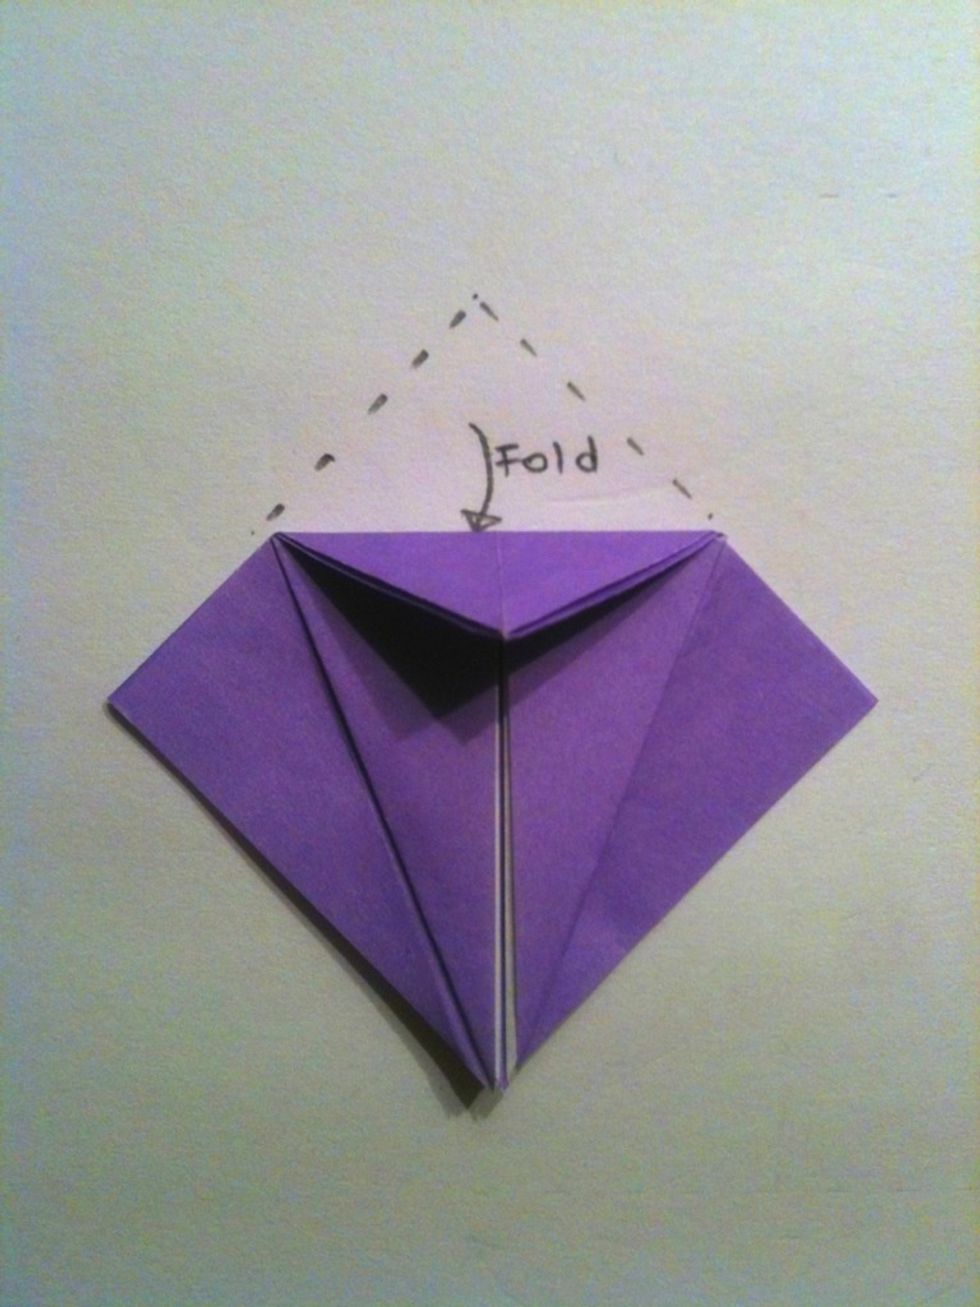
Fold the top tip down.
Unfold the last two previous steps.
Open up the sheet flap.
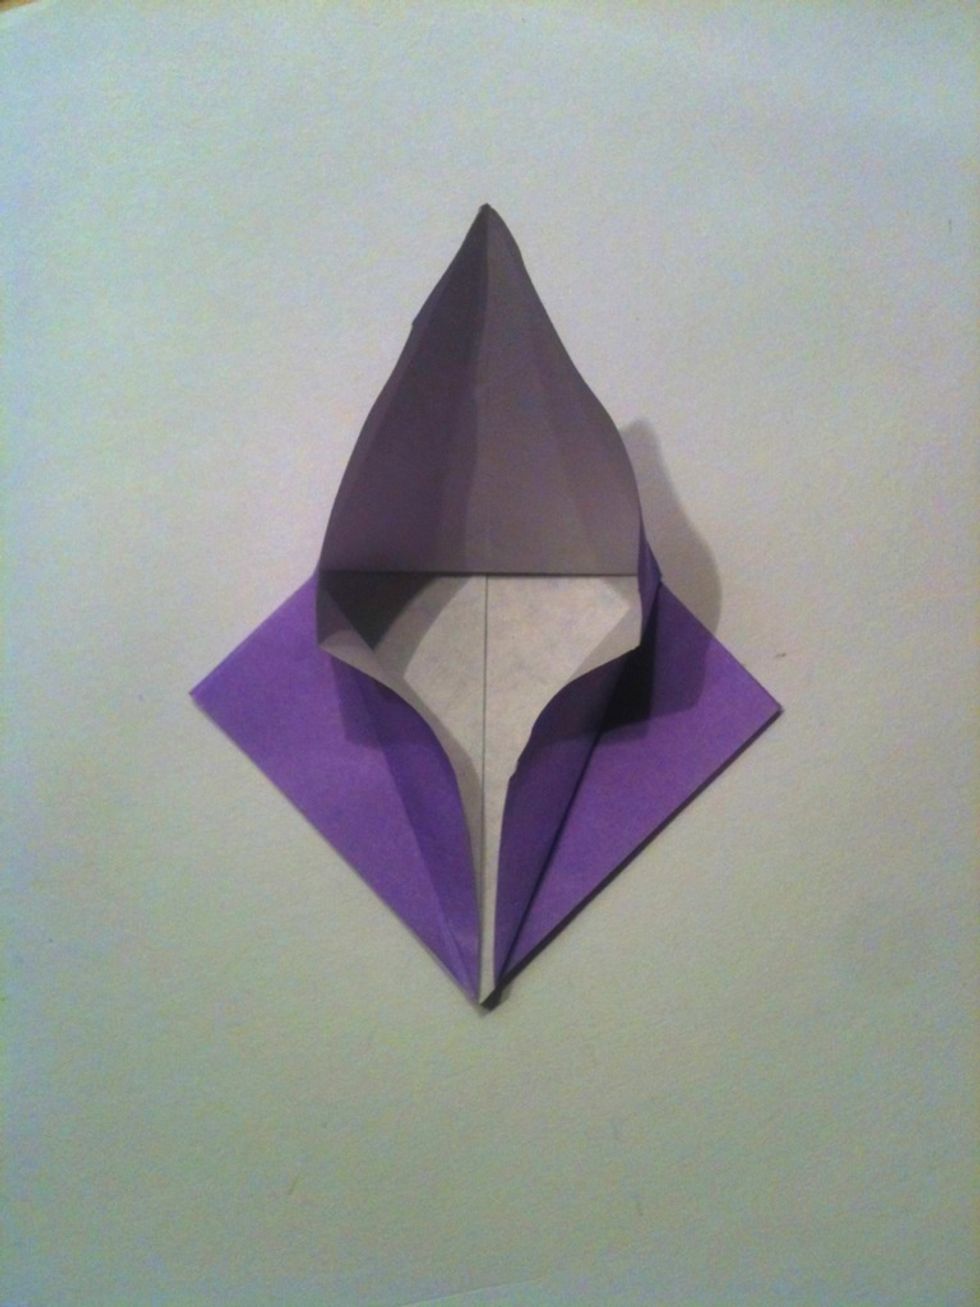
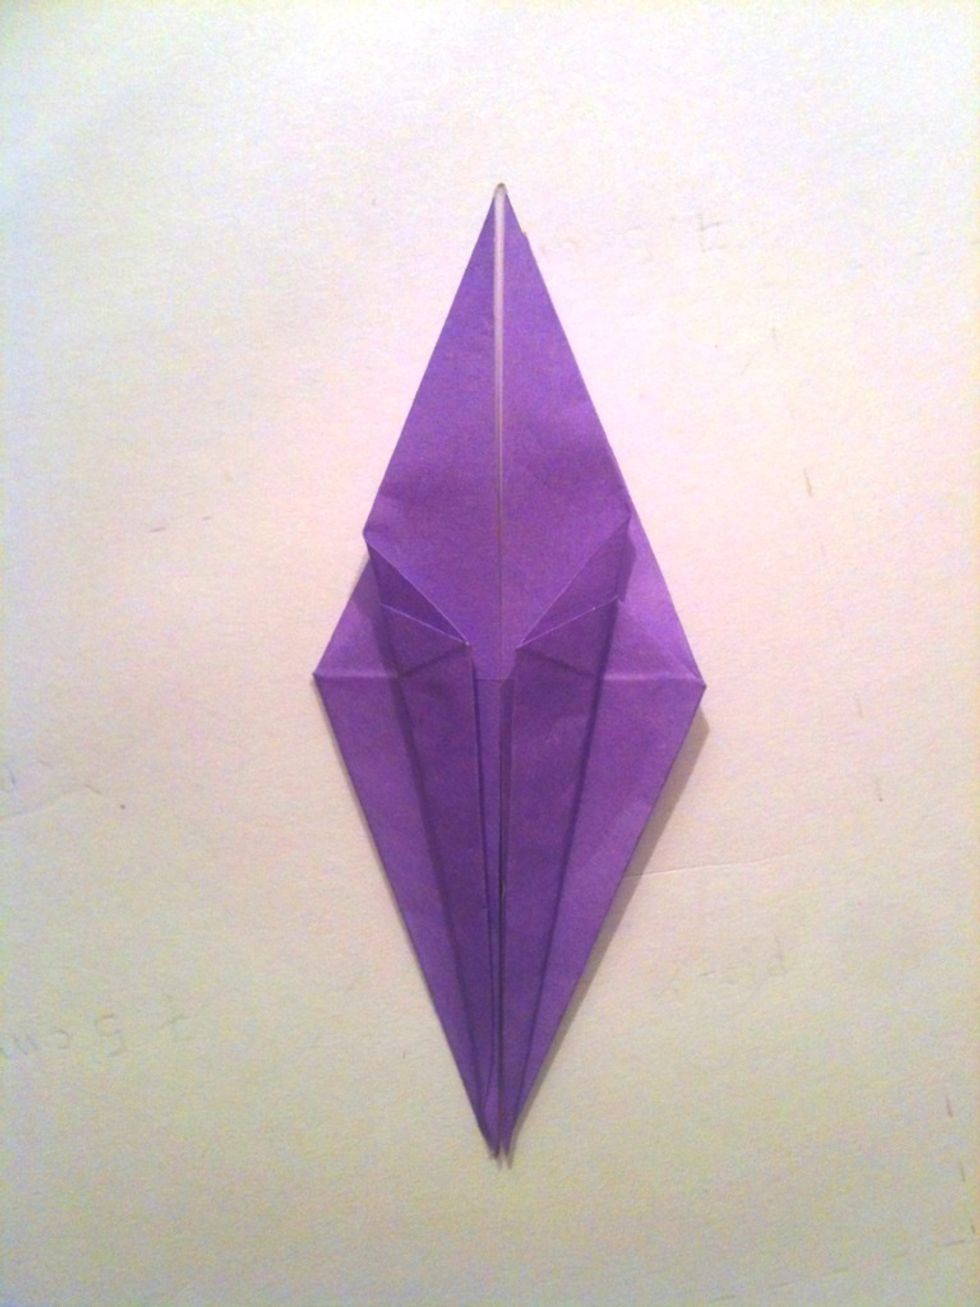
Press the two bottom sides towards the center line, making sure that they are aligned with it.
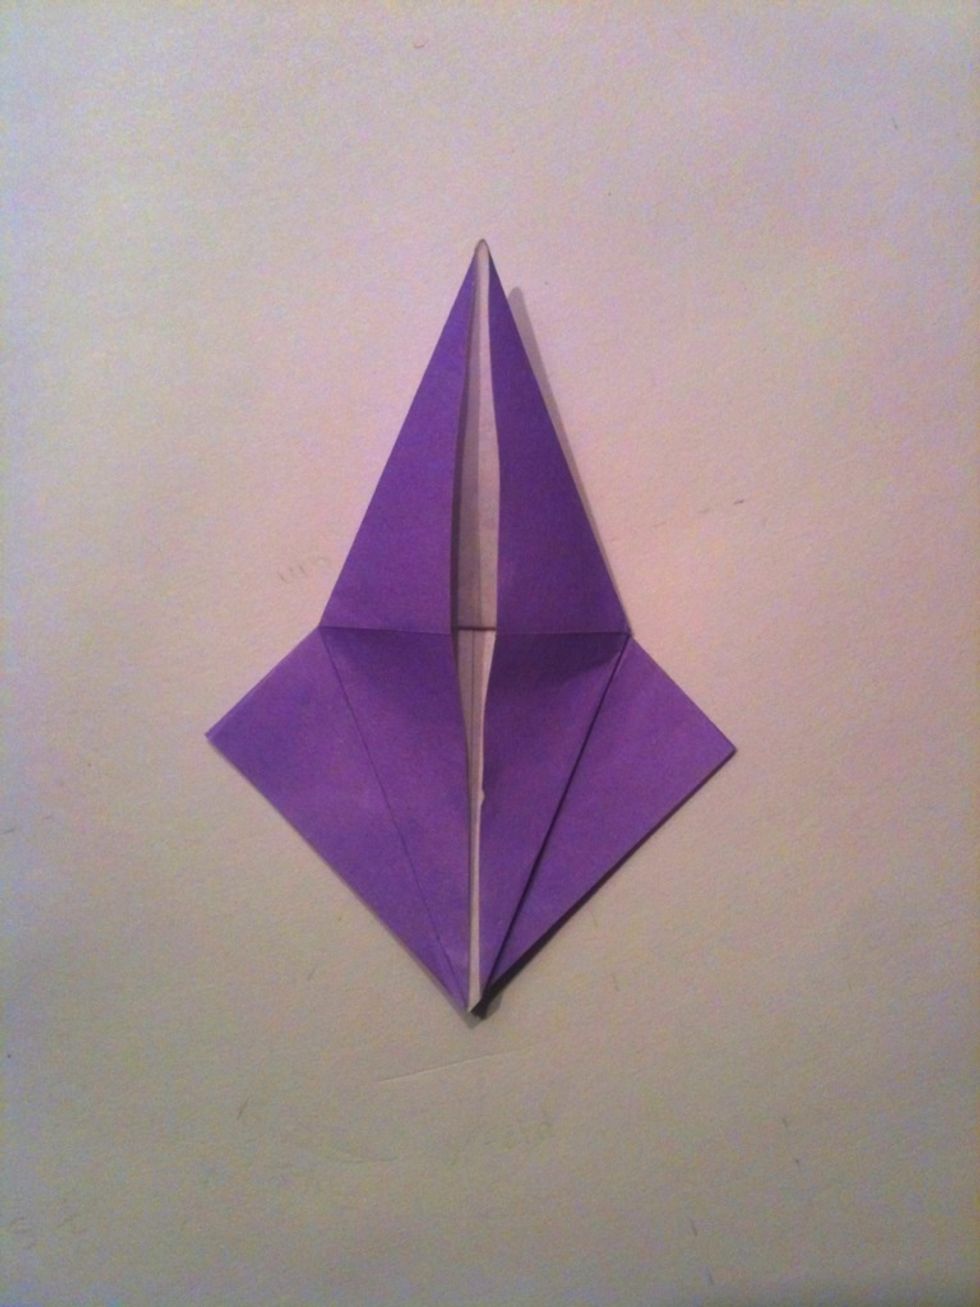
Continue the fold from the previous step up to the top.
Repeat on the other side.
Fold the bottom sides towards the center line, again making sure that they are aligned with it.
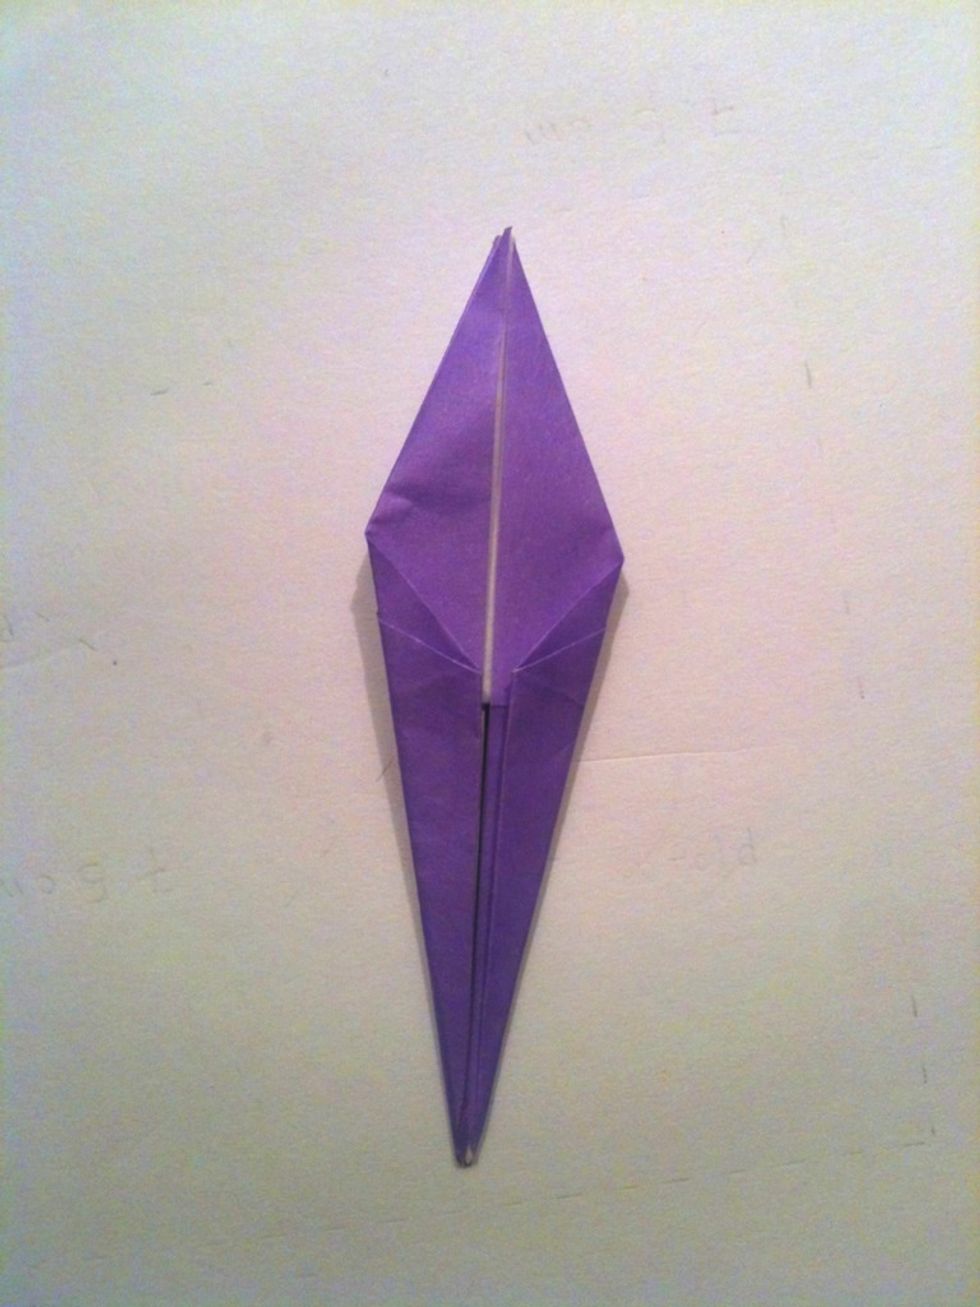
Repeat on the other side.
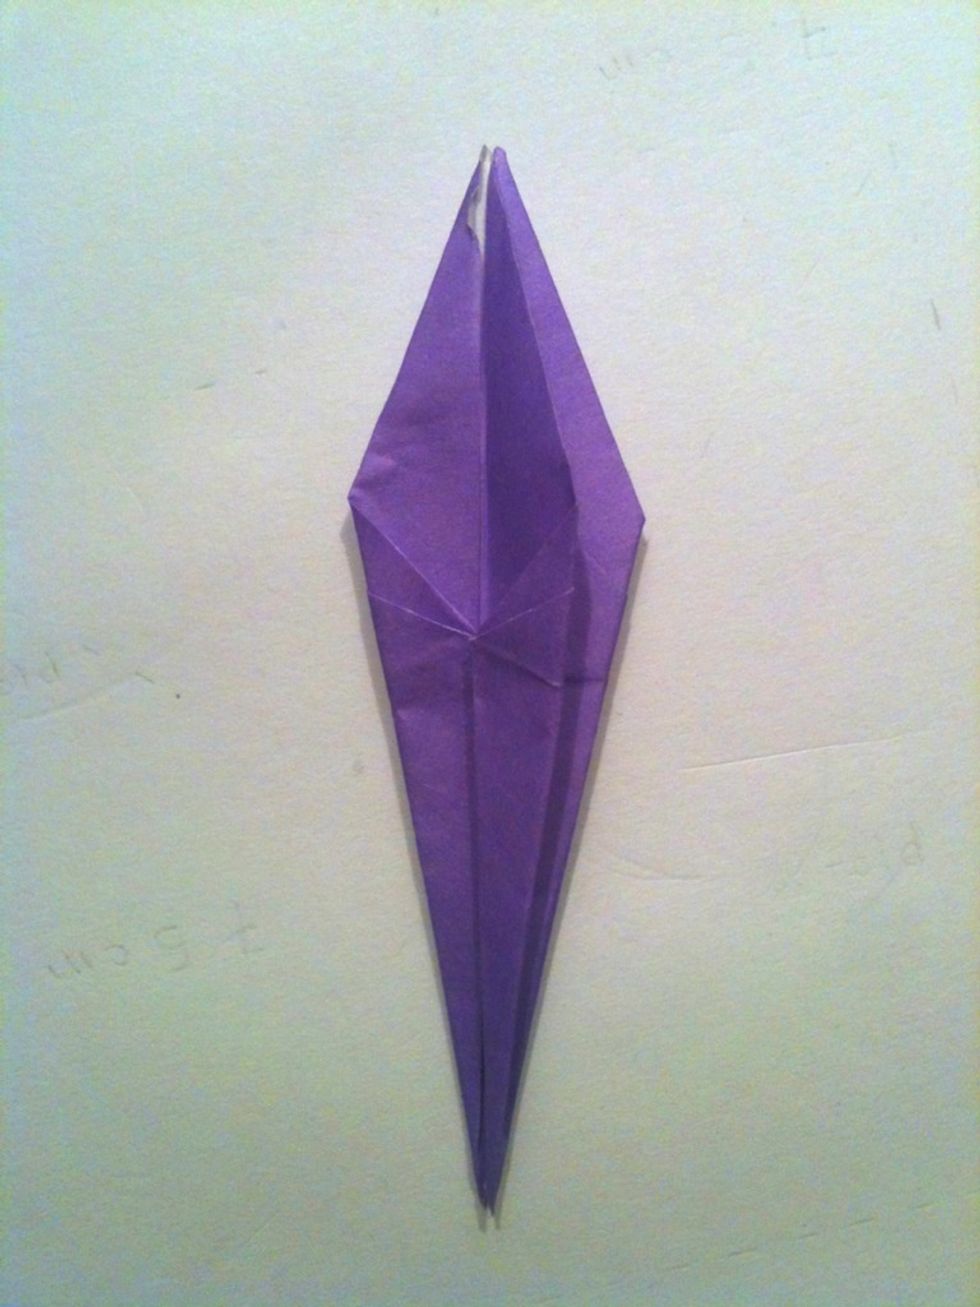
Lift halfway up one side of the flap.
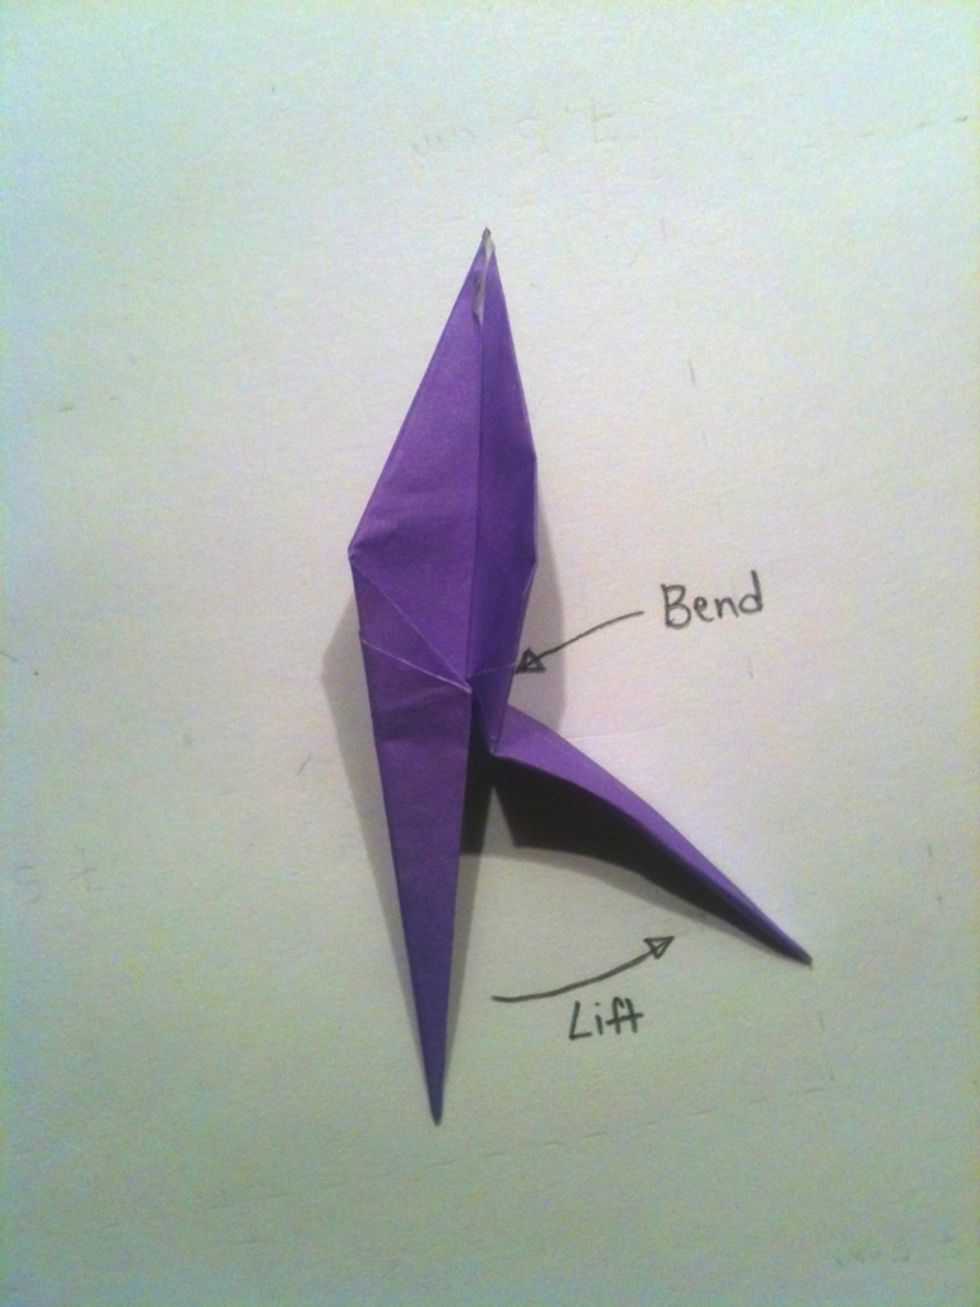
Separate the two long points at the bottom; lifting one up while bending the inside.
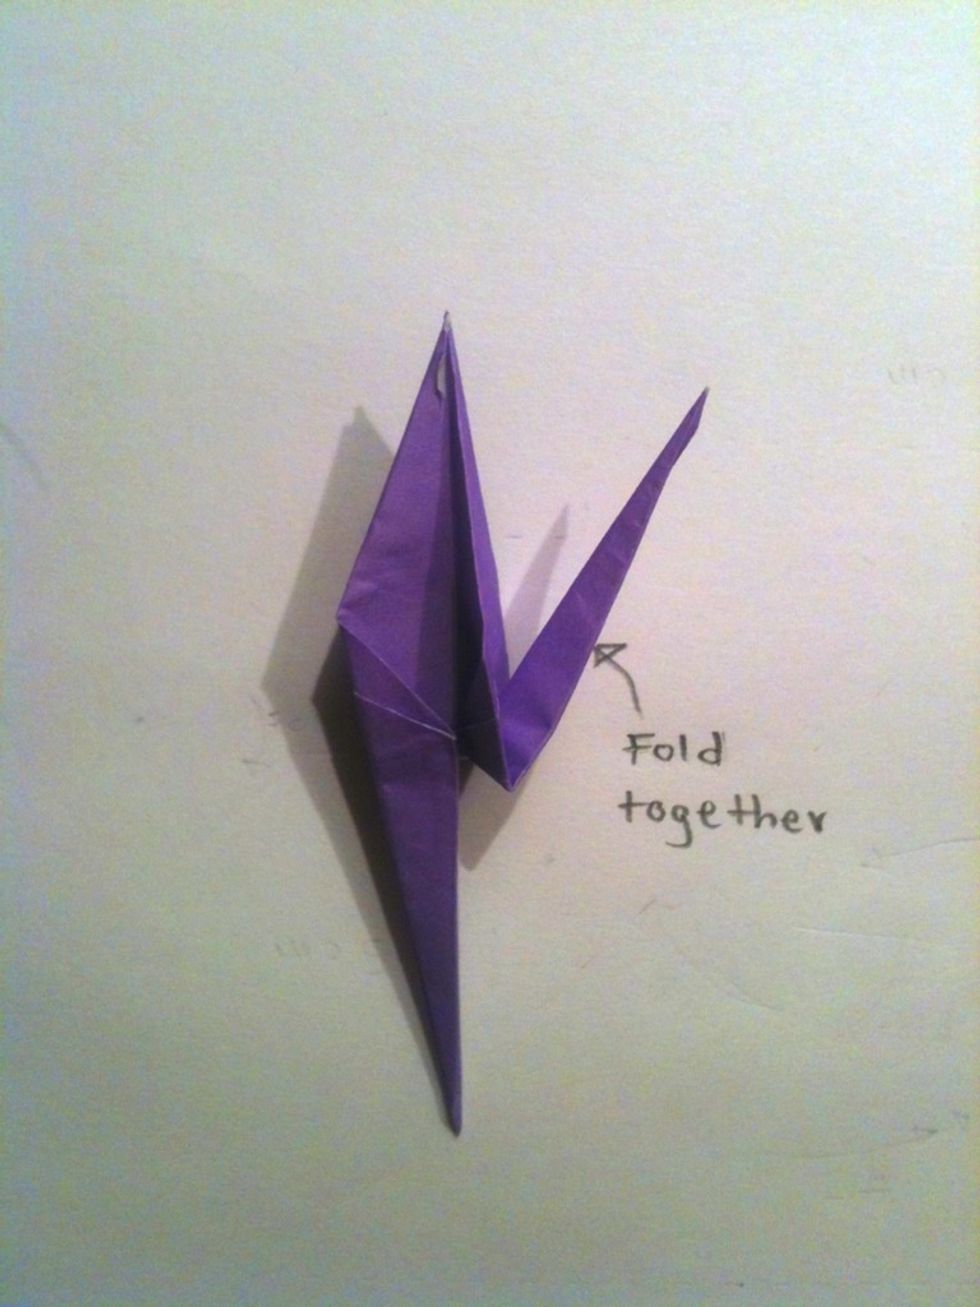
Fold the two flaps that make up the single long point together.

Press down.
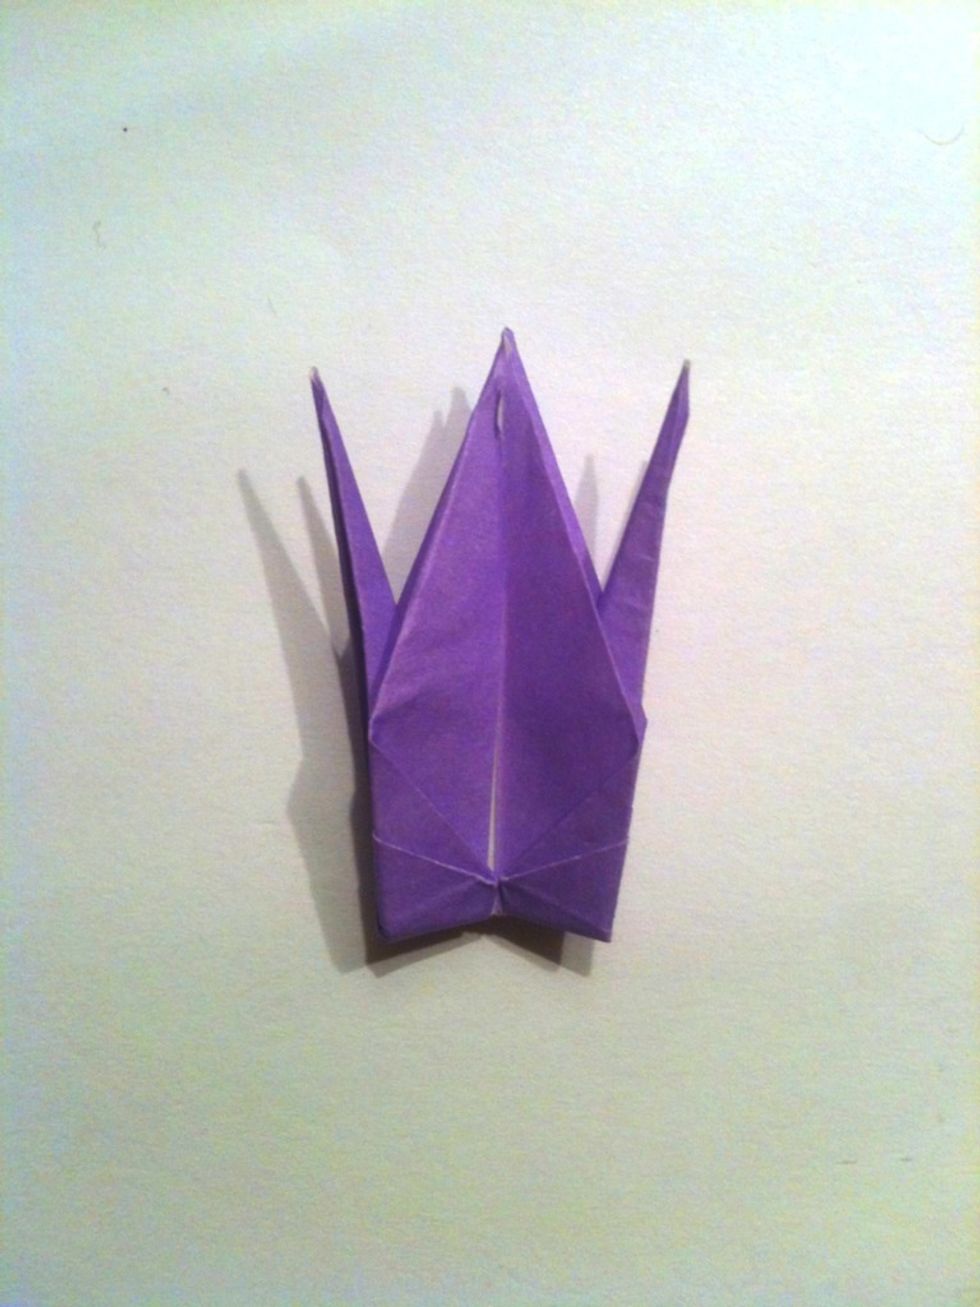
Repeat on the other side.
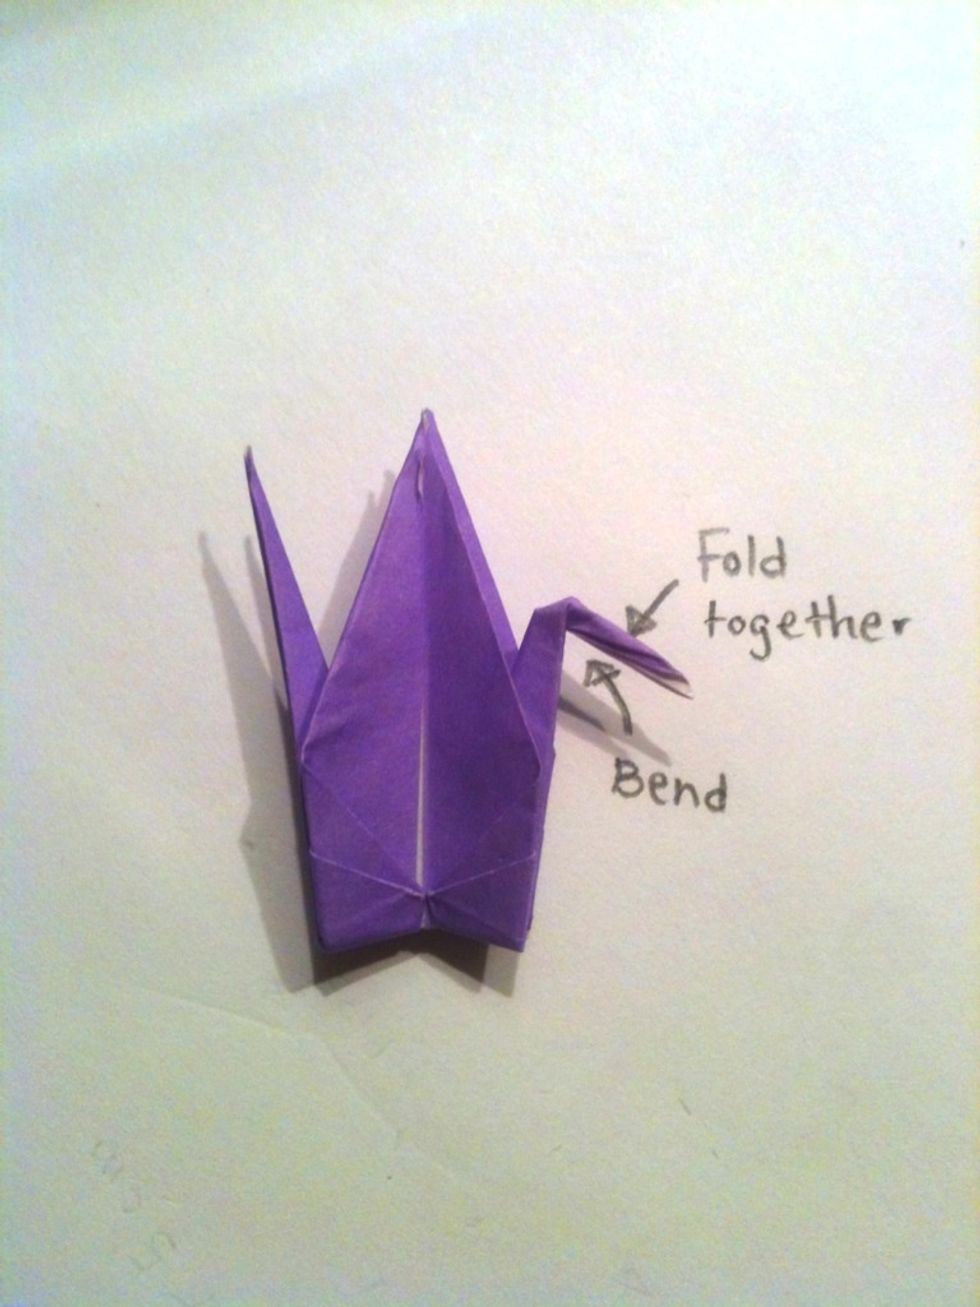
A third way up one of the long folded points, bend the tip down and fold the two flaps together. This is now the crane's head.
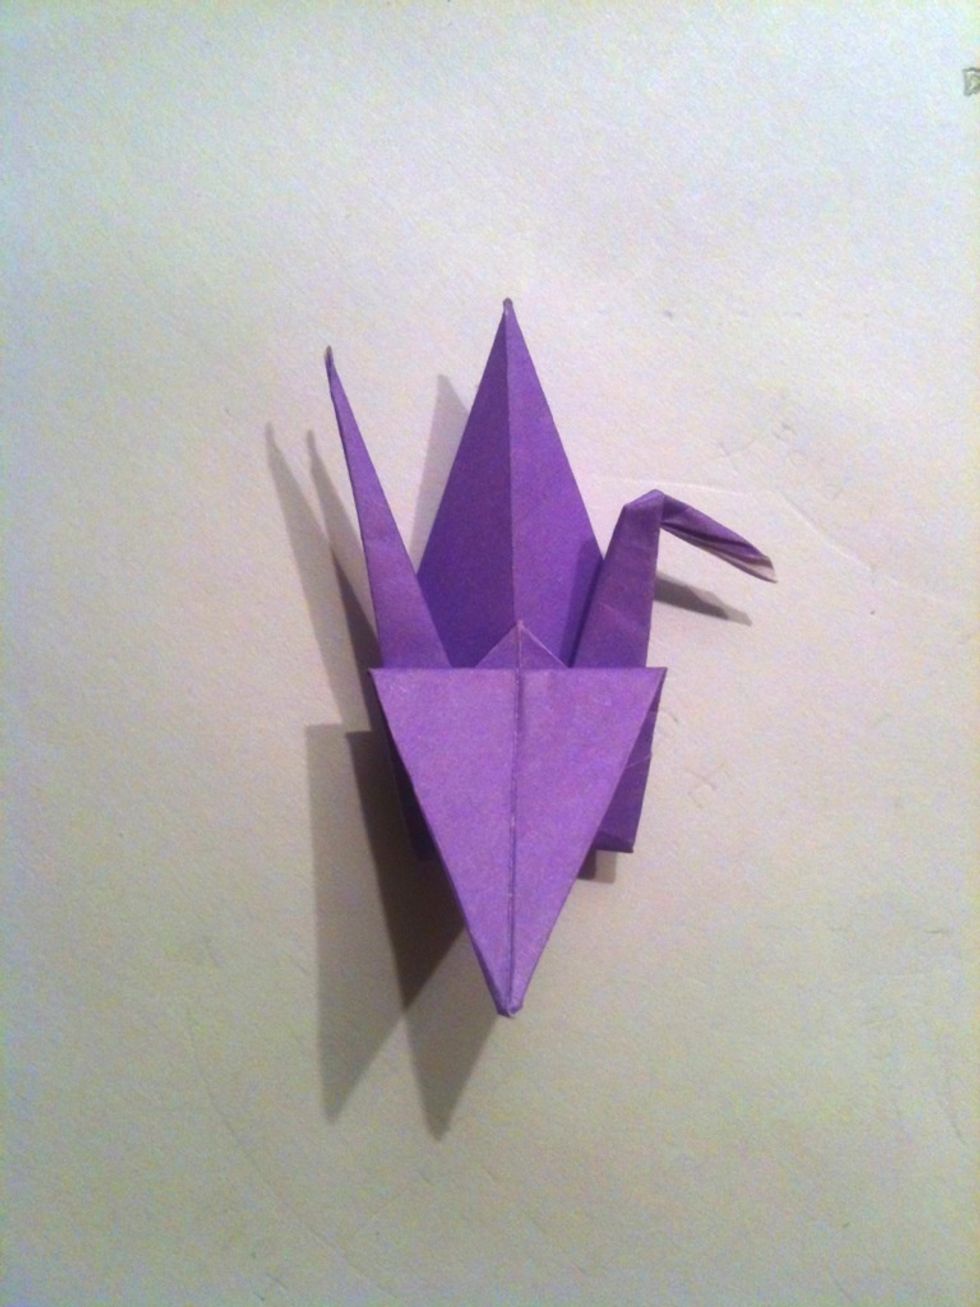
Fold down one wing.
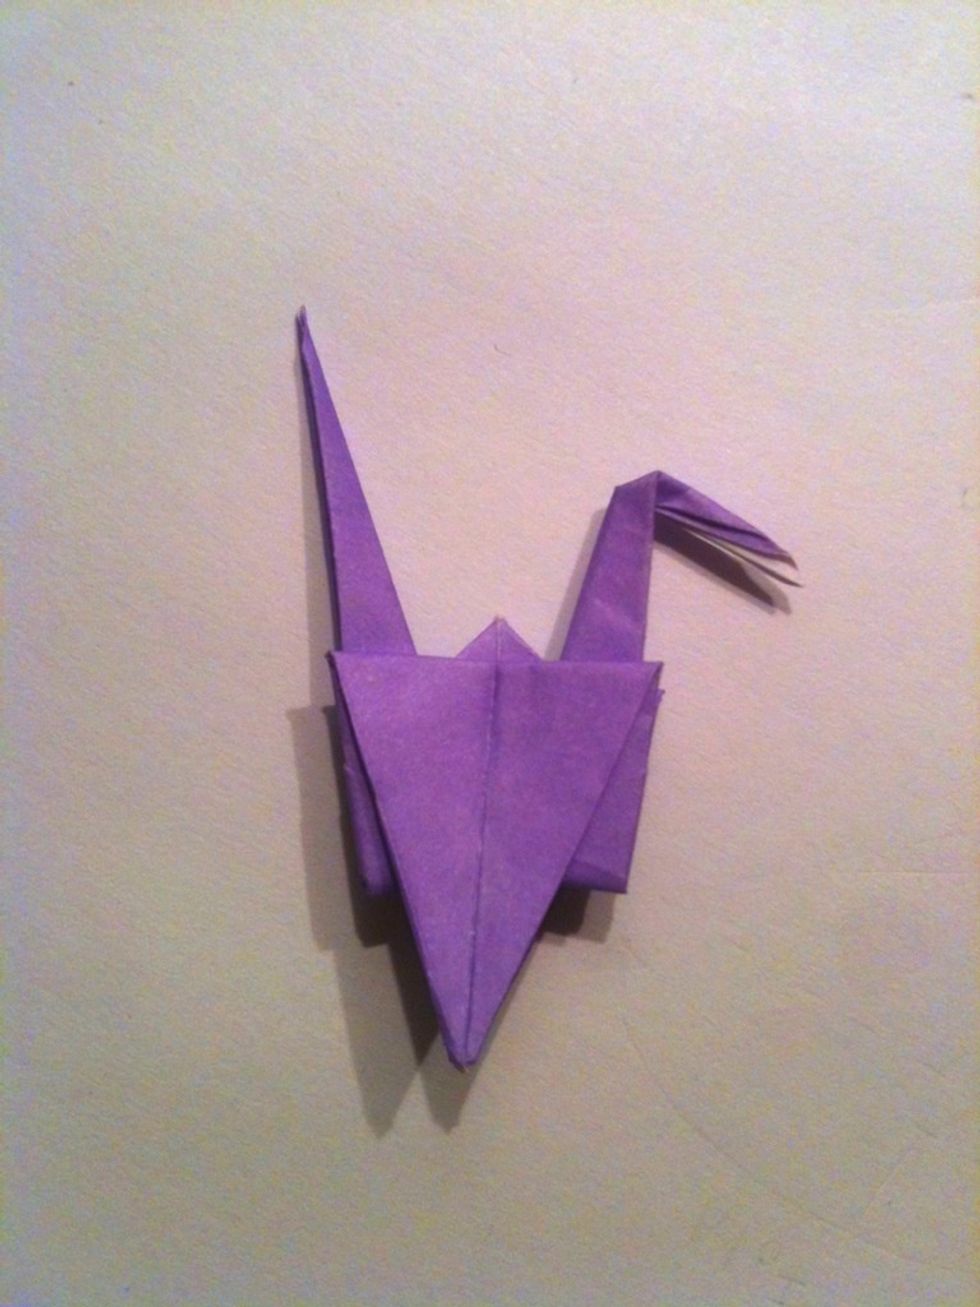
Repeat on the other side.
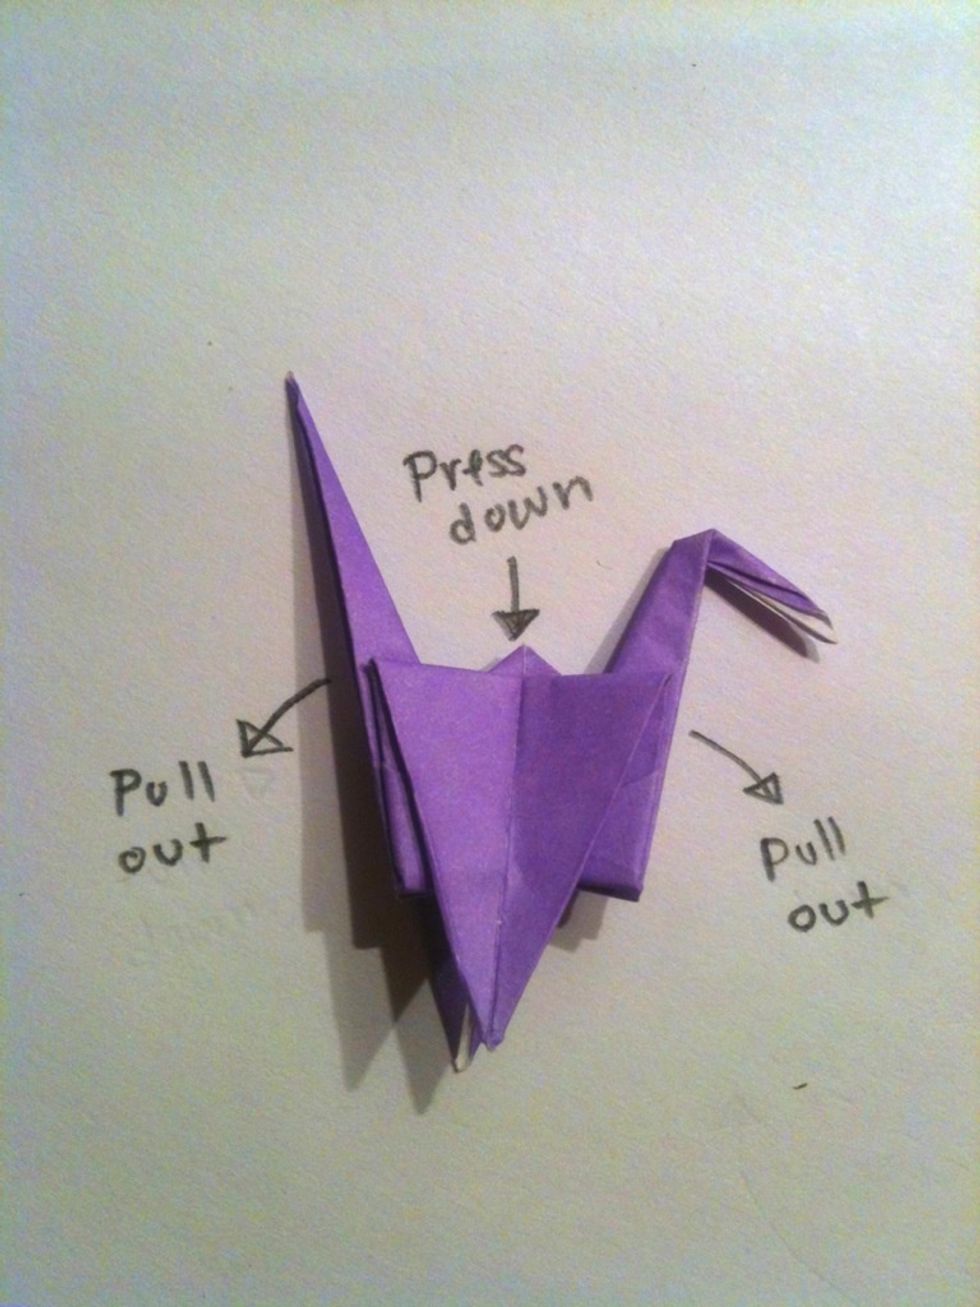
While gently pulling the head and the tail out in opposite directions, press down on the tip in the middle.
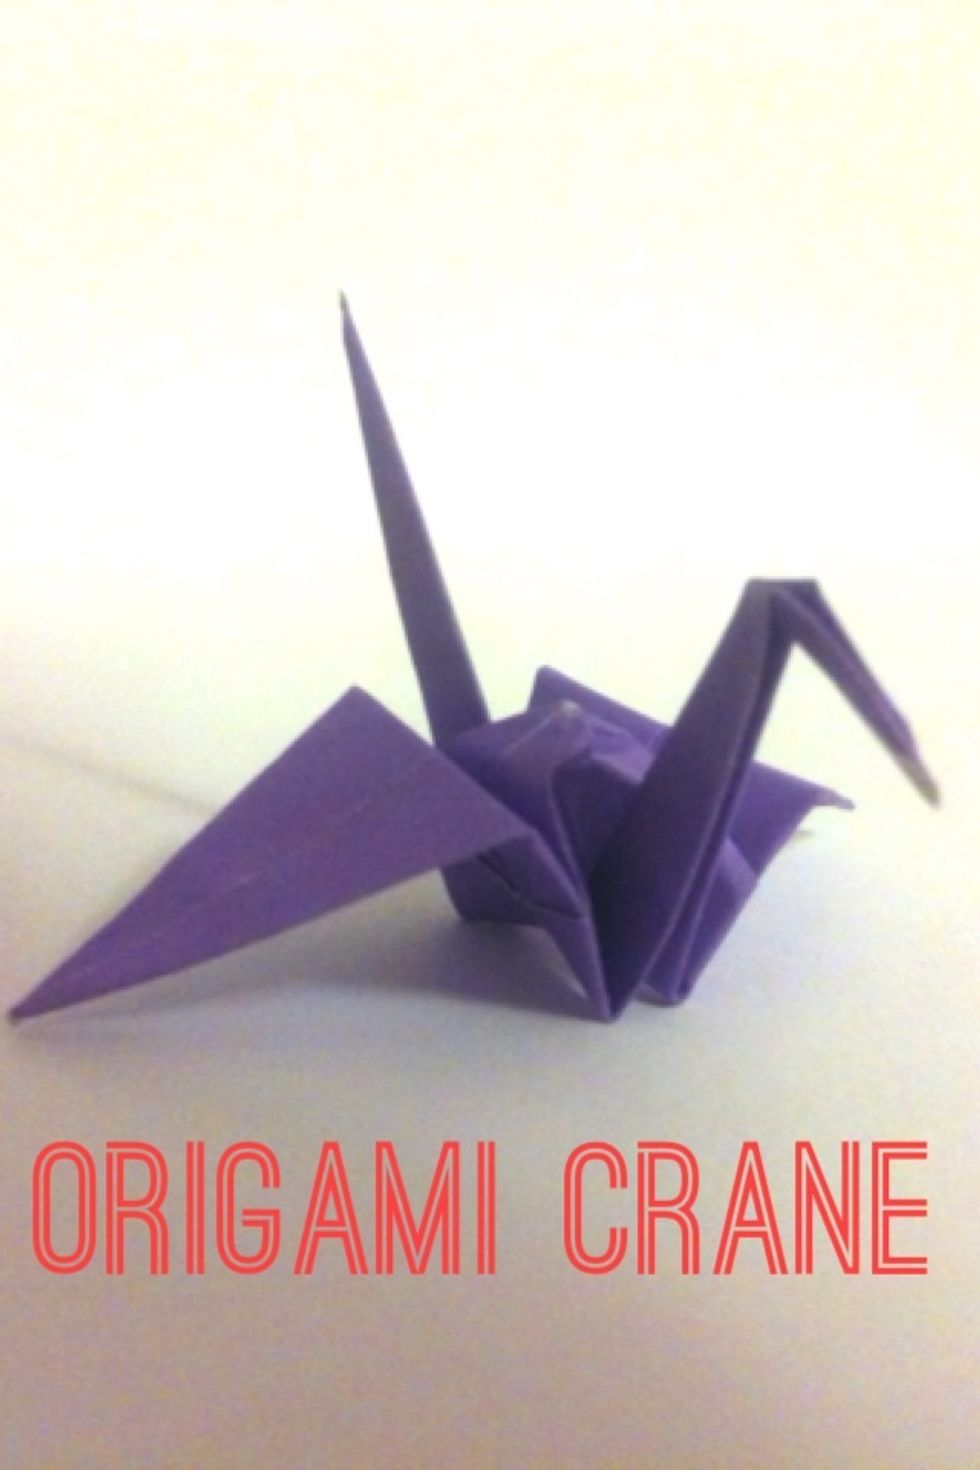
You are now finished! :D Check out my next guide which shows you how you can use these origami cranes to make a fun and colorful wall decoration!