The Conversation (0)
Sign Up
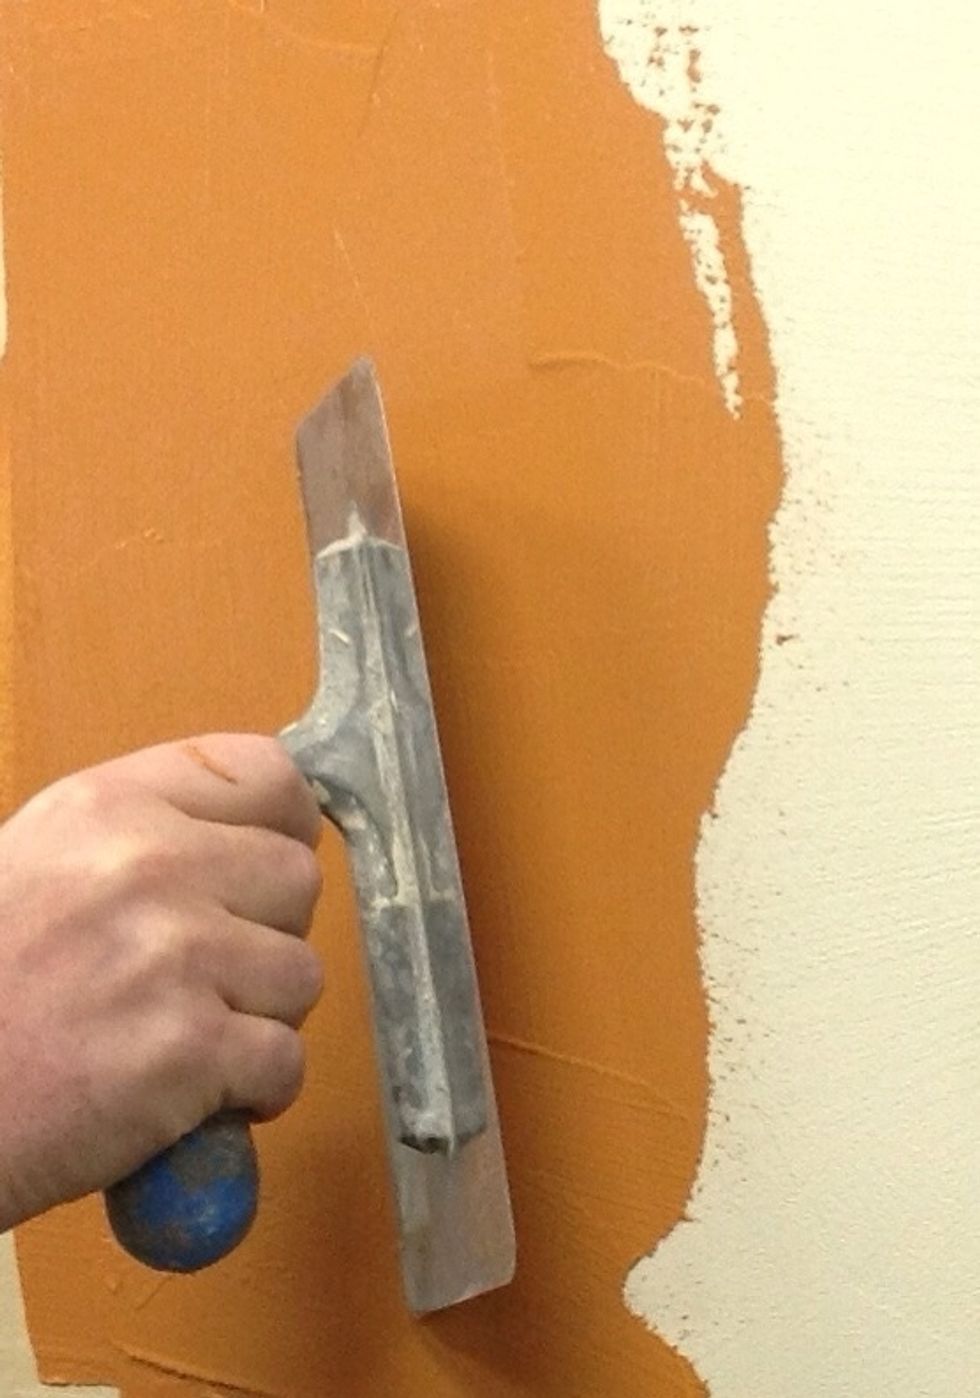
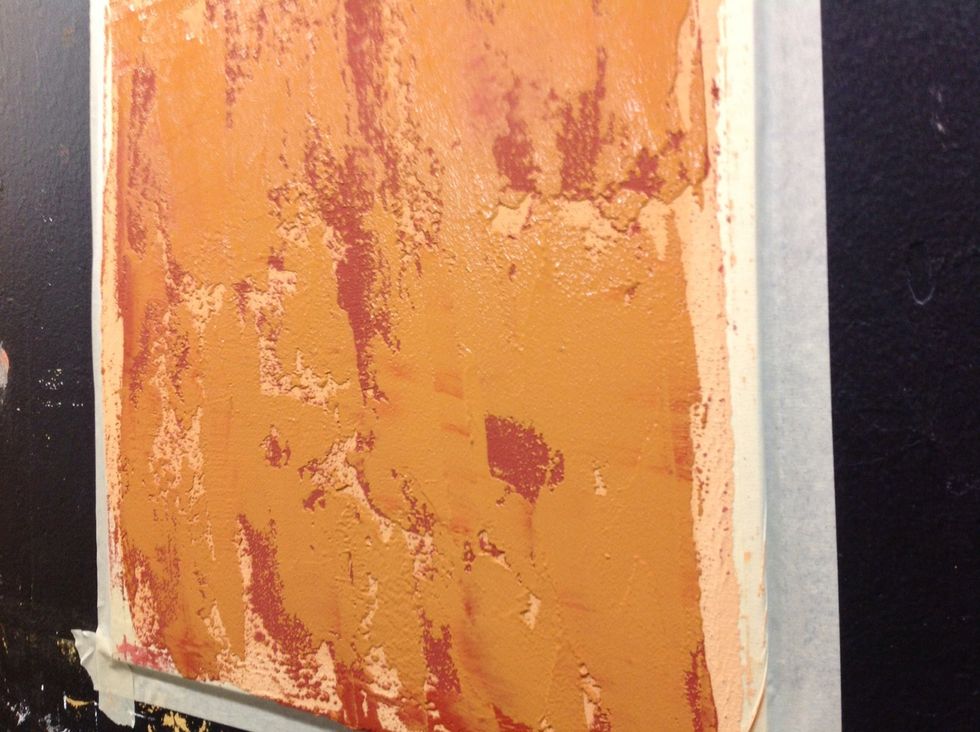
Apply orange plaster (here we used Stucco Italiano Marmorino Carrara CC-1295) at grain height. You can apply the material over any primed surface. Acrylic primer works best.
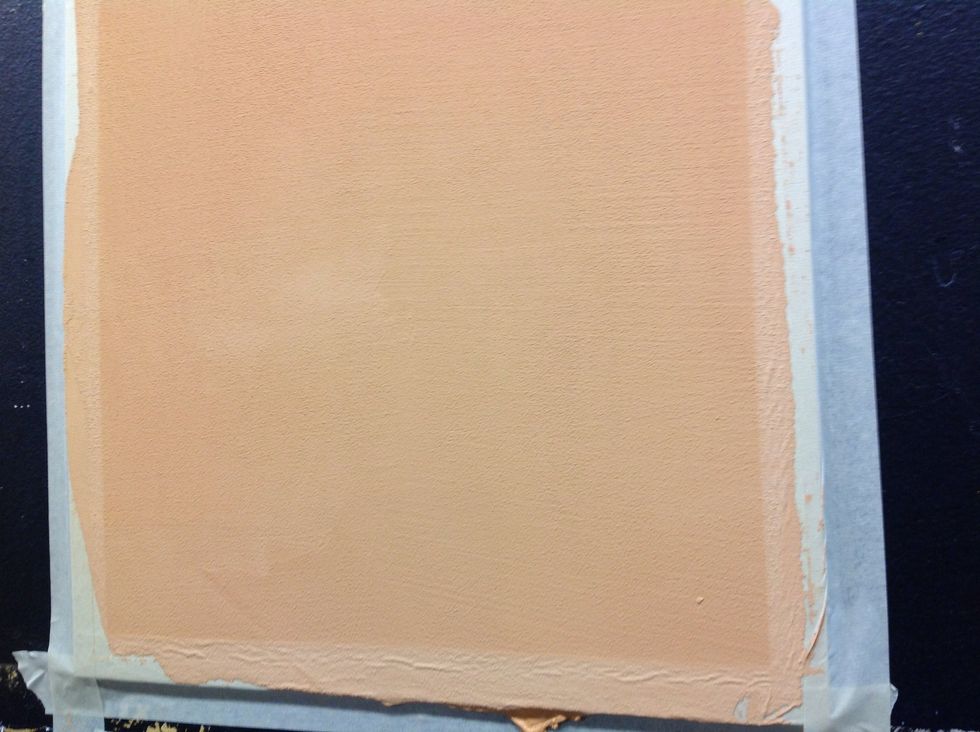
Let dry overnight.
Now your surface should look like this. Note the material is "shiny wet". We need to wait for the red to become "matte wet", when it will be firmer on the surface and not move when you work over it.
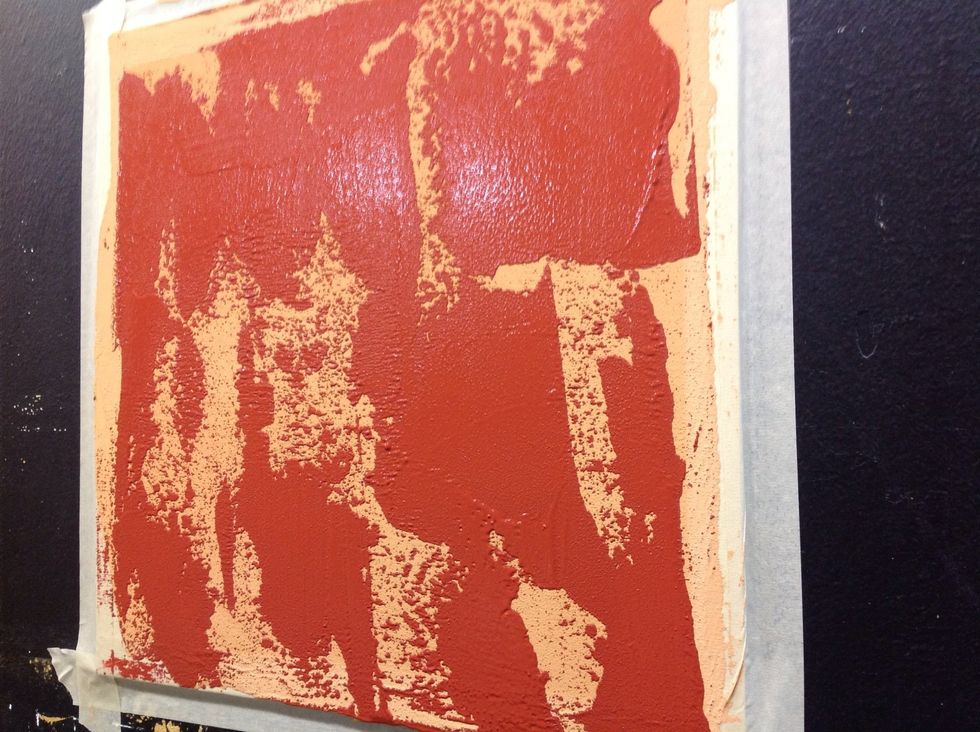
Here's what it will look like when the red plaster is "matte wet" and ready for the next step. It takes around 10-15 minutes.
Next, go over the same area using the same technique as with the red plaster with the orange plaster. Again, cover 60-70% of the surface.
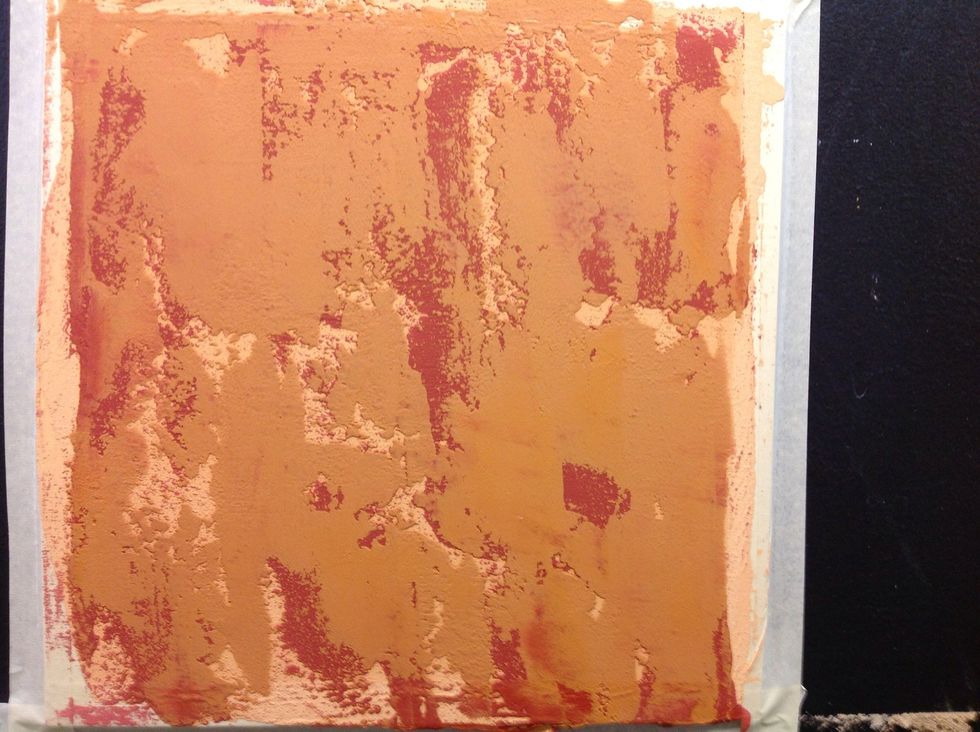
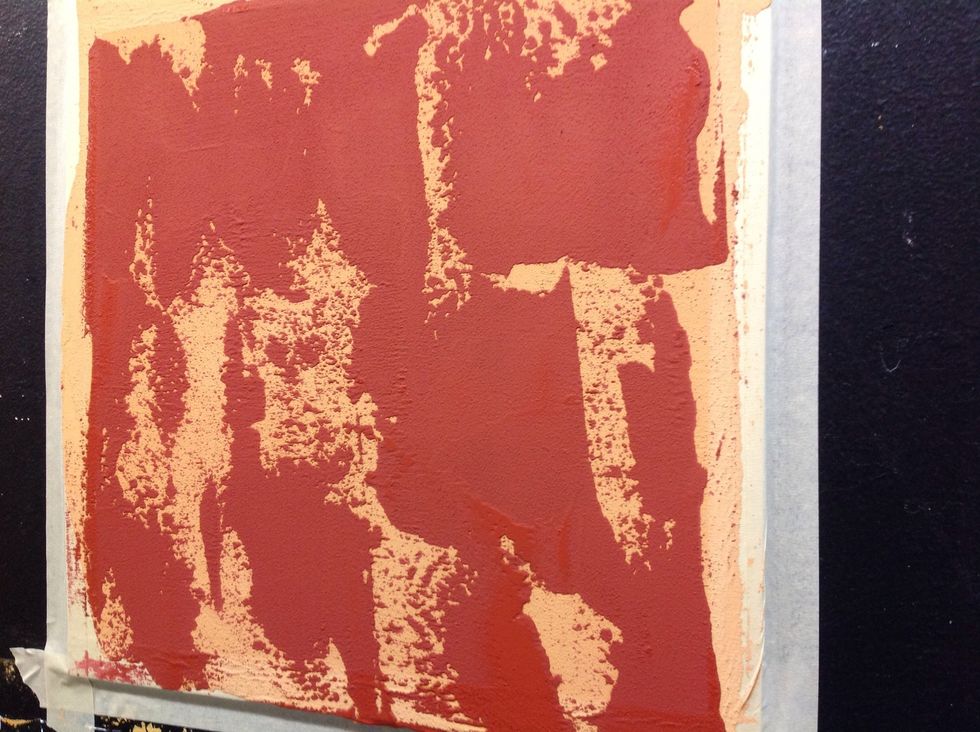
Wait for the orange plaster to become matte.
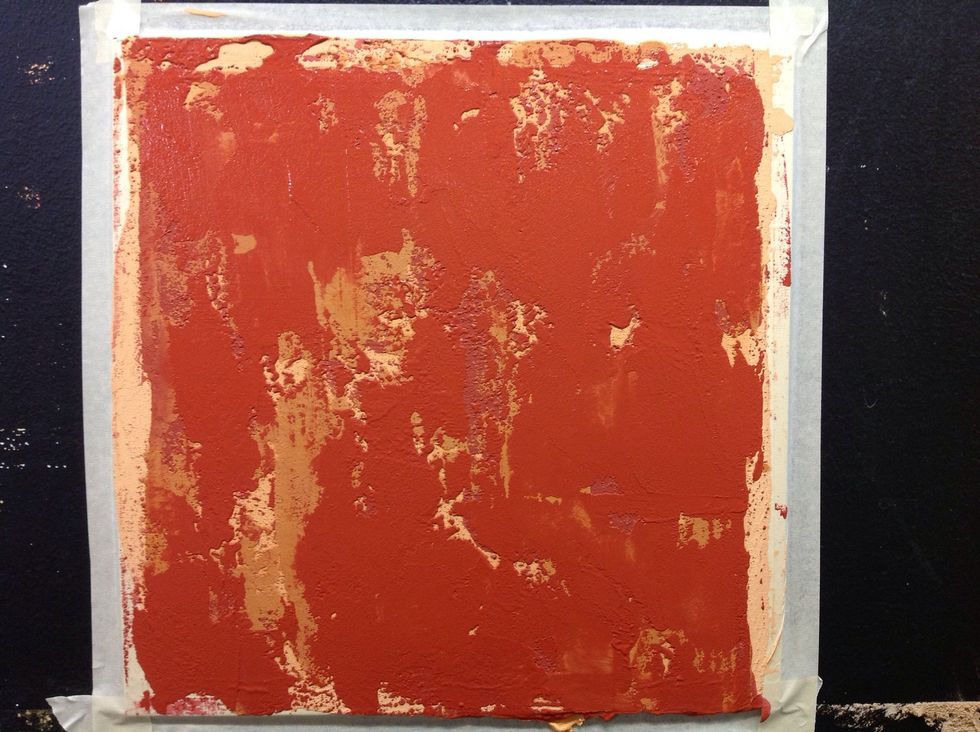
When that is matte, go back over it with the red plaster again. Take care not to cover all the light orange. Notice only about 5% of the surface is still the light orange from the very first coat.
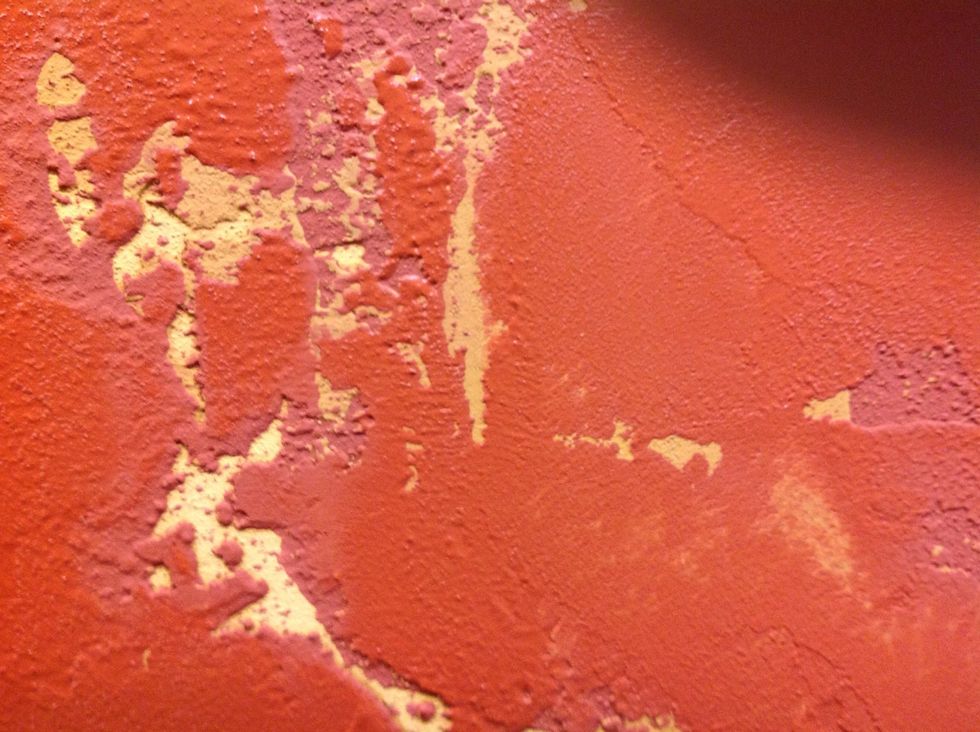
Done properly, you now see a little bit of each individual layer at this stage. If you have trouble with this, next time try using less plaster and taking shorter, multiple strokes over the same area.
Top layer is relatively smooth now, and we will let this dry overnight.
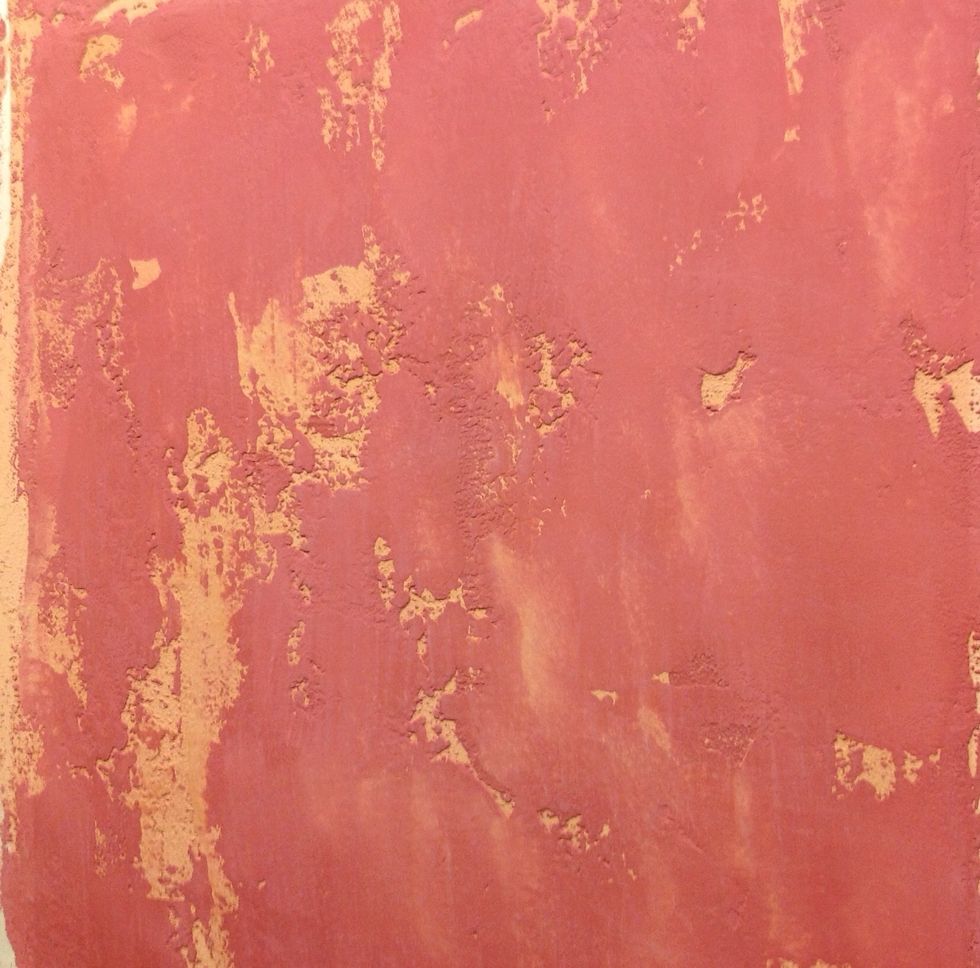
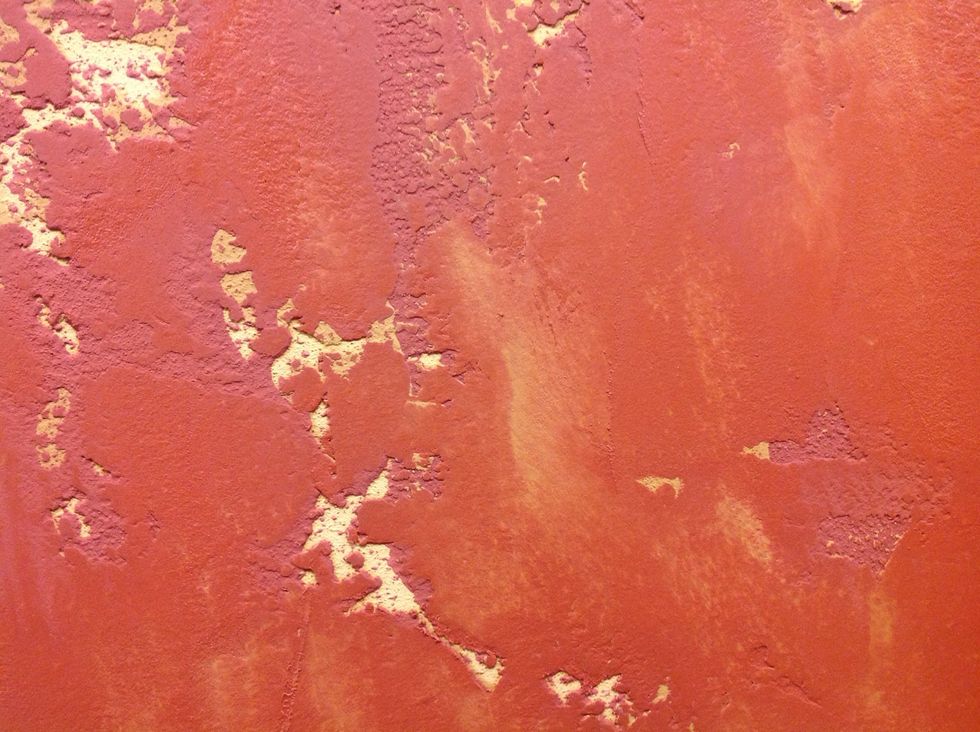
Here's what your surface should look like when dry.

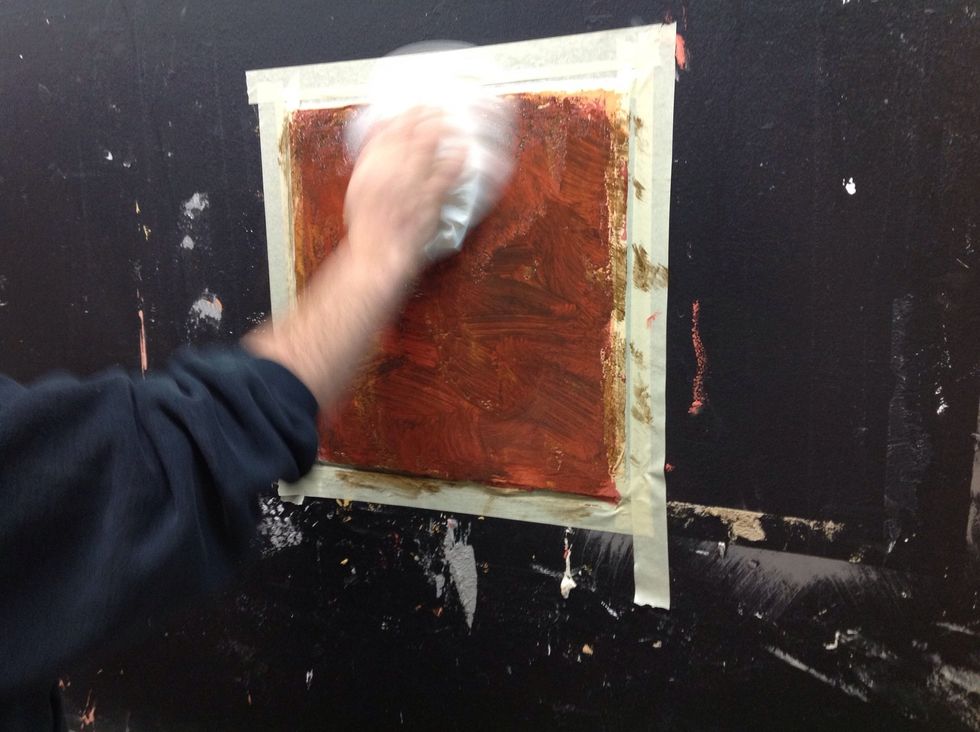
Next we wax the surface to seal it. I'm using a soap wax here, acrylic wax also works. Just make sure the wax you use is water based, not solvent based. Wipe any excess off with a rag or paper towel.
Let the wax dry for at least one hour.
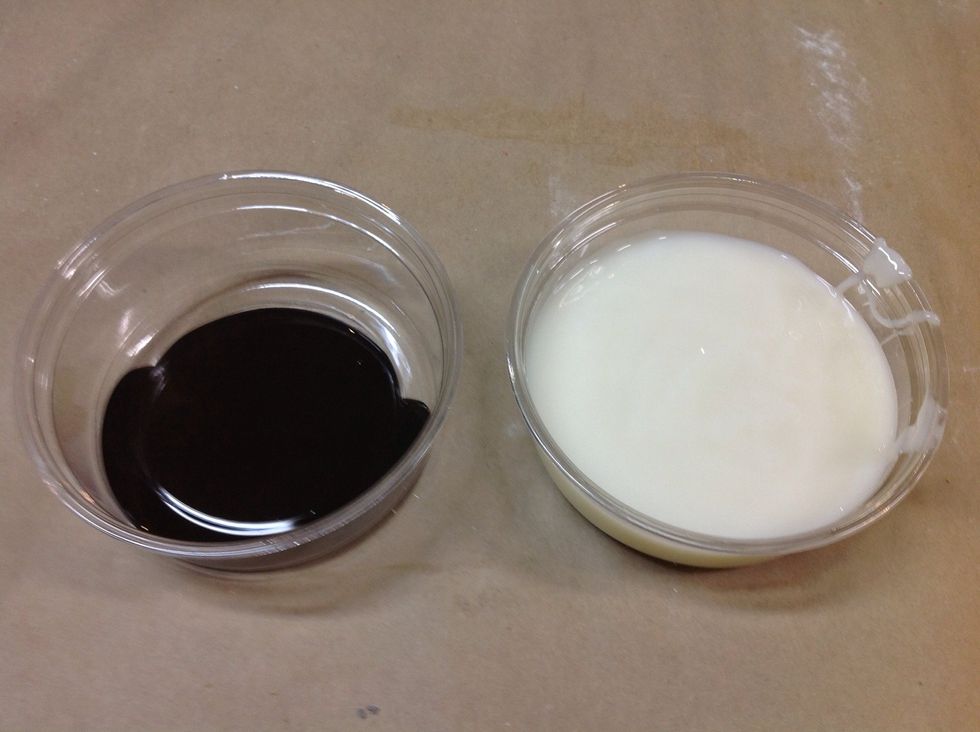
Finally we will make a raw umber color wash by combining some raw umber pigment and some clear faux finishing glazing liquid. The colorant should be acrylic or universal colorant.
Only a small amount of pigment is needed, 5-10% pigment to glaze ratio by volume.
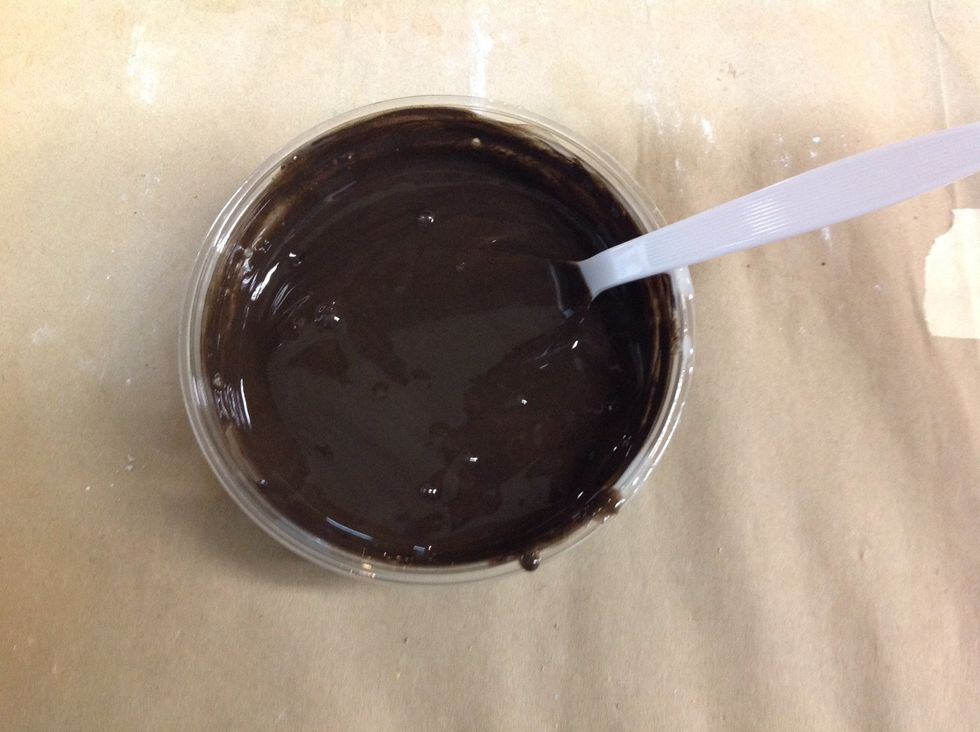
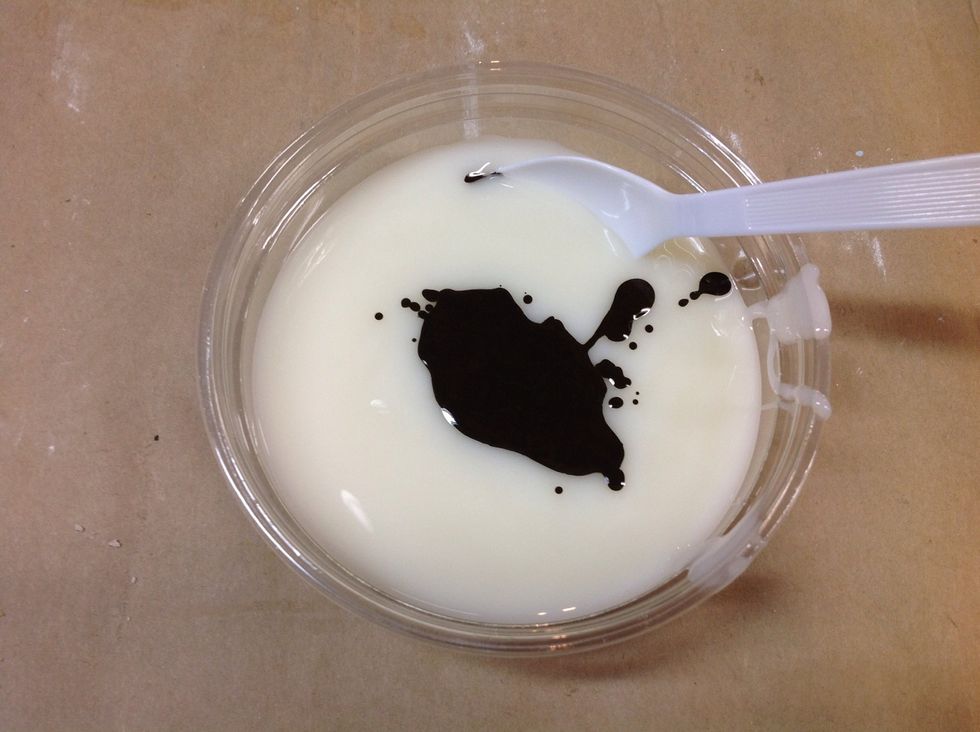
Here's what the glaze we will use looks like.
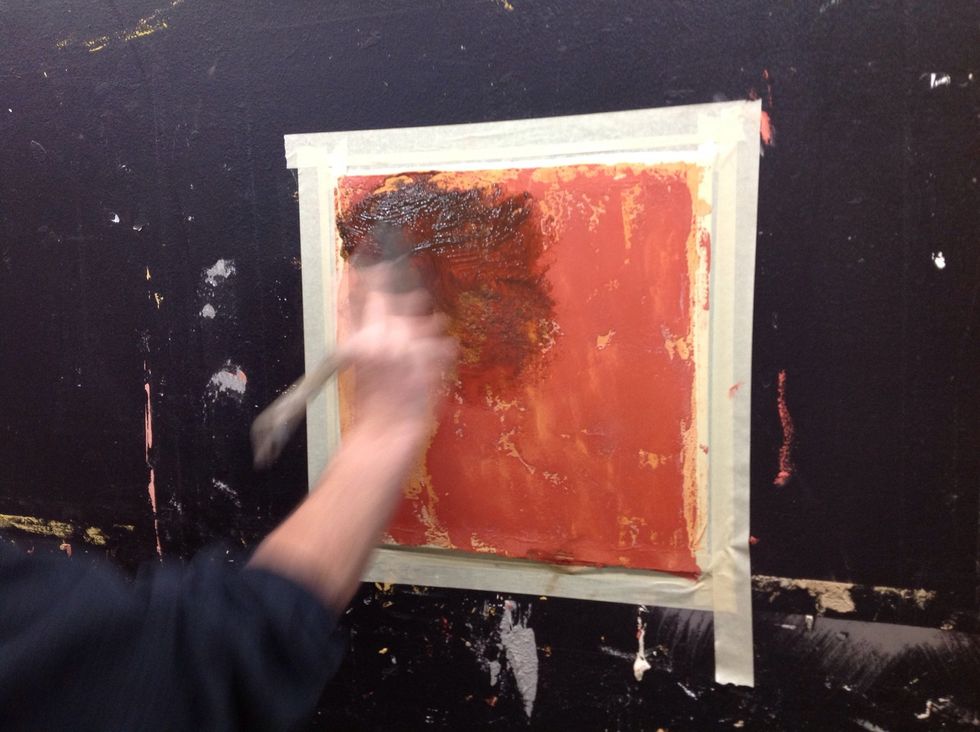
Brush or roll the glaze on your surface.
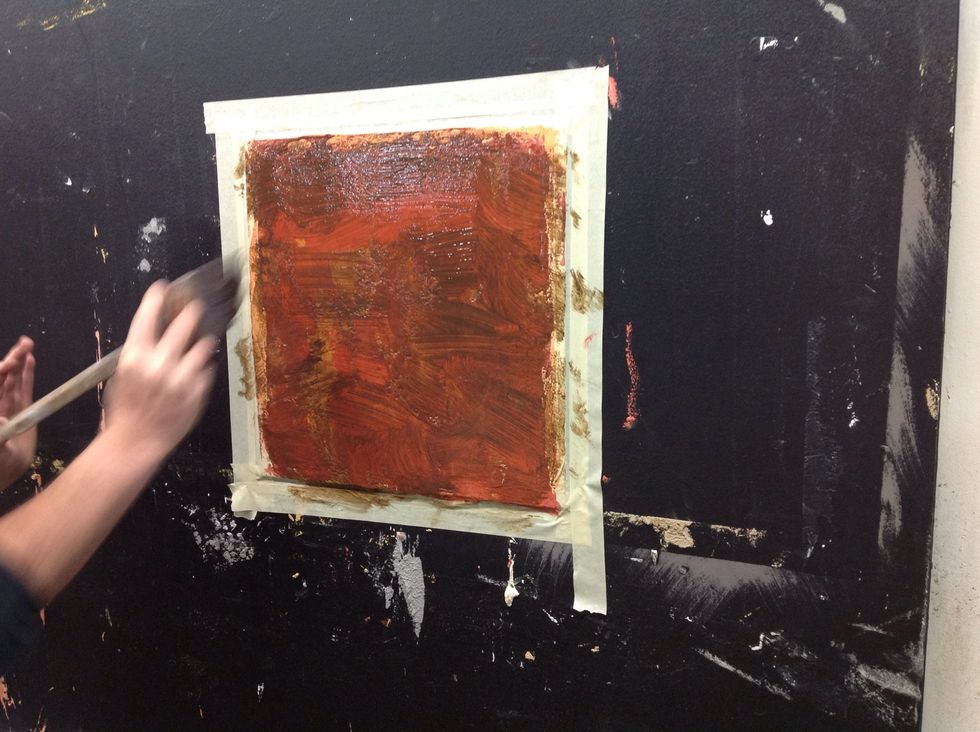
You don't need to put the glaze on heavily, but make sure you get some in all the little nooks and crannies.
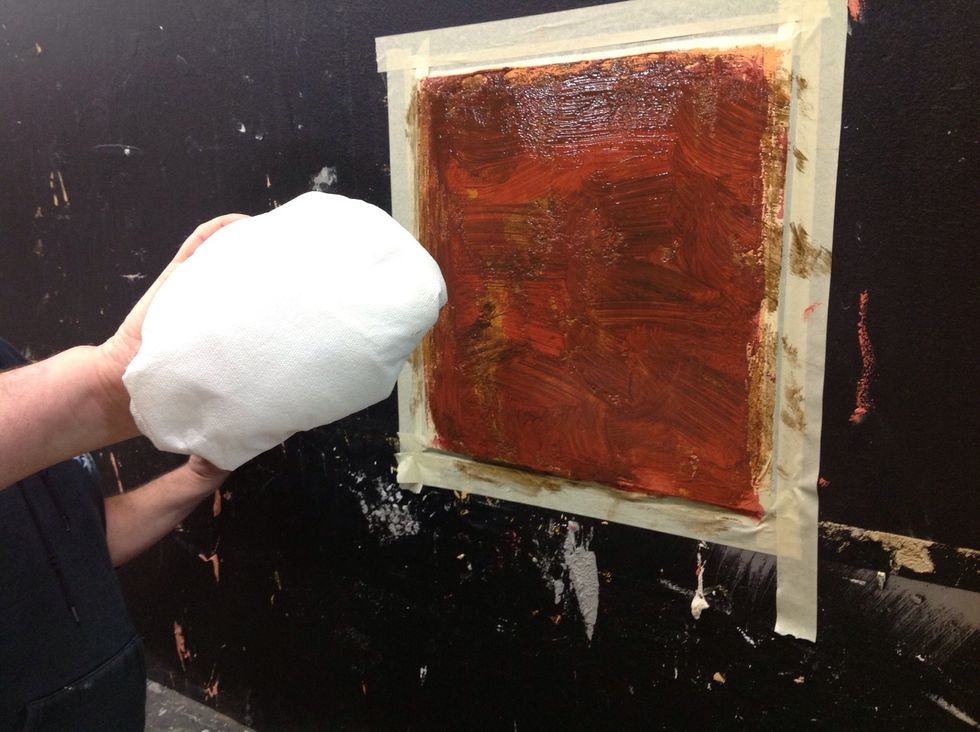
We will use paper towels to wipe the glaze off. Try and make the surface of the paper towel that touches the wall flat so you don't rub the glaze out of the recesses.
Remove glaze by wiping in a gentle, circular pattern.
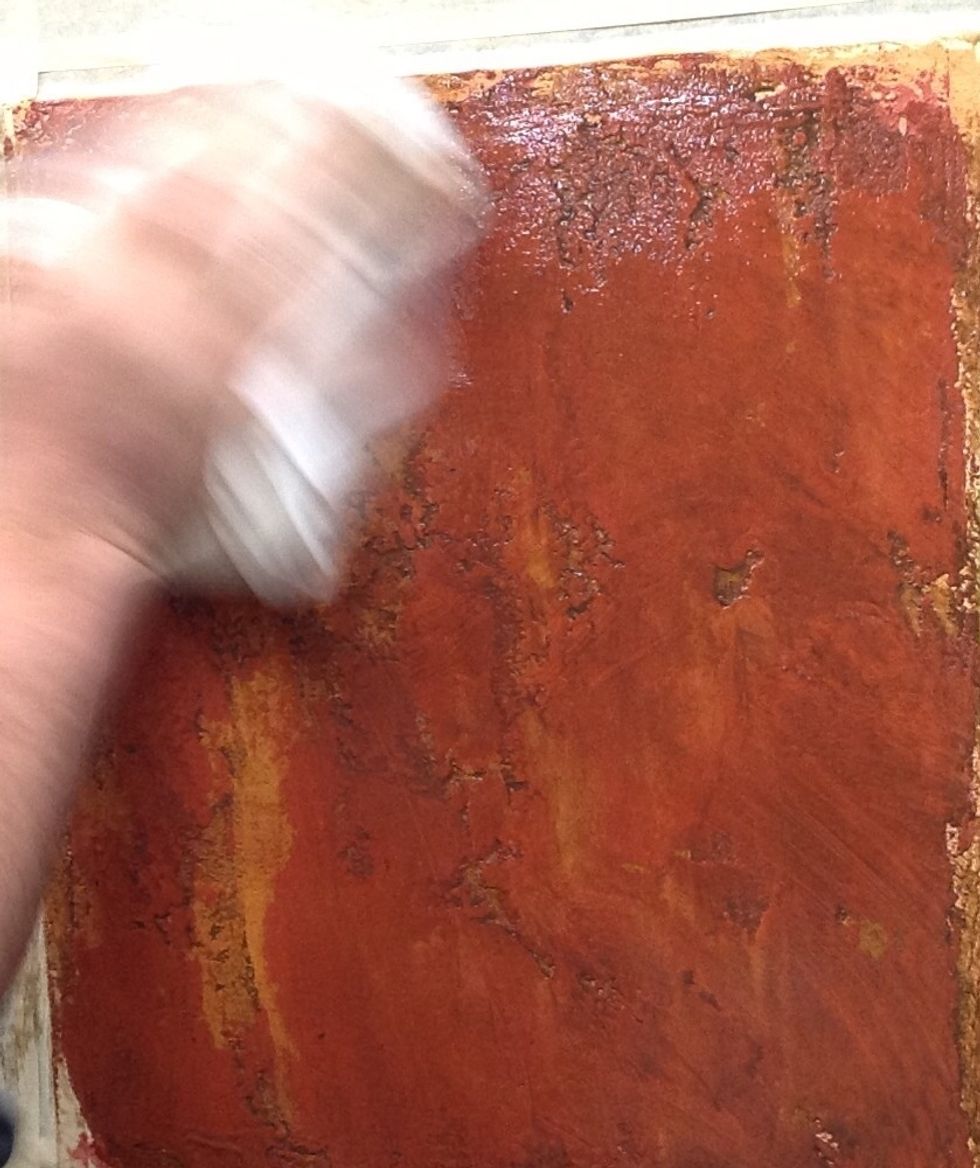
Keep wiping gently until all the swirl marks are gone. When your paper towel is saturated with glaze turn it to use a clean section. Keep doing this.
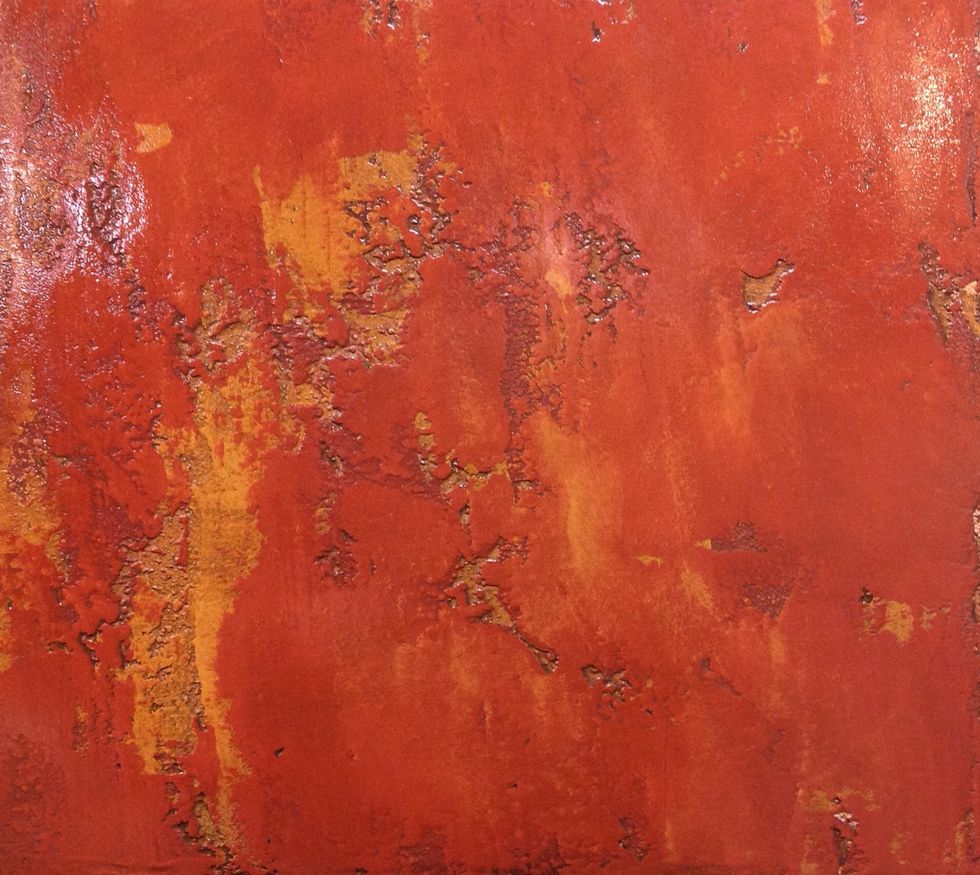
Swirl marks are gone now. Glaze will dry to a matte finish in about an hour.

There it is. Sheetrock to Tuscan Villa in a few simple steps.