The Conversation (0)
Sign Up

Started out with base coat - love the shape of my nails!
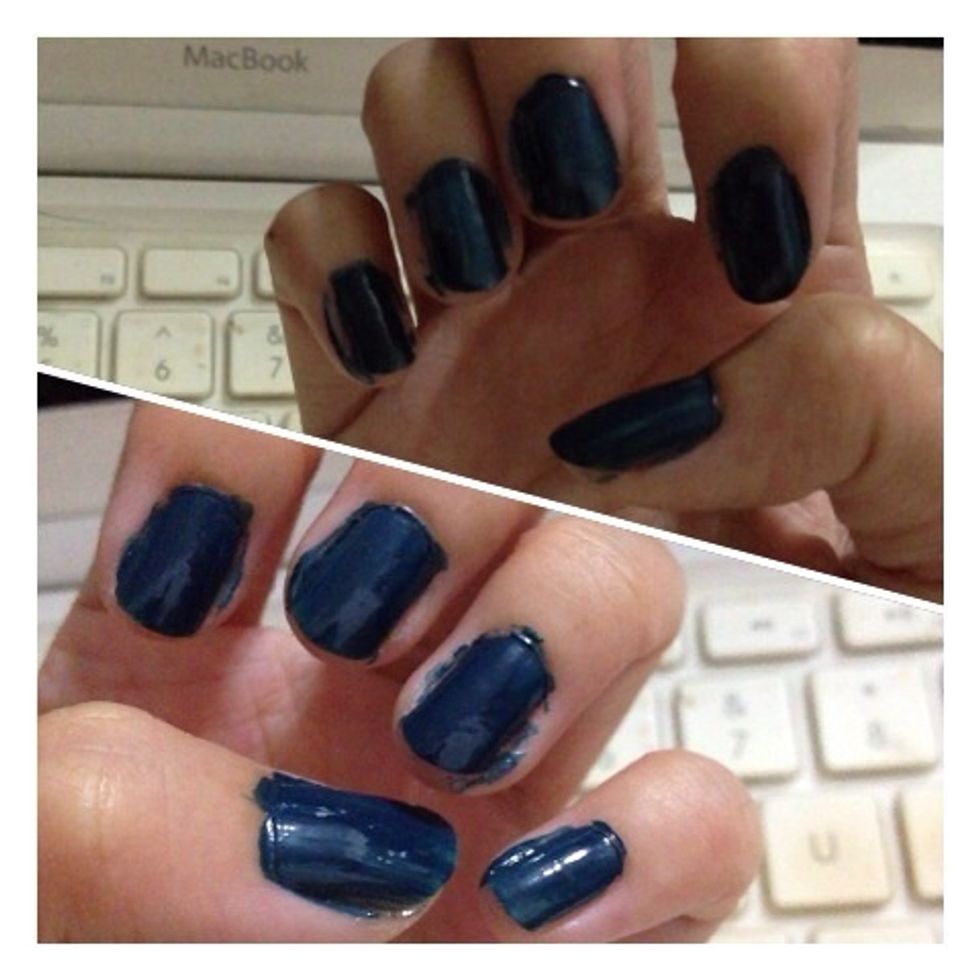
Applied the base layer, OPI ski teal we drop. This is after teo coats. Since I started with such a dark colour, the resultant colours had to be non-opaque in order for them to cover it properly.
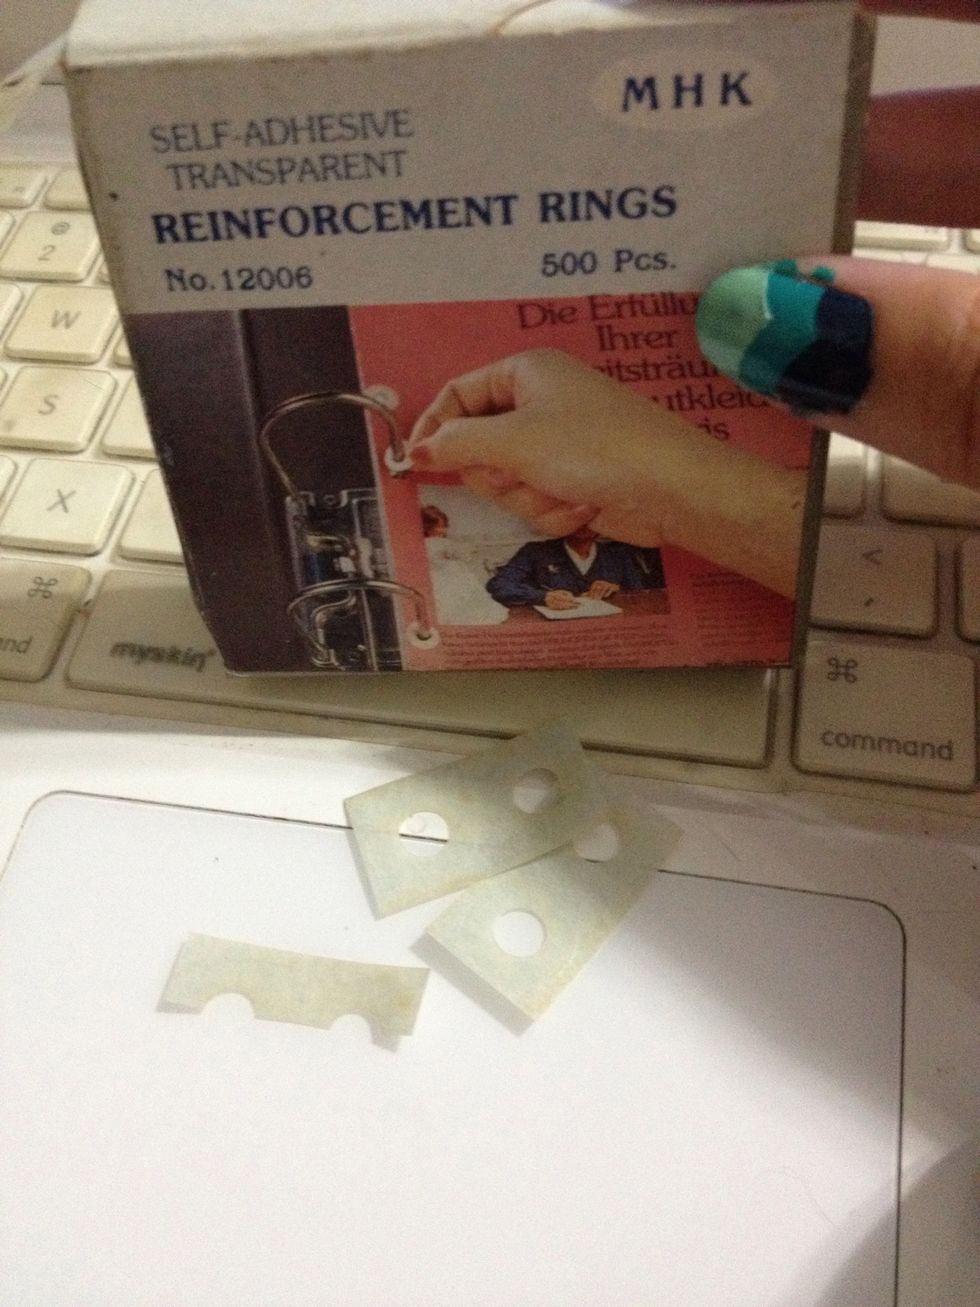
I started out with using the entire reinforcement ring, but figured it was easier to control by cutting it to half! And it also saves resources cos the rings are pretty much single-use

First layer of tape! Apply only after the base polish has dried! Keep the tape on until the new layer of polish dries, if not the lines are no longer clean :(
After removing the tape. It doesn't really look nice here but the finished product is really awesome!
Right hand, finished first layer.
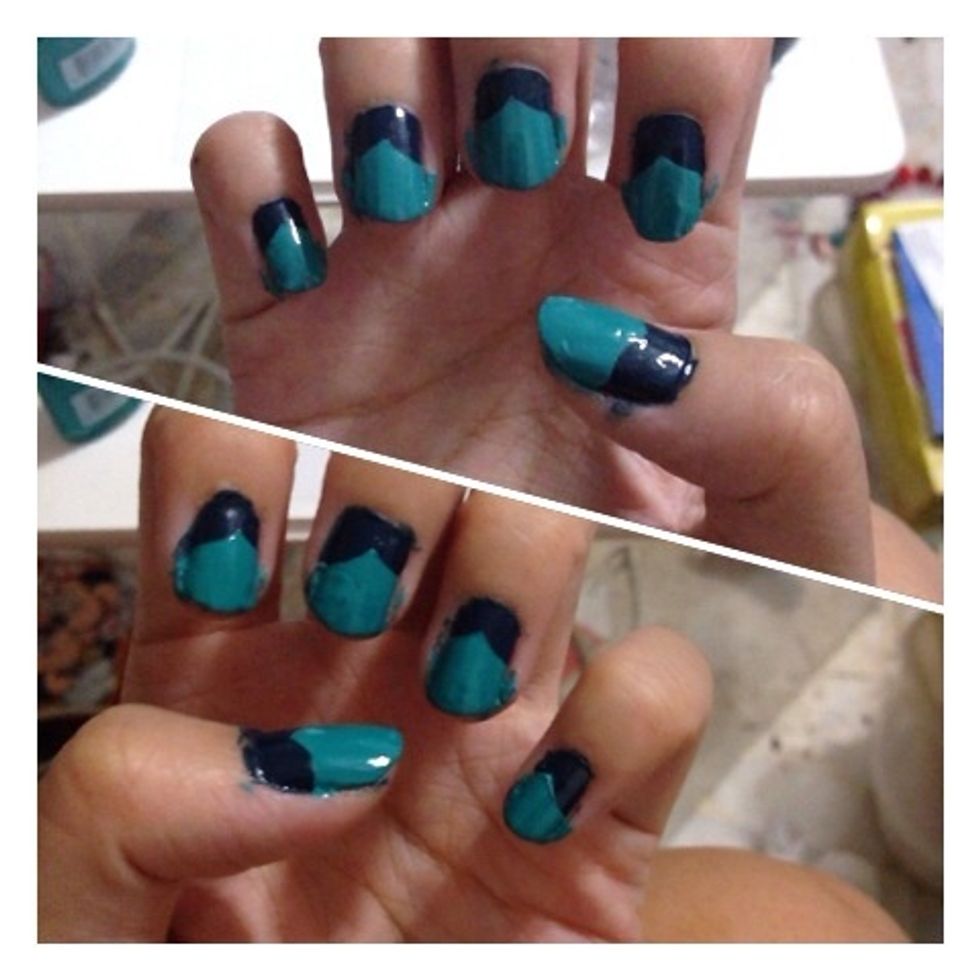
Both hands, finished first layer.

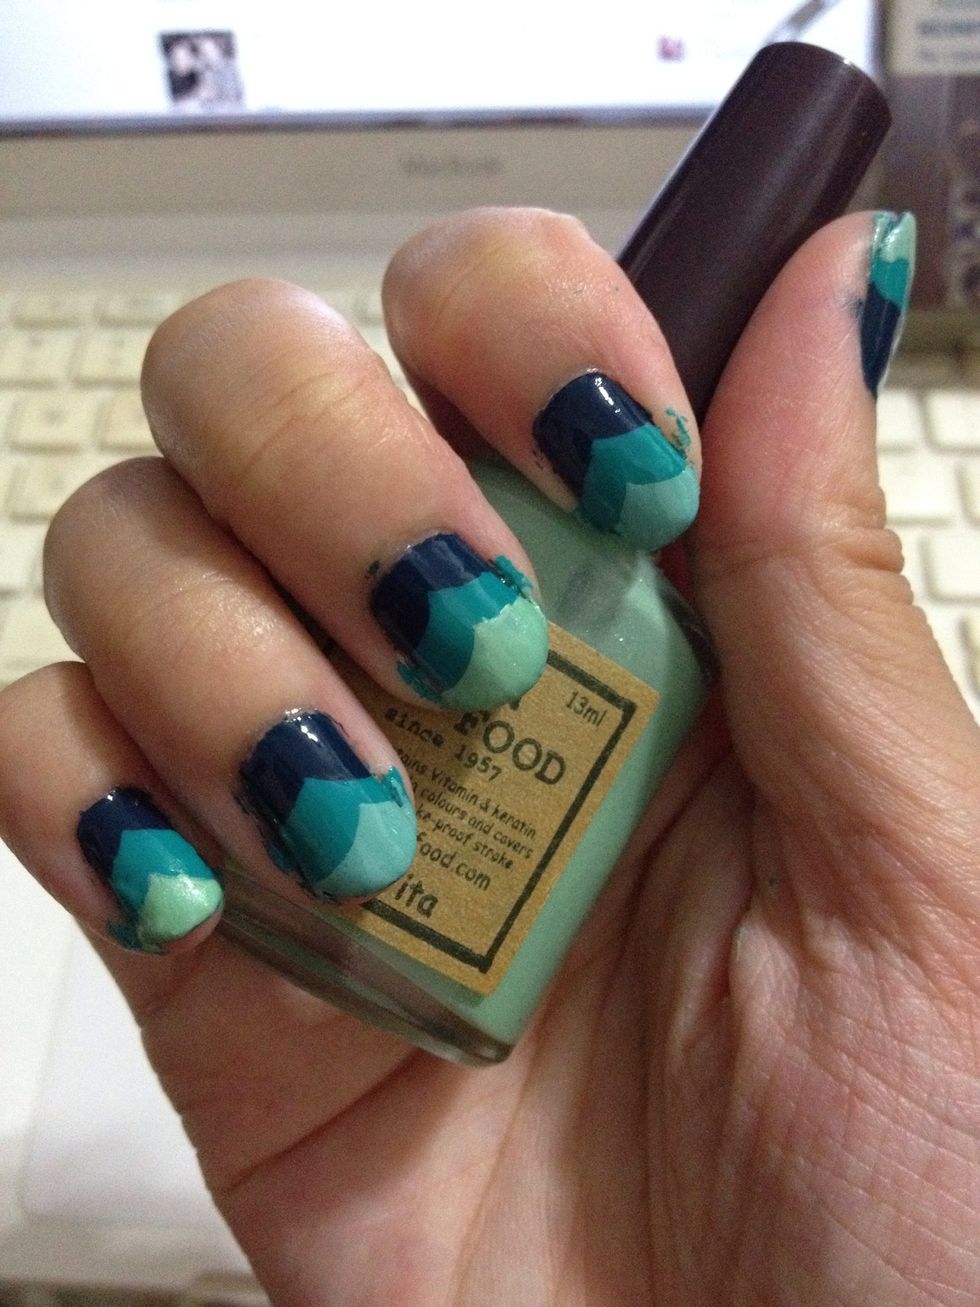
Given that the skin food comes on very thick and gooey, I had to put a quick drying top coat in order to prevent further smudging
As you can see, alignment is really important.
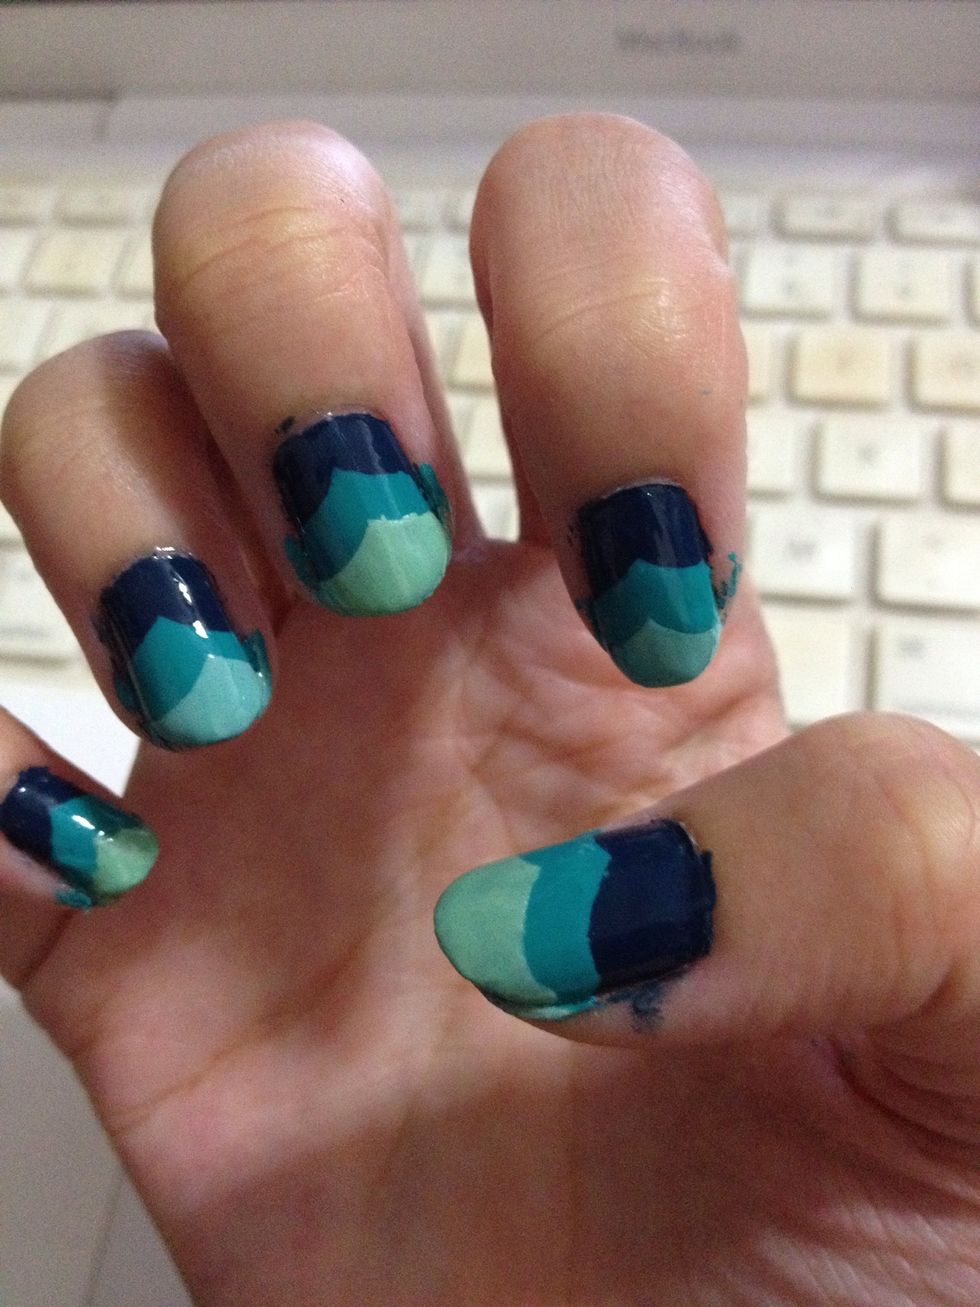
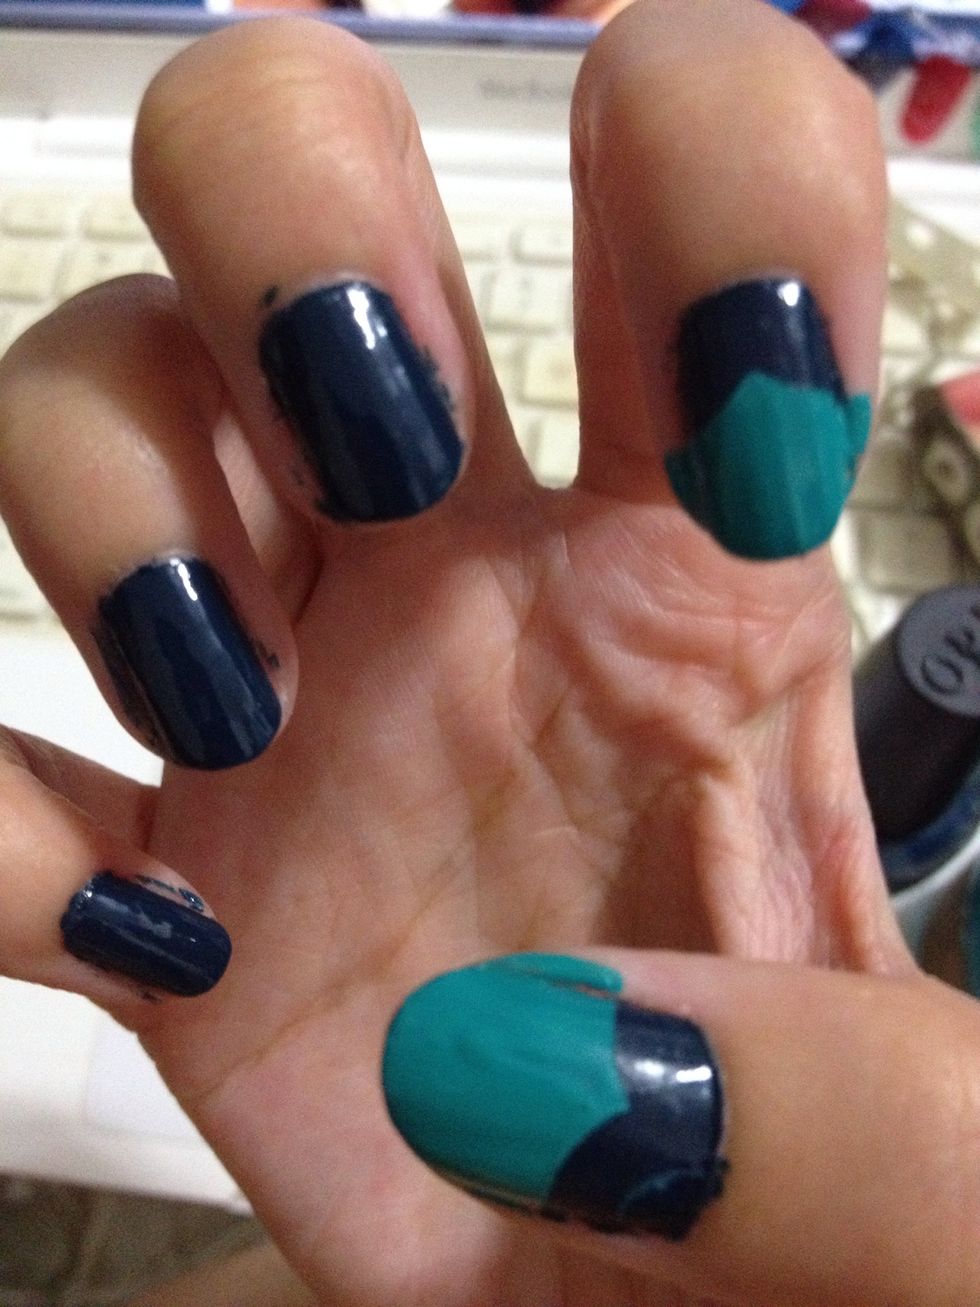
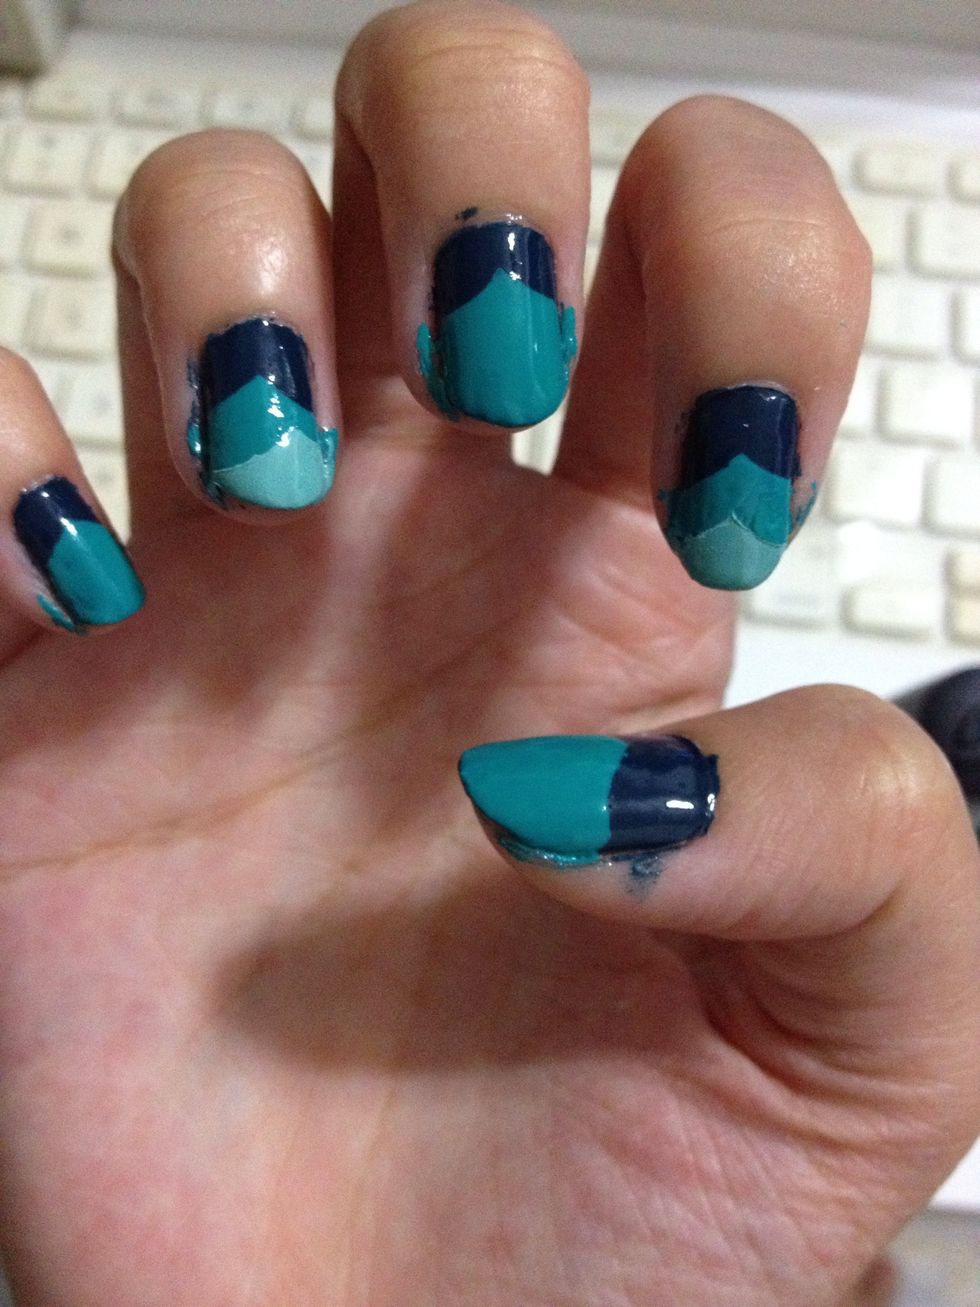
I tried alternating different colours for the top. The light green kinda works but it is glittery/shimmery so it doesn't really blend well with the others.
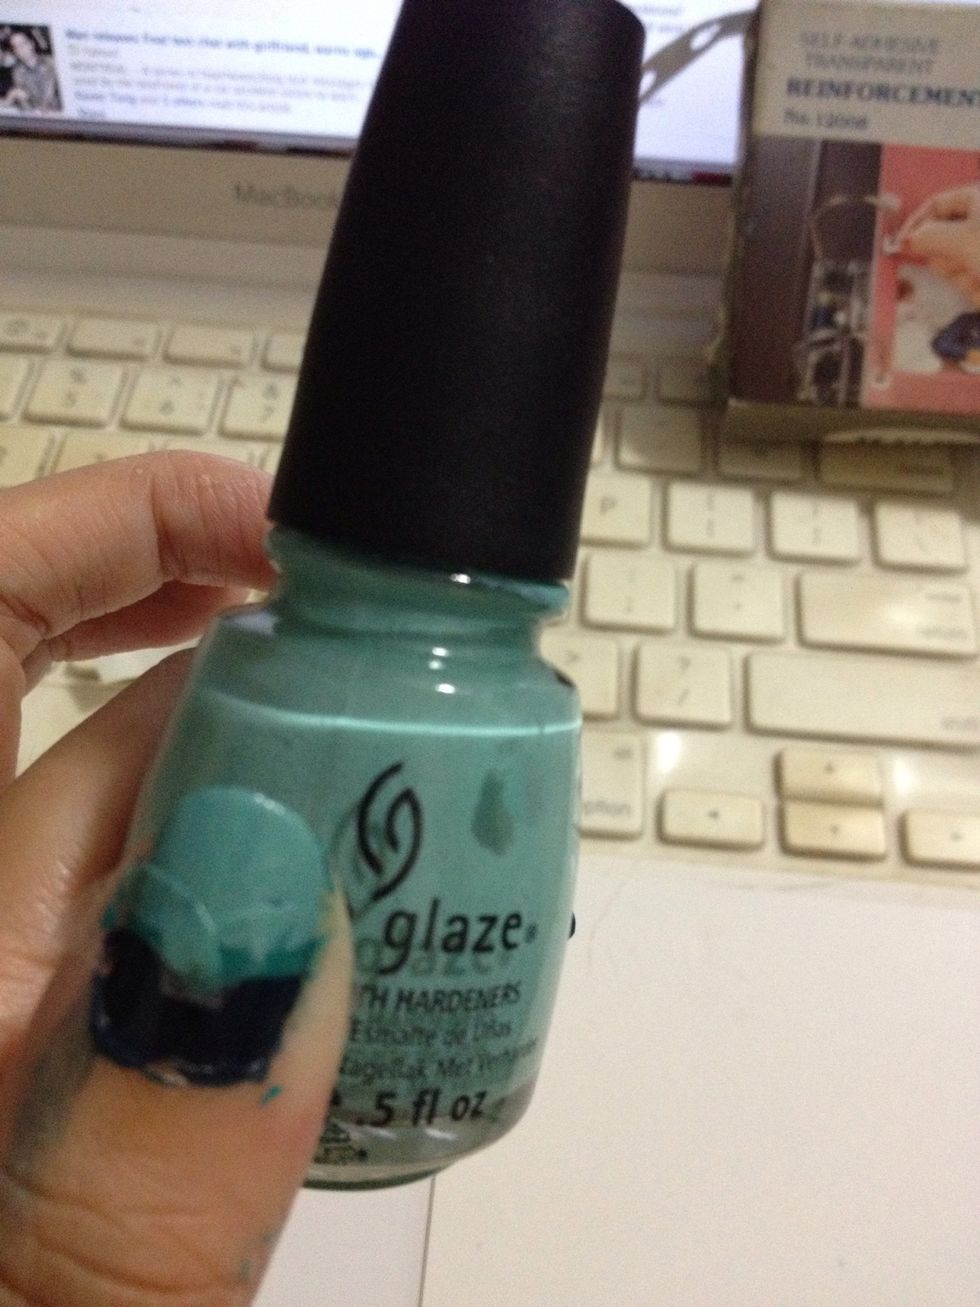
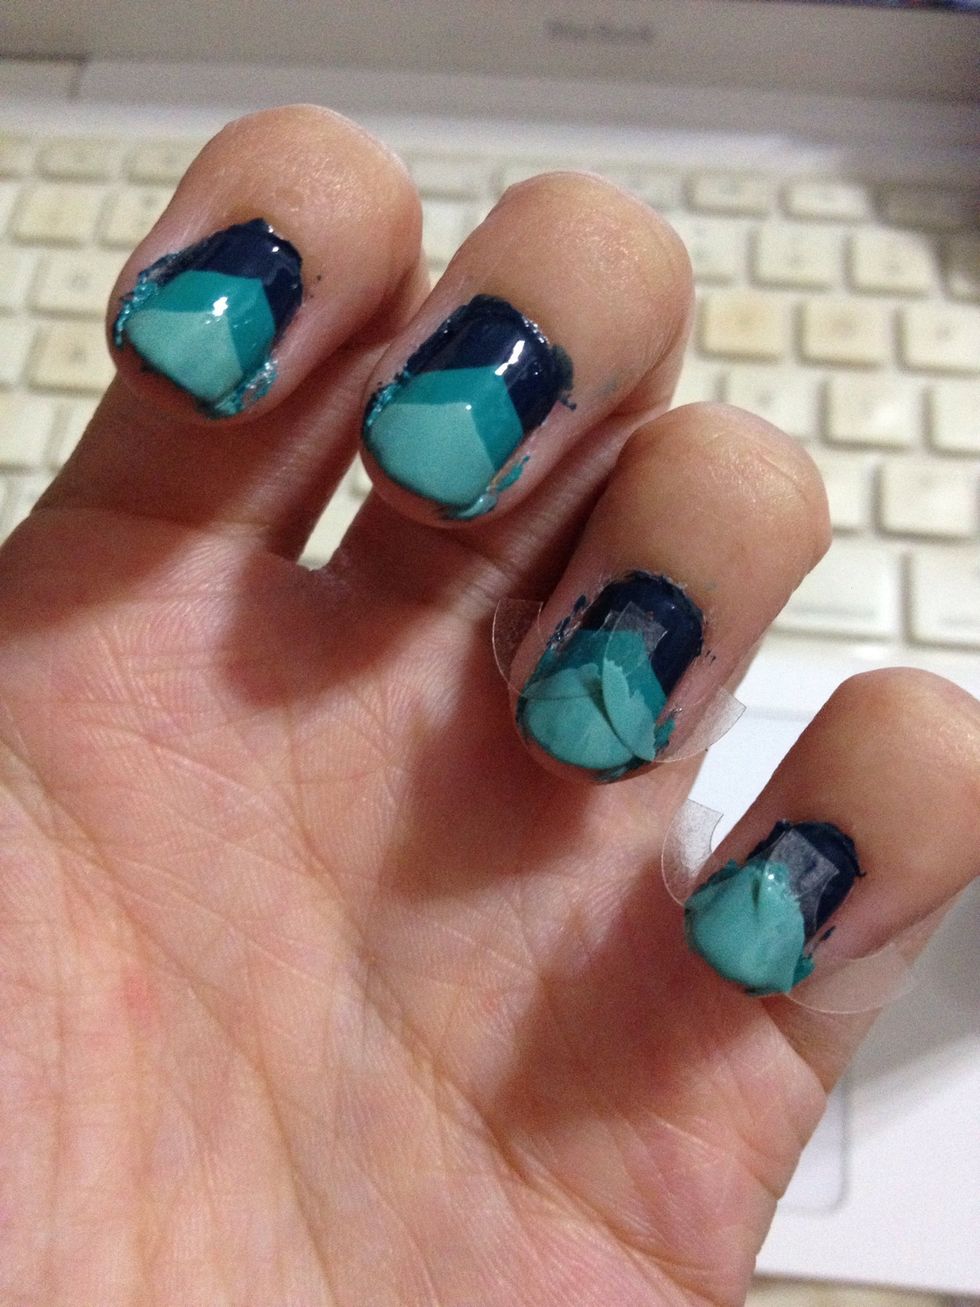
The china glaze worked a lot better. Here you can see me taping up for the third layer. The transparent reinforcement rings are AWESOME cos you can adjust it better :)
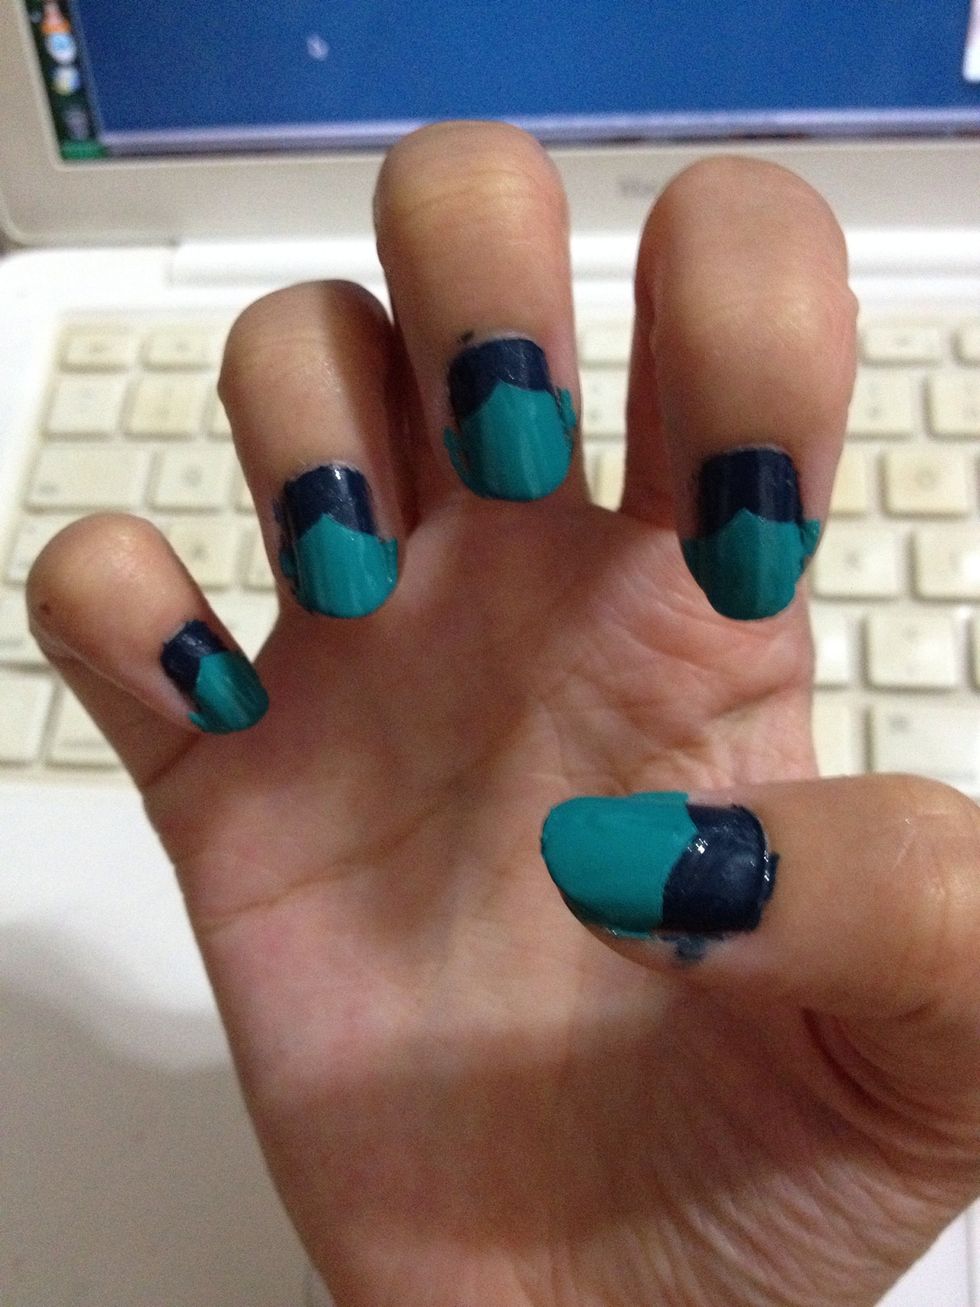
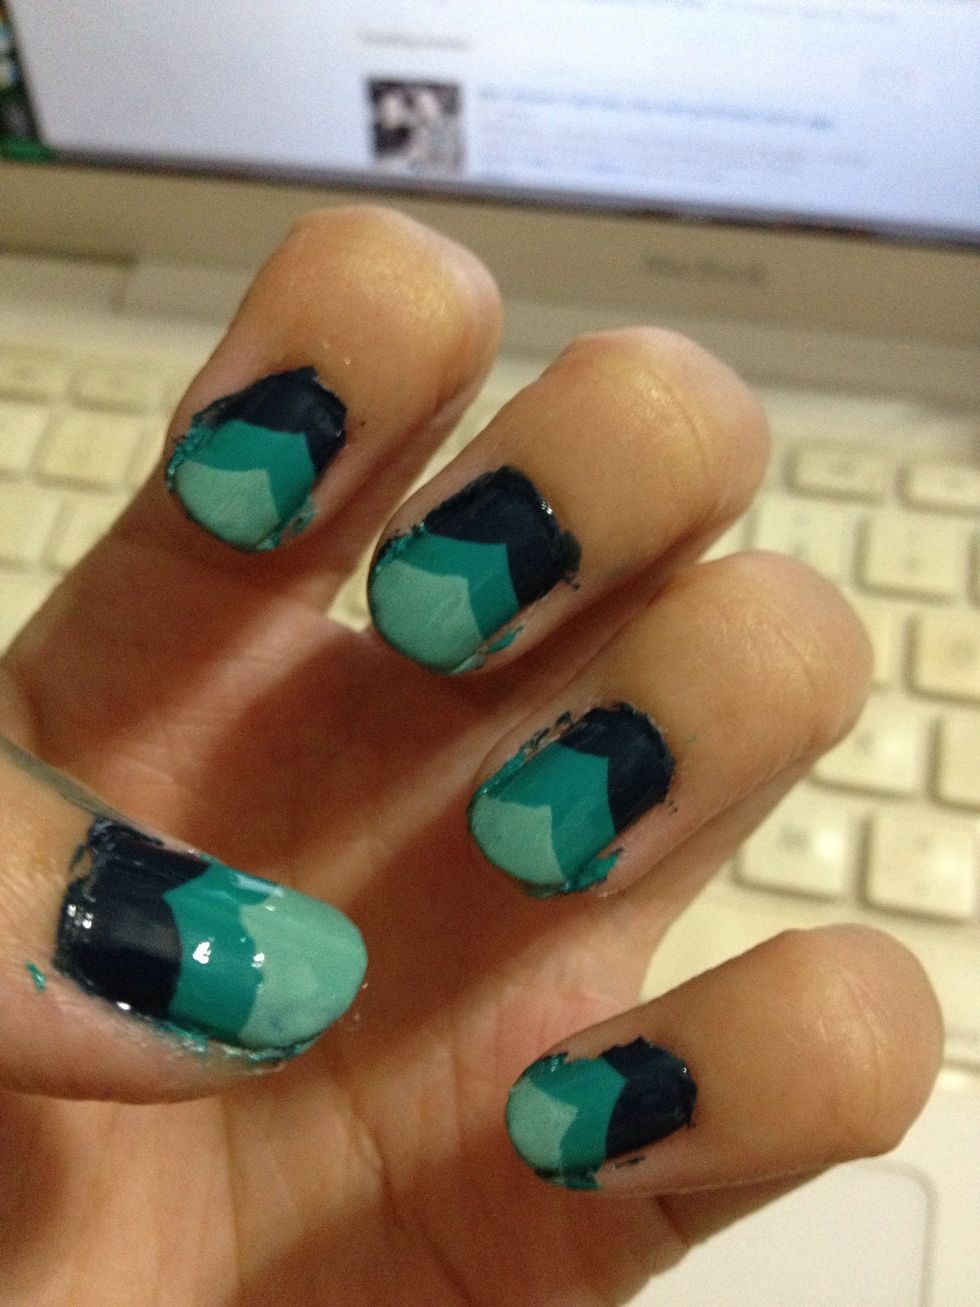
I think the china glaze suits the top layer better than this skin food. What do y'all think?
LAST TWO NAILS. Must say I was really relieved by this point in time. All that cutting and taping and painting is vvvv tiring.
The completed product! After top coat. It's actually surprisingly smooth even though I expected it to be uneven from the many different layers
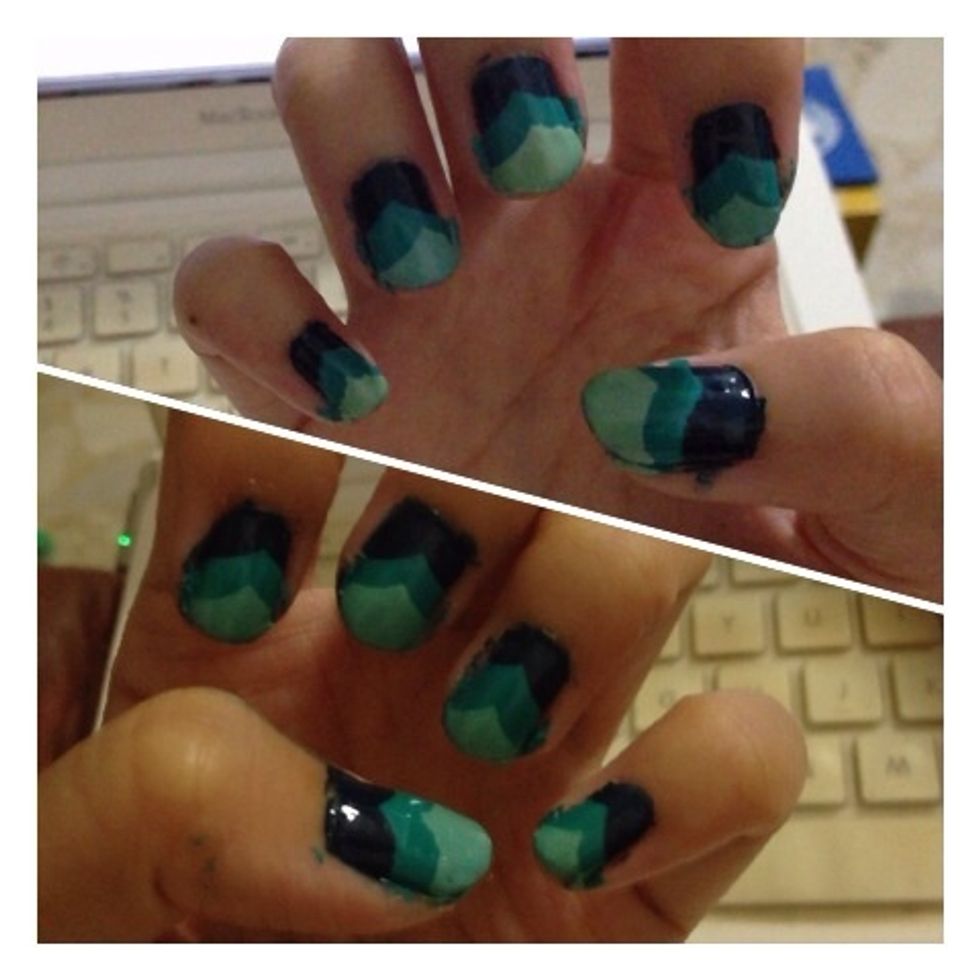
Completed product, without flash. Isn't it pretty? It's got a lovely teal turquoise blue green thing going and it reminds me of the ocean :)
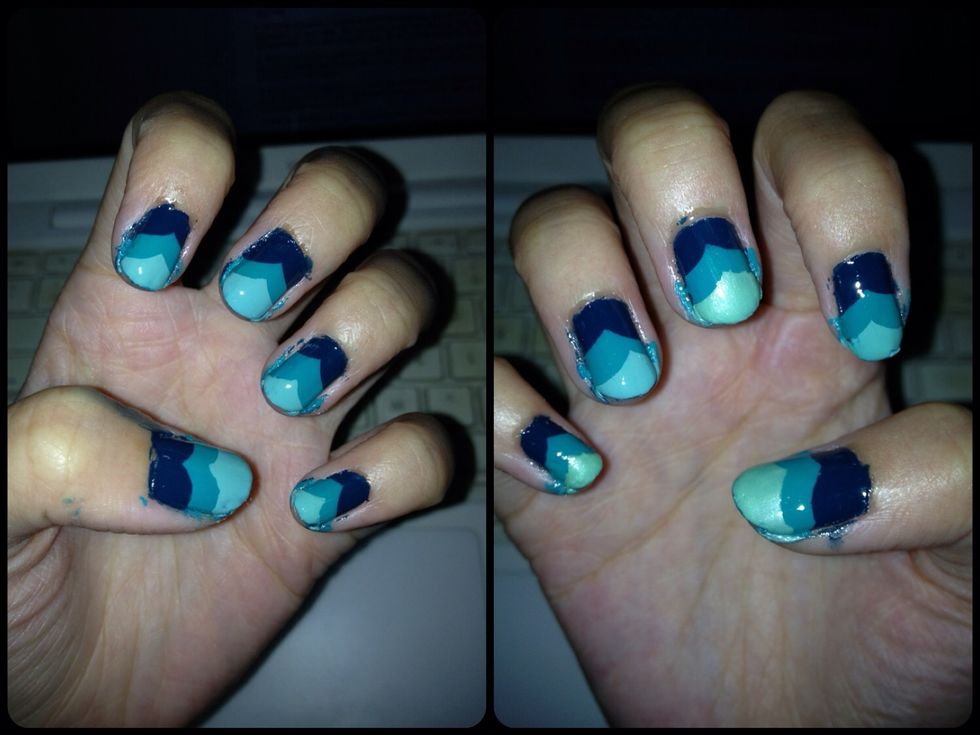
With flash. I really love the left side!!! It's a tad messy but well I tried using cotton buds to clean it up and that didn't work AT ALL :(