The Conversation (0)
Sign Up

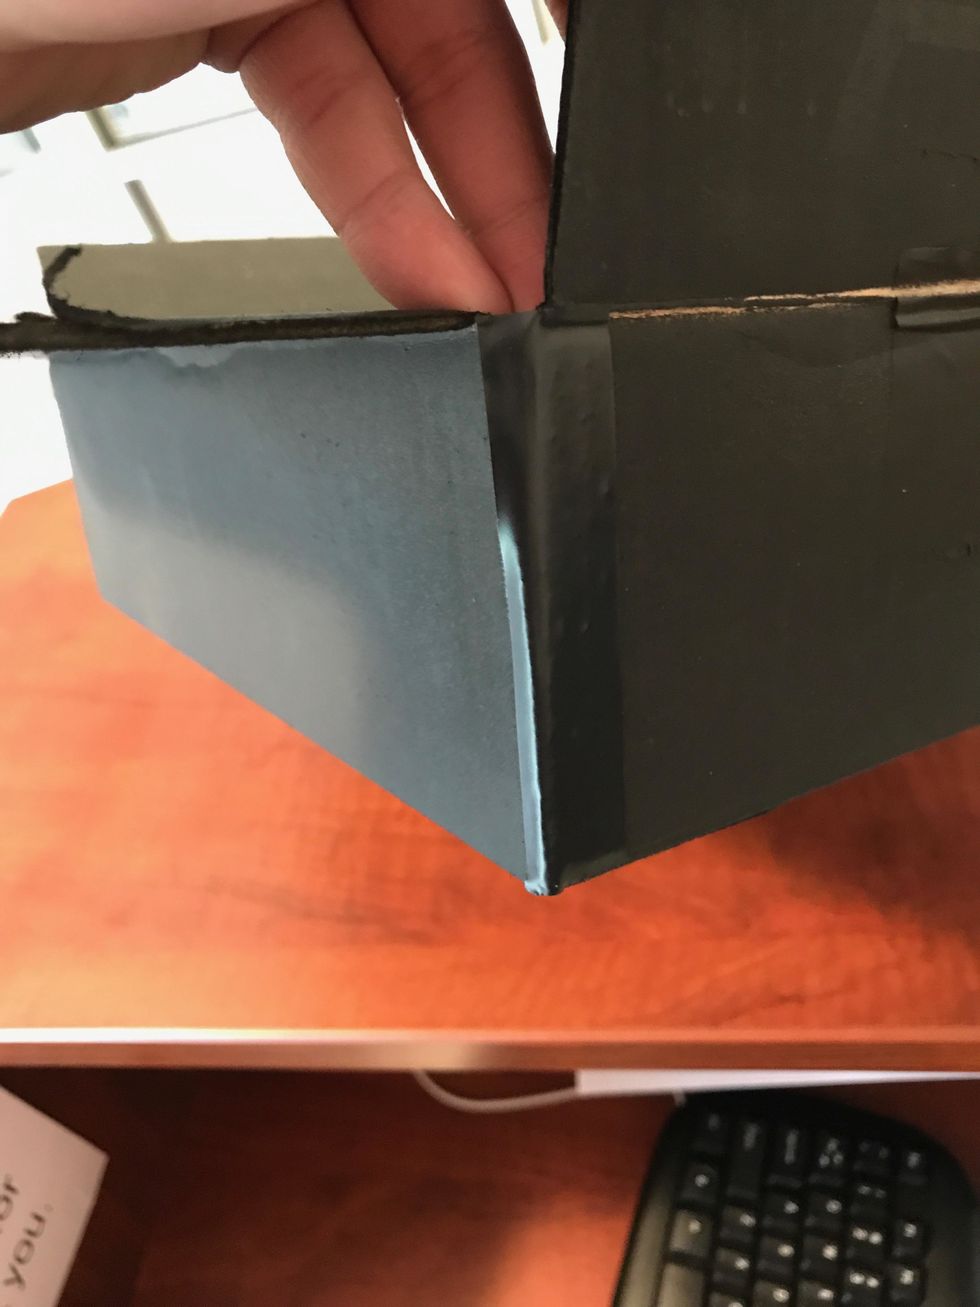
Prepare your box. I found this Amazon A1 size box to be the perfect size for what I wanted. Dimensions are 10 x 7 x 3.5

Cut a small hole in the box to run the wires through for power. Though in this picture my box is already painted, I recommend painting it after so it looks better.
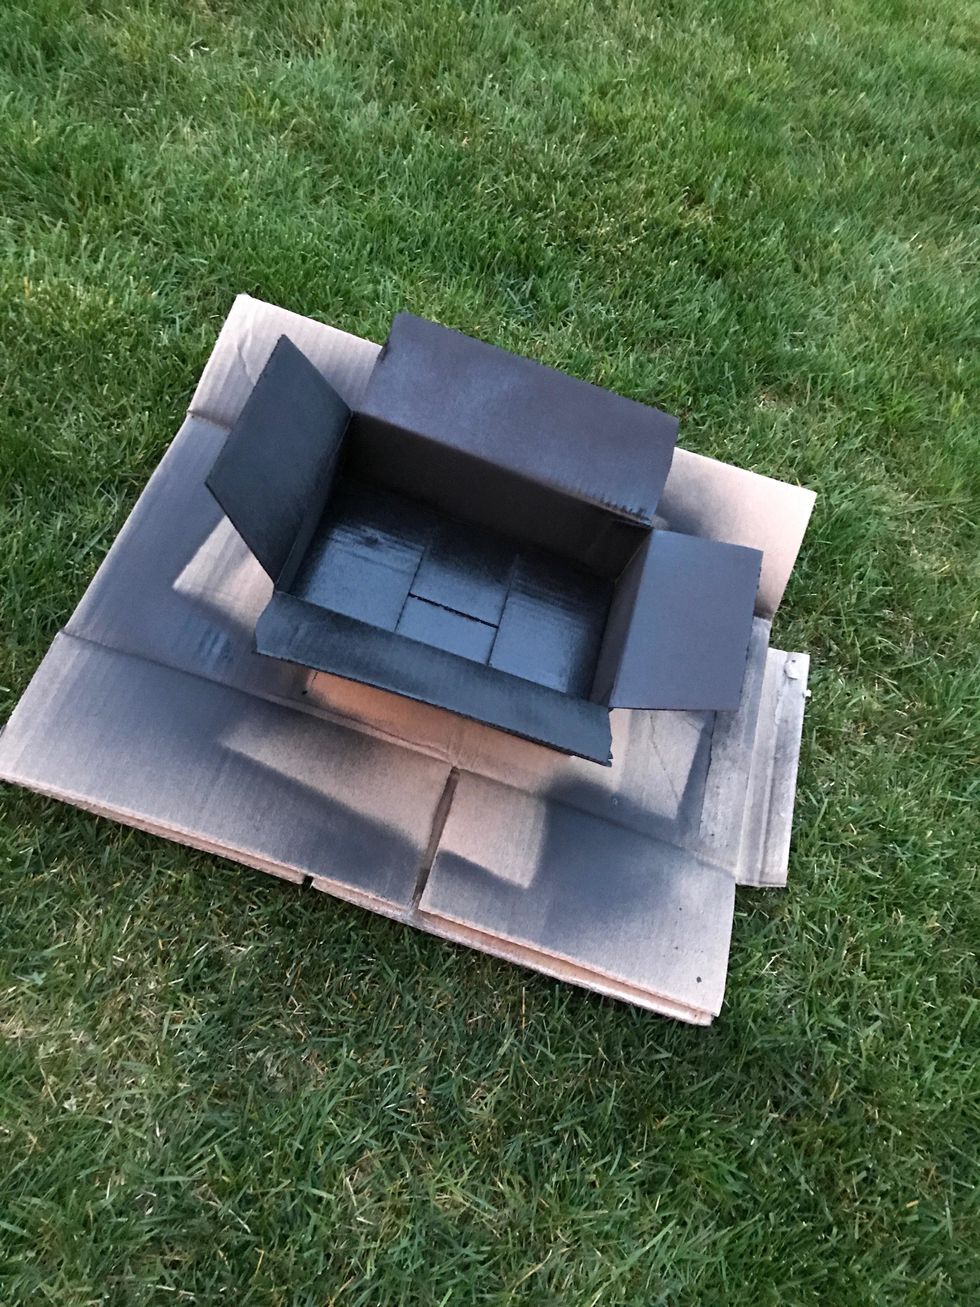
Paint box black with spray or a brush. Not only does this help make it look good, but the black will absorb the light and prevent extra light from reflecting poorly.
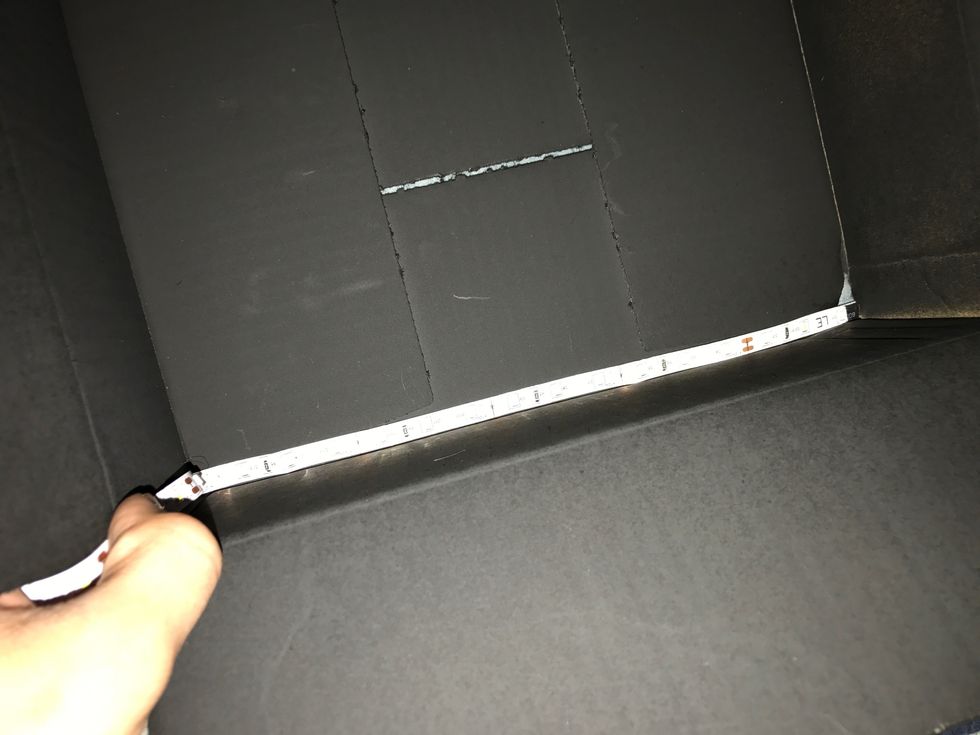
Measure out the length of strip that fits in the box. I found my LEDs (LE 4100057-DW) fit 5 sections perfectly. Mine also happened to have solder beads every 10 sections, which will come in handy.
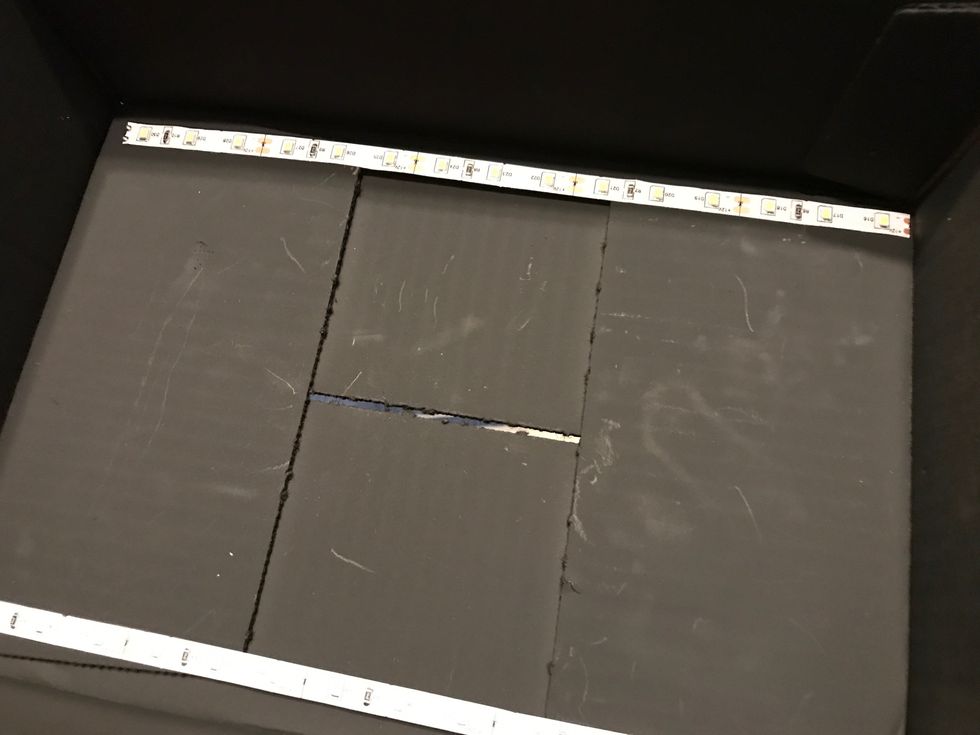
Begin placing your strips by pealing the back and placing the tape down to the box. Try your best to evenly space them (which I did poorly).
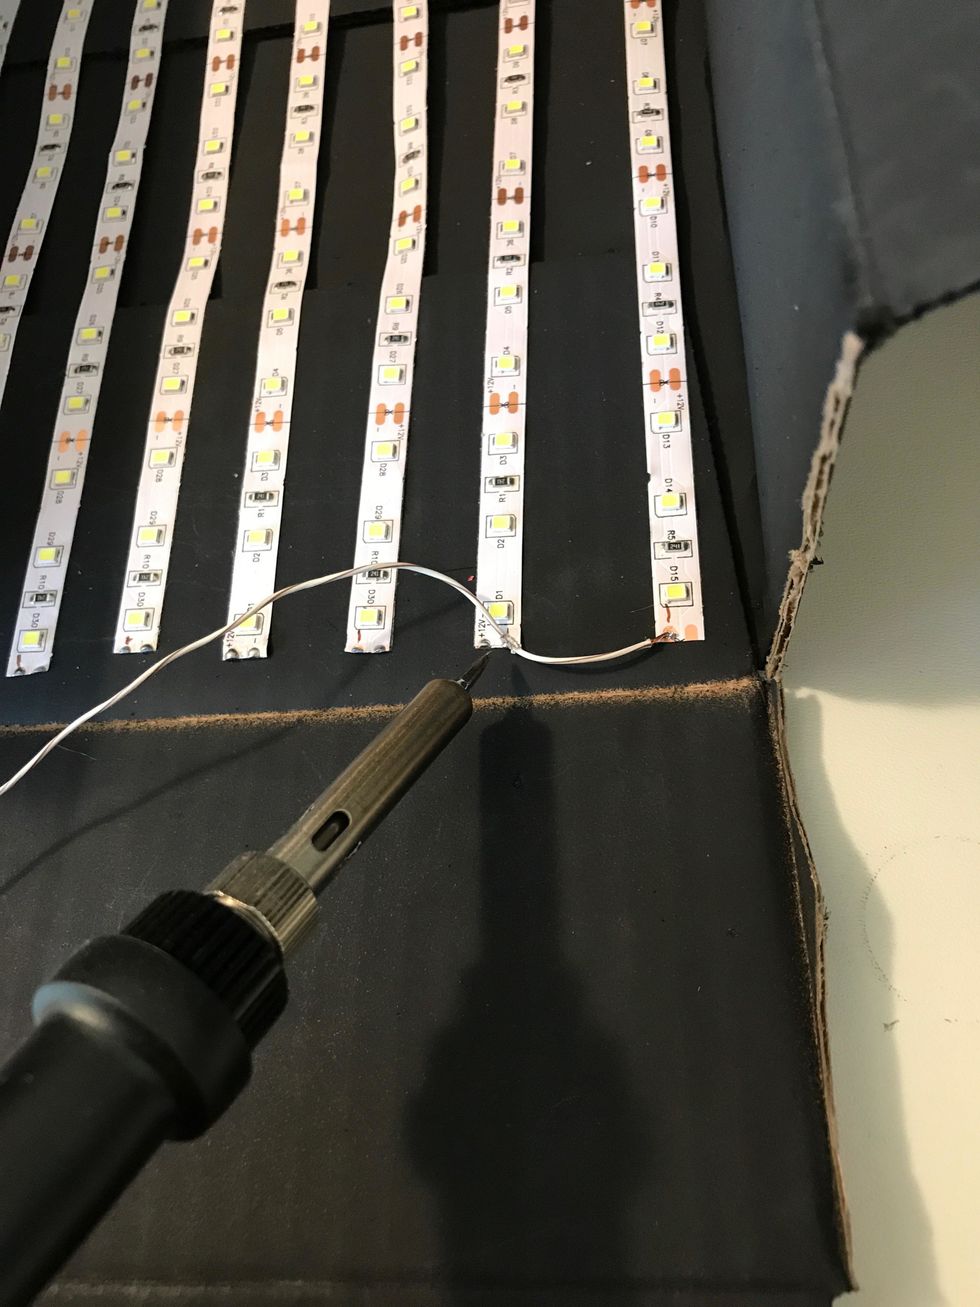
When all your strips are in place, it's time to wire it all together. Solder the negative end of the first strip to the negative of the next. Positive to positive, for each strip. Test periodically
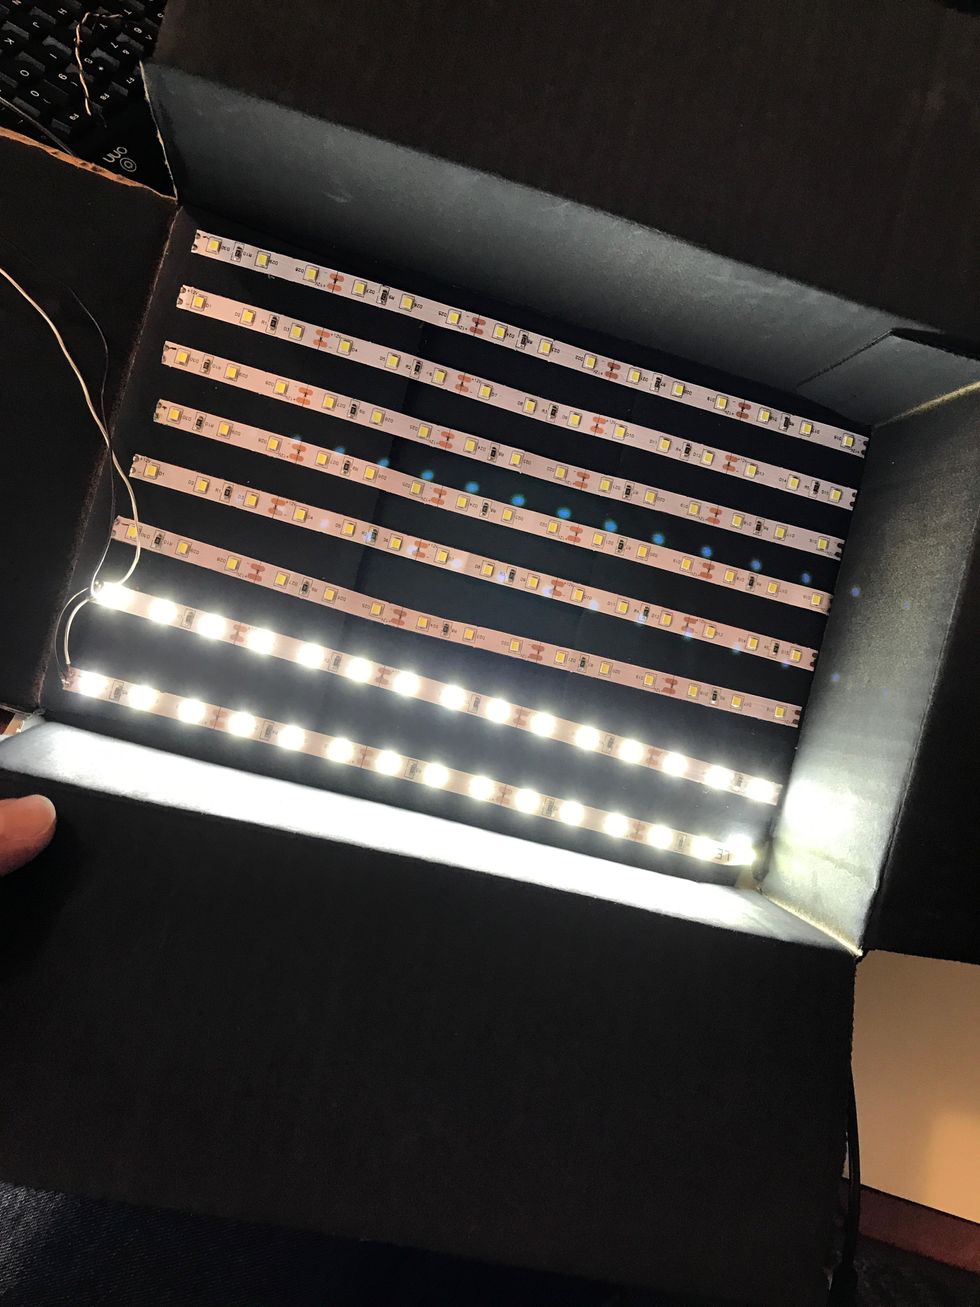
I tested every strip I completed.
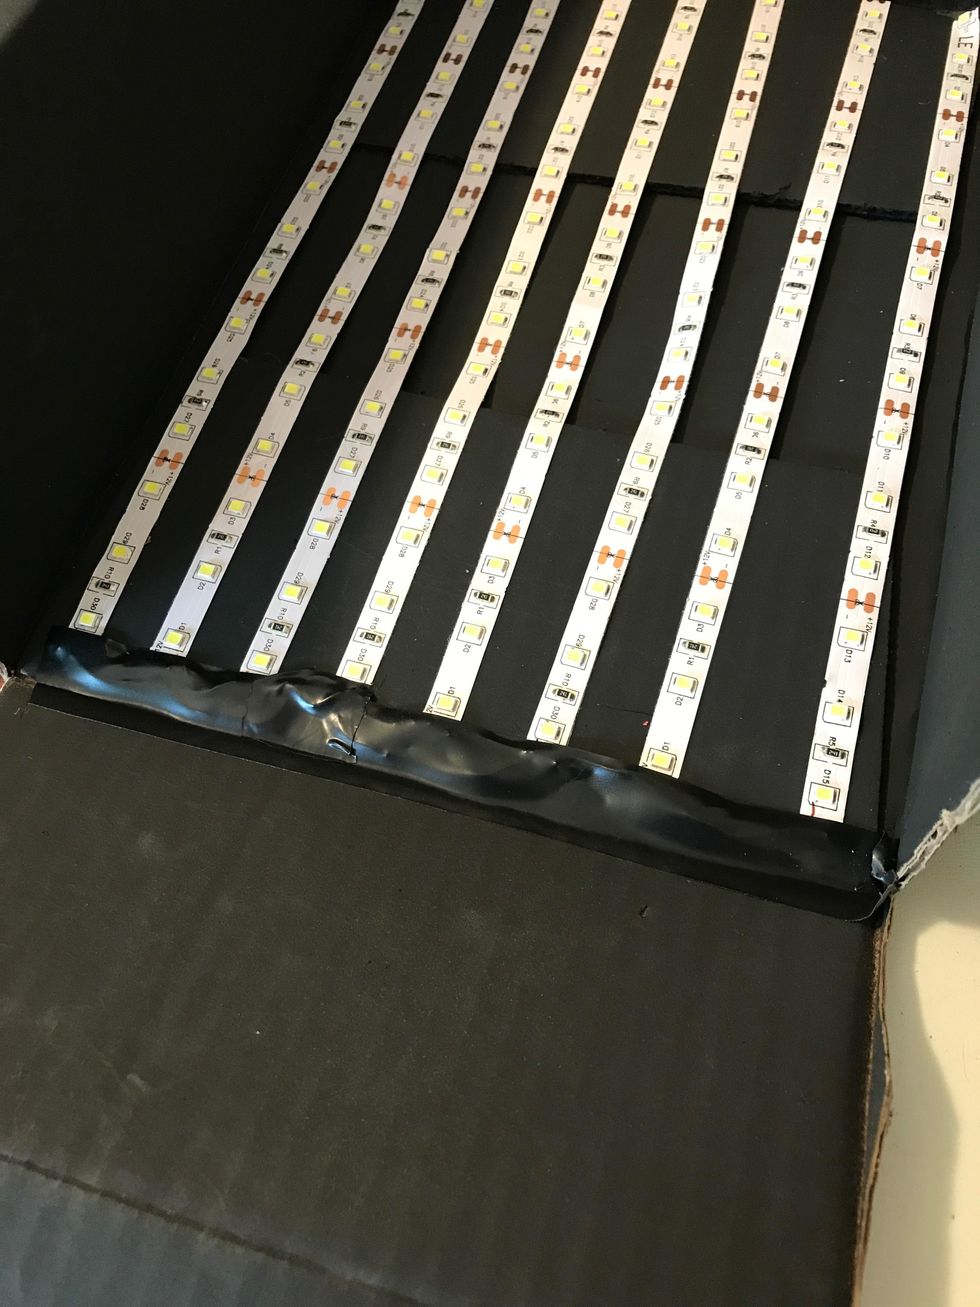
If you're like me and you suck at making solder work look good, slap some electrical tape over that! No one will notice then! 😉
I had cut the sides of the box to make soldering easier, some tape covers it up well. (Black duct tape would probably work better than electrical tape)

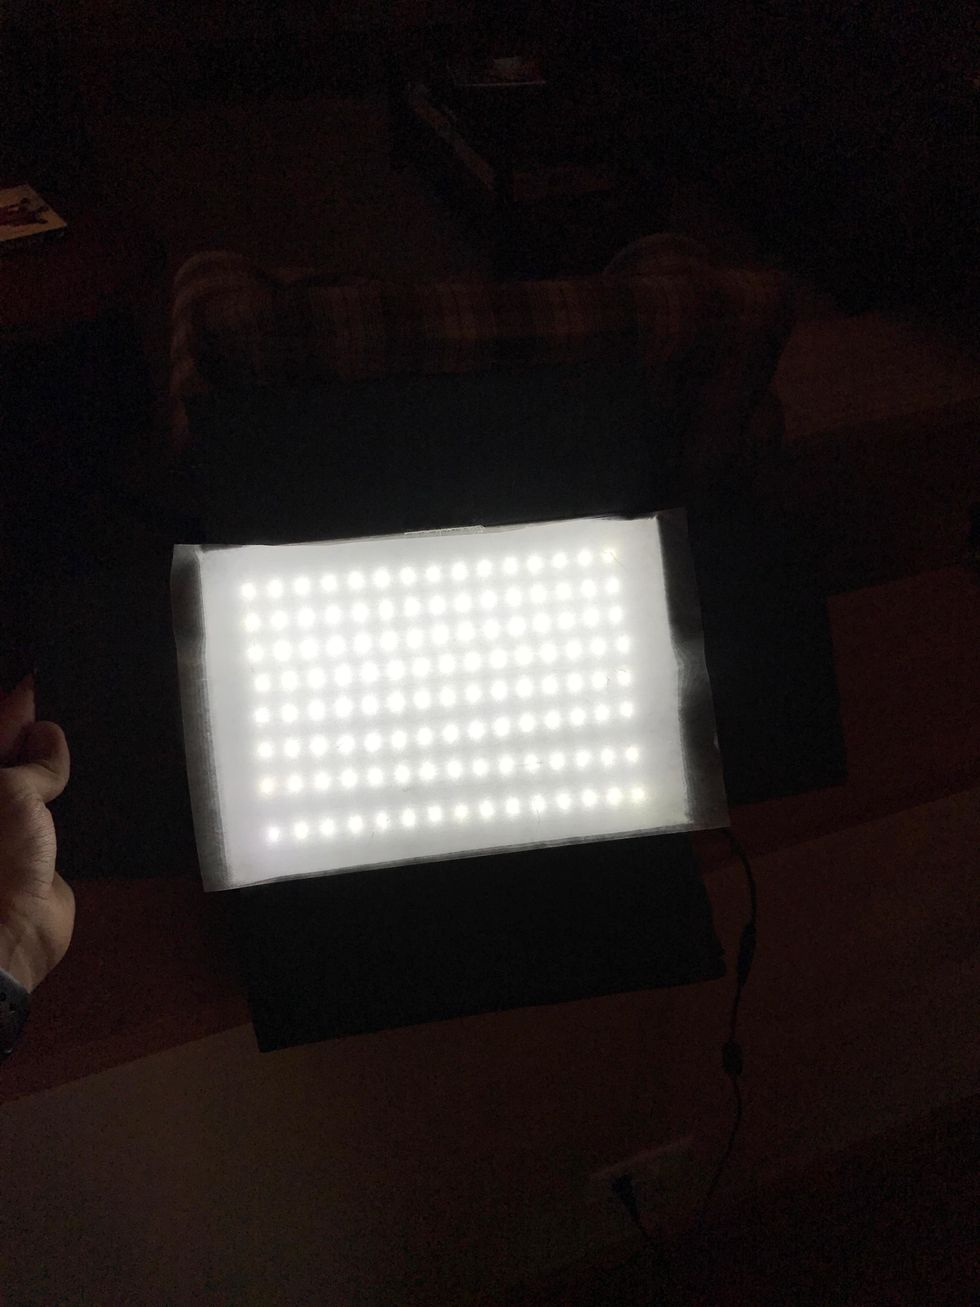
Turning it on after all soldering is done shows how crooked my strips are, but it works!
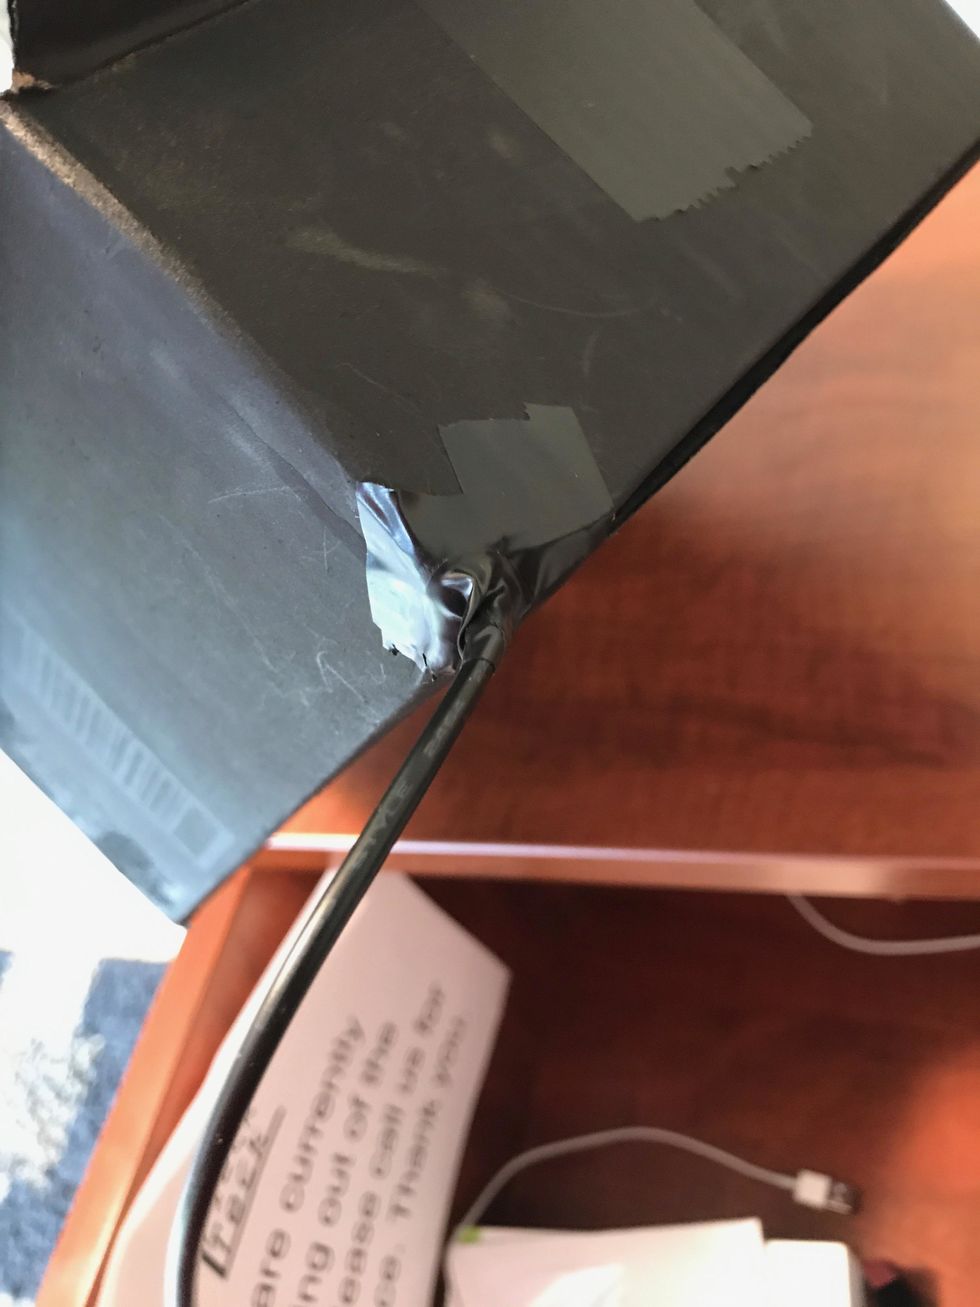
Adding some more black tape over the wire hole may hide the imperfections.
Adding some wax paper helps defuse the light, but is not required. It can be taped in so that it looks neat if you cut it right. NOTE: Using TRANSLUCENT tape will preserve paint, clear may ruin it.
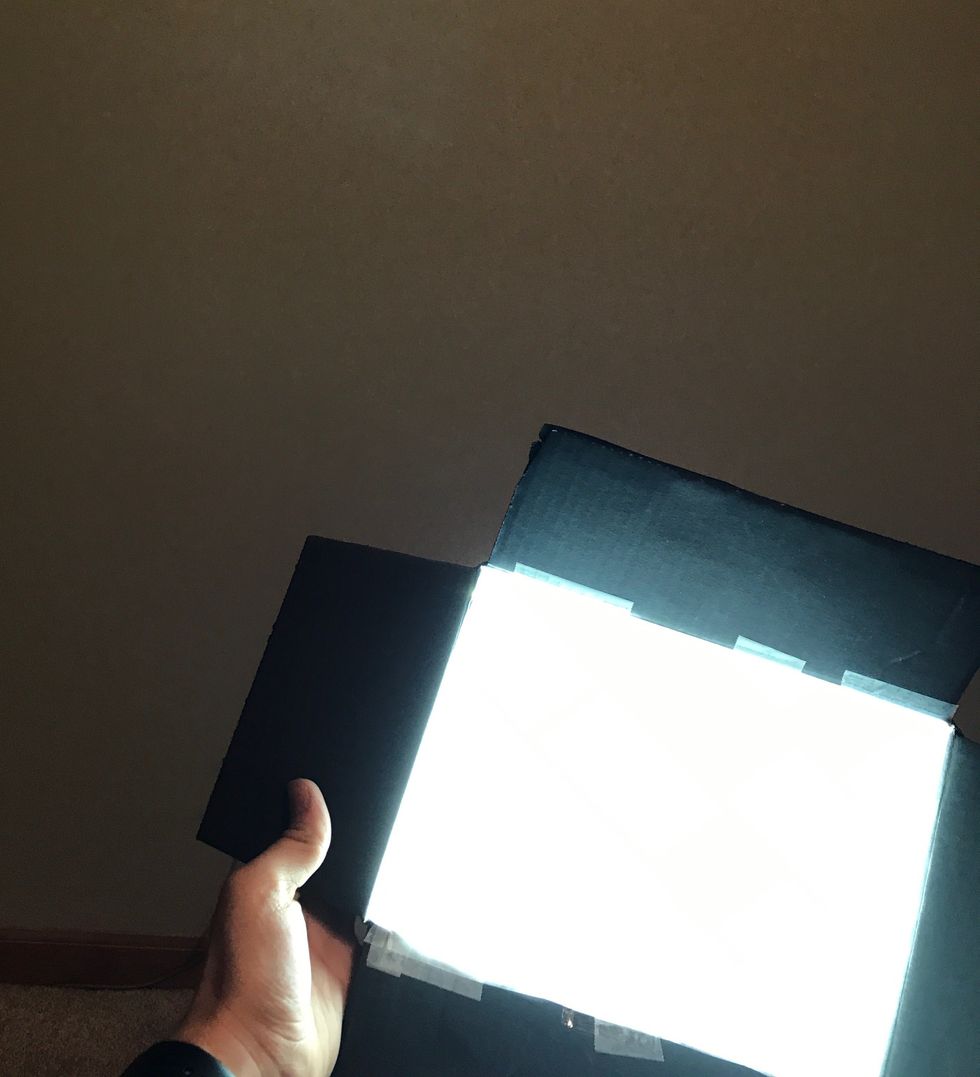
That's all! You now have a working video light! It may not be the prettiest, but function over form goes with this build! (Tape can be seen here, but the wax paper can be removed if not needed)