The Conversation (0)
Sign Up

Visit your favourite Facebook page. You can find ours at www.facebook.com/RedlandCouncil
On the right hand side under the cover photo, click the cog icon. From the drop down menu, choose ‘Add to Interest Lists’.

Choose 'New List'.
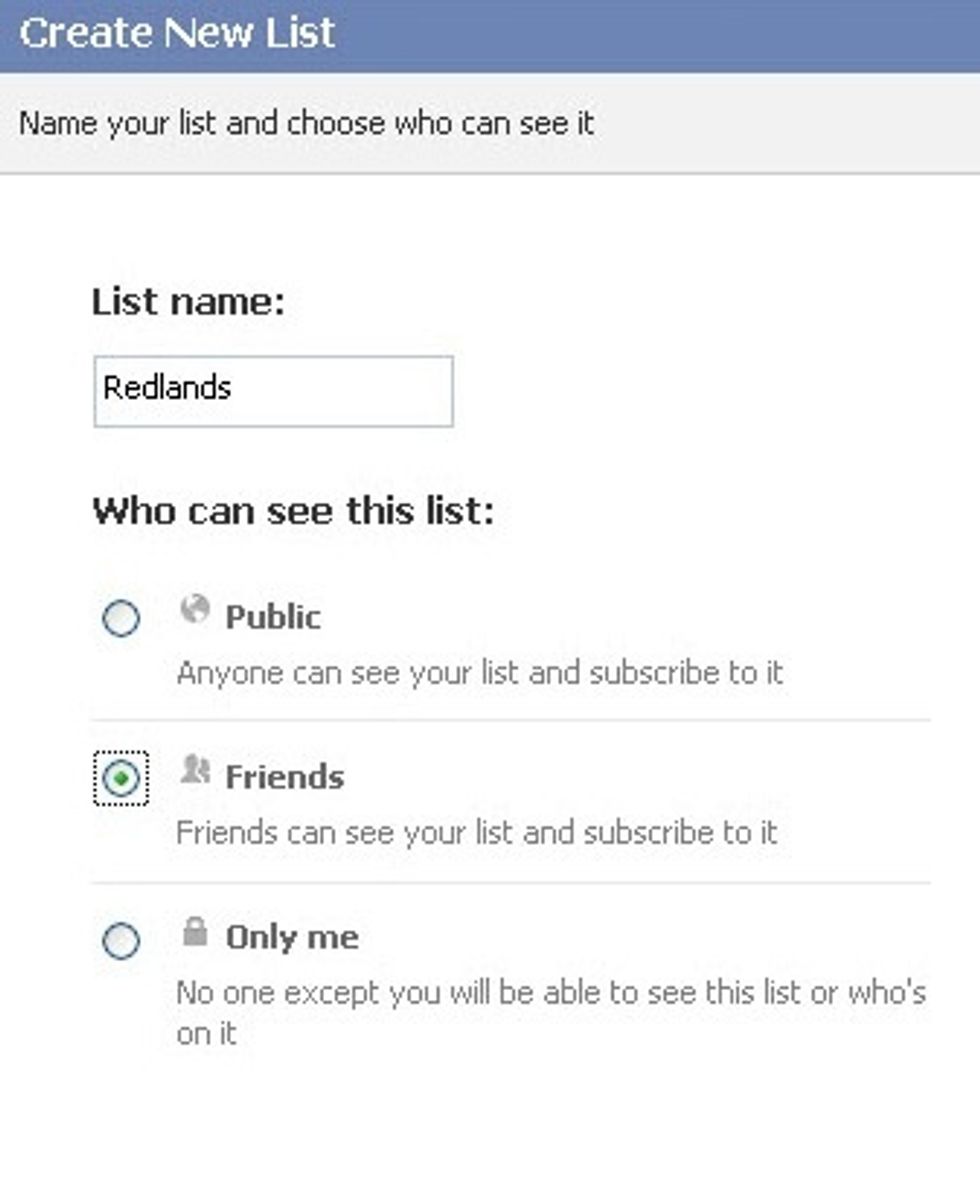
Give your list a name. We've called ours 'Redlands'. Choose an option for who can see this list – we suggest either ‘Friends’ or ‘Only me’.
The page’s logo will appear with a tick next to it. Click next.
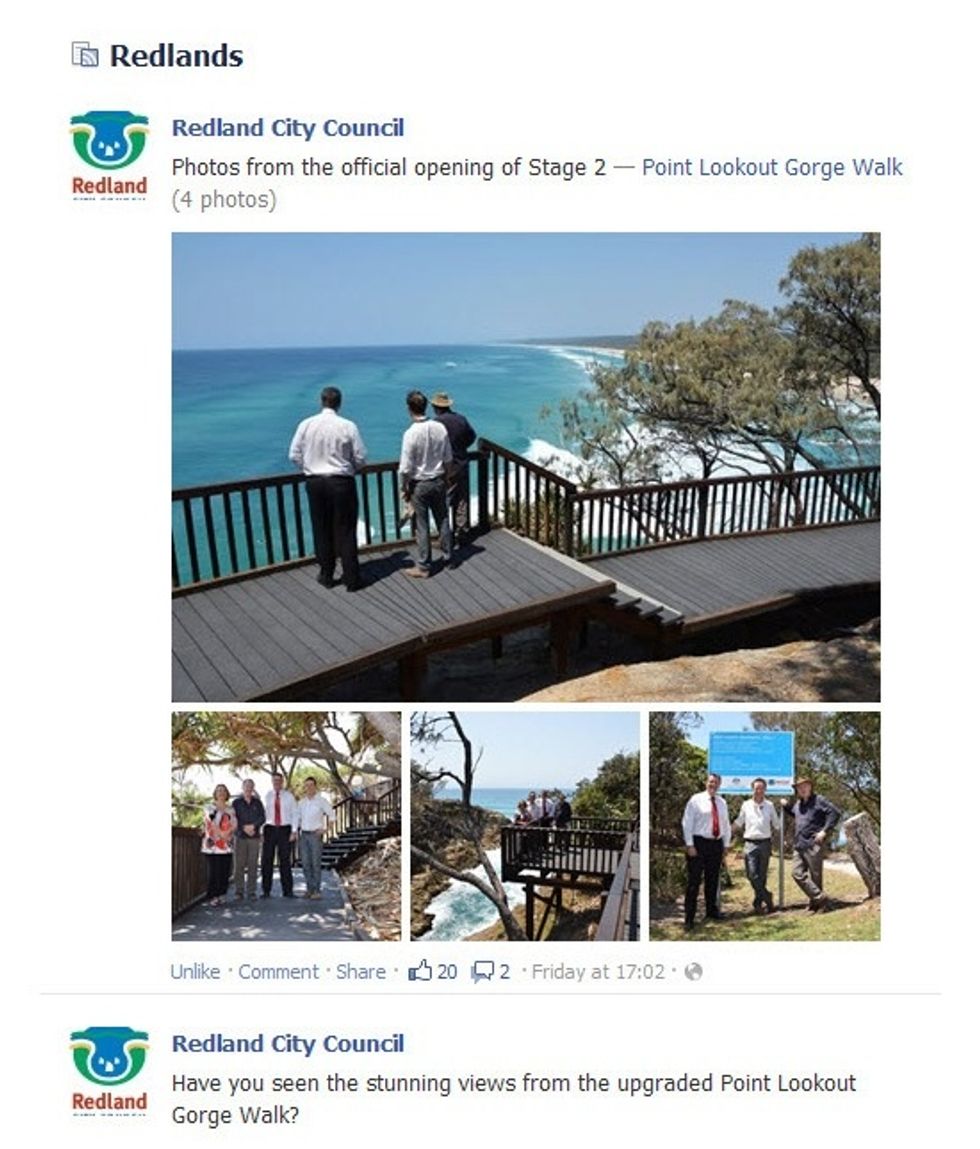
Your interest list is created. News stories from your favourite page will appear in this feed.
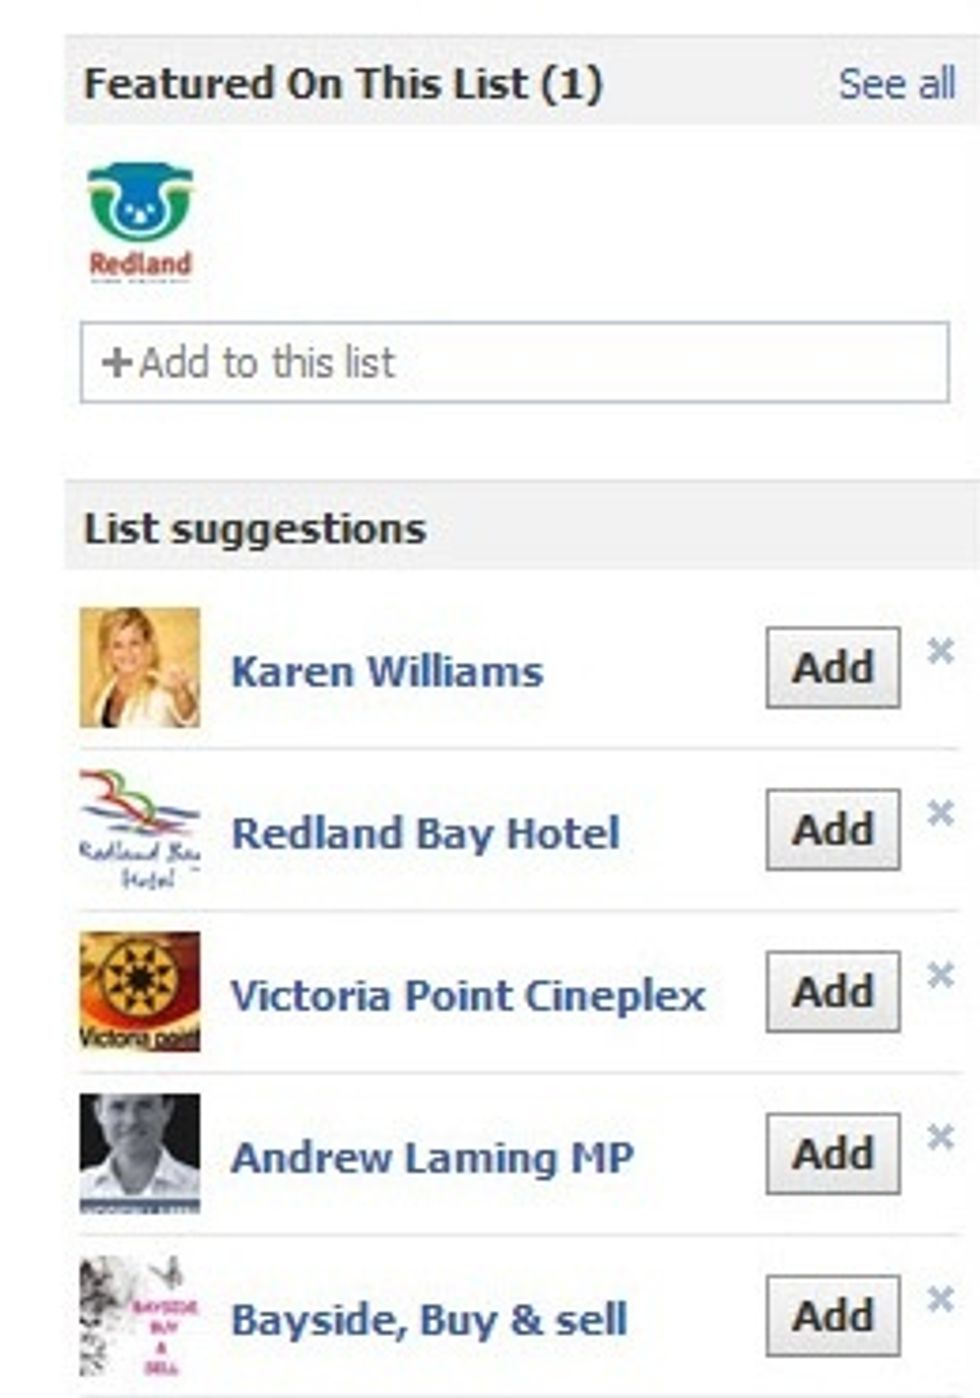
On the right hand side, Facebook will suggest other pages you may want to add to this list.
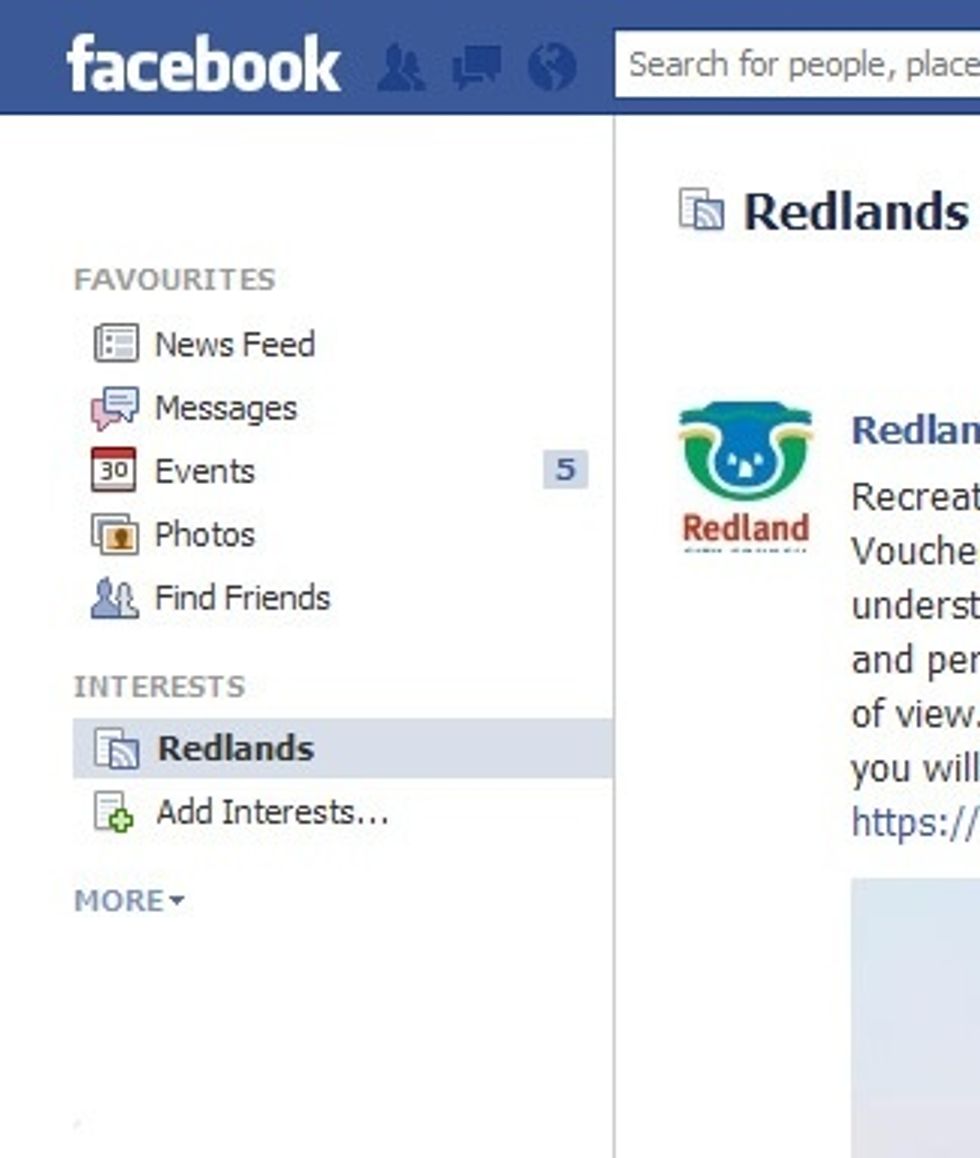
Your new interest list now appears on the left hand side in Facebook. Click on the list to see updates from your favourite page every time you sign in.