The Conversation (0)
Sign Up

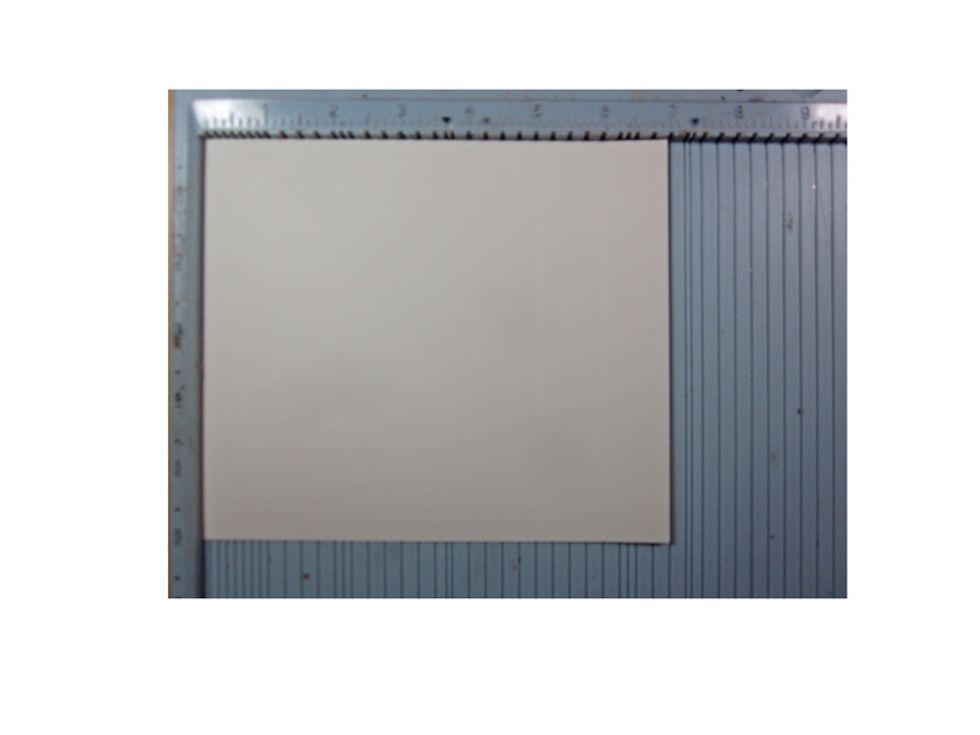
This book is fairly easy it just has a lot of parts with cutting, measuring and scoring and then gluing it all together. For your first piece cut an 11 x 6 inch piece of paper.

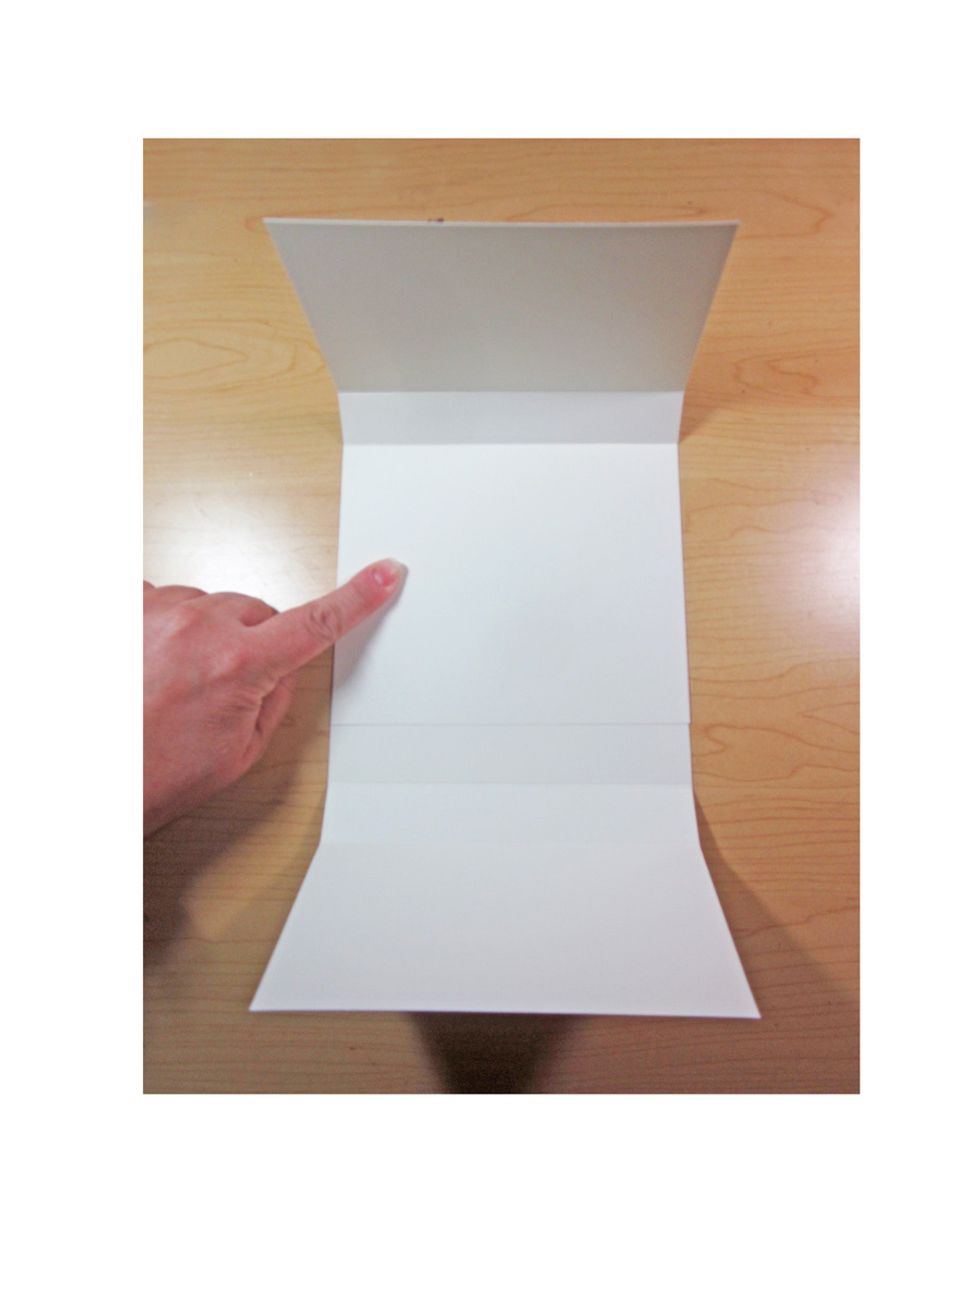
Score at 6" and 7" along the long side. Crease your edges for a crisp line. The has created the beginning base for your book.
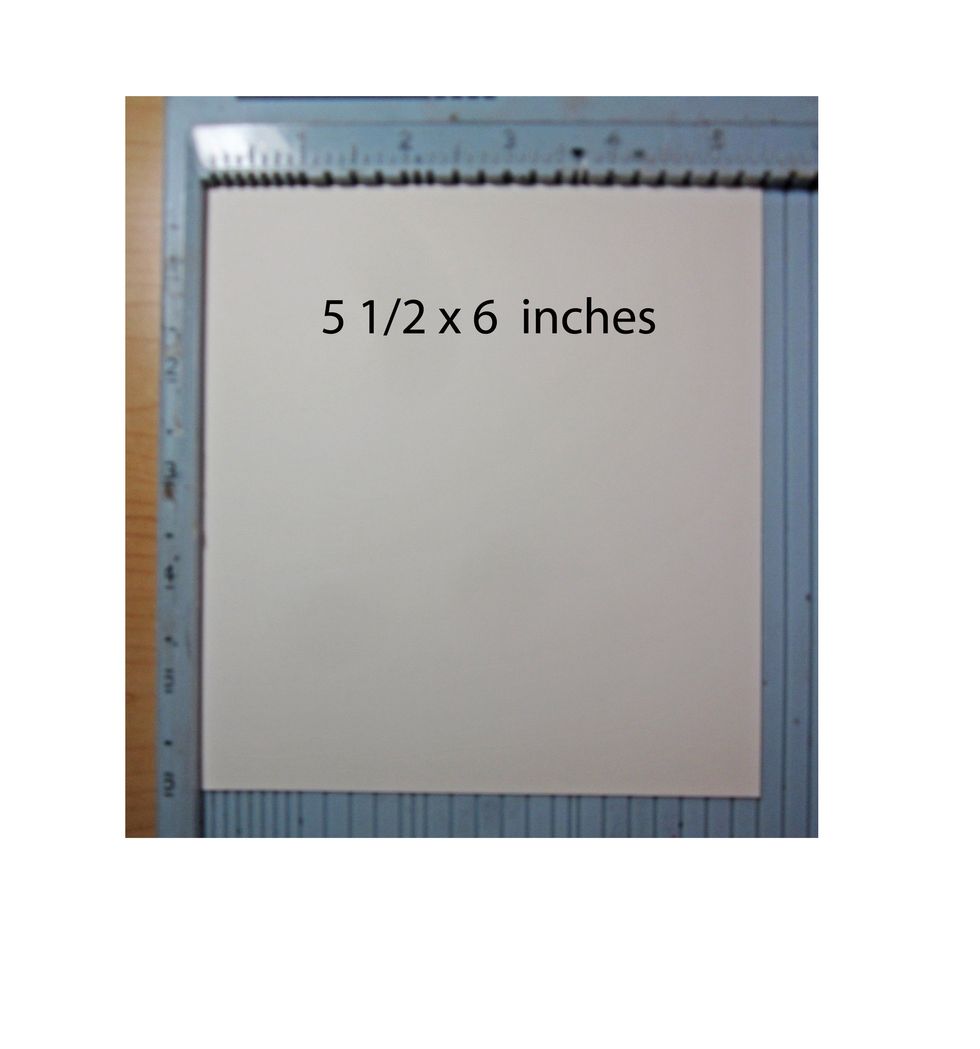
On your next piece cut a 5 1/2"" x 6" piece of card stock. Score along the 3 1/2" and 4 1/2" .

Again fold and crease with a bone folder for a crisp edge. This is creating your bottom fold up.
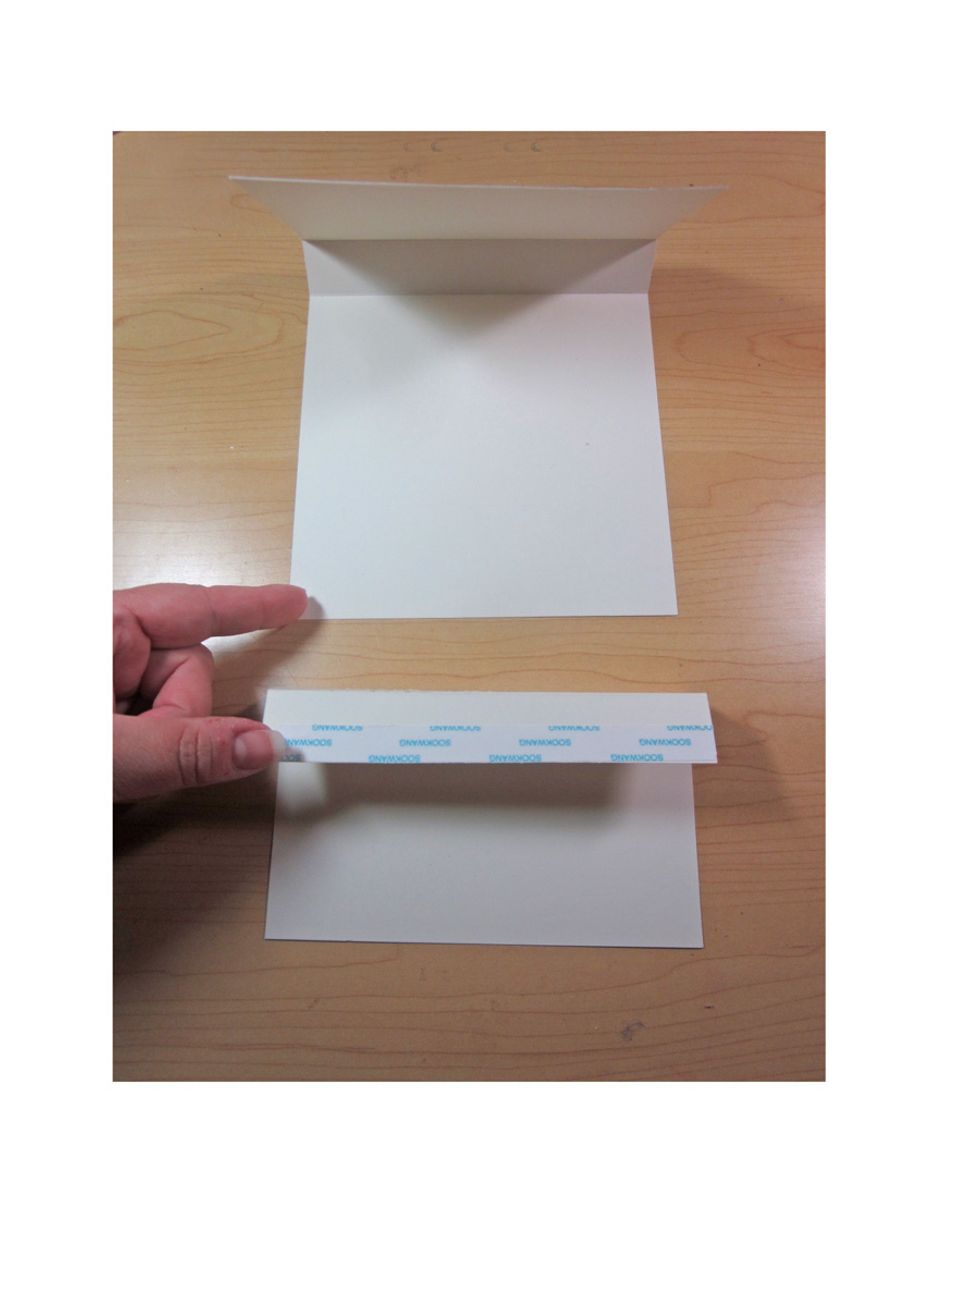
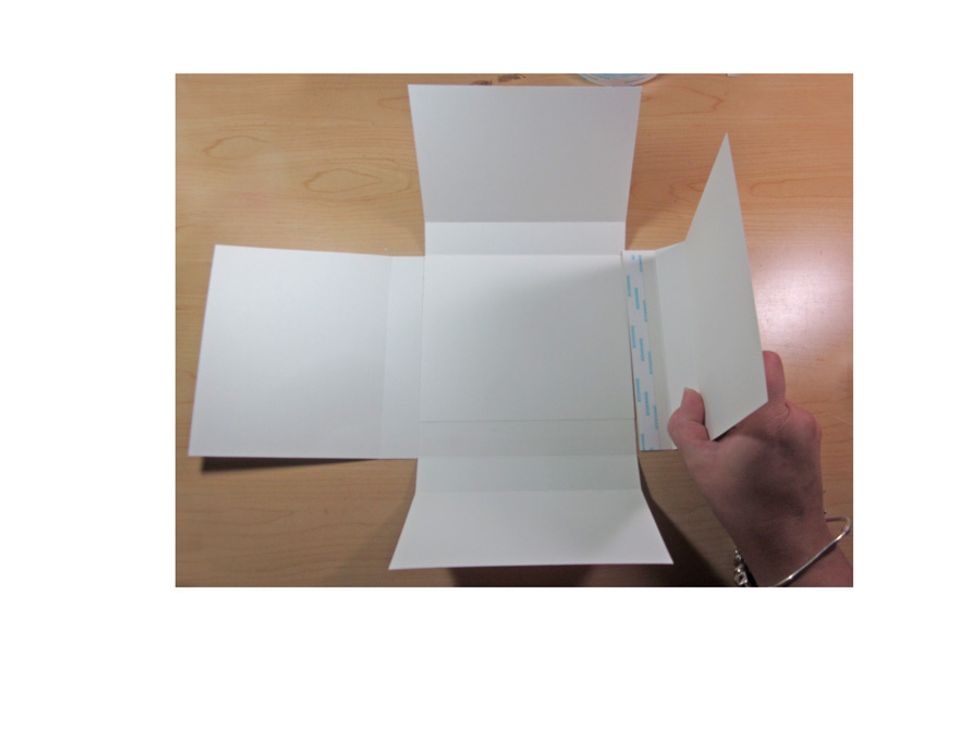
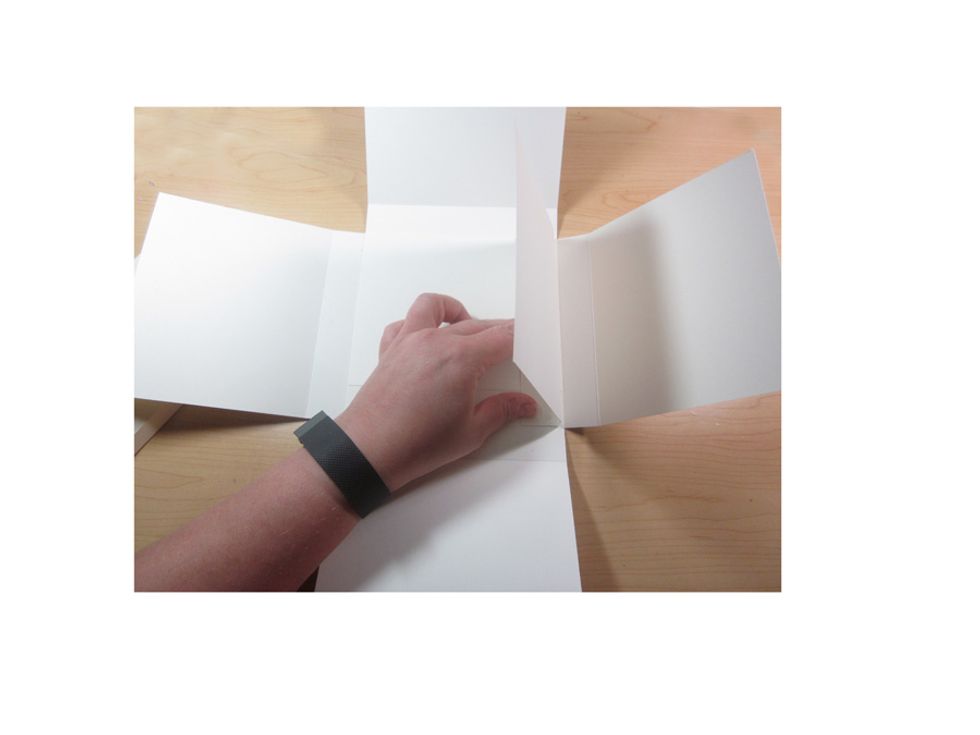
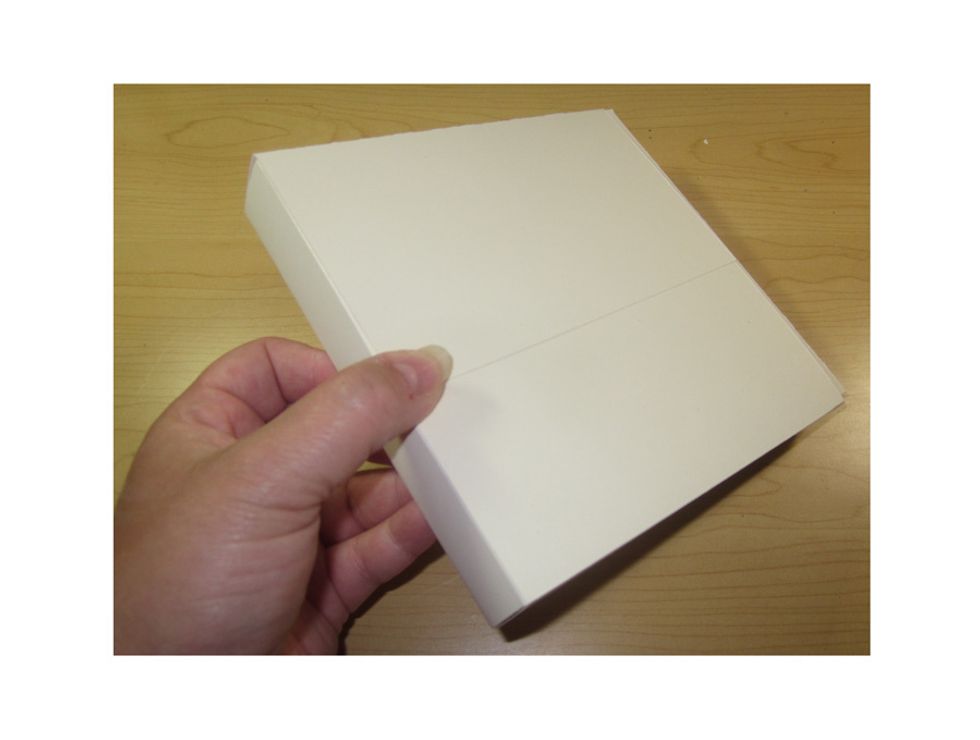
Use a heavy bonding glue. I used Scor-pal tape for this but any strong adhesive will work. Glue your bottom piece we just did to your base piece we started with.
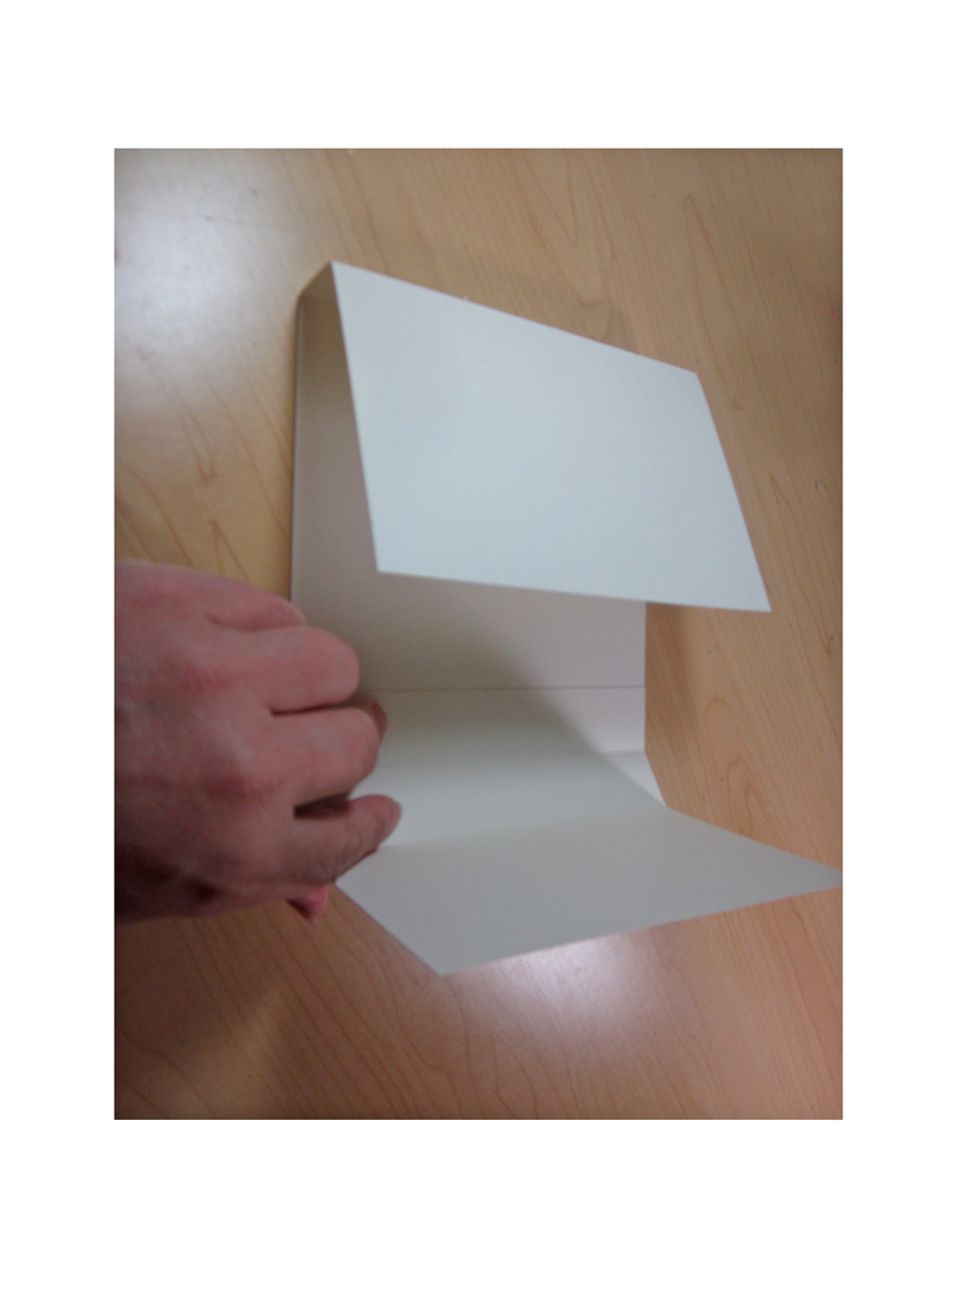
Here you can see it glued down and start to see how all the flips and flaps will work together.
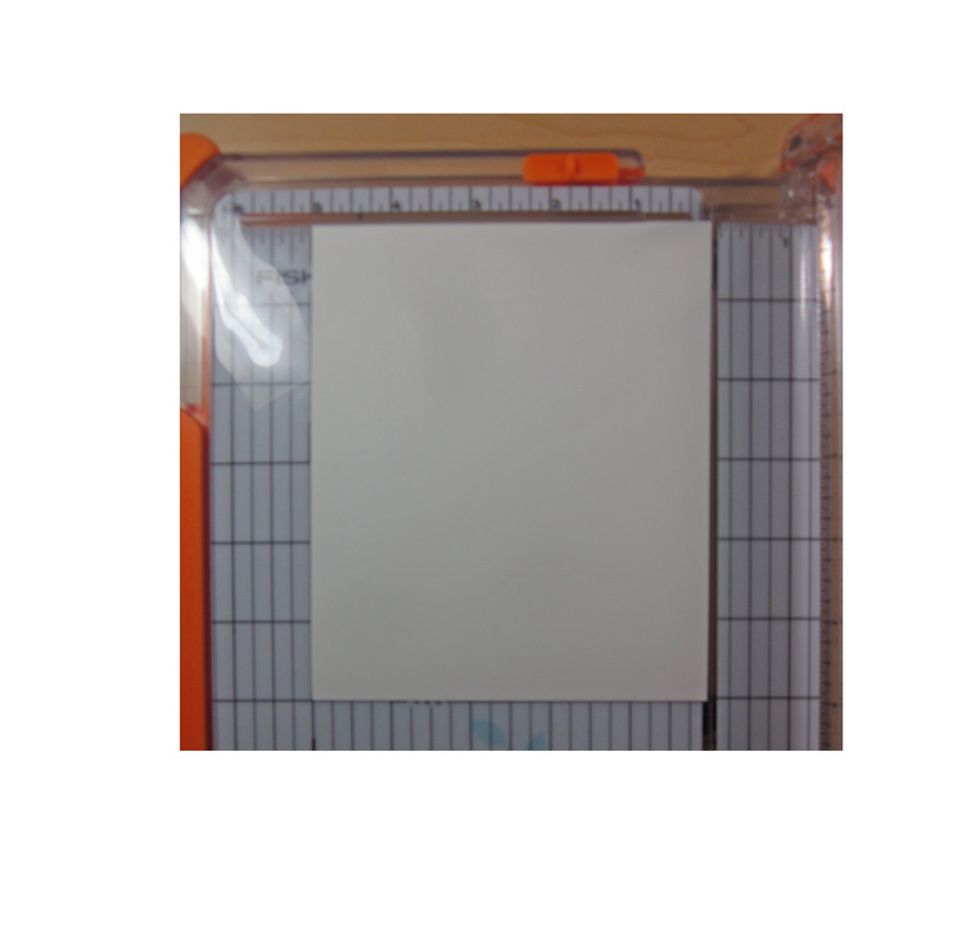
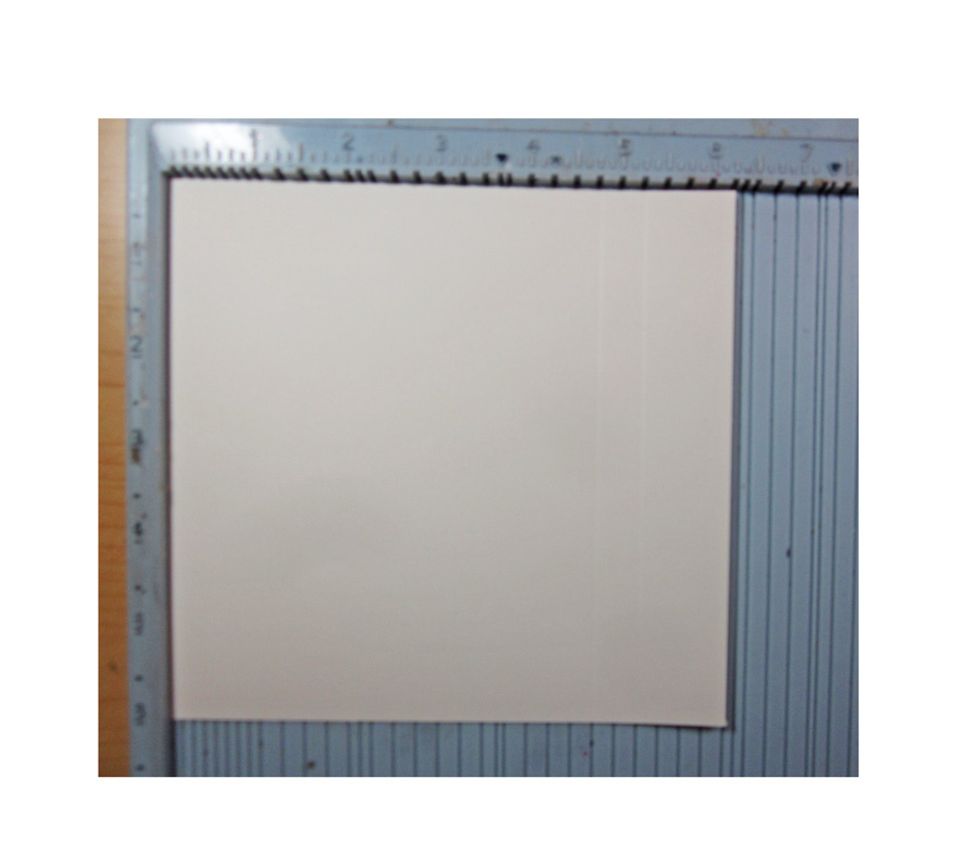
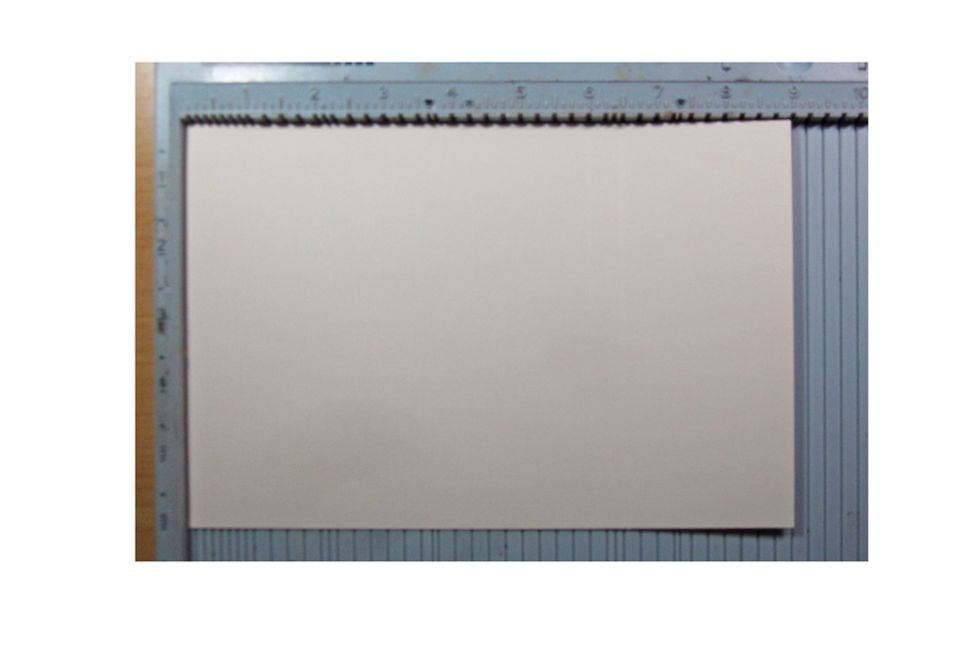
Cut a piece of card stock 5" x 6".
Glue this piece down in the center back of your mini book. This is going to give a finished look but it's also adding strength to your project.
Cut two pieces of 6 x 7" pieces of paper and score each at the 5" x 6". This is going to make your two flaps on the side.

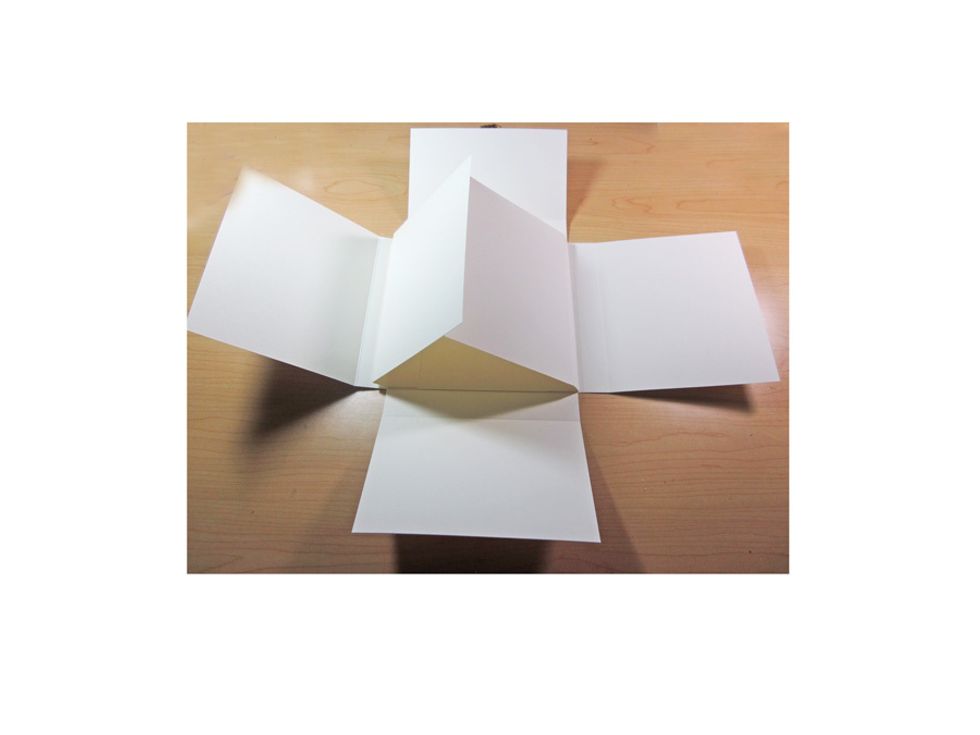
Glue down both of the side tabs as shown here using your strong adhesive.
Can you see how this mini book is starting to come together. It's so much fun...let's keep cutting and scoring for some more flaps and folds.
Cut a two pieces of card stock 6 x 6 1/4" . Score each of them at 4 3/4" x 5 1/4". These are going to be your inside side flaps.
Glue down just on the first crease line of the inside square.
Here are both of th inside flaps glued down and you can see how it's starting to fold in on itself.
Lastly cut a sheet of card stock 6 x 9 1/2" and score on the 6" and the 6 1/2" mark along the 9 1/2" side. Remember to crease those lines so it gives a professional look.
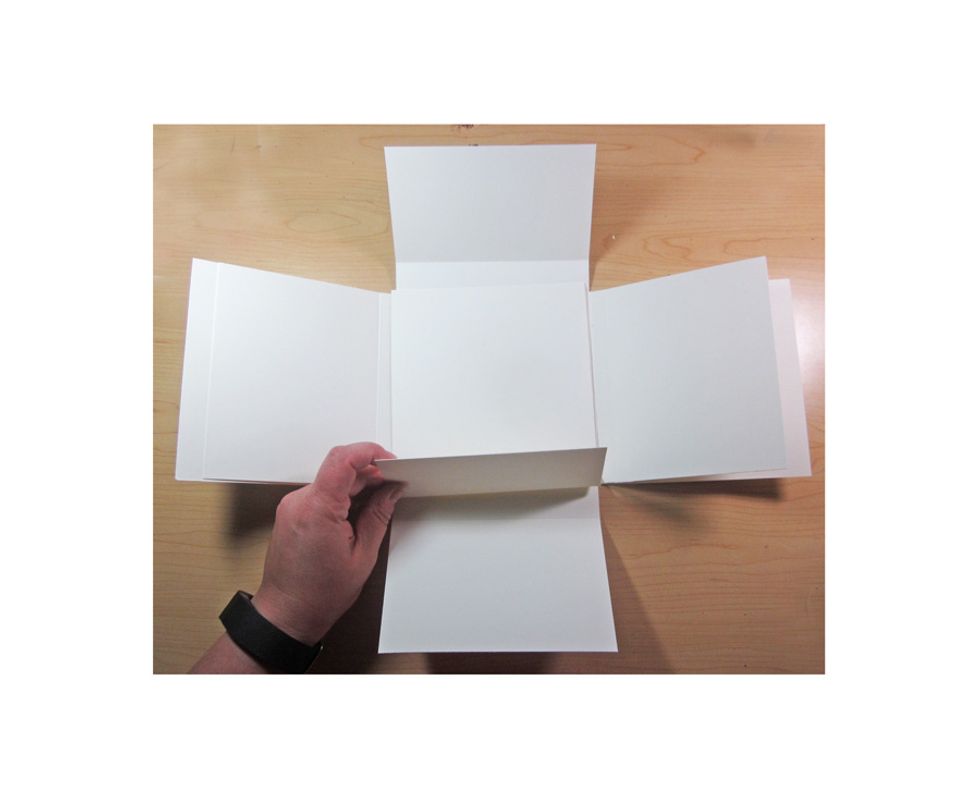
Glue your sheet down along the bottom center crease line for the final flap.
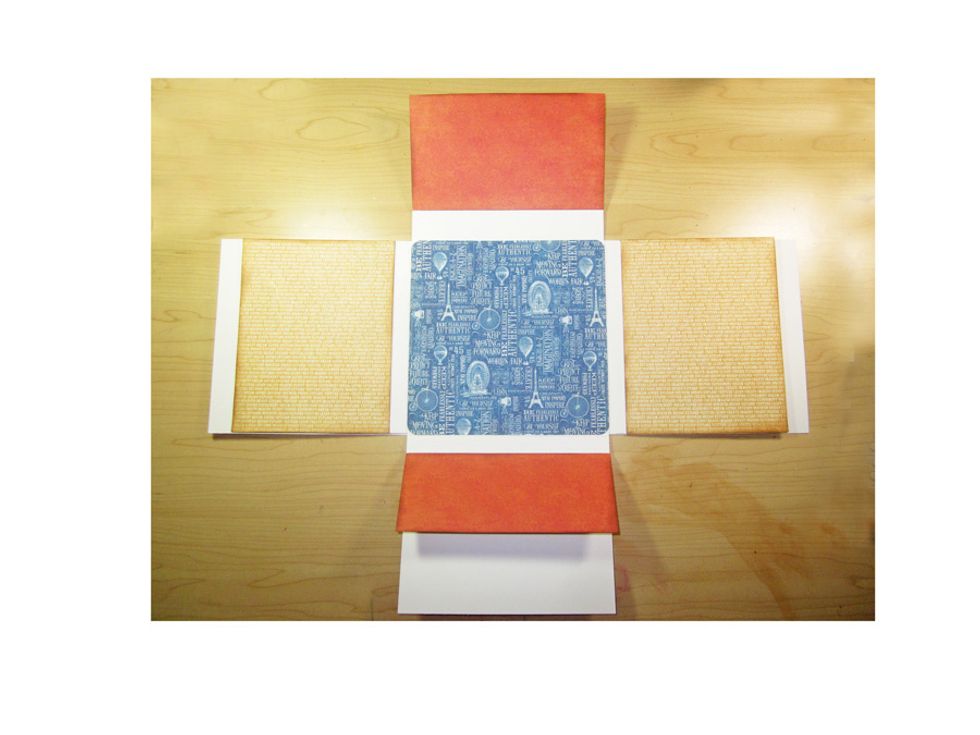
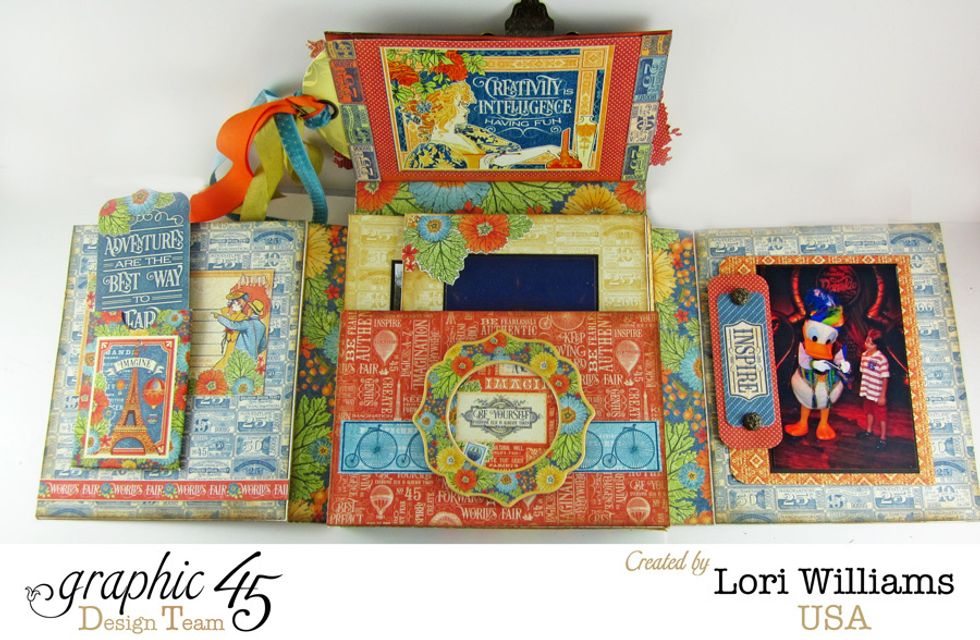
Once the flaps and folds are all nestled in on each other you'll have a perfect little box that hold the entire flipping mini book.

Here's the fun part. Get some Graphic 45 paper. I'm using the World's Fair solids and patterns . Start covering all the flaps and folds. This paper pad is the perfect size for this project.
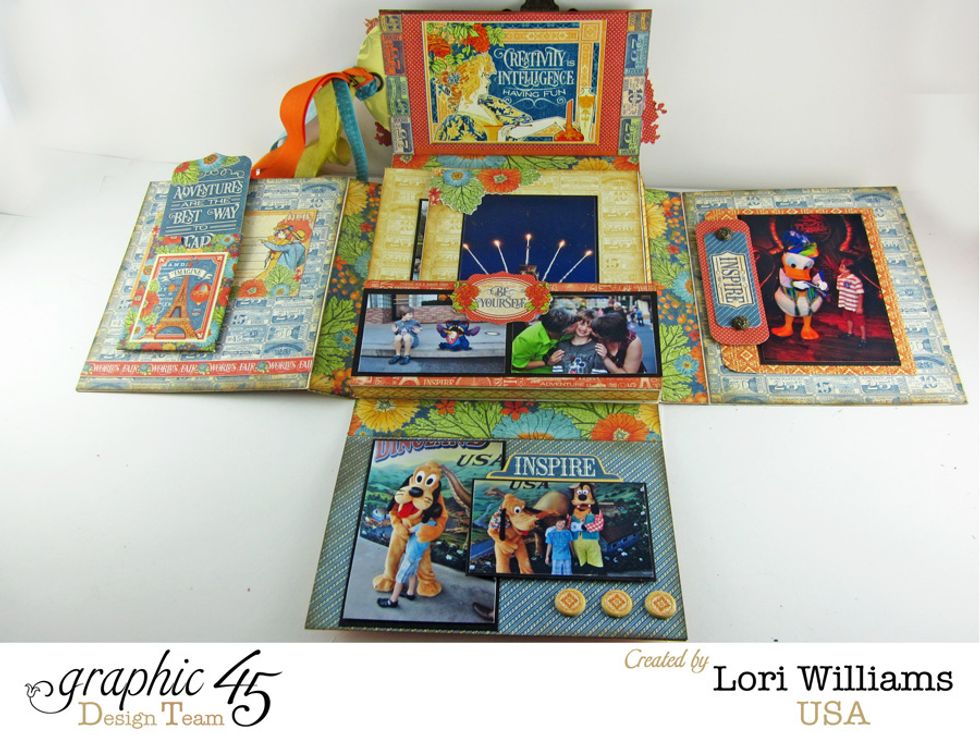
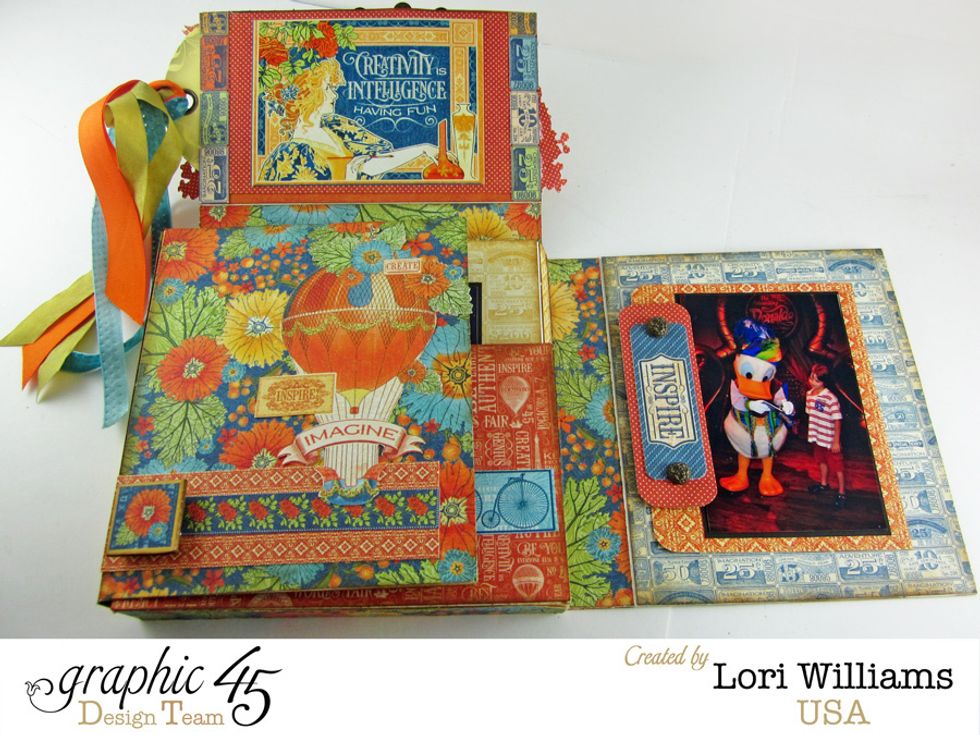
I distressed inked all the edges of my paper. It just gives a more finished look. Once you have a paper base start adding pockets, pictures and embellishments.

You can see some of the fussy cut images I used from the Graphic 45 paper. That's one of the things that really shines with G45 paper so be sure to take advantage of their designs.
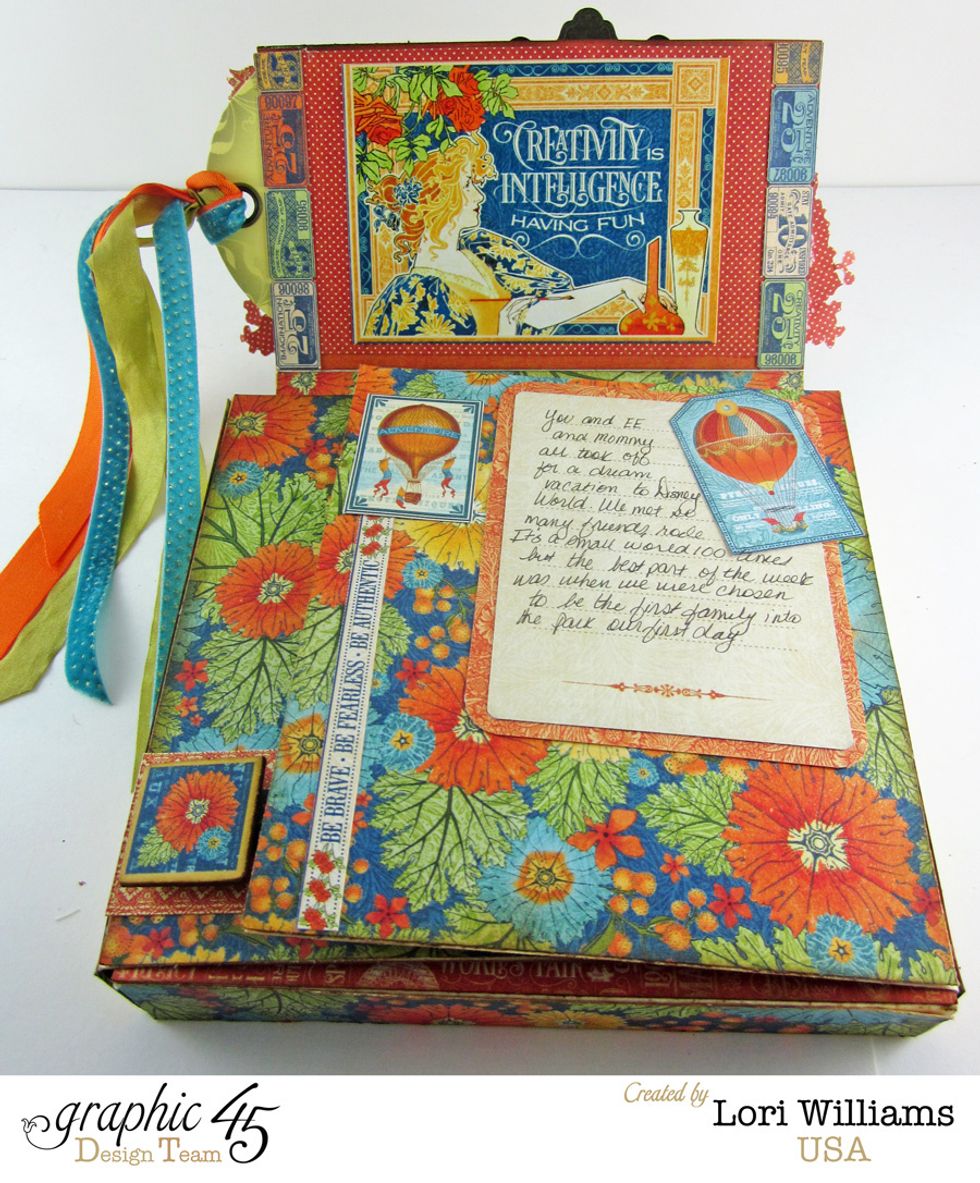
Journaling always adds that personal touch. Graphic 45 's Ephemera cards help make that step easy peasy.
I even added small little pictures to the inside bottom fold. Granted it was skinny but I think it just adds a surprise around every corner.
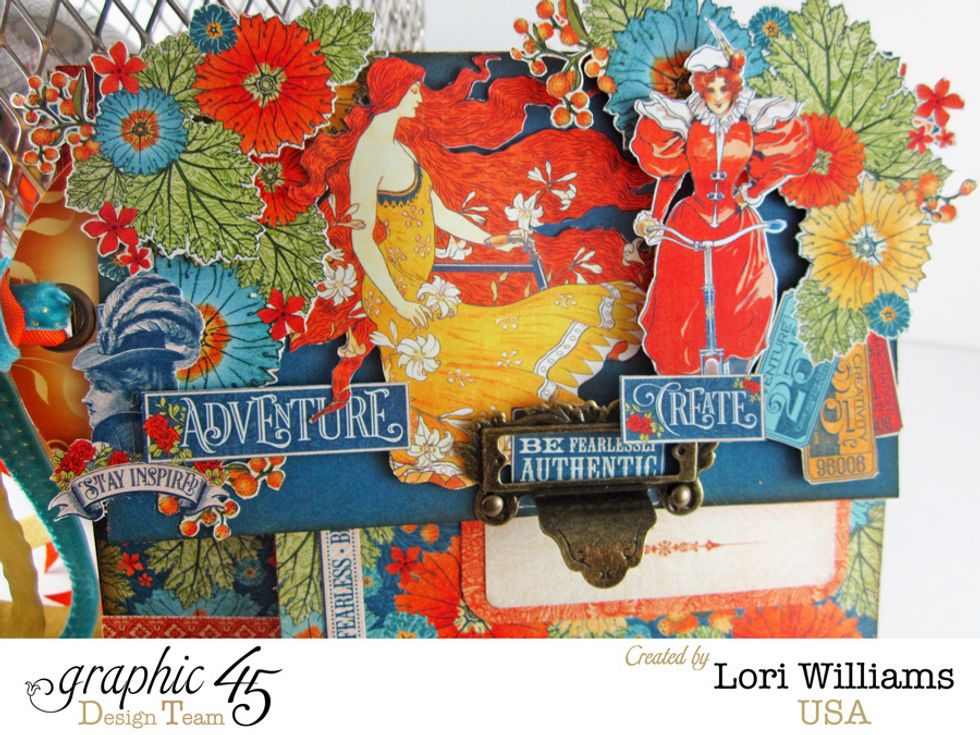
Graphic 45 is known for their vintage designs & fussy cutting is something their paper lends itself to beautifully. I think you'll agree all the fussy cut images layered on the front are beautiful.

Here is a shot of the front of the mini book closed. I even used the top of the packing from one of Graphic 45's staple items. You can see it peeking out the side with ribbon through it.
All the details really work together to make this piece a WOWZER, but remember the real star of the project is your pictures and memories.
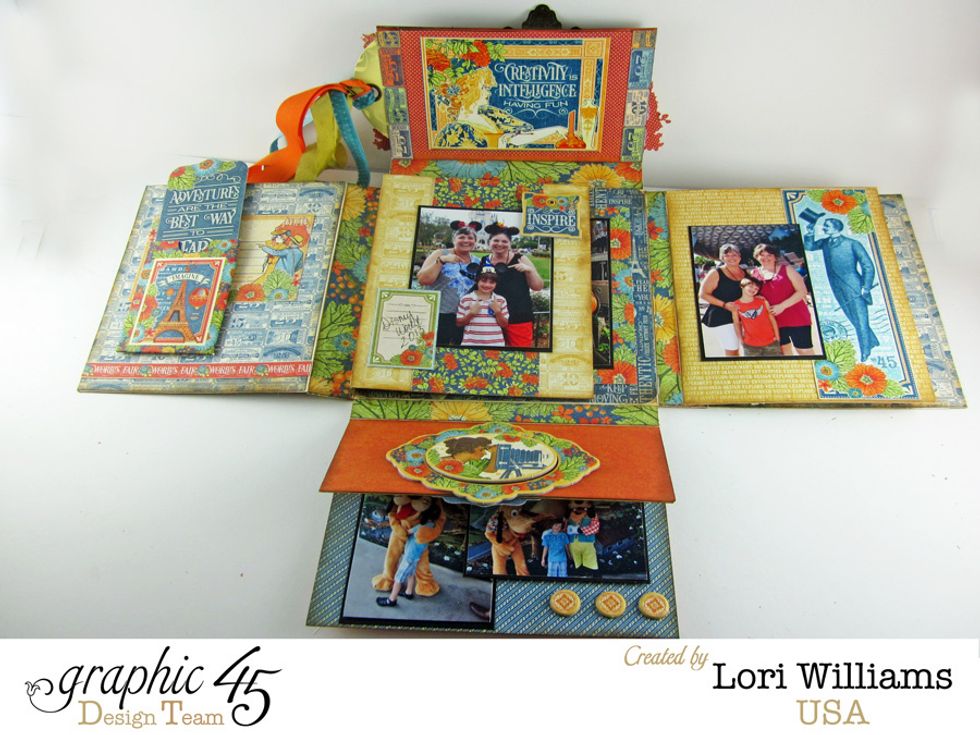
The World's Fair line is a wonderful themed collection that really lended itself well to remembering our Disney trip two years ago.
Remember each of those little flaps...don't forget to add detail to every one of them.
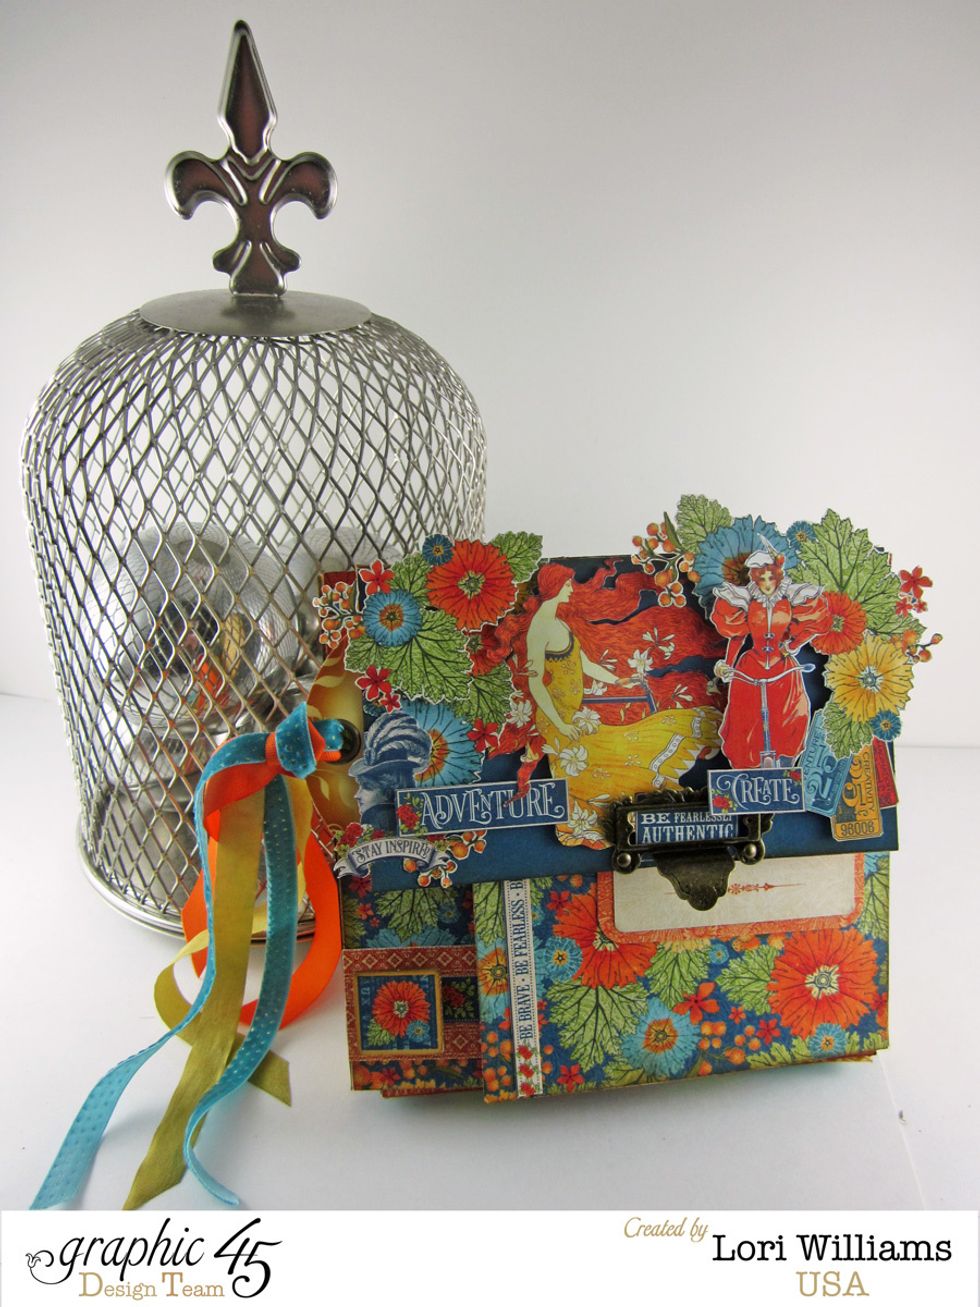
Here is the front of the book finished. It really was an adventure...the trip and the project. I hope you've enjoyed this tutorial and I'd love to see your finished flip flap mini book.

My name is Lori Williams and I'm a design team member with Graphic 45. You can see more of my work on my blog www.pinkcloudscrappers.blogsp… or on Graphic 45's Blog www.g45papers.typepade.com