The Conversation (0)
Sign Up
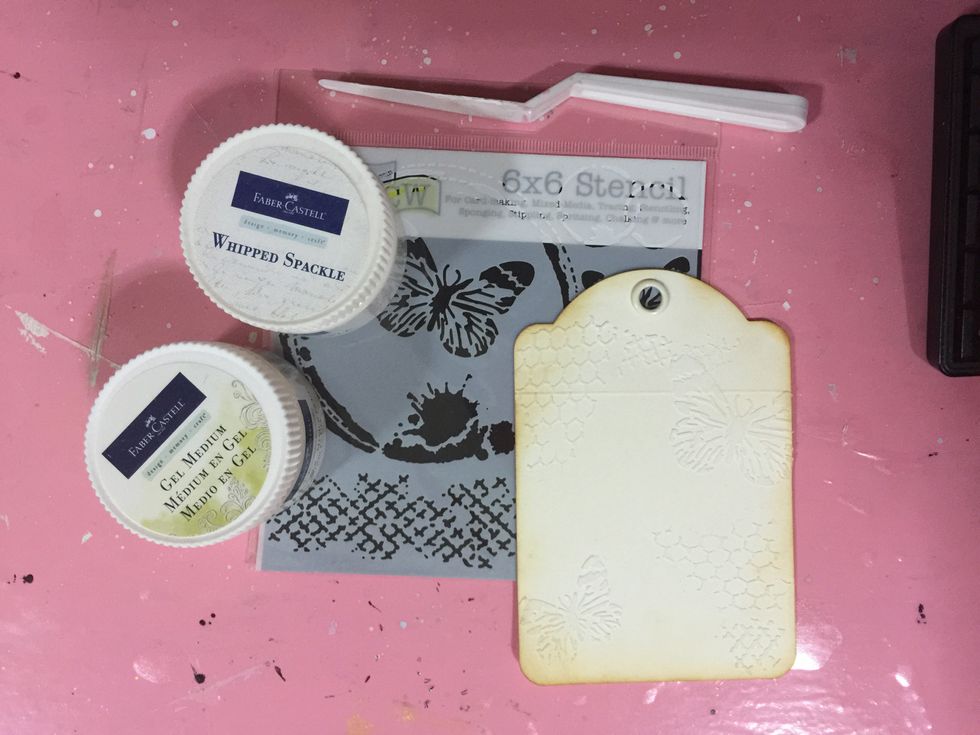
Create texture to you tag using a stencil and modeling paste. Ink the edges once the paste has dried.

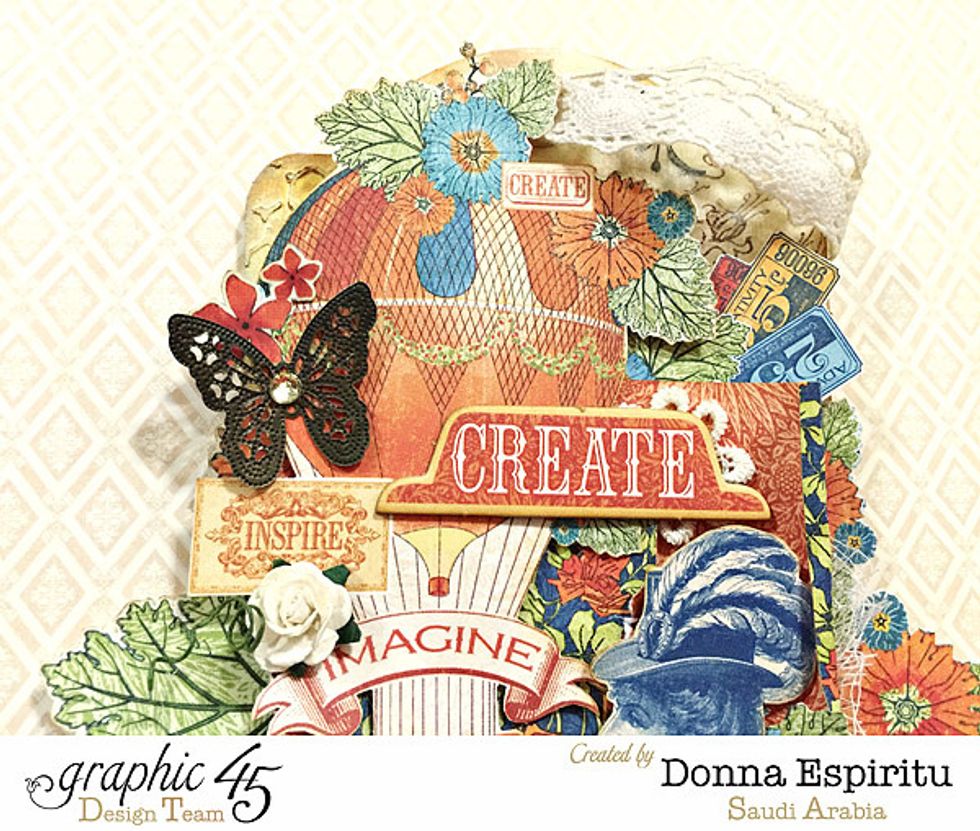
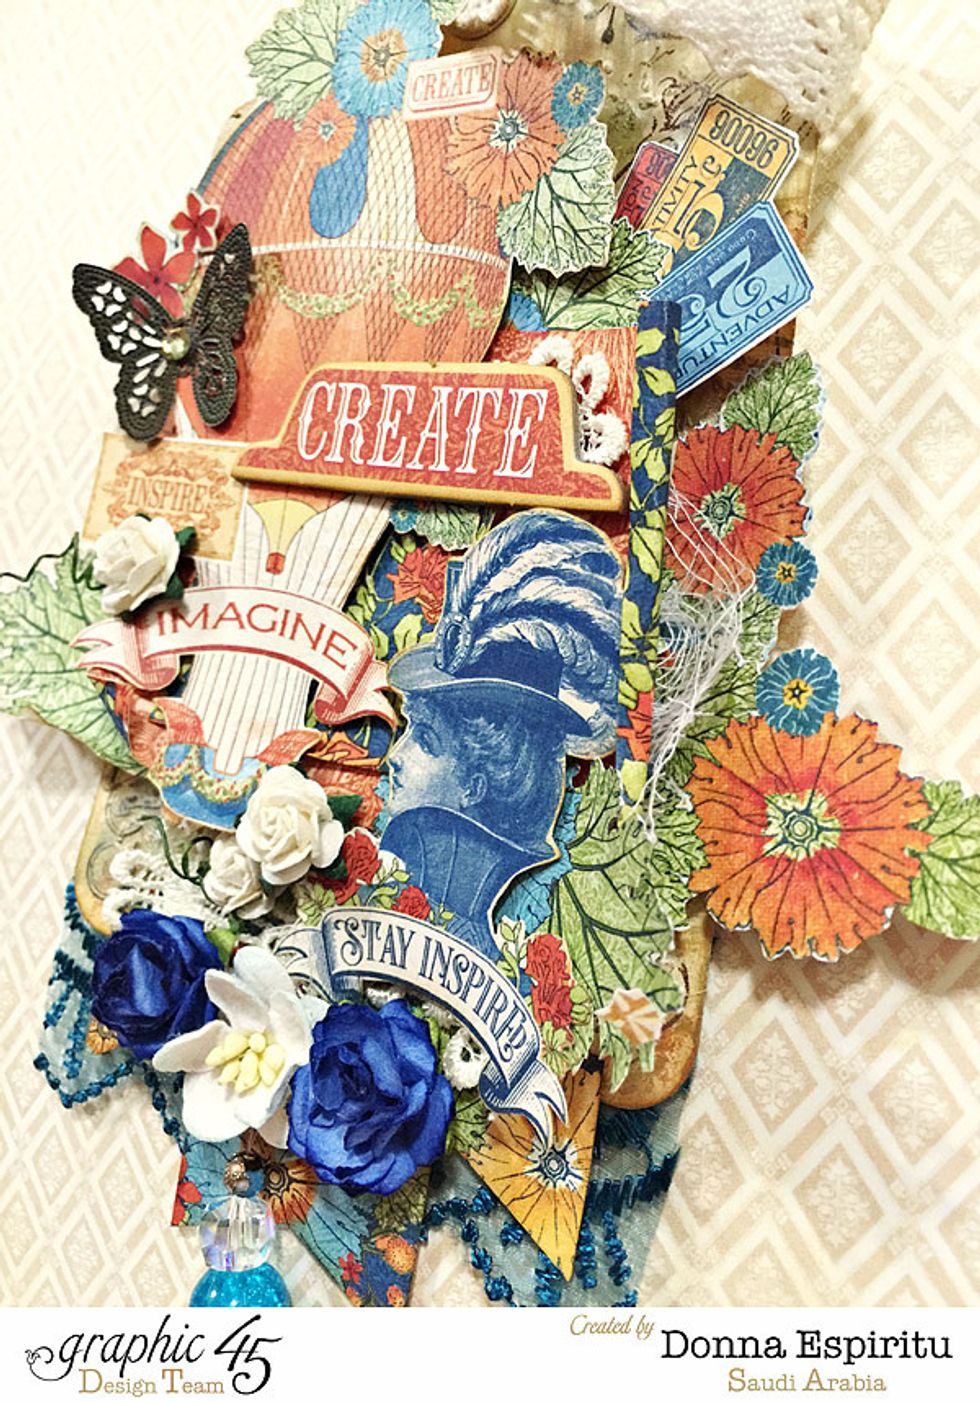
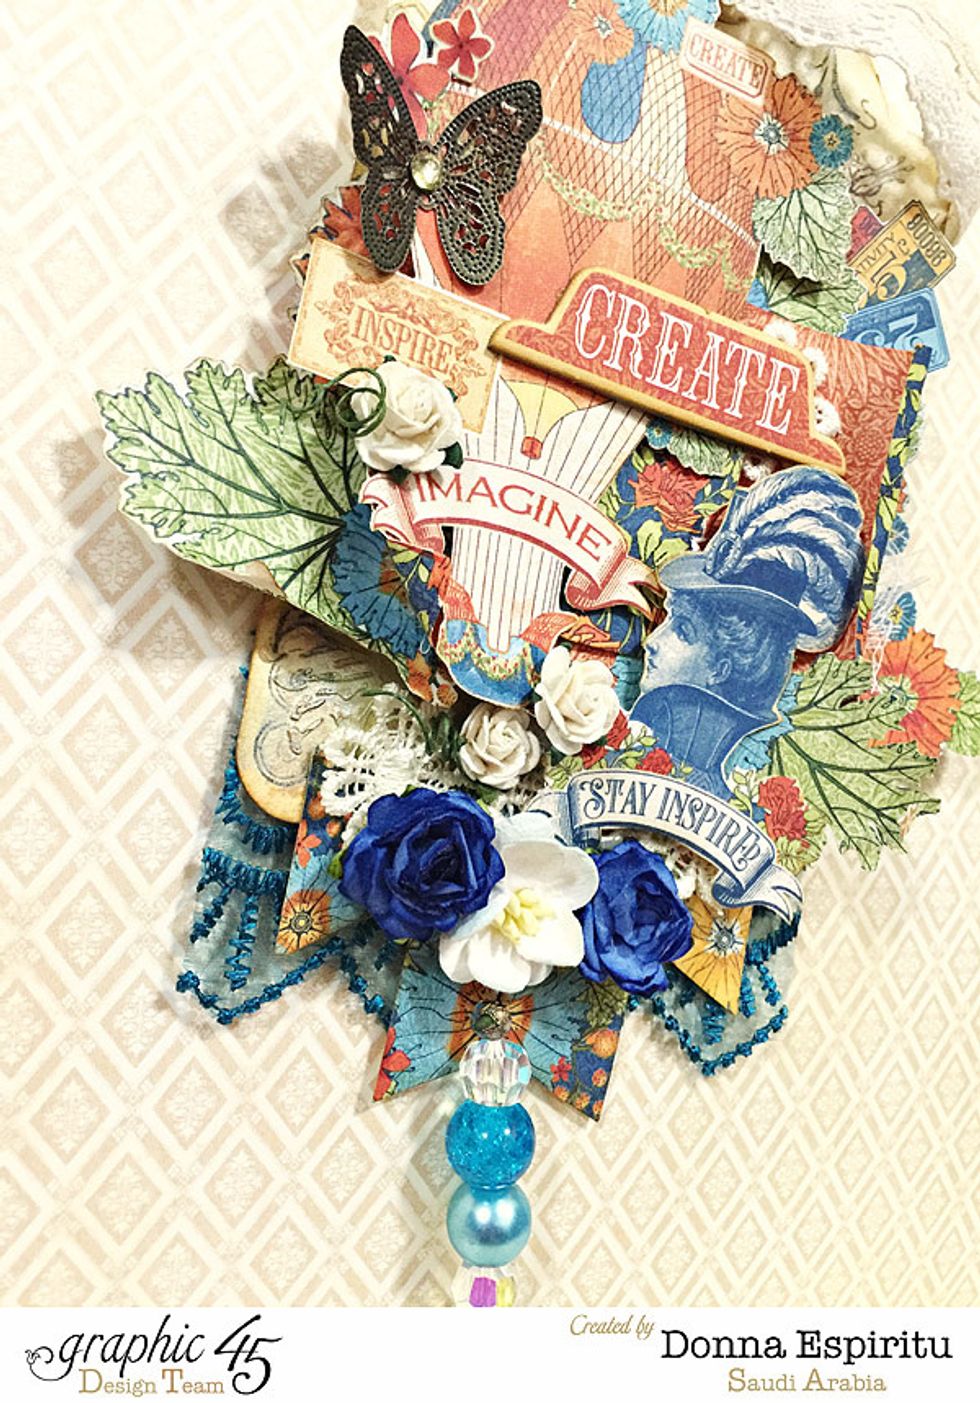
Cut out patterns and images. I chose to cut the ephemera cards.

Stamp randomly with different shades of ink. Doesn't have to be perfect stamped images as these will be covered layer on.
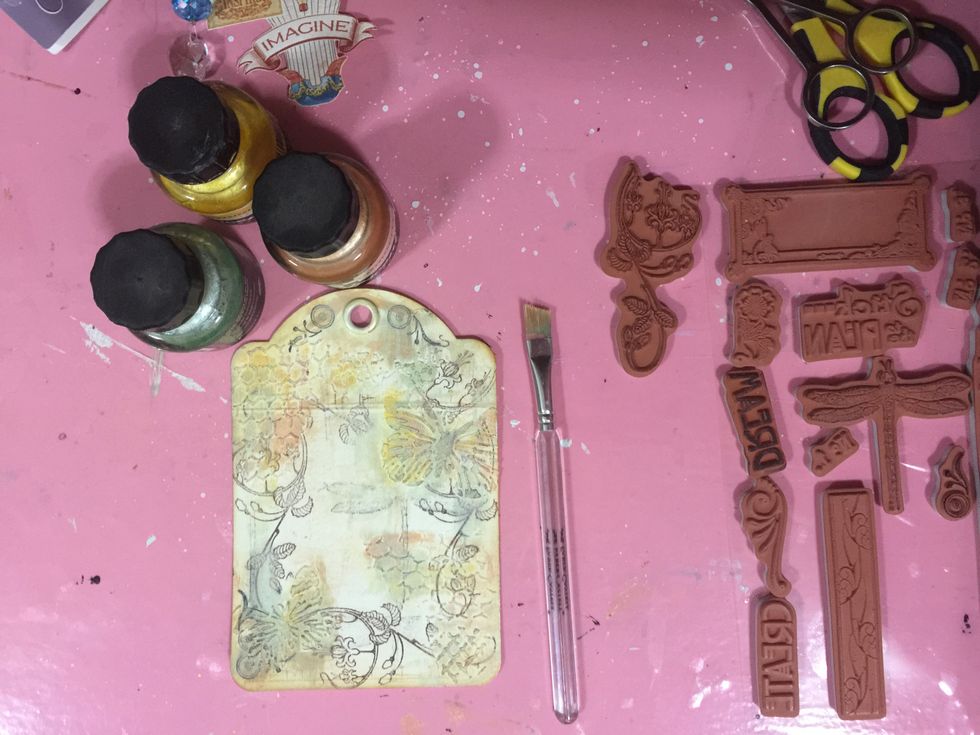
Randomly dry brush some sparkling acrylic paint to your tag
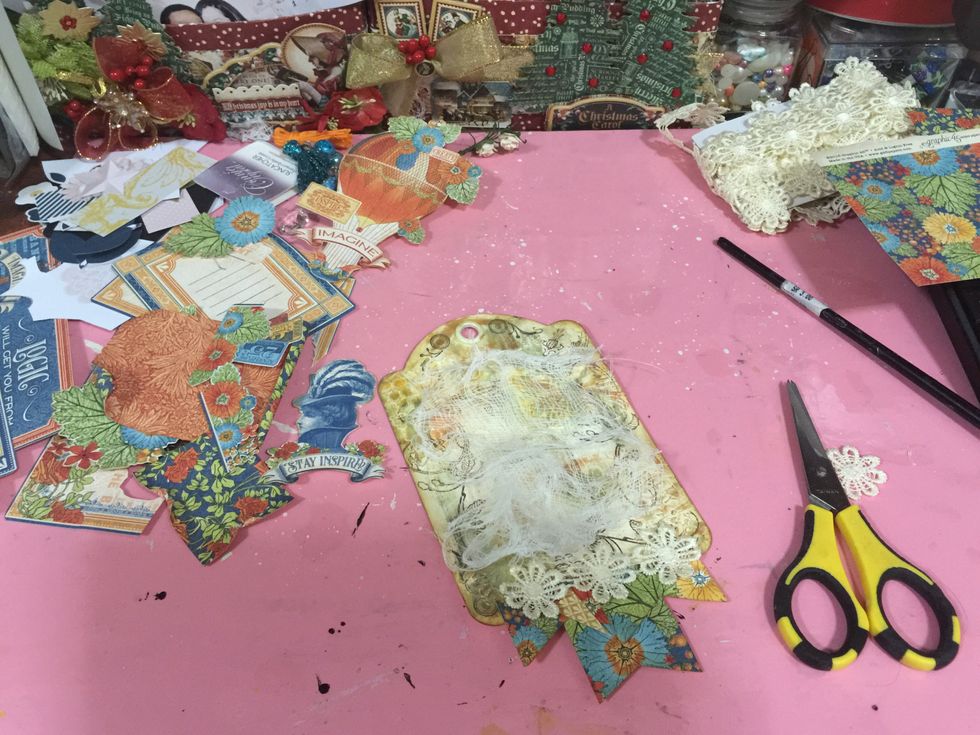
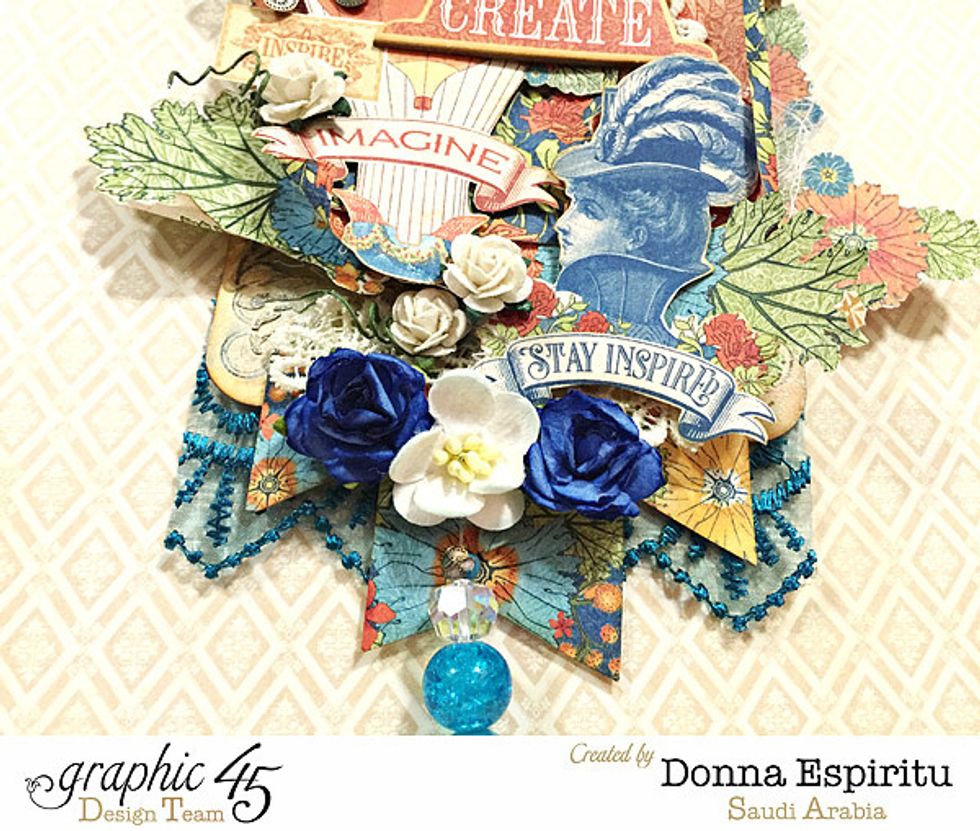
Adhere gauze or cheesecloth to the middle and a piece of lace trim at the bottom
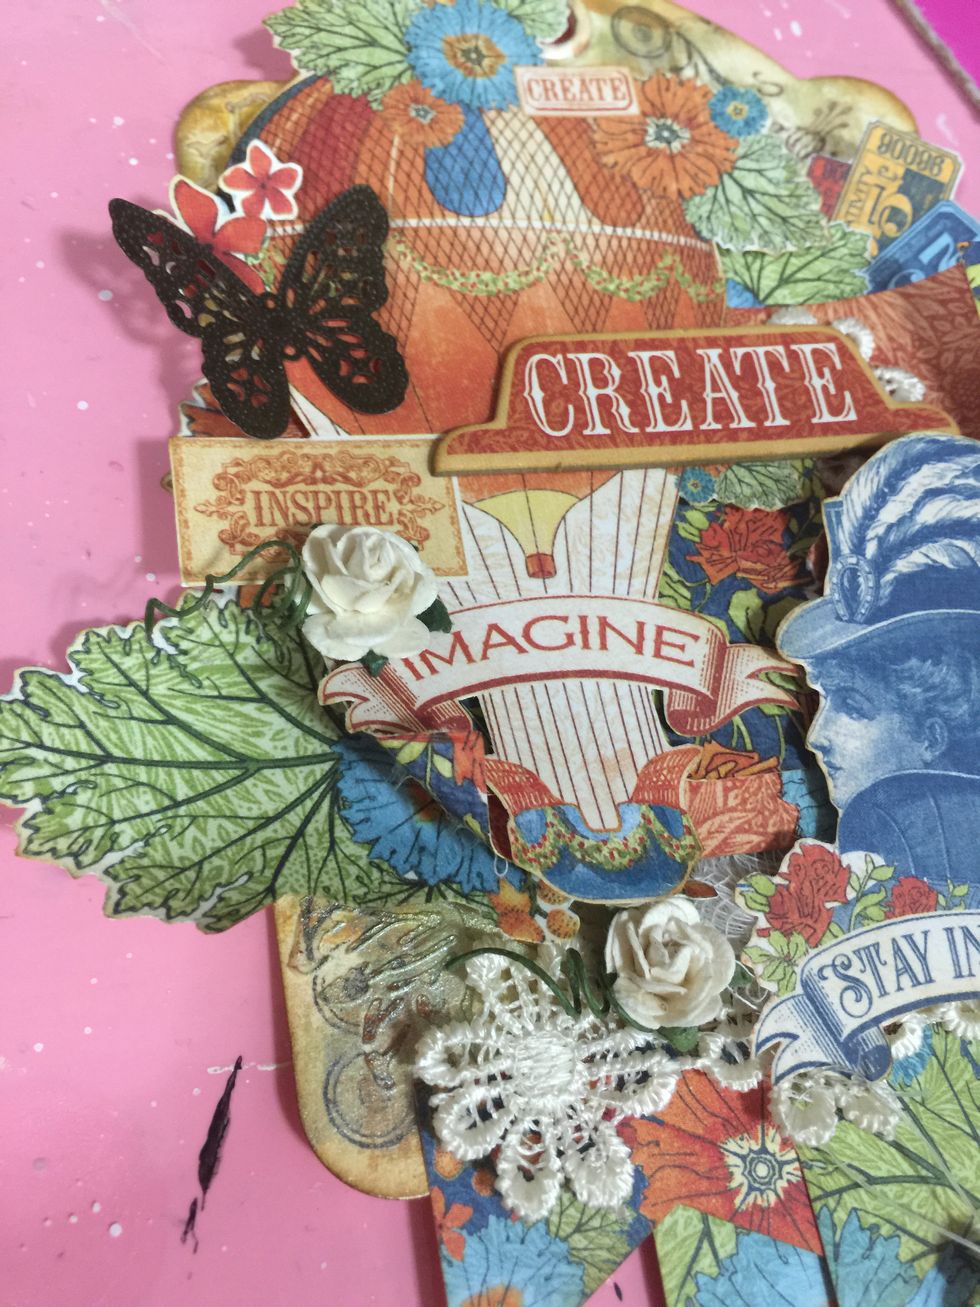
Layer the cut out images/patterns and embellish as desired.
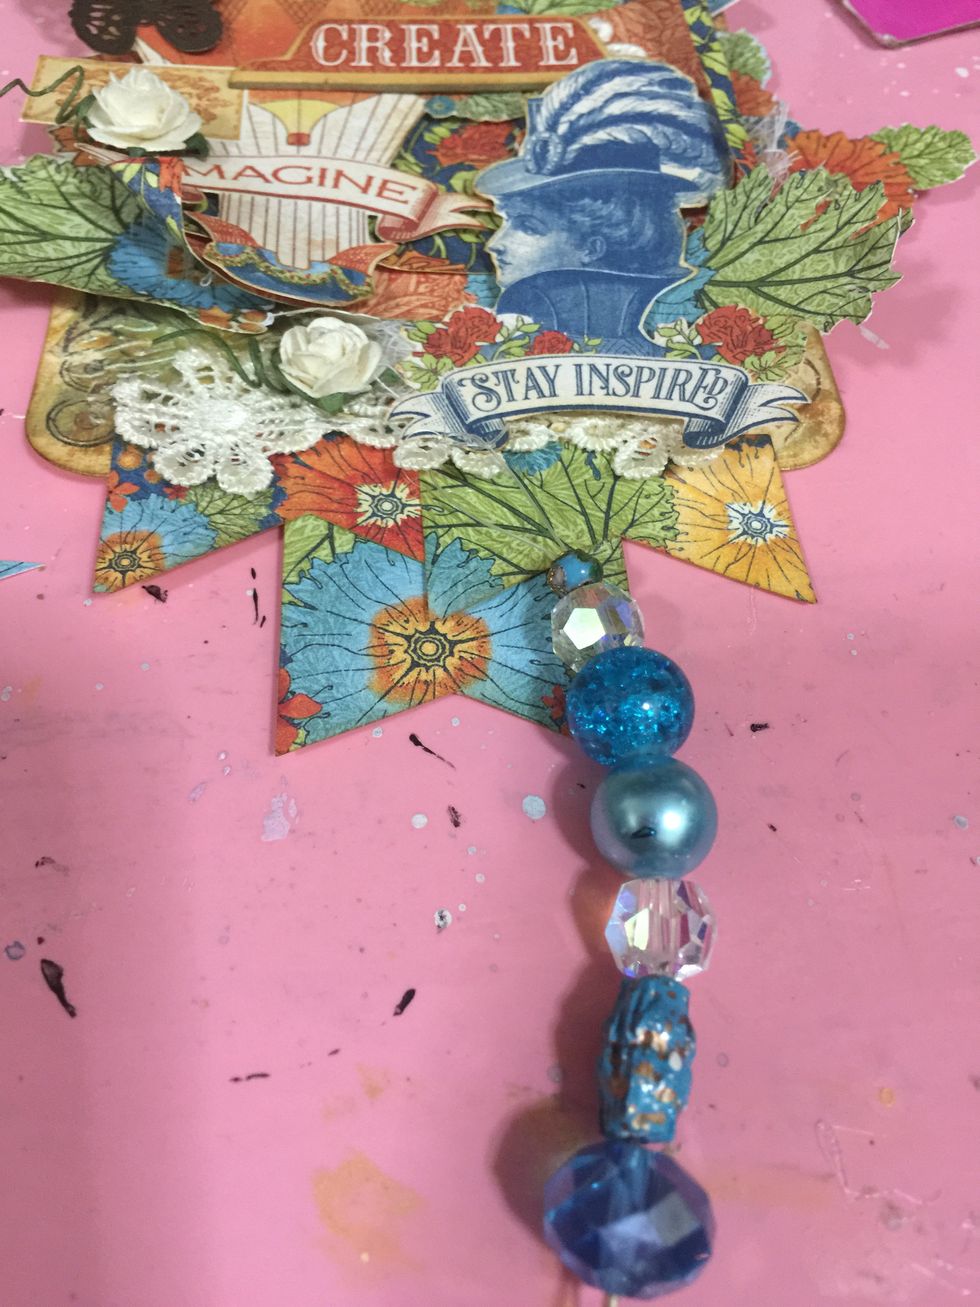
A few beautiful beads add interest to your hanging tag decor
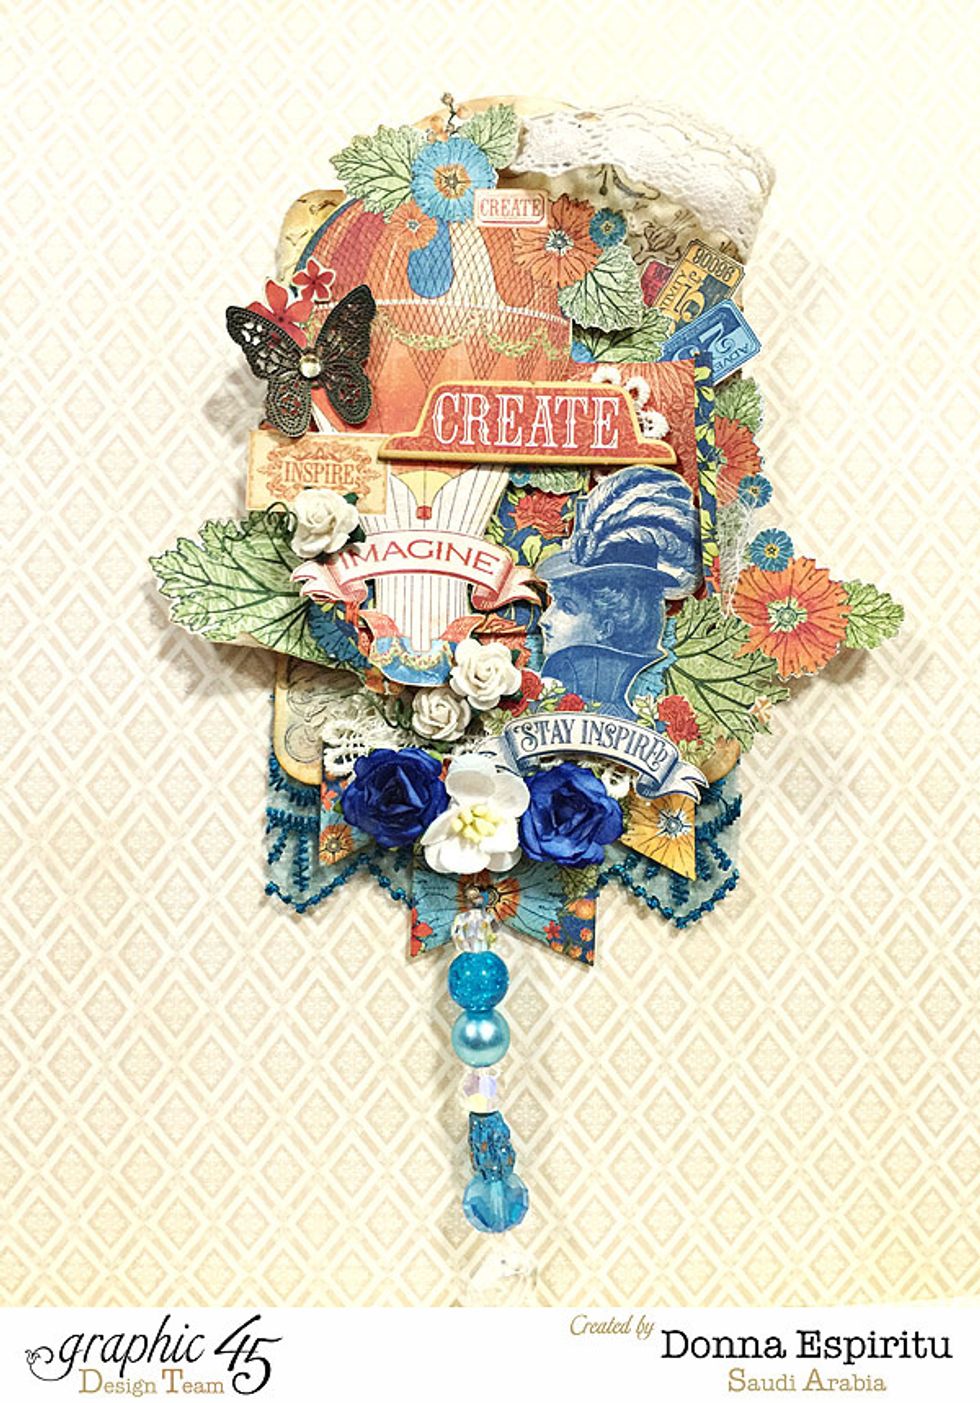
And this is the finished project
I hope this project inspired you. Thanks for checking it out! :) Happy crafting! - Donna