The Conversation (0)
Sign Up
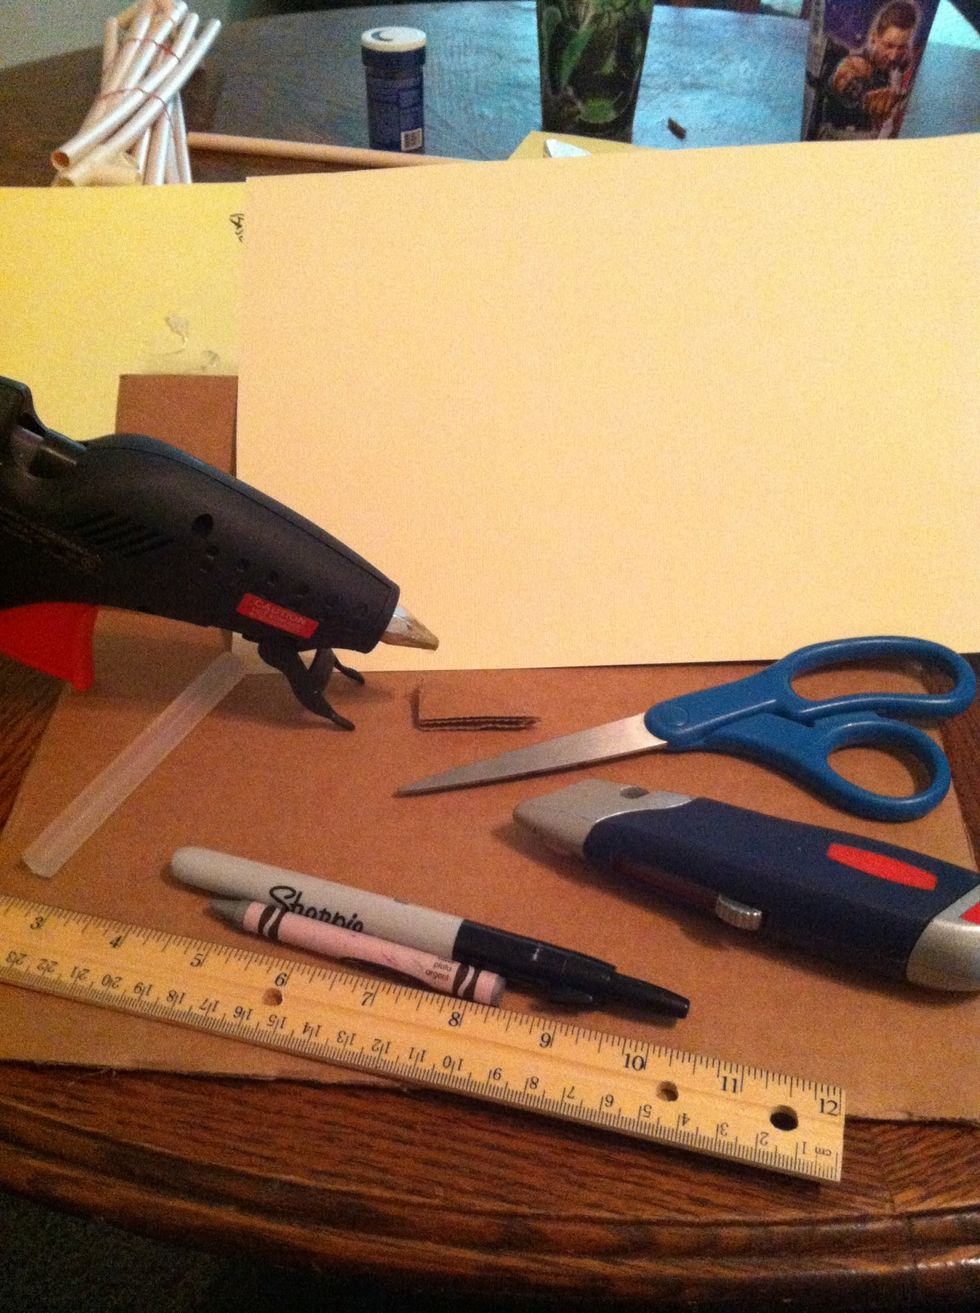
Here's a look at the supplies. The type of cardboard and paper you use is up to you. My boyfriend gave me some reinforced cardboard that came as separators in an oil jug box. It's already perforated.
I didn't add an amount of cardboard. Since mine was perforated I used those measurements. The guide reads for a starting piece of 12"x12". You'll need enough for 3pieces of different sizes.
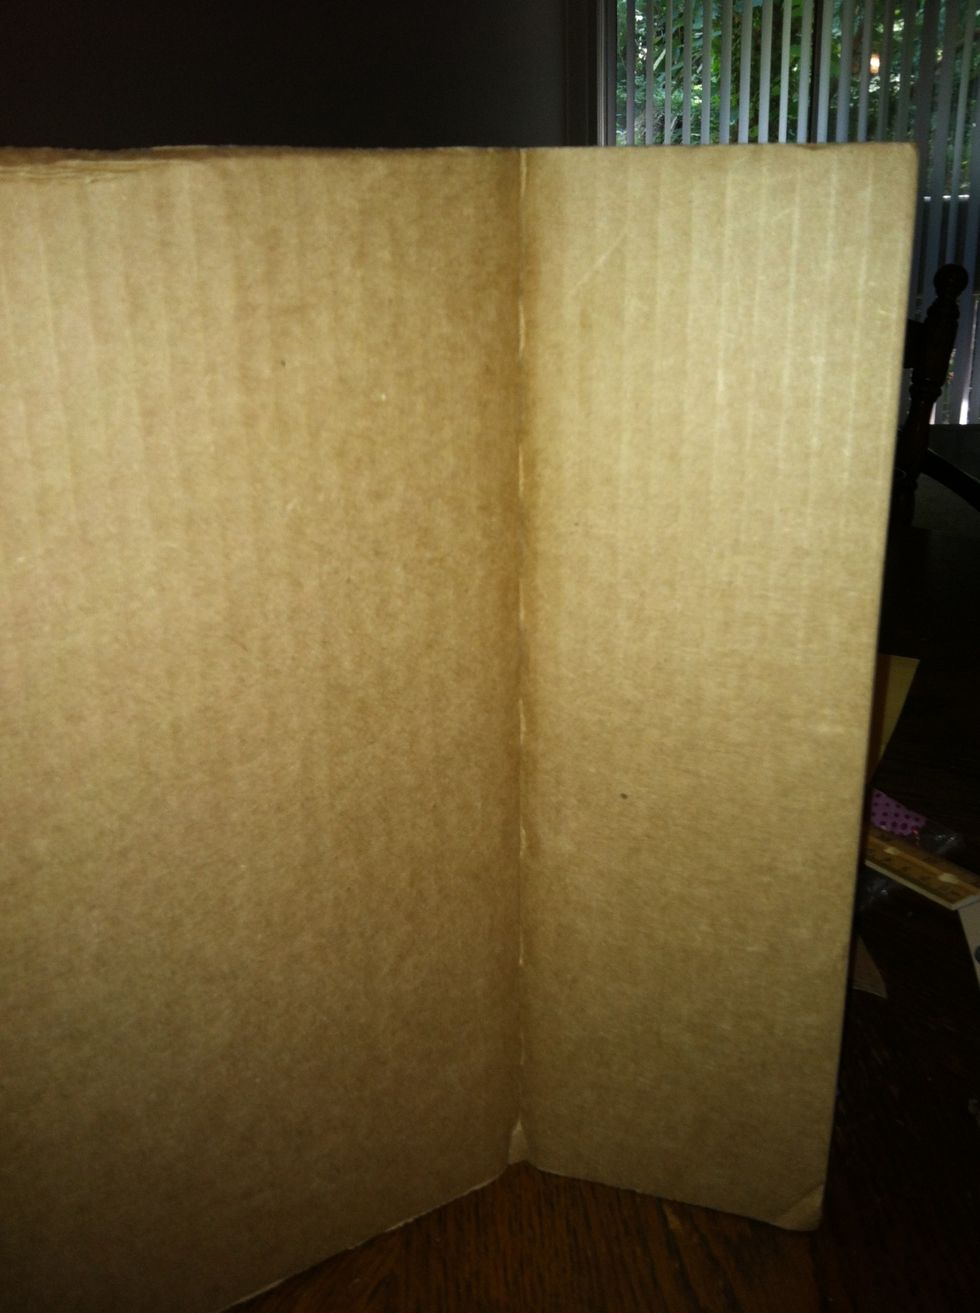
You can see here the perforation and bend. I cut on that line, If you are using something without a perforation you can follow my measurements and cut a 4"x12" piece off of your 12"x12" piece.
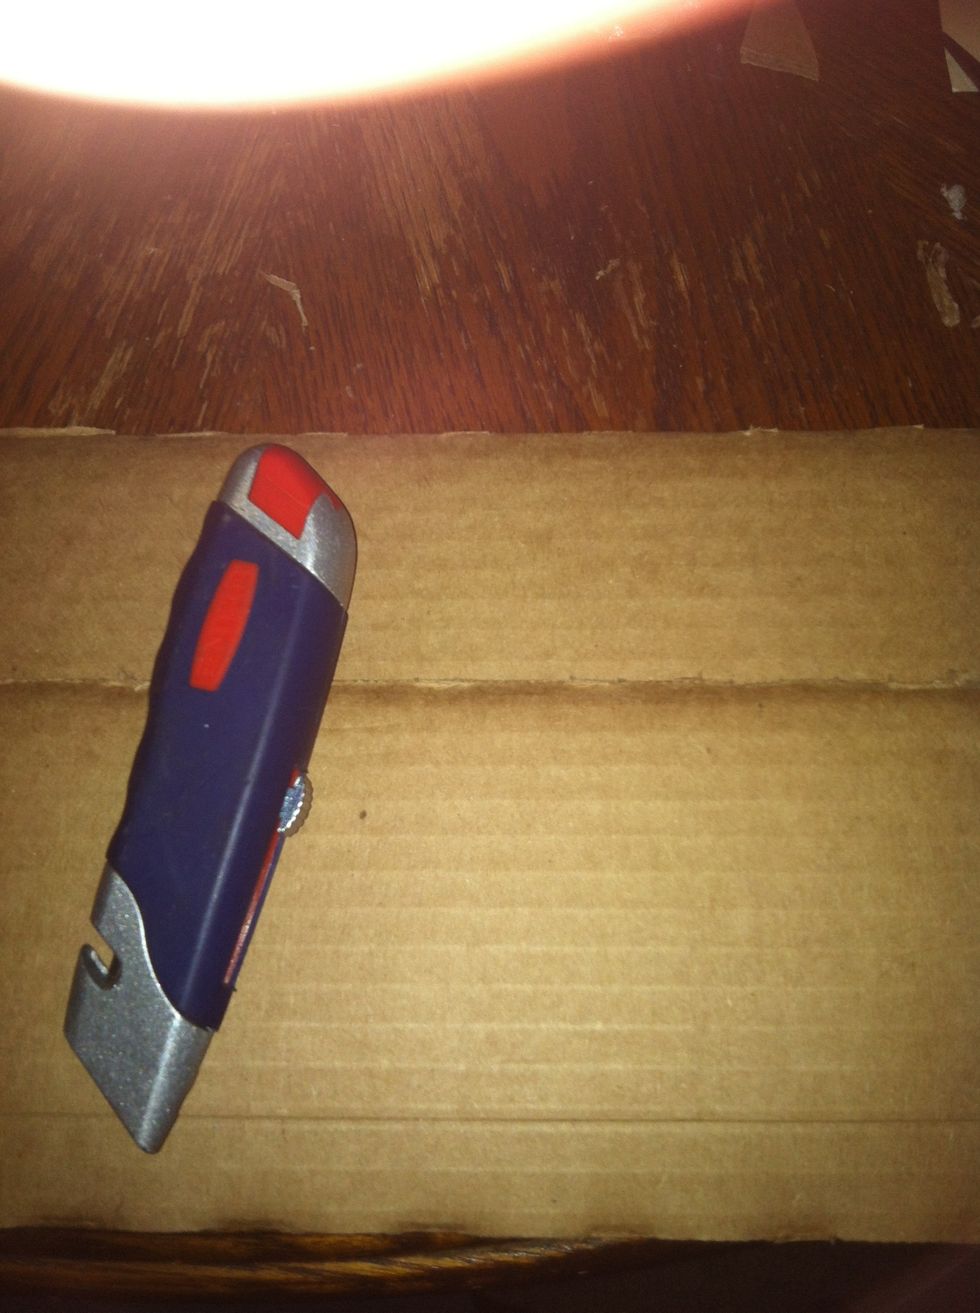
I suggest using an industrial box cutter. It's a lot safer and easier when working with something this thick.
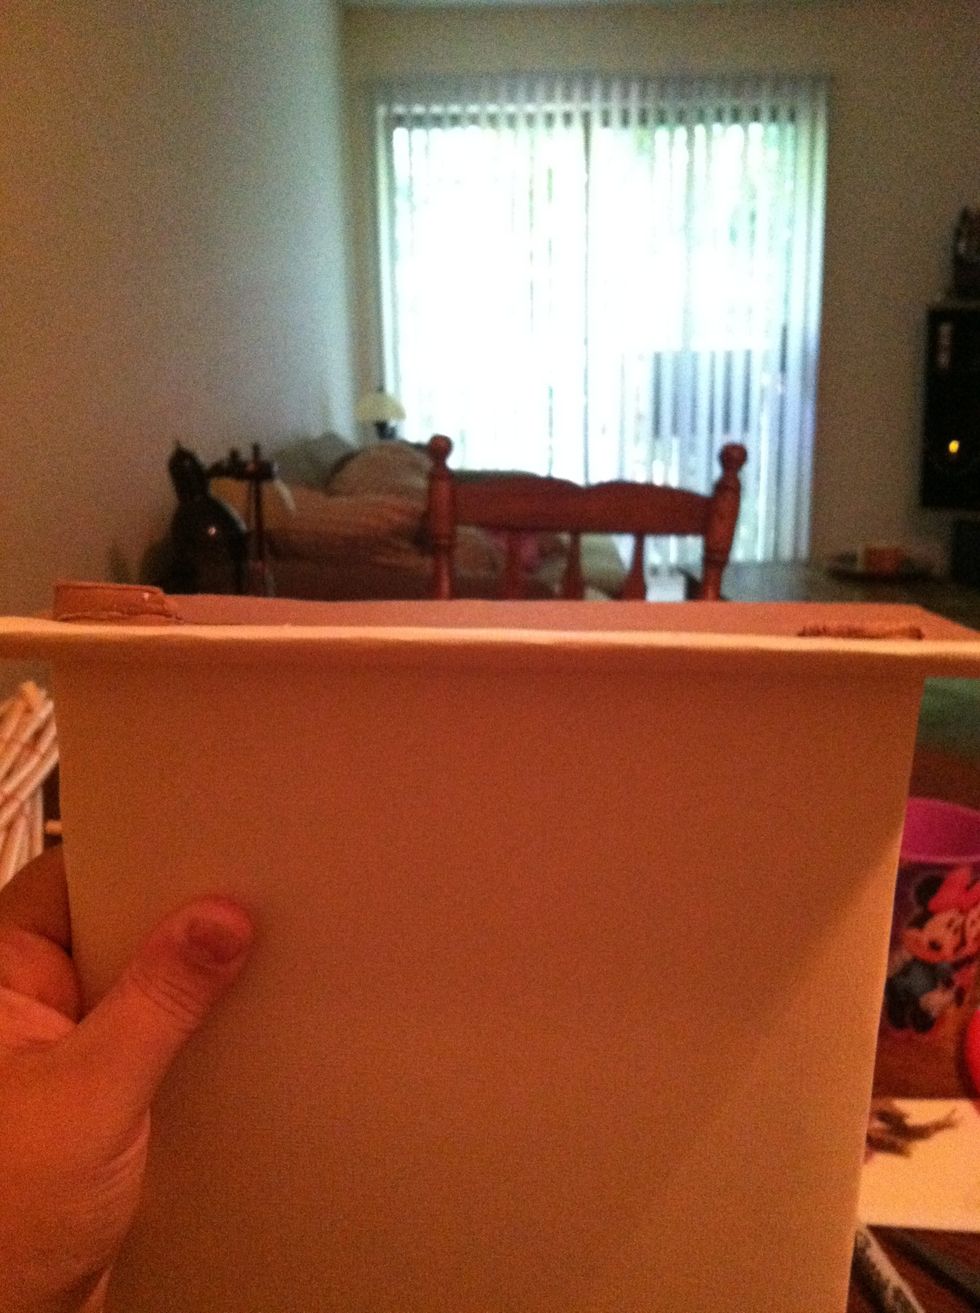
The now 12"x8" piece will become your face piece. 12" high and 8" across. The 12"x4" piece will become part of your base. Set the 12x8 piece aside.
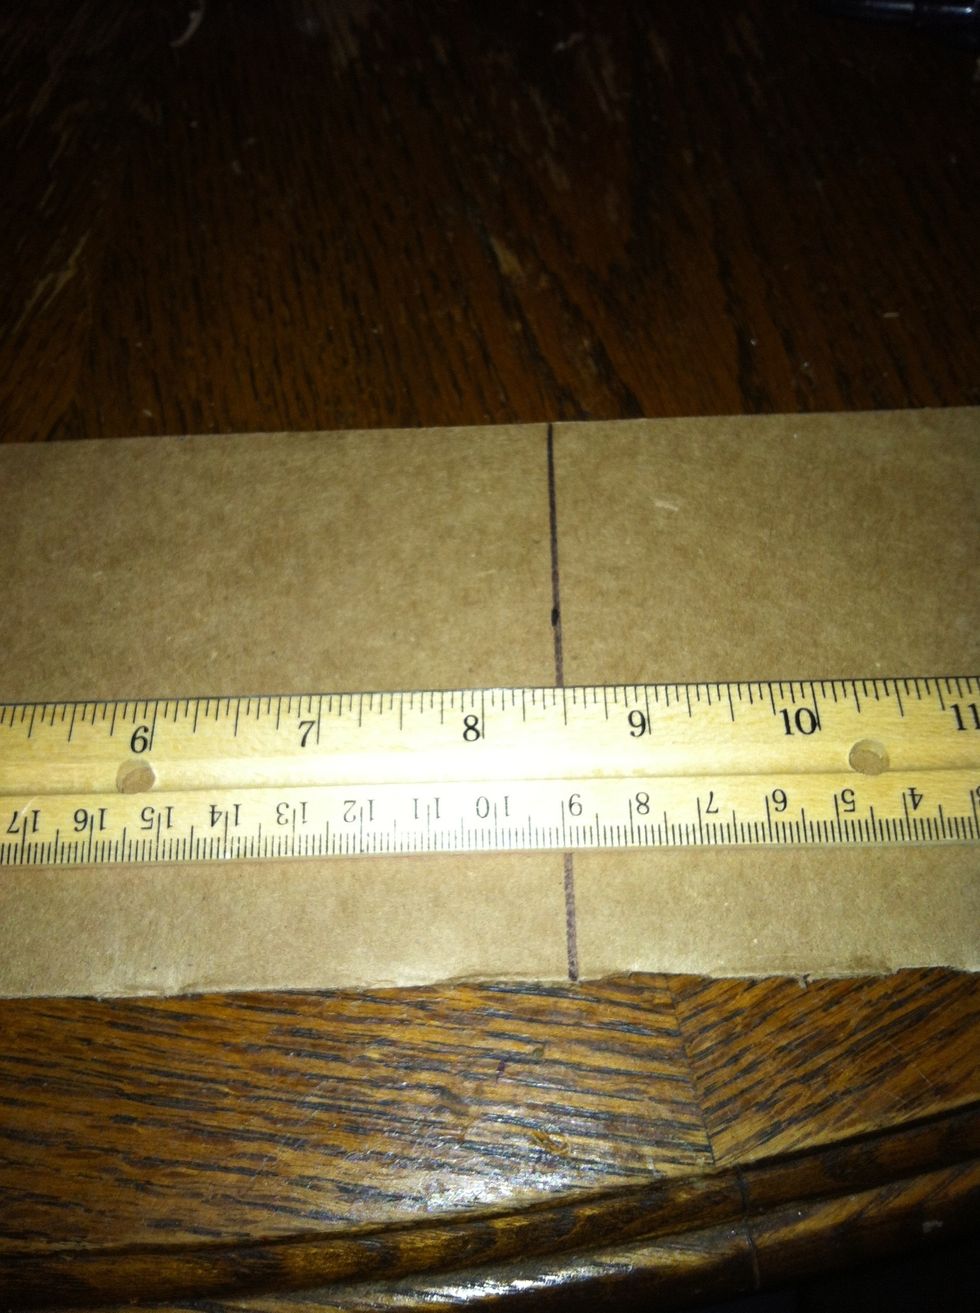
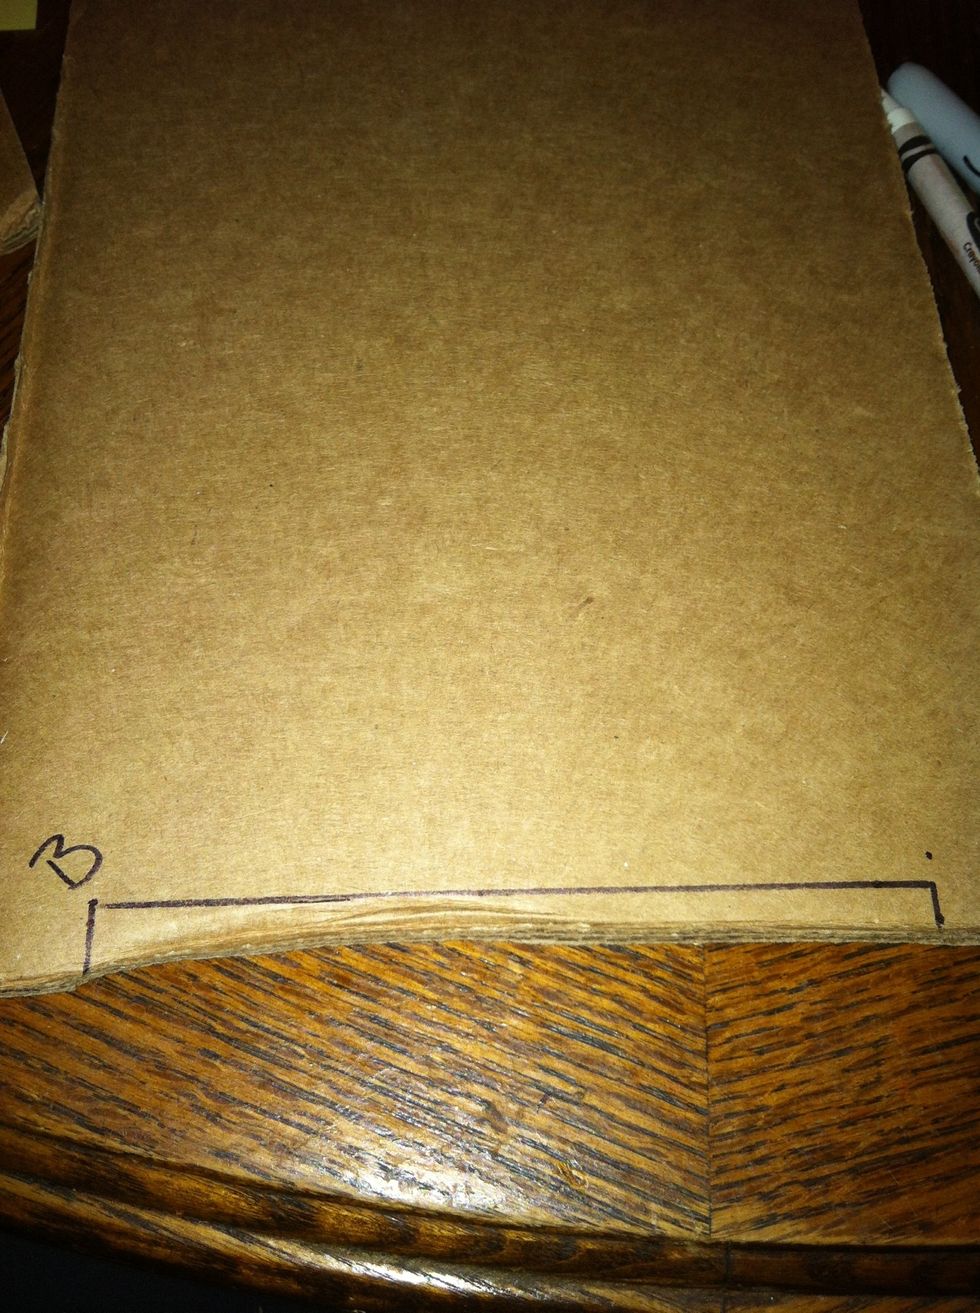
Determine which side/edge of the 12x4 you want to be the top/front. On the back measure approx 9" Across, Or 1" longer than your face piece. Make a line and cut. Put the smaller piece to the side.
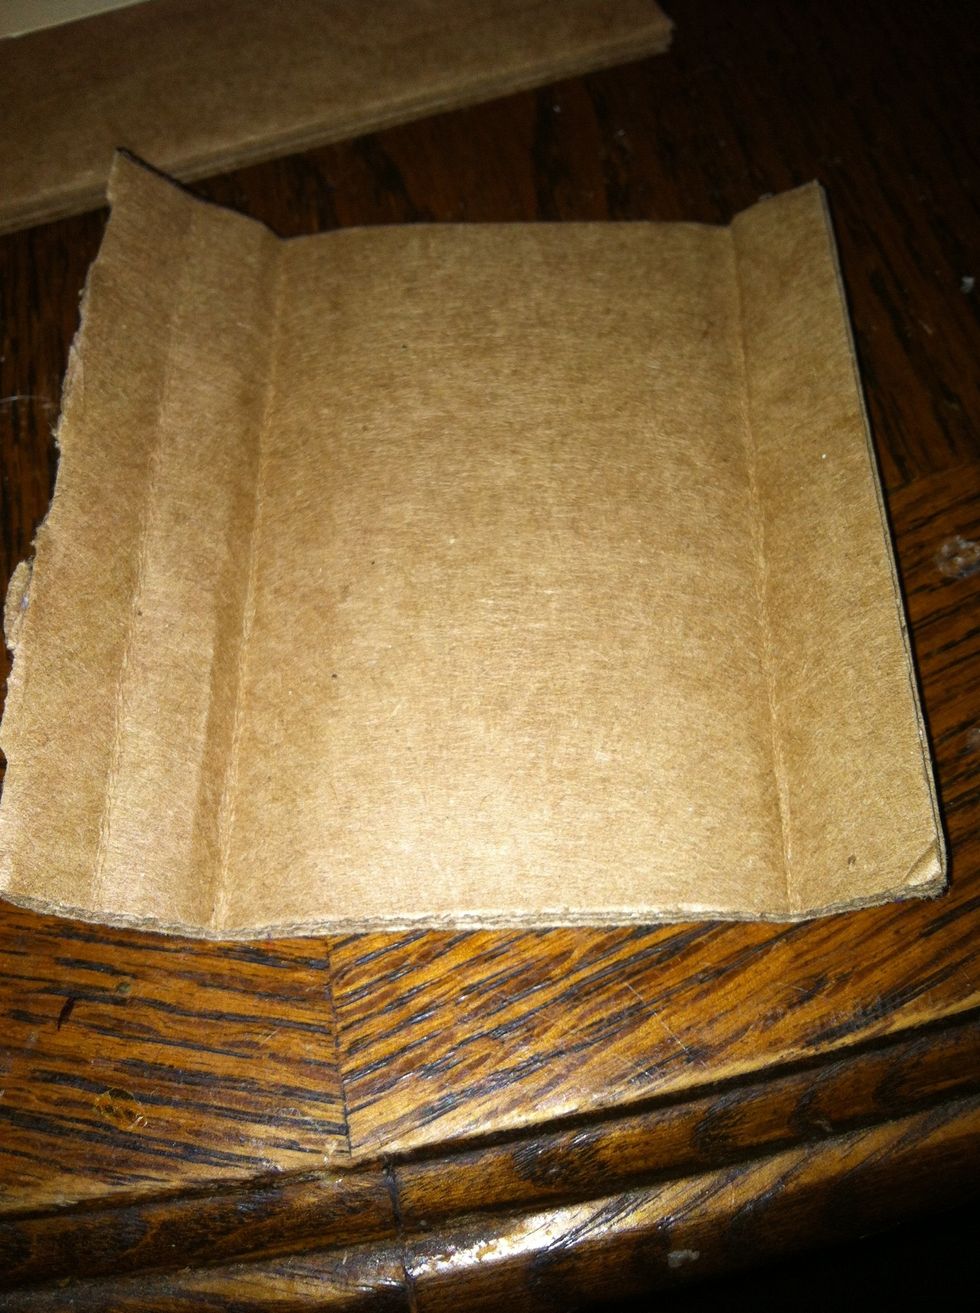
To clarify, you now have 3 pieces. 12"x8" face piece. 4"x9" base. 4"x3" support.
On the back of your base piece, locate the edge you choose to face front. You want to end with two slits, about an inch long on each end of your base, that you can later insert tabs into.
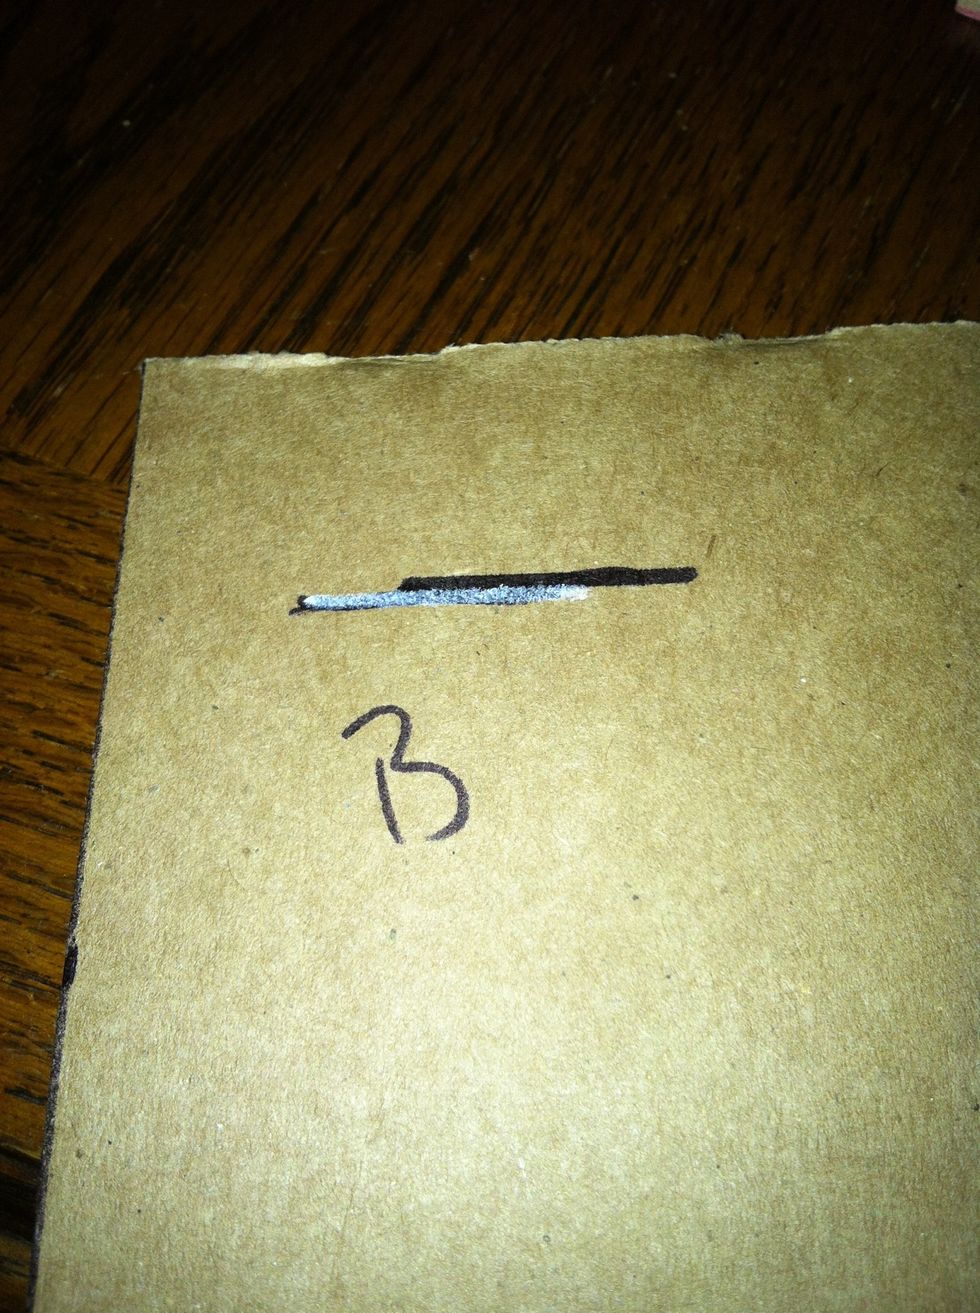
(Don't worry about the B or the double lines, the white is correct) measure 1/2" from the side and 1" in from the front, mark where they meet. Measure 1" across, mark and cut. Repeat on the other end.
Face piece: from the bottom measure up 1/2" and from each side measure 1" in. cut off the piece in between. The picture does a much better job of explaining it. Don't worry if it's not perfect.
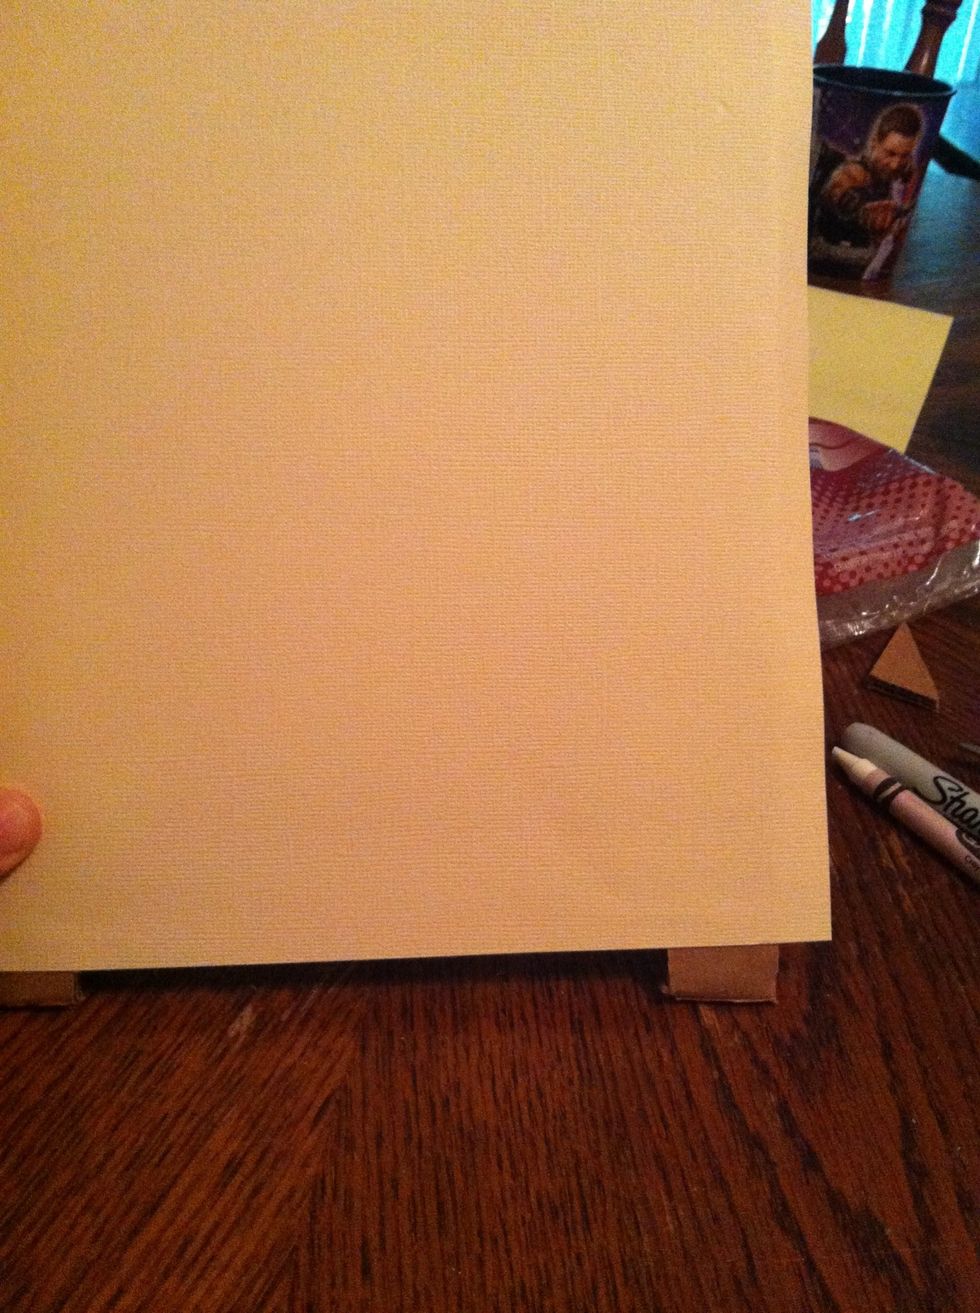
Glue your decorative paper on, or paint if you like. Make sure not to cover the tabs you created. If you're going to paint it or add paper you could do it now. Make sure not to cover your "feet".
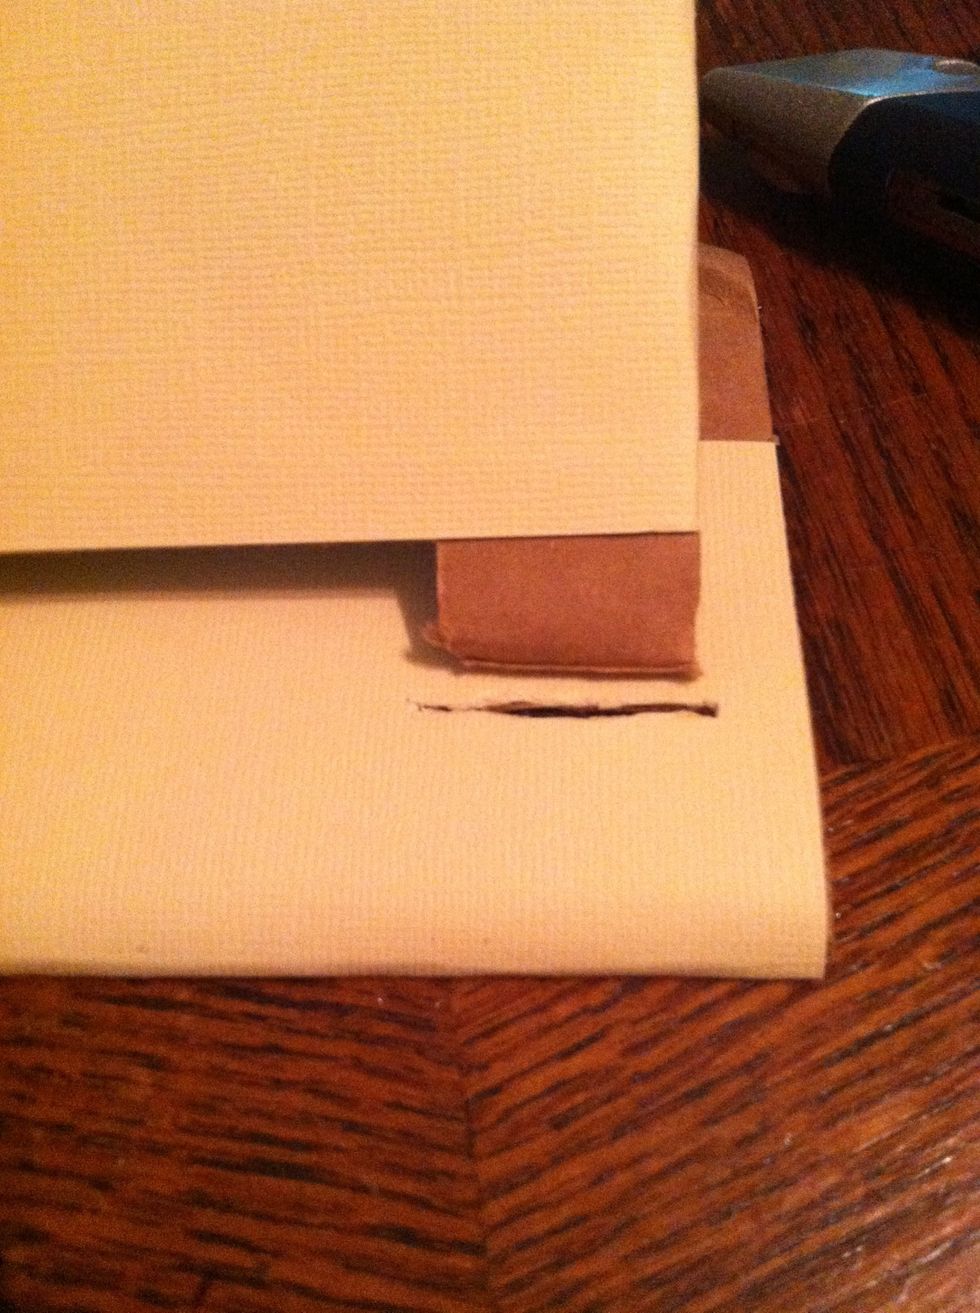
Cover the base and cut your slots. I wasn't worried about the back because it doesn't show. Now insert your feet into you slots. They should come out the other side a little.
Trim the tabs up until the are flush with the base and hot glue them into place. Glue bottoms and the back where it won't show.
Make sure it sis pretty evenly before you glue.

Just before it's dry, when it's still tacky, dab it a little with your finger and it'll act like slip resister pads when you're all through.
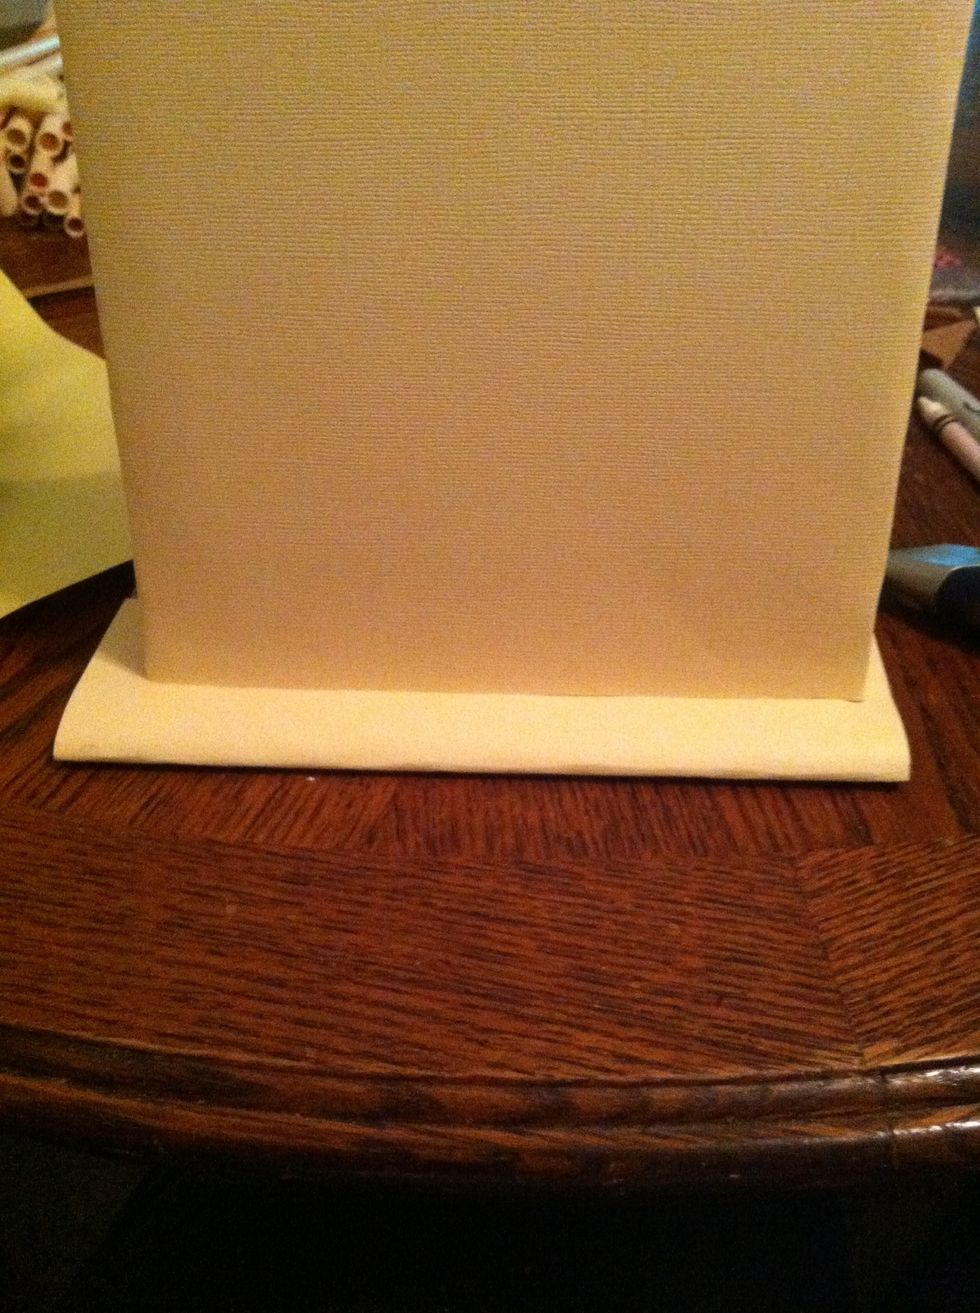
Support piece: fold your 4"x3" piece at 1/2" on one end and 1" on the other as shown. This will be glued to the back.

Glue the wider fold to the base, and the smaller fold to the back of the face piece. Structurally it's complete.

You can cut slits in the top or you can use push pins Or upholstery nails in the back. i used pushpins as they won't be seen and are longer. They are also inexpensive.
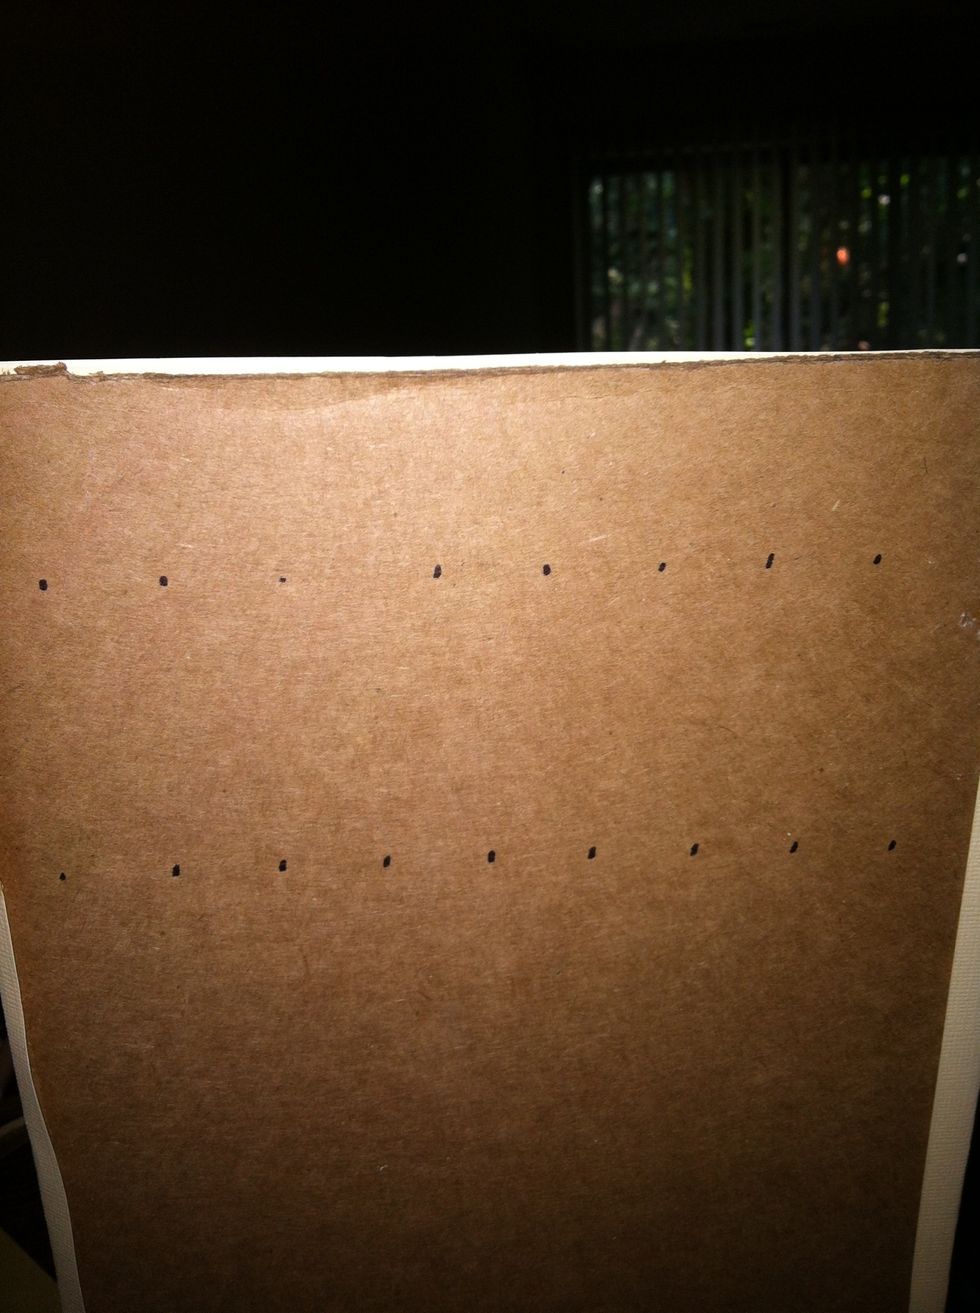
Mark where you'd like your pins to go. I changed my layout after I took this picture, making three rows and staggering them.
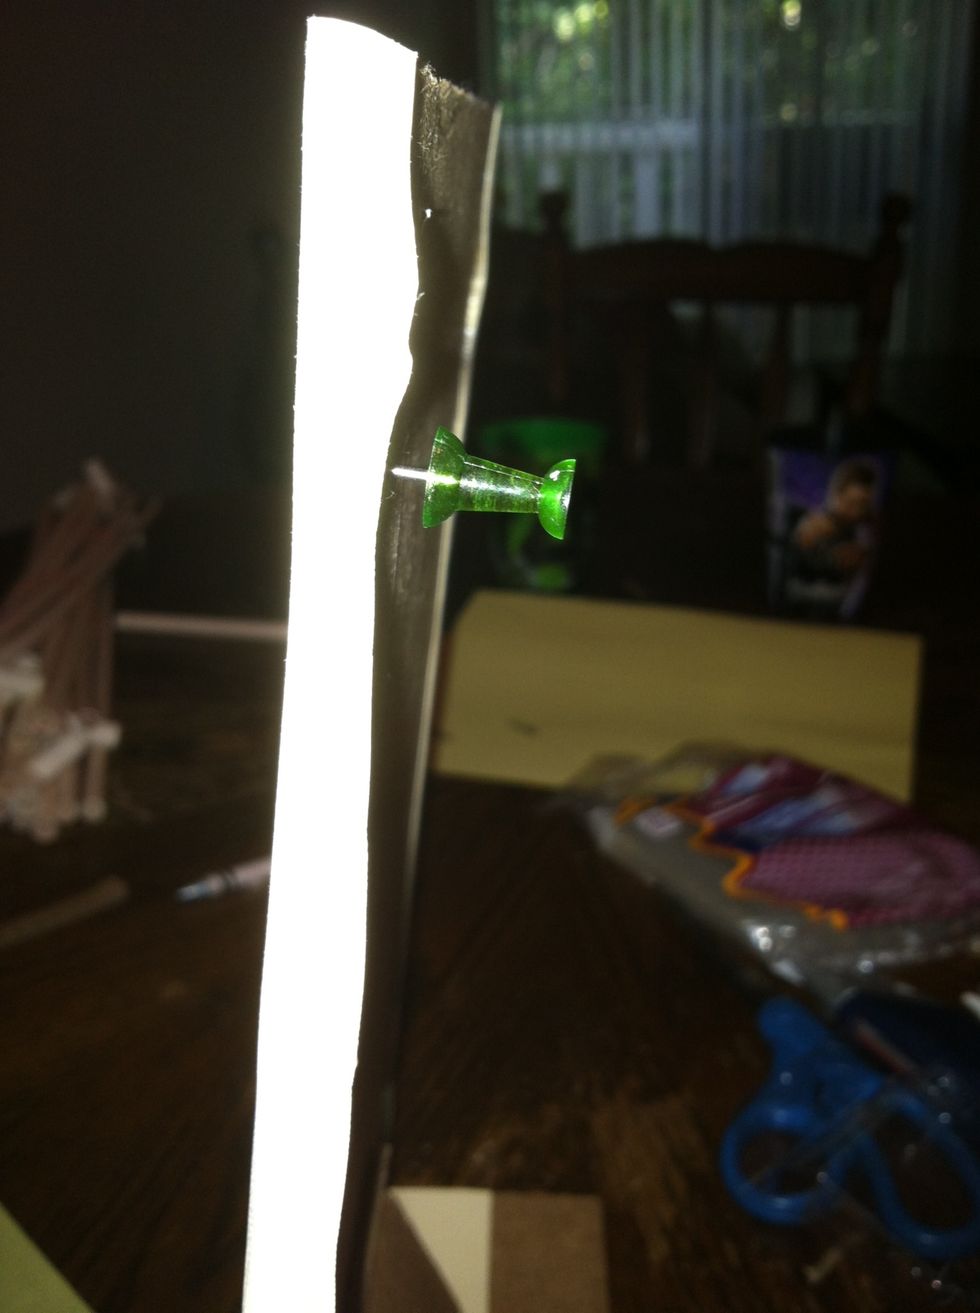
The pin will most likely be too long. Poke a starting hole but don't go all the way through. Cut them to an appropriate length if you'd like.
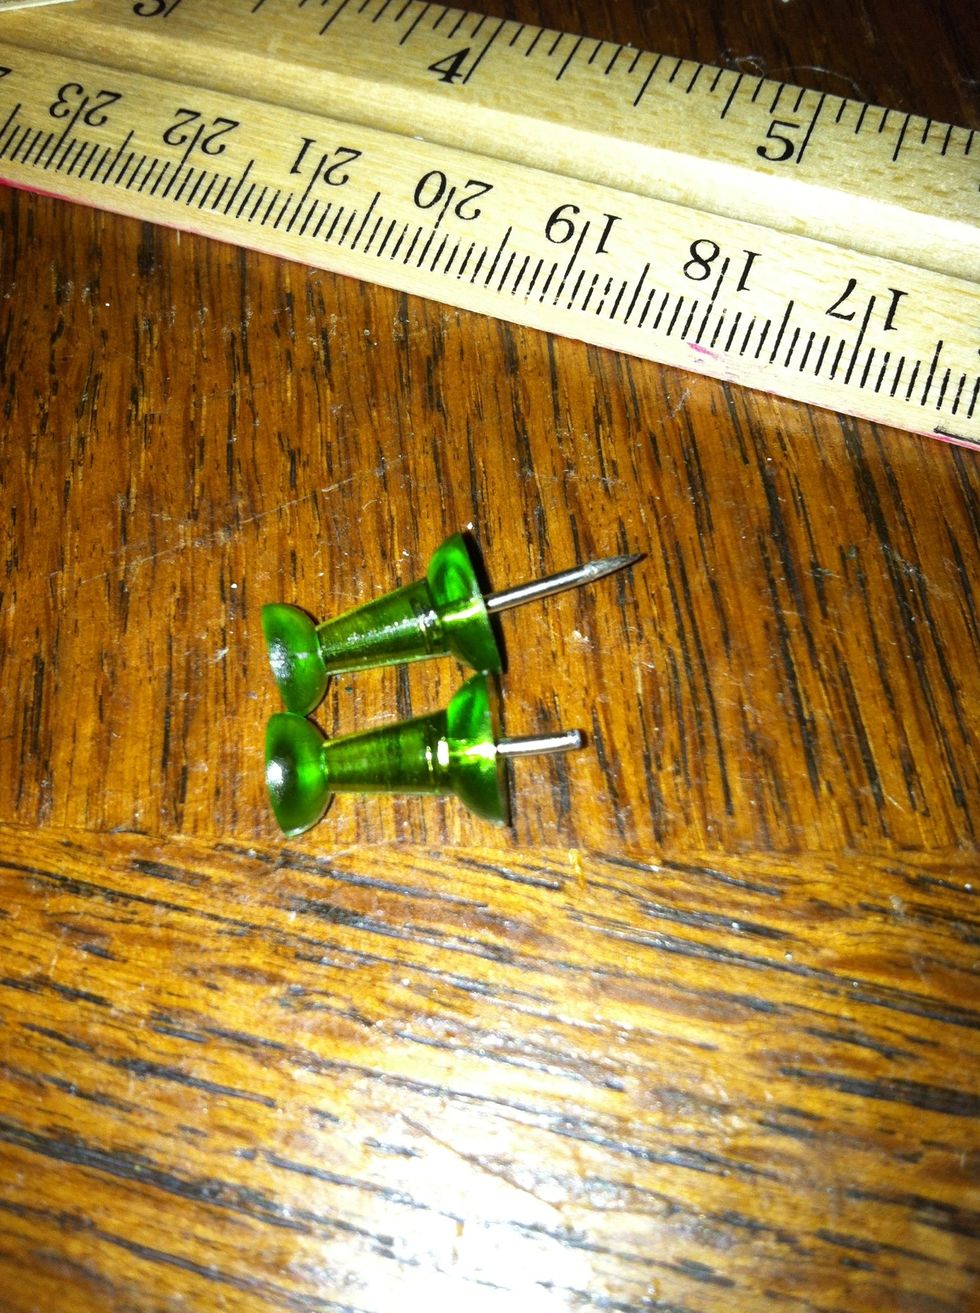
I tried one with wire cutters. But it was really difficult and I decided it wasn't worth it.
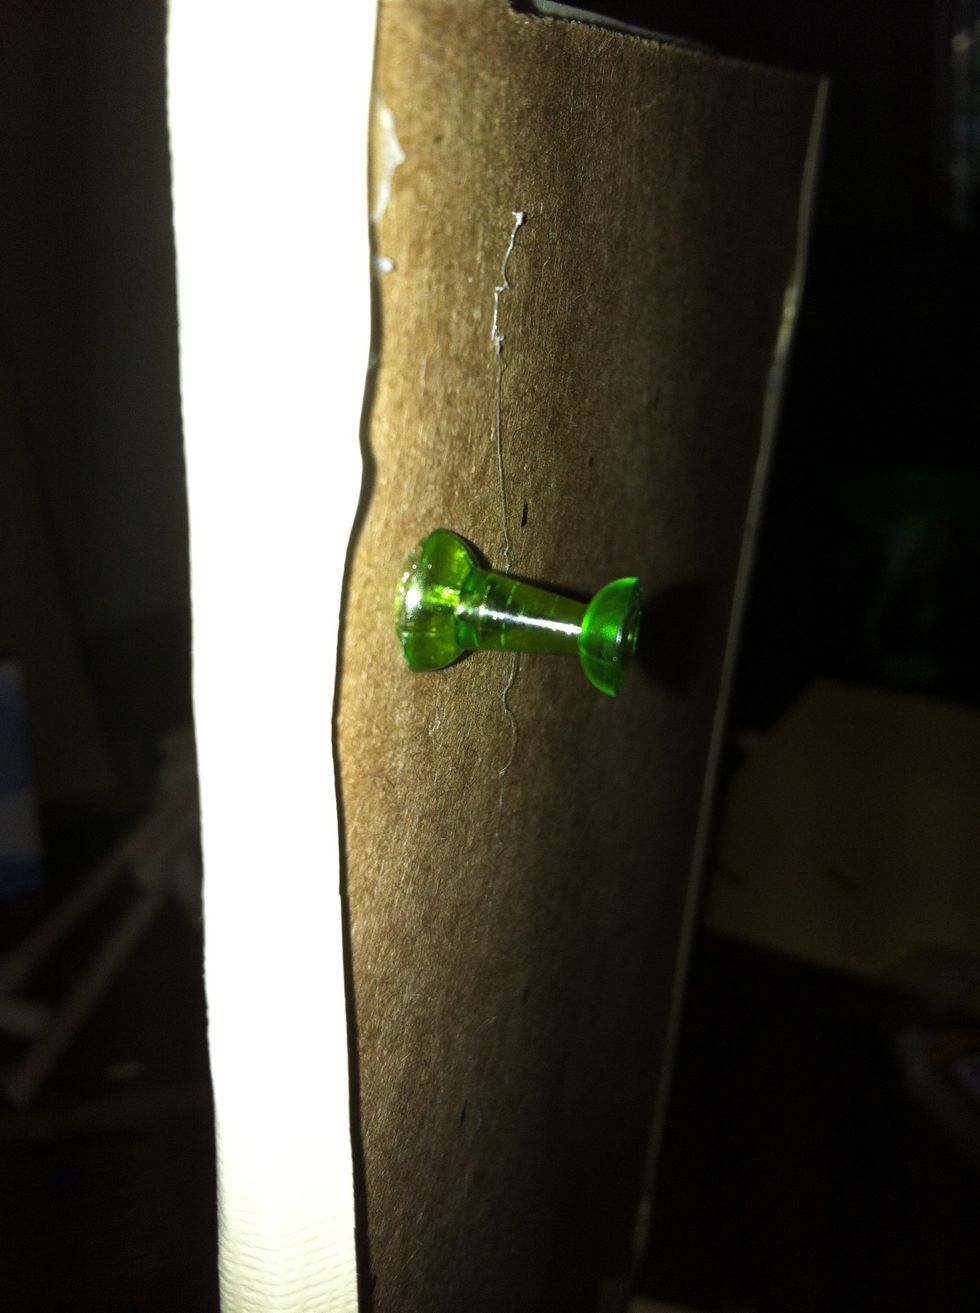
Okay so let's recap a little. Make a mark. Make a hole (not all the way through) pull it out. Add a dab of hot glue. Push it back in. This looks and feels better than having a gap...
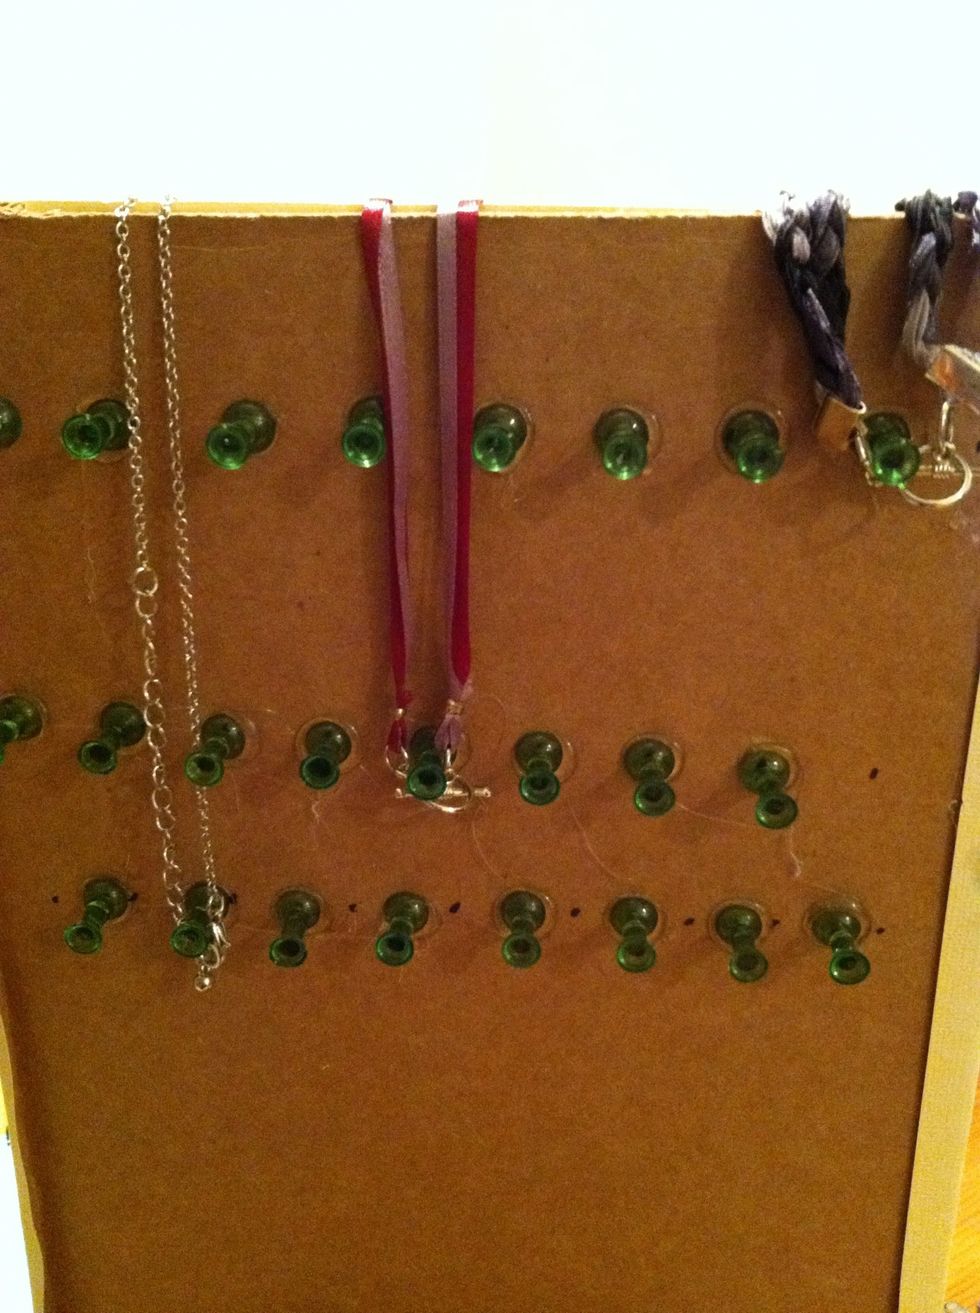
After glueing all your pins in place and allowing it to dry you can start hanging your necklaces. Drape them over the top and around the pin letting gravity hold them in place.

Tada!!
Update: while editing this guide I came to notice it was never completed!! 😱 Sorry! Hope those of you who saw the original enjoy the update 😁