The Conversation (0)
Sign Up

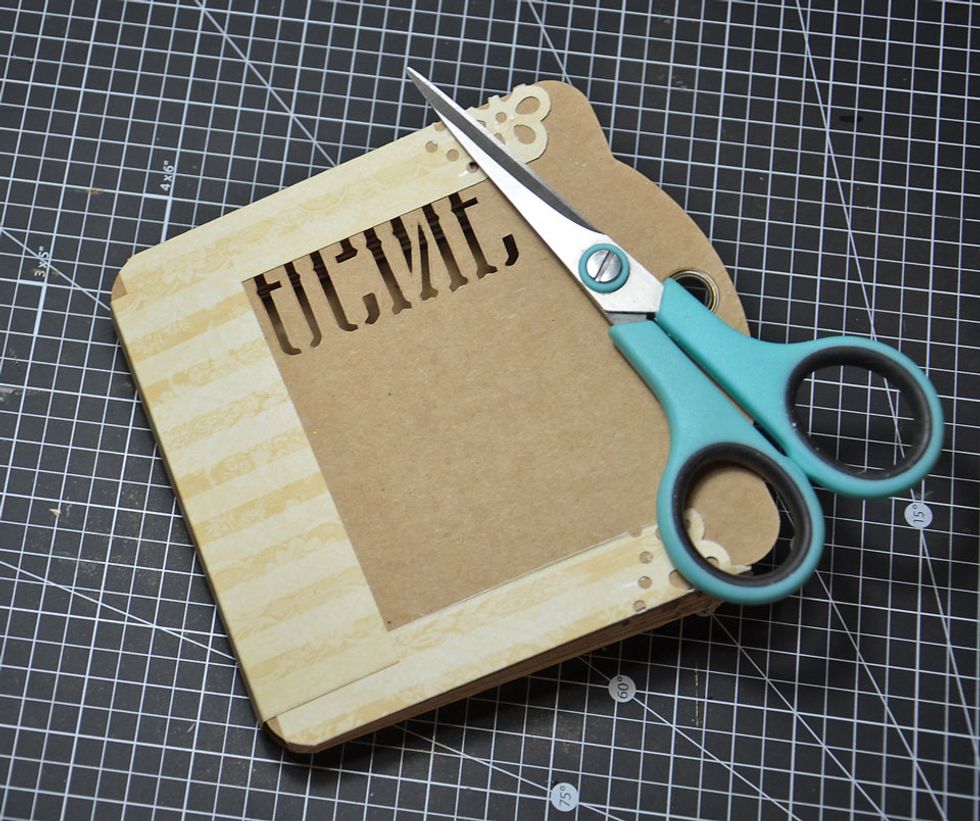
This tutorial suits Graphic 45 Square tags #4501282 and Word Kraft Tags #4501277 and #4501279. The word tags I chose to use were Celebrate & Imagine. Also any 12x12 patterned paper of your choice.
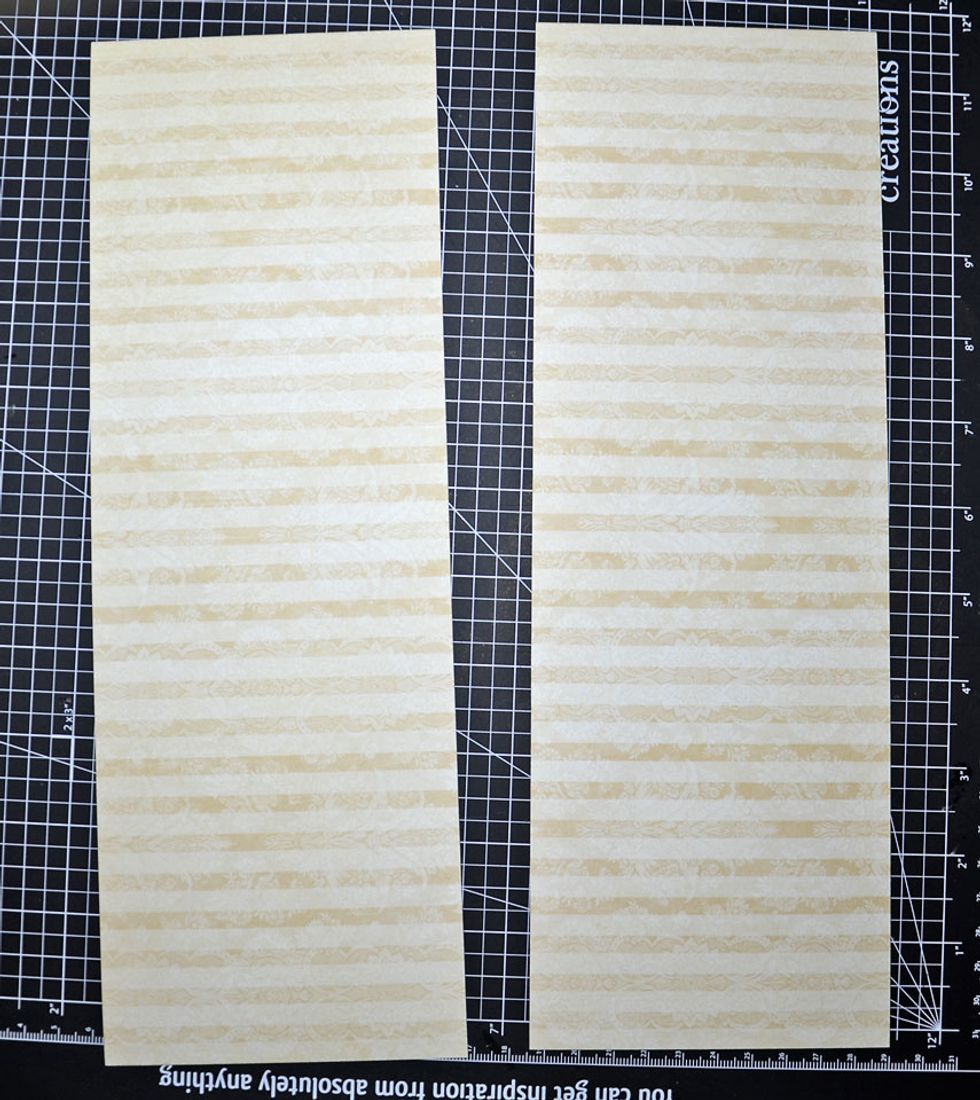
Cut 2 paper pieces measuring 10cm x 30cm.

Punch a fancy border along one edge of each side piece.

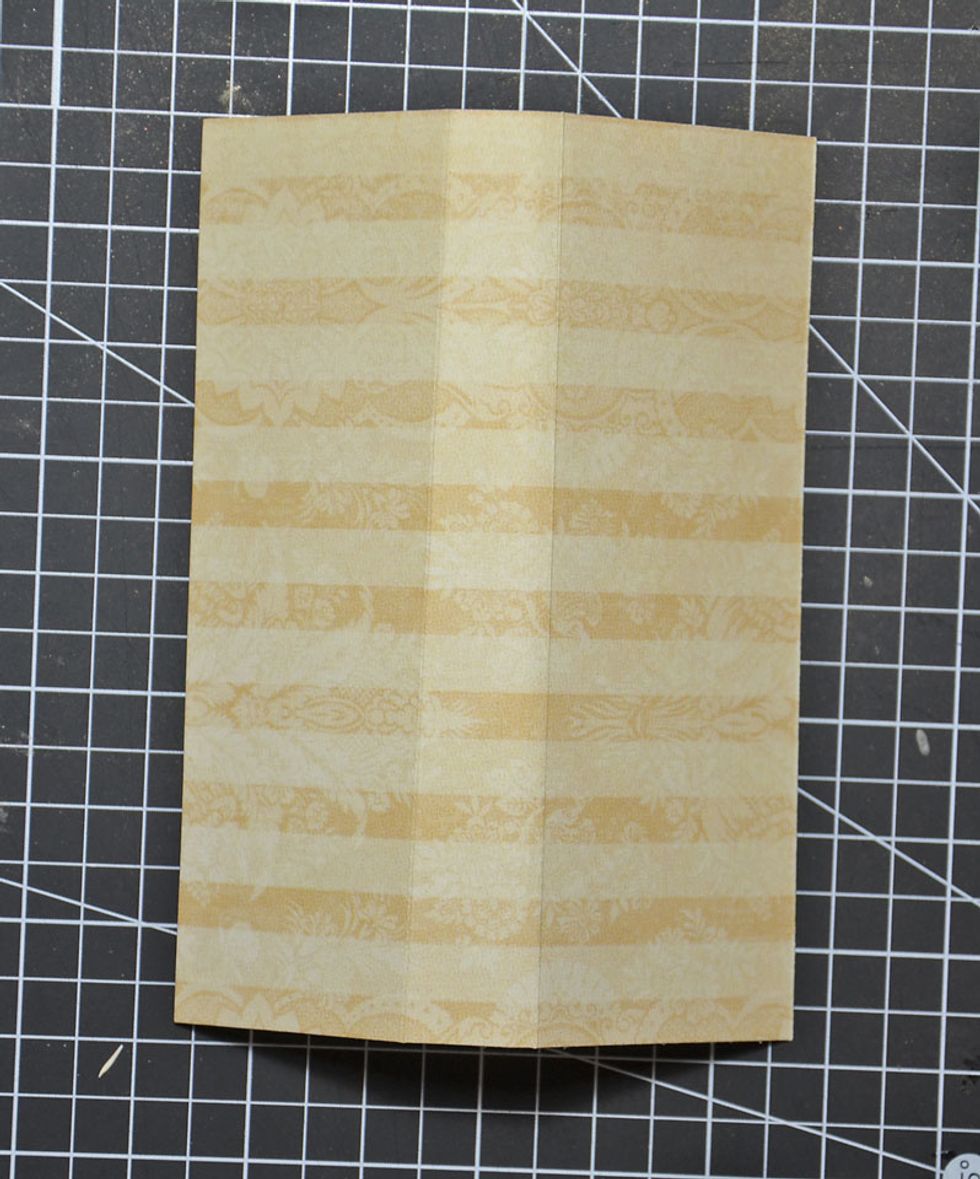
Score on the back and front of the paper at 1.5cm intervals. I scored enough to allow me to have 5 folds but you can add more if you choose.
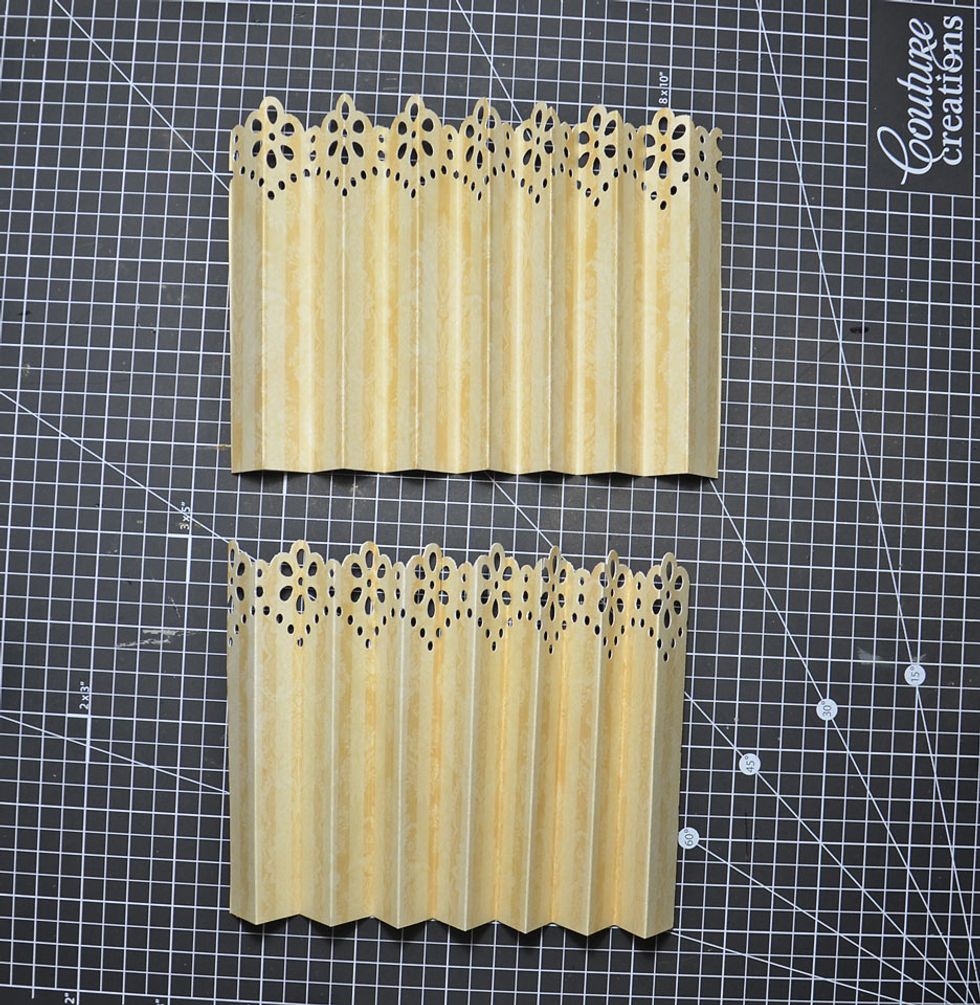
Fold as shown. I have scored enough to enable me to fold the paper and allow me to have 5 spaces for tags to slip in.
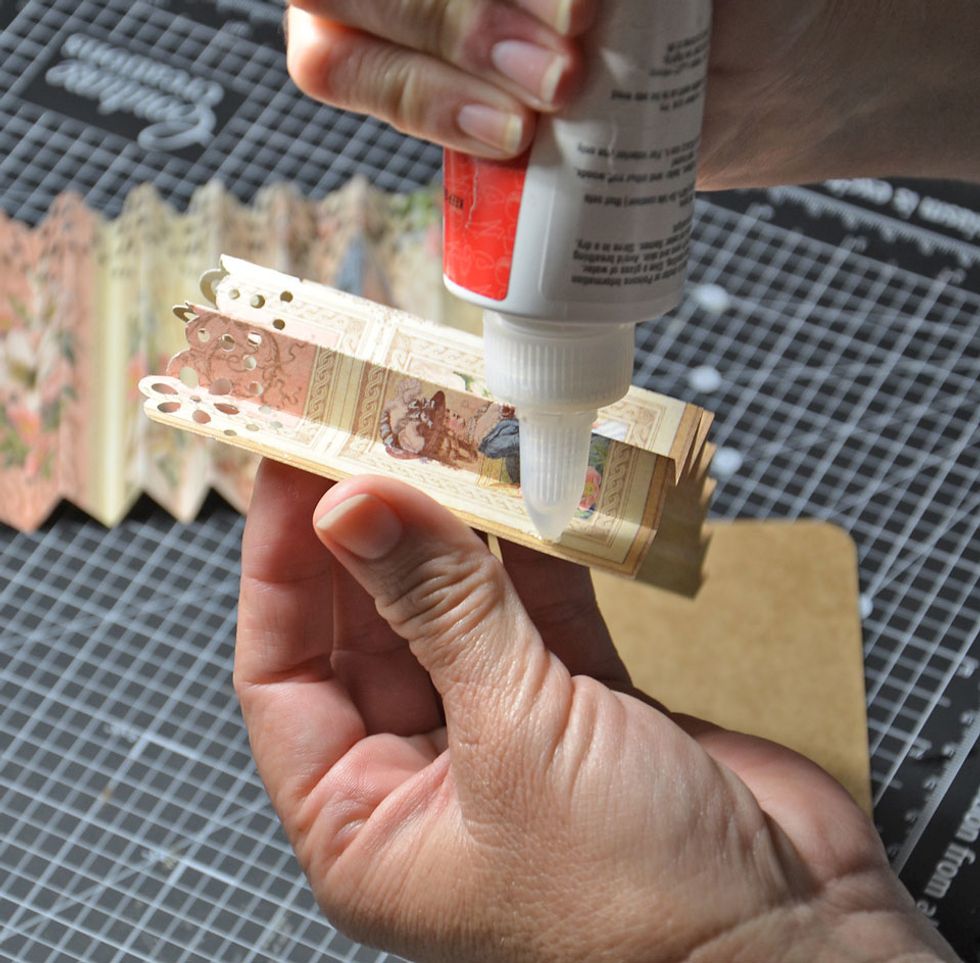
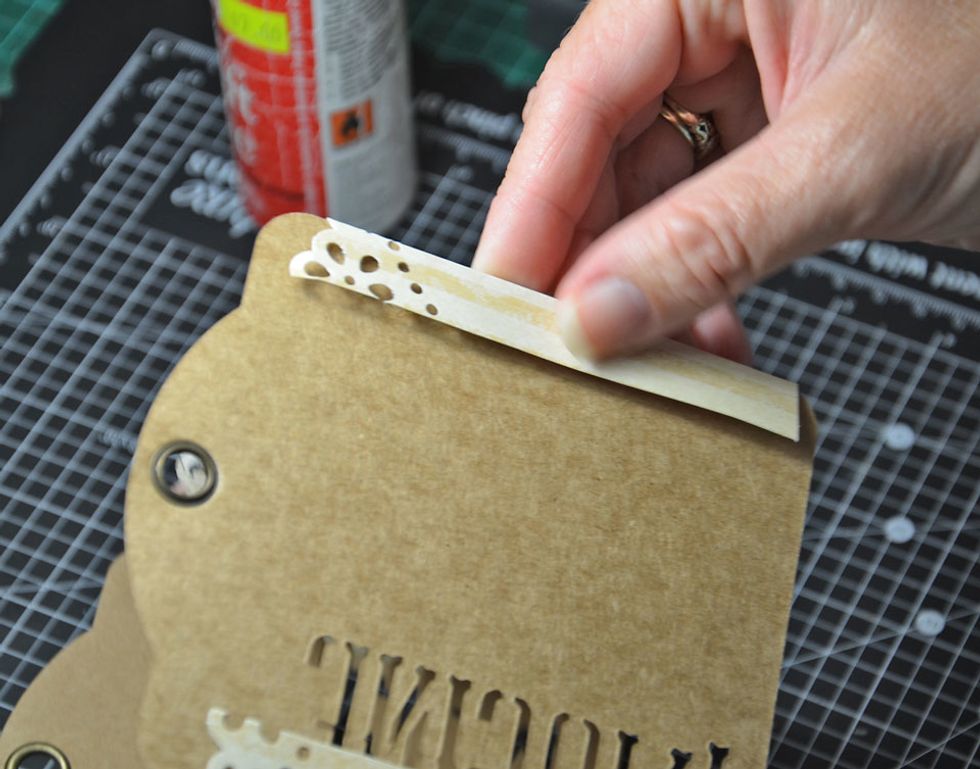
Apply glue :)

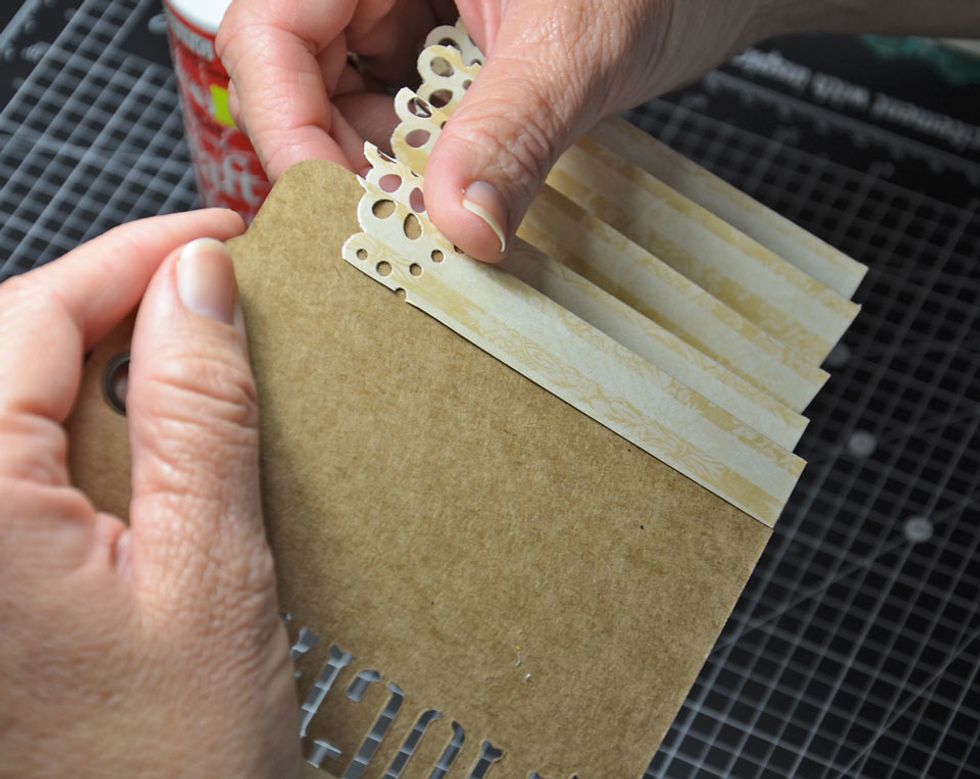
Attach to inside tag cover as shown. PLEASE NOTE - we will be attaching another tag in a few steps to the outside and this will then give you the front and back covers.

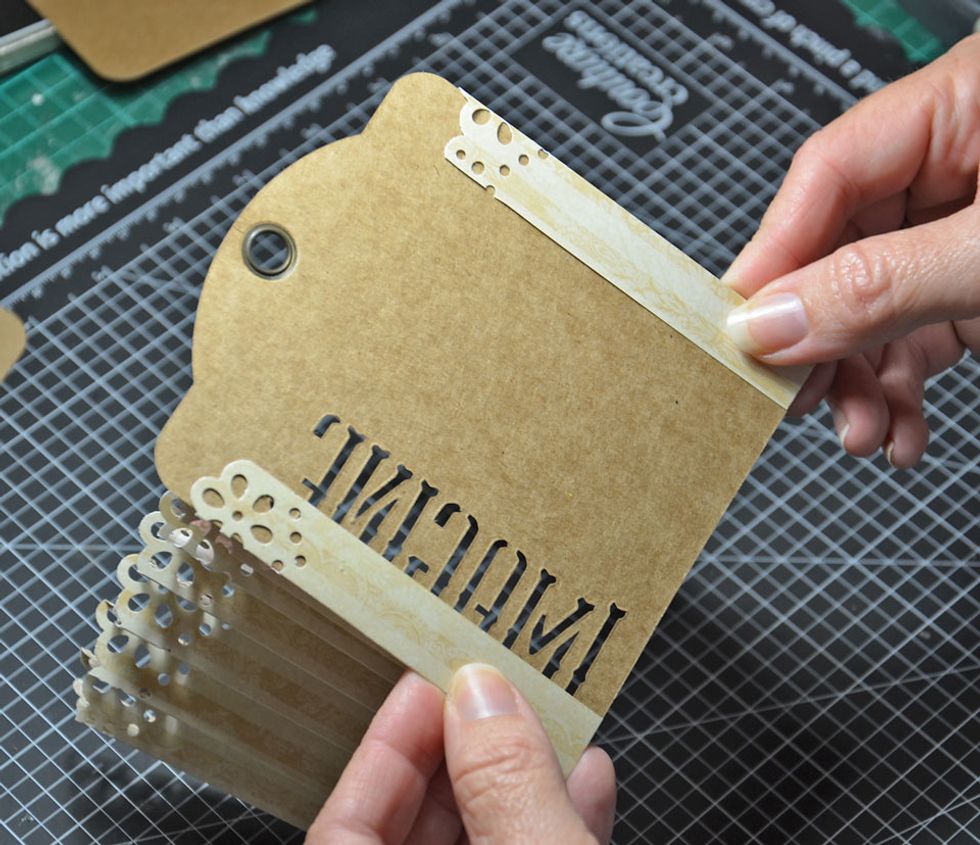
Apply glue to the other folded paper piece.
Attach as shown.
This is what one end of the folder should look like.

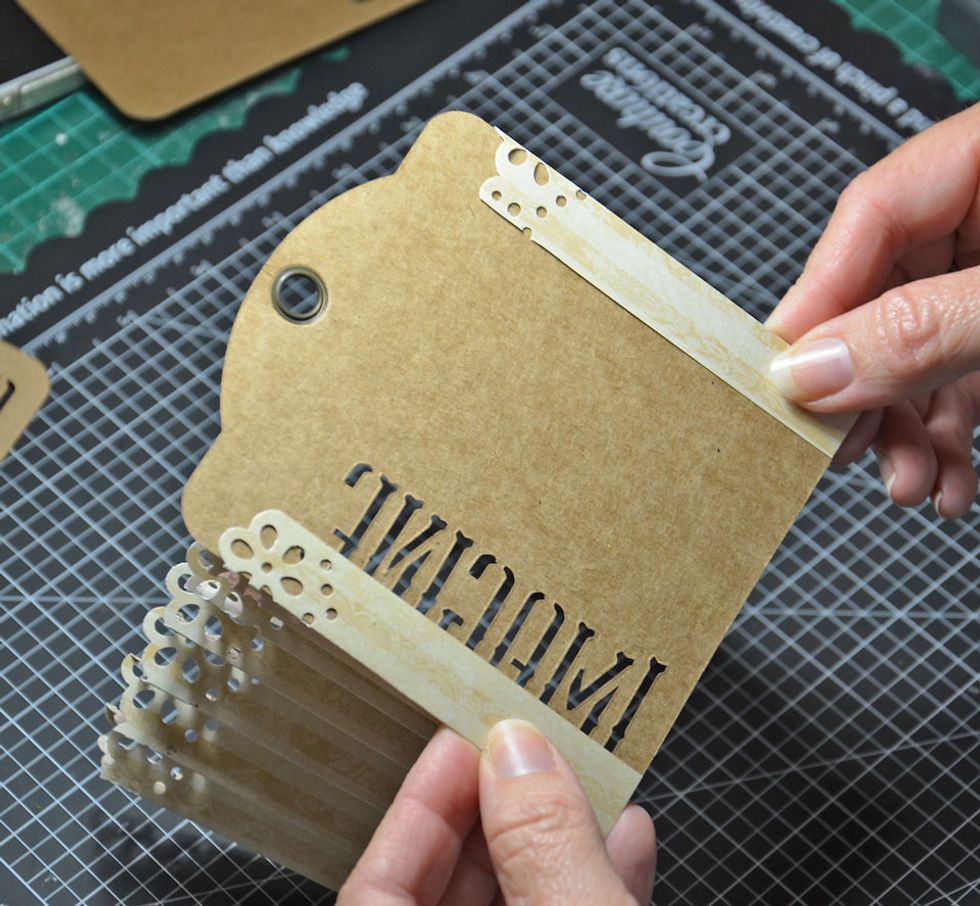
Now to join the other end. Attach as shown.
Attach other side.
That end should look like this.
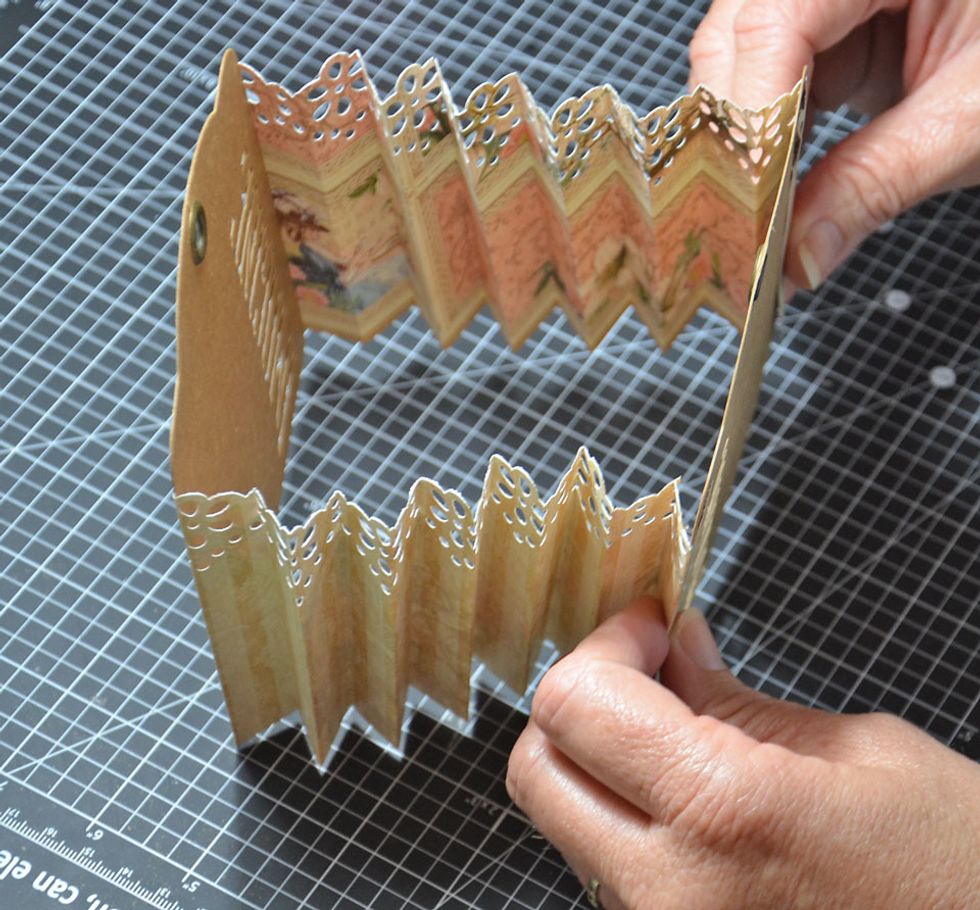
Once together it should fold out like the image above.
Cut a paper piece 10cm x 8cm. Score a line 3.5 cm from each edge like the image shown and fold along the scored lines. This will be the bottom of the album and hold it together.

Attach as shown.
Allow glue to dry before opening.
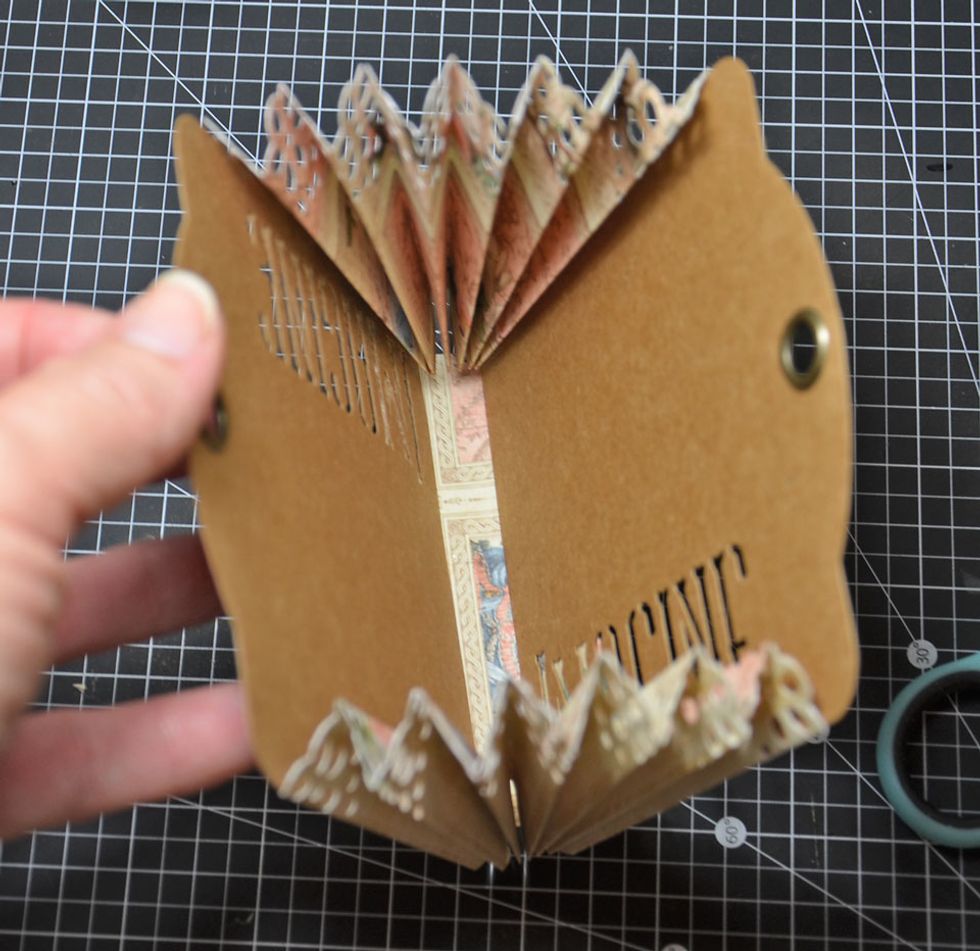
This is how your little folder should look once open.
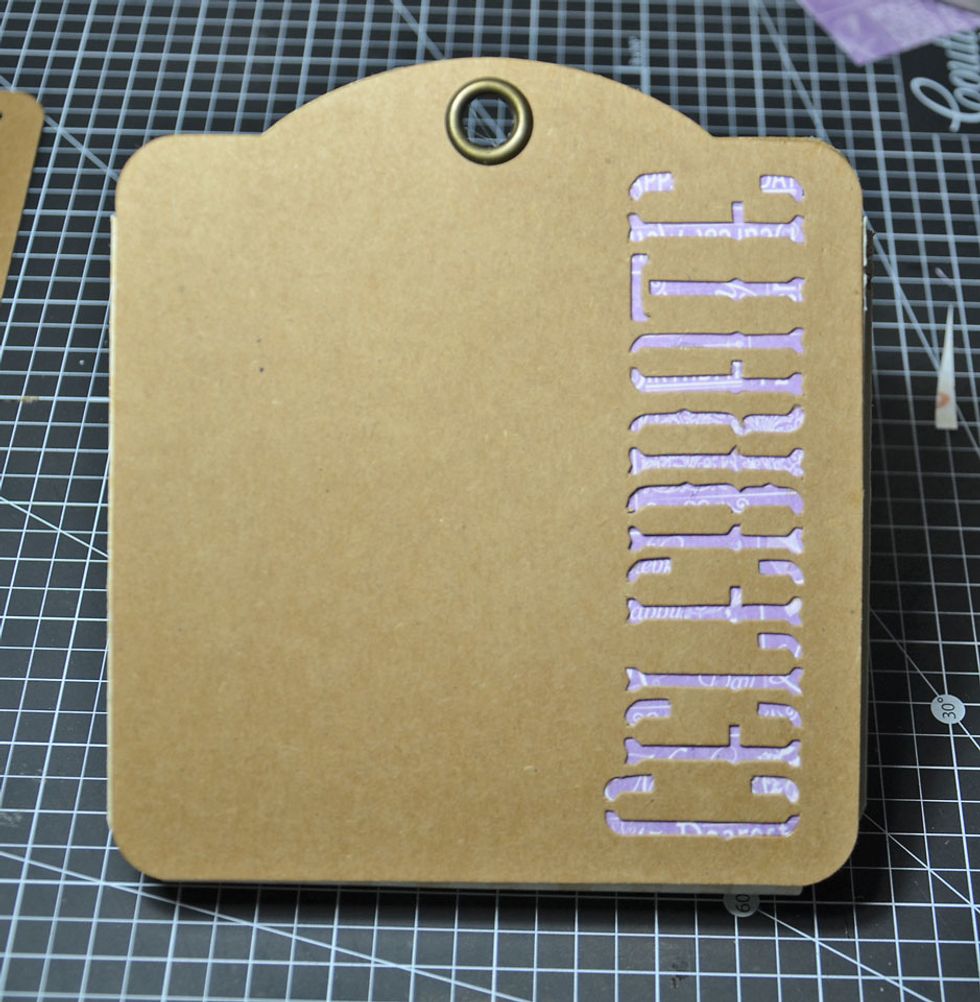
Attach the outside back tag with the paper of your choice under the word tag. This is now your back cover.

Attach the front tag but only glue the side of the tag with no word. This will allow you to later slide the paper of your choice under the word to compliment your album.
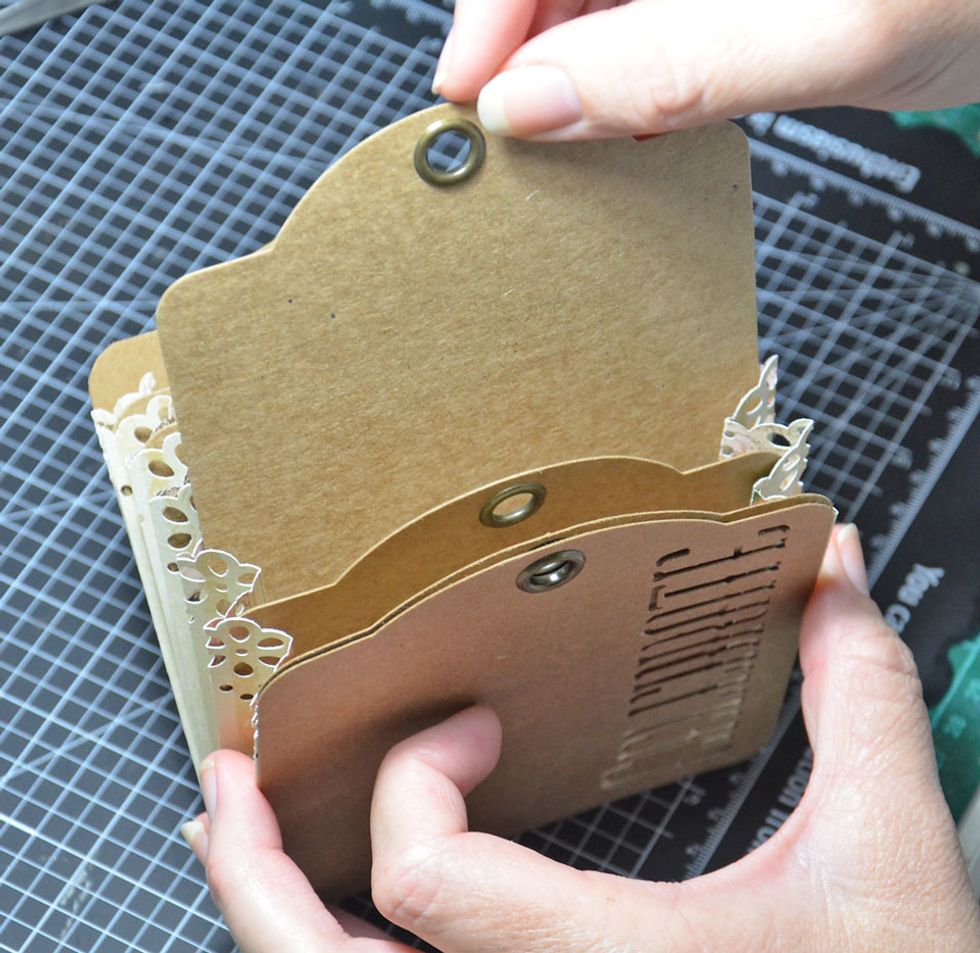
Now slip in your tags.

I have enough space for 5 but you can have more just fold the paper to allow more card slots.
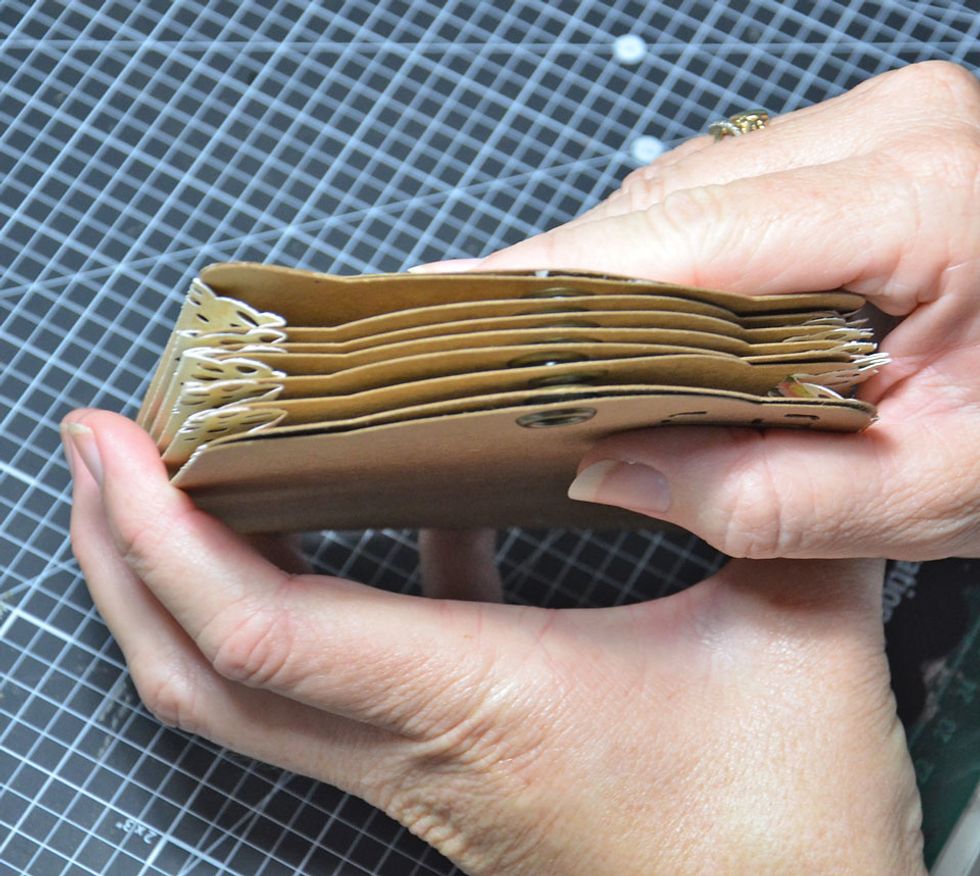
It will look like this once closed.

Basic album finished ready for you to fill with whatever your choose.
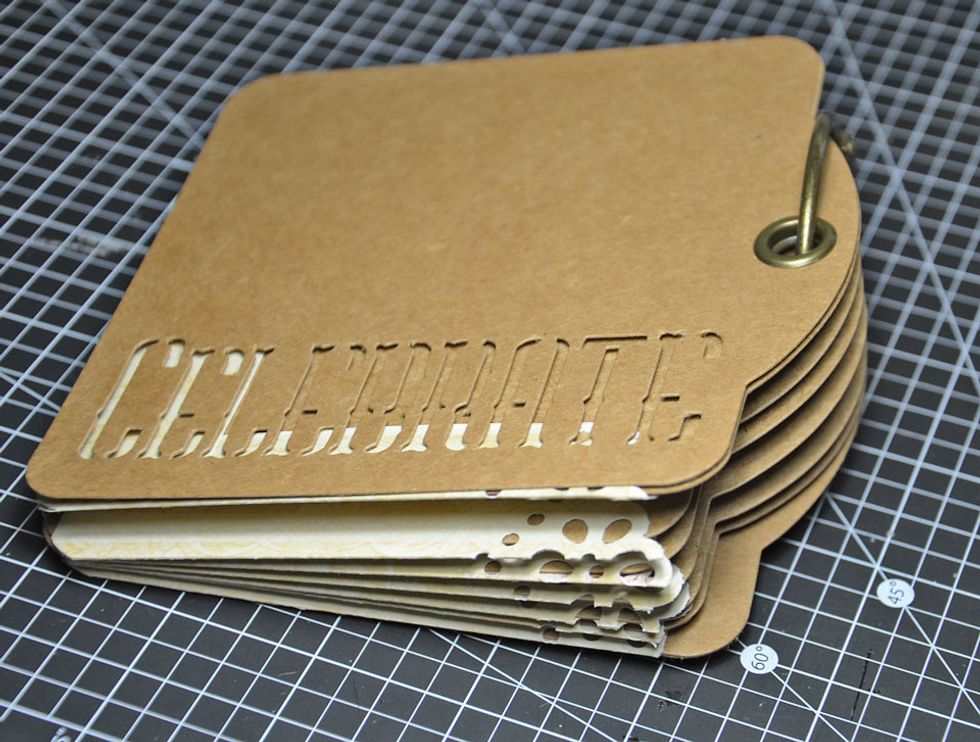
Showing the album side.

The ring slips through to keep the album closed. I chose to use leather string to hold mine closed.
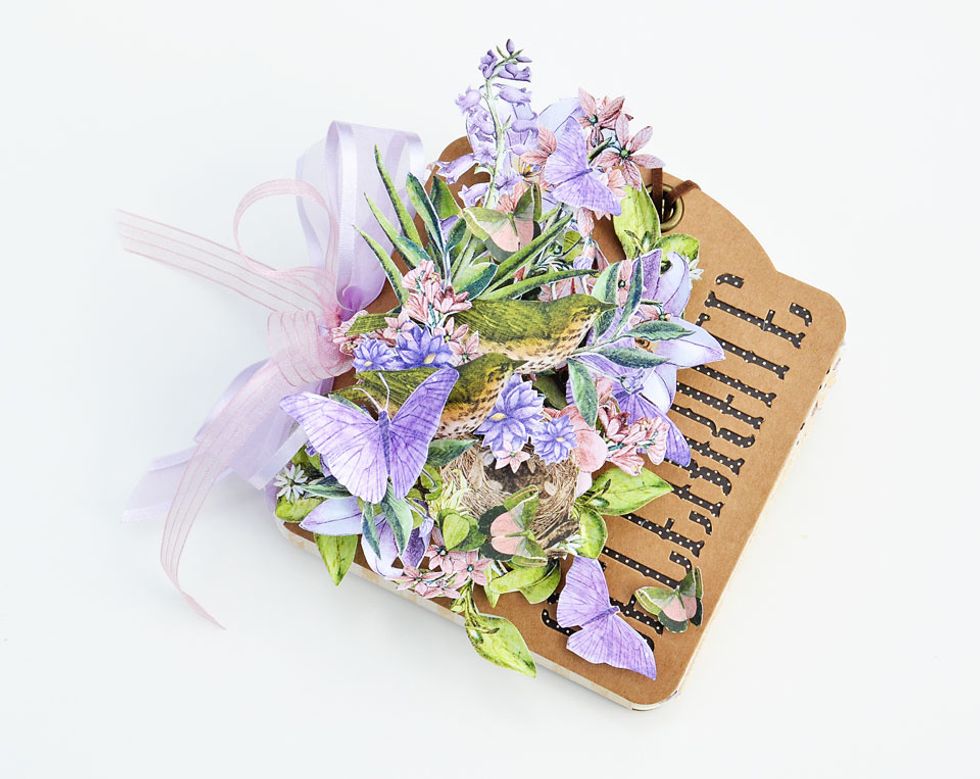
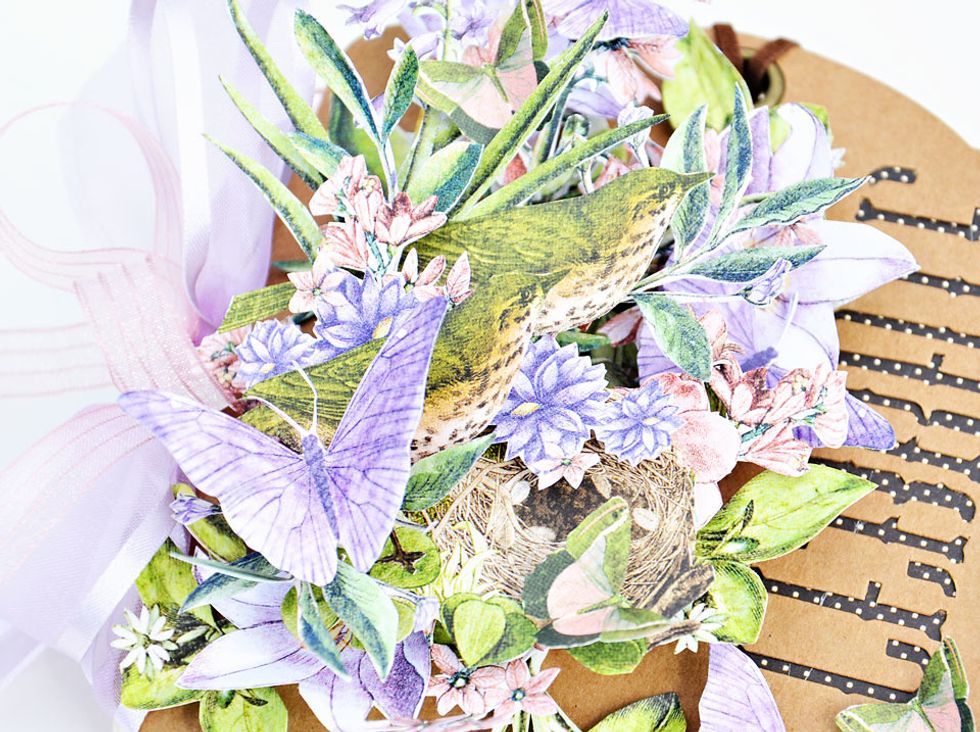
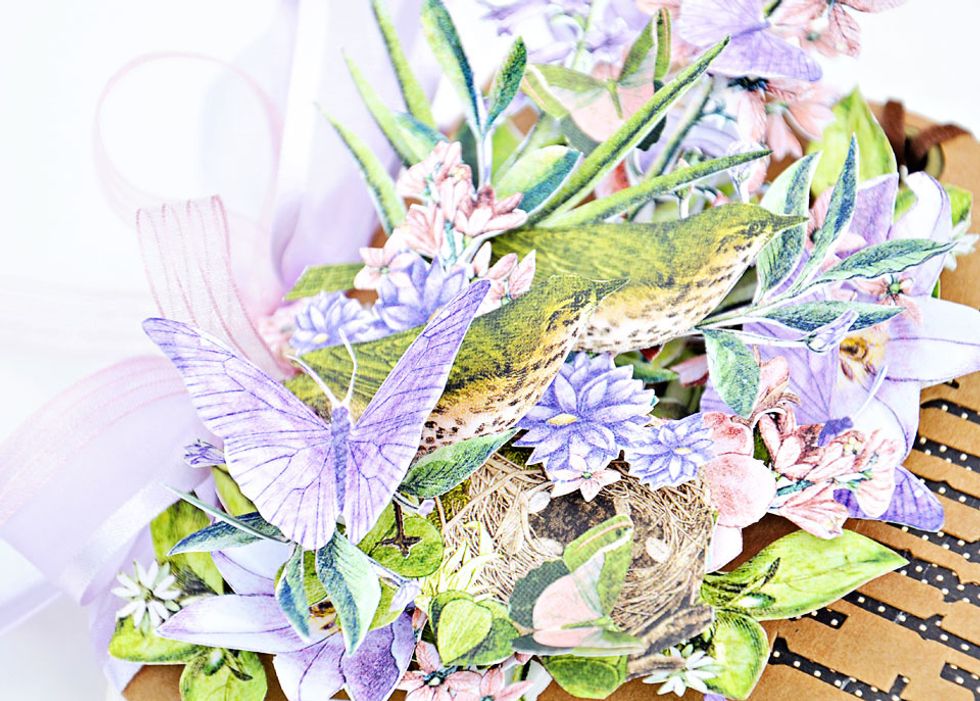
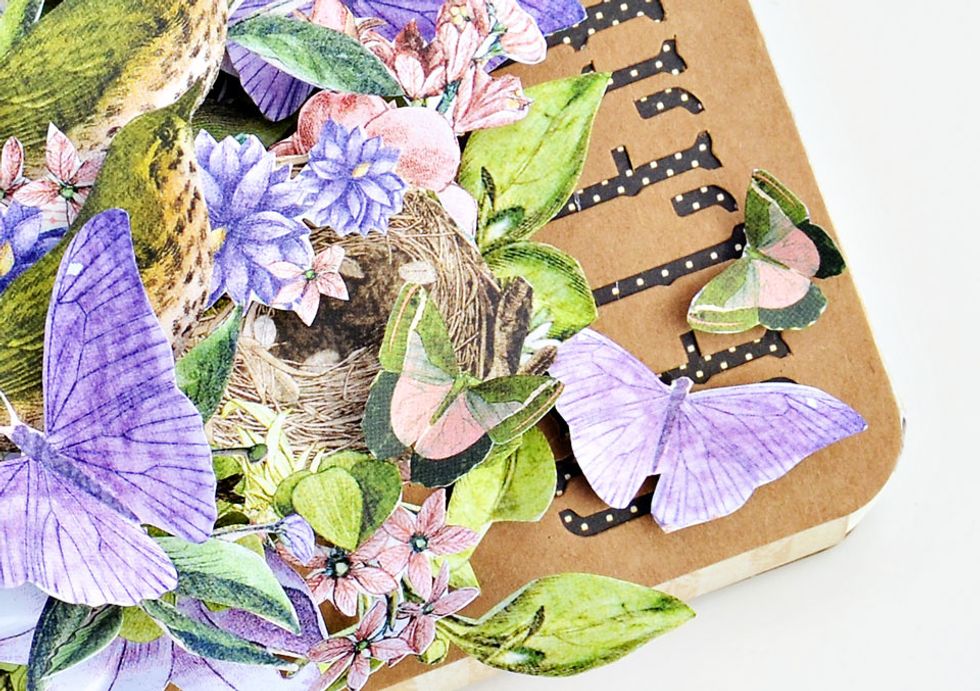
My finished album decorated with Graphic 45 Time To Flourish collection.
So pretty :)
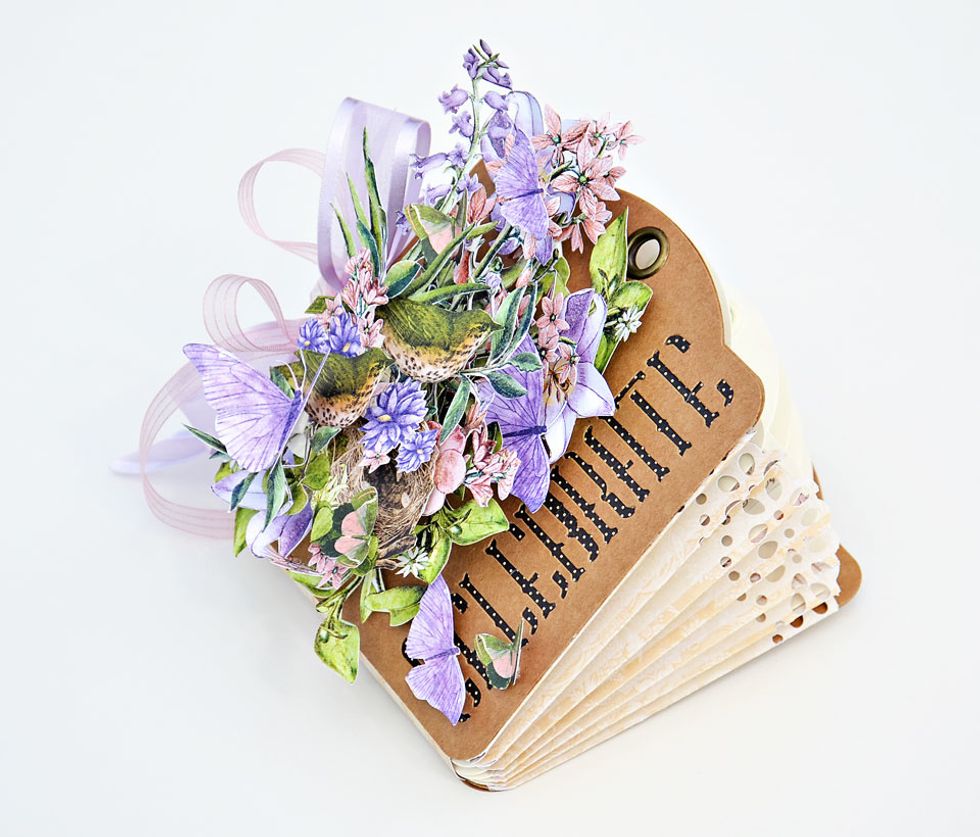
I added some ribbon to the side for added interest

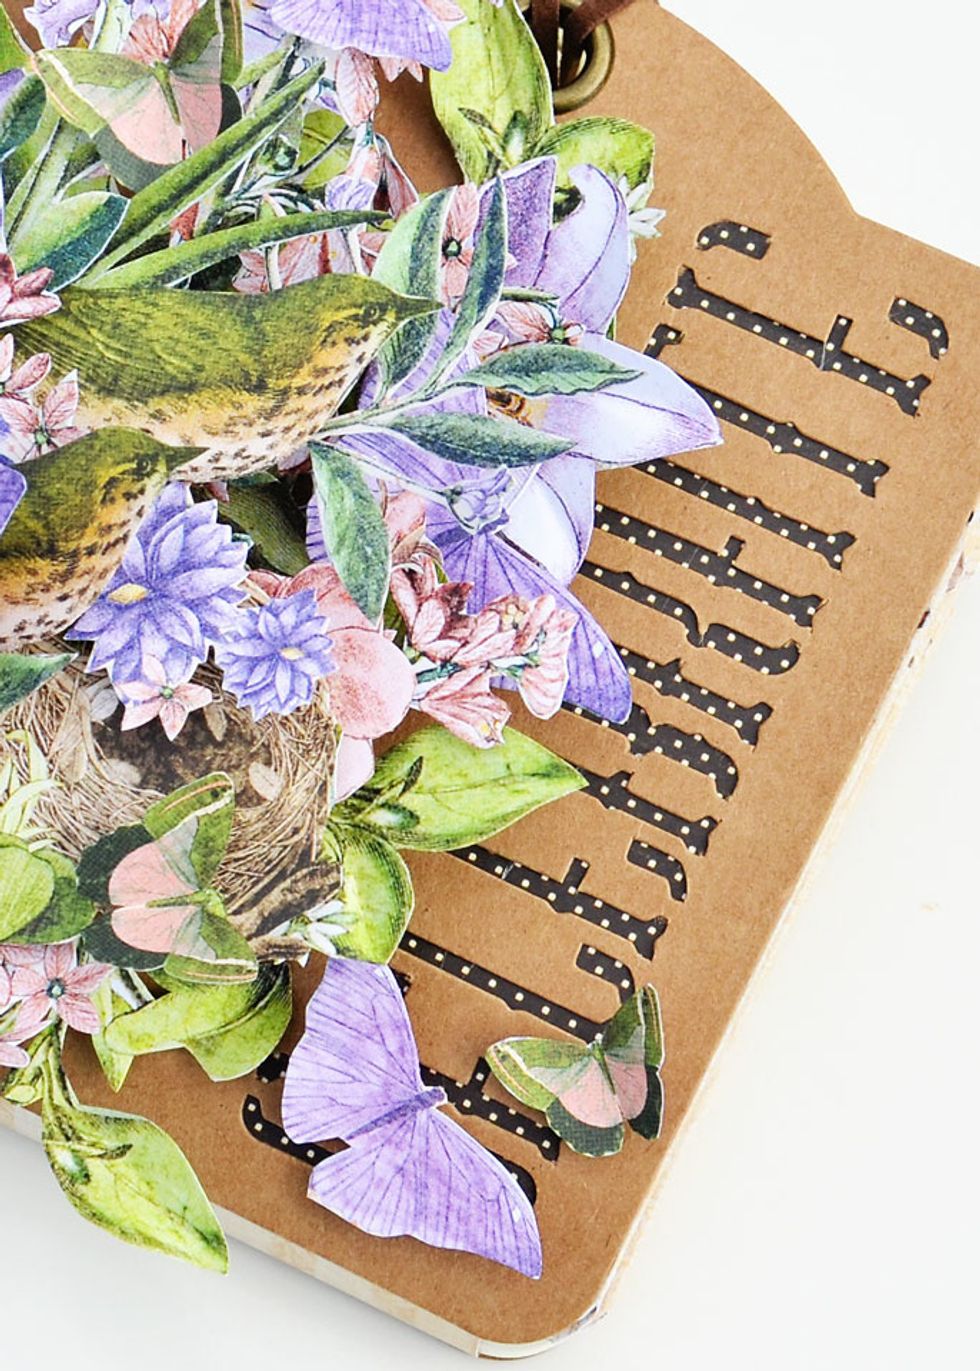
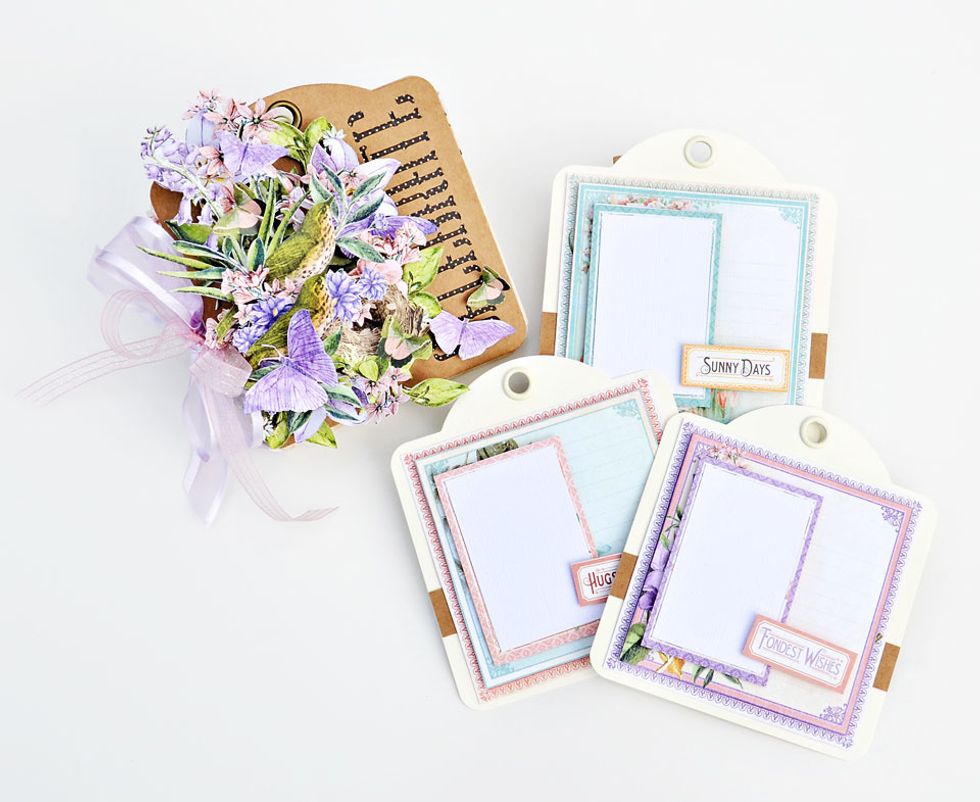
A little close up of some of my tags :)

Thank you for viewing my tutorial. Joanne Bain - scrappinforme.blogspot.com.au/