The Conversation (0)
Sign Up
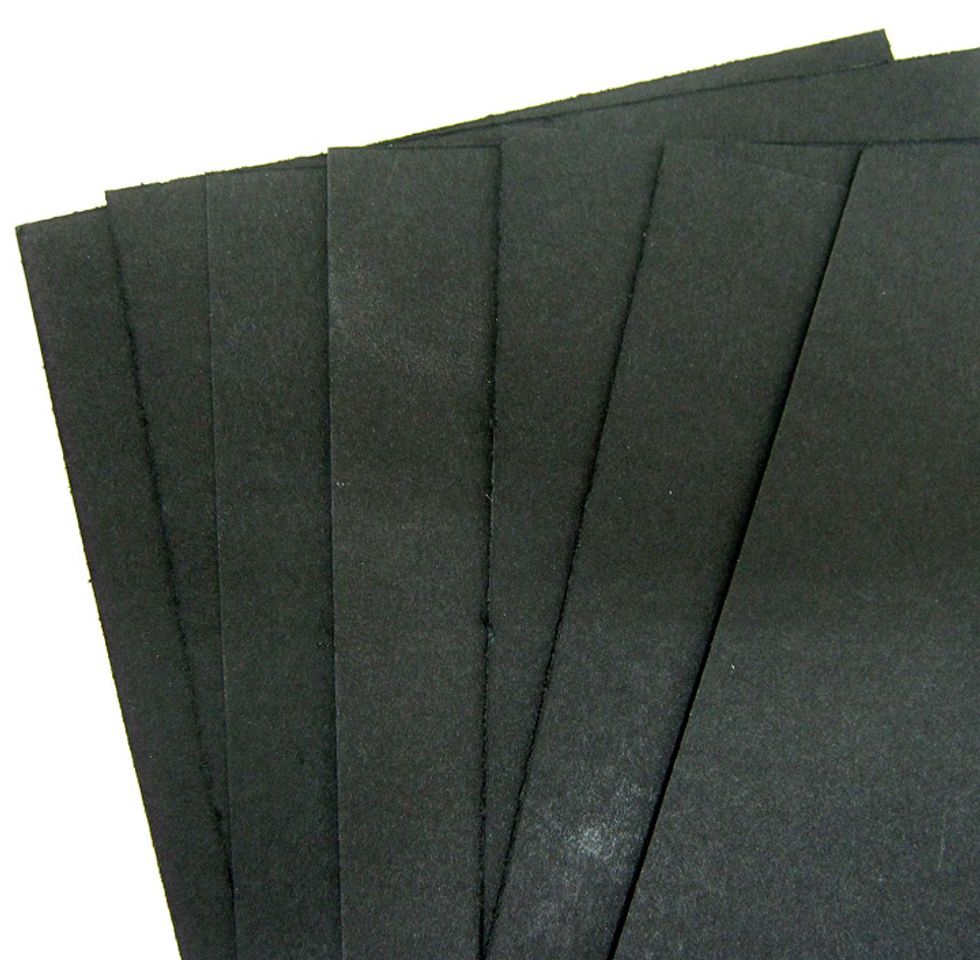
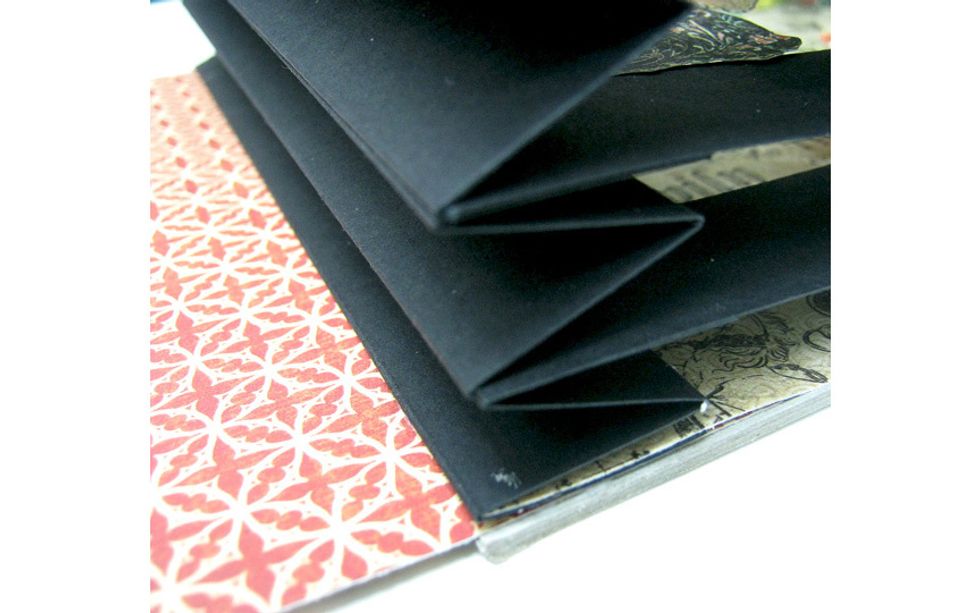
Cut eight 8"x4" pieces from black cardstock.
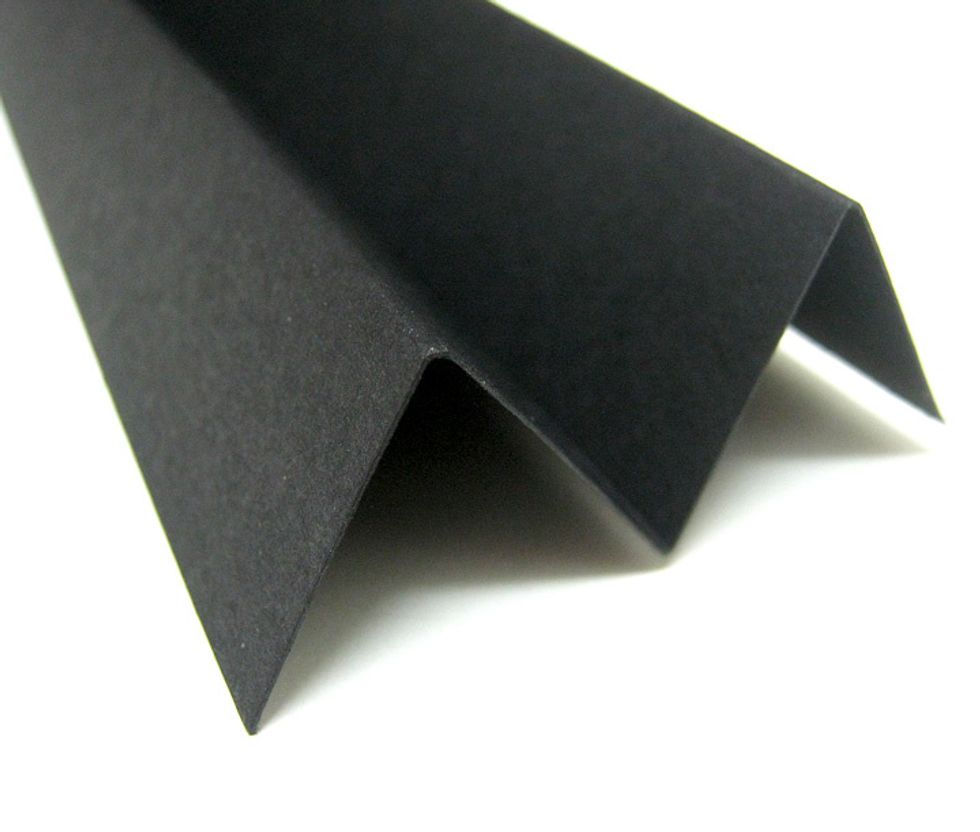
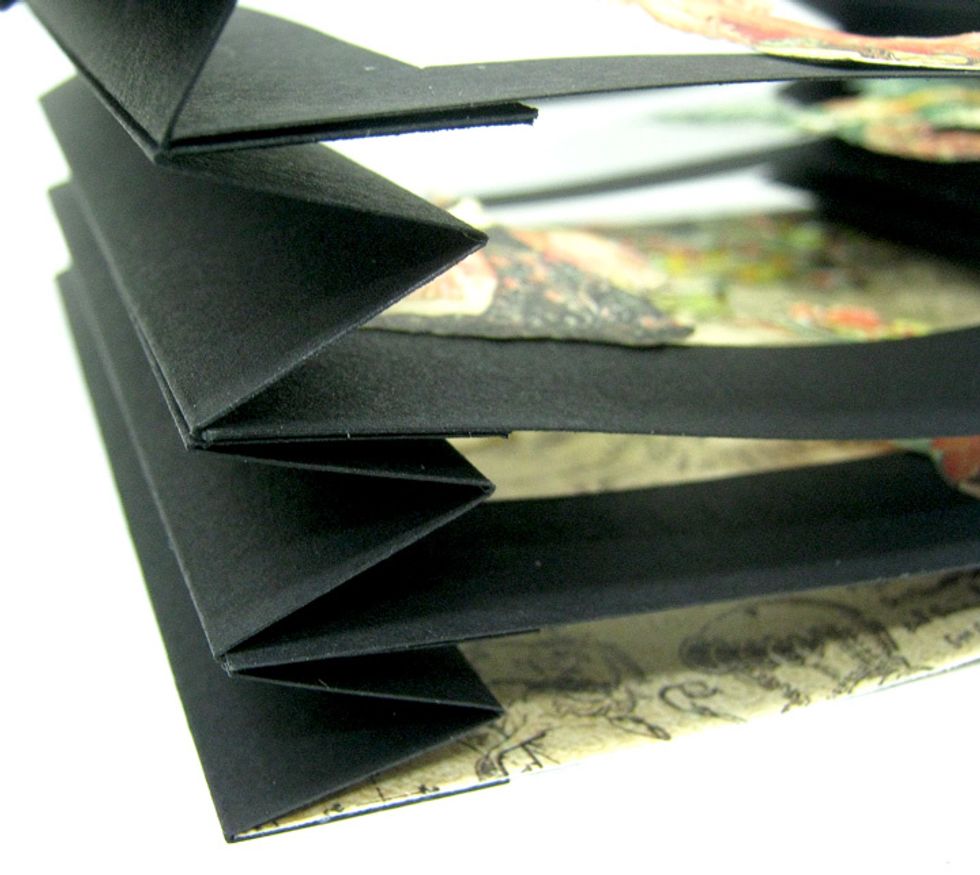
Score three fold lines every 1" lengthwise. Fold in accordion shape to create "M".
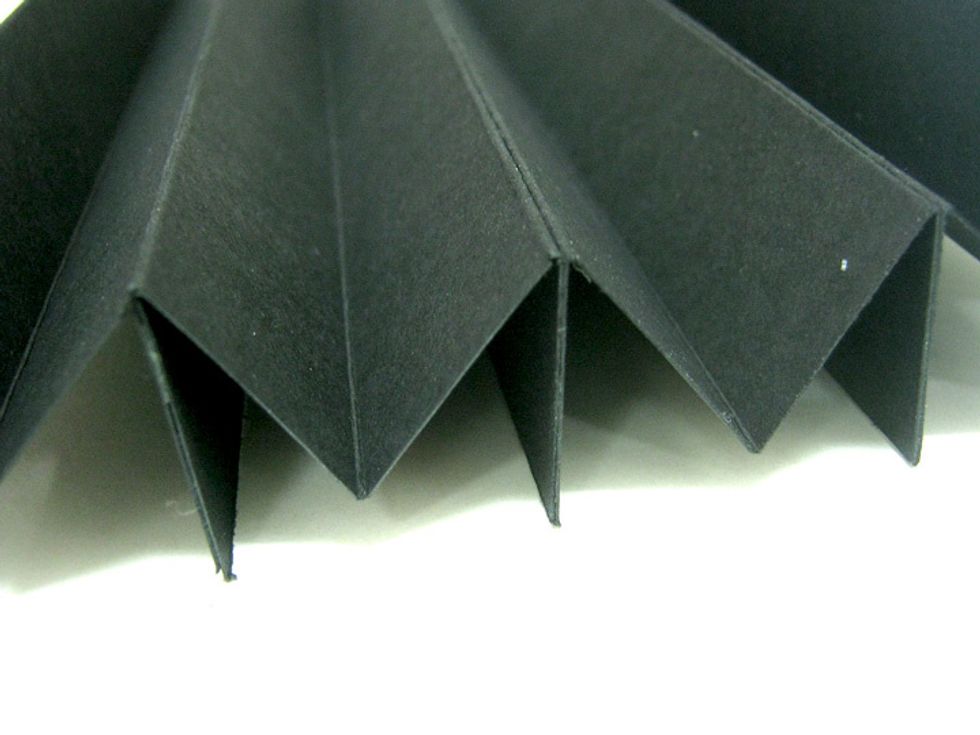
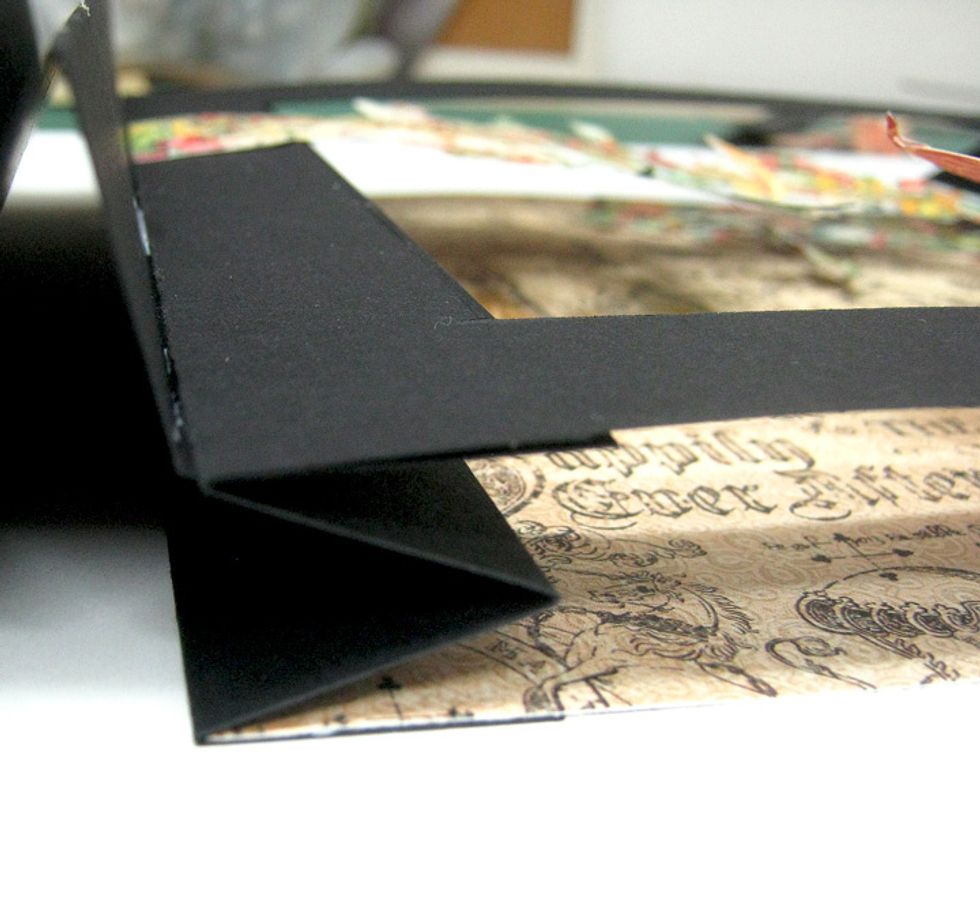
Attach four "M" shapes with tape runner. Attach another four "M" shapes together the same way. The two completed accordions will be the two sides of the tunnel book.
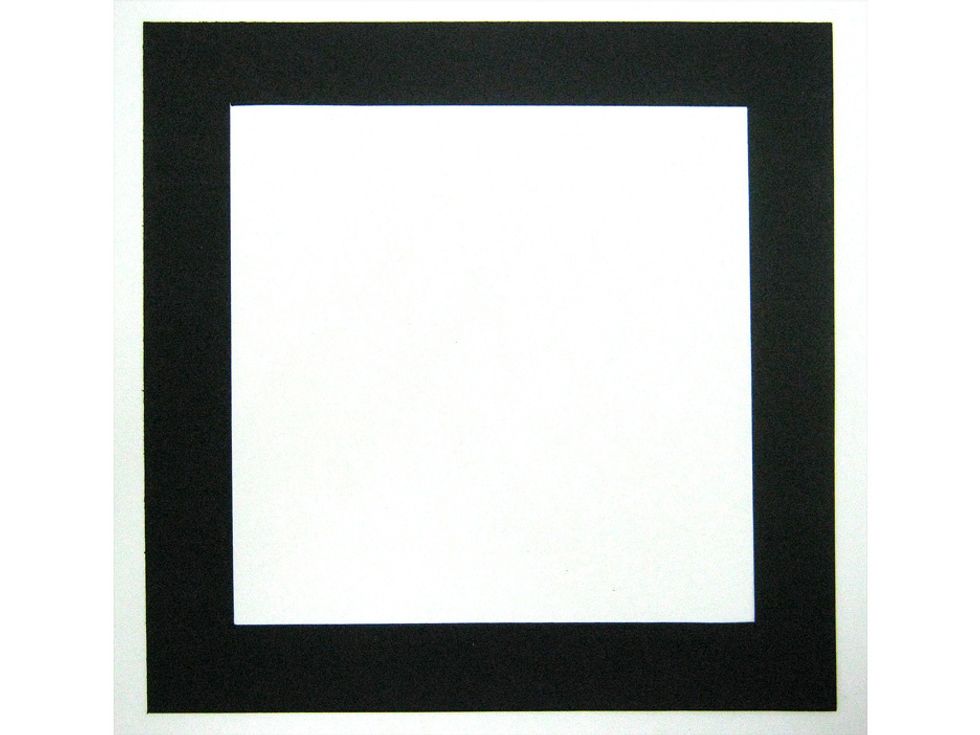
Cut four 8"x8" squares from black cardstock. Cut out a 7"x7" square leaving 1" margins on all sides to create a frame.
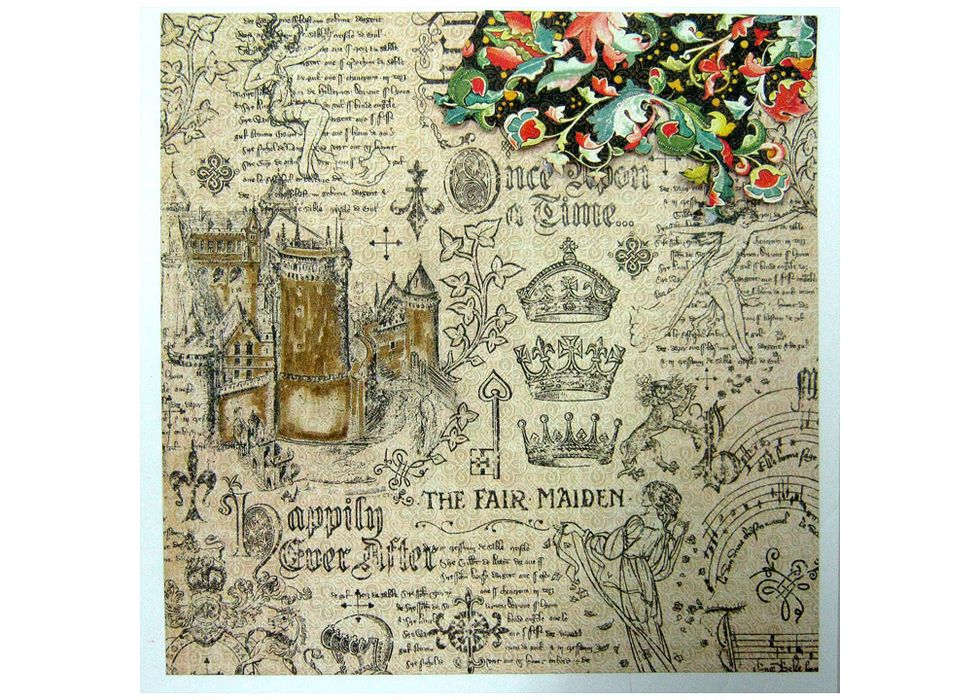
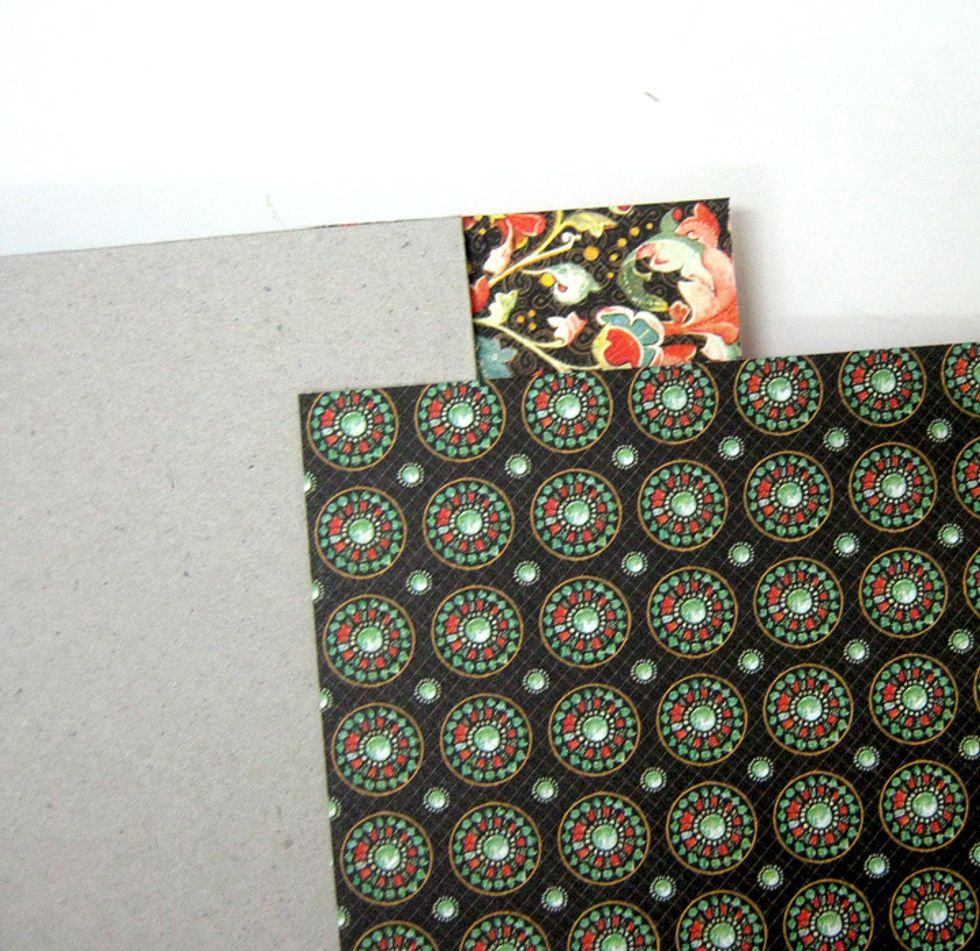
Cut 8"x8" top left square from Medieval Splendor paper. Color the castle with brown distress marker. Cut floral shapes from Sumptuous Floral and adhere to the top right corner of 8"x8" square.

First layer: Cut floral image with fairy from Enchanted Forest paper and attach to left side of frame.
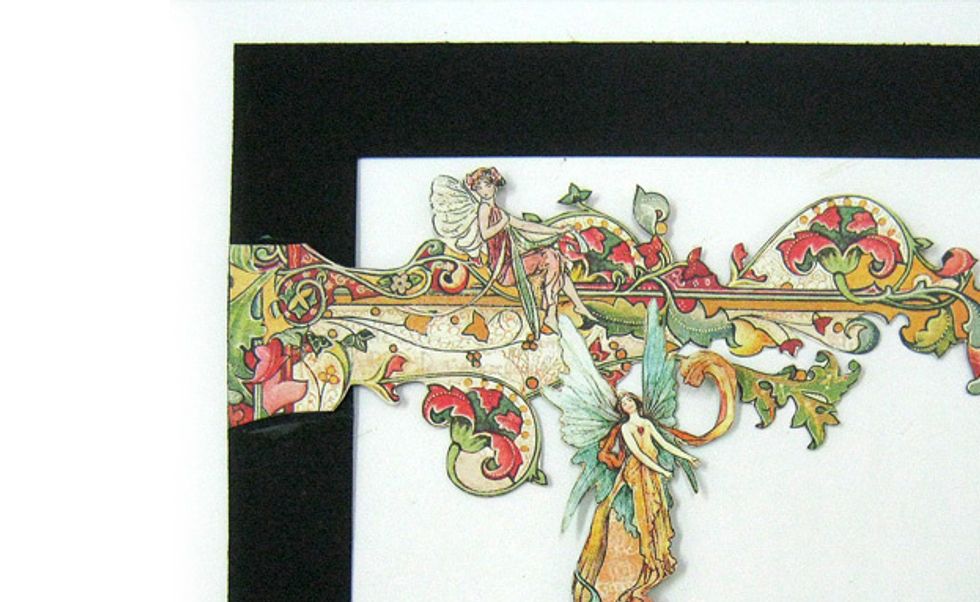
Make sure not to cut around the entire image. leave a margin on the side you attach to the frame.
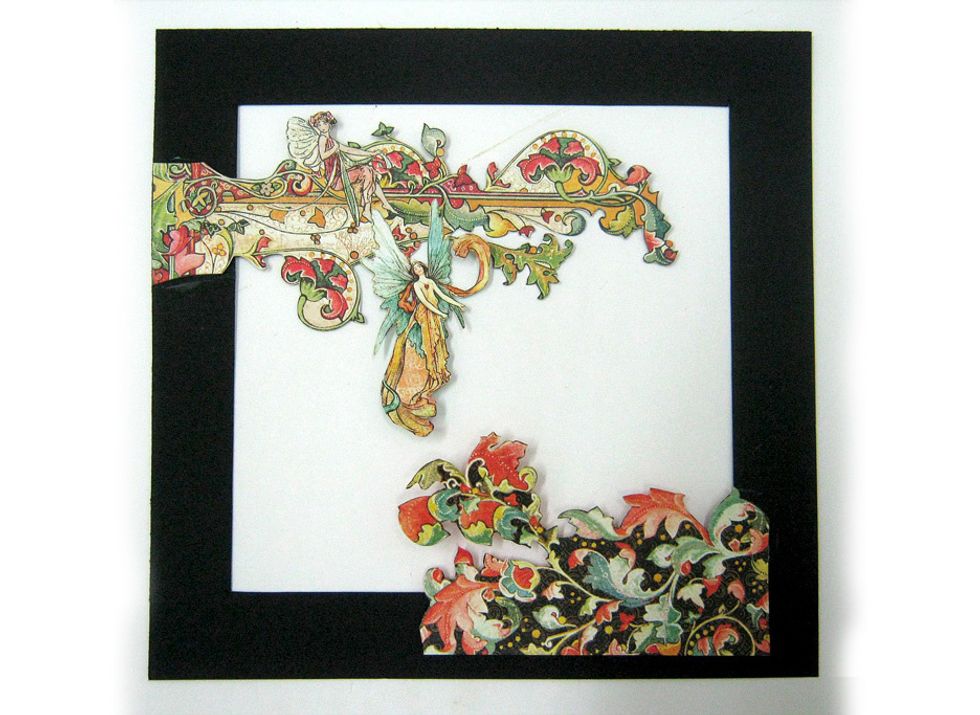
Cut blue wings fairy from Dazzling Damsel paper and attach to upper floral image. Cut floral image from Sumptuous Floral paper and attach to right bottom corner.
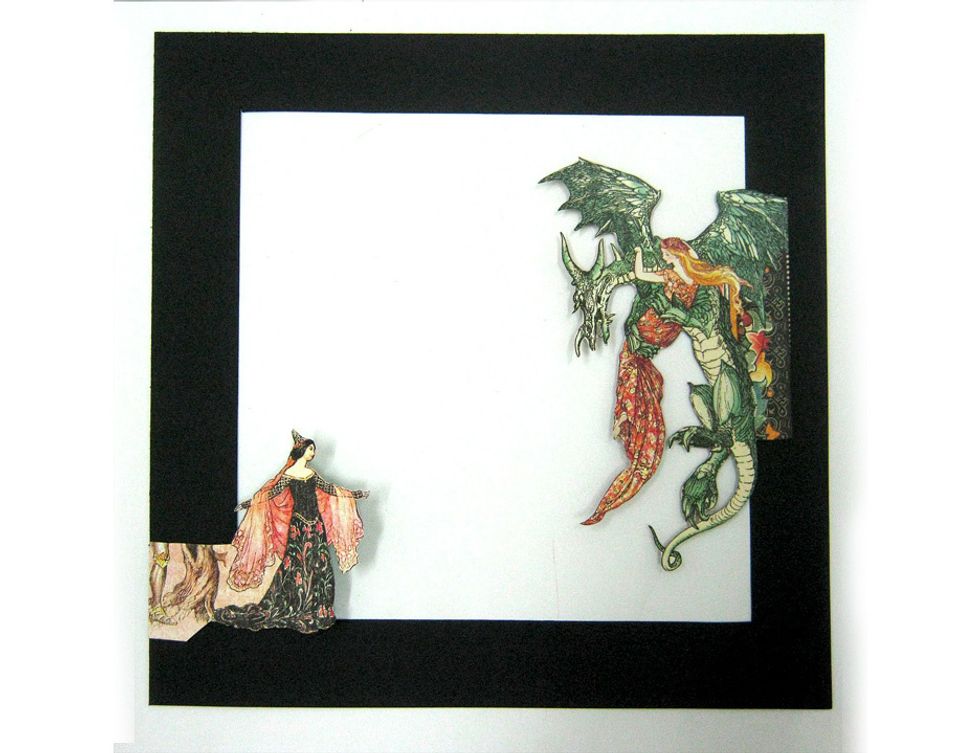
Second layer: Cut dragon from Enchanted Forest paper and attach to right side of frame. Cut black princess from Dazzling Damsel paper and attach to bottom left side of frame.
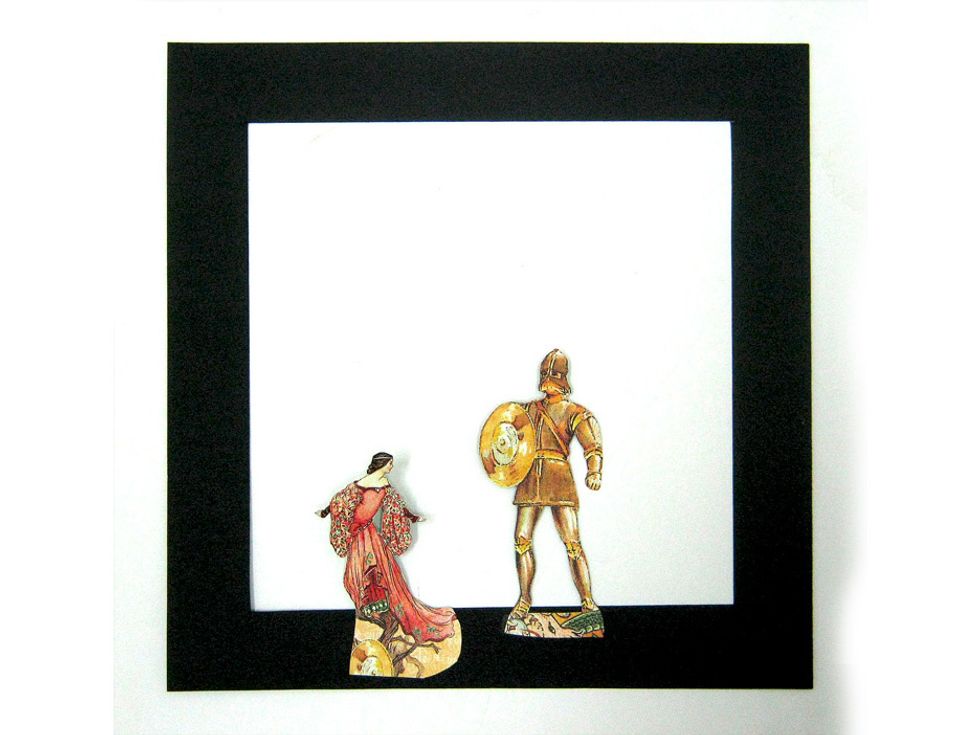
Third layer: Cut knight and red princess from Dazzling Damsel paper and attach to bottom side of frame.
Adhere 8"x8" patterned paper square to last bottom flap of accordion on both sides.
Adhere first layer on the other "M" leg on both sides.
Adhere layer 2 and 3 on "M" legs. Layer 3 should be on top.

This is how it should look so far.
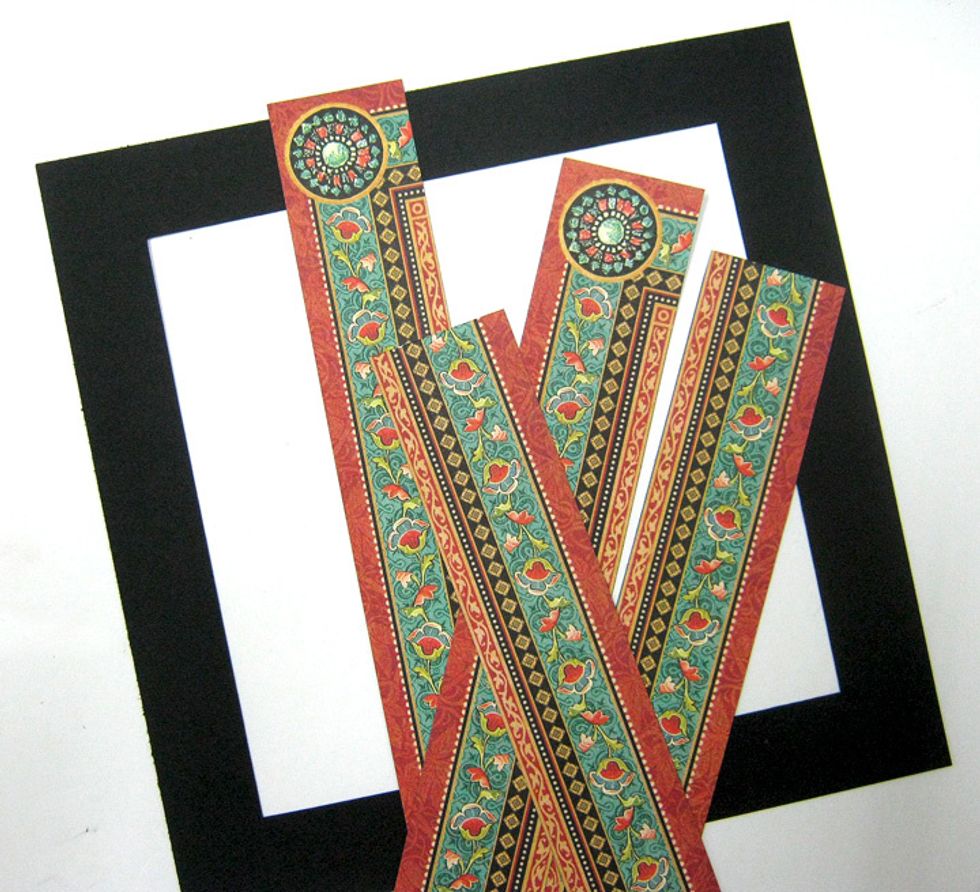
Use last frame for front layer. Cut the frame from Enchanted Forest paper to four strips. Cut out the circles.
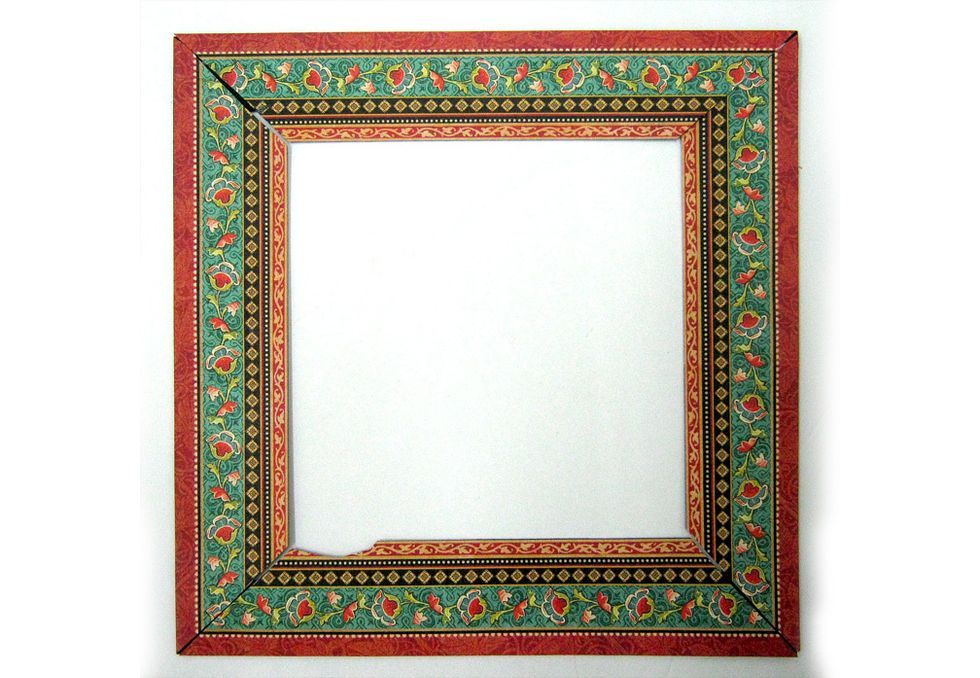
Cut both sides of each strips in 45 degrees. Adhere to black frame Aligning the edge of each strip to the outer edge of frame.
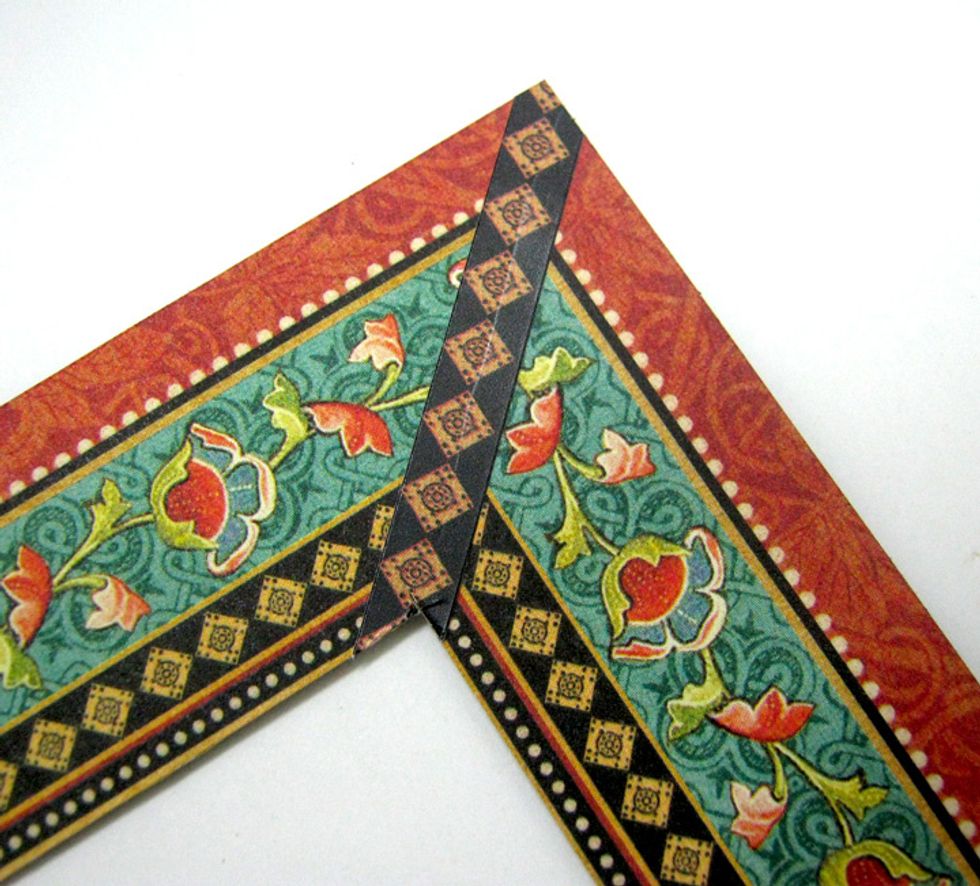
Trim strips until white dots black background pattern leaving a little yellow margin. Add black diamond sticker strip to each corner and trim to fit.
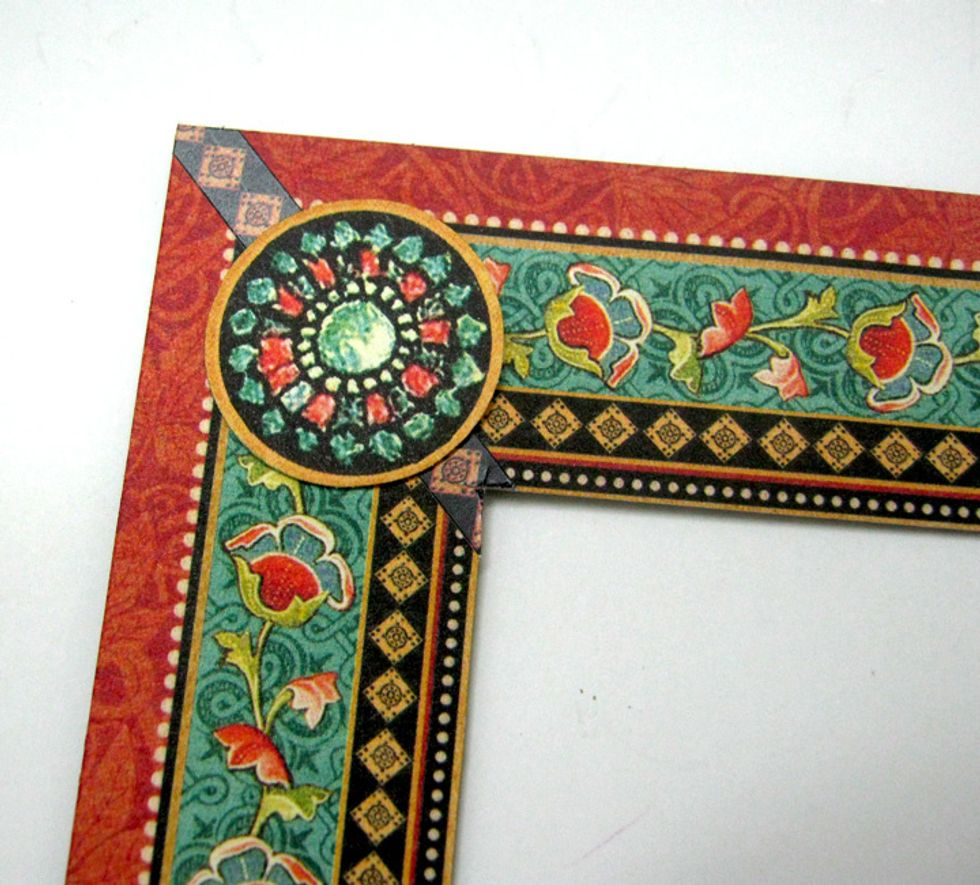
Cut out the circles and add to corners of frame.
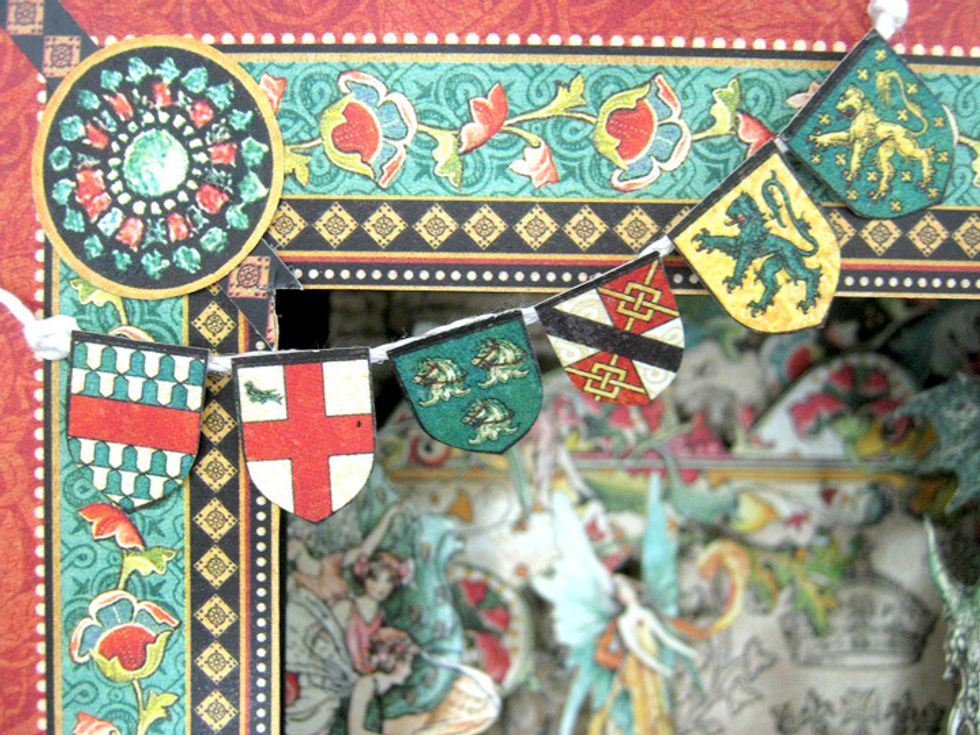
Cut shields from Exquisite Epoch and attach to twine. Attach twine to top left corner of front frame.
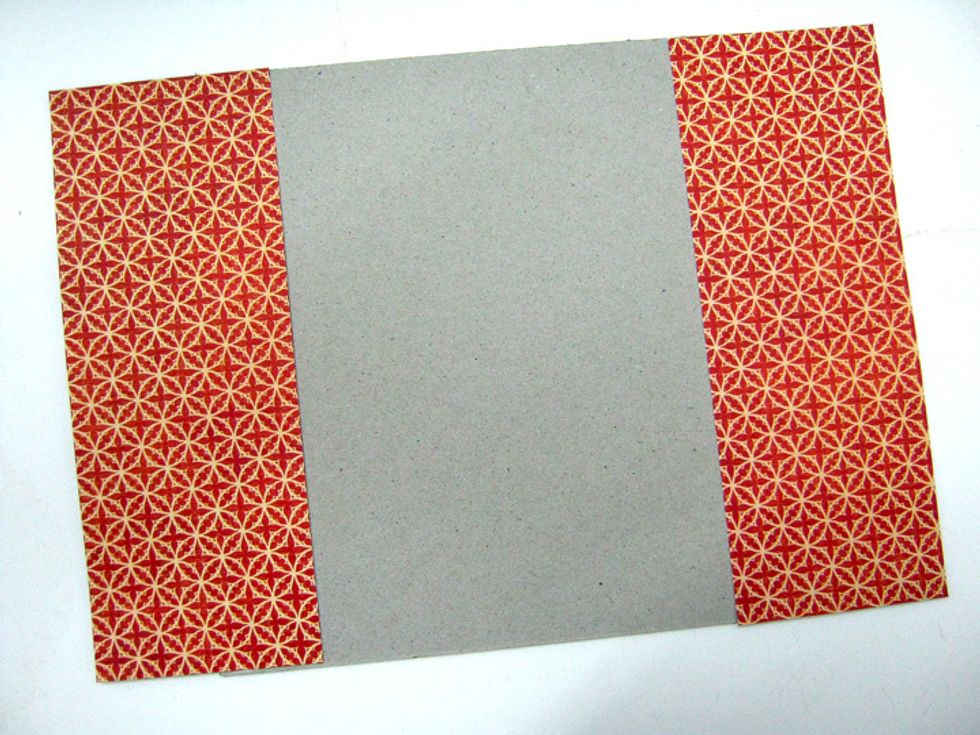
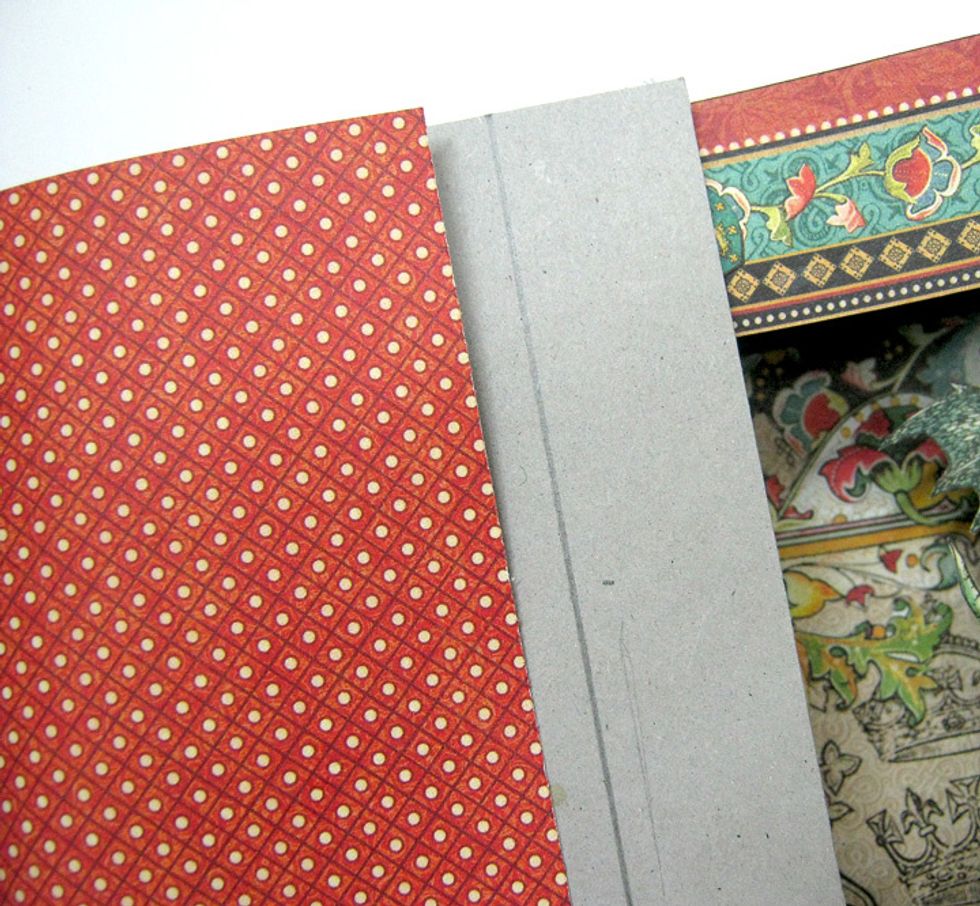
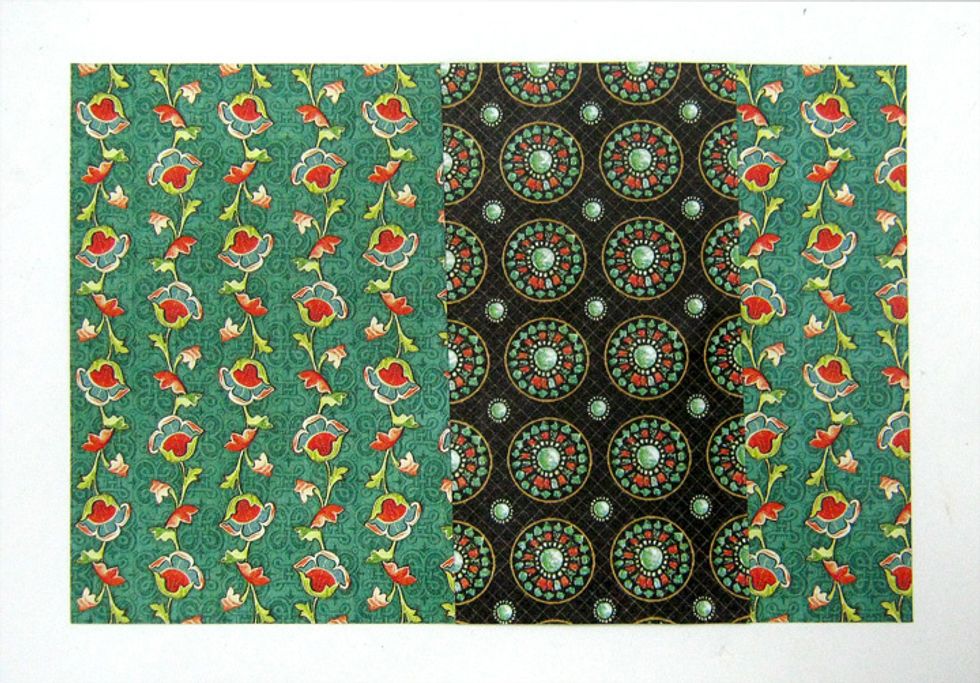
Cut two 3"x8" pieces from Sumptuous Floral paper (B-side). Adhere to 8"x8" chipboard covering 1" on each side.
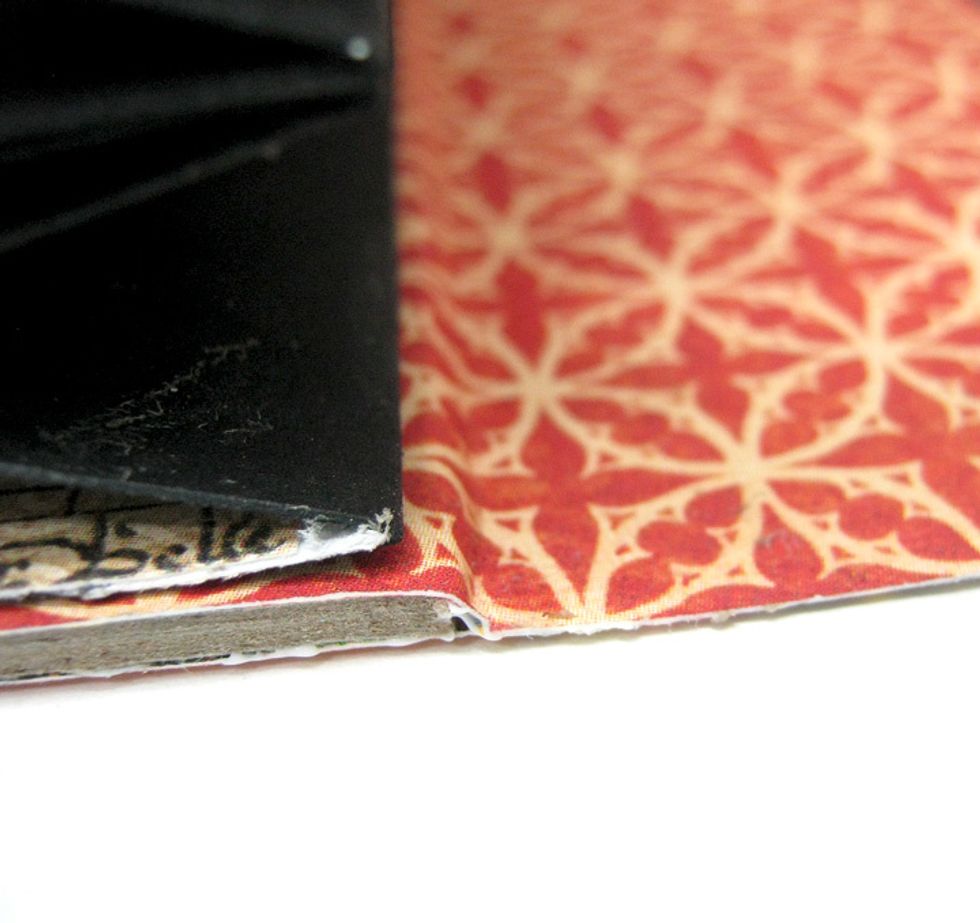
Apply glue to back side of tunnel book and adhere to chipboard.
Cut 5"x8" piece from Brilliant Gem paper. Turn over book and adhere to bottom of chipboard covering 1" on each side.
Adhere the other edge of paper to 4"x8" chipboard covering 2" on left side of chipboard. repeat with other side. Repeat on other side.
Adhere top and bottom paper together and burnish with bone folder to create the fold for the cover to close.
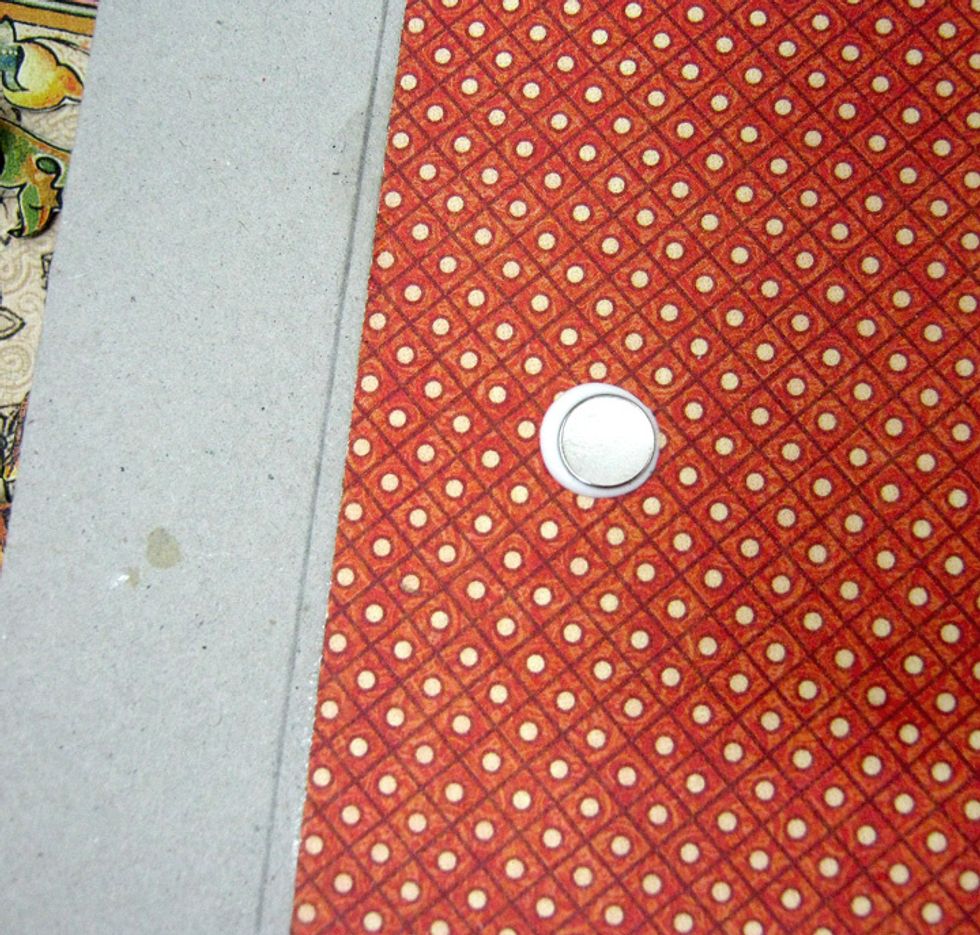
Adhere a magnet to the right front cover 3 inches from the edge.
Cut 2"x8" piece from Brilliant Gem paper and adhere to chipboard, covering the magnet. Adhere a same piece on other side.
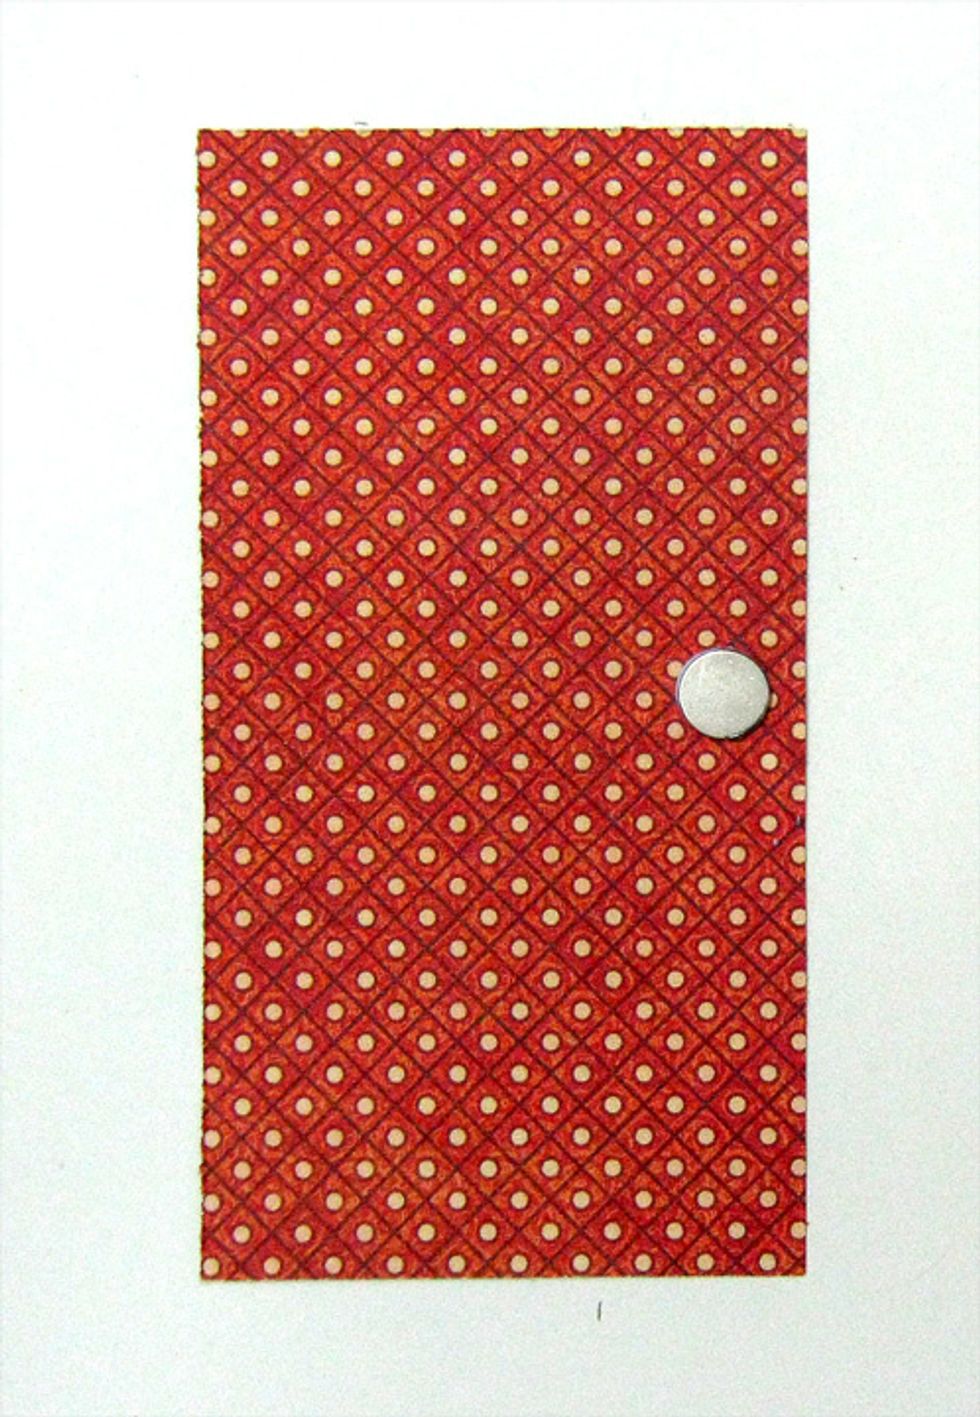
Cut 2"x4" piece from Brilliant Gem (B-side) and attach a magnet to the right side.
Cut 4"x6" piece from Gallant Knight paper (B-side) and cover 4"x6" chipboard. Attach 2"x4" piece with the magnet to the chipboard, magnet facing down.

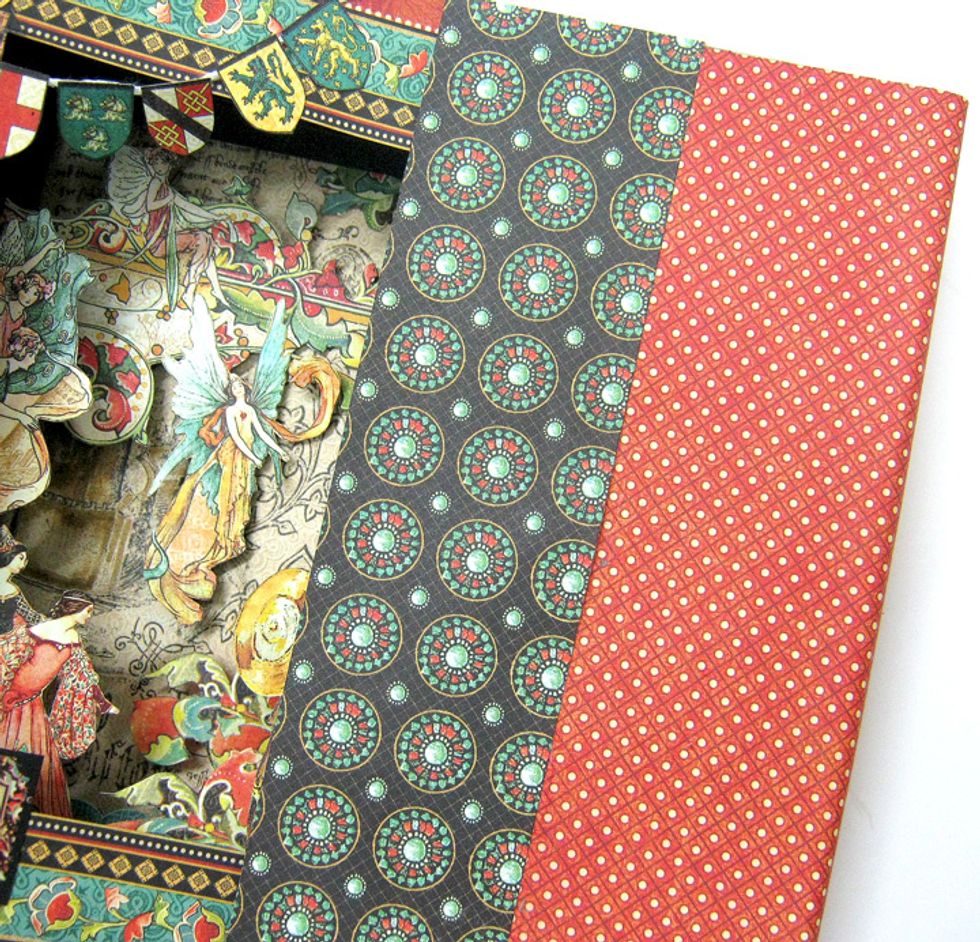
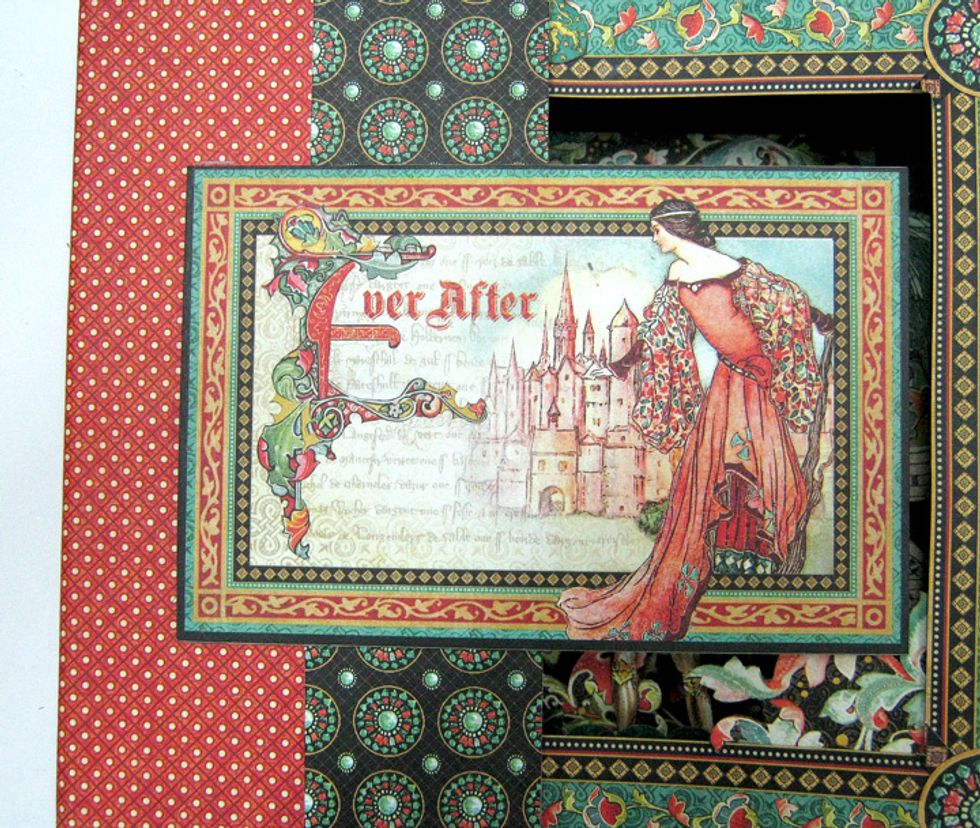
Cut "Ever After" square from Gallant Knight paper and cover other side of 4"x6" chipboard. Apply glue only to left side of chipboard and adhere to left front cover leaving 1" margin on the left.
Make sure to align the two magnets: the one on the 4"x6" chipboard and the second on the right front cover so the closing mechanism will be straight.
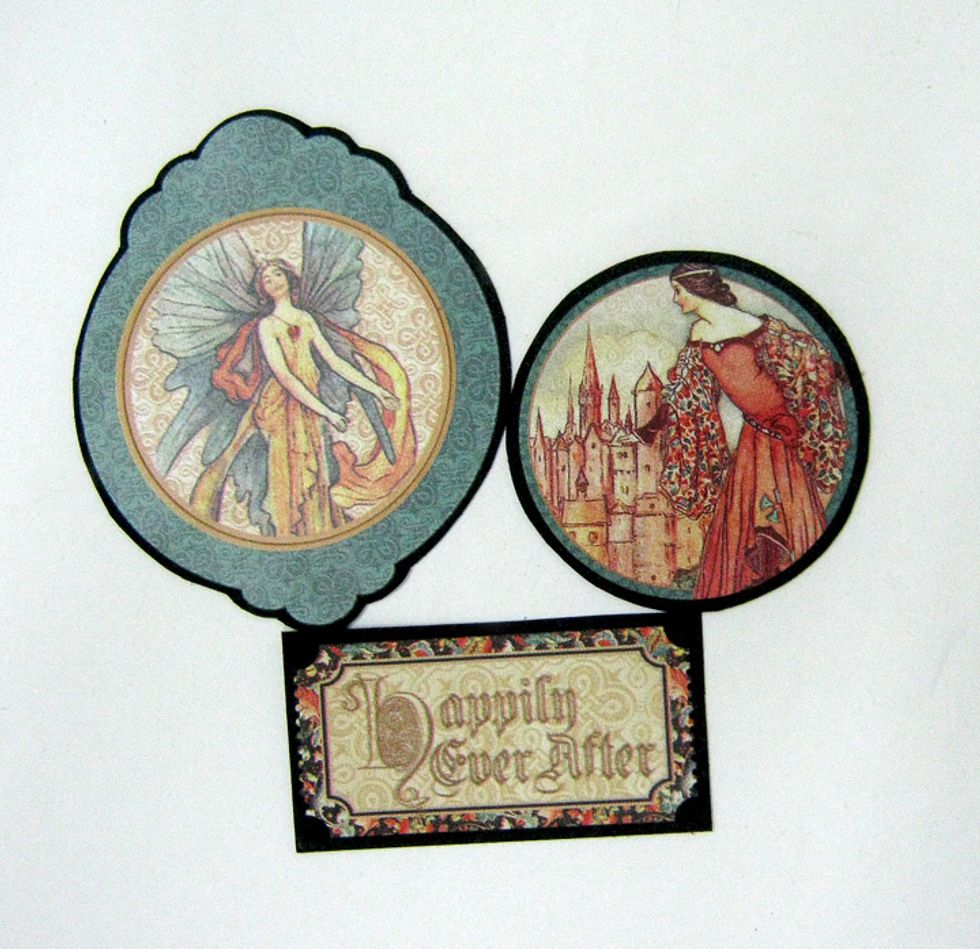
Attach stickers from cardstock stickers sheet to black cardstock and cut.
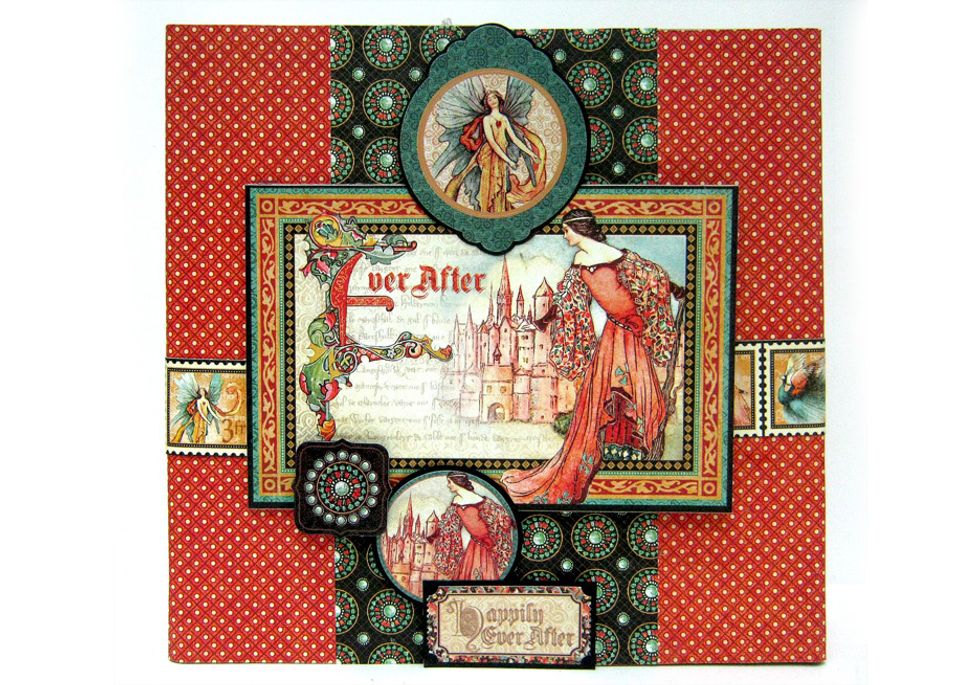
Attach stickers to front cover with 3D foam tape.
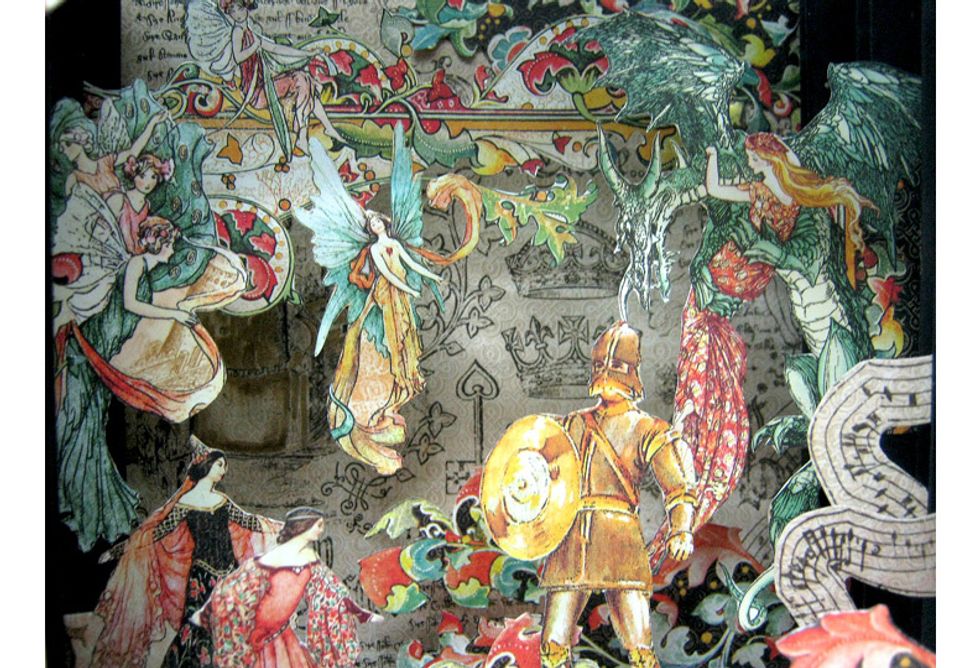
If you're like me and the images in the book are not enough you can add some more. I added three fairies from Dazzling Damsel paper to the left side of second layer.

I also added music noted from Medieval Splendor paper to right side on third frame. Finally I added floral image from Sumptuous Floral to the backside of front frame.
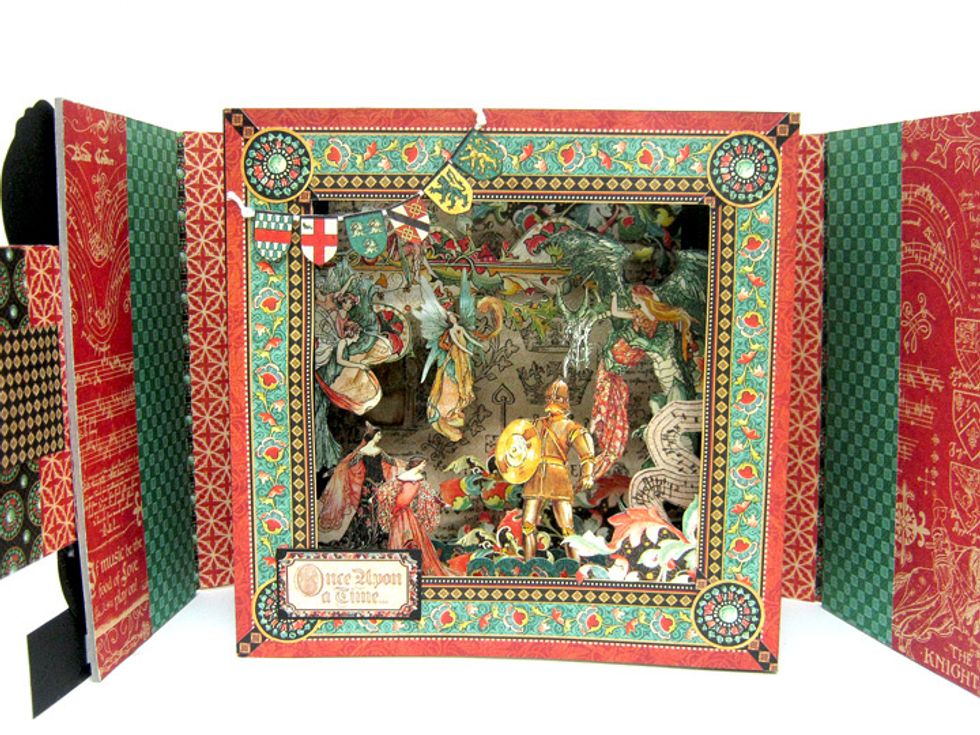
As a final touch I added pieces from floral border sticker to bottom side of some frames. And the sticker "Once Upon a Time on a black cardstock to the bottom left corner of the outer frame.