The Conversation (0)
Sign Up
Sadly, I created these nails before realising I could do a tutorial of it. I will do a second tutorial eventually of these with step by step pictures (:
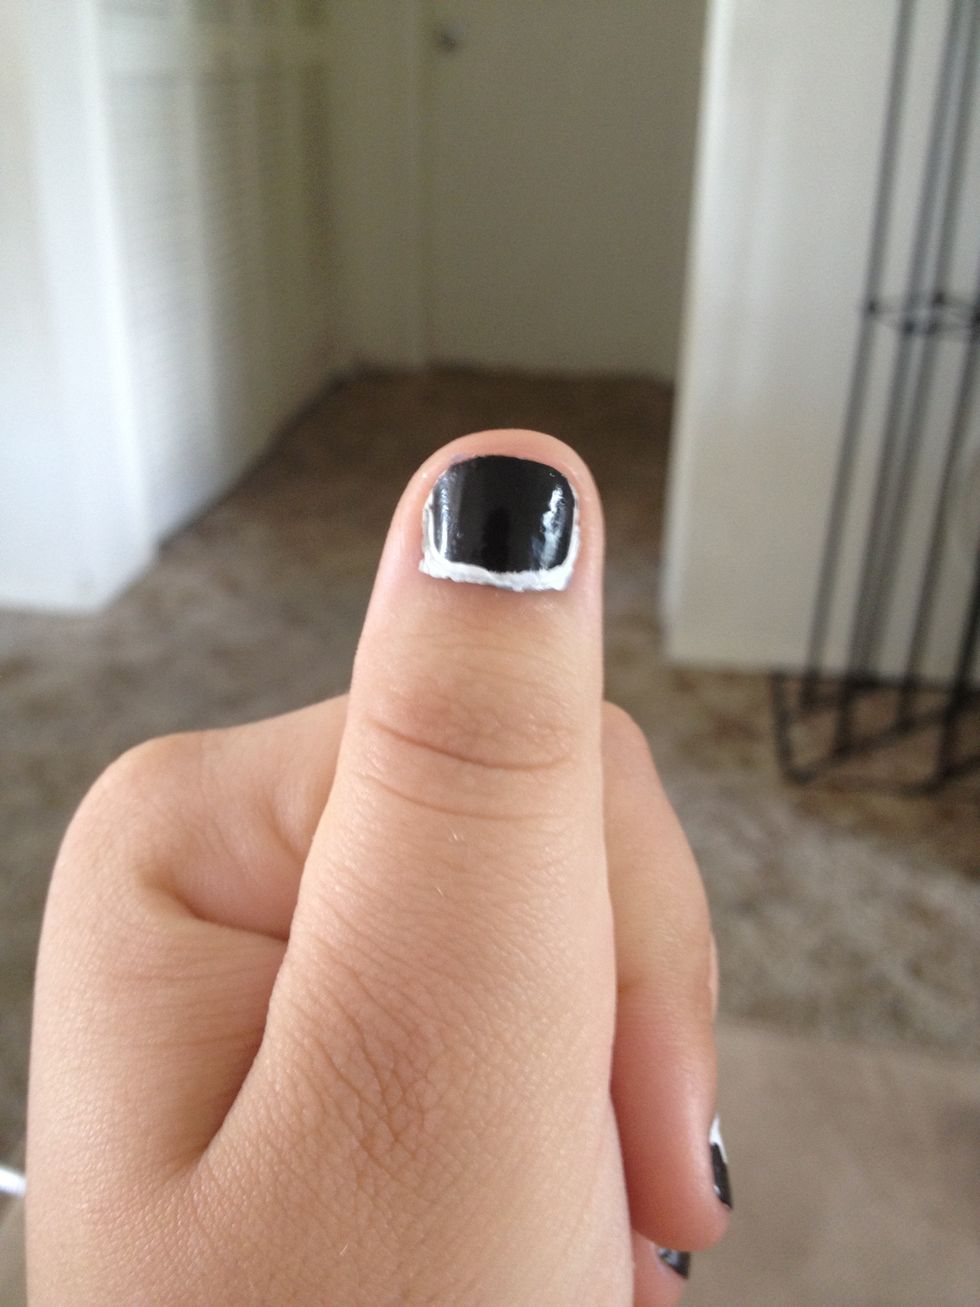
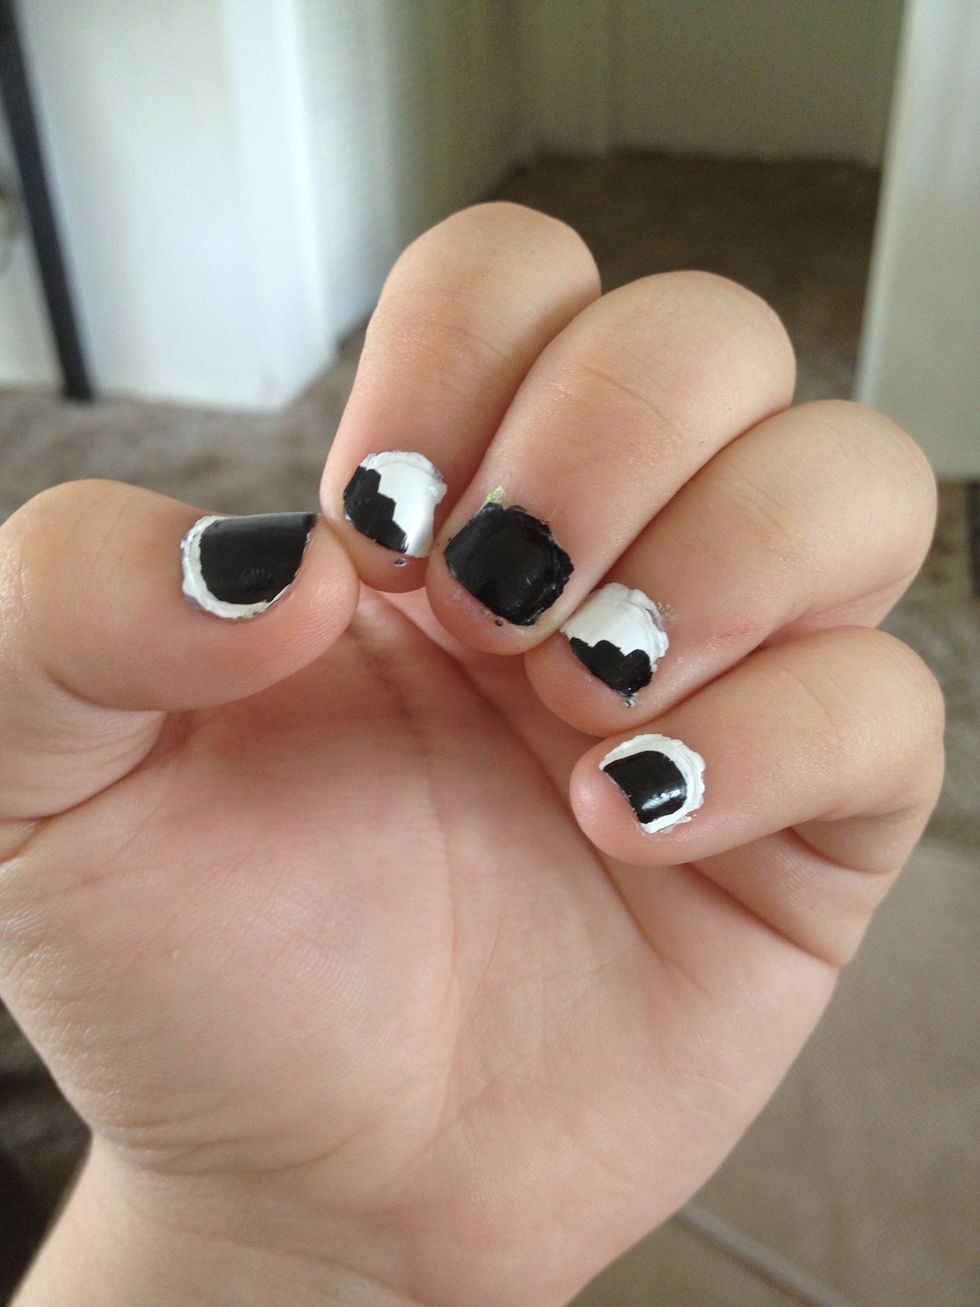
Thumb & Pinky Do your undercoat on all nails (I did a nail hardener), then two coats of white. When it'a dry, paint on the black but not over your entire nail. Let white show.

Ring & Index Two coats of white polish, then taking your black do steps, from the highest one to the smallest. I find that three looks best.

Middle Just black polish. Ignore that I did not clean it up xD
Now take your nail art pens or thin brushes with color to touch everything up, make all the lines perfect, maybe add more details like a heart in white on your middle finger! Enjoy! (: