The Conversation (0)
Sign Up
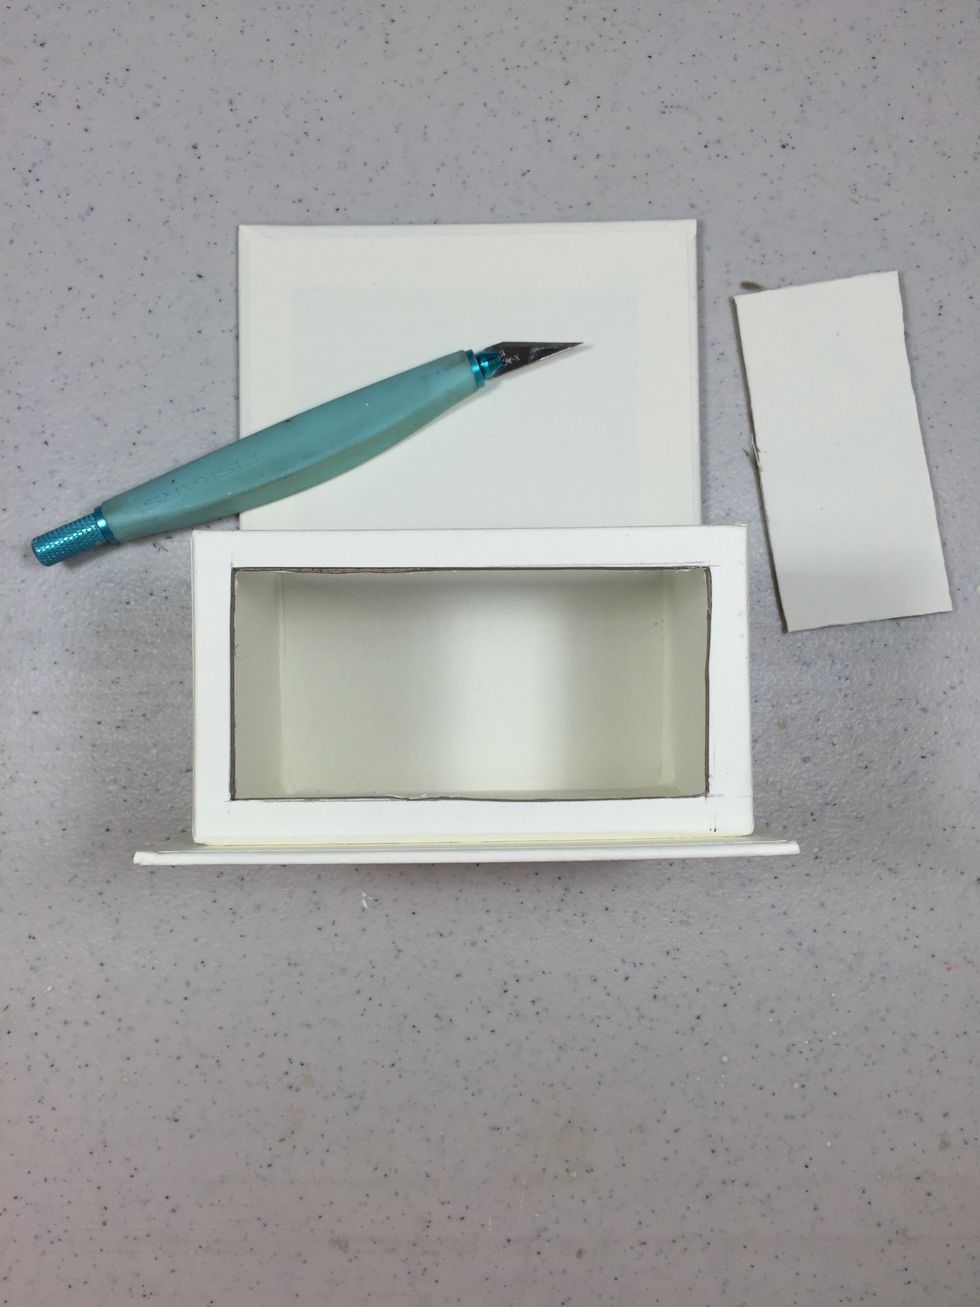
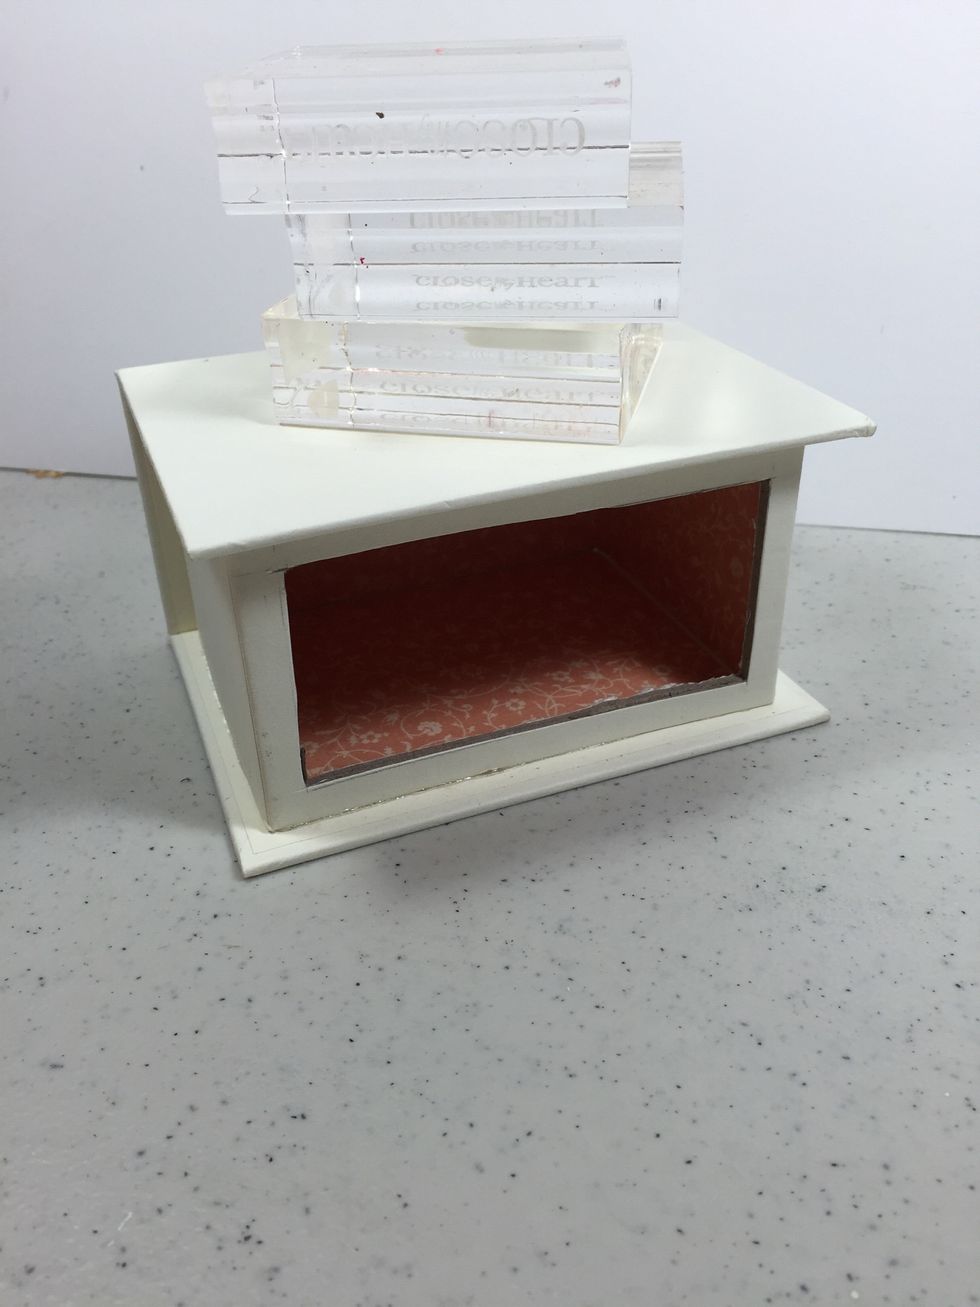
Turn the ATC book box on its back and carefully cut away a 3 1/2" x 1 5/8" rectangle with a sharp craft knife.
Use a strong glue to adhere the back of the box lid to the box base. I used Beacon's 3-in-1 glue.
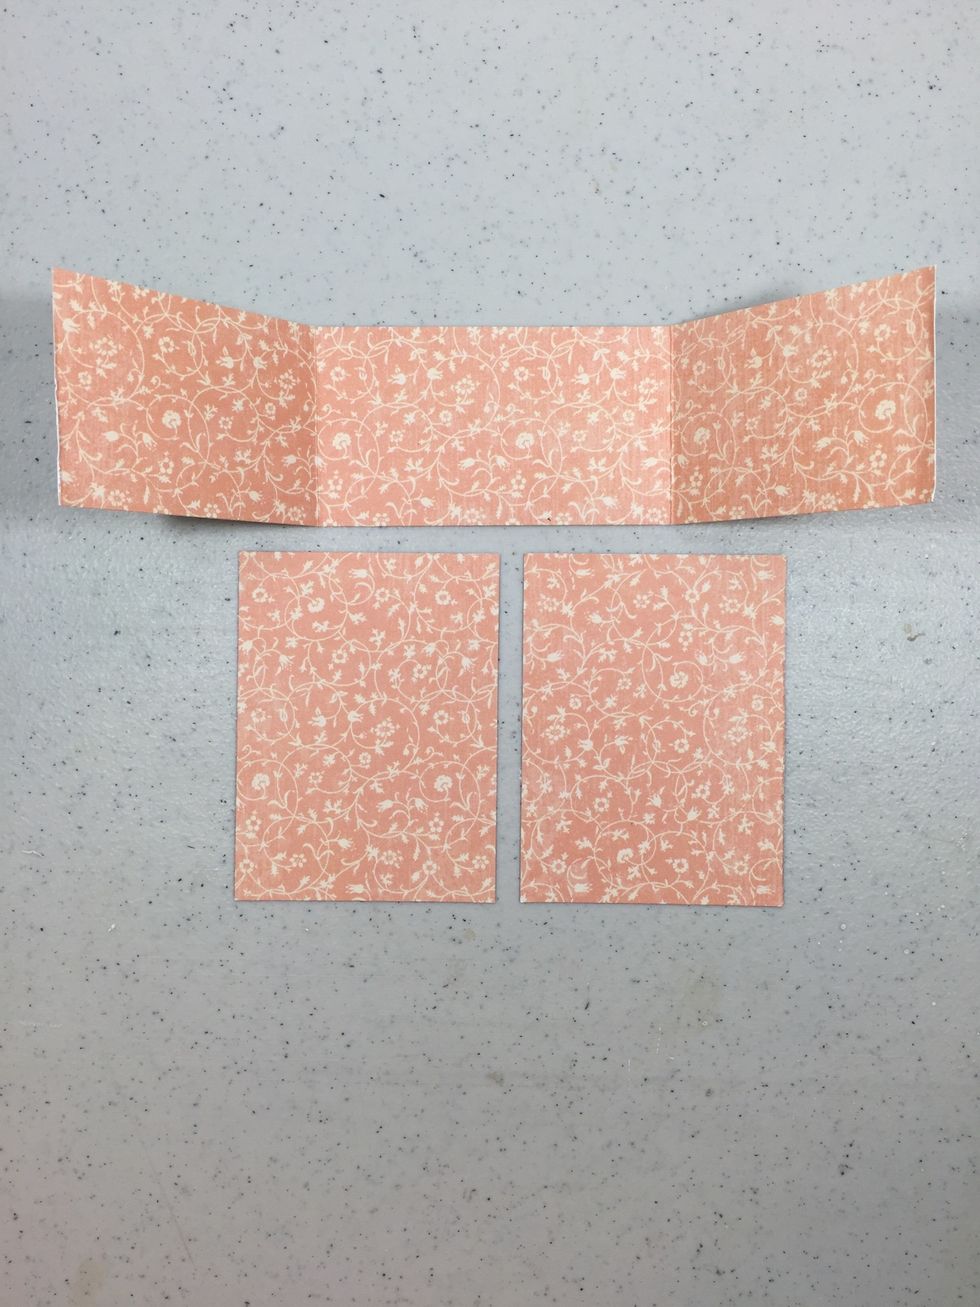
Cut pretty paper for the inside. First, cut a 10" x 2 1/4" piece and score at 3" on each end. Then cut two 3" x 4" pieces.
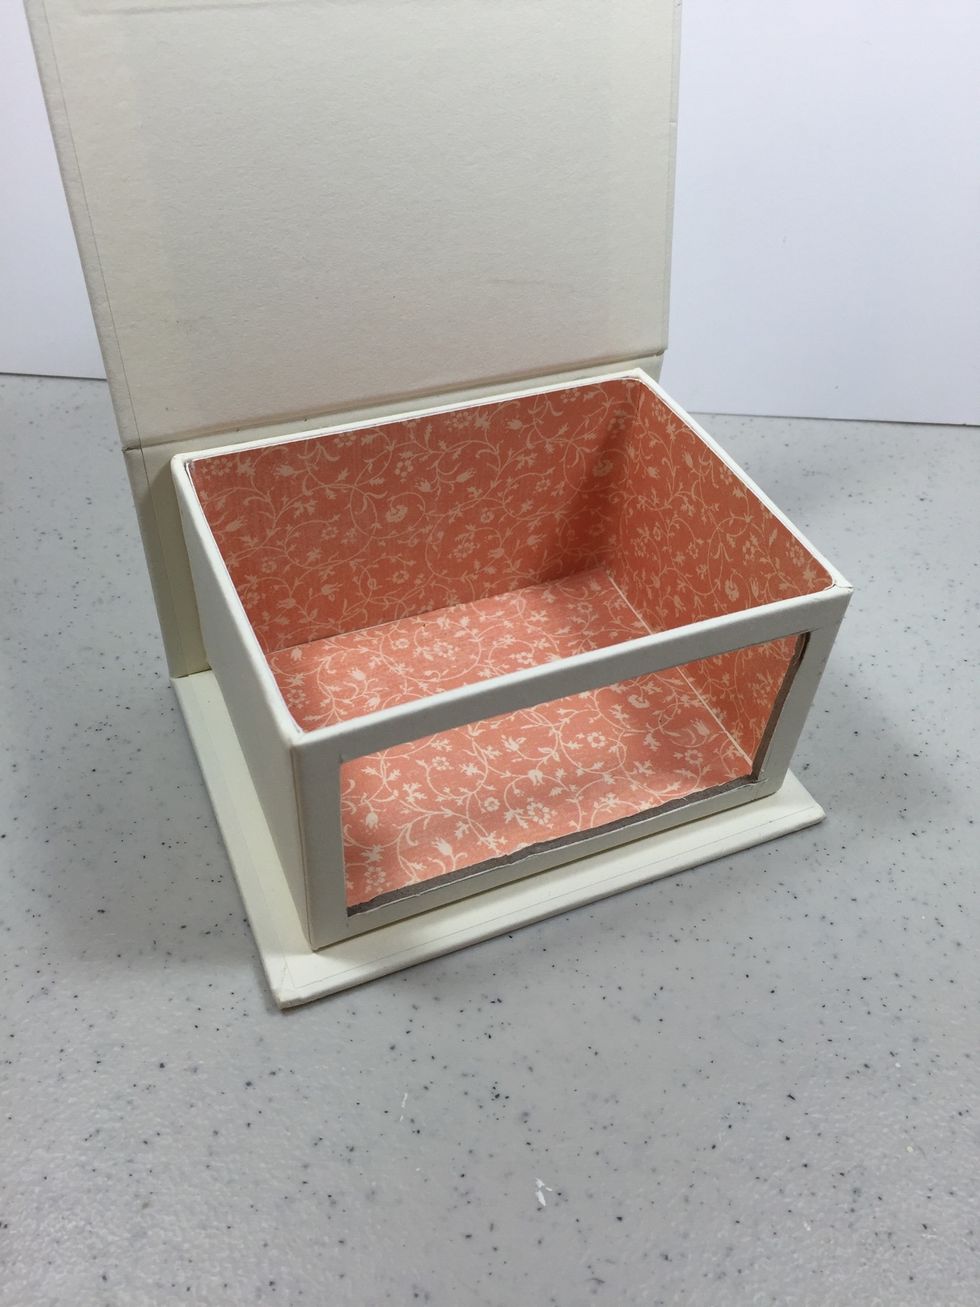
Check the fitting and trim papers as needed. Adhere papers inside, except for one 3" x 4" piece.
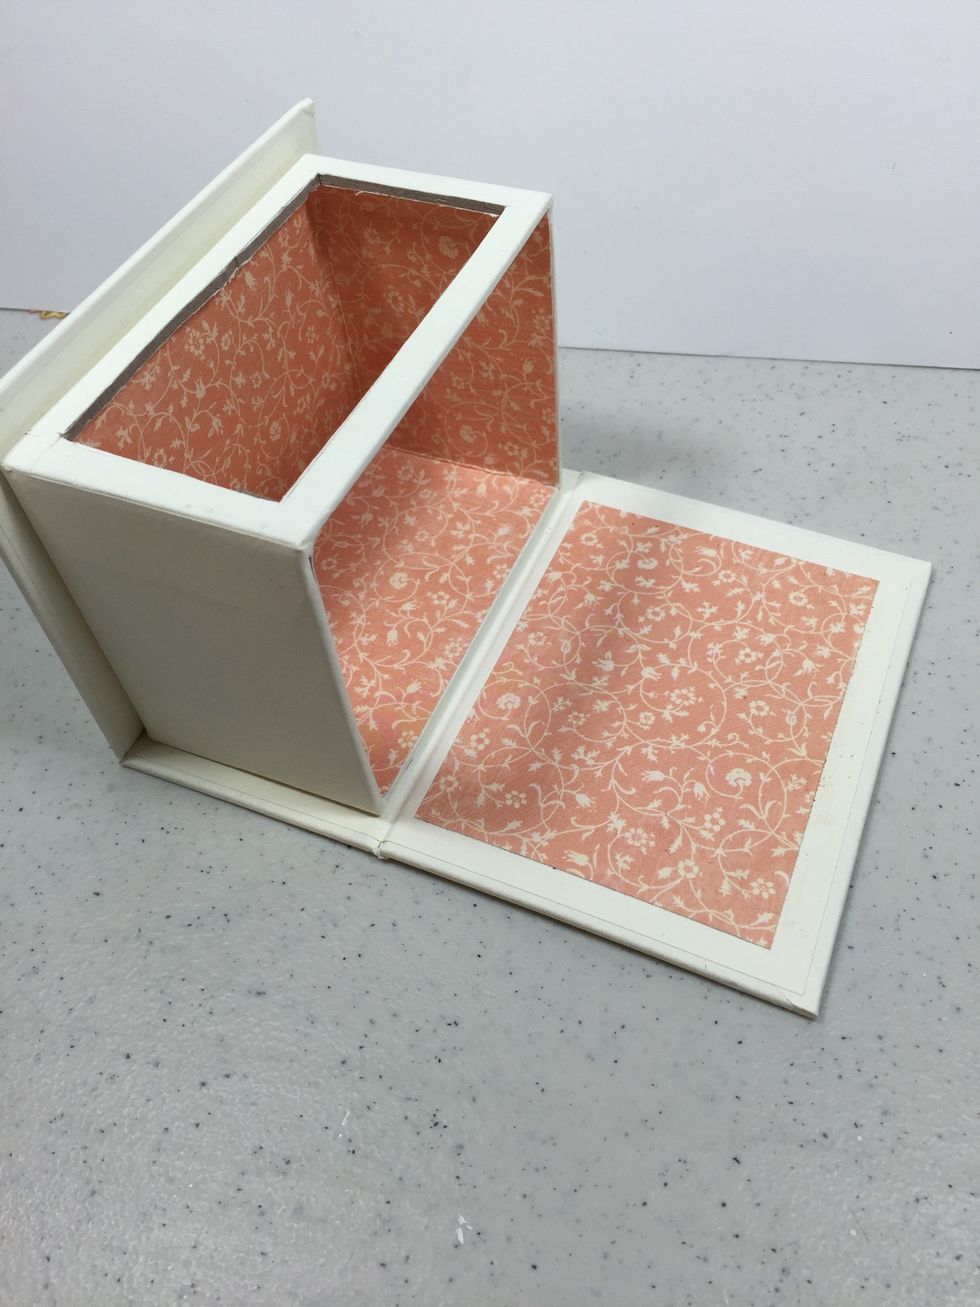
You'll adhere the final 3" x 4" piece to the lid as shown. But first, check the placement by closing the lid. Adjust as necessary, then adhere.
Glue the lid closed and place something heavy on top until the glue sets.

For the outside of the box, cut two papers 4 3/4" x 3 1/2" and two at 2 3/8" x 3 3/4" scoring one edge at 1/2". If desired, ink edges of papers with compatible Distress Inks.

From a compatible colored paper cut two 4 1/4" x 3".
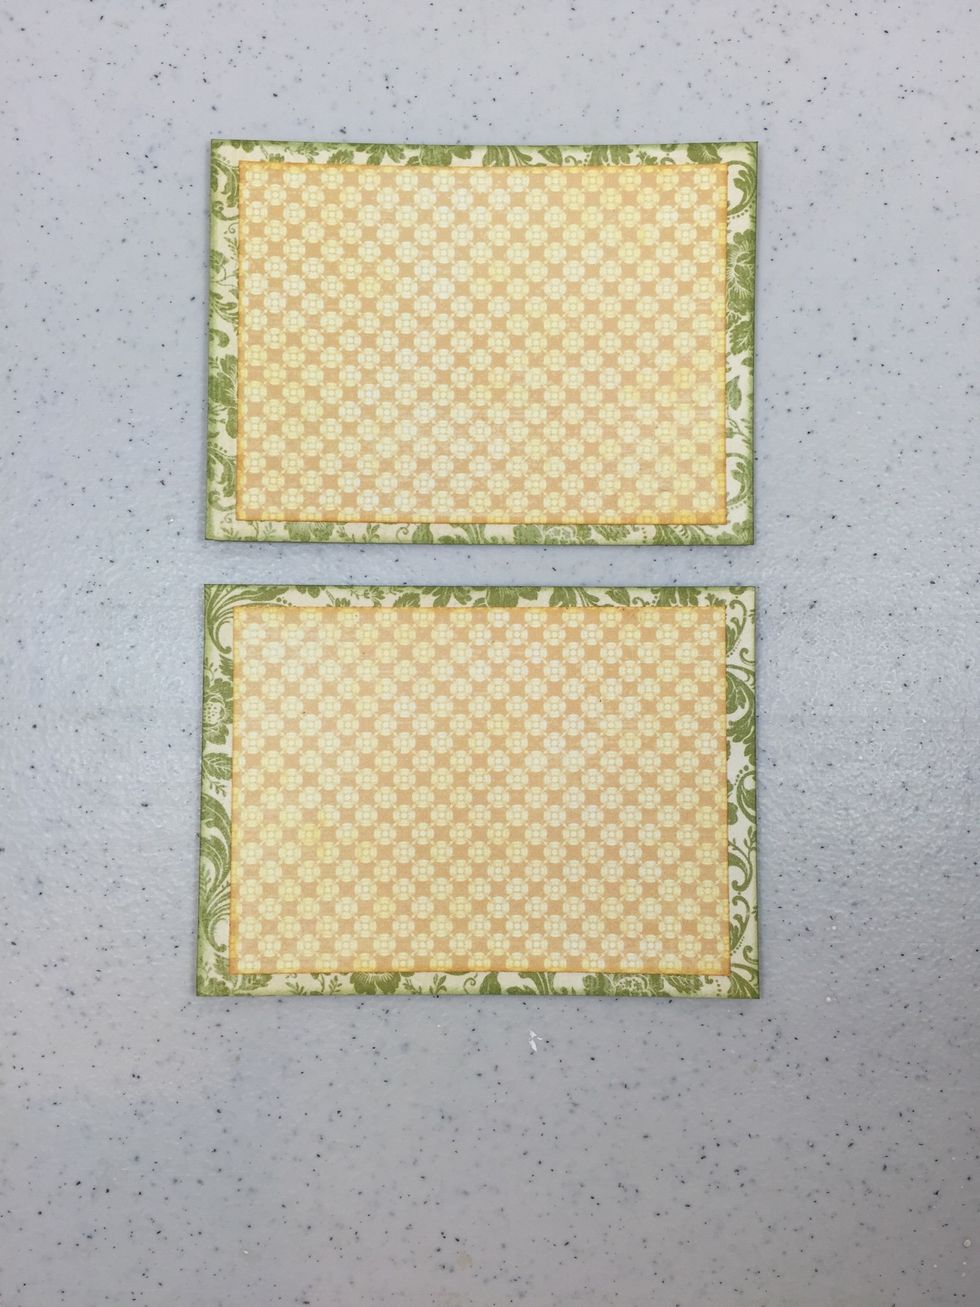
Adhere these papers together.

Cut four strips of paper 6" x 3/4" and glue together two sets to create two strong handles for your basket. Curve the handles while the glue sets, as shown.
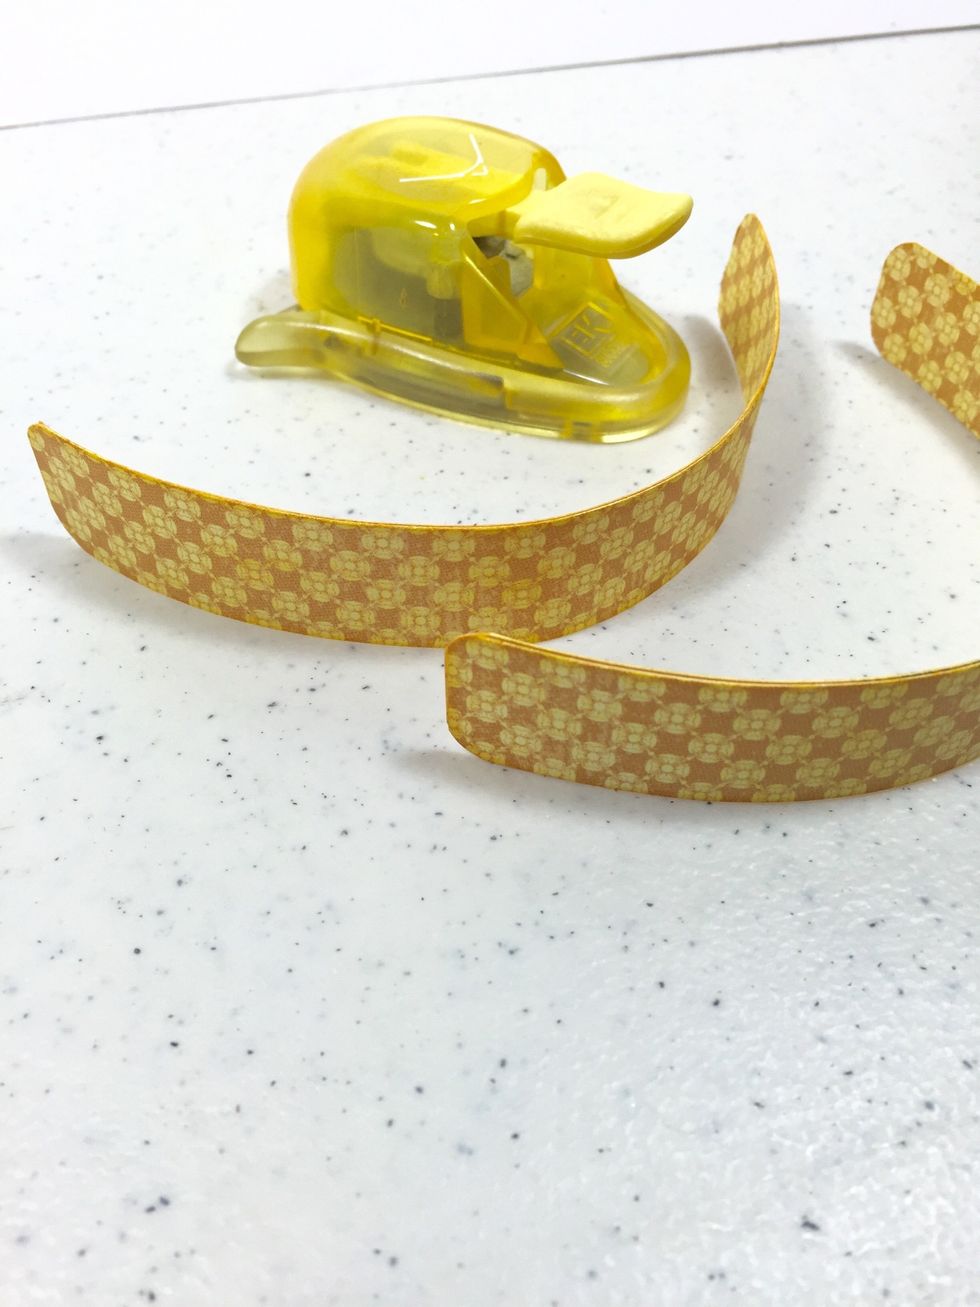
For a finished look, round the corners with a small corner rounder punch.
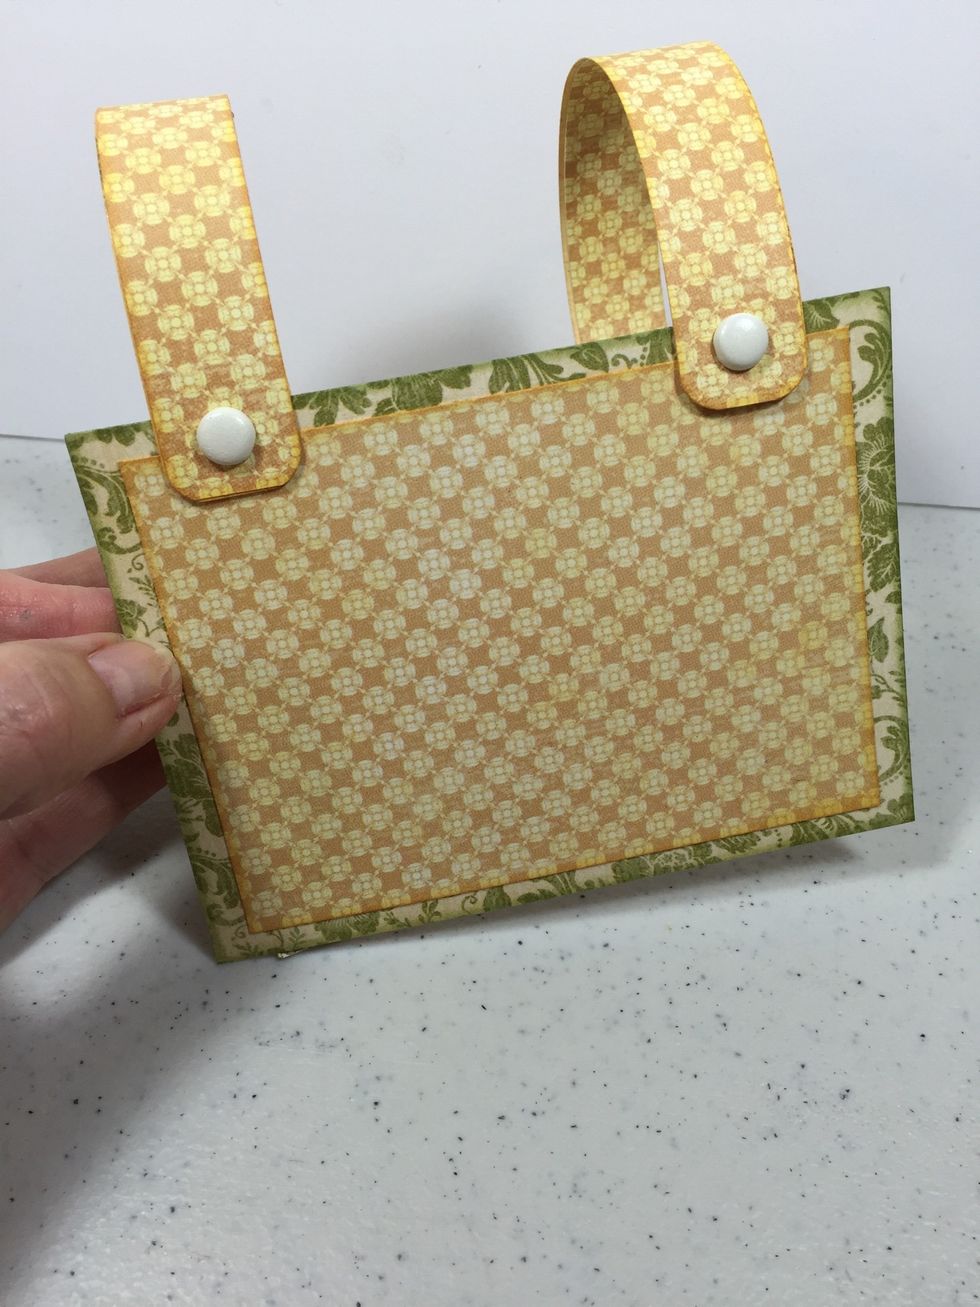
Pierce a hole through the end of the handles and the paper unit shown. Insert a large ivory brad into each.
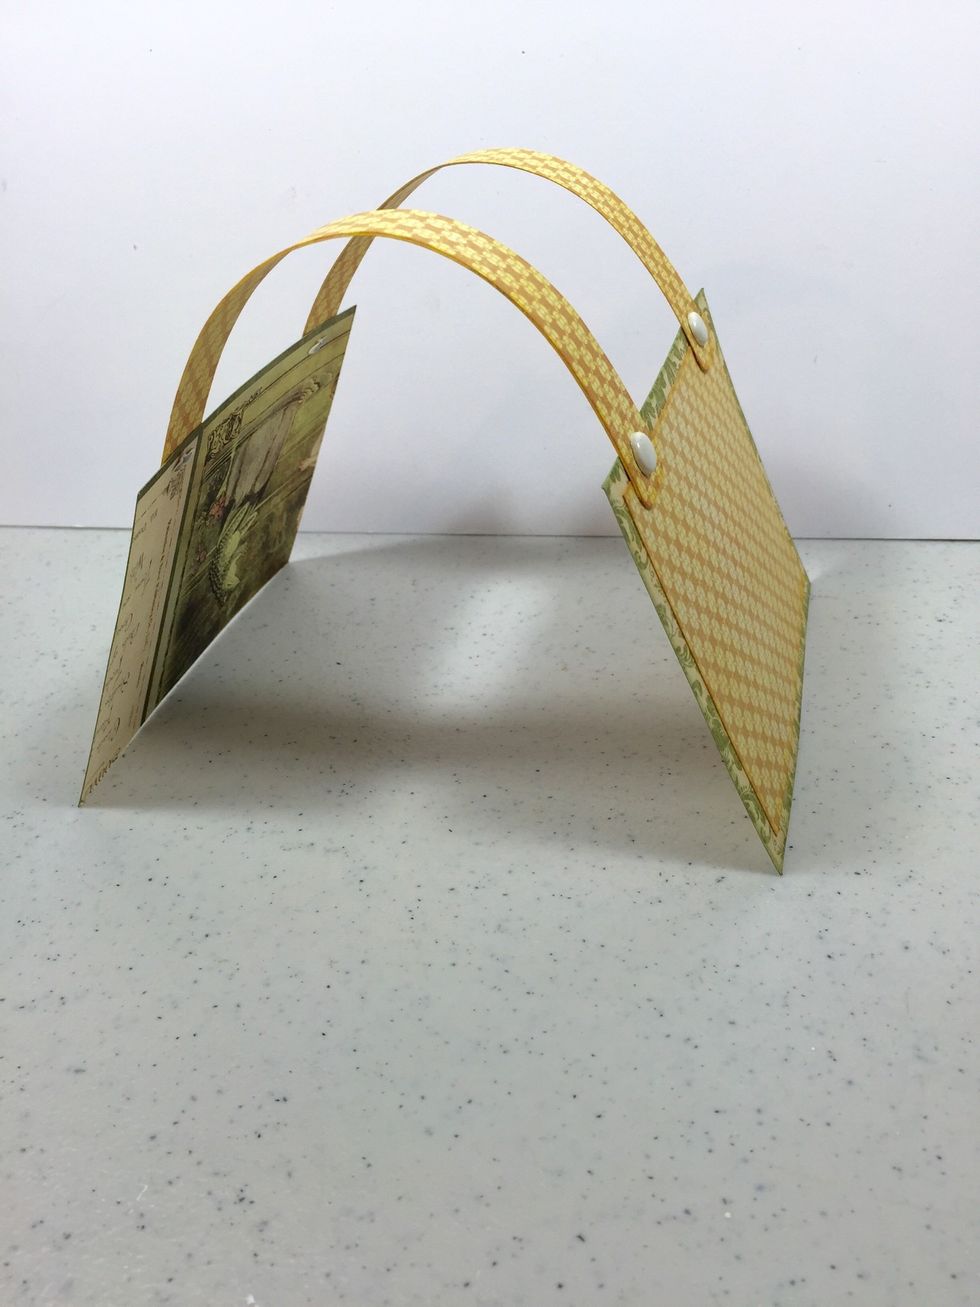
Do the same on the other end of the handles and the other paper unit. What you have should look like this.
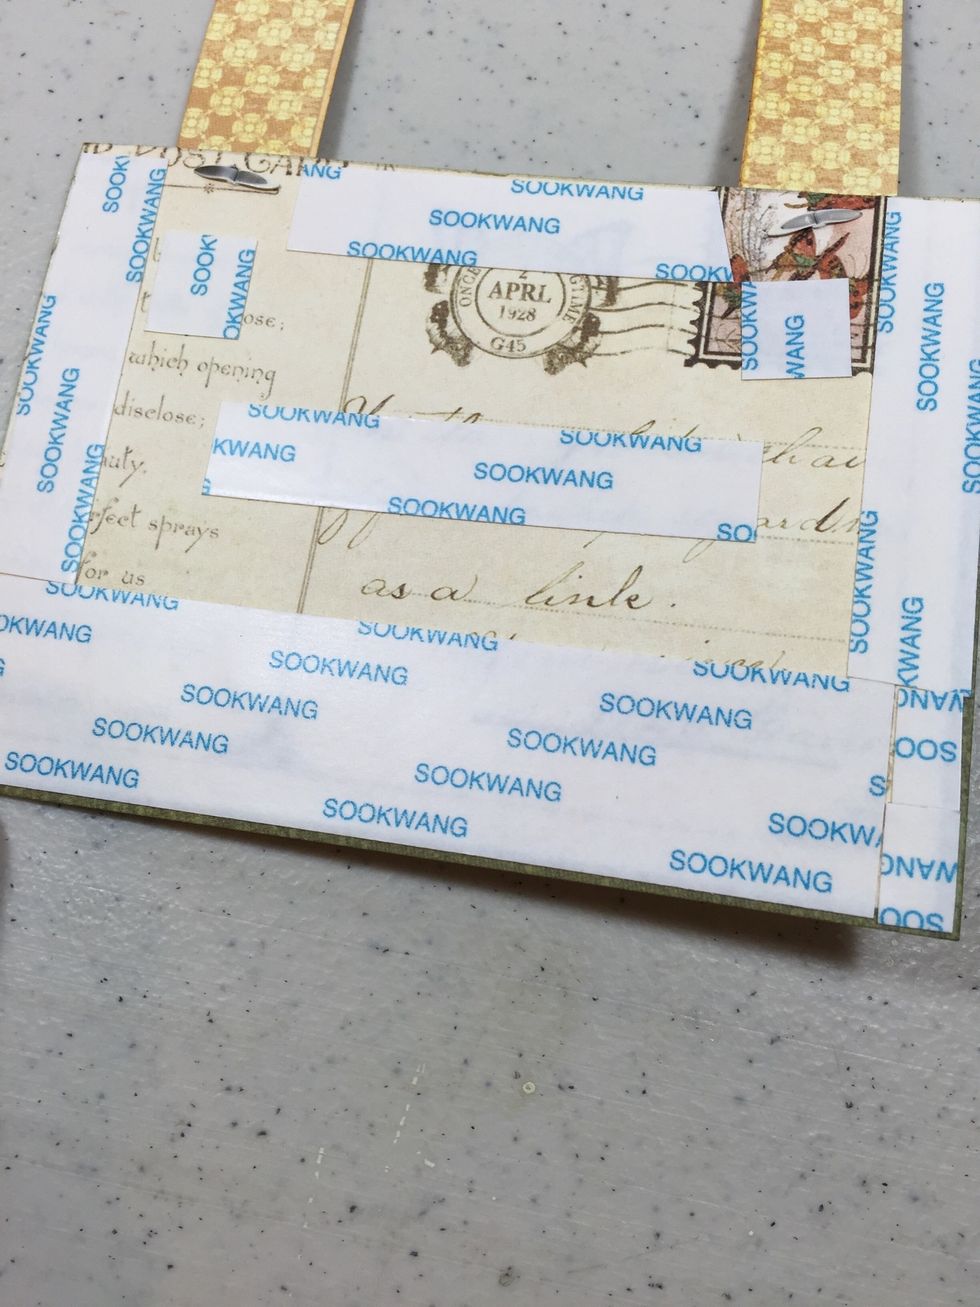
Fold open the brad prongs then place double-sided adhesive on the large paper units, keeping clear the area around the brads. Adhere to the box and repeat on the other side.
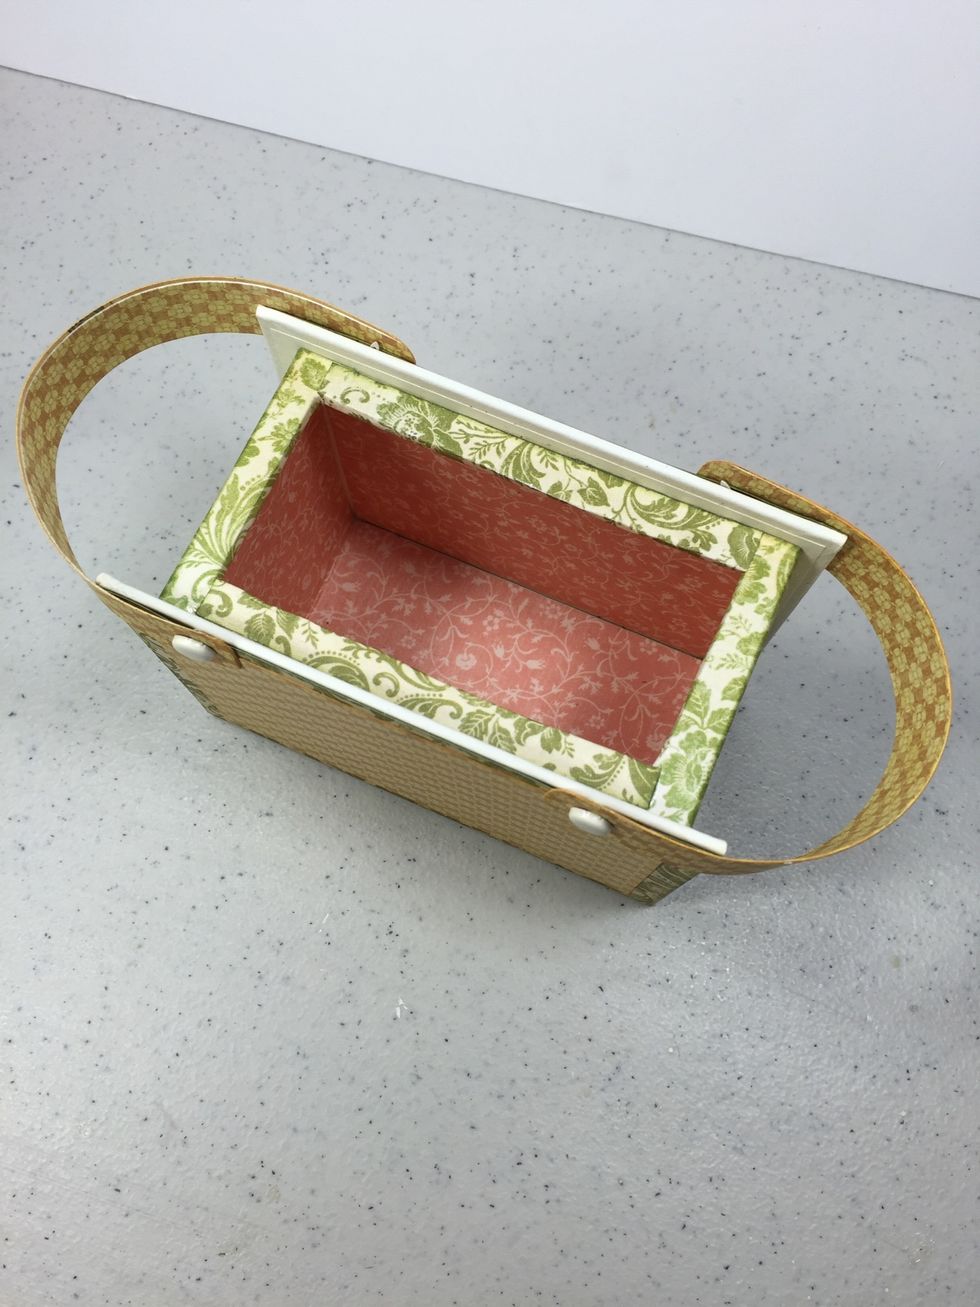
Adhere the scored green floral papers to outer sides of box, folding over to the inside. Cut & adhere two more strips of the same paper 3/4" X 3 9/16" to finish off the top edge of the box as shown.
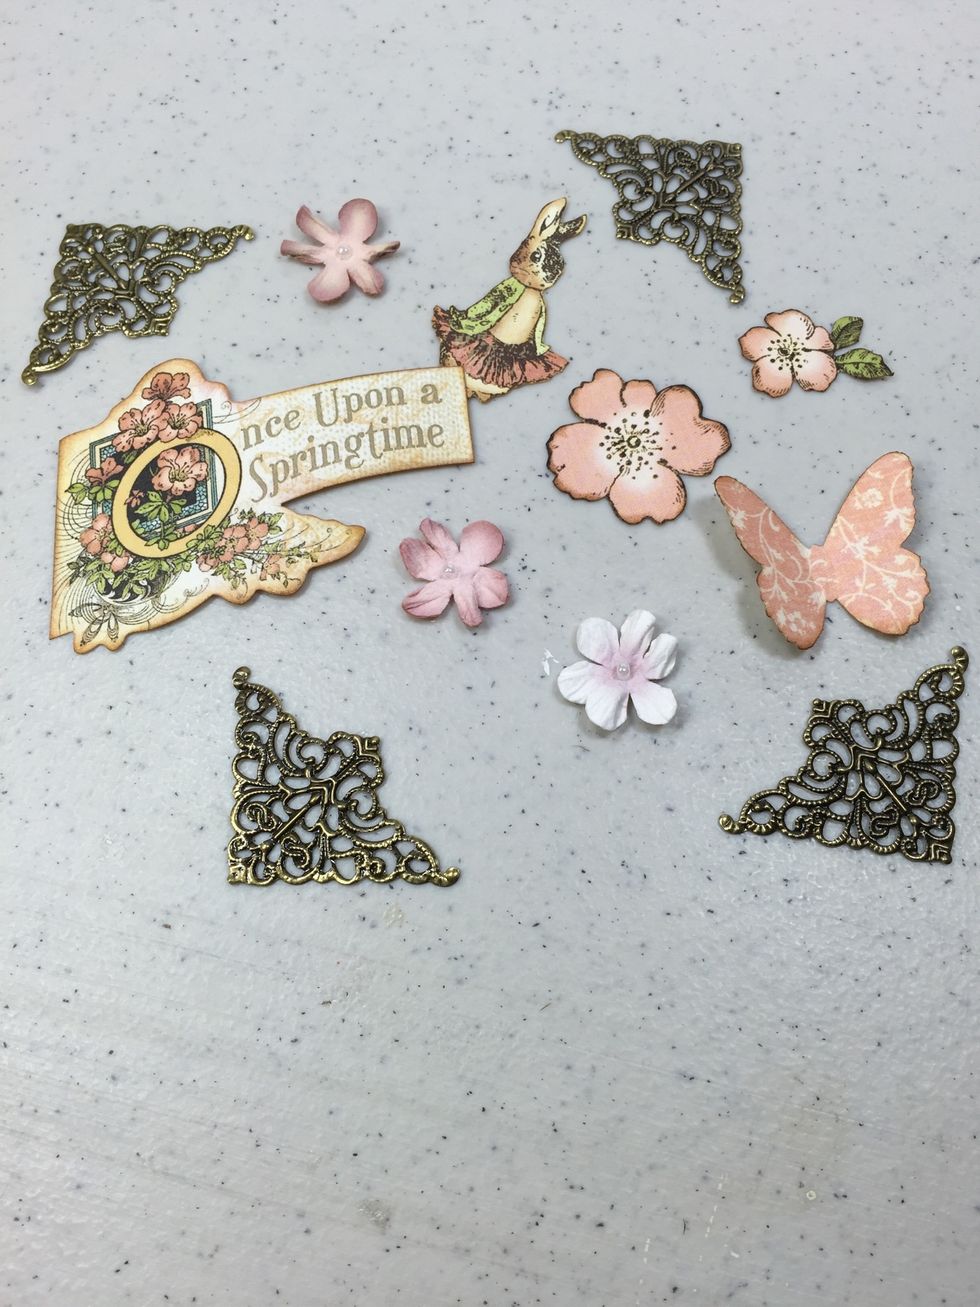
Fussy cut imagery from papers and gather some embellishments. These metal photo corners are "Mirabella" by Santoro-London. Butterfly is from a punch. Flowers are Mini Daisy Petites by Petaloo.
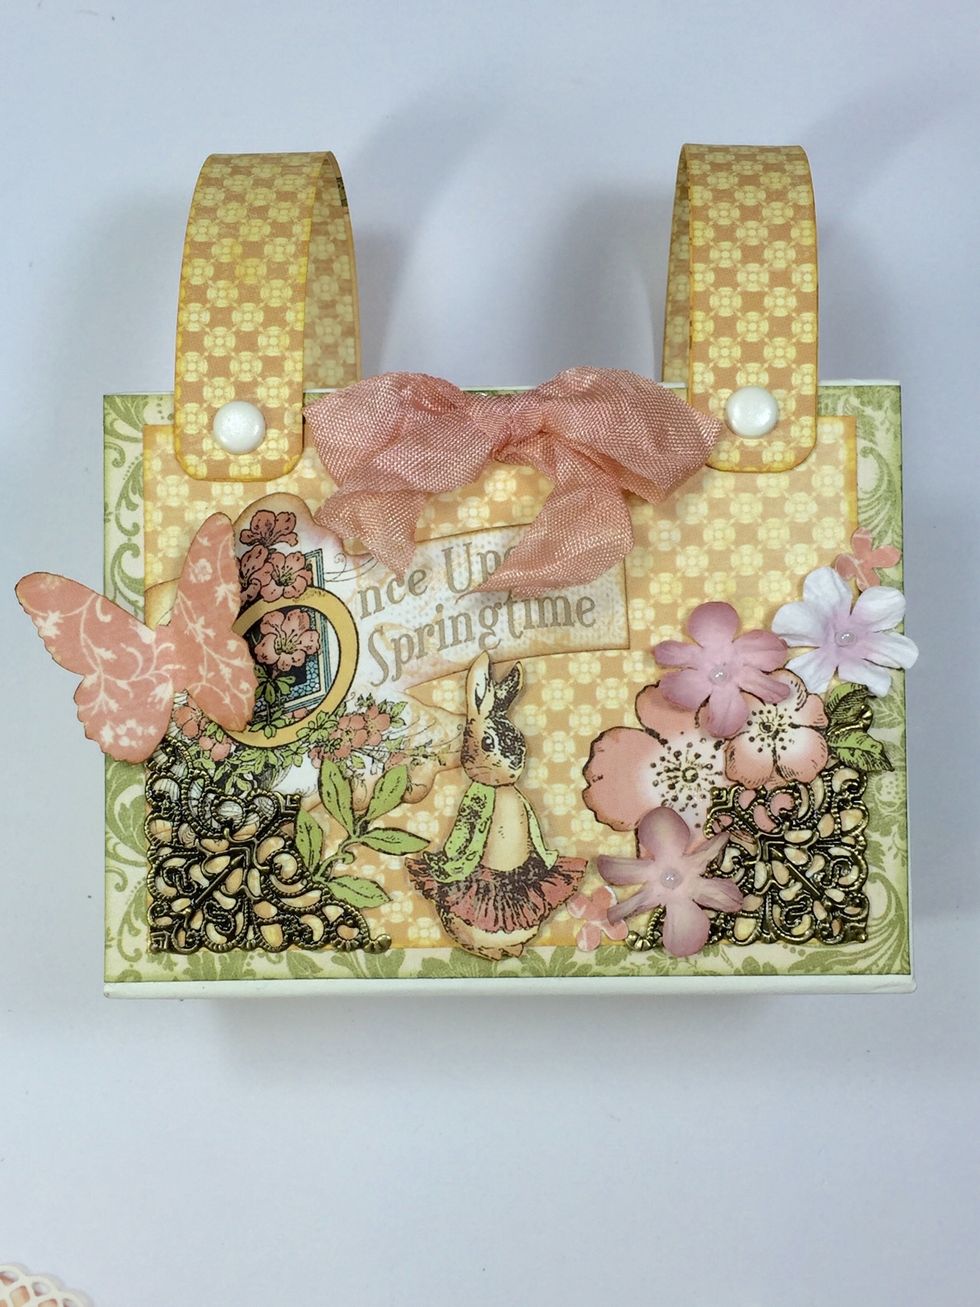
Lay the basket in its back as you adhere the elements. Add a ribbon bow to finish it off. (Two metal corners adorn the other side.)
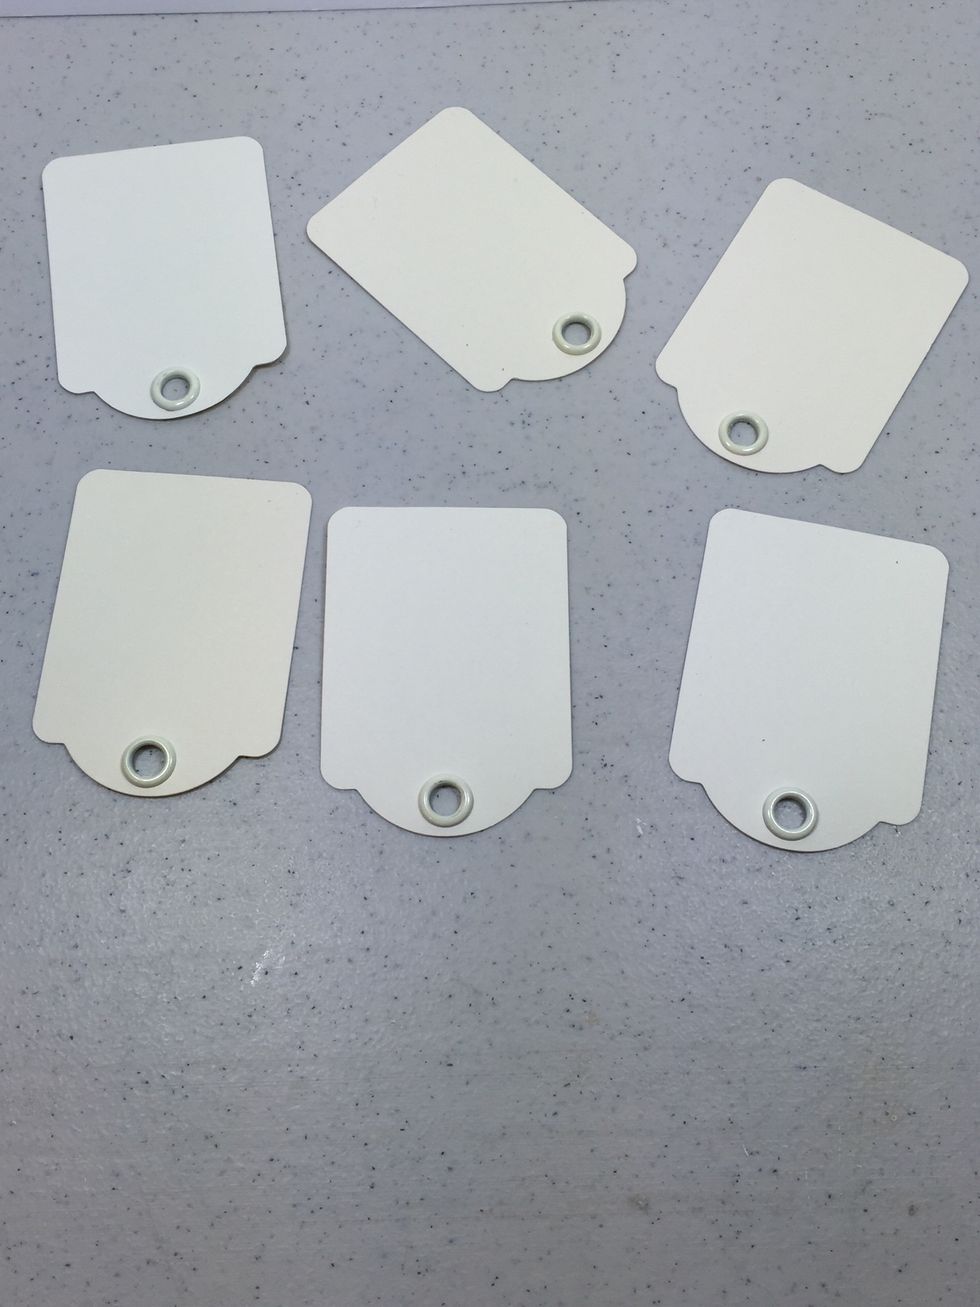
Gather six of the Graphic 45 ivory ATC tags.
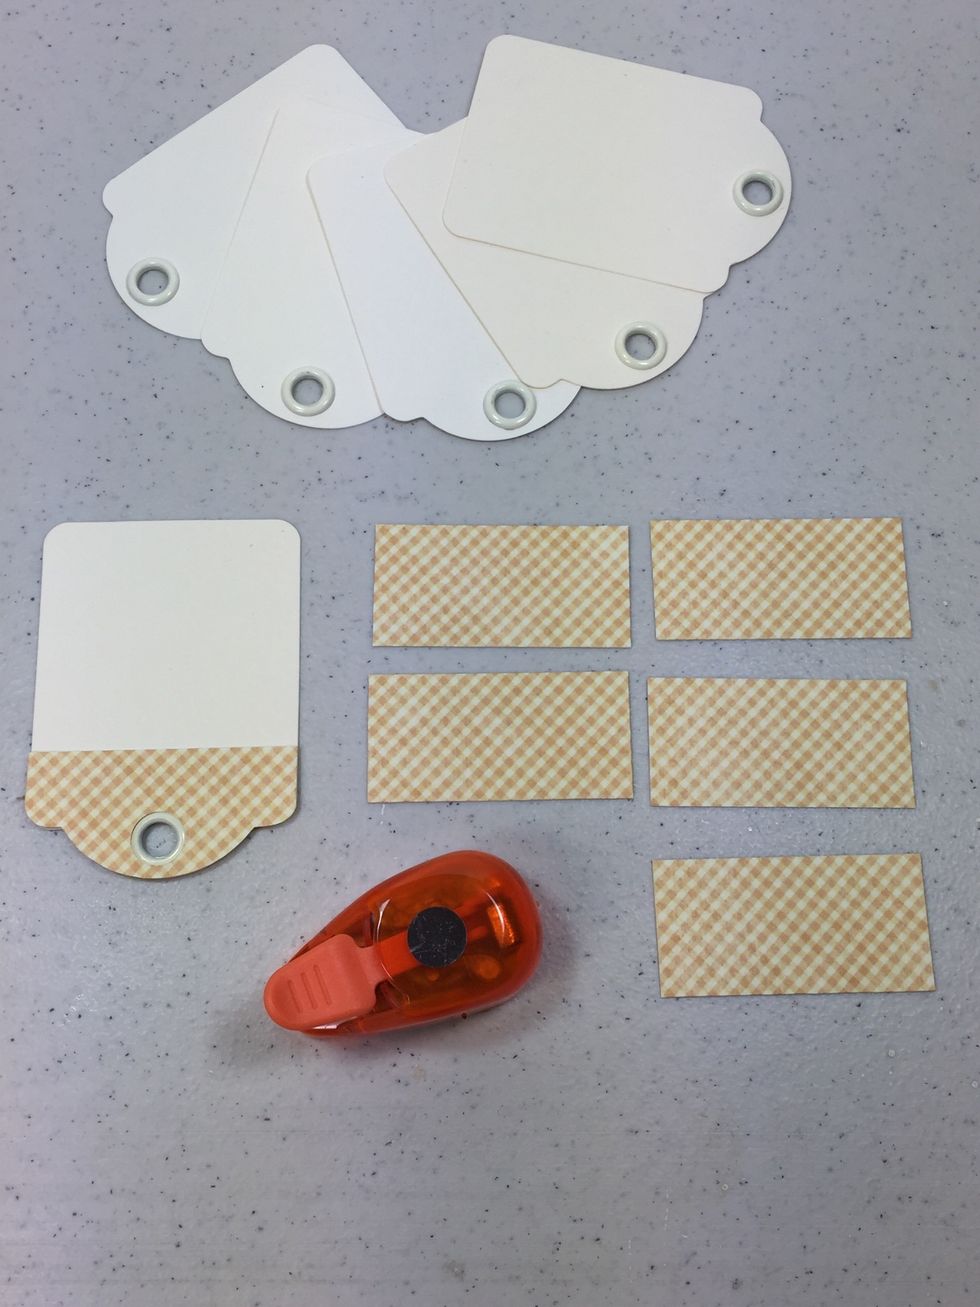
Cut six pieces at 2 1/2" x 1 1/4". Trace the tags into each piece, cut out, then punch a 1/2" hole and adhere each piece to their tag.

You can trim any areas that need it, then ink edges.
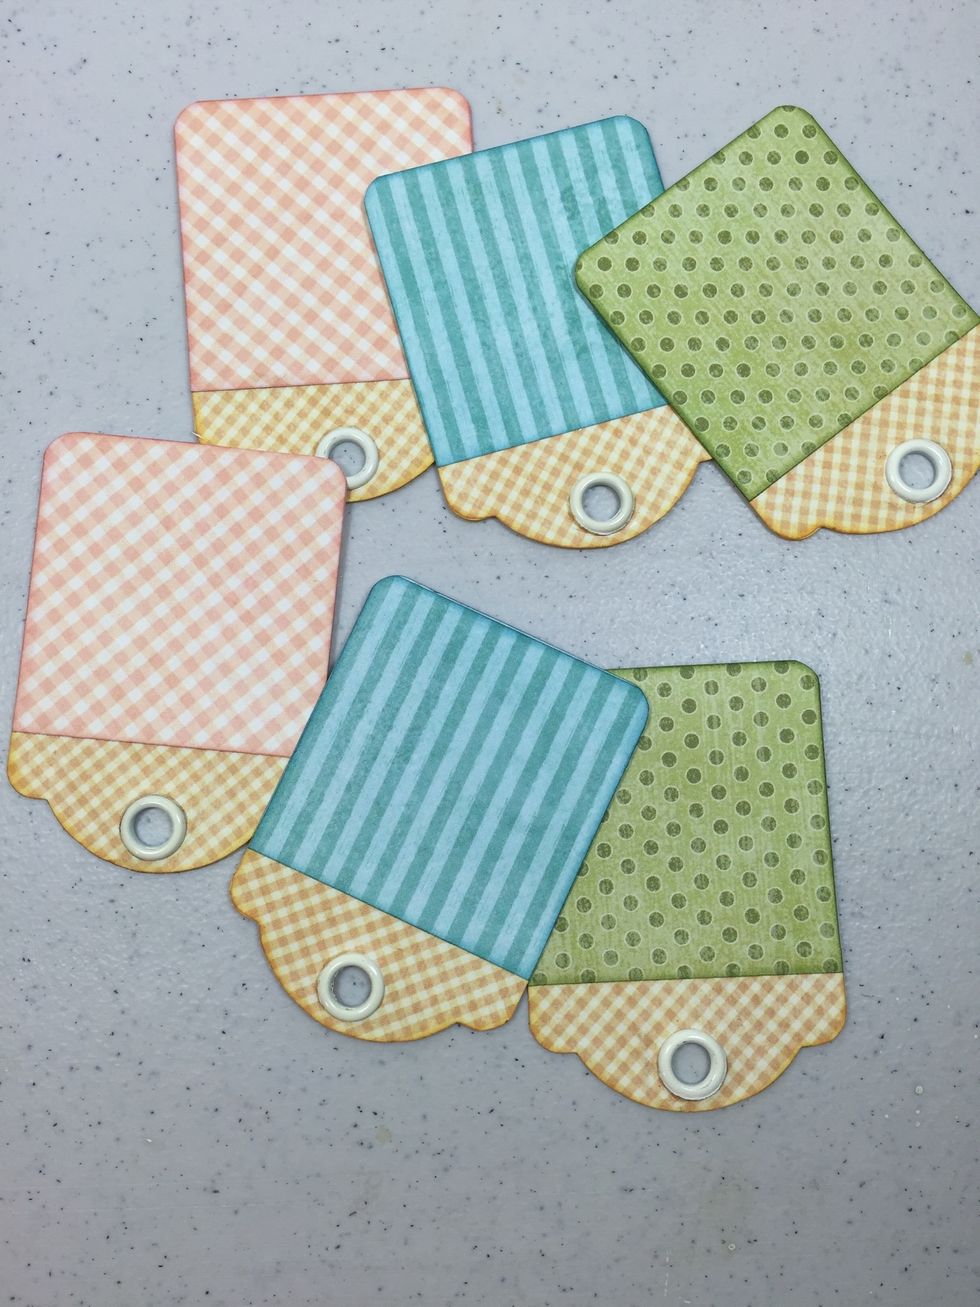
Now cut six papers 2 1/2" x 2 1/2" and adhere to the tags as shown. These will overlap the previous papers slightly.
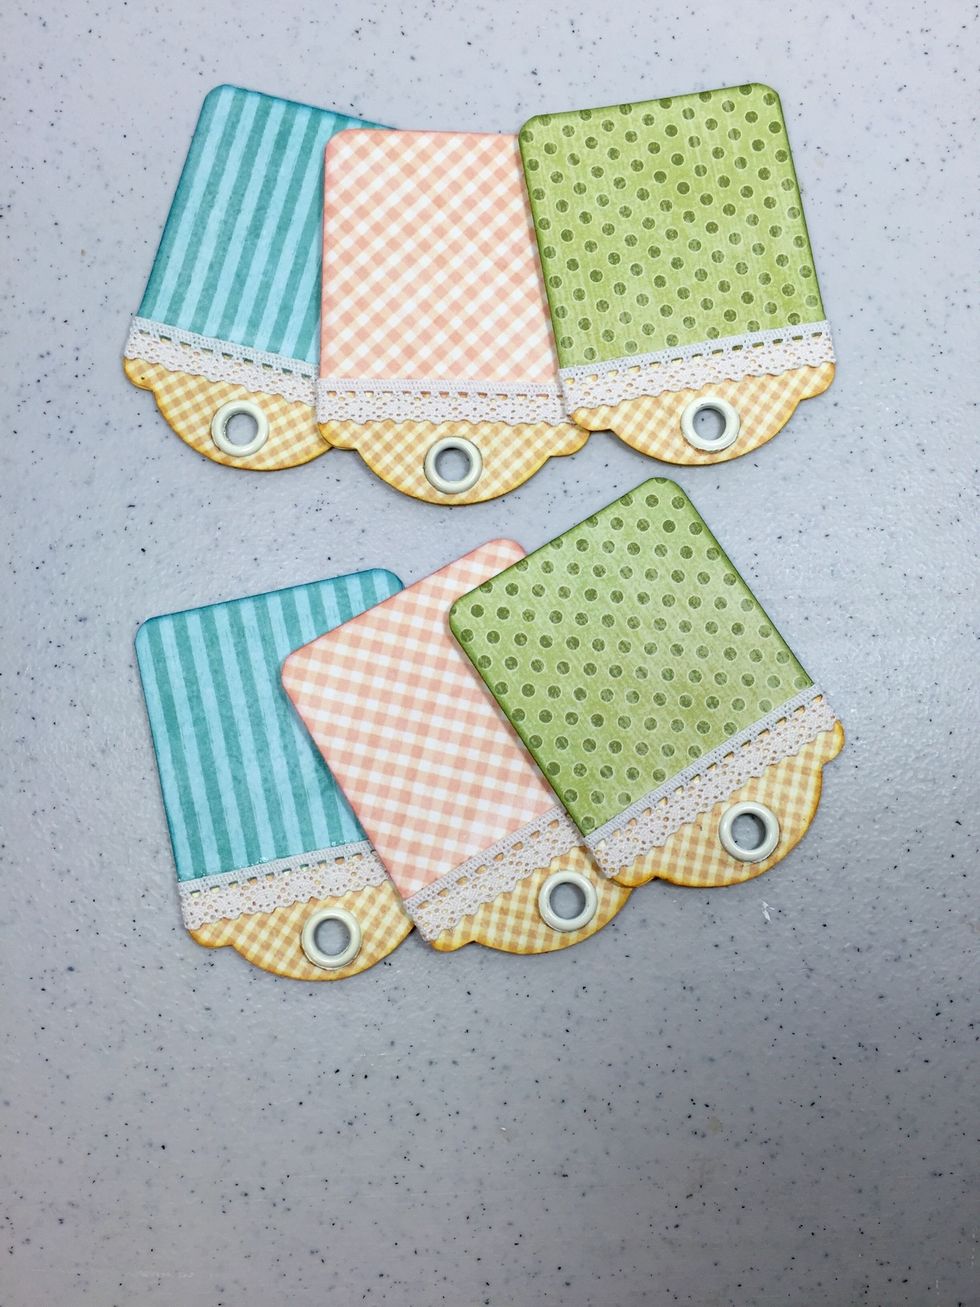
Adhere ivory lace trim across the seams and fold excess around to the back of each tag.
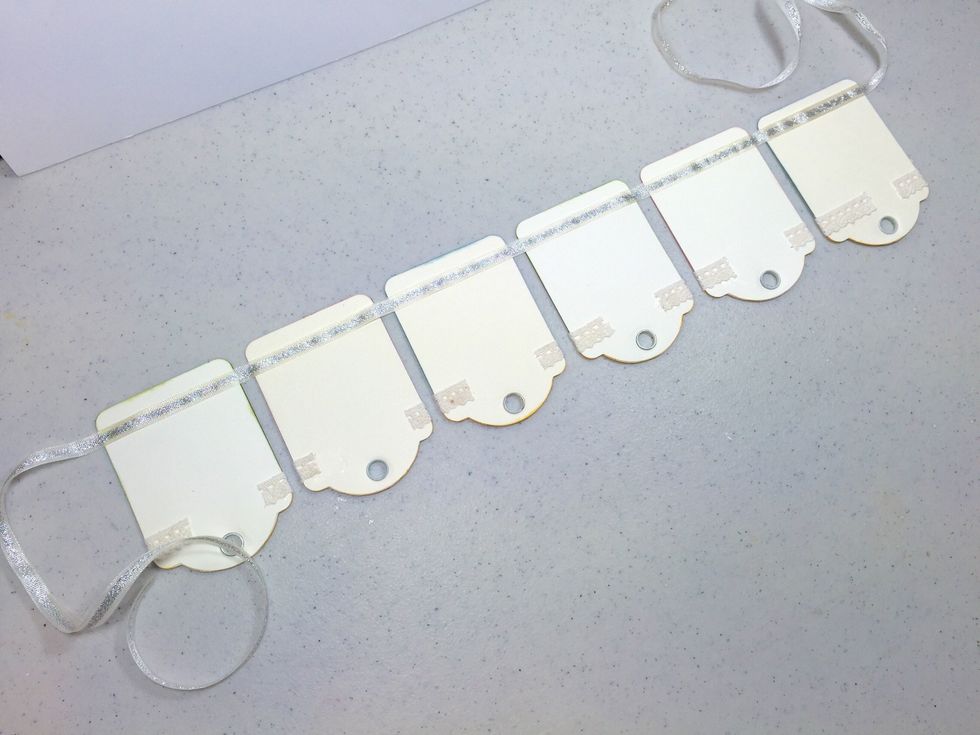
Cut a 42" length of pretty ribbon to serve as the banner line. Lay the tags face down, evenly spaced and adhere the ribbon along the backs as shown, making sure it's all centered.
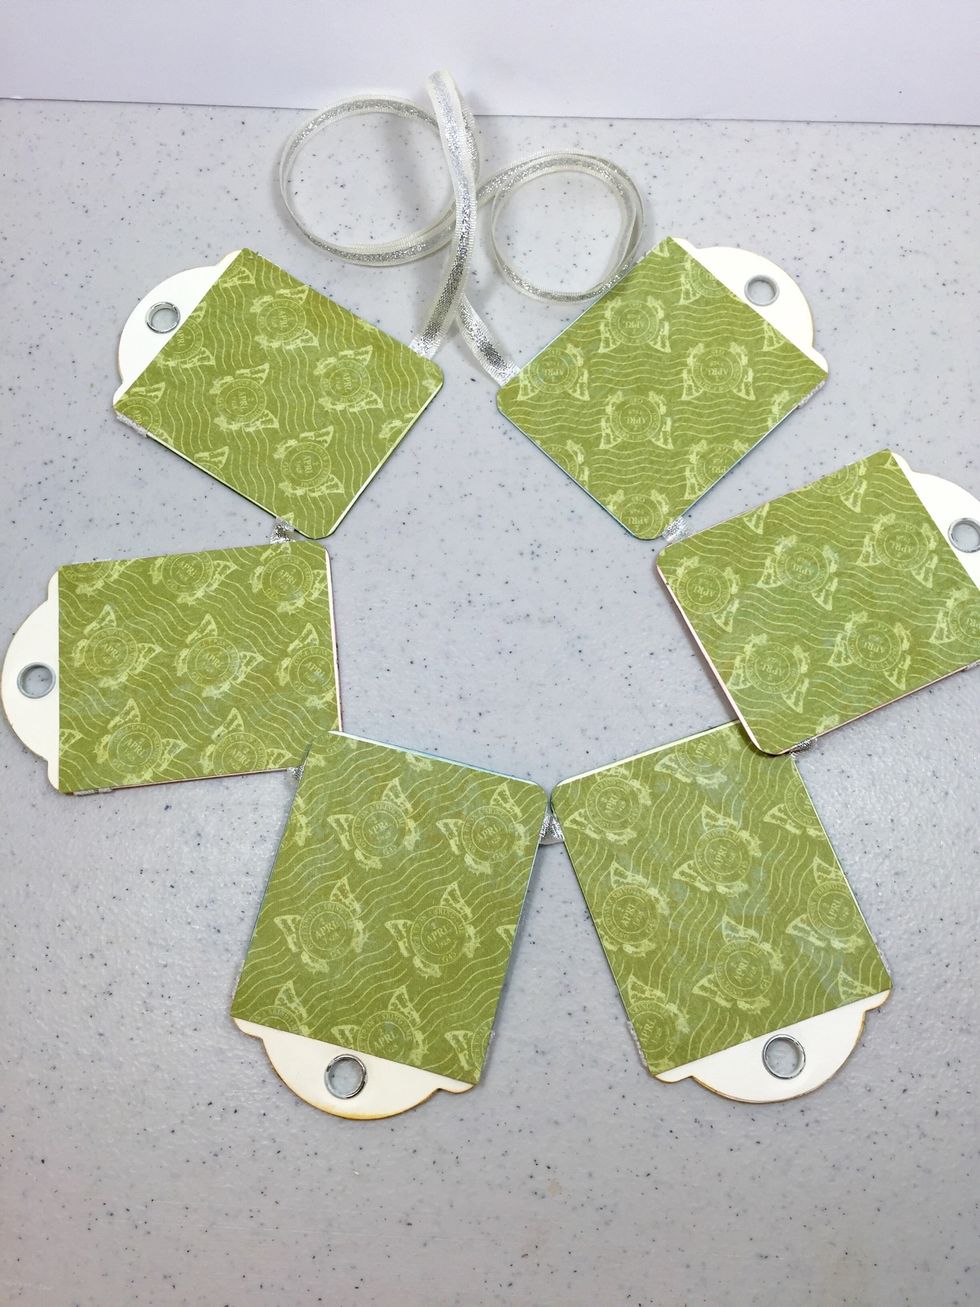
To make the back sides clean and pretty, cut six papers 2 1/2" x 2 7/8" and adhere.
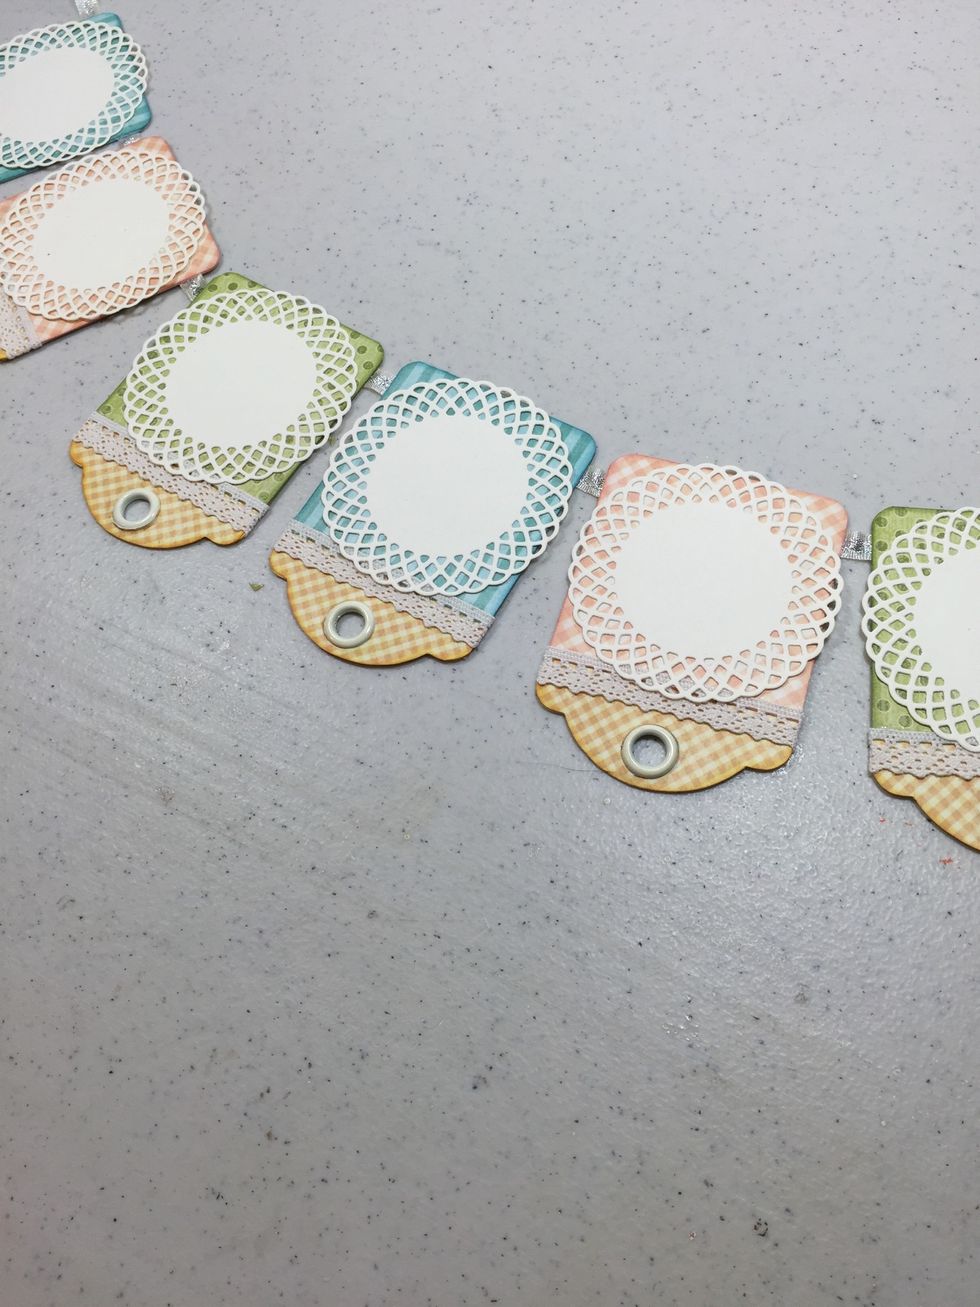
Adhere small doilies to each banner tag. (I used a doily die from PaperTreyInk)
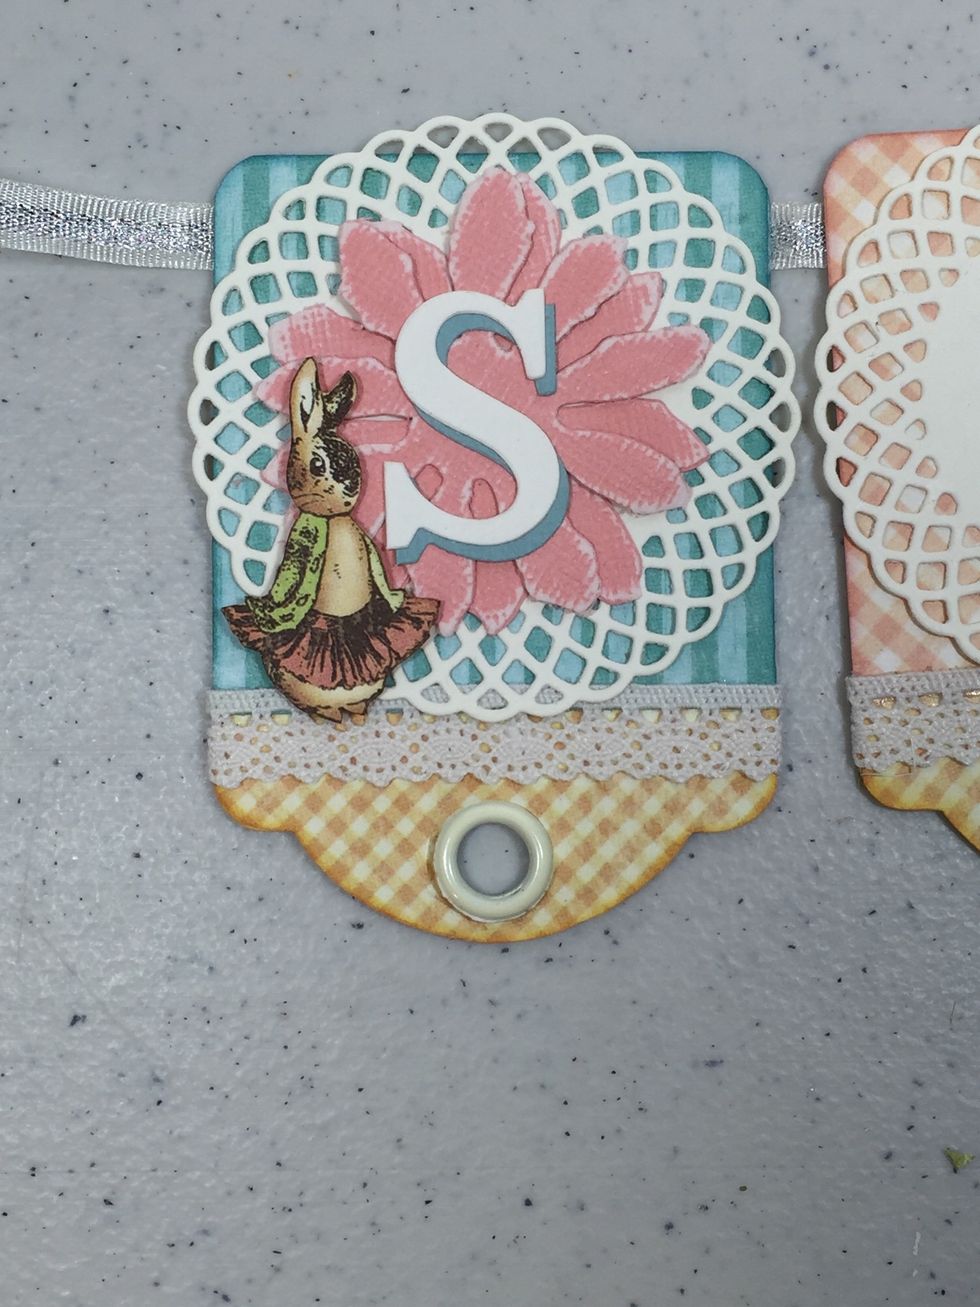
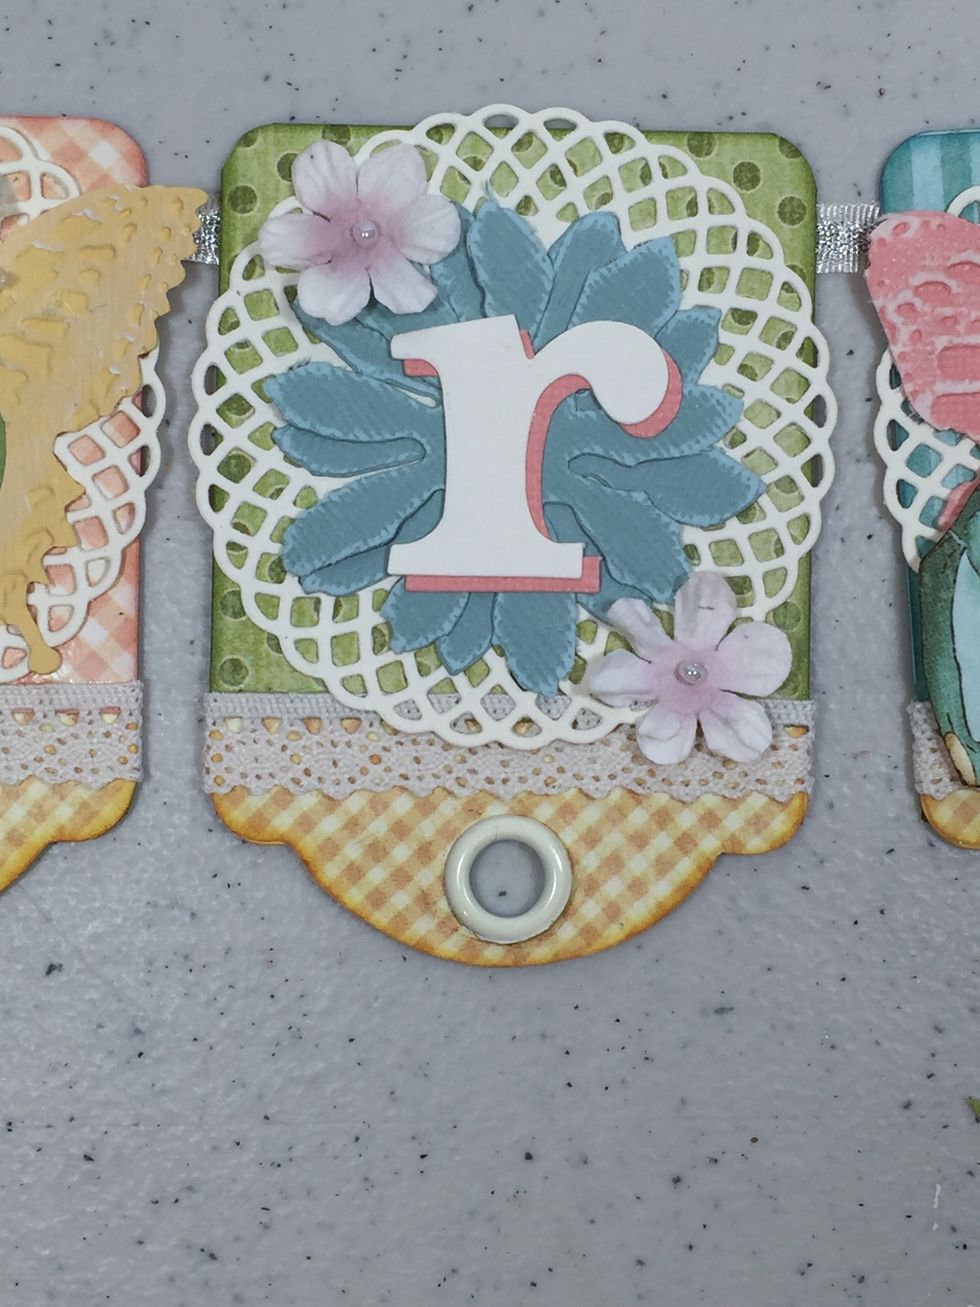
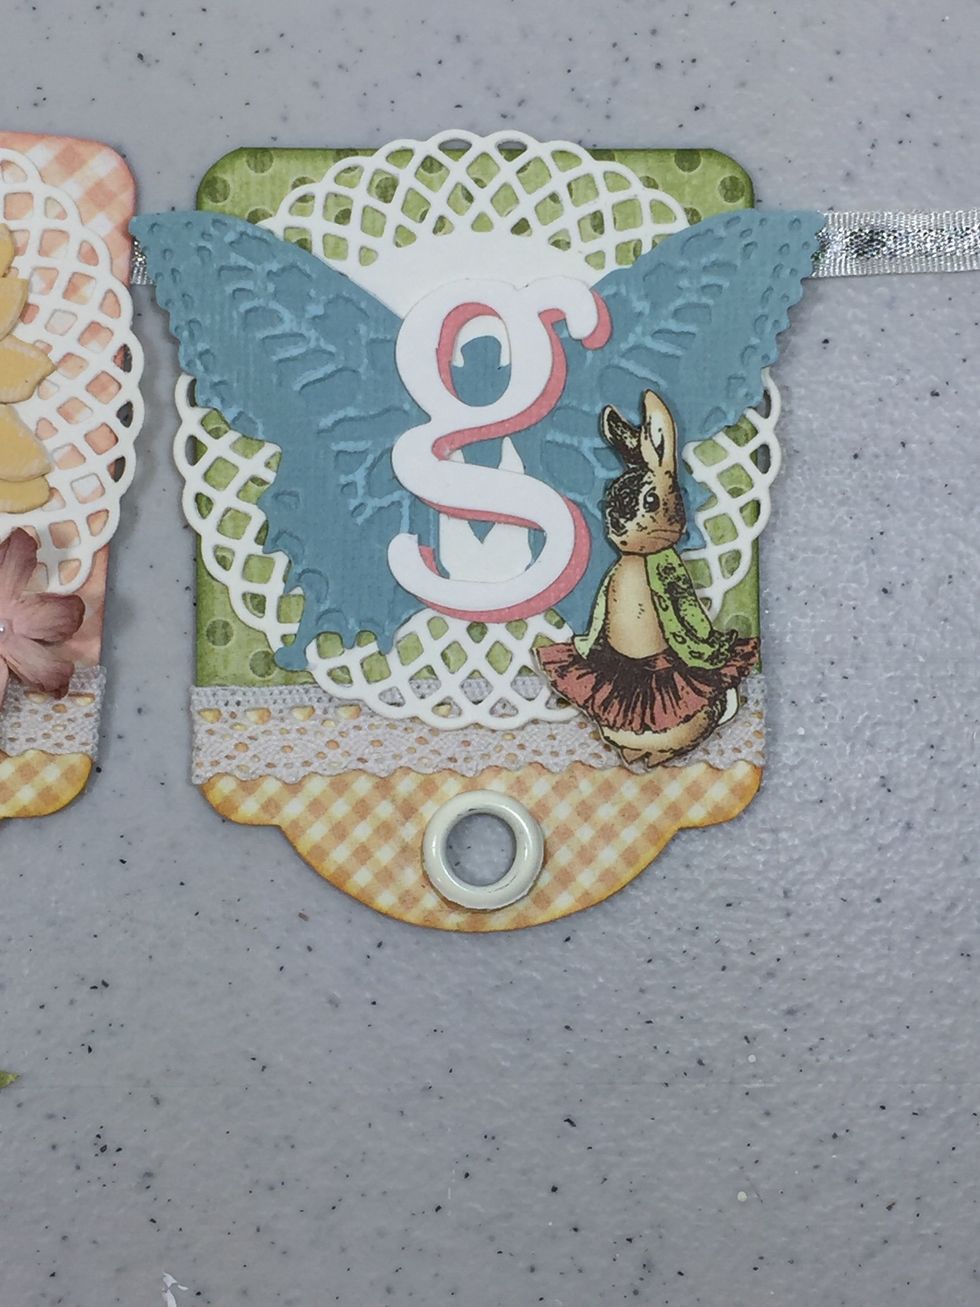
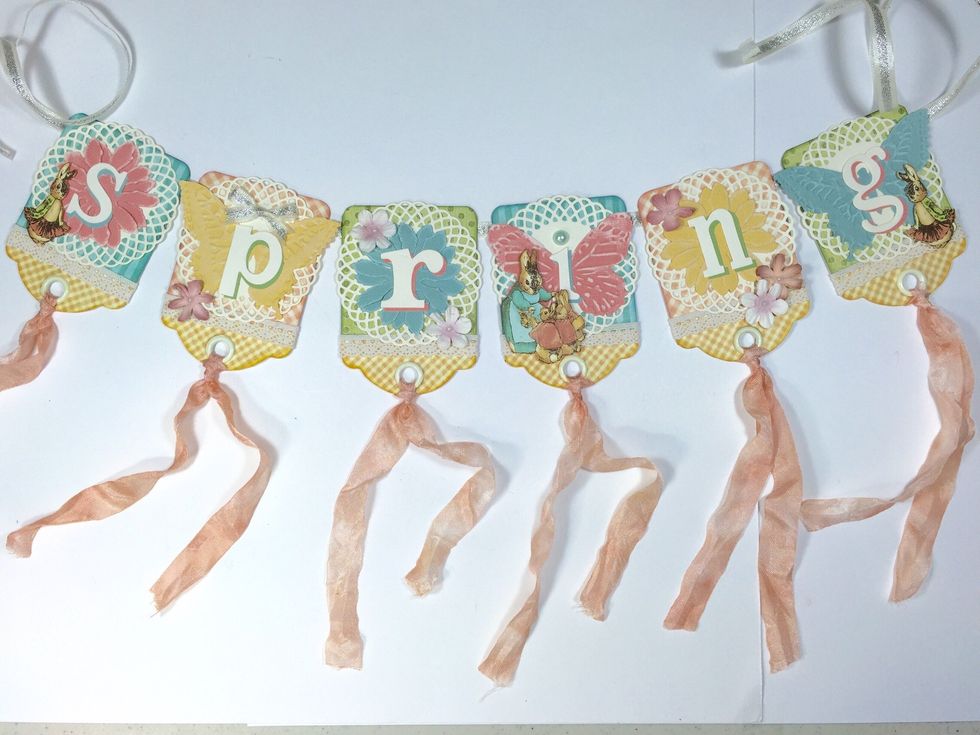
Use punches and/or dies to adorn your banner tags. I made flowers and butterflies, and spelled out the word Spring. You can fussy cut images from your papers as embellishment too.
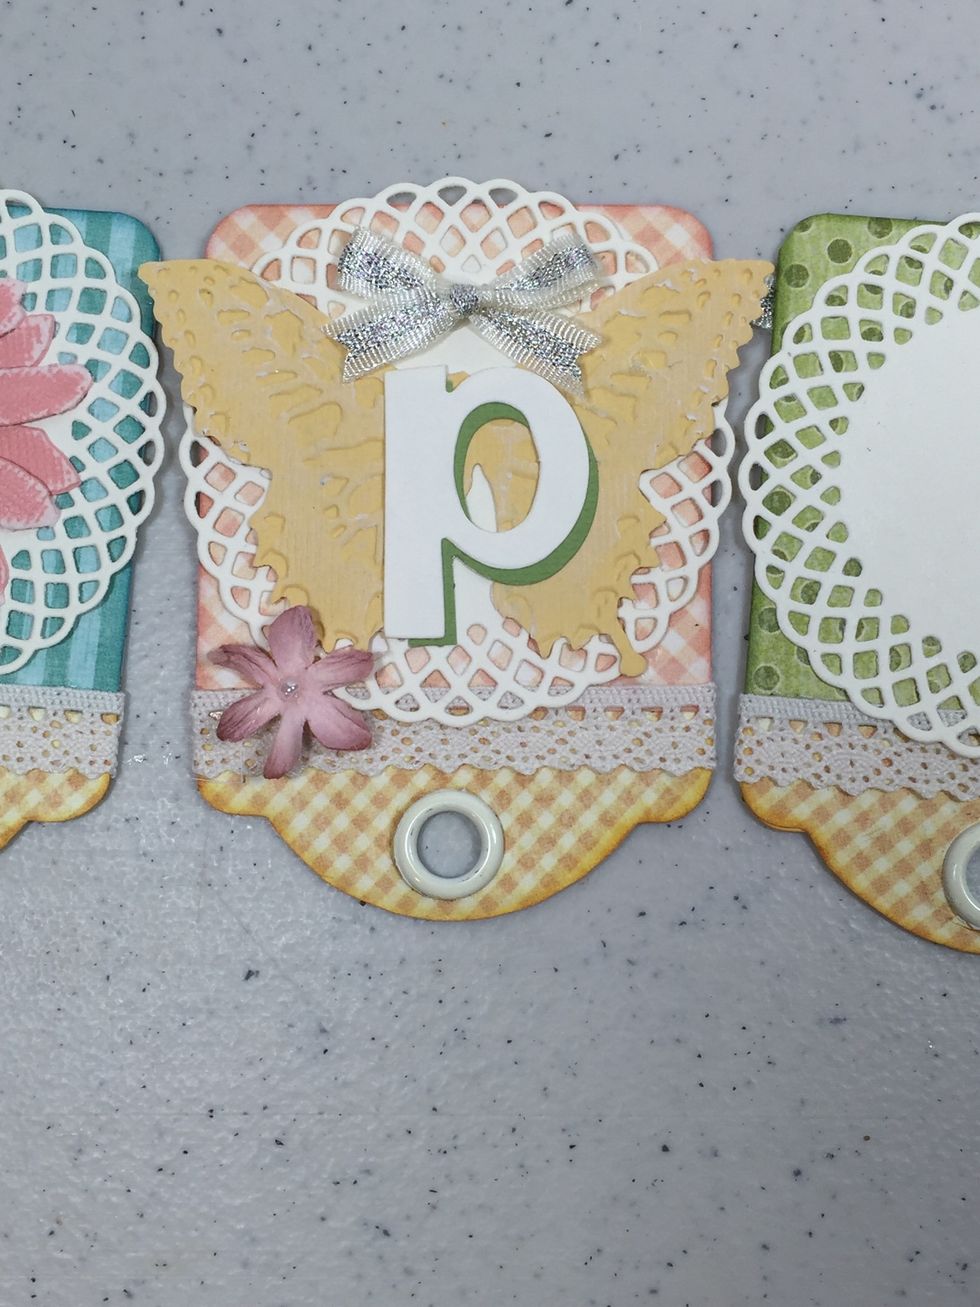
Add more flowers and ribbon trims as desired.
Tip: certain cardstocks have a light or white core, which are fun to sand the outer edges of. This adds nice texture and dimension.
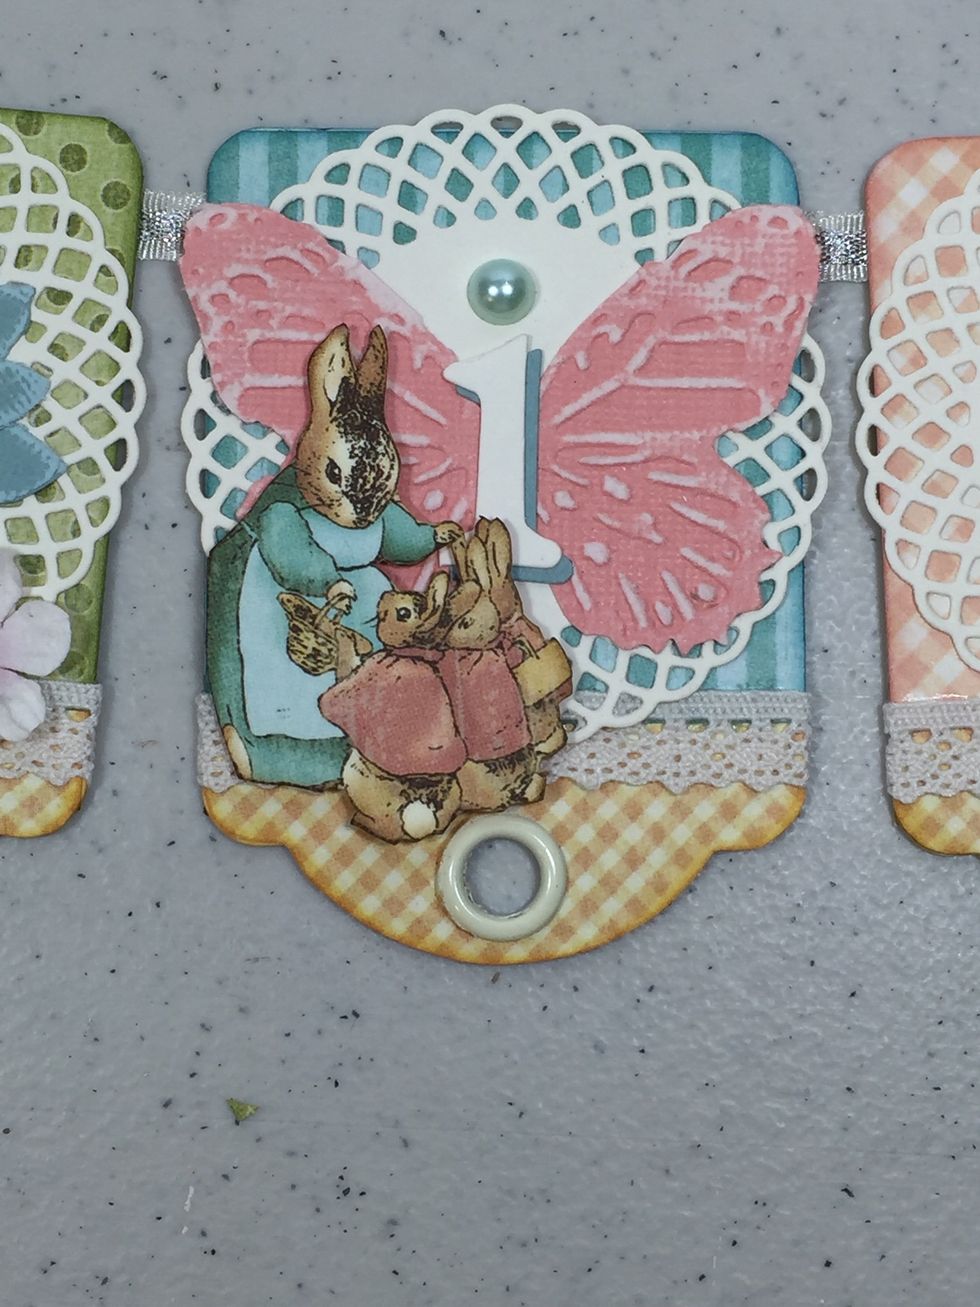
An adhesive light-blue pearl serves as the dot to the letter "i."

Tip: to make die-cut letters stand out more, cut a second set in a contrasting color to serve as a drop shadow.
My banner tags are sweet and simple, but you can dress yours up with more flowers, pretty buttons or even some glitter!
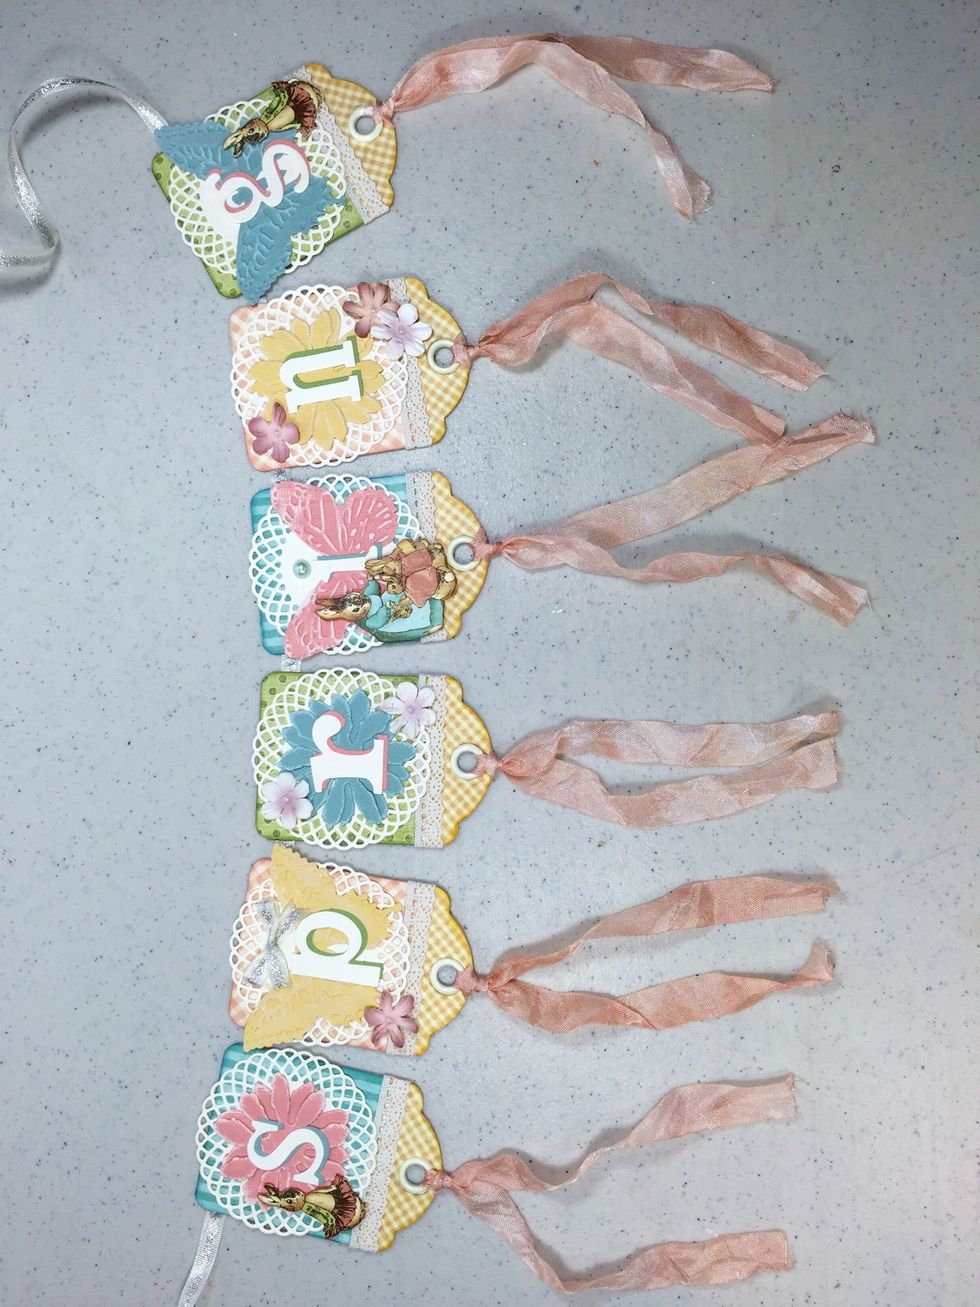
Add pretty ribbon to the bottoms of each banner tag. I colored ivory seam binding ribbon with Tattered Rose Distress Stain spray.
You can experiment with various Stain sprays, but I kept mine this soft pink color.
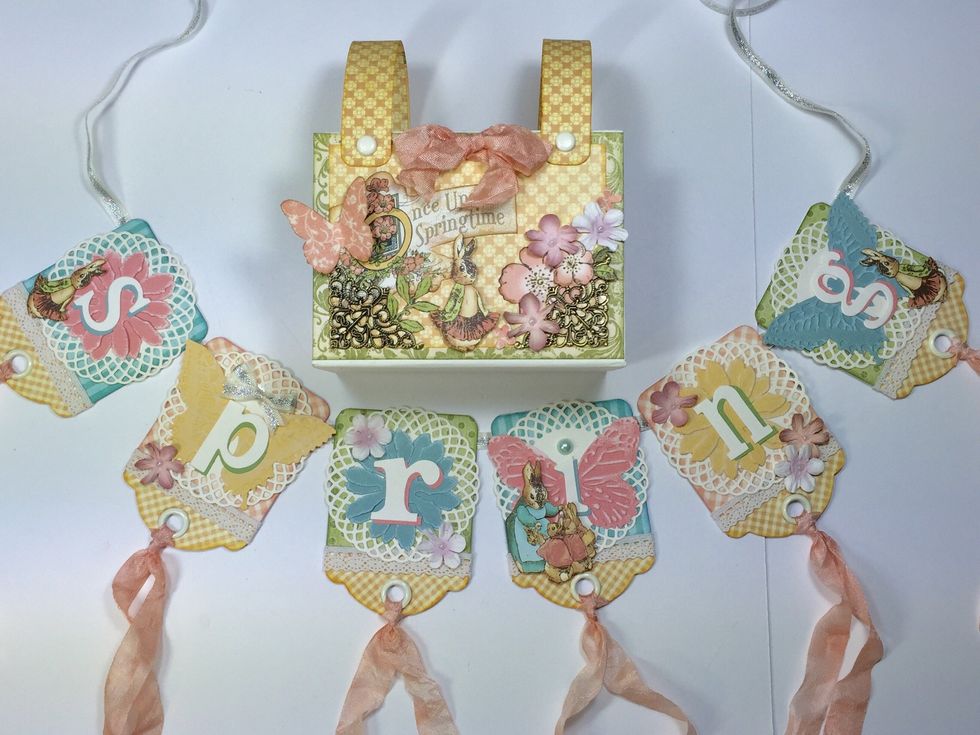
Now you have a fun seasonal banner and a pretty basket to store it in when you're not using it.

You can view more photos of this banner on my blog dated March 11, 2016 at http://AnnettesCreativeJourney.blogspot.com where you can also find other projects and where to find me on social media.