The Conversation (0)
Sign Up
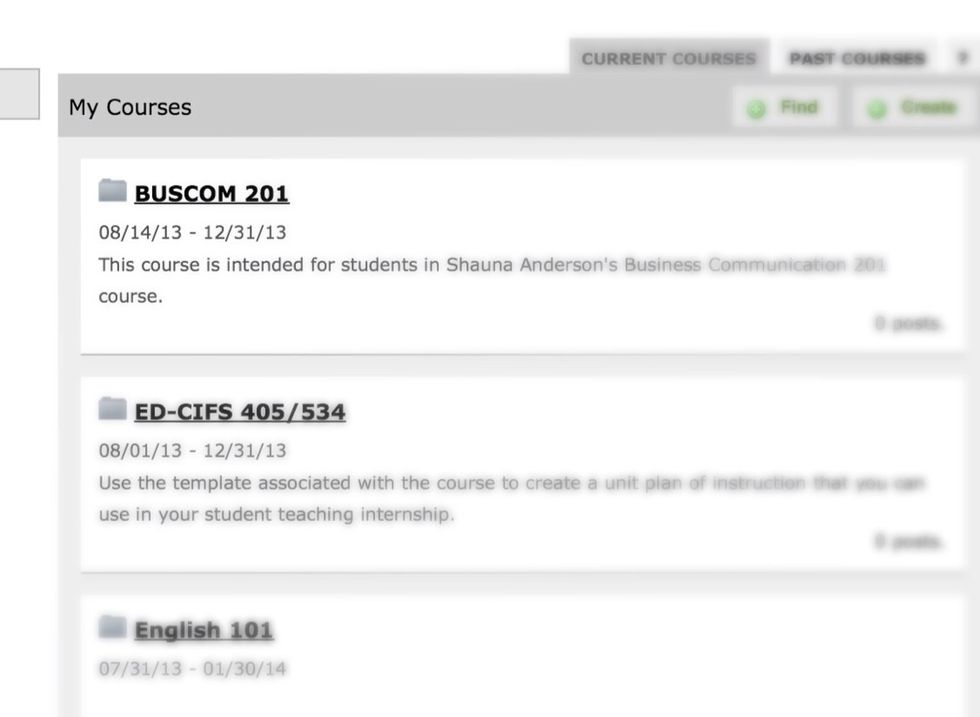
Under My Courses, select the course that you want to make an e-Portfolio for from the list of courses.
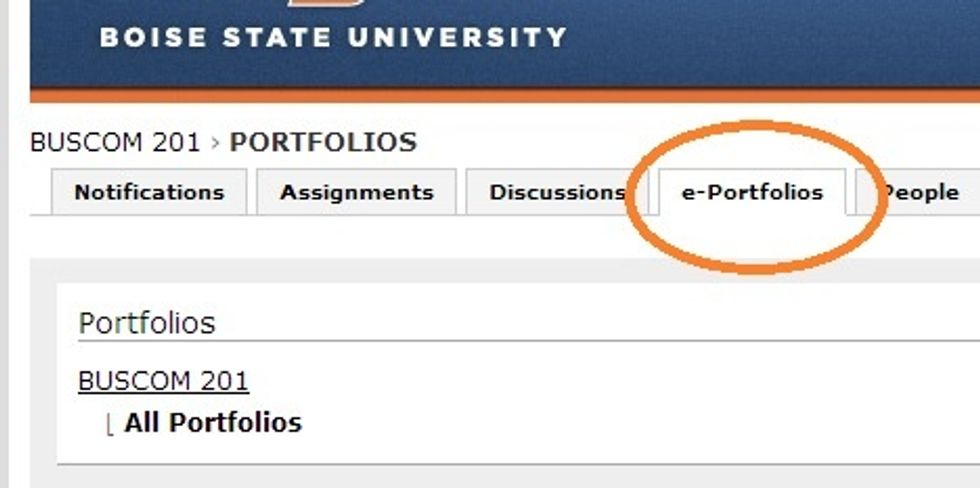
Select the e-Portfolios tab.
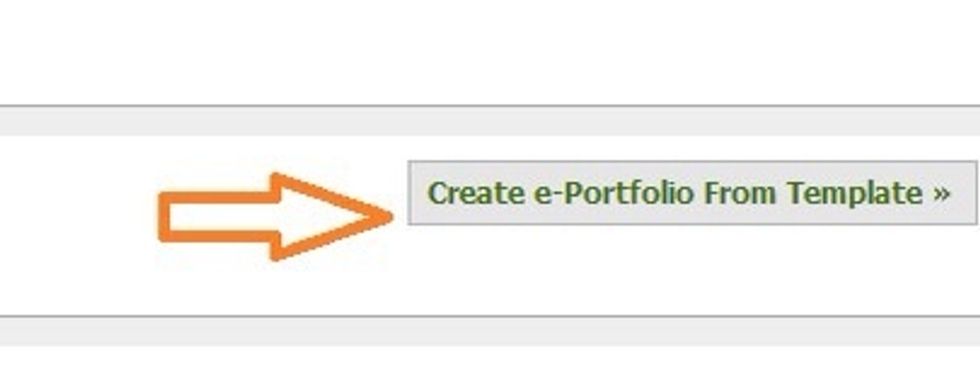
Find and select your course template.
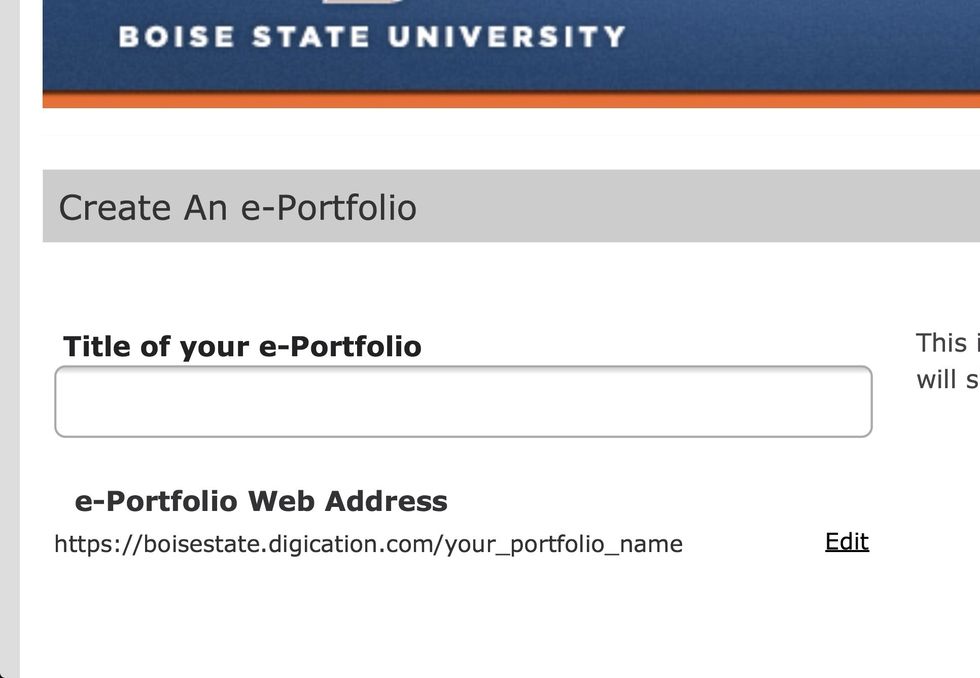
Enter a title for your e-Portfolio. Consider including your name in the title so that it's easier for your instructor and other students to find you.
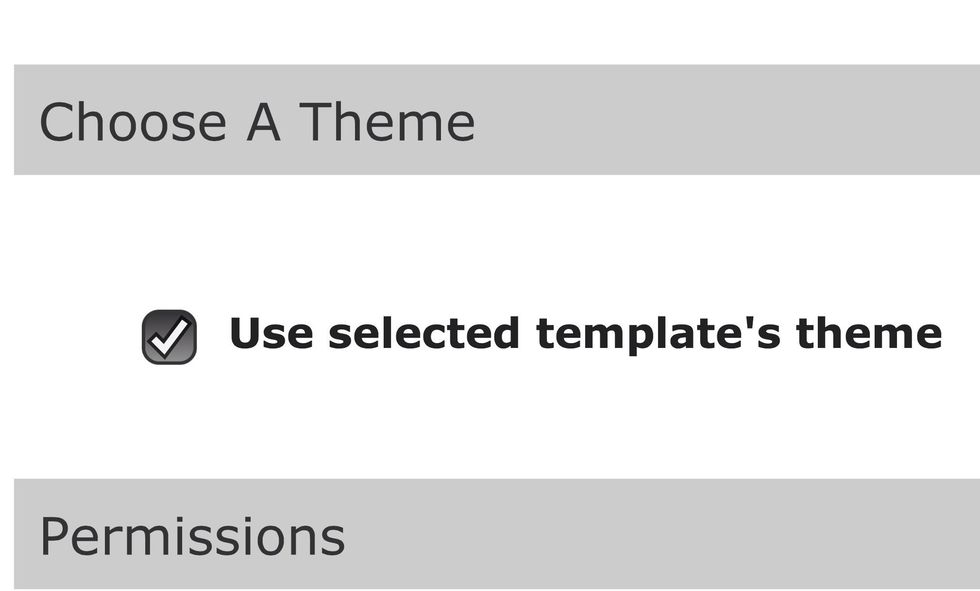
Use your course's theme for now. You can modify this later, if you wish. (The theme determines the appearance of your e-Portfolio.)
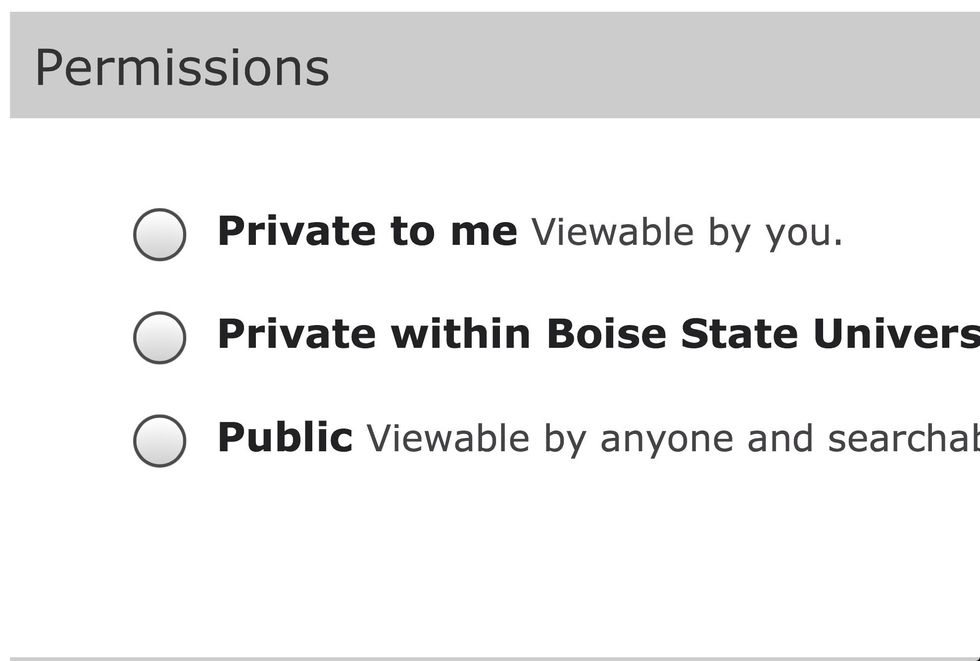
Choose whom you would like to share your e-Portfolio with. (You can modify these settings later, if you change your mind.)
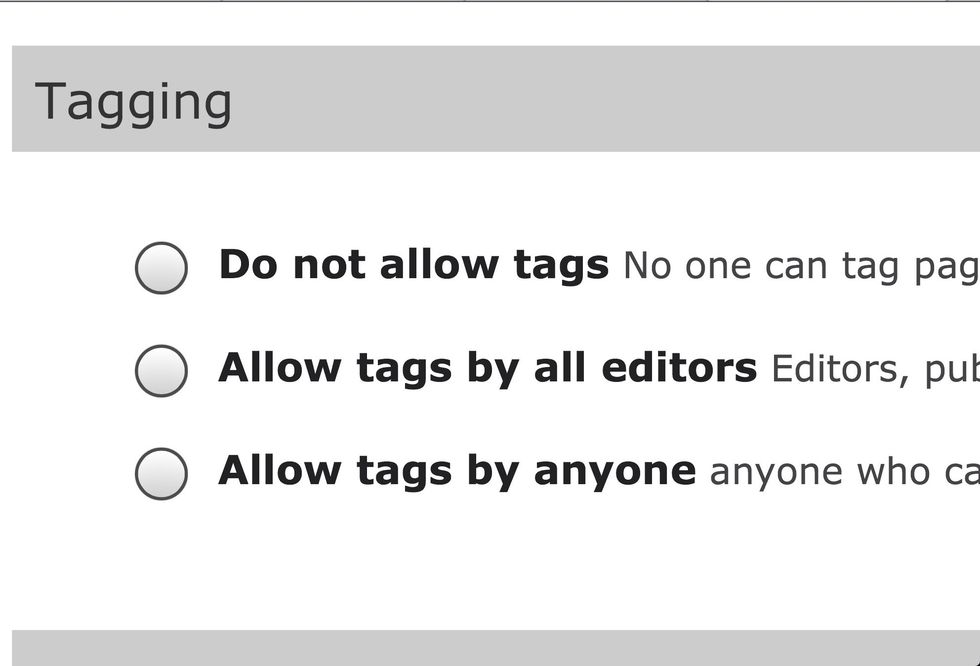
Select whom you will allow to tag to your e-Portfolio. (Tagging makes it easier for others to find your work in a search.)
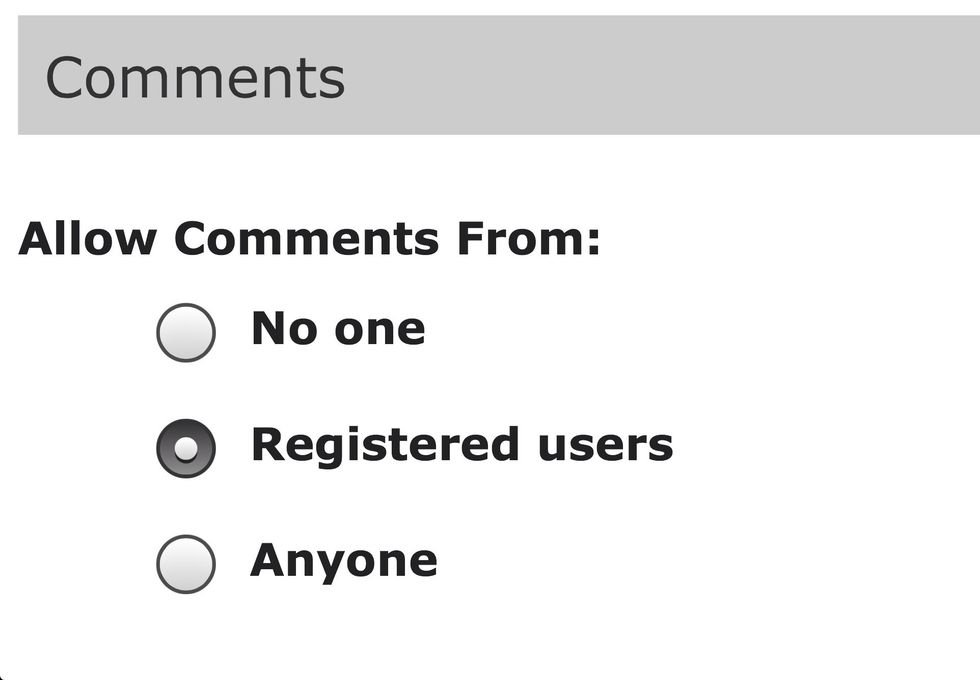
Select whom you want to allow to comment on your e-Portfolio.
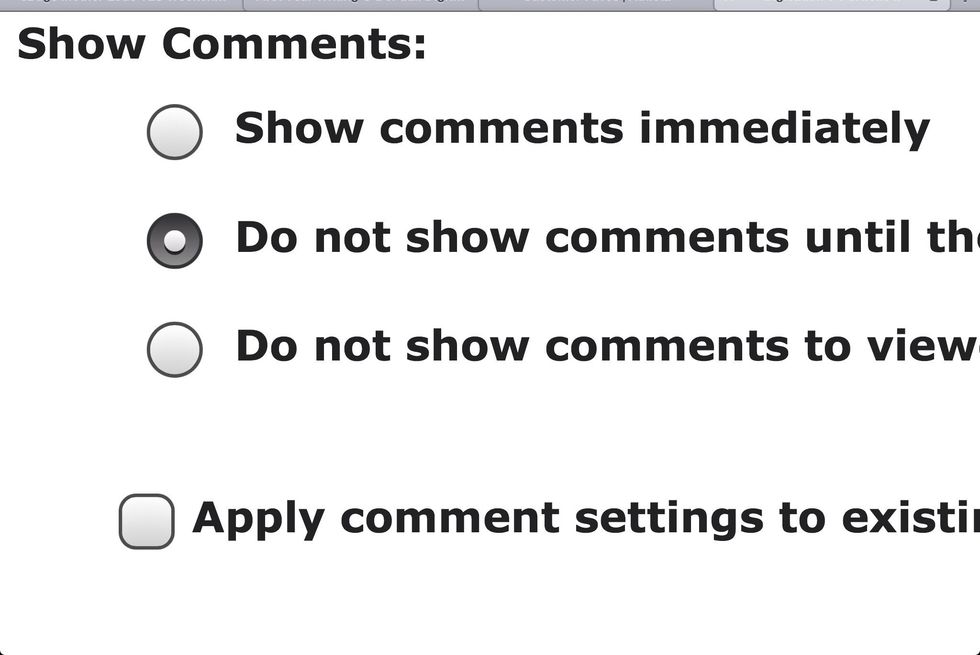
Select to approve comments (or not) before they are published.
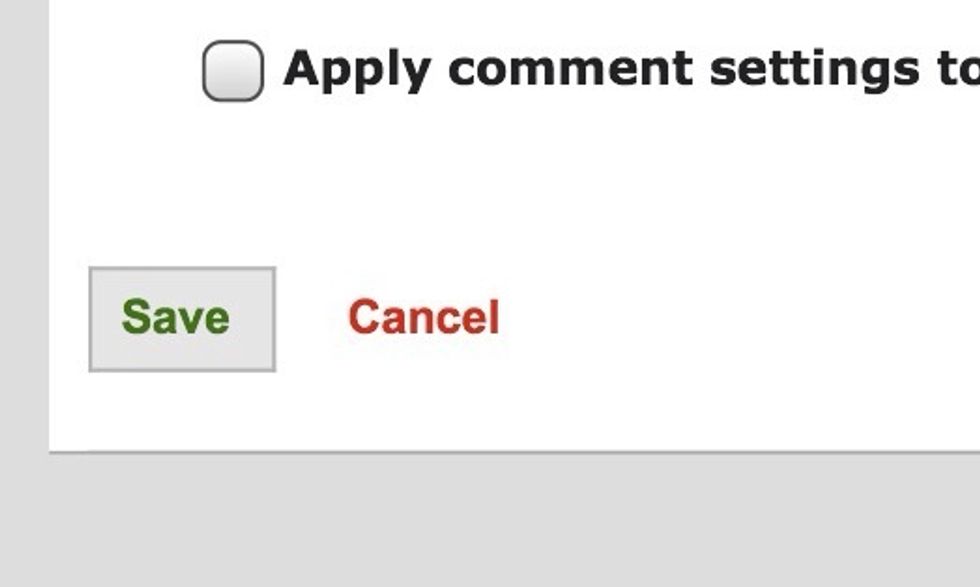
Select Save. Congratulations! You have created your first e-Portfolio!