The Conversation (0)
Sign Up
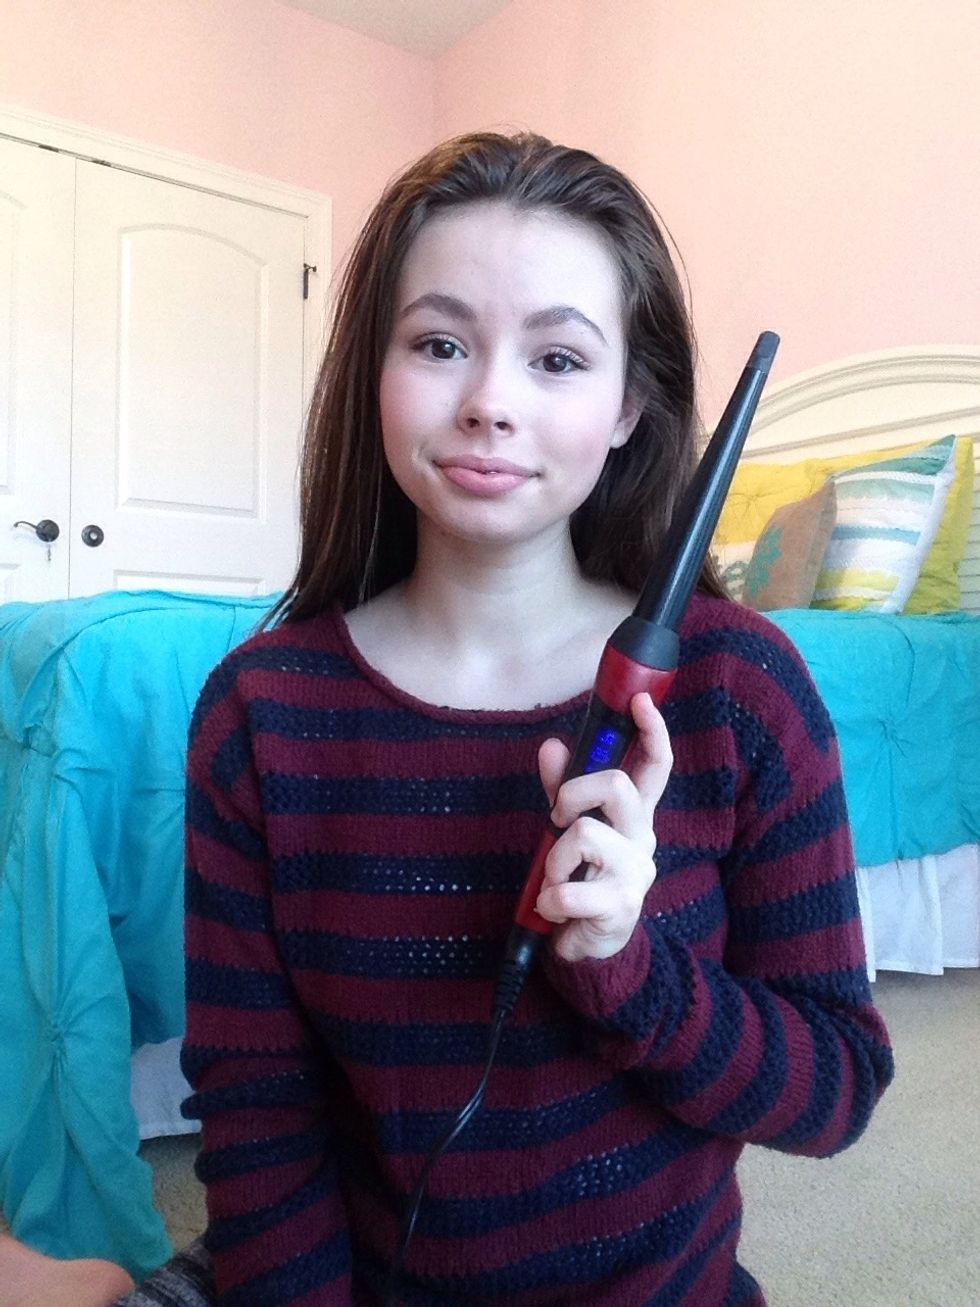
Begin by heating up your curling iron/wand. I set my temp. at 410, the highest setting, because my hair is so thick. You also might want to use a smaller wand, to give you tighter curls.
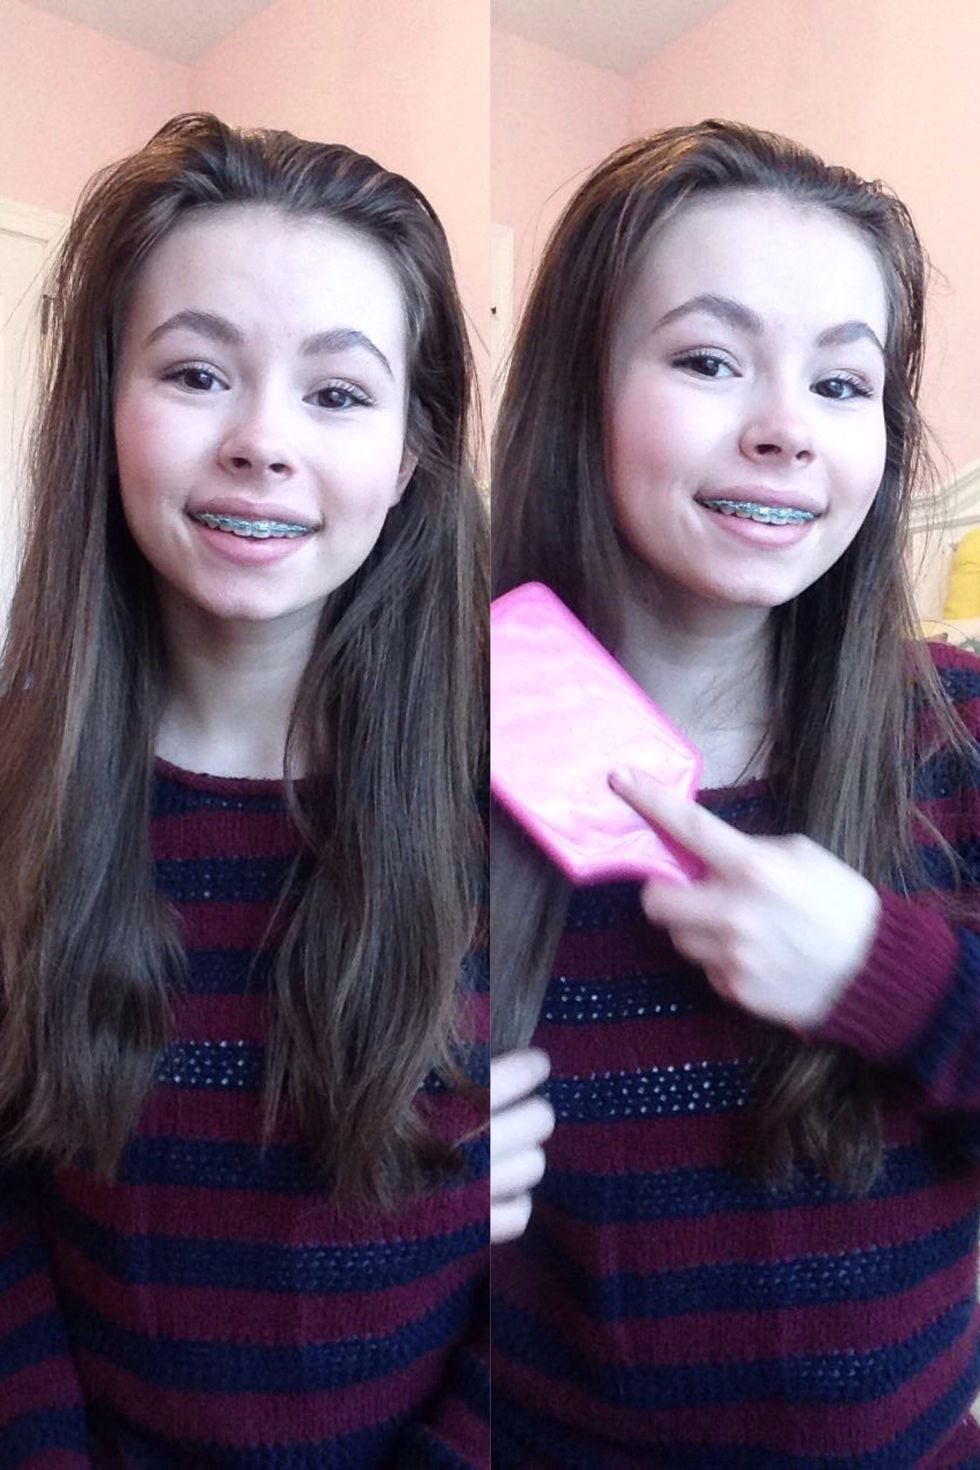
Second, brush out your hair to be sure there are no tangles.
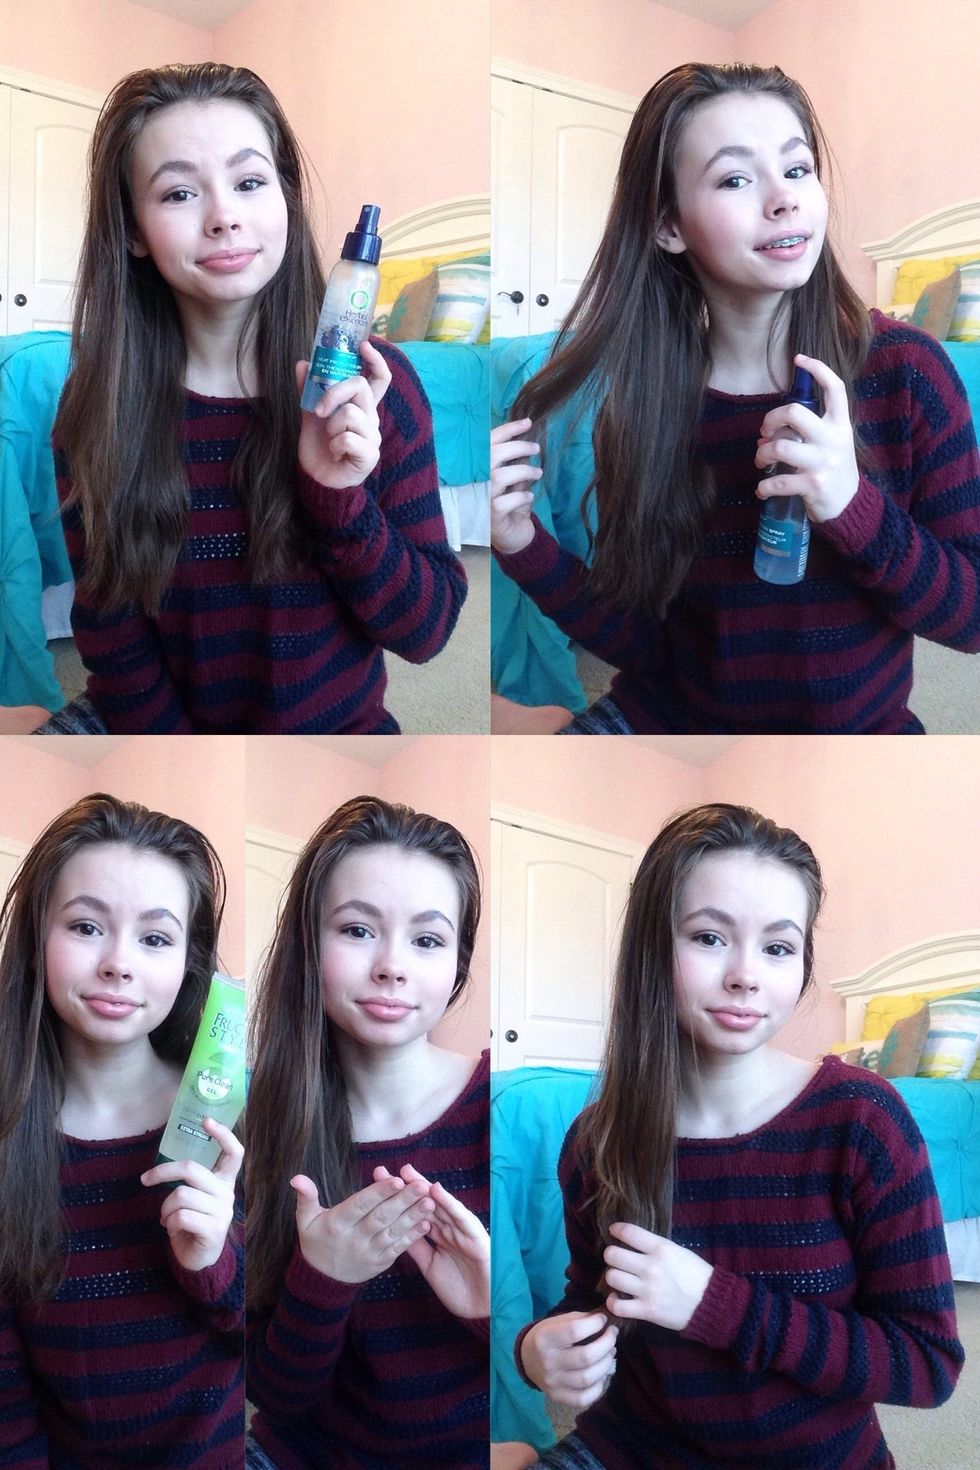
When I curl my hair, I prefer to apply all of my products (except hairspray) before hand, so the curls aren't weighed down. I am using heat protectant, "frizz gel," and a split end treating oil.

Now, just separate your hair into a half up, half down hairstyle.

Then, separate the "half down" part of your hair into two sections.
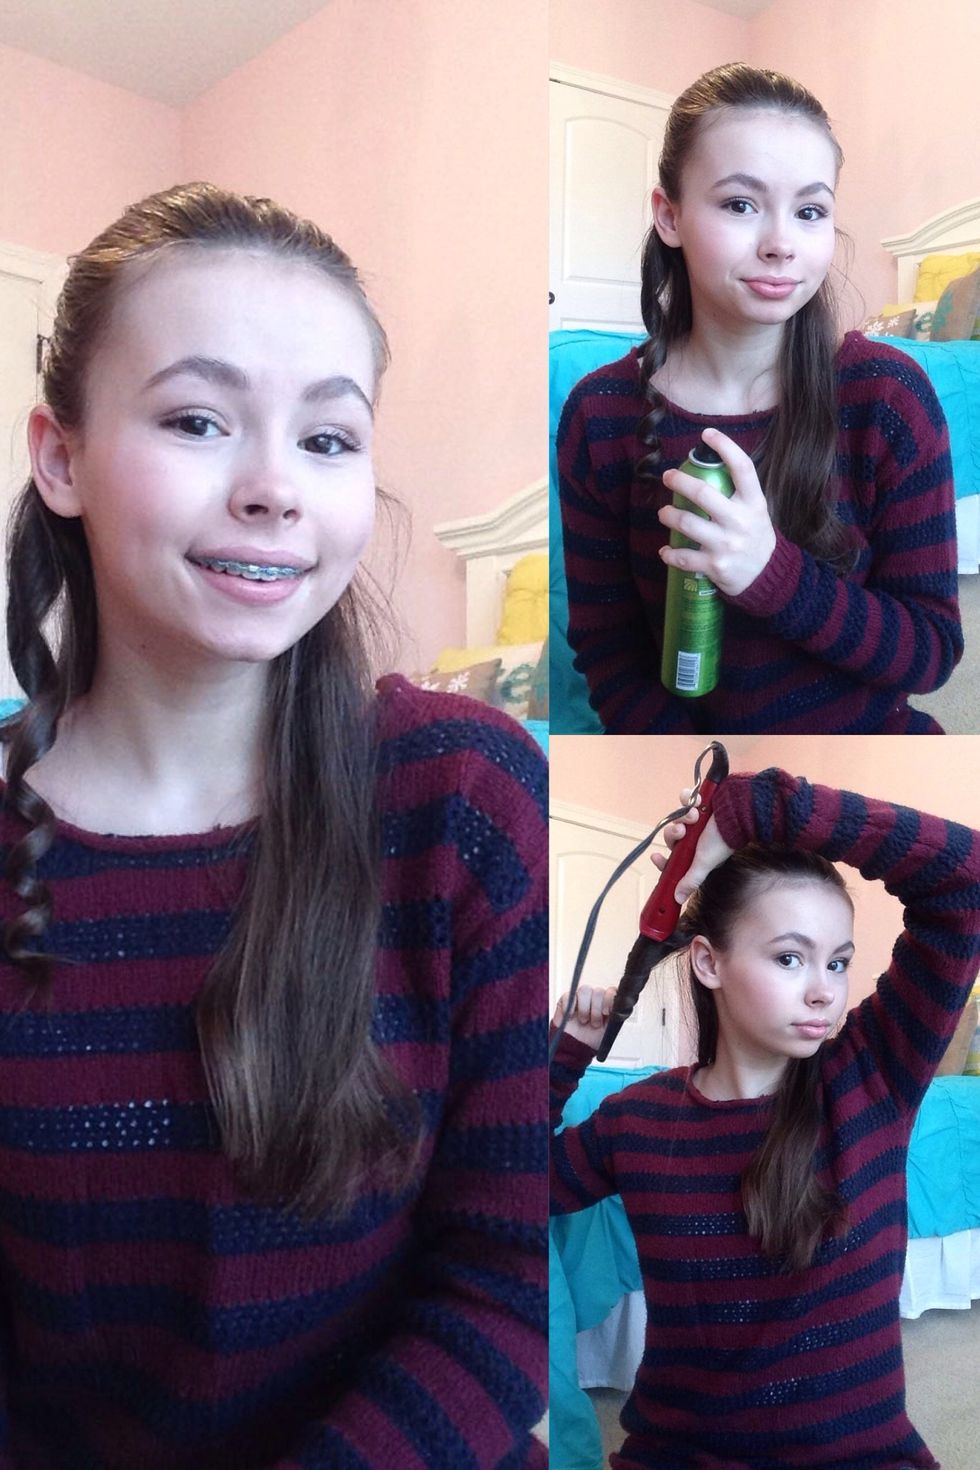
Then, begin curling. Start on whatever side your most comfortable with, for me it's my right side because I am left handed. Taking a small selection of hair, curl it away from your face to frame it.
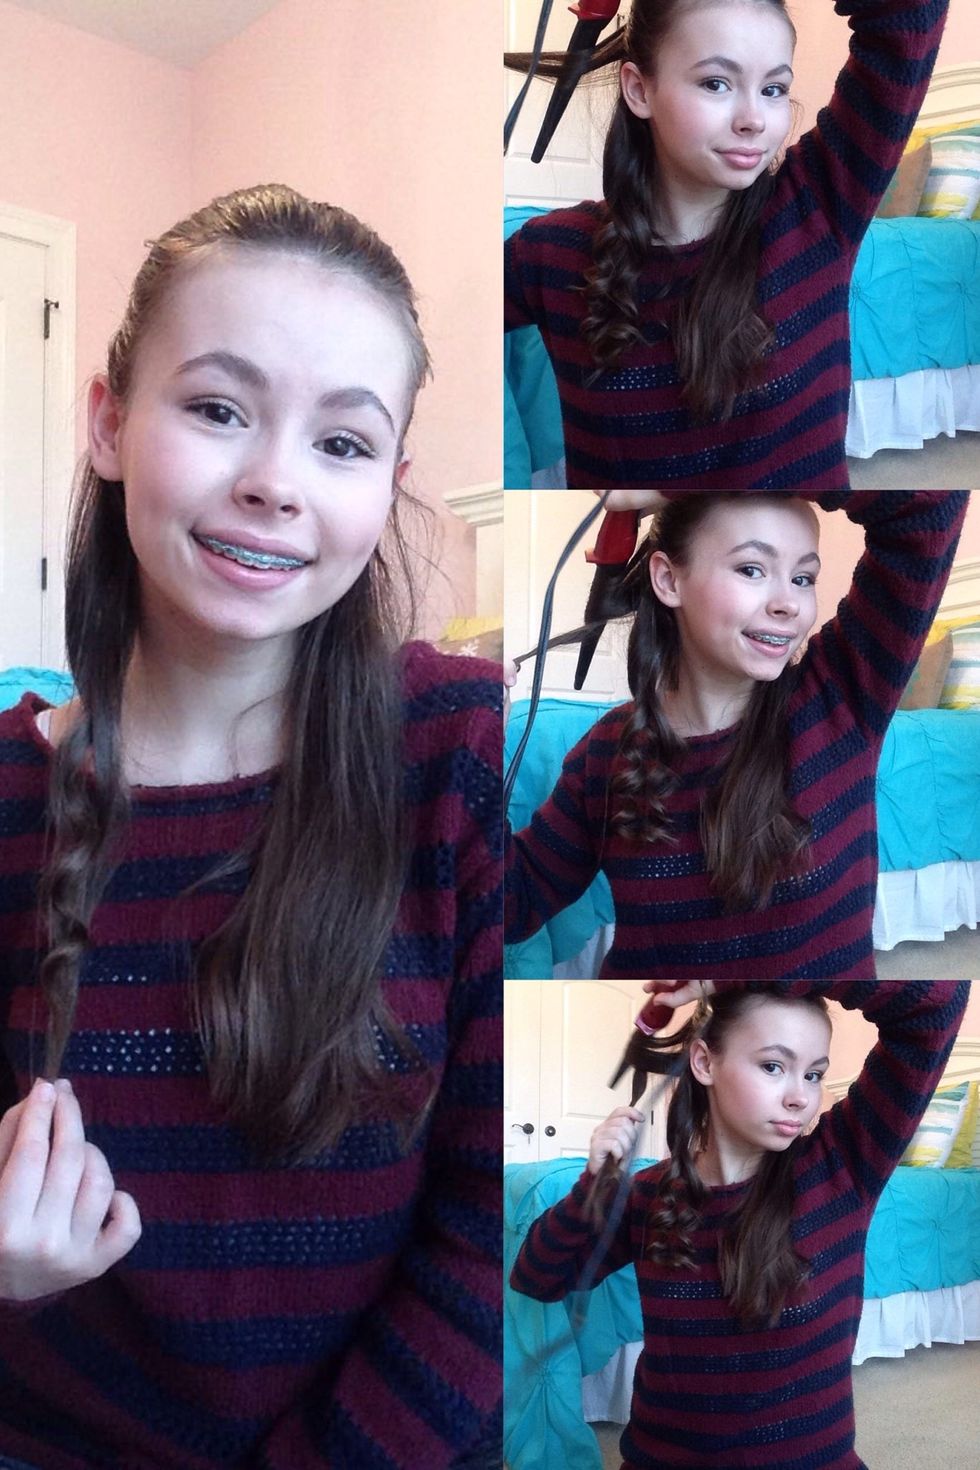
Continue curling the rest of that side. Alternate curls facing away and towards your face. If the curls are too tight, and you want them more casual, just slightly pull on the ends to loosen them up.
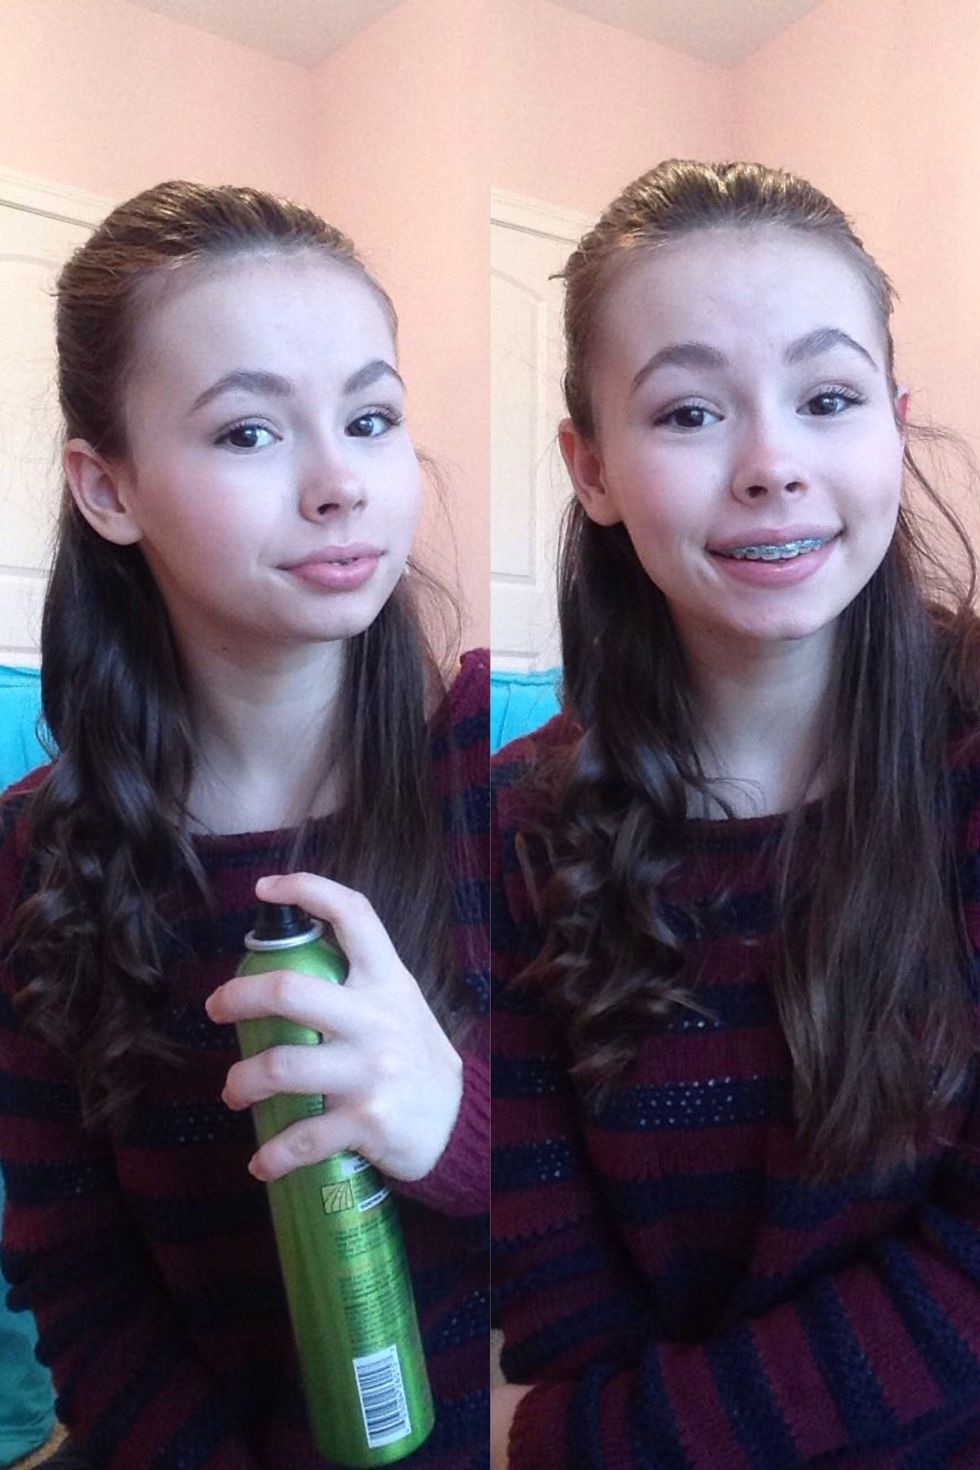
Once you've finished that side, shake out your curls and apply hairspray to be sure the curls last all day.

Now, do the same exact thing with the other side. Don't forget to alternate curls and start by curling away from your face!

When you finish the "half down" section of hair, move on to the "half up." Start by pulling your hair over to the side your most comfortable curling on. Again, for me it was the right side.
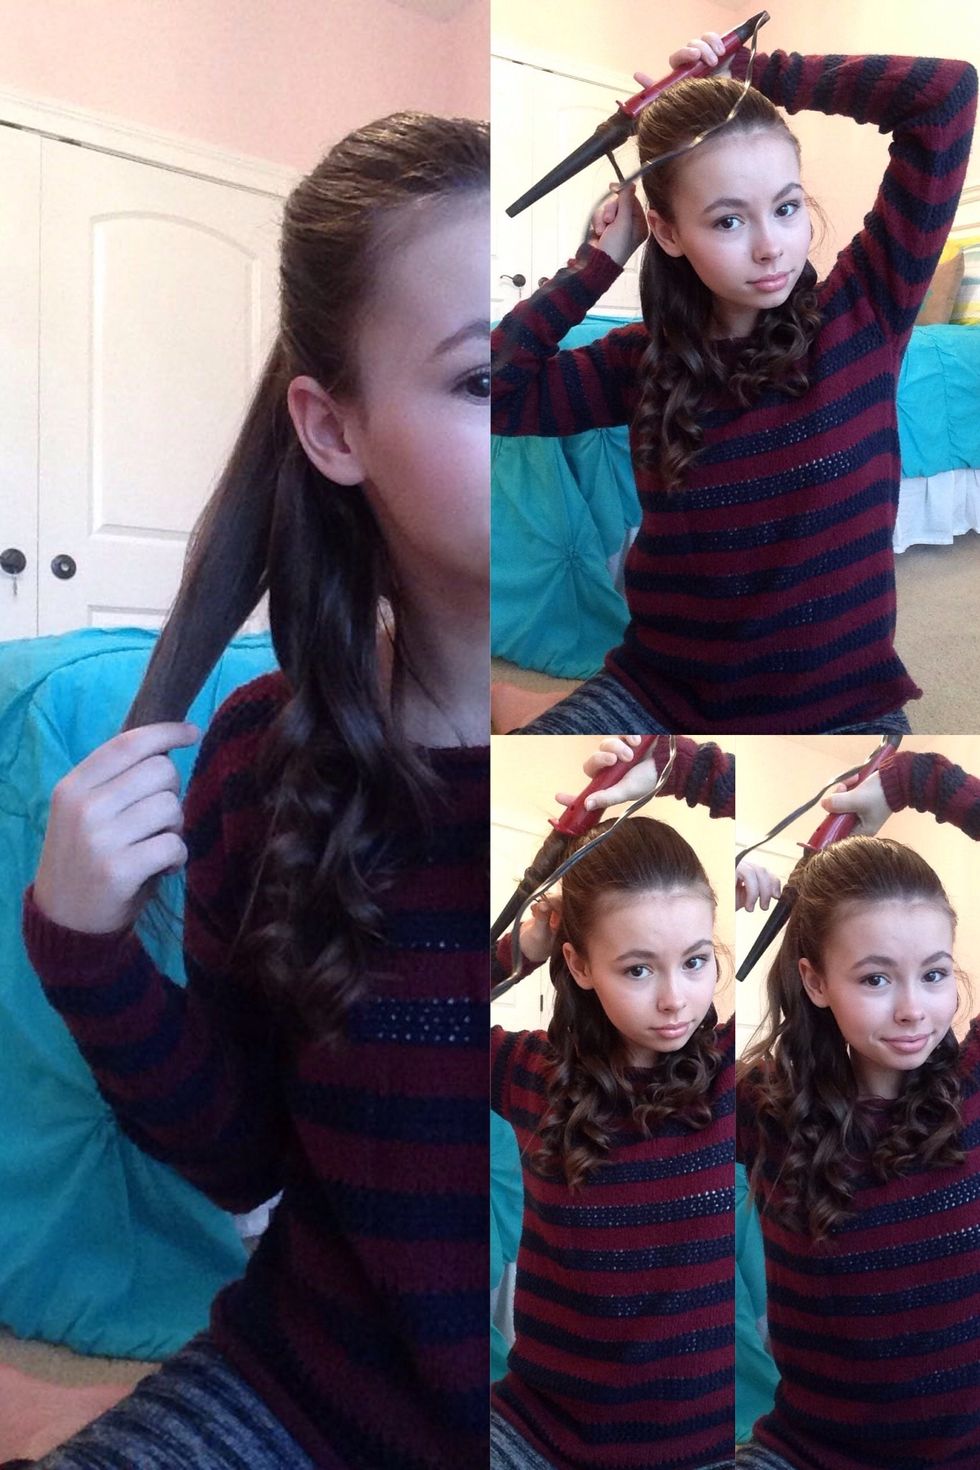
Now continue curling your hair, same as always. Keep the sections pretty small, you want the curls to look tighter and more neat on the top so they don't loose their shape throughout the day.
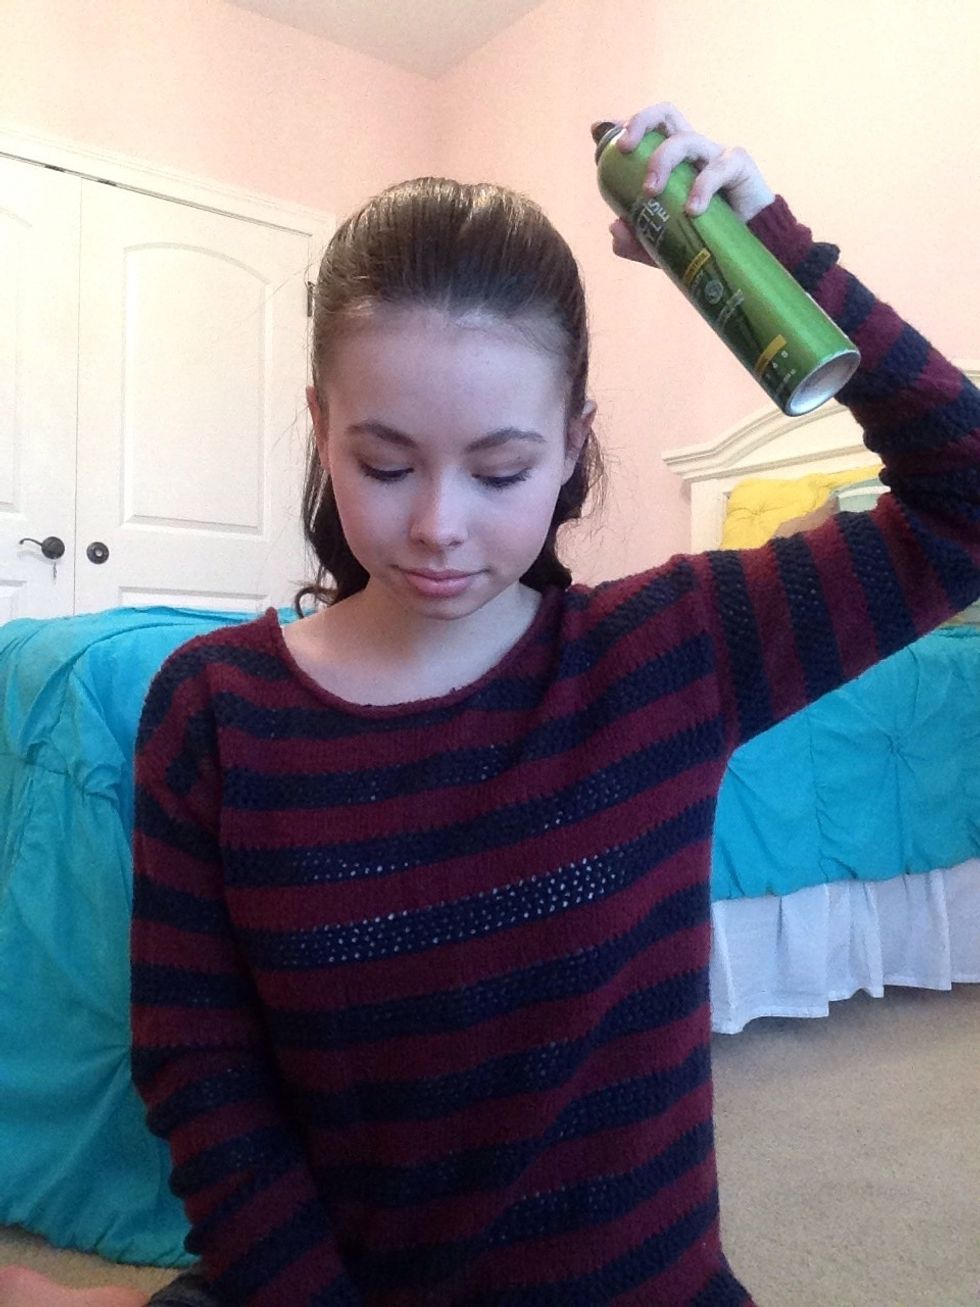
Once you've finished, give your hair one more good shake and apply hairspray all over.
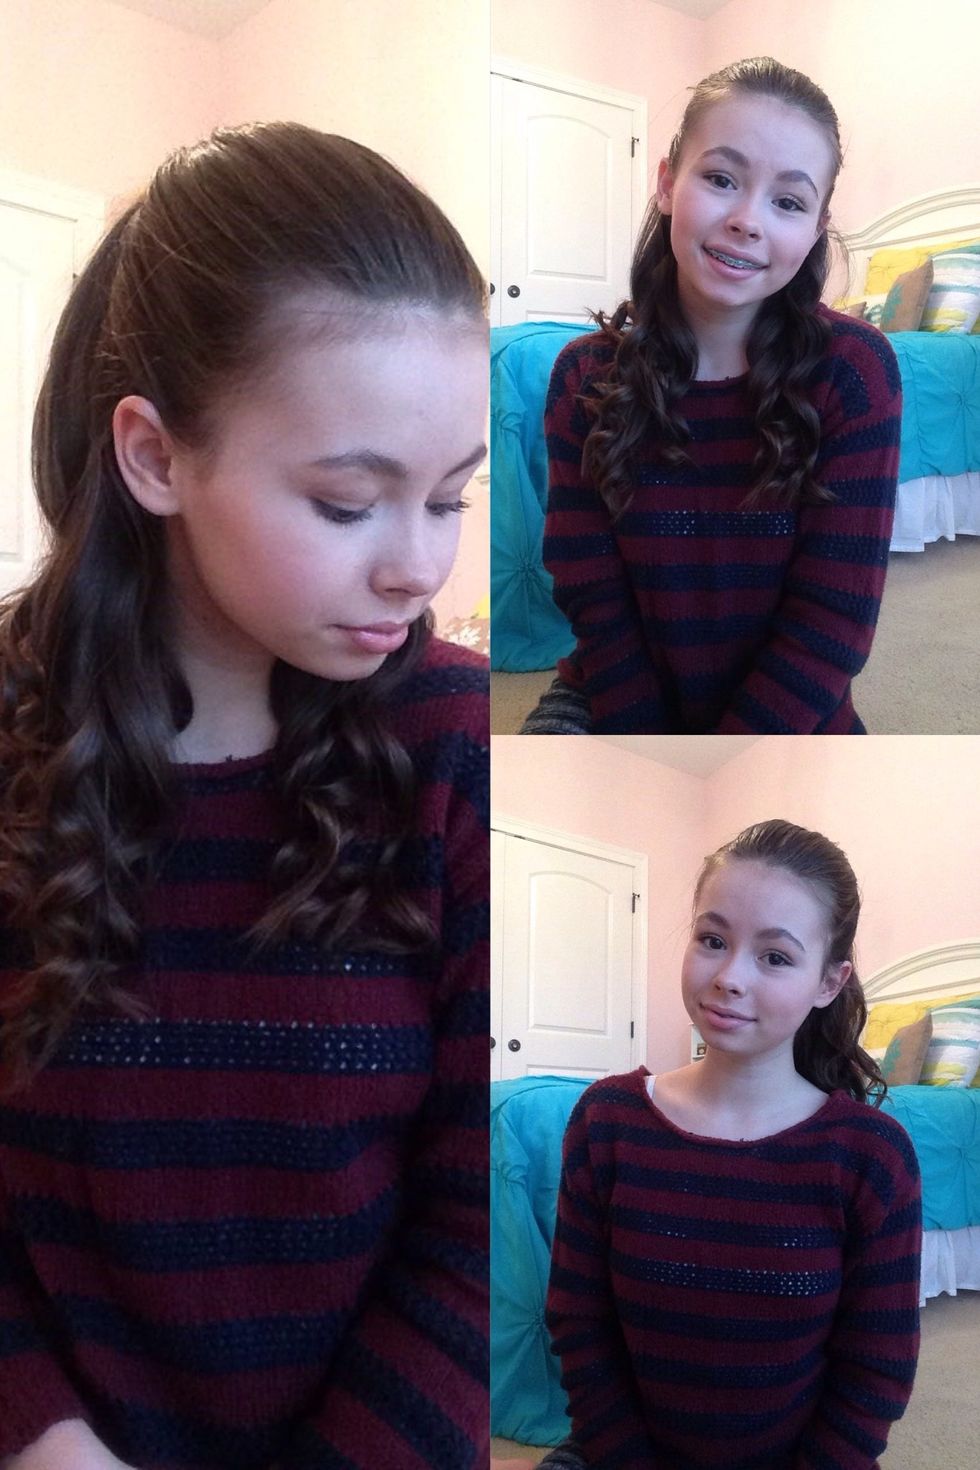
That's it! Super easy right? ☺️
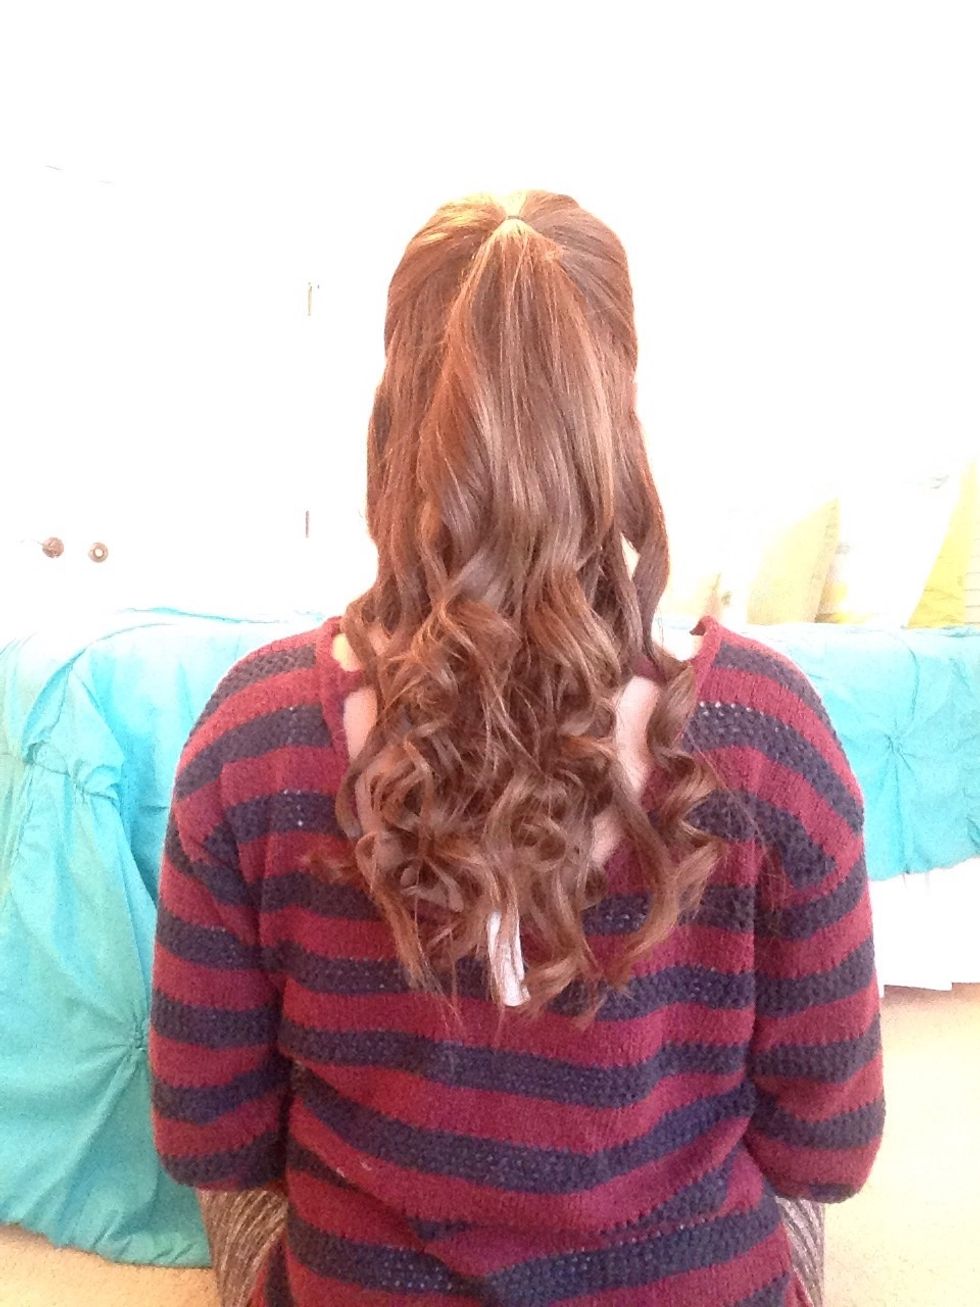
Back view. :) Always remember that you can change this look to make it unique, fit it to your style. It's completely up to you.
YouTube vid will be linked in bio as soon as it's up. ☺️