The Conversation (0)
Sign Up
This guide will help you through the process of creating an Apple ID without a credit card. Be sure to follow the instructions carefully and keep track of the ID (username) and password you create.
First, tap on the App Store icon.
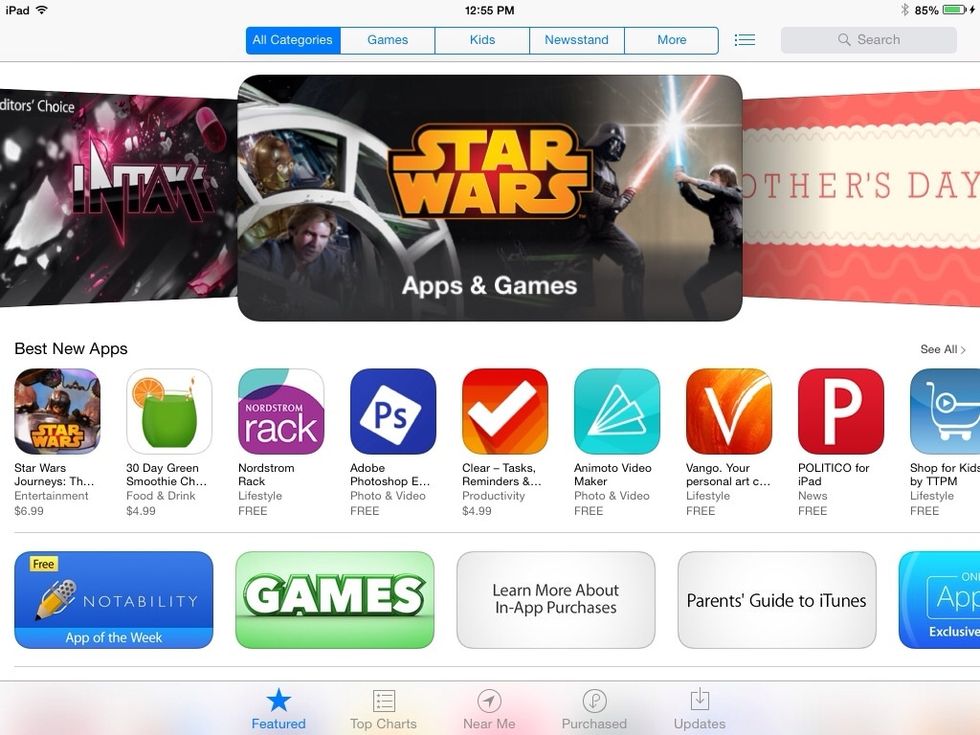
Next, tap on a free application.

Now tap the "free" box.
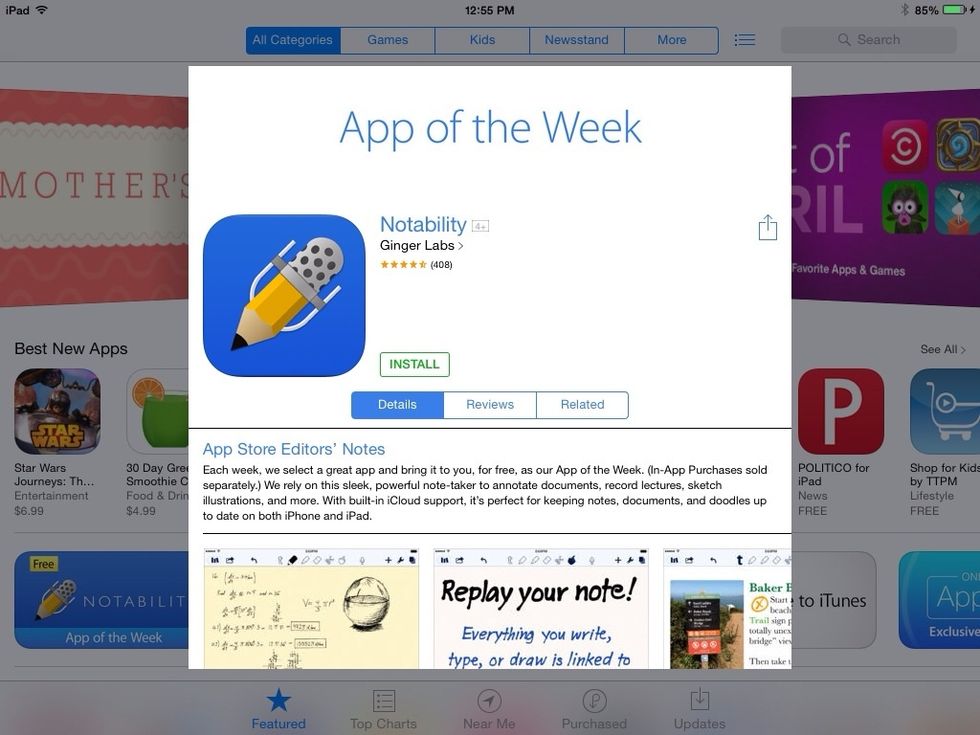
Now tap "install".
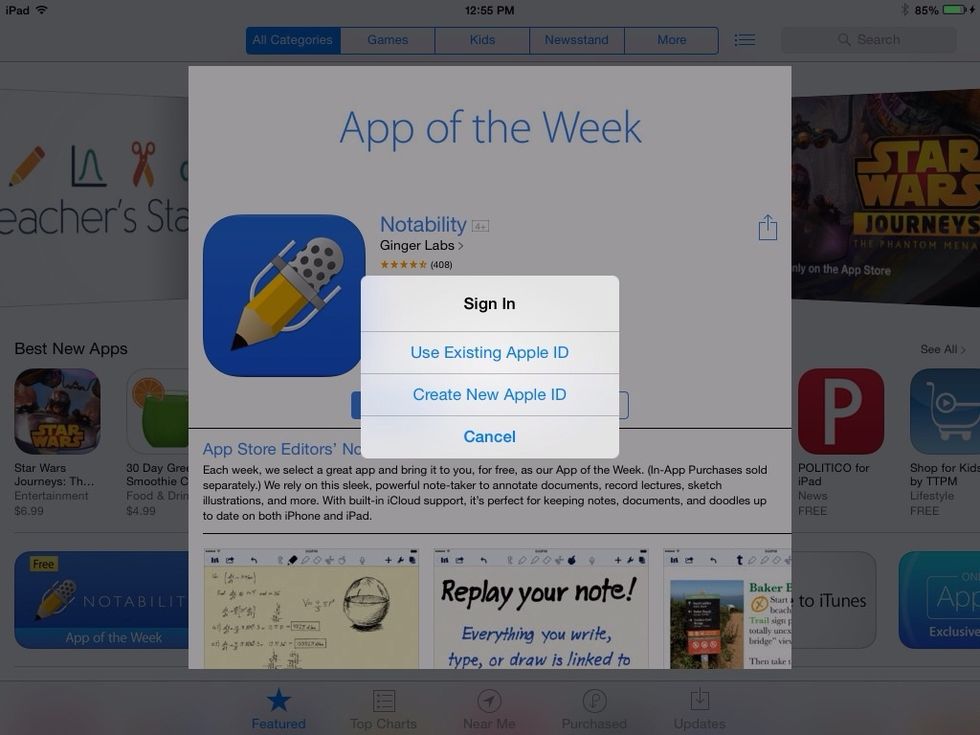
Now tap "Create New Apple ID".

Leaving "United States" selected, tap "Next".
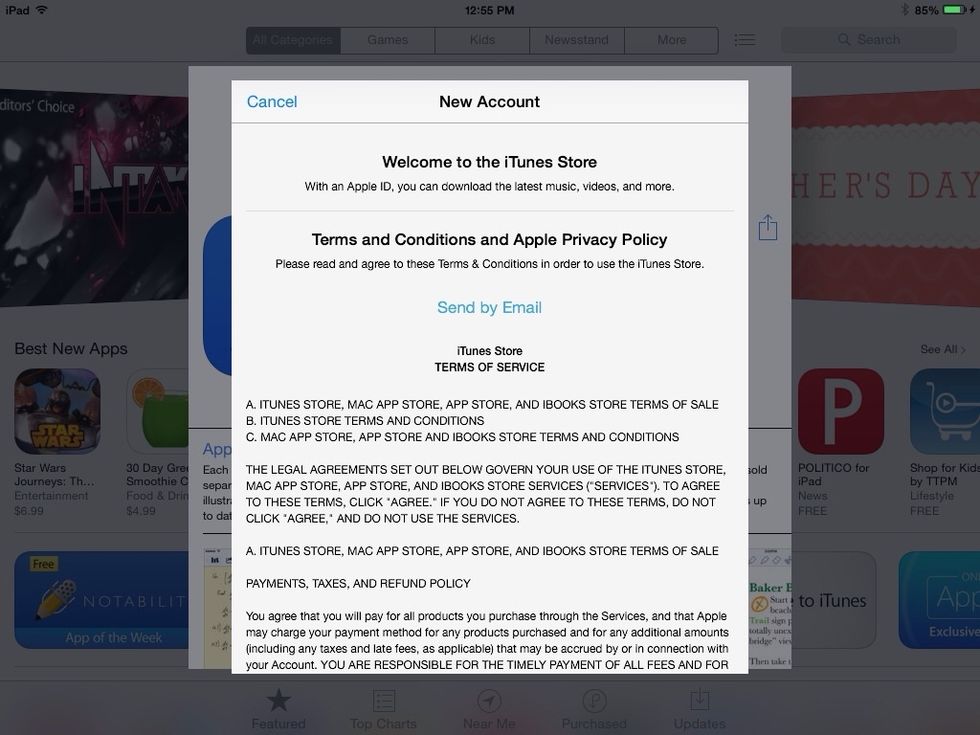
Use your finger to scroll through to the bottom of this screen...
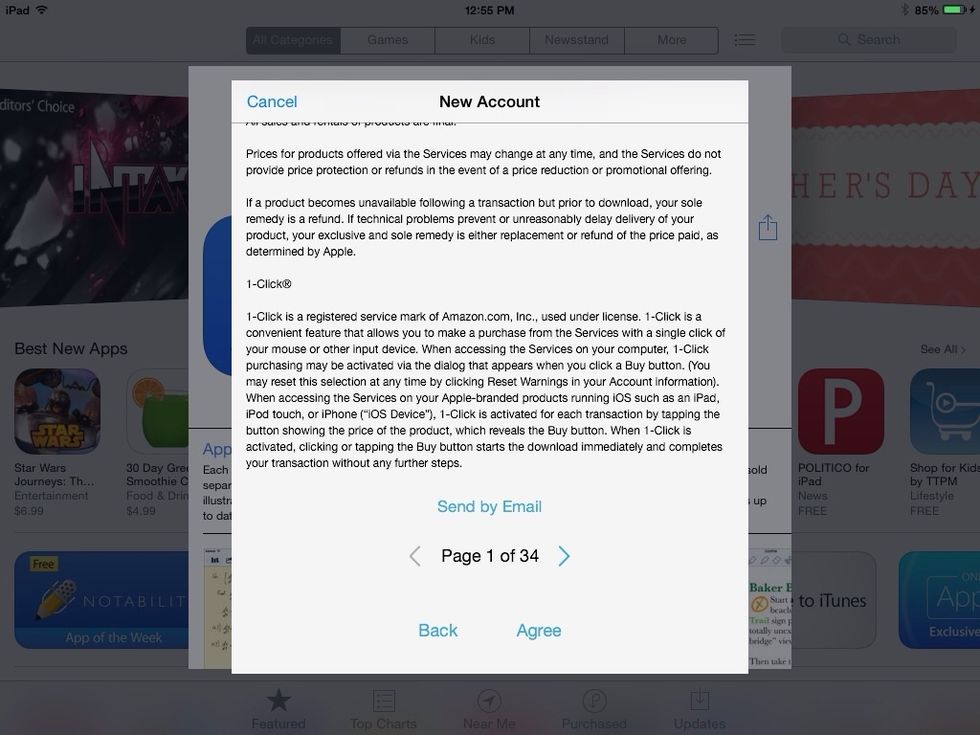
...tap "Agree"...
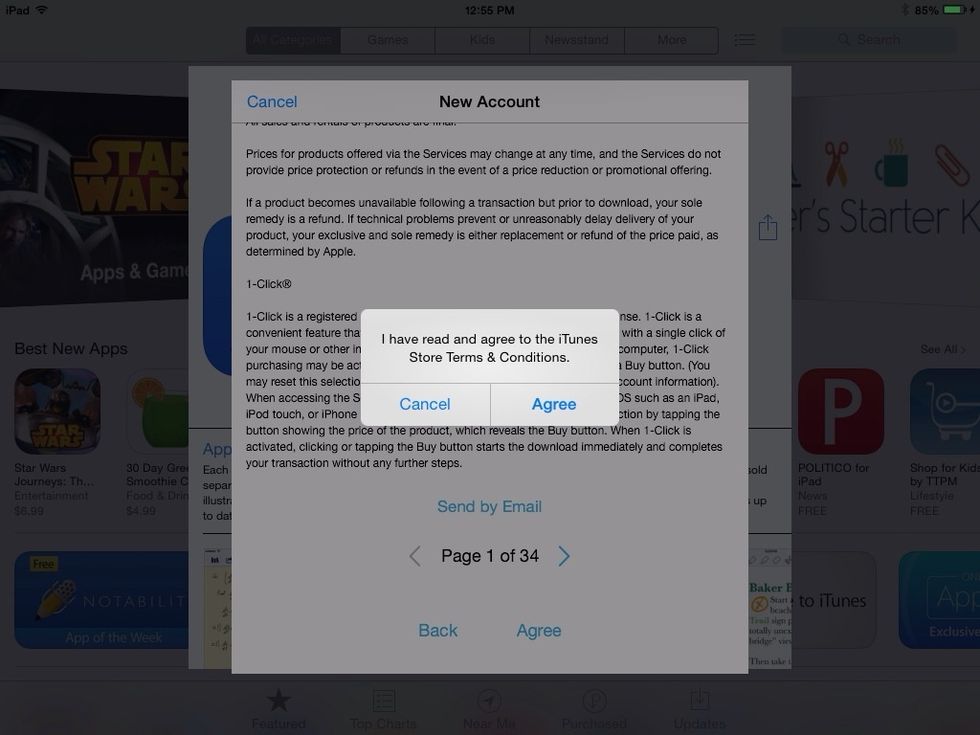
...and tap Agree again.
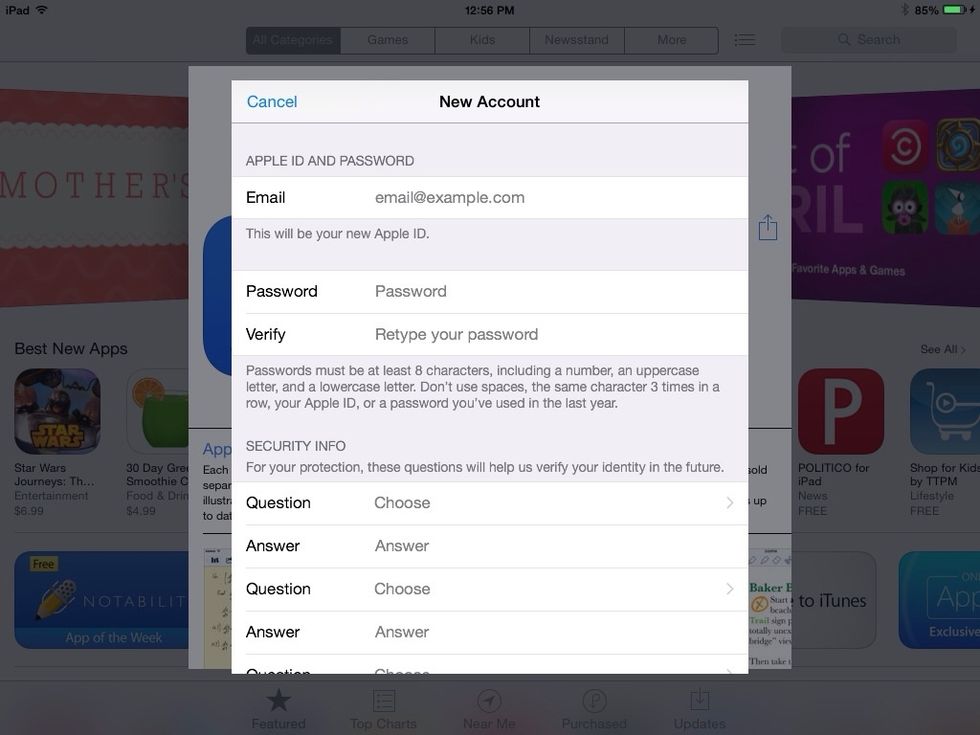
Now enter all of the info this page requires. Swipe this screen now for tips to walk you through this screen...
Email: Enter your full email address.
Password: Must have 8 characters including a capital letter and a number, and not include your name or any consecutive characters (1,2,3, etc.). Try your TA password with the first letter capitalized.
Security Questions: Choose the 3 questions you like best and answer them like you would if you wanted to recover a lost password. Capitalization matters in your answer, so be careful!
Rescue Email: Give an alternate email address here if you have one.
Birthday: Use your own birthday here and make sure what you enter is accurate. You can't recover your account if this information isn't correct.
"Subscription" switches: Set both switches to "Off" (no green showing).
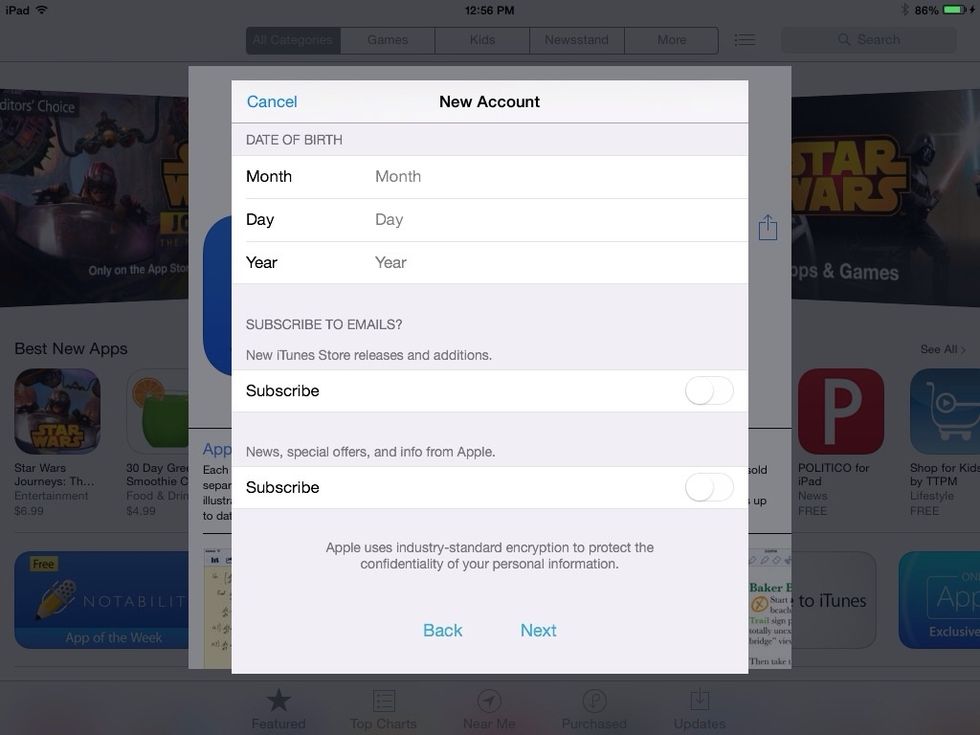
Now tap "Next".
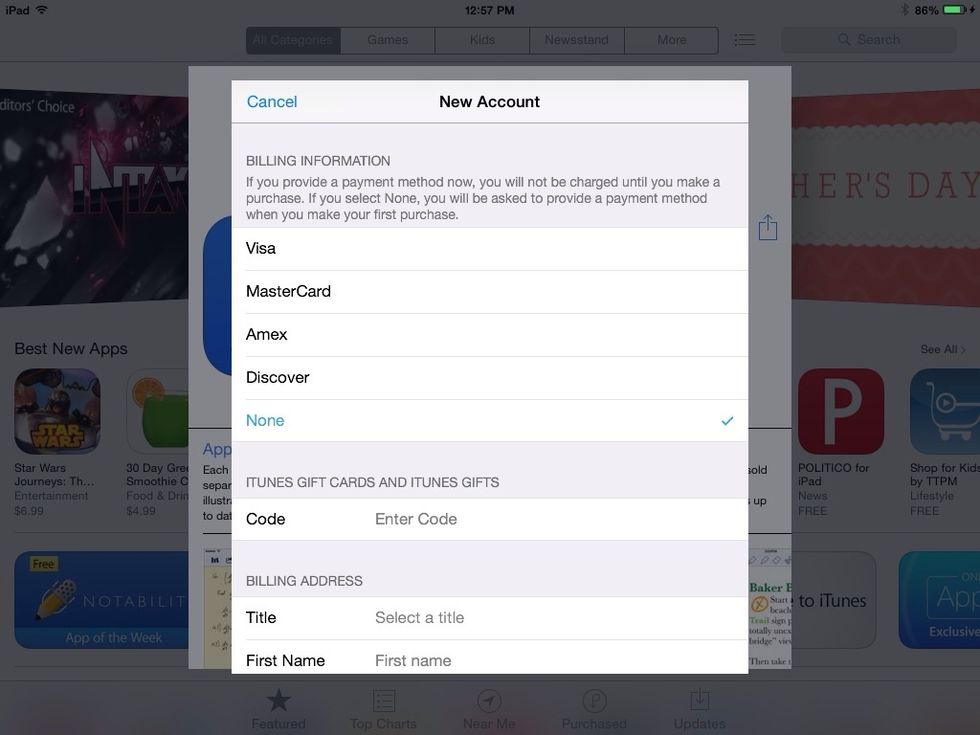
At this screen, under payment information, you should choose the last option in the list, "None".
Now enter your title (Mr. or Ms.), your full name, your address, and your phone number. You can also use your name with TA address and phone info (438 Main St. Saco, ME; 2072823361).
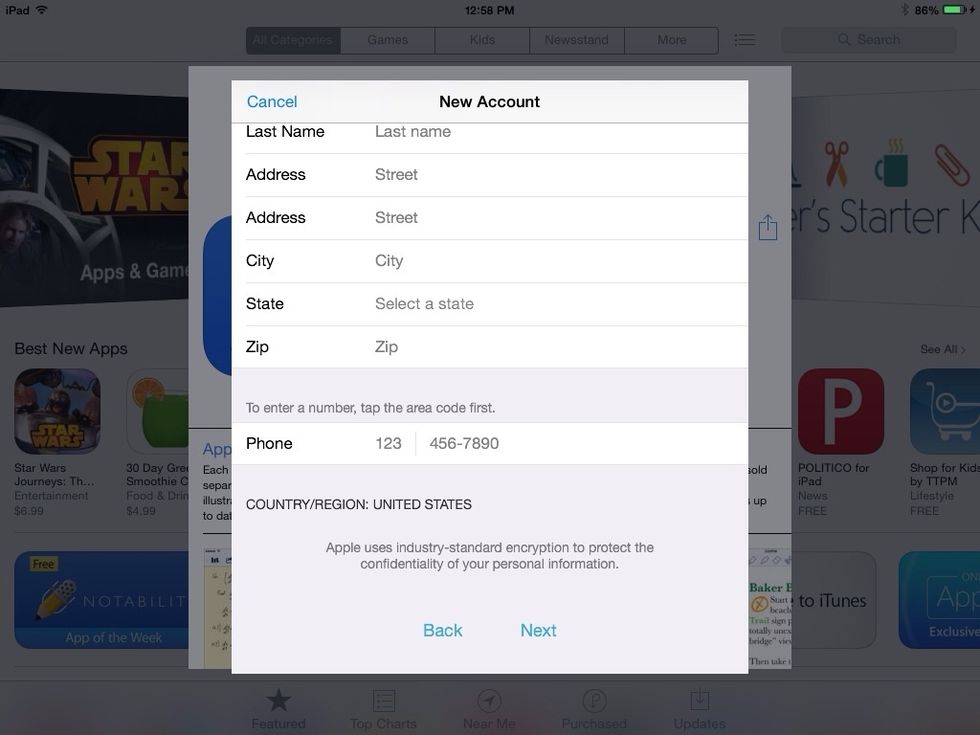
After entering all the information above, tap "Next".
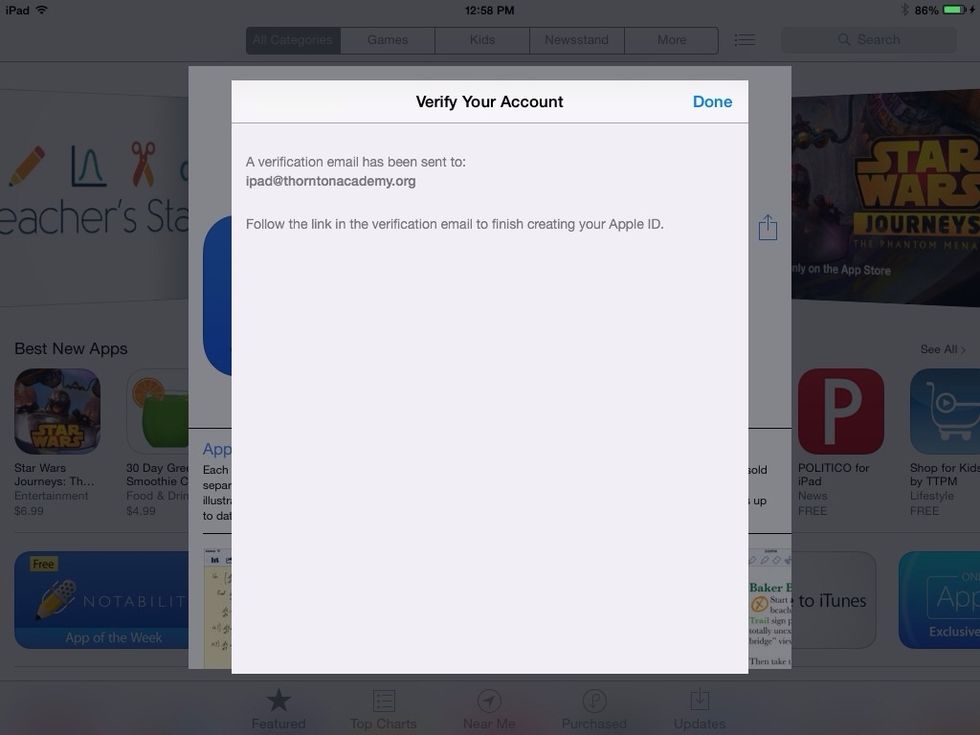
You should now see this screen, which prompts you to check your email on another nearby device. Login to the email address you used as your Apple ID and look for an email from Apple in your inbox.

Here's what the email will look like. Click on the link shown above.
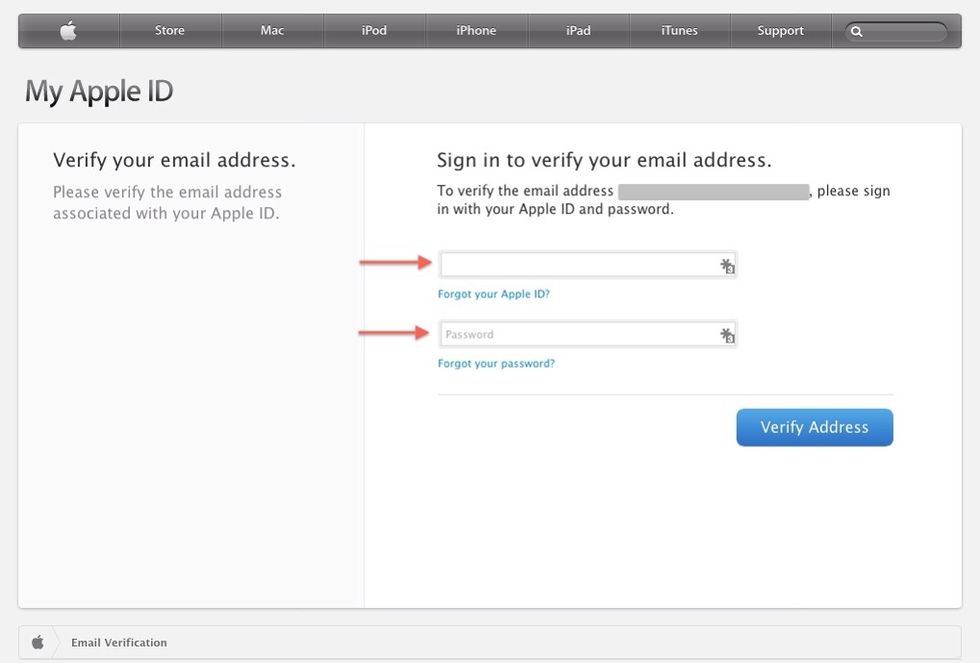
Now enter your new Apple ID (email address) and the password you created. Remember that it is at least 8 characters long with at least 1 capital letter and at least 1 number. Click the blue button.
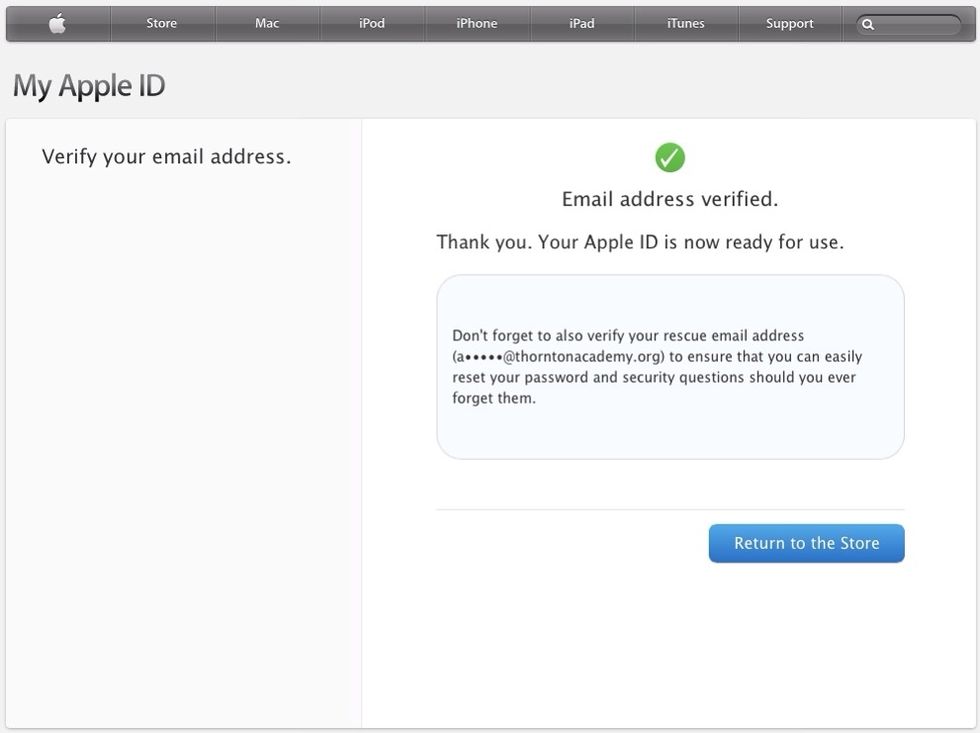
Once you see this screen, return to the iOS device, login, and try to download a free app.

You'll use that new password again here.
You should now be all set!