The Conversation (0)
Sign Up
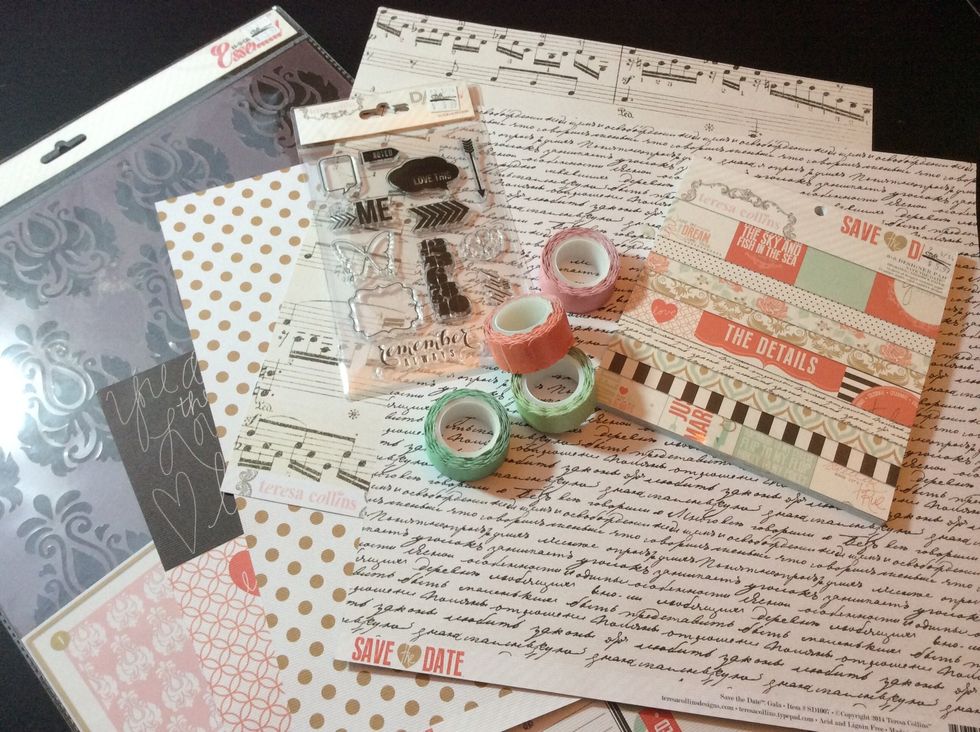
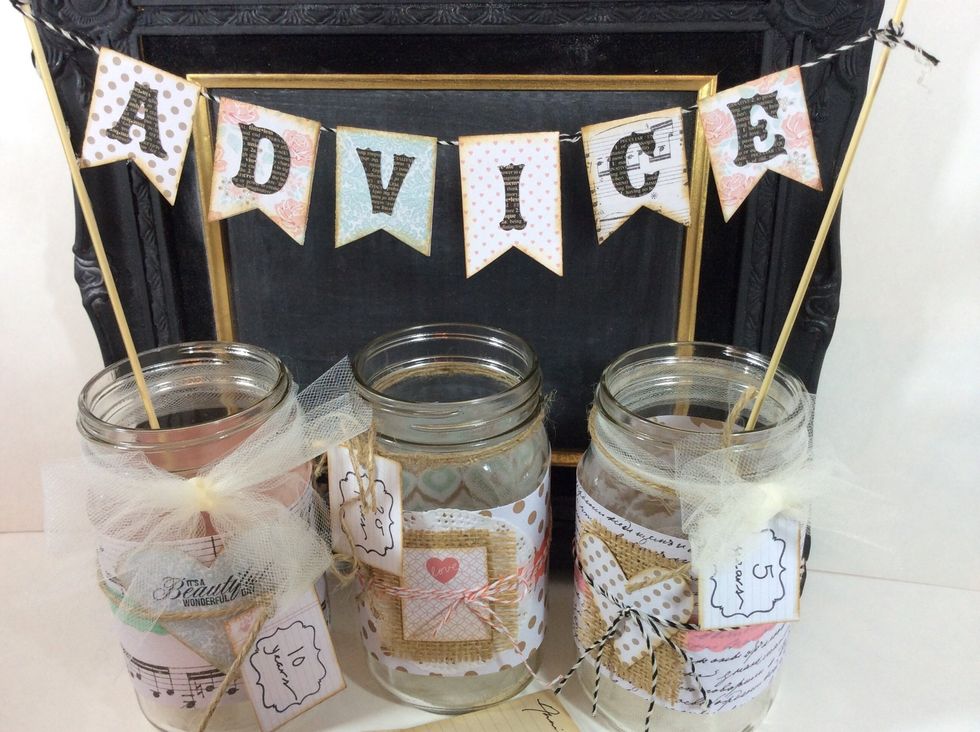
Gather supplies. All the supplies are available at Craft Warehouse.
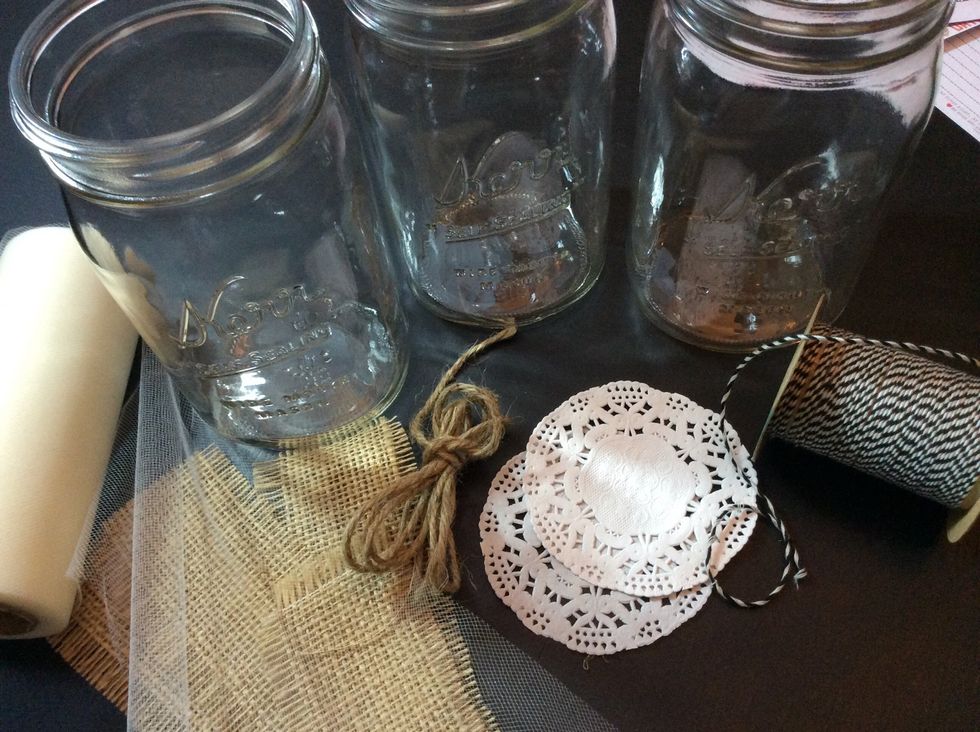
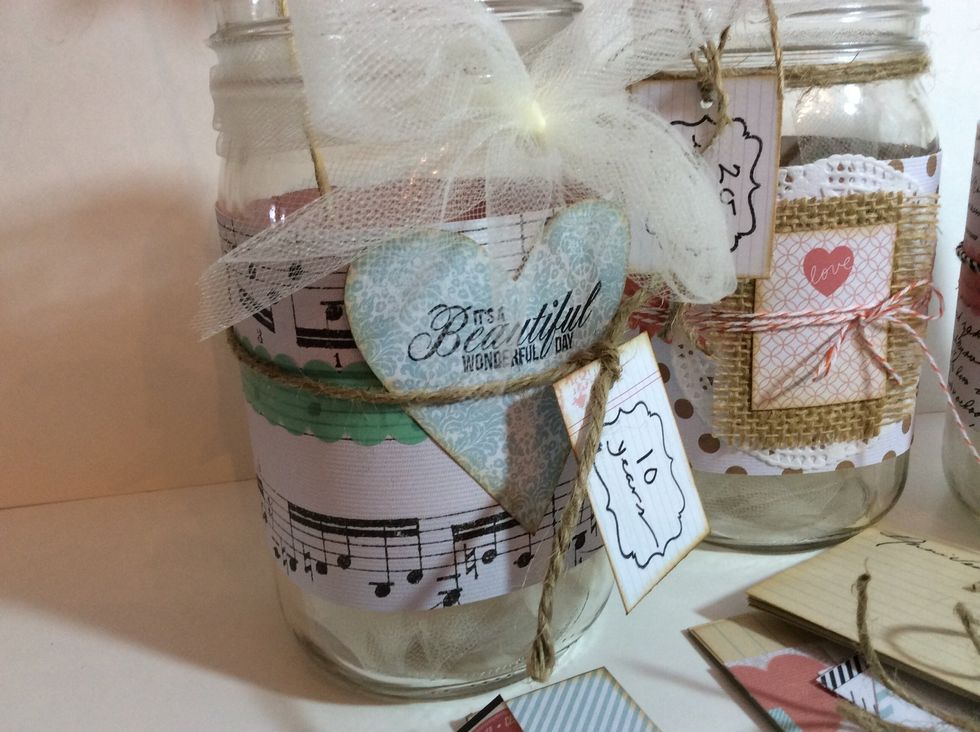
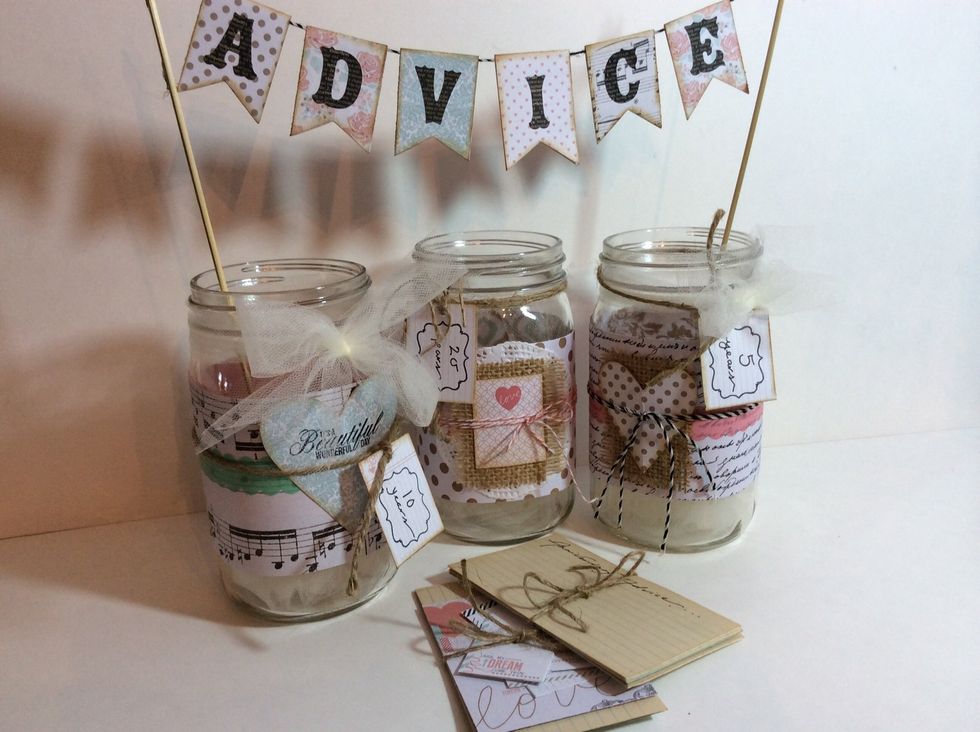
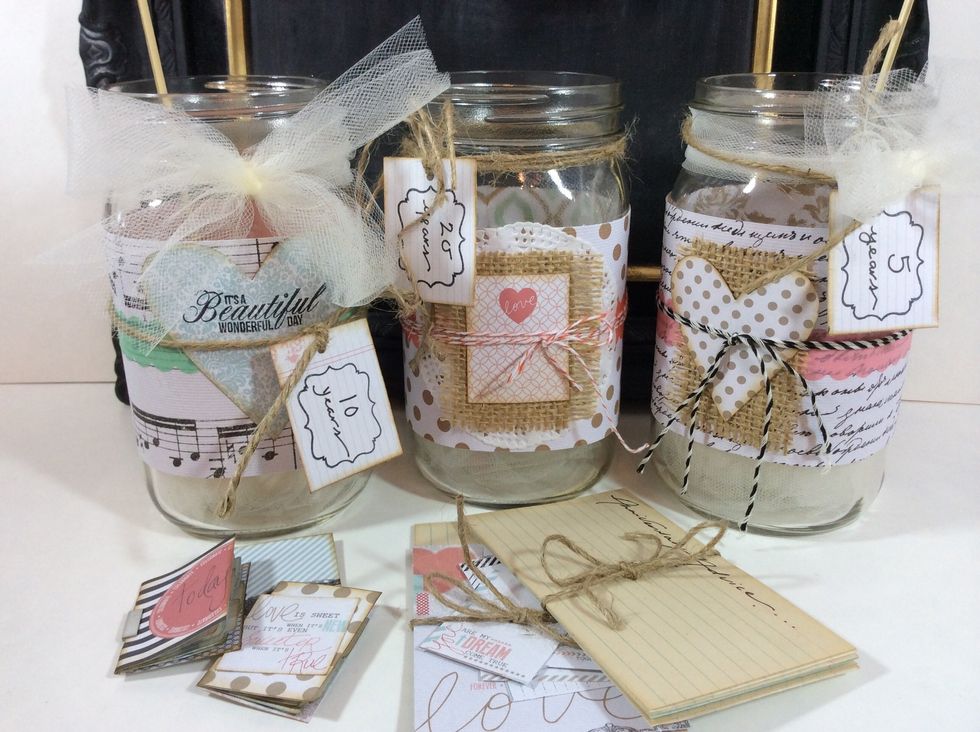
I made 3 jars for this particular project (5, 10 and 20 year anniversaries). You can make as many as you'd like, one to highlight each milestone anniversary of your choice.
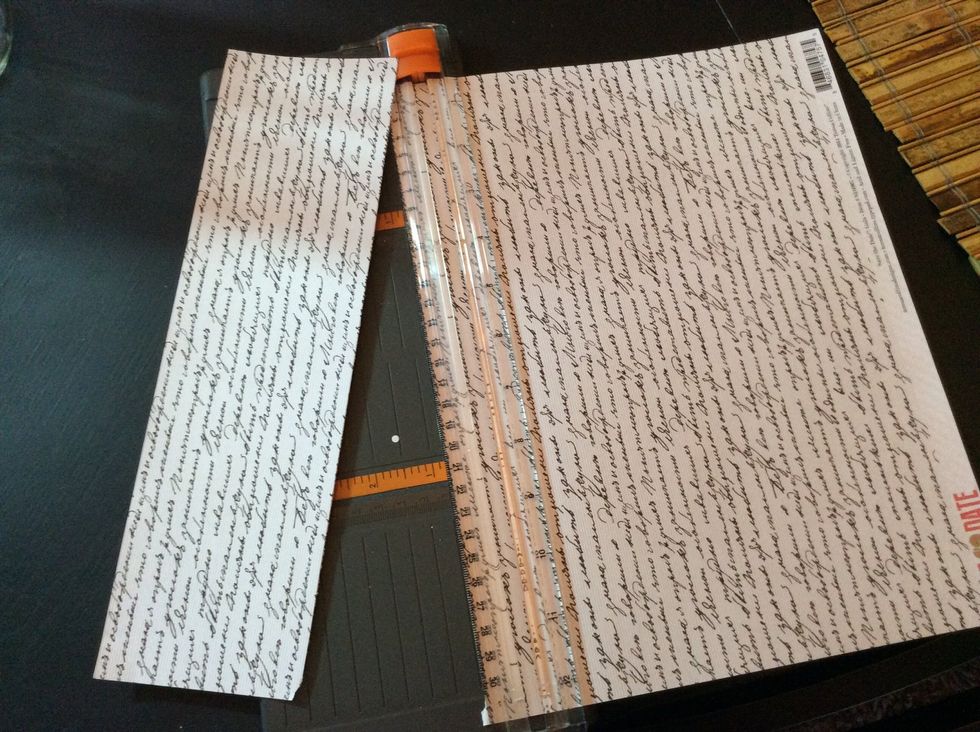
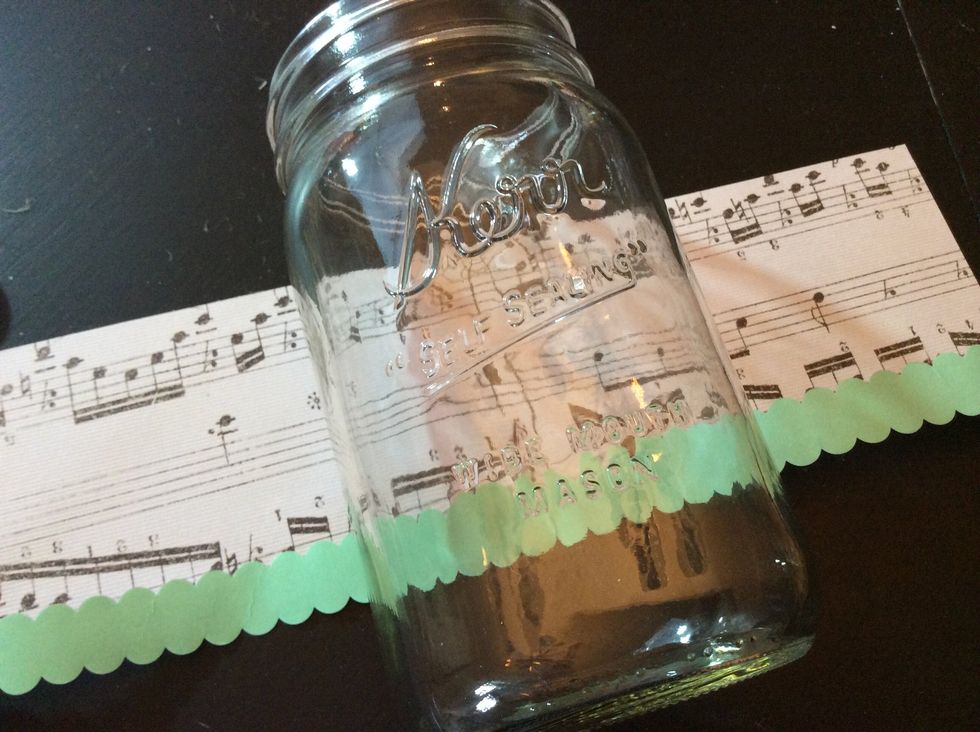
Cut paper wraps for jars.
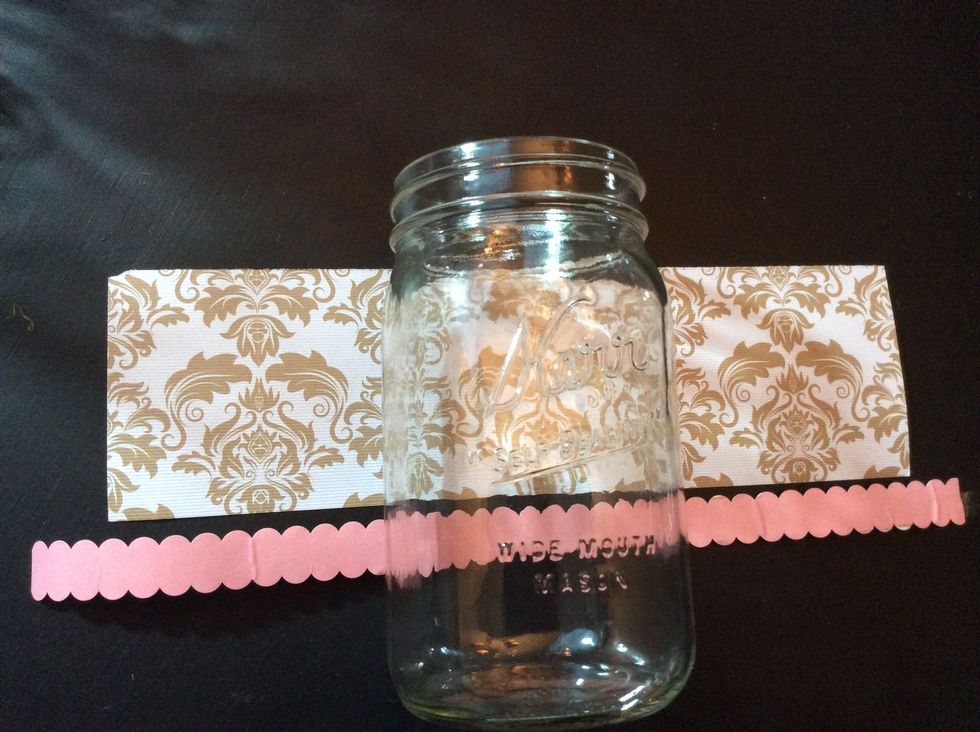
Cut washi tape just a bit longer than paper wrap.
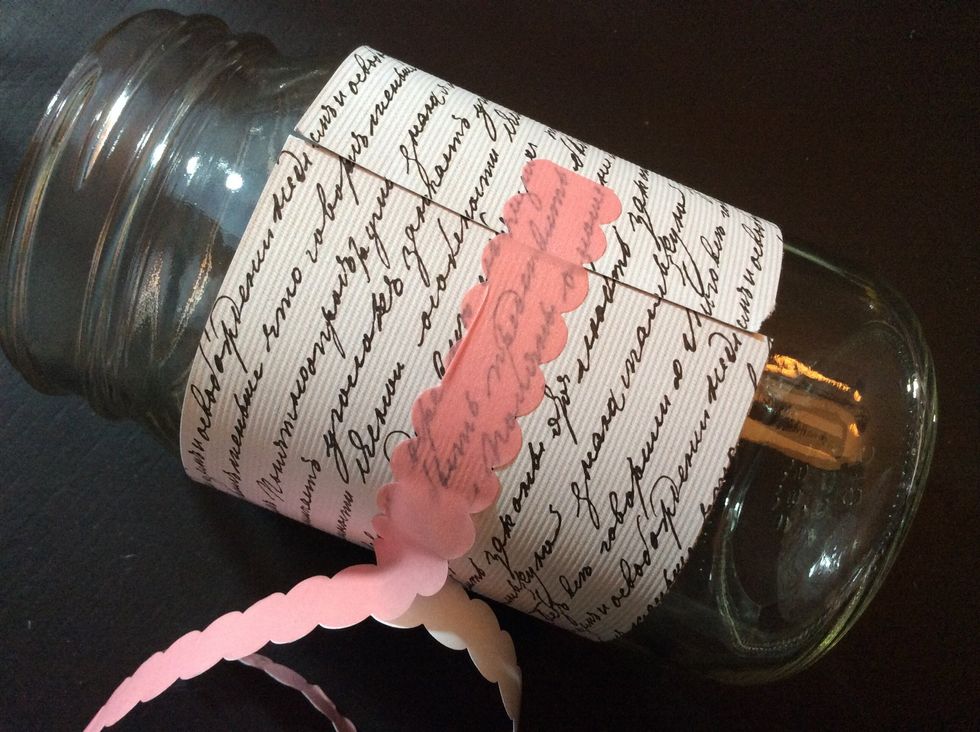
Wrap paper around jar and secure with washi tape.
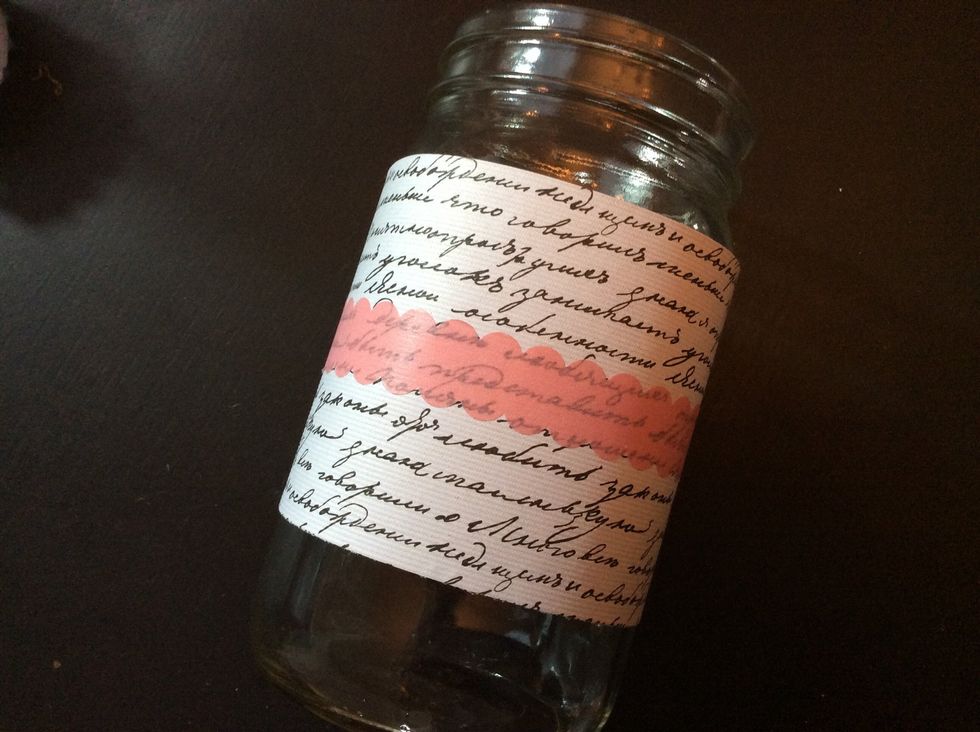
Wrap each jar varying paper patterns and washi tape colors.
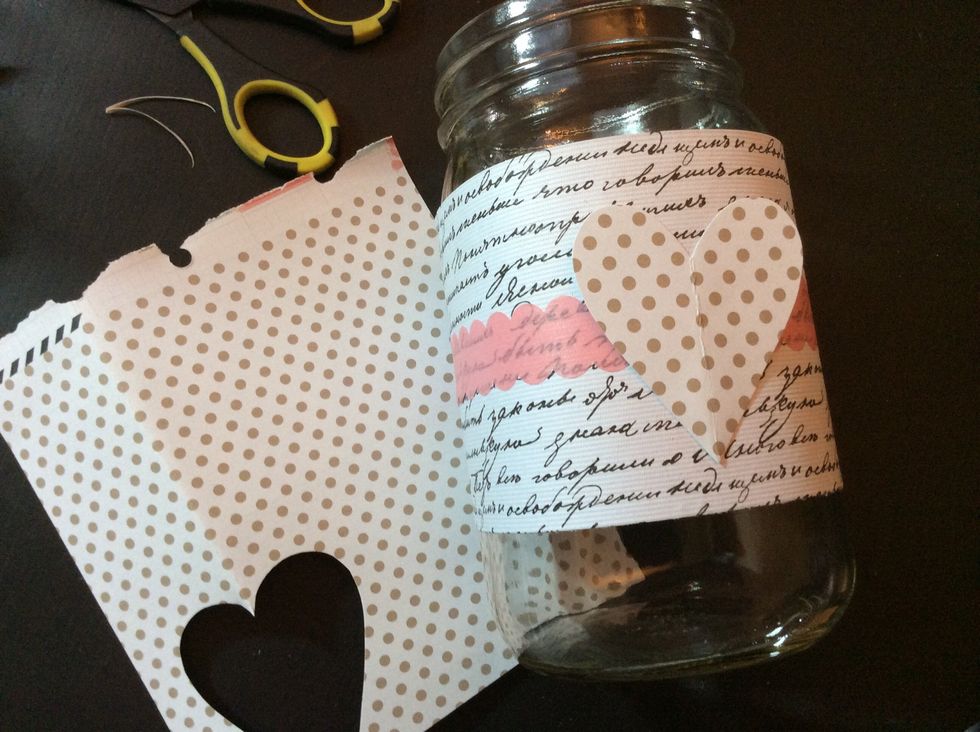
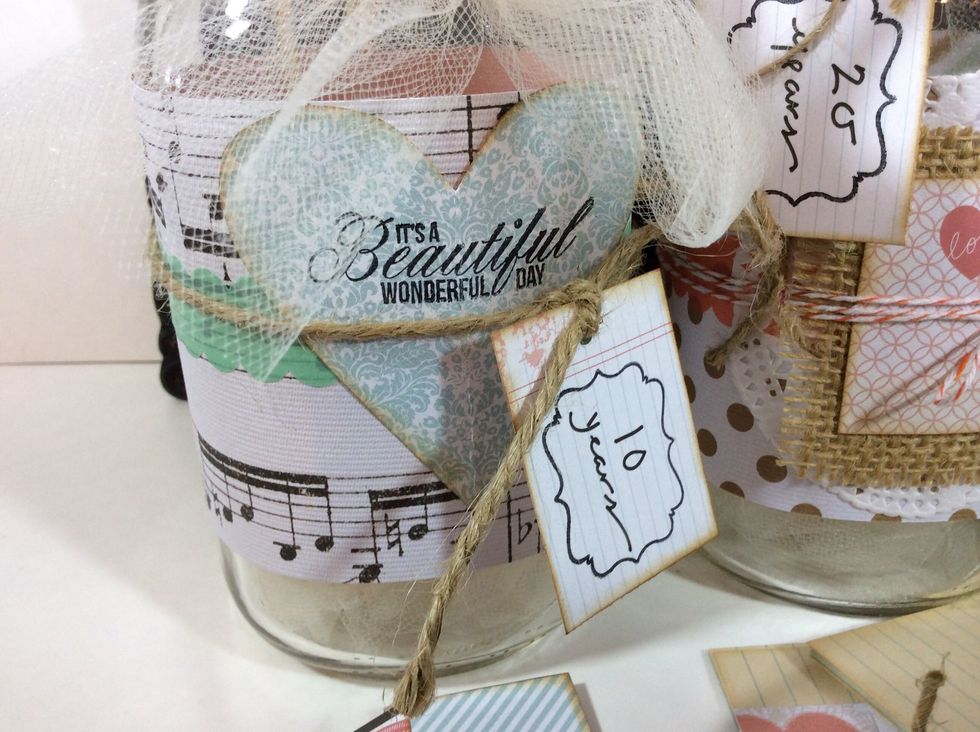
Hand cut heart shapes to embellish jars.
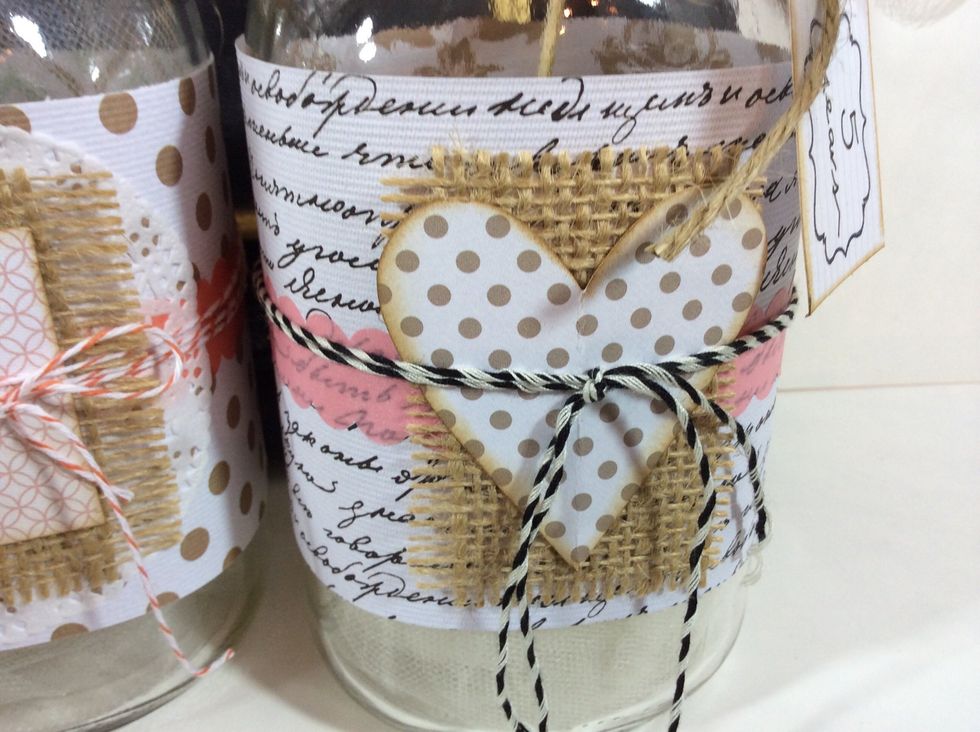
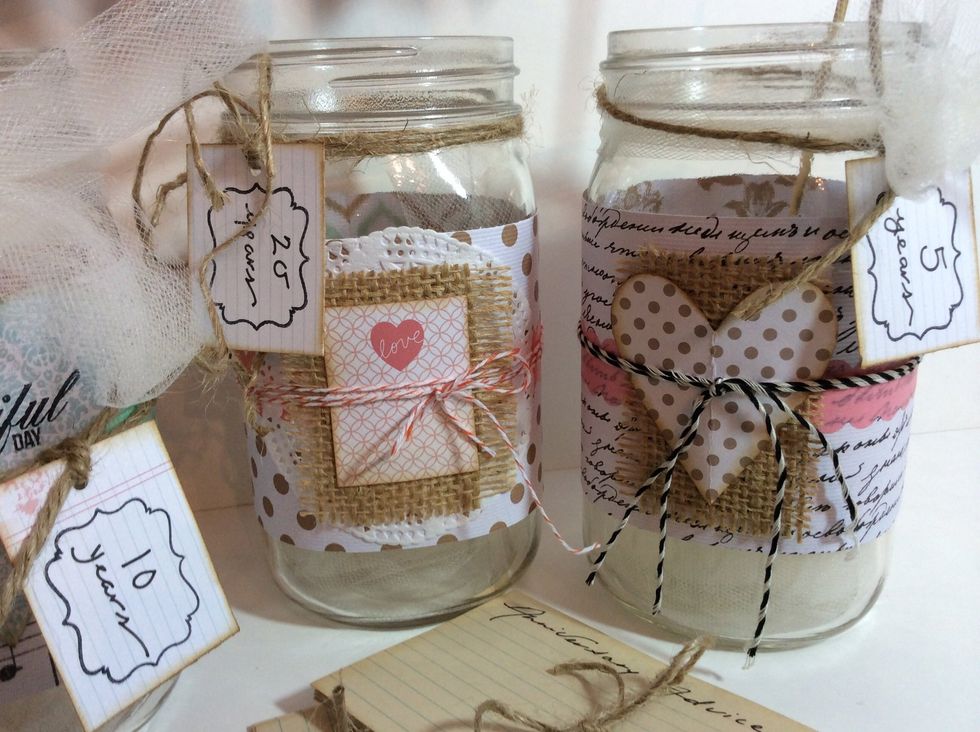
Layer cut shapes and 'save the date' cut aparts with burlap to embellish jars. Tie with Baker's twine, jute or ribbon.
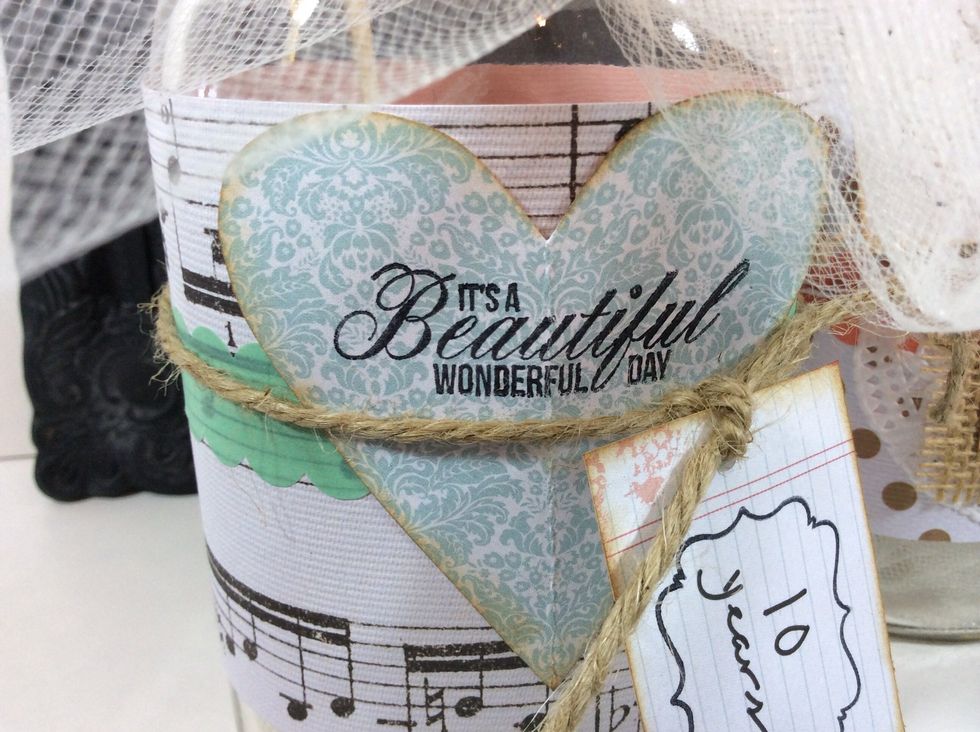
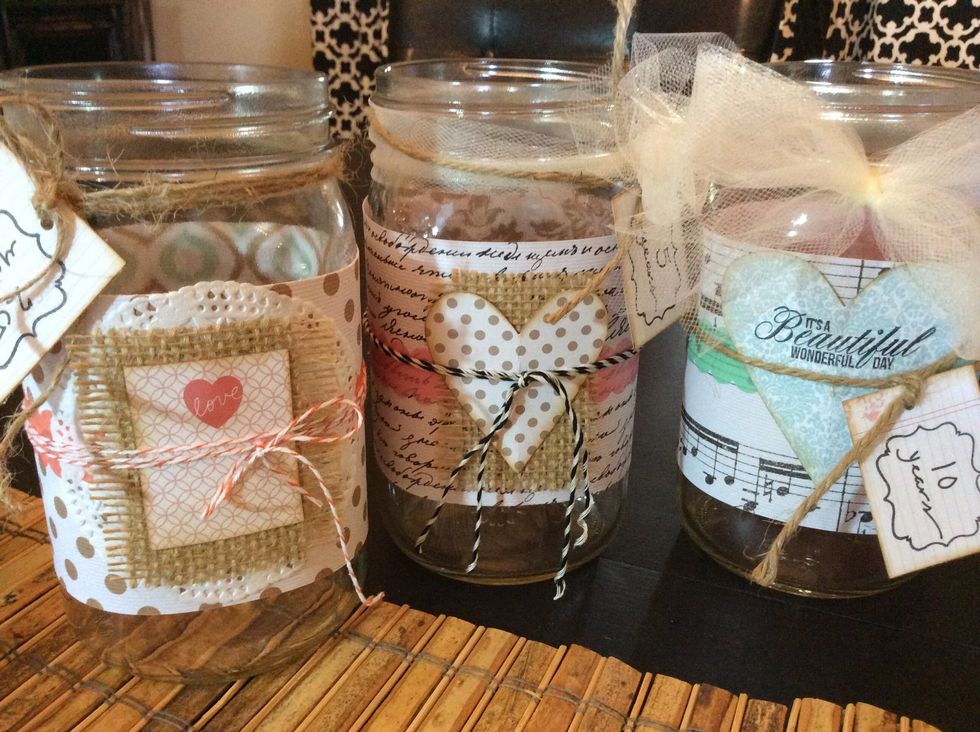
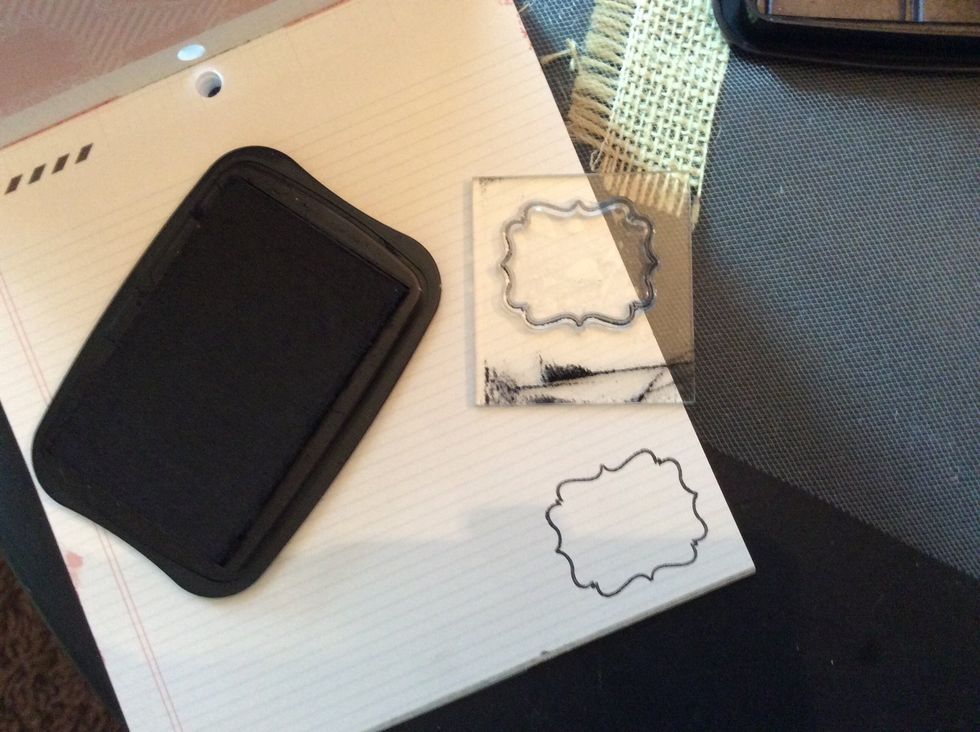
Create anniversary year labels: stamp label images (one for each jar).
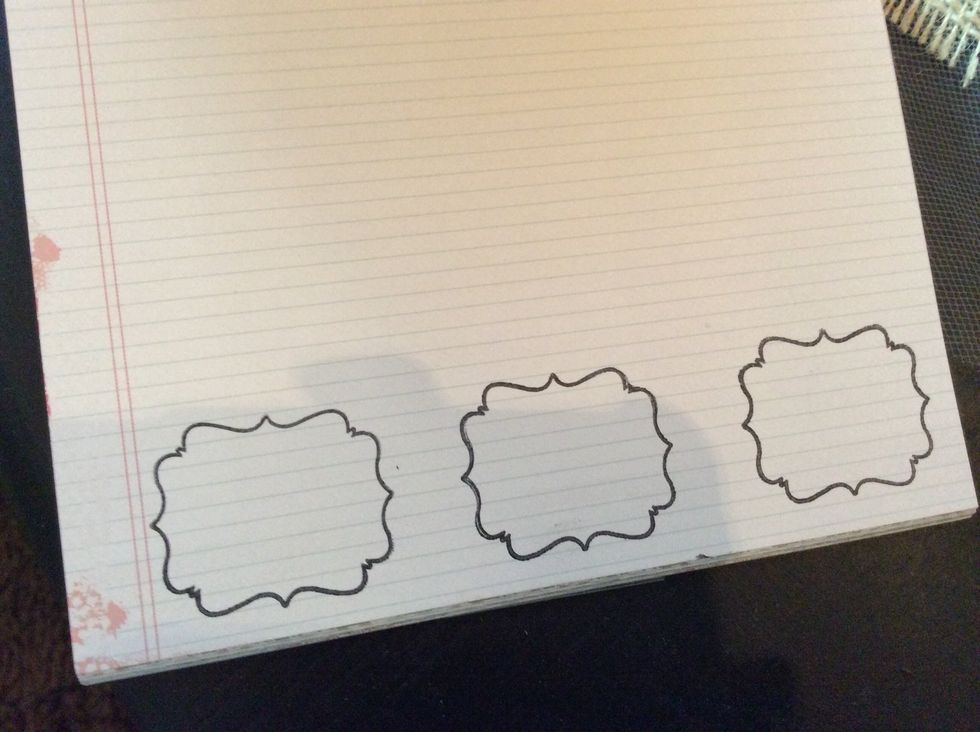
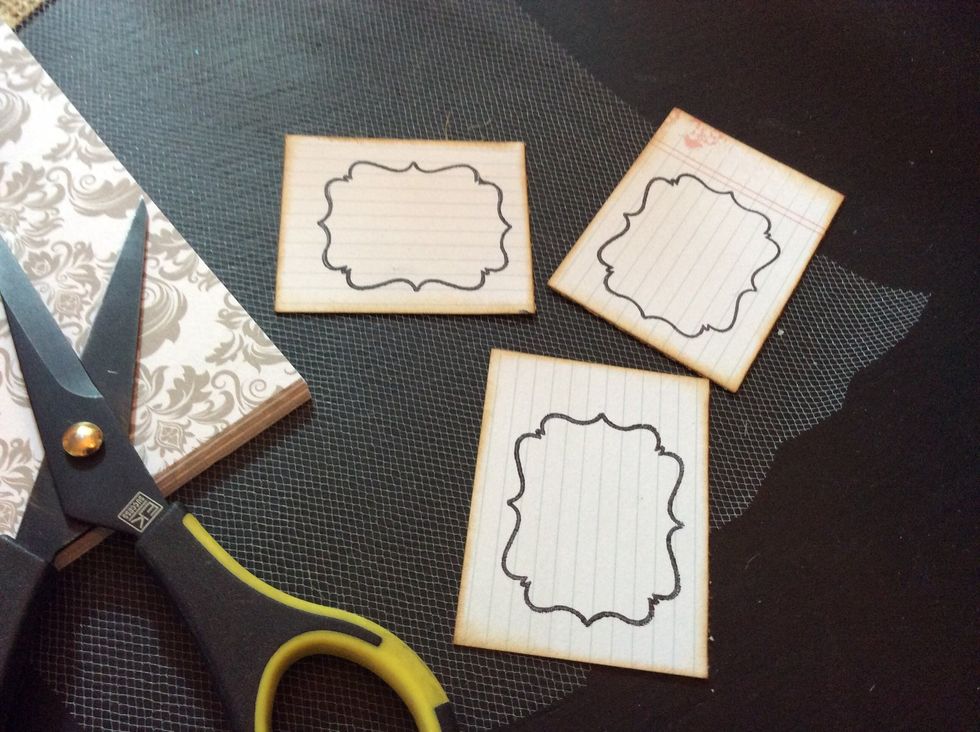
Cut labels.
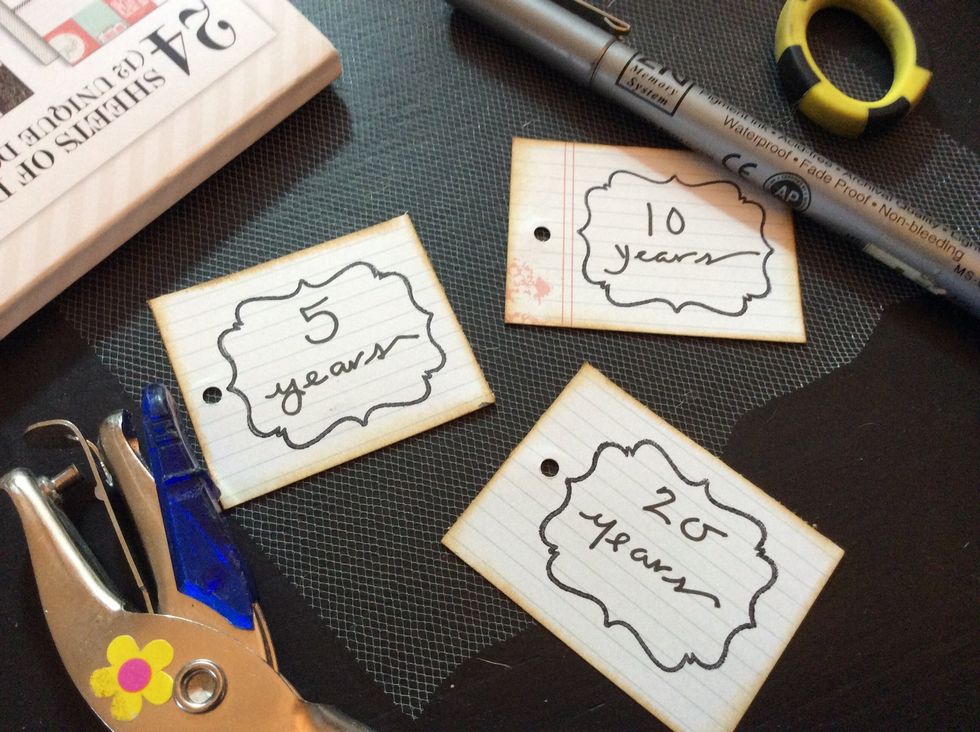
Label with years and punch a hole in each tag.

Attach each tag to a jar.
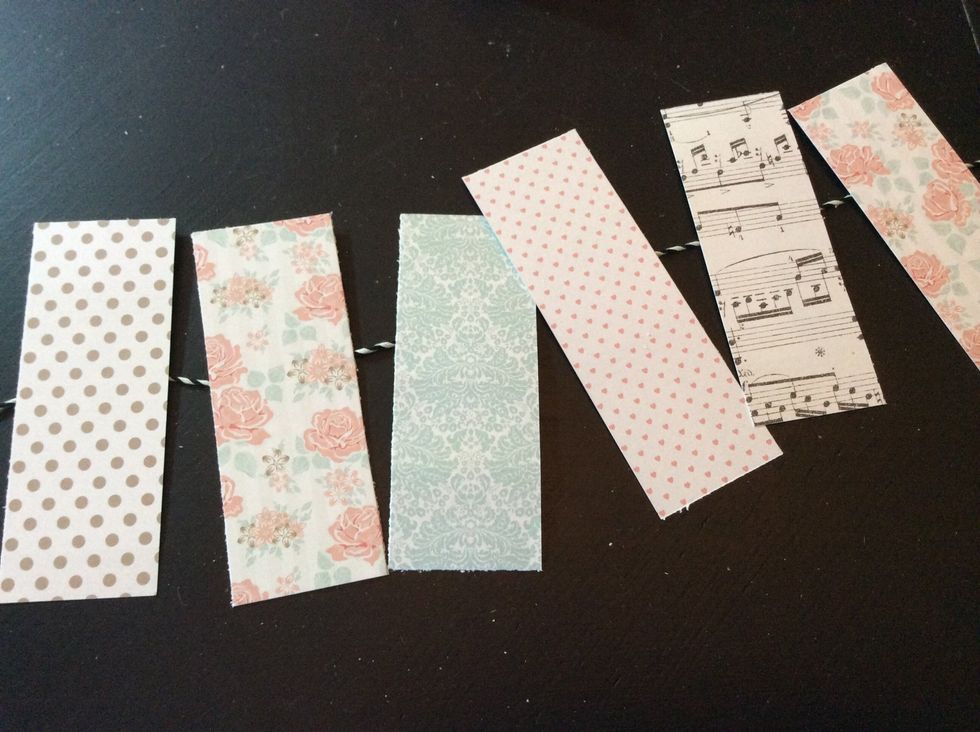
Now we'll craft the 'advice' banner... Cut 6- 1.5"x4" pattern paper pieces.
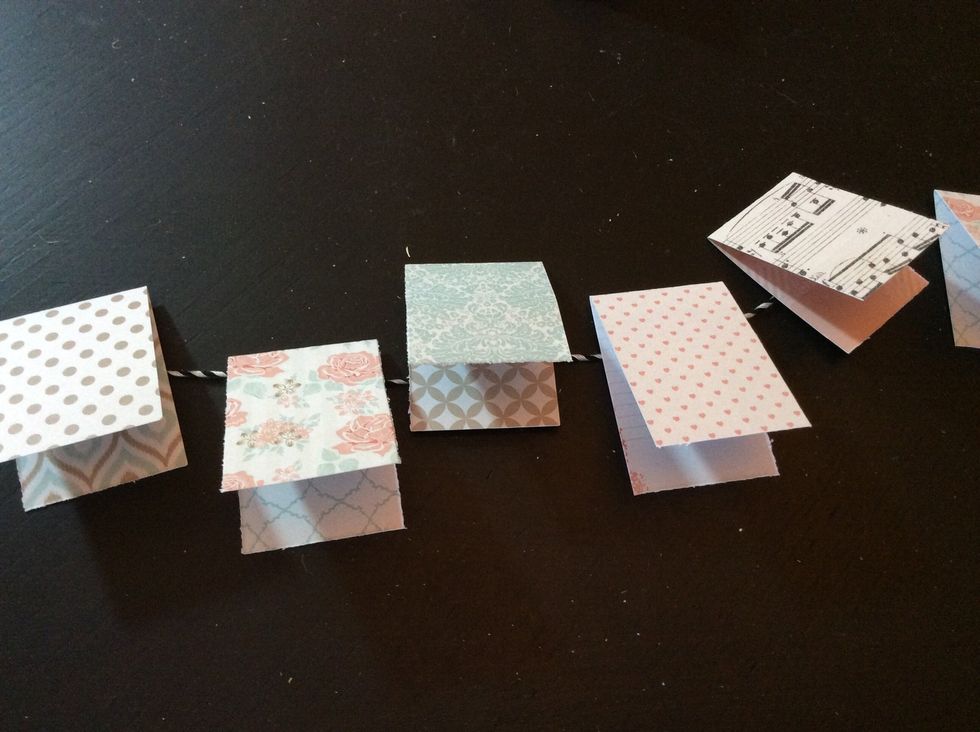
Fold each in half.
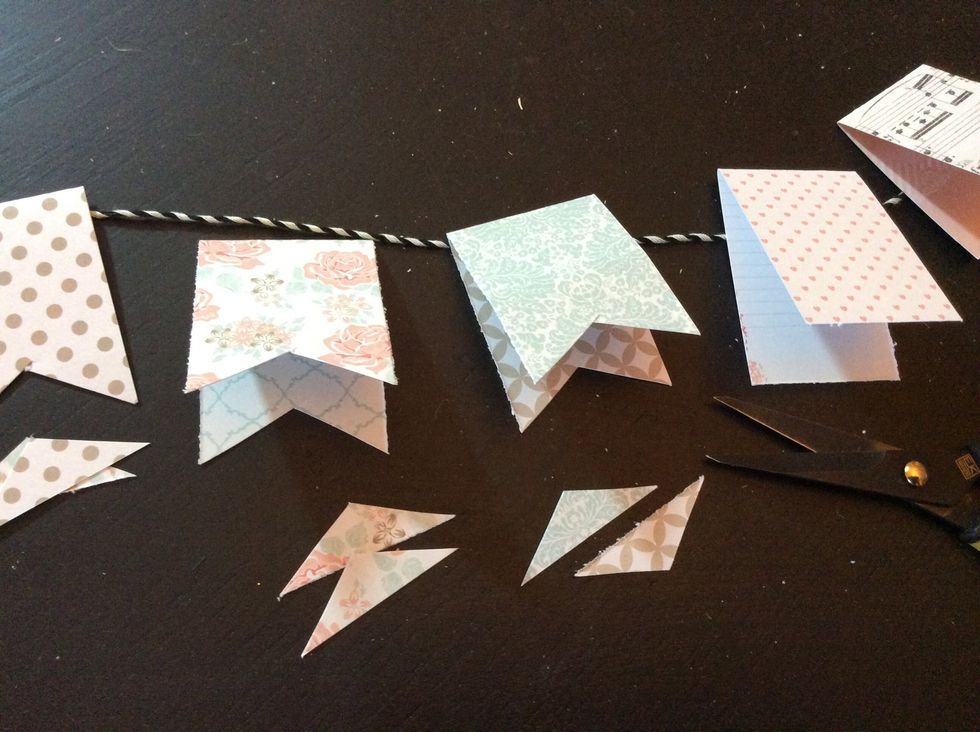
Snip triangular shapes from each folded piece creating pennant shapes.
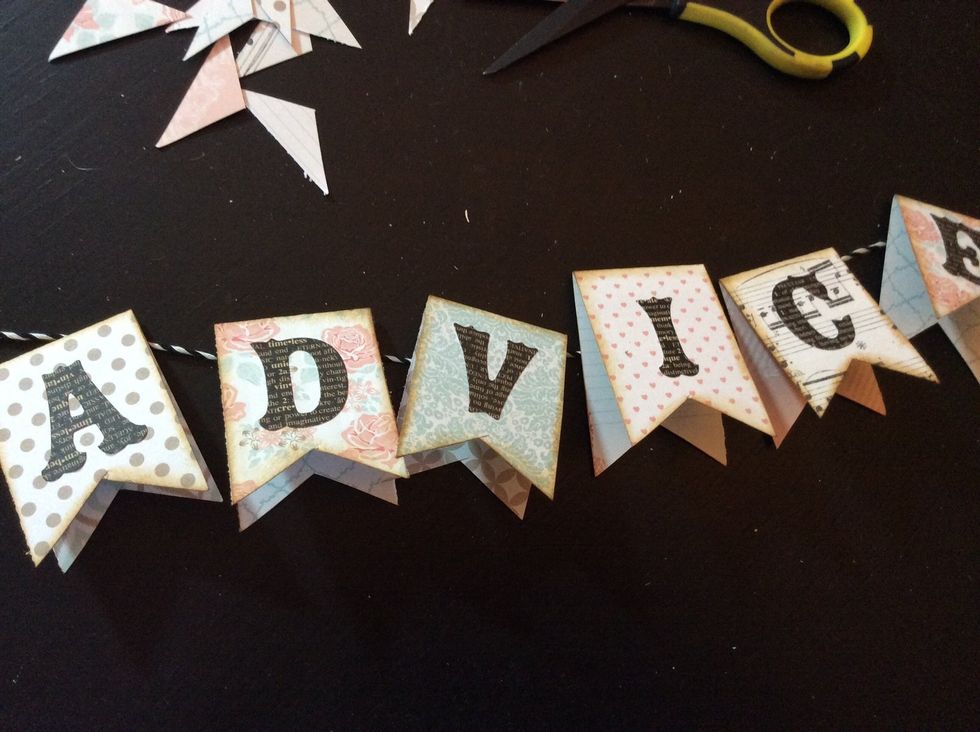
Add sticker letters to create title.
Adhere pennants to a 14"- 16" length of Baker's twine. Tie banner to skewers.
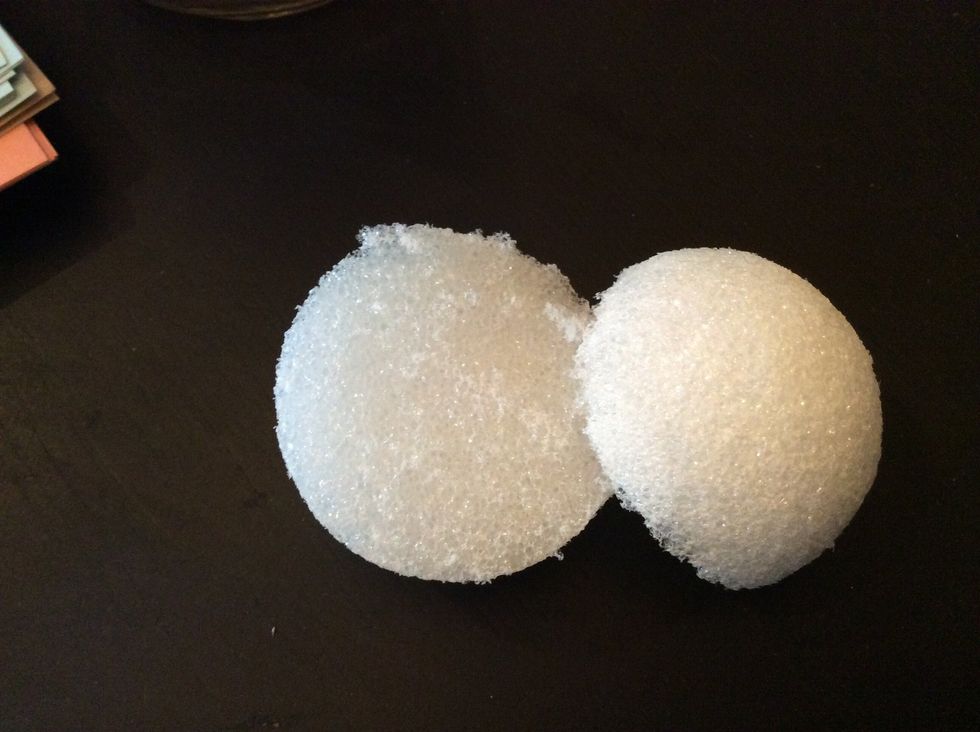
Cut a styrofoam ball in half.
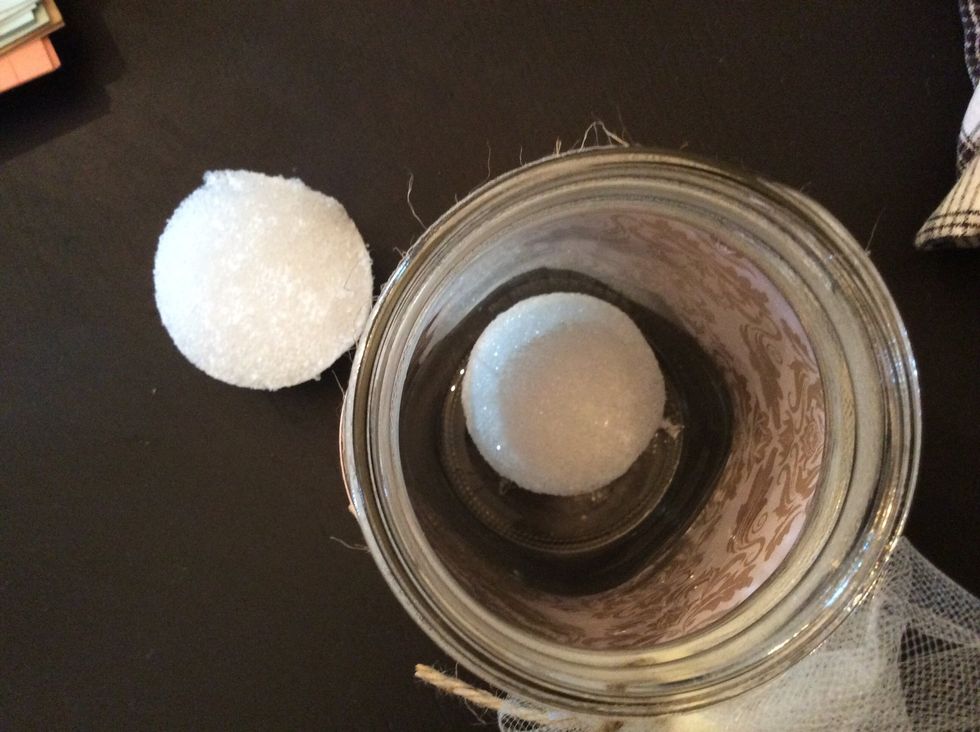
Use hot glue to secure half ball (flat side down) into bottom of jar. Do this with both ball halves, creating 2 anchor jars for banner.
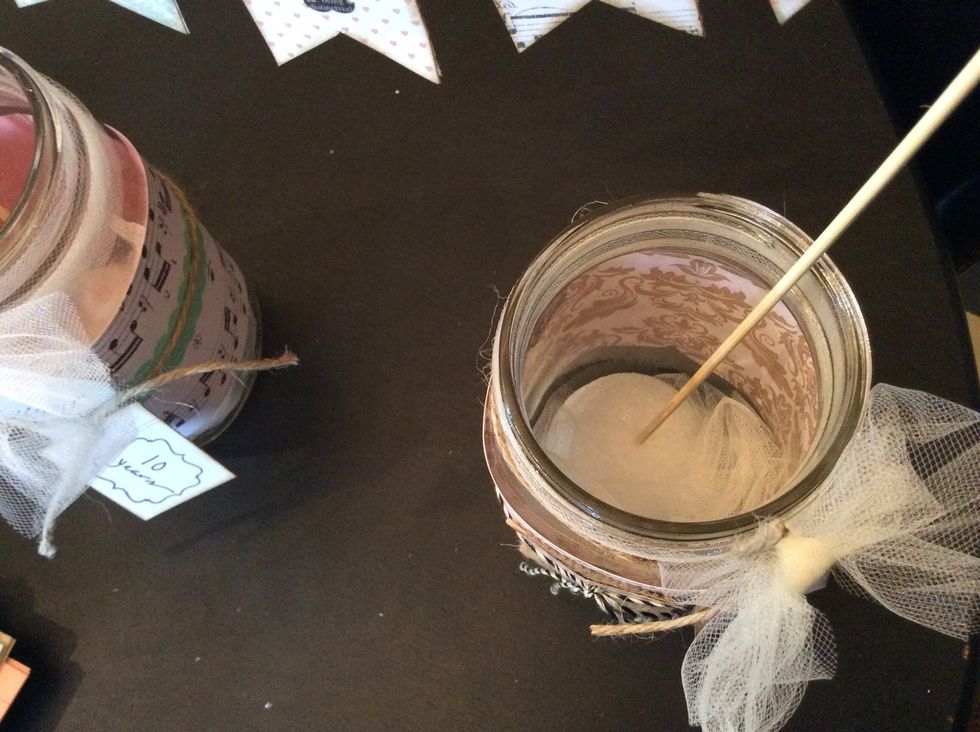
Poke banner stakes into the styrofoam, anchoring banner. Cover styrofoam with layers of tulle or burlap.

Here's the banner anchored into the 2 anchor jars.
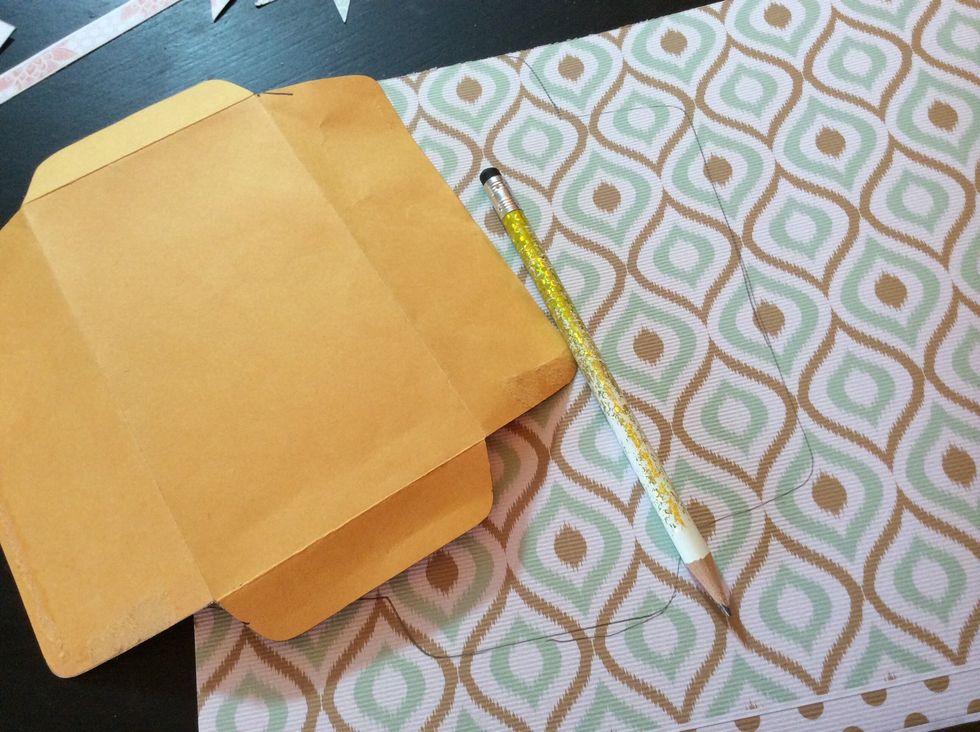
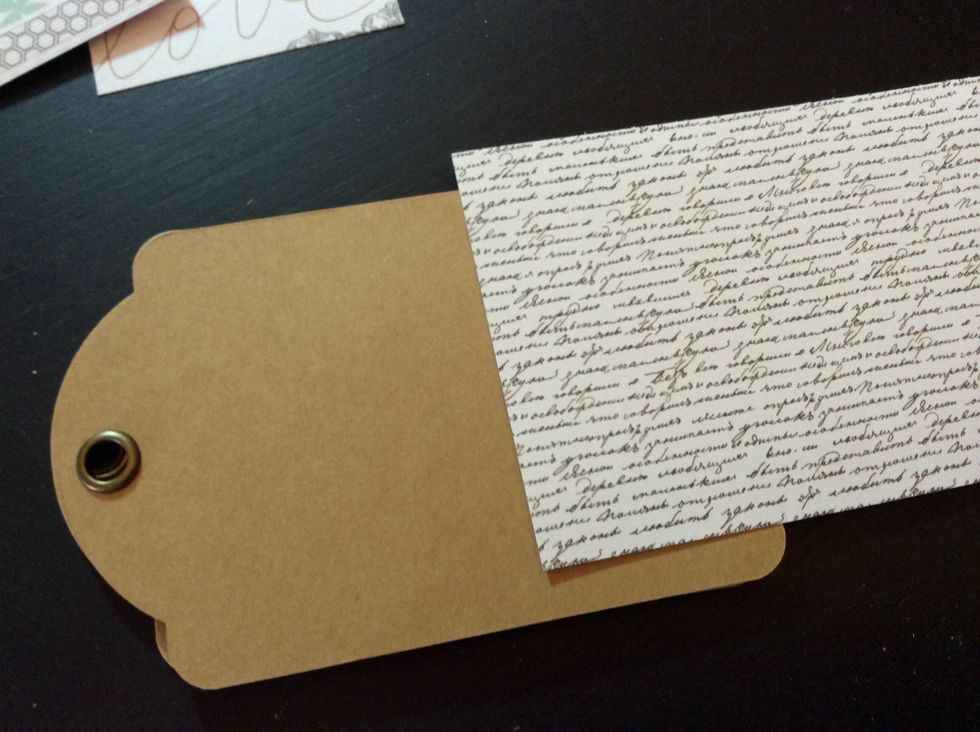
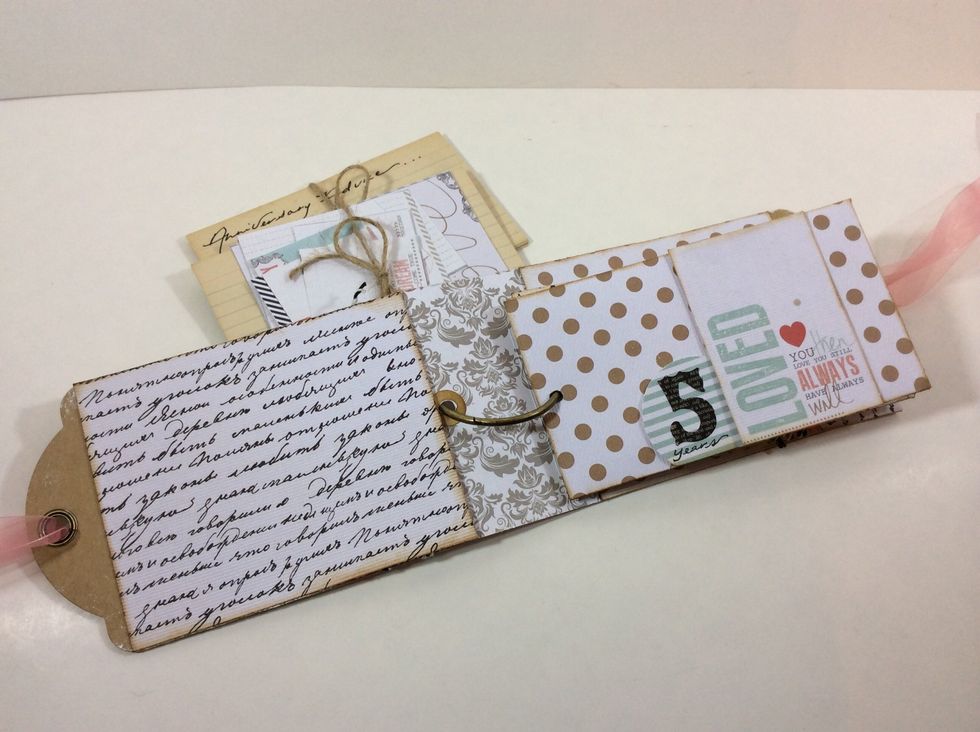
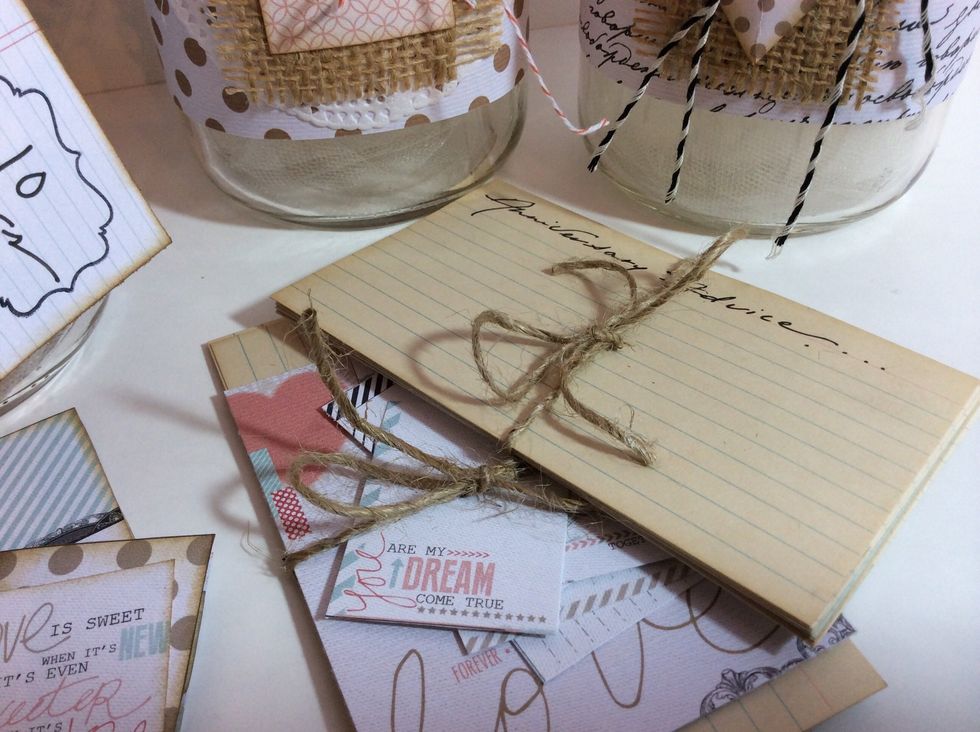
Now we'll craft the envelope keepsake... Trace a small policy envelope onto patterned paper.
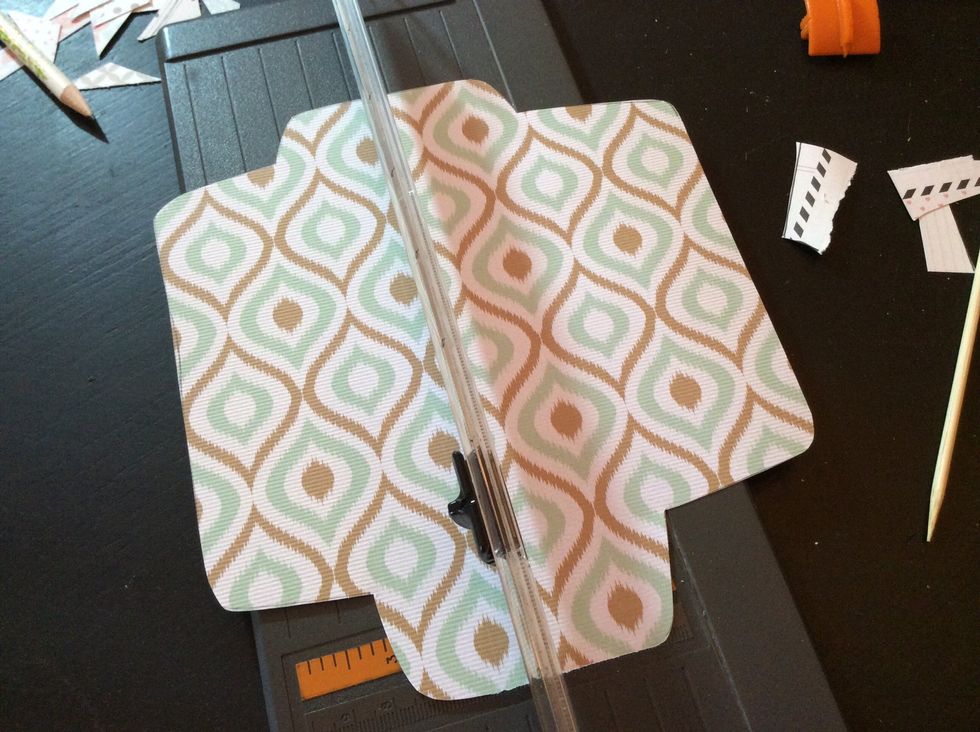
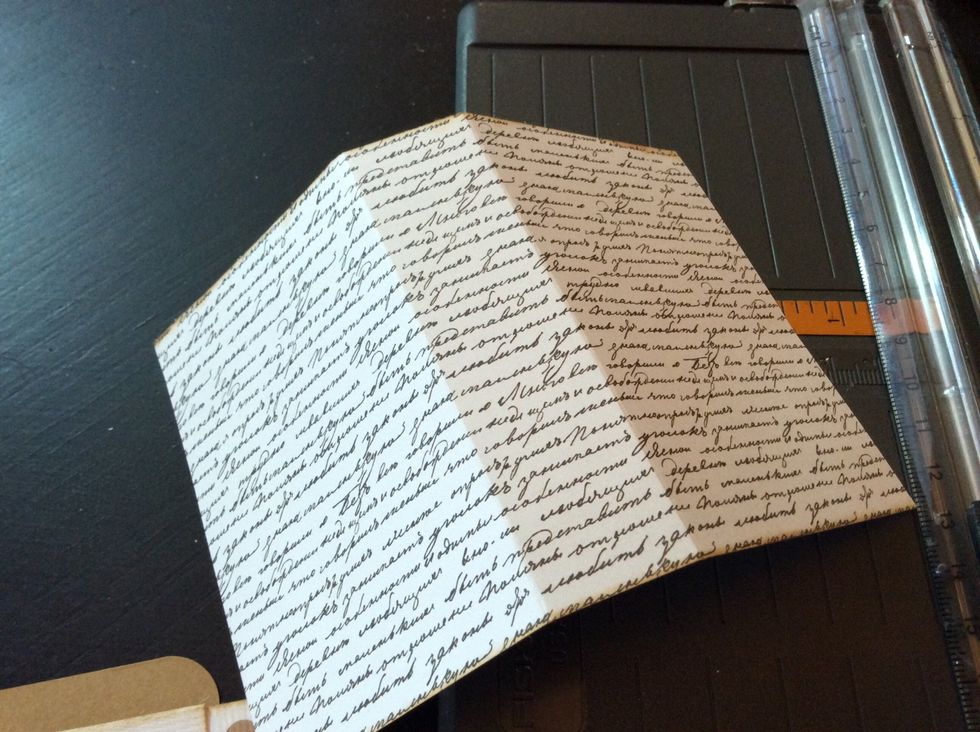
Cut traced envelope. Score envelope on fold lines.
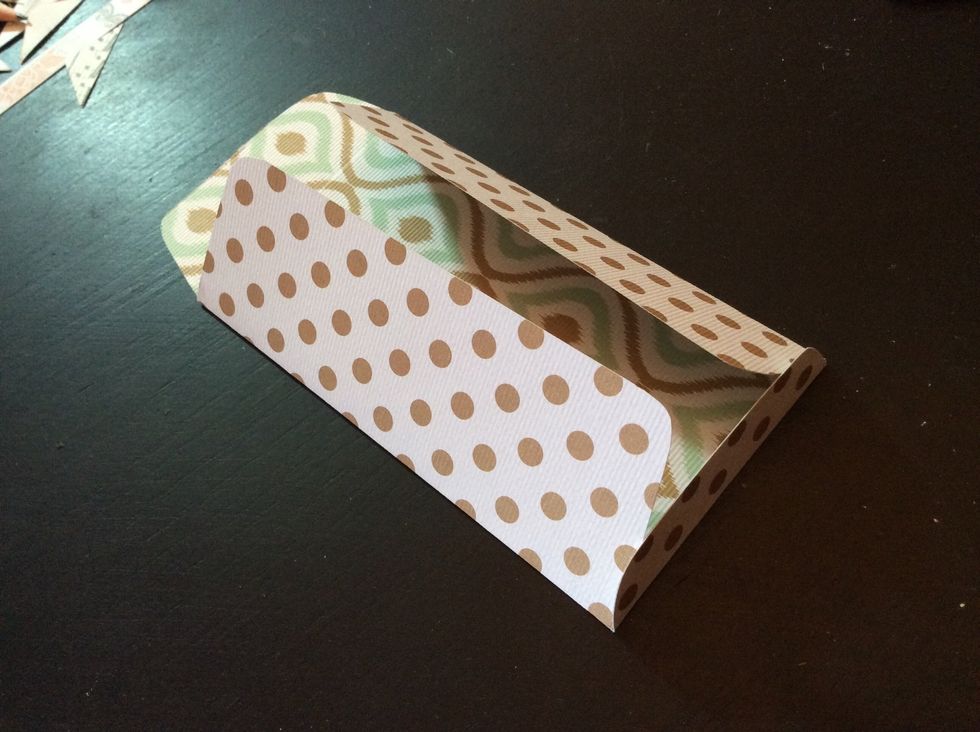
Fold and adhere envelope together.
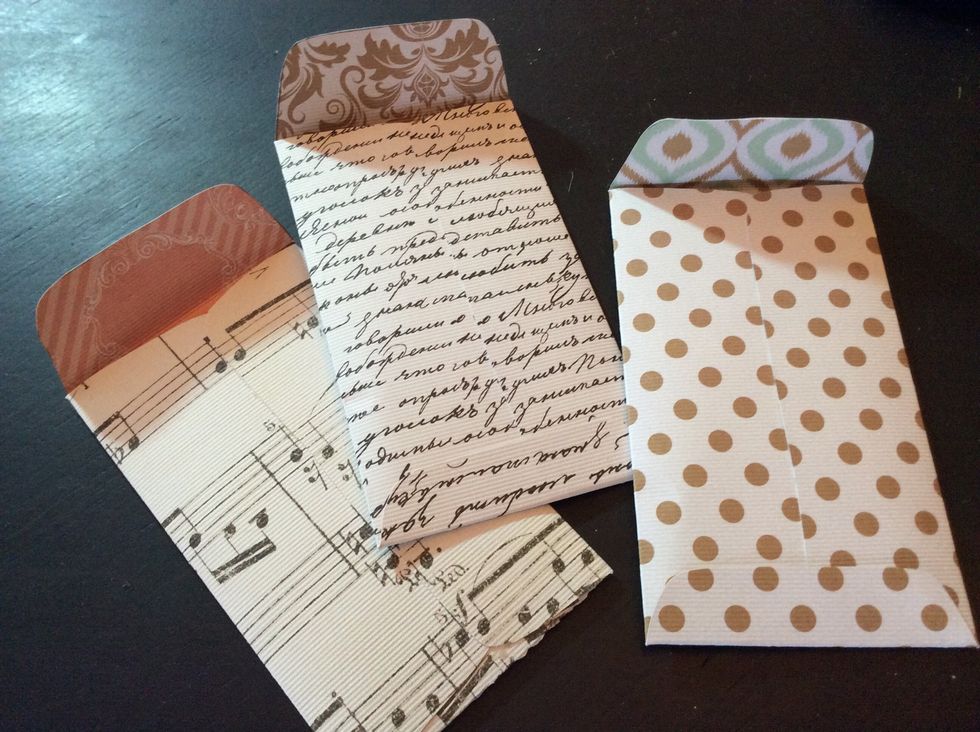
Make one envelope for each jar (each anniversary).
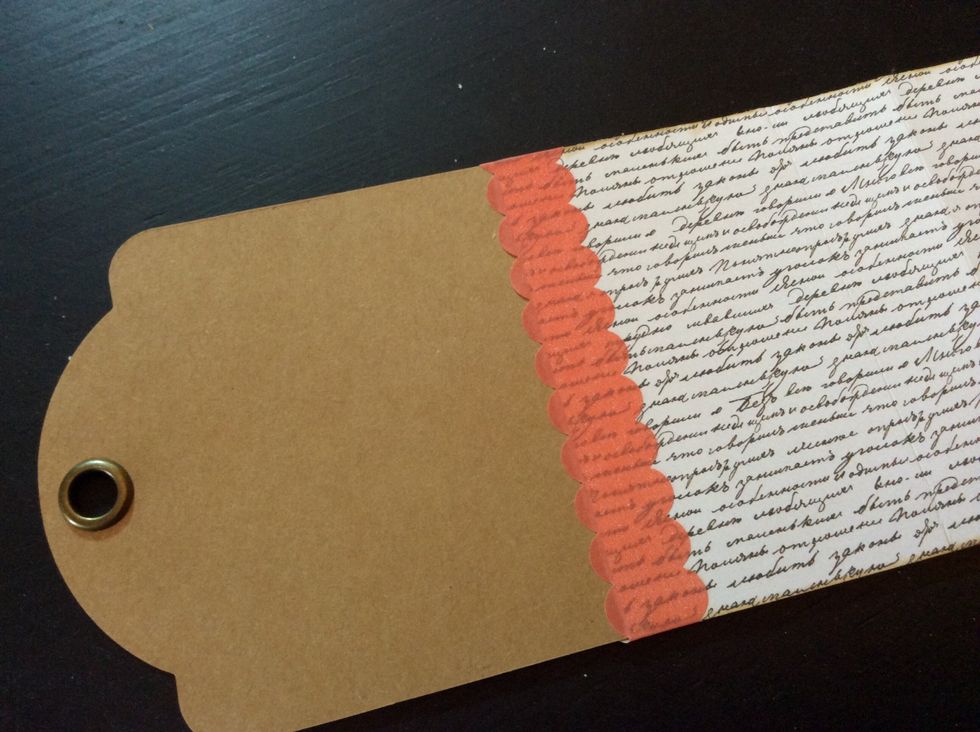
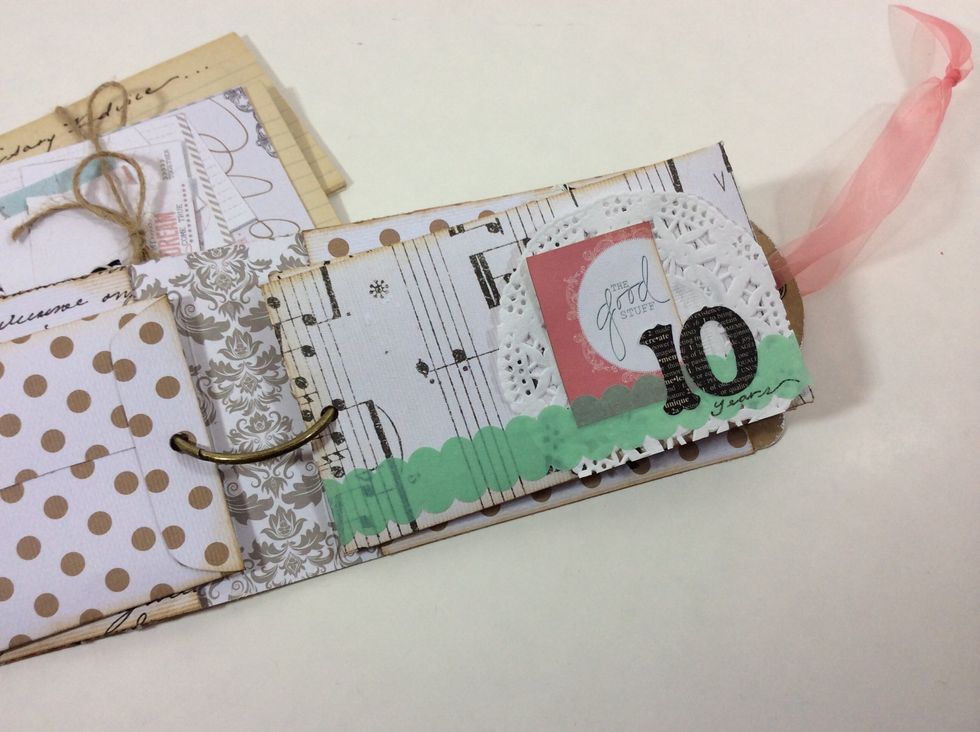
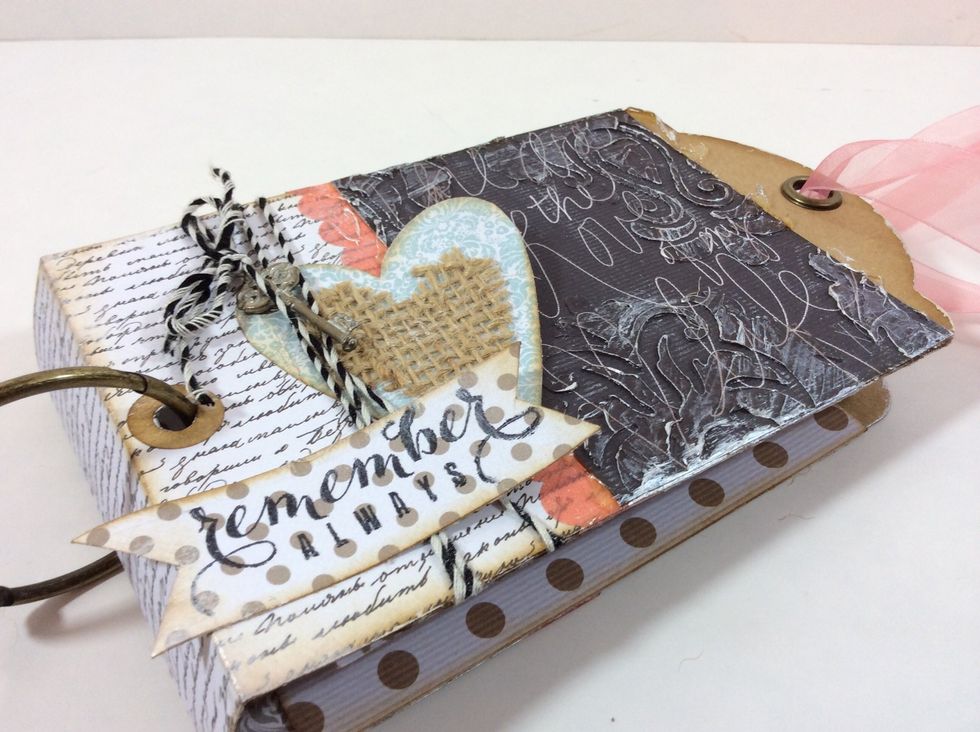
Cut a spine for cover. Cut pattern paper (4"x6").
Score paper 2.5" from each end, creating a 1" spine in the center.
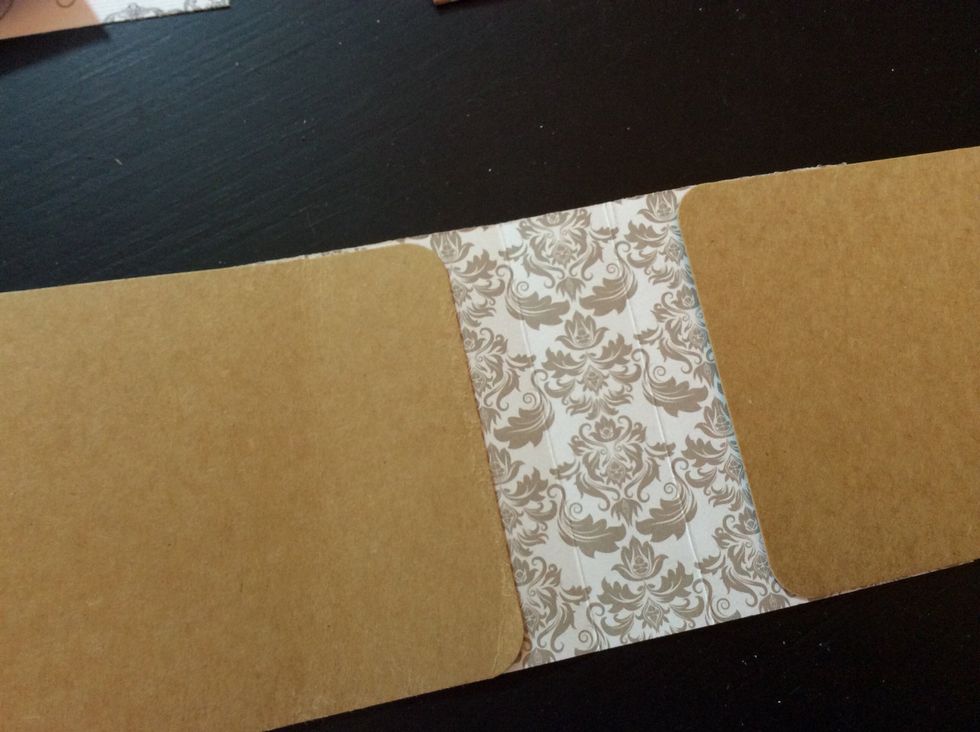
Adhere spine to the center of 2 tags, making sure to leave a 3/4" gap on both sides of the spine. This accommodates the envelopes we created. You can also use the envelope placed inside as a guide.
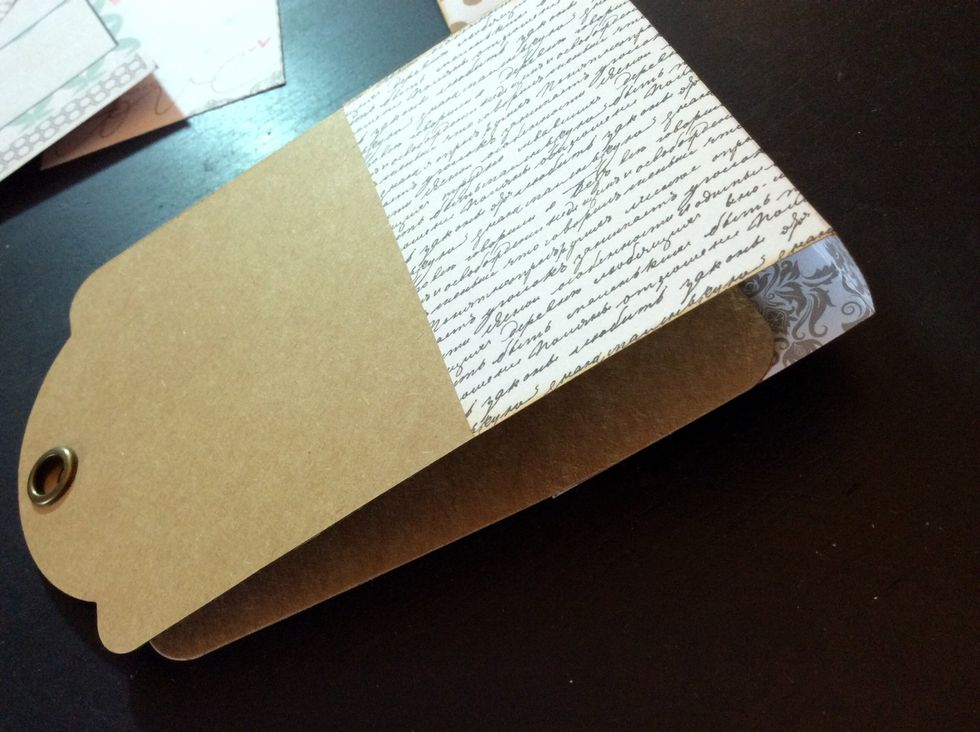
This is what your cover will look like at this point.
Embellish with washi tape.

Punch holes in both tags. (Centered (top to bottom) and 1/4" or so from the spine score line).
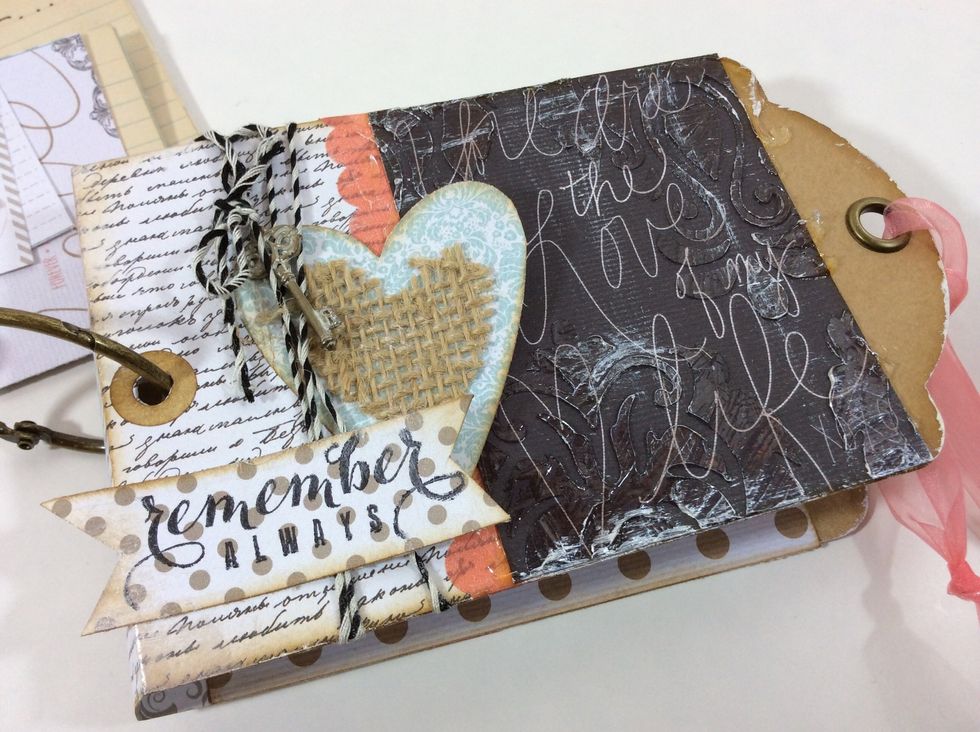
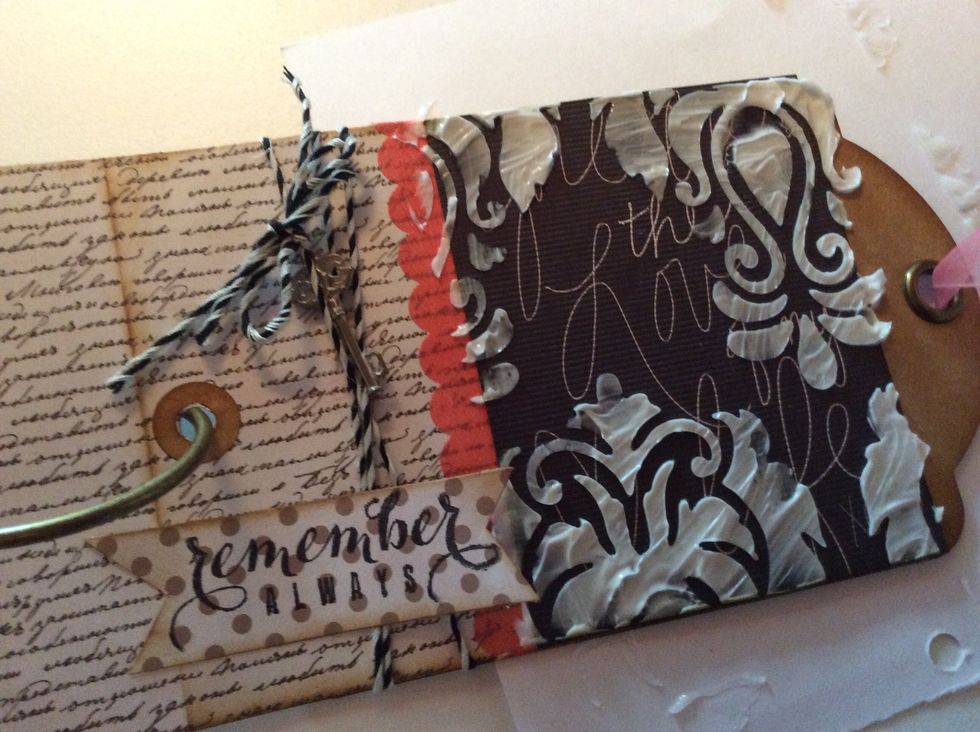
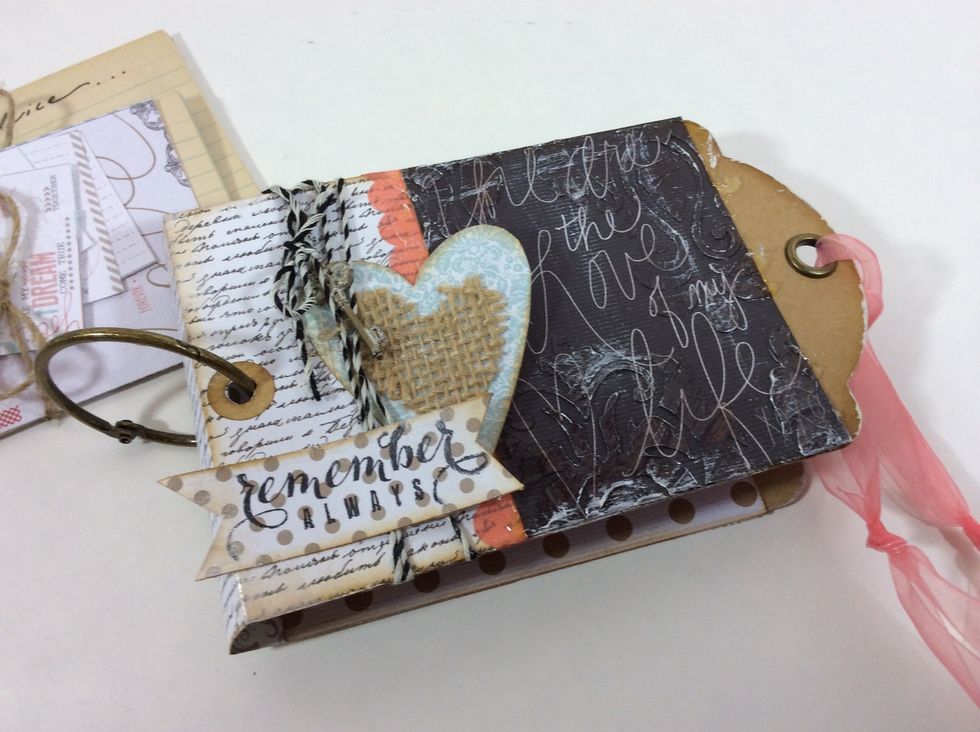
Embellish front cover as desired.
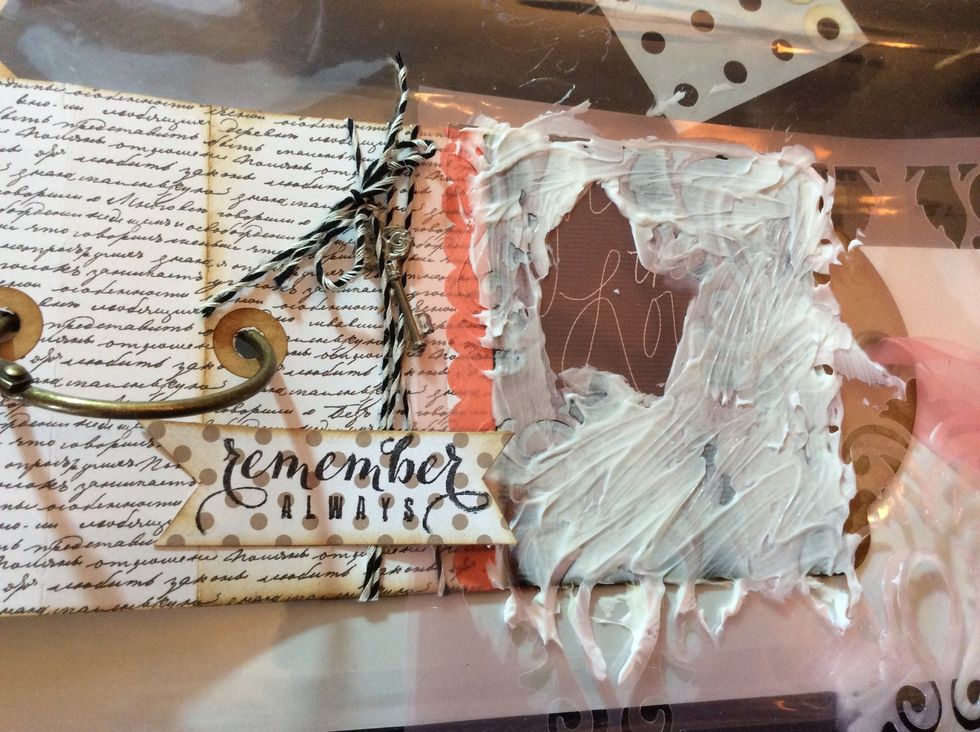
**optional: add gel medium with a stencil to add some pretty detail texture.
Let gel medium dry.
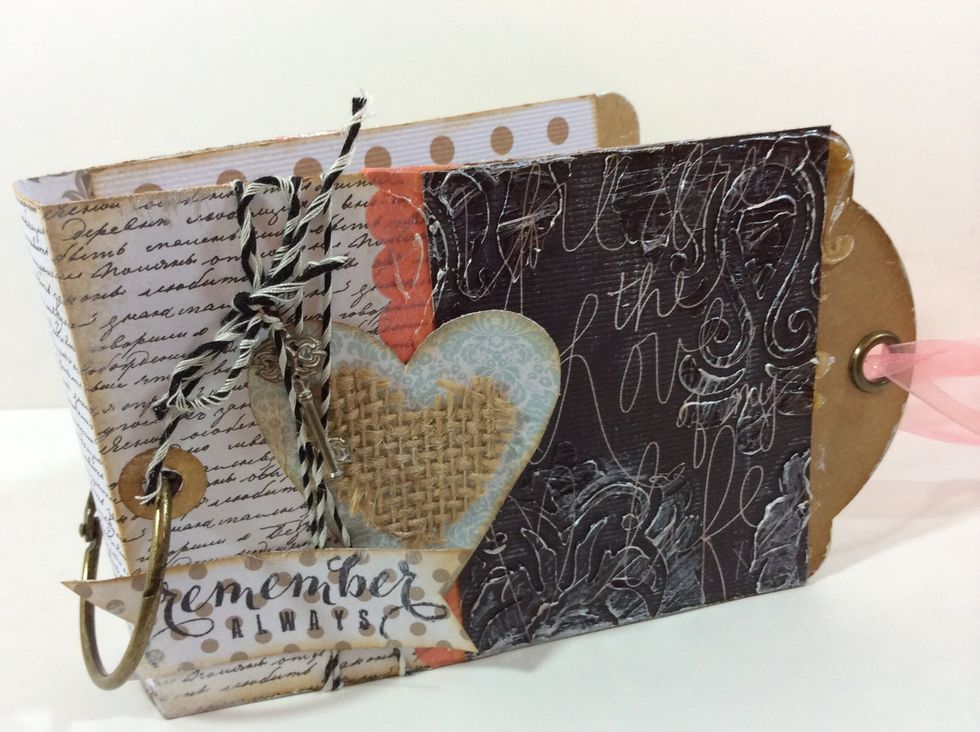
Once dry, you can add dry brush whitewash to highlight the texture if desired.
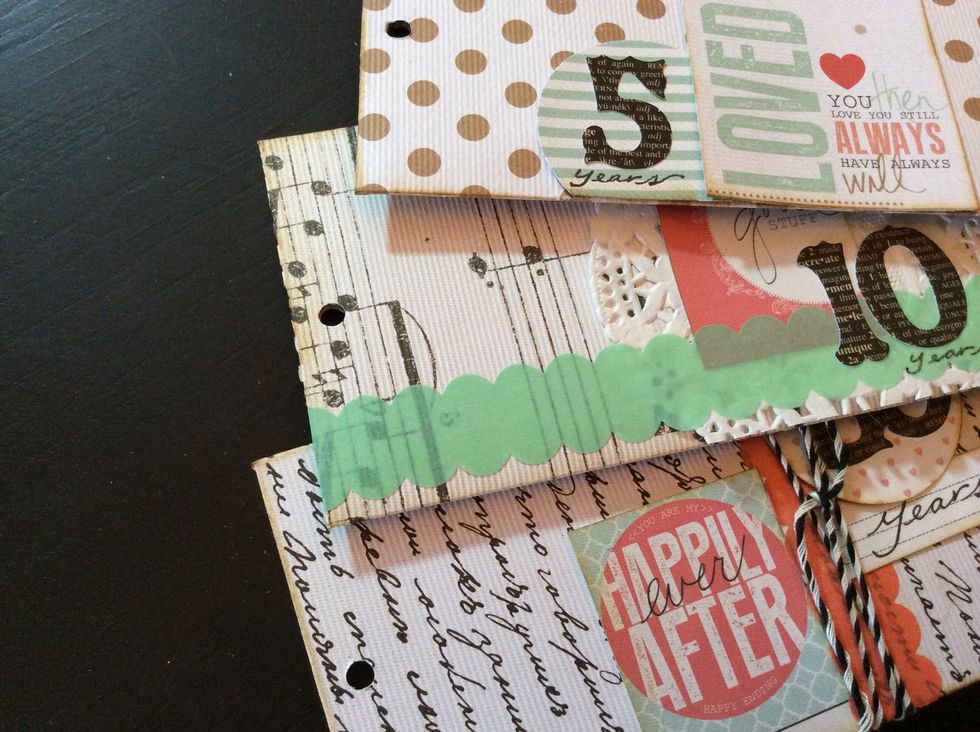
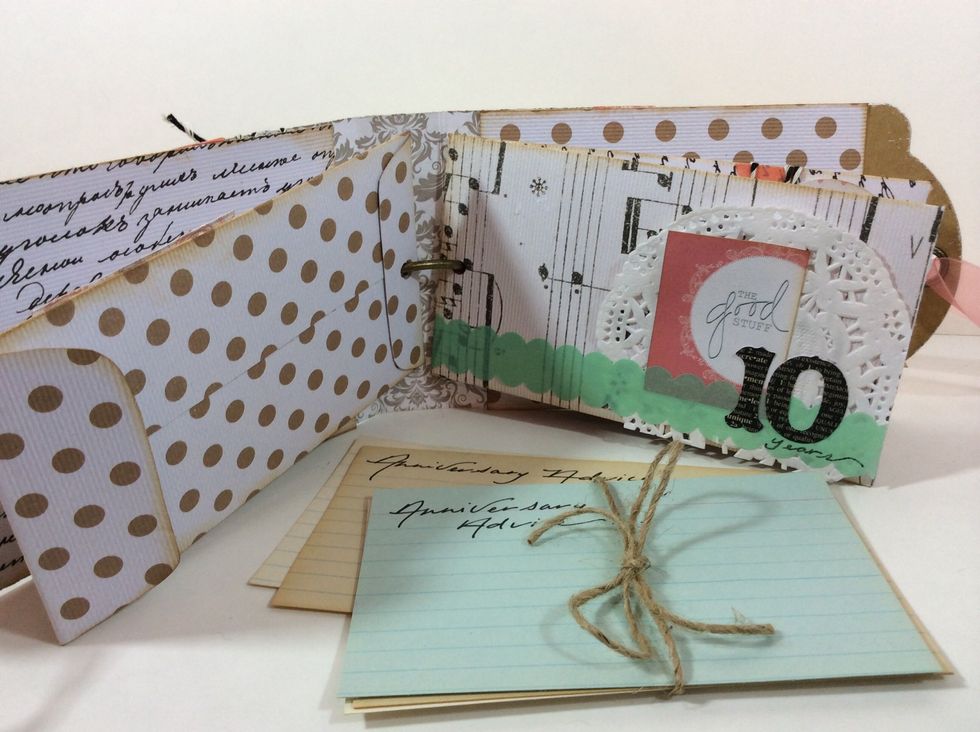
Back to envelope book construction....Punch hole in the bottom of each envelope. (Place envelope inside cover for proper hole placement).
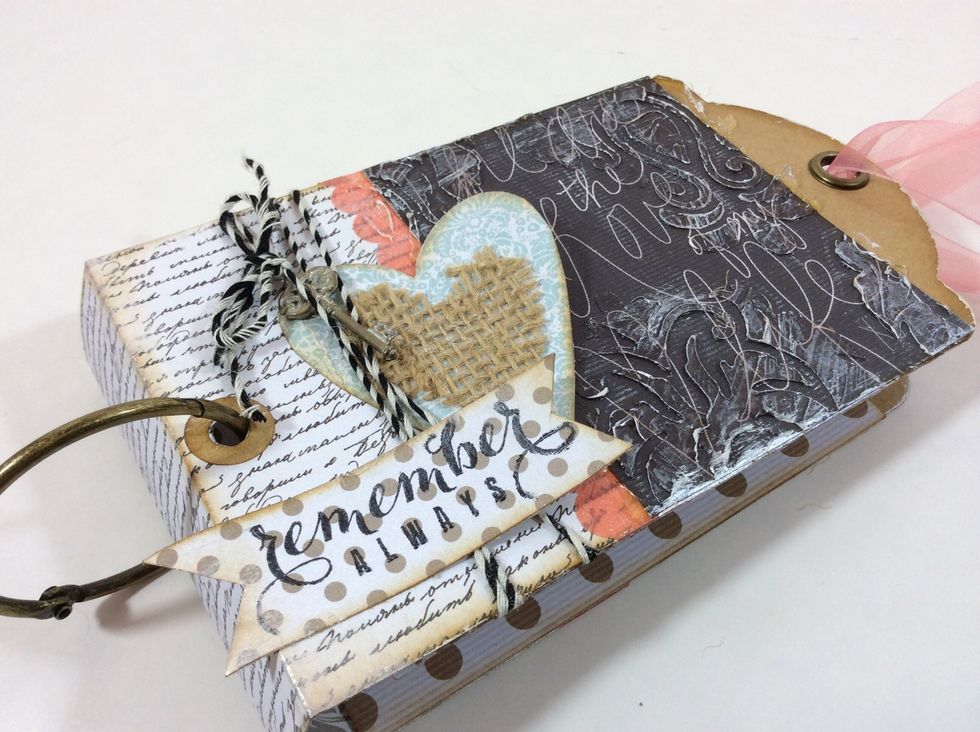
Bind envelopes inside cover using a binding ring.
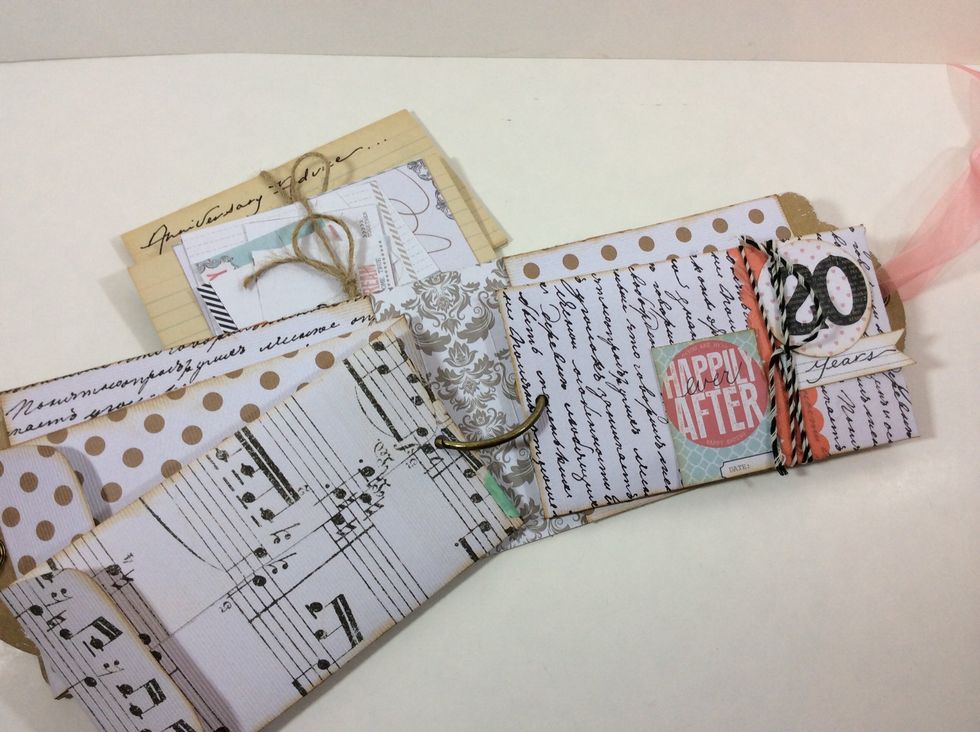
Tie ribbon through tag eyelets.

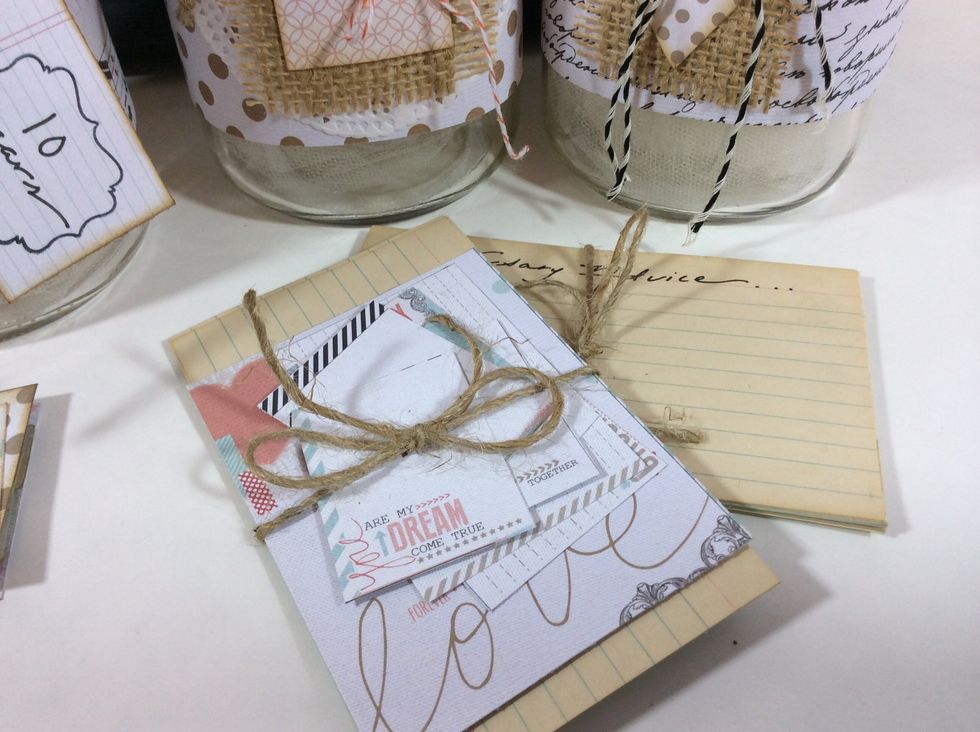
You will also want to create plenty of advice cards for guests to fill out. Use a variety of index cards and 'save the date ' cut aparts.
Set jars and advice cards out at shower, wedding and reception for a fun, interactive decor and keepsake piece all in one!!
Encourage guests to write their advice for each anniversary and tuck inside the corresponding jar.
Don't forget to have plenty of pens or pencils available along with advice cards.
After the wedding, place filled out advice cards in the corresponding envelopes. Open and enjoy the sage advice from family and friends on each anniversary. What a fun tradition!!

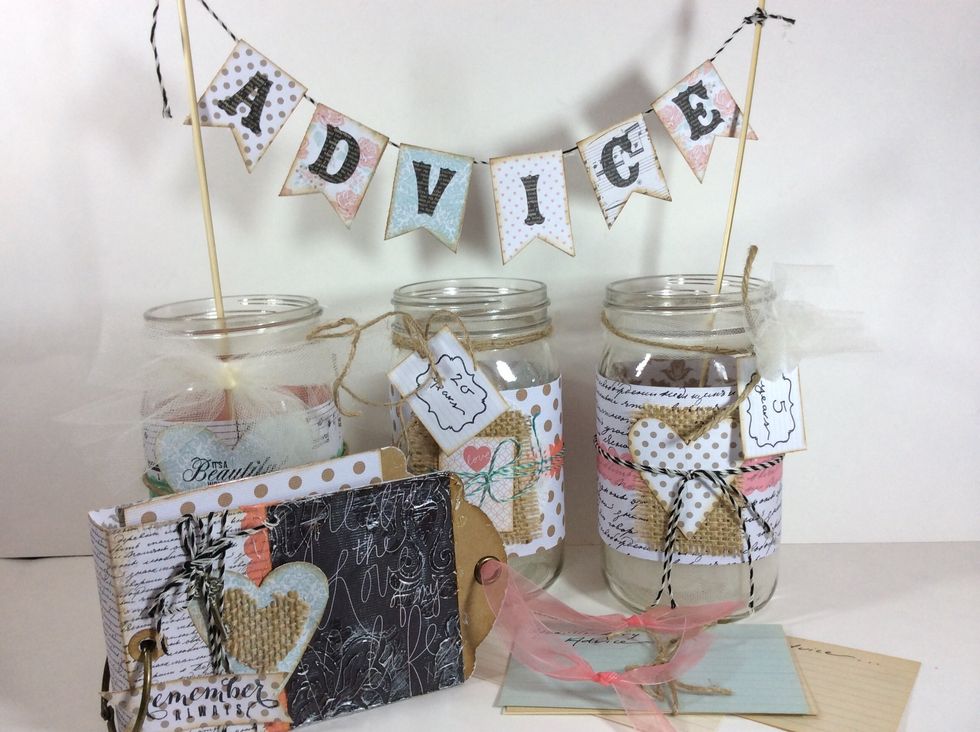
Makes a wonderful gift or a very fun interactive shower event. Change the paper theme to create memory/advice jars for any party or event!! Baby showers, graduations, birthdays and more!! Enjoy!!!