The Conversation (0)
Sign Up
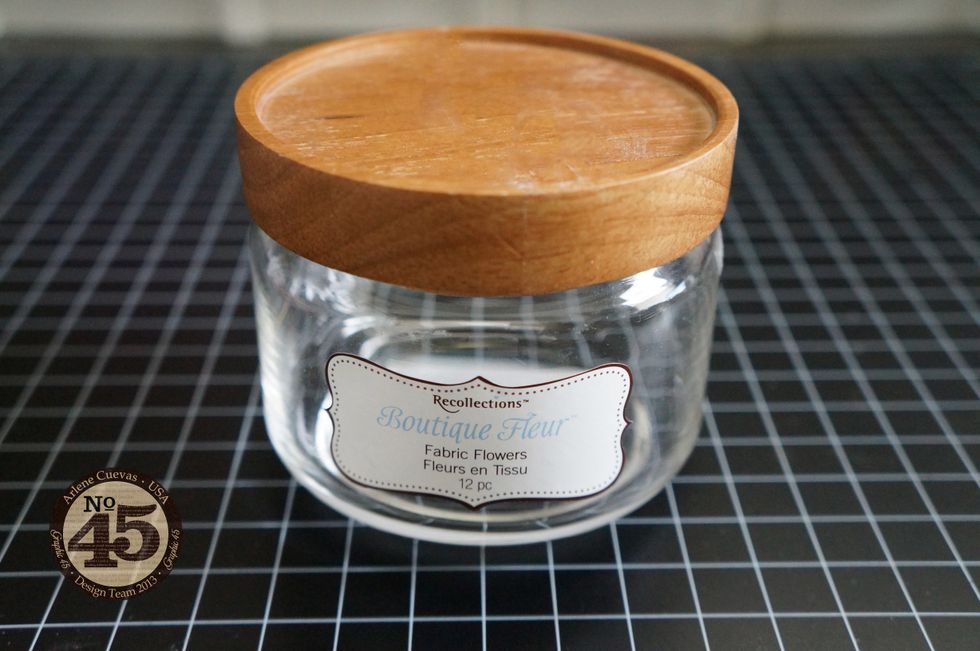
I am using an empty flower jar from my craft room for this project.

Wonder how to take off those sticky, stubborn labels? First, use some packaging tape! Tape over the label, press firmly, then rip off the tape. This will remove the smooth top layer off the label.
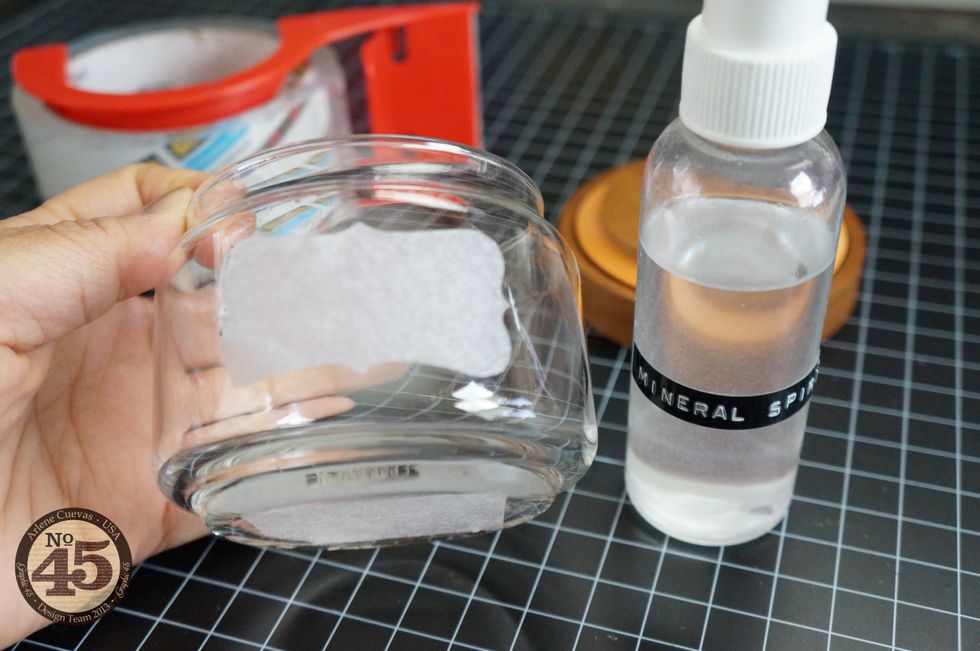
Take some Mineral Spirits (can be purchased in the paint section of your local craft store) and soak the sticky part of the label with the Mineral Spirits. Let it sit for a few minutes.
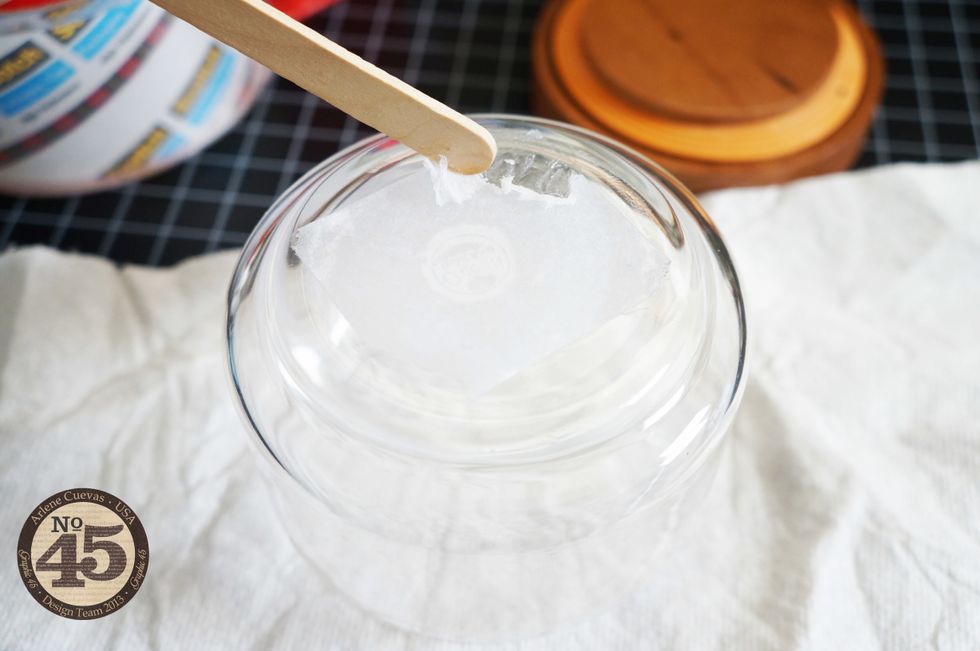
Take a popsicle stick and rub off the sticky film. Add more Mineral Spirits, then wipe off! Simple! Rinse with soap and water. Dry with a paper towel. Now you have a clean surface to work on.
NOTE: Another option to remove sticky label film, but takes a bit longer, is to soak the entire jar in warm water with dish washing liquid then wipe clean with a dry paper towel.

You'll need 2 strips of design paper to cover the rim of the jar lid and body of the jar, ScorTape, circle Die cut for circle to line the lid, and Distress Ink to edge your paper.

Add ScorTape to the back of your design paper.
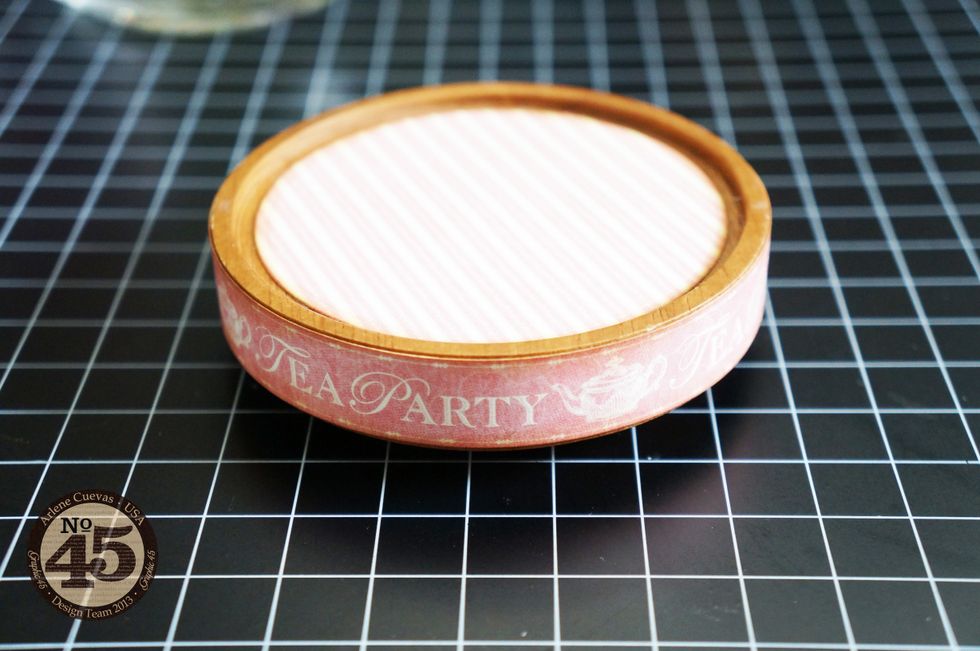
After inking the edges of your design paper with Distress Ink, adhere the circle die cut to the top of the jar lid. Then adhere the smaller strip to the rim of the jar lid.
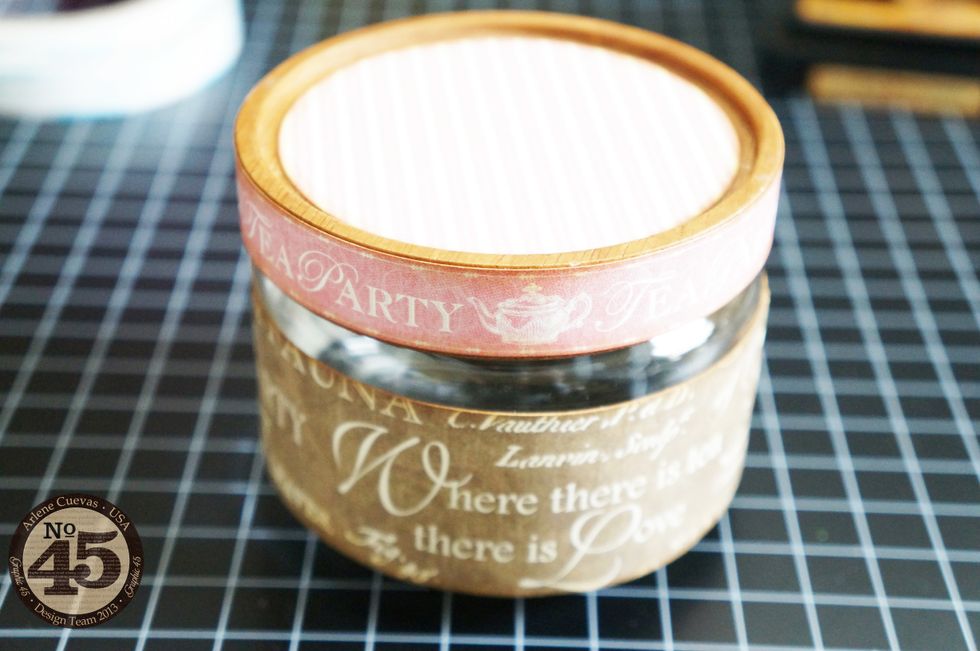
Adhere the larger strip around the body of your jar.
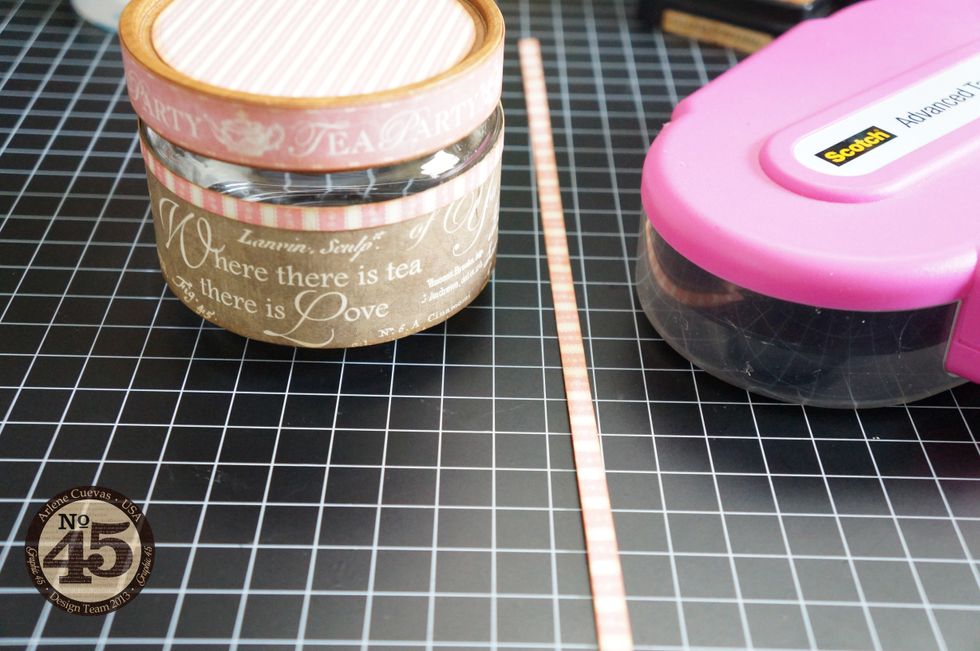
Add ¼” strips of design paper to the top and bottom of the design paper on the body of the jar. It creates a border and gives the perfect finishing touch!
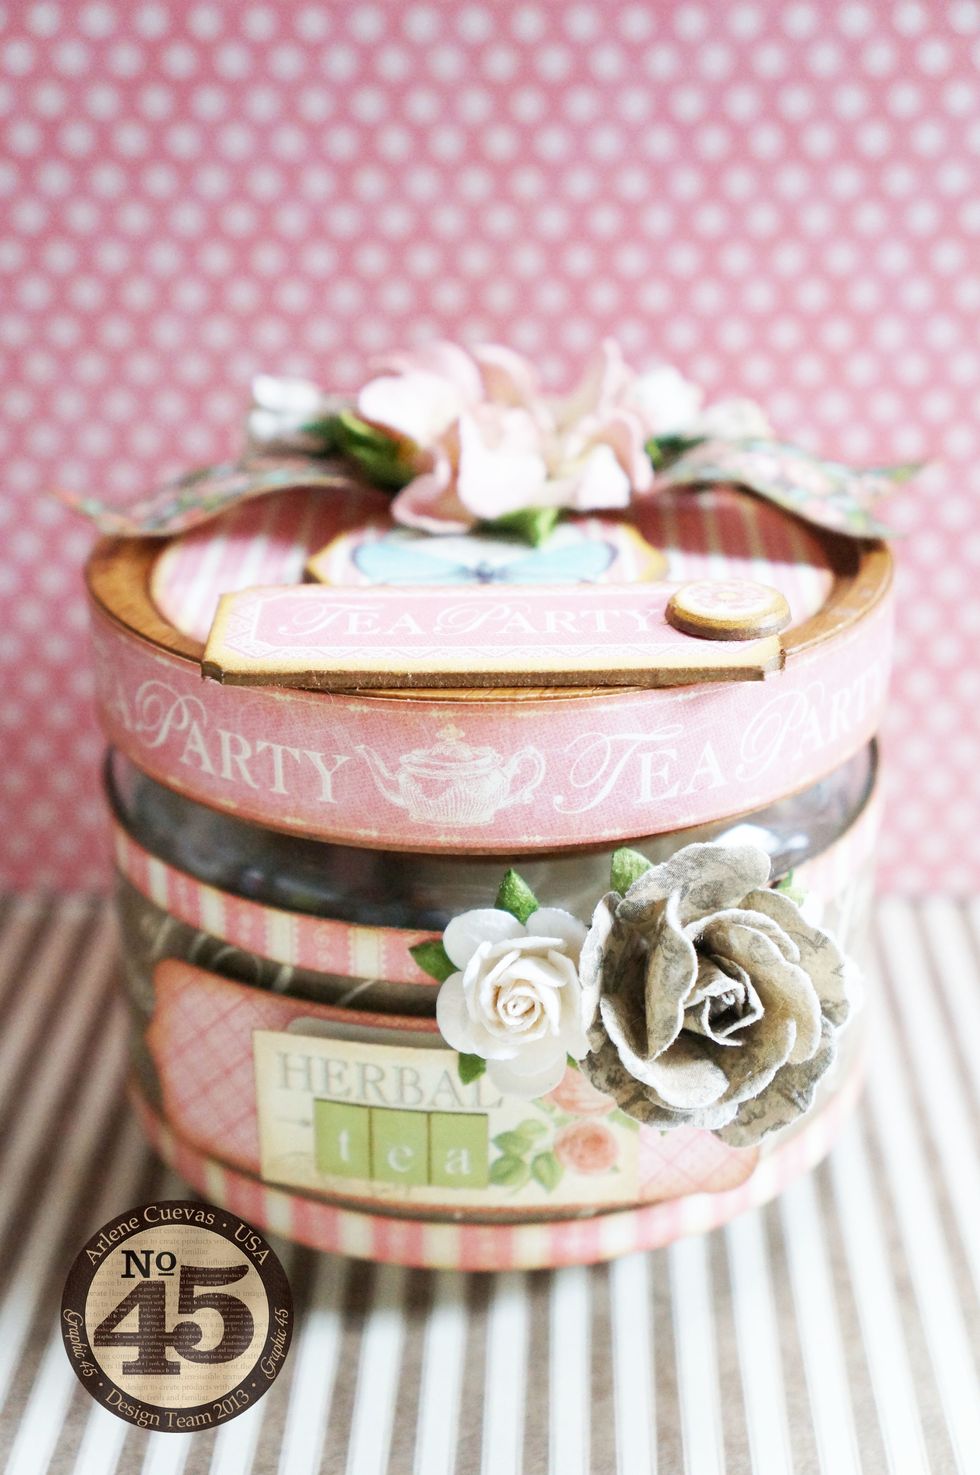
Embellish to your heart’s desire!
What a perfect tea bag container to display on your table this Spring!
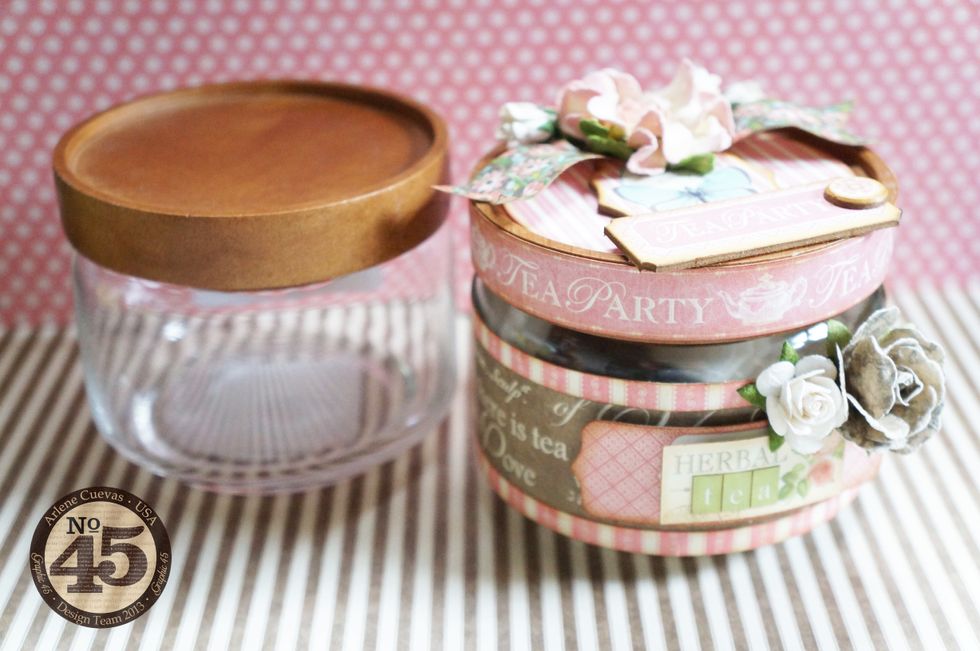
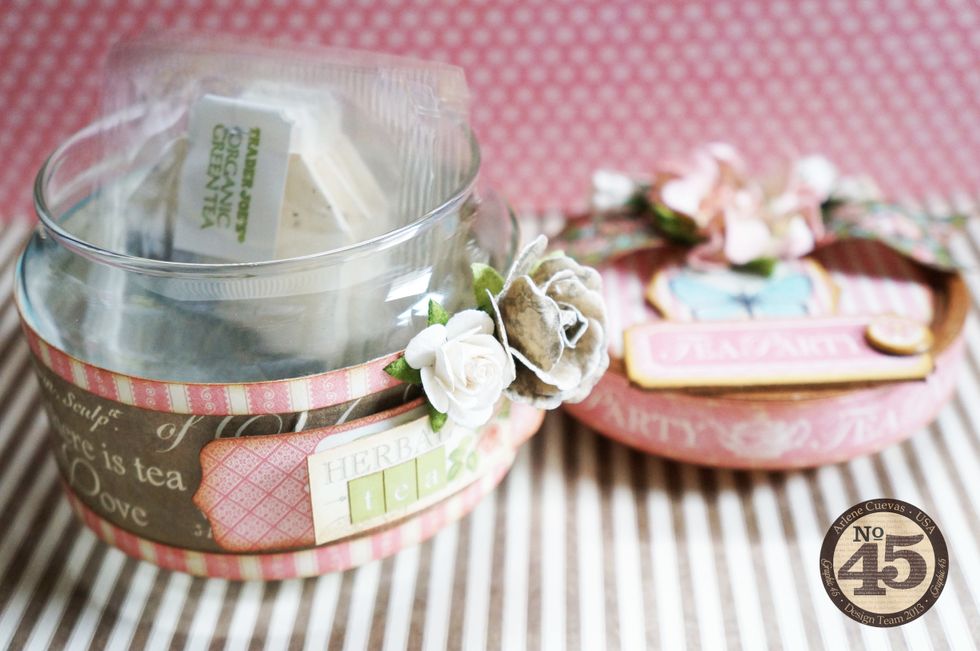
Before…. And after! It’s amazing how easy it is to create a beautiful table-top tea bag container from upcycling an empty flower jar!
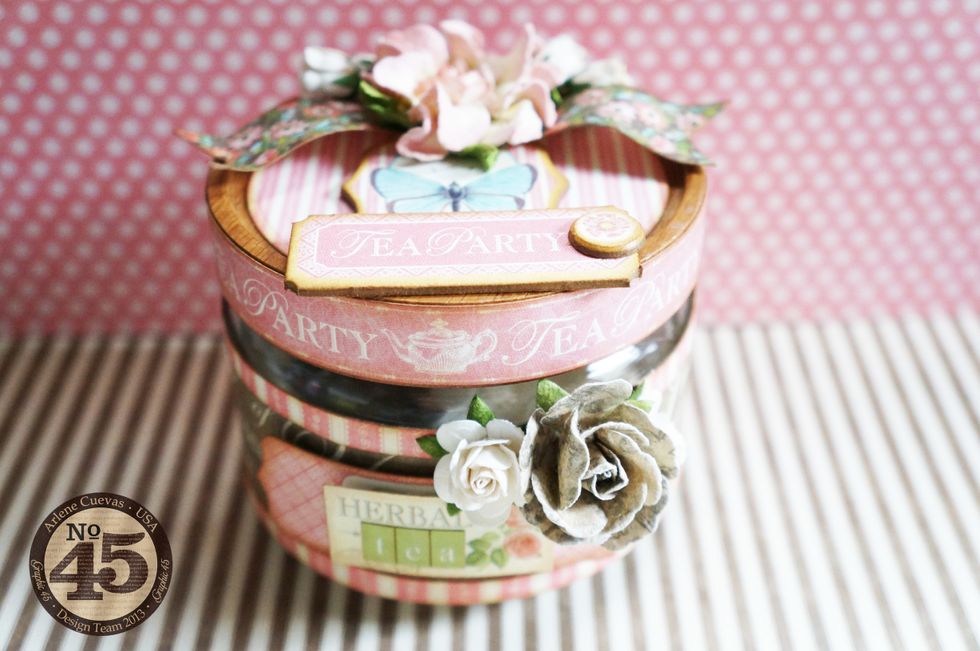
One last picture before I send you on your way to give this a try! Thanks for stopping by!