The Conversation (0)
Sign Up
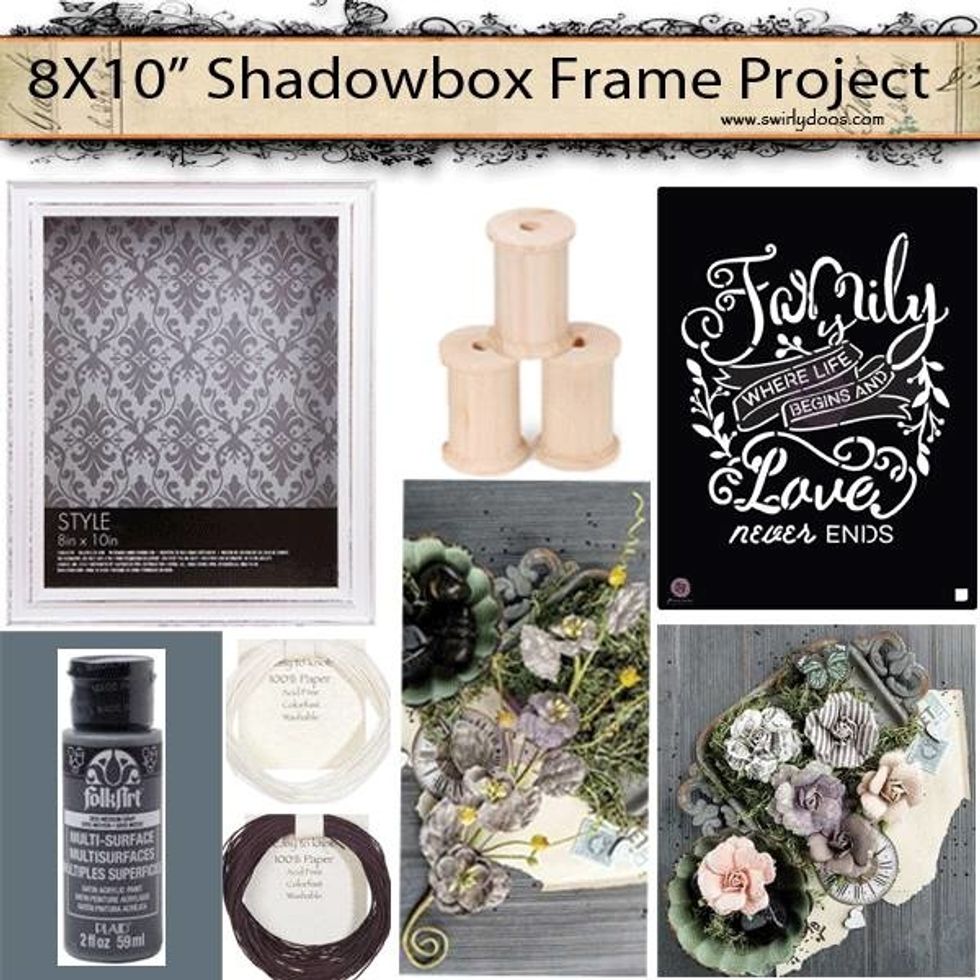
This is the July Project/Technique Kit we will be using in this tutorial, together with some products from the Main kit and other Add on kits provided by Swirlydoos Kit Club.
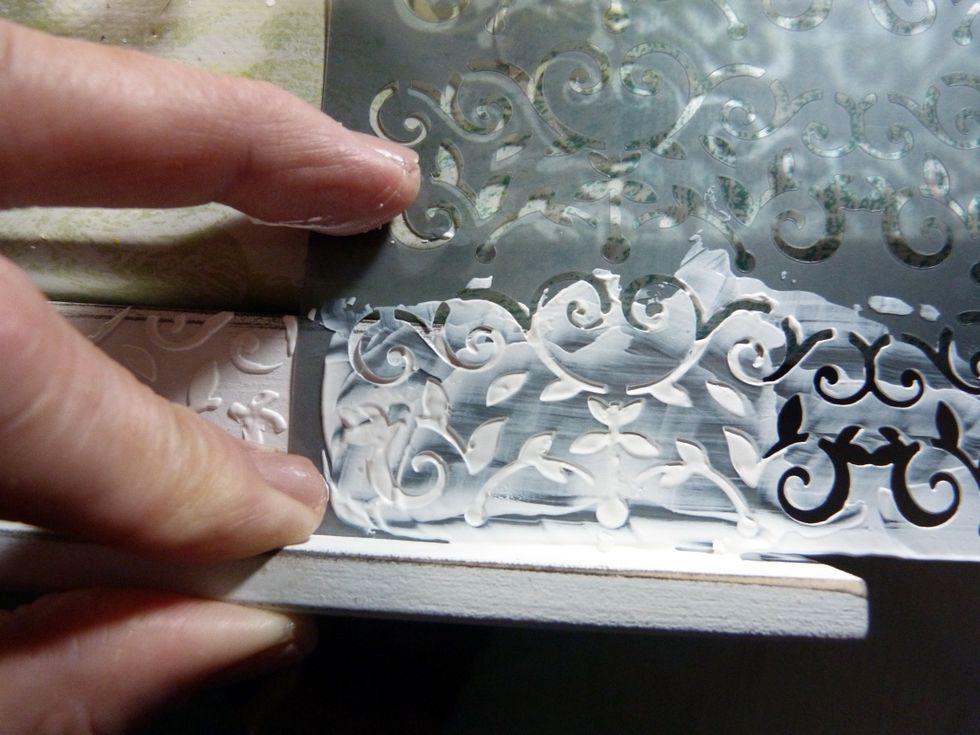
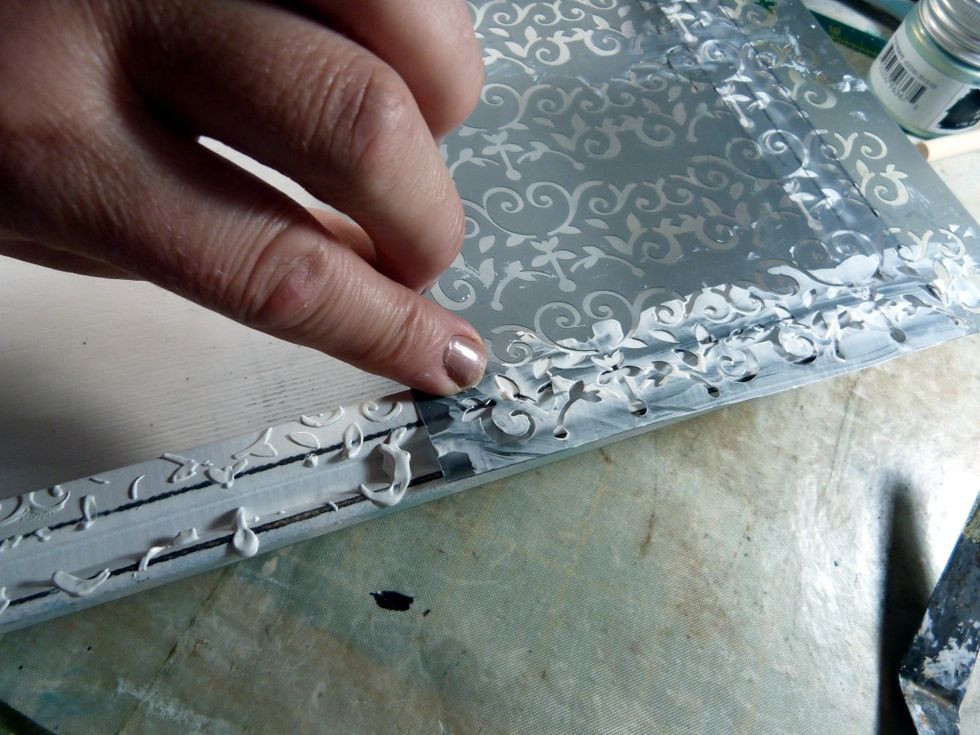
Using a stencil of choice, add Crackle texture Paste all around the outside edge of the shadow box. This is a little tricky but take your time.
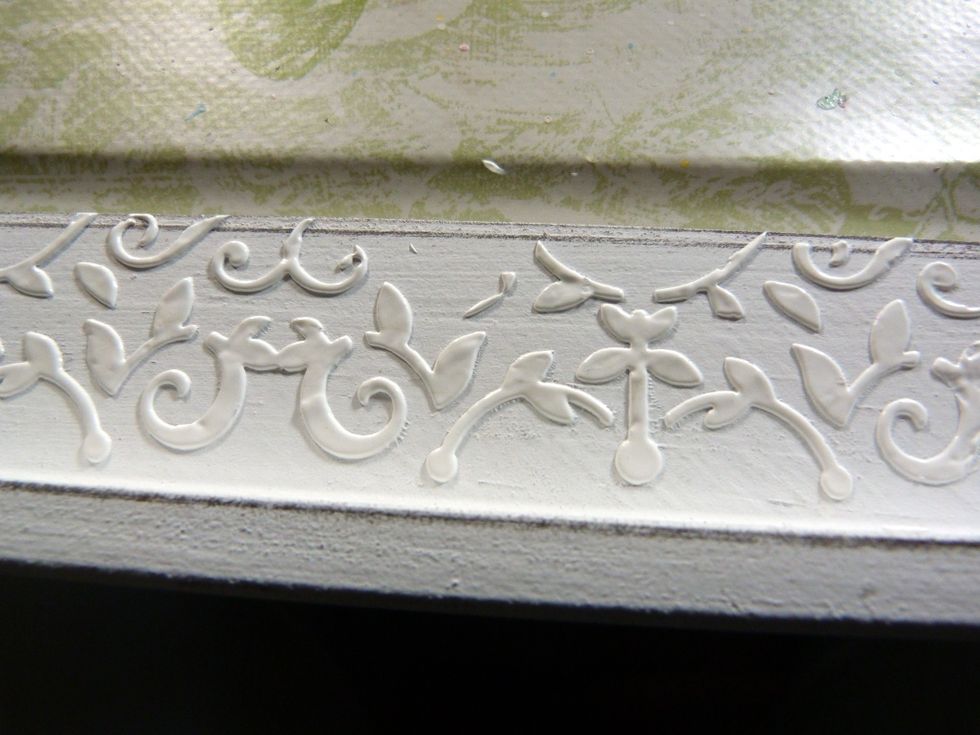
So it looks like this! Allow to dry.
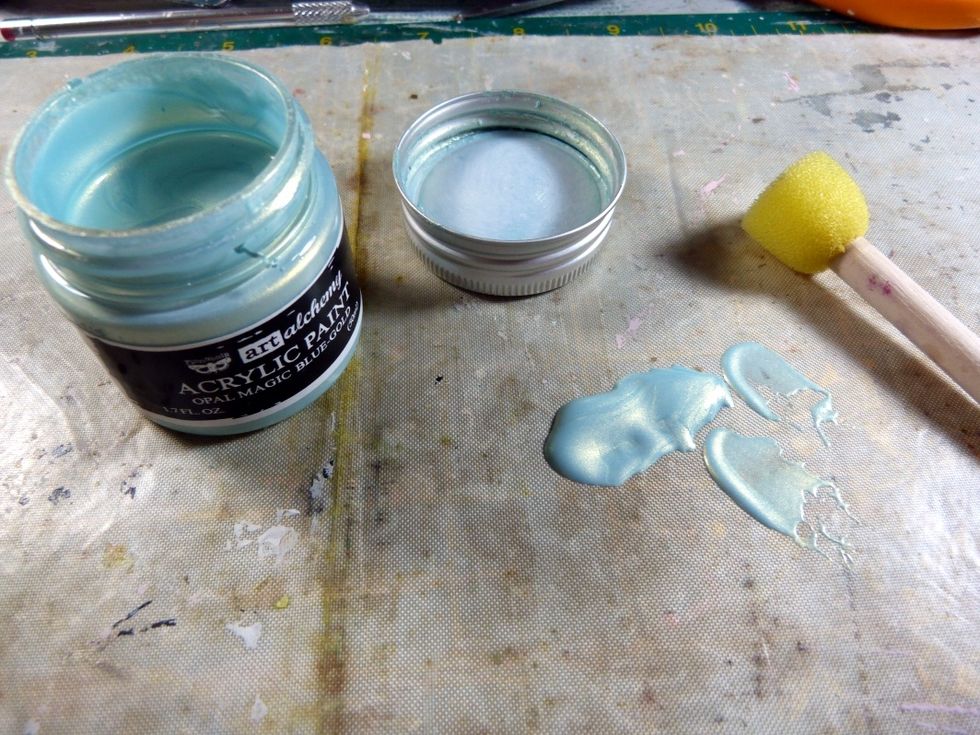
Using the Art Alchemy acrylic paint from the Mediums Add kit and a sponge applicator.........
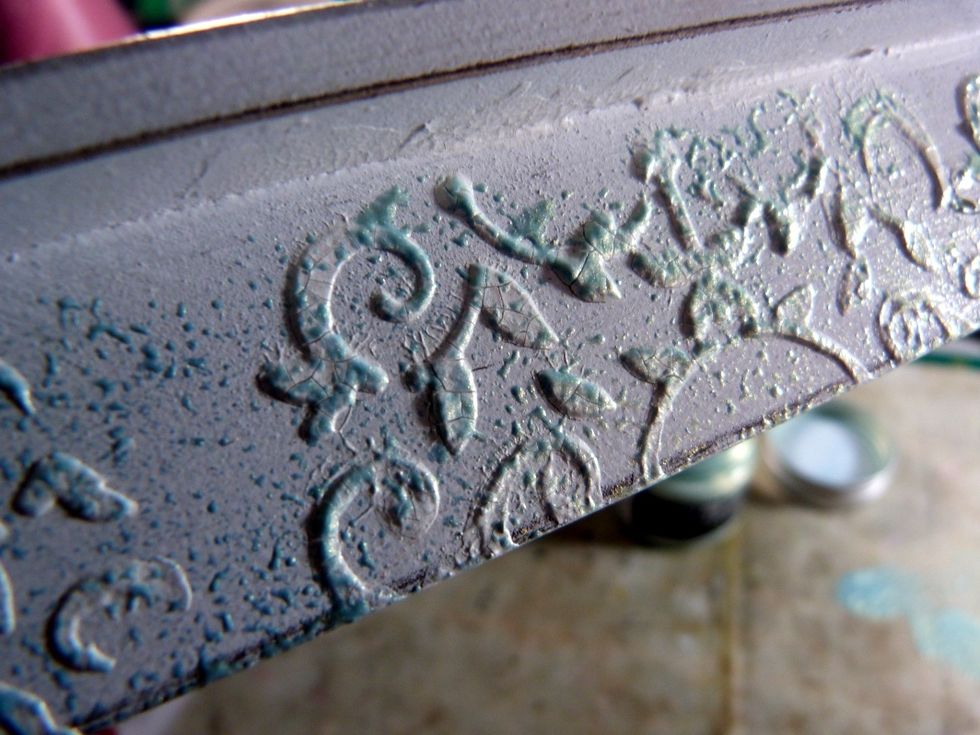
.....dab over the raised areas of the texture paste all around the outside of the box. Allow to dry.
Now do the same around the top edge of the shadow box. Again this is tricky to hold steady but so worth it! I had my long suffering husband hold the stencil in place for me whilst I spread the paste.
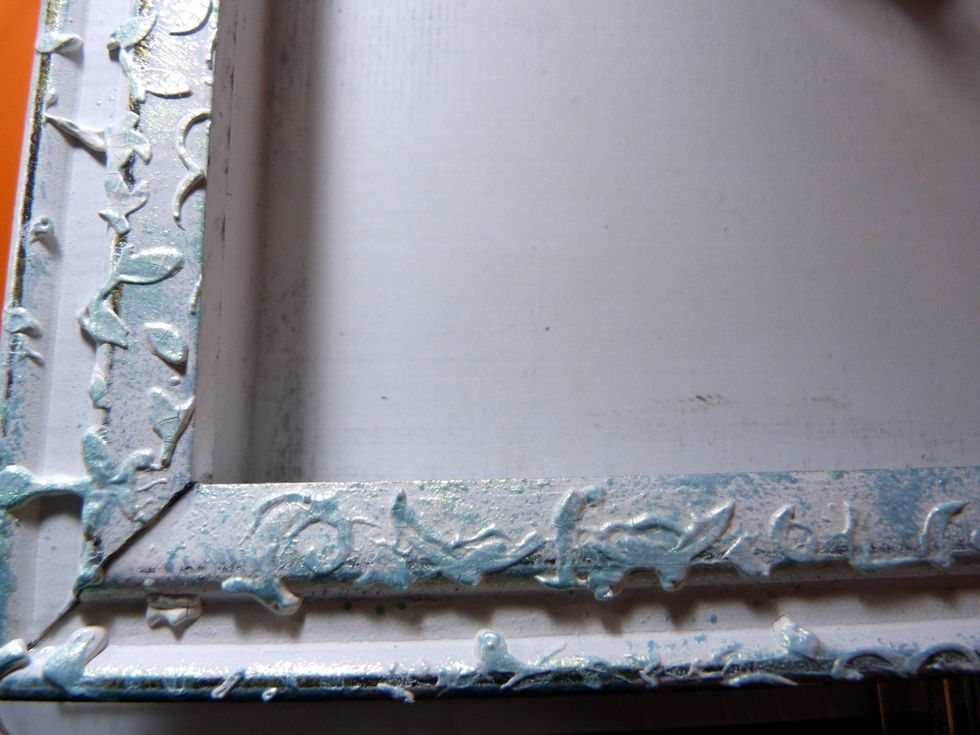
Then again when the texture paste is dry, dab the Art Alchemy paint over it again.
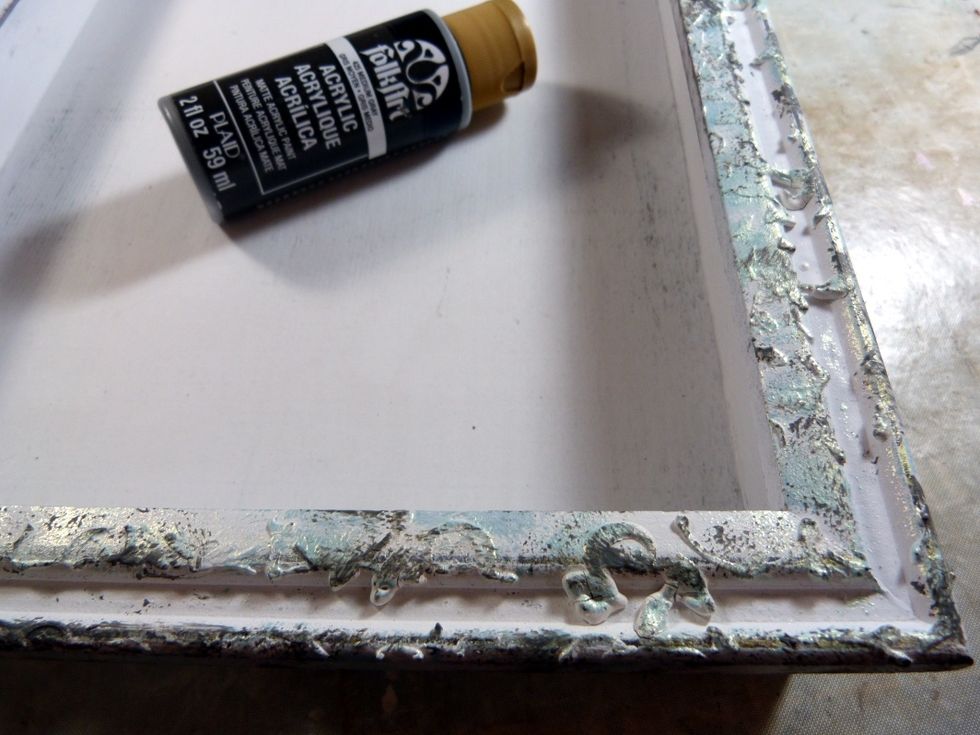
Next use the Folk Art Acrylic grey paint, again with a sponge applicator and dab randomly around the edge and sides of the box to give a mottled effect with the blue already on it. Dry.
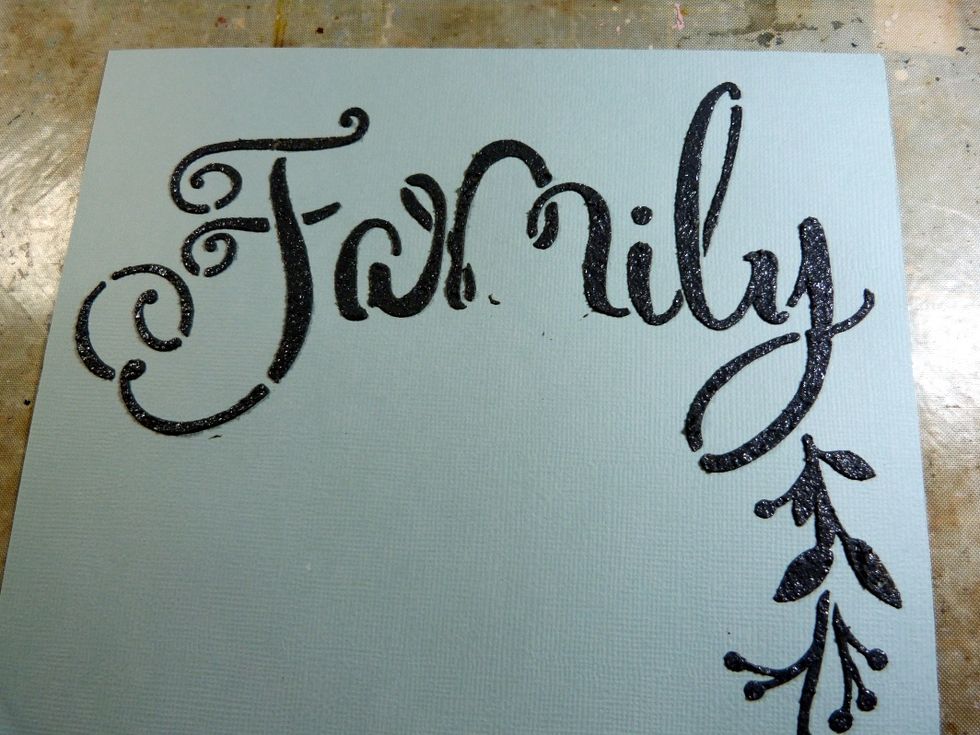
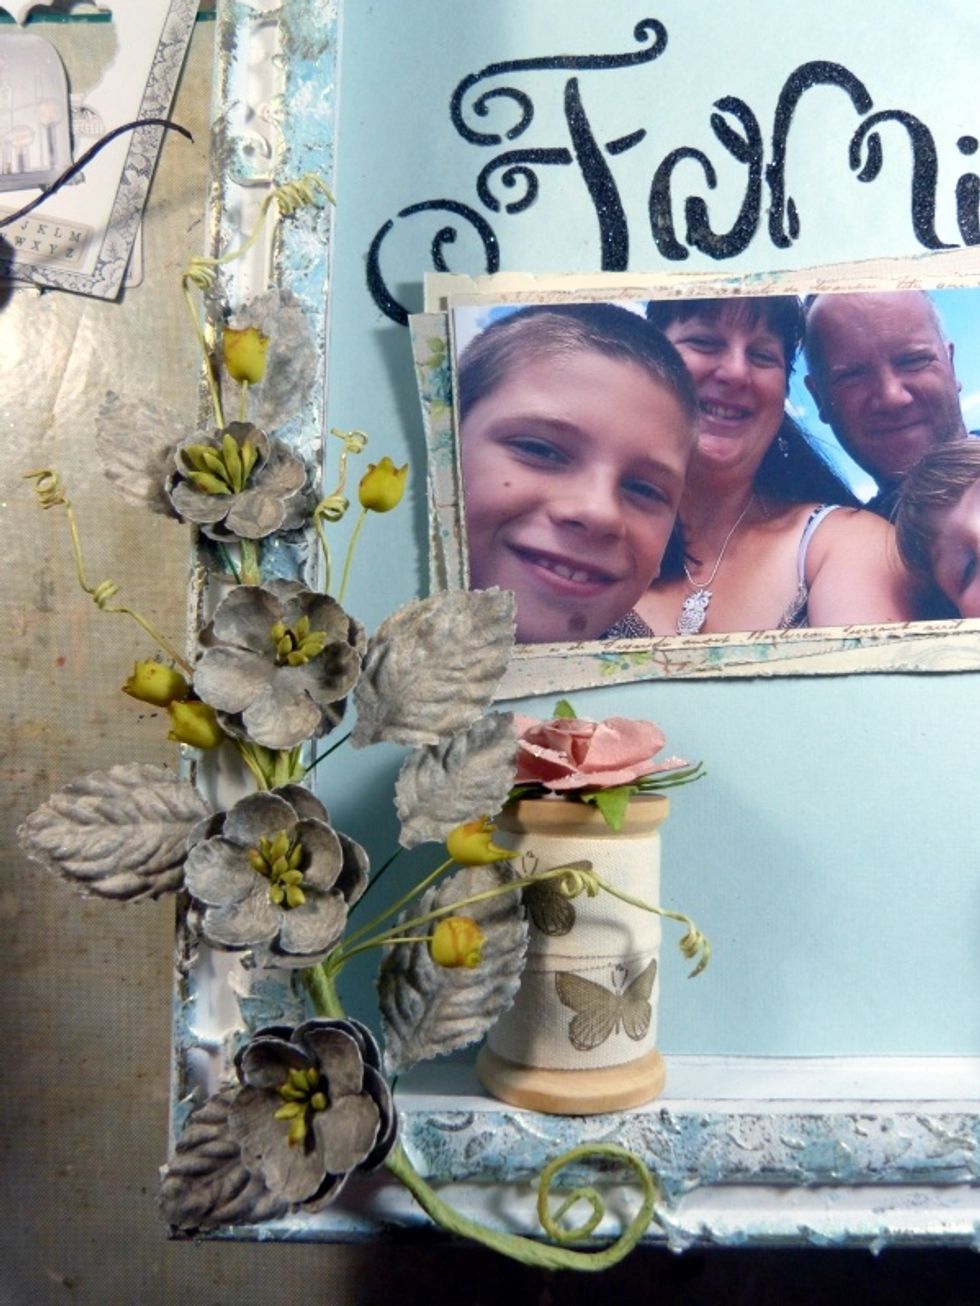
Cut a piece of the pale blue cardstock, from the Cardstock Add on, to fit the inside of your box. Using the 'family' from the Stencil in the kit, texture paste onto the cardstock. Dry.
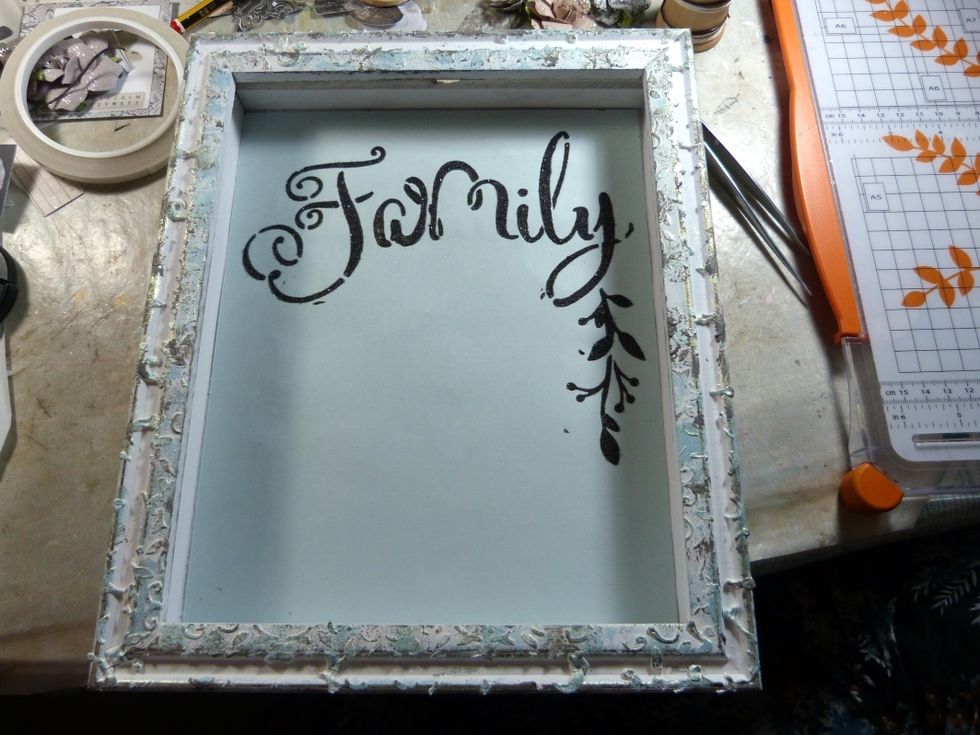
Fix to the inside of the box.
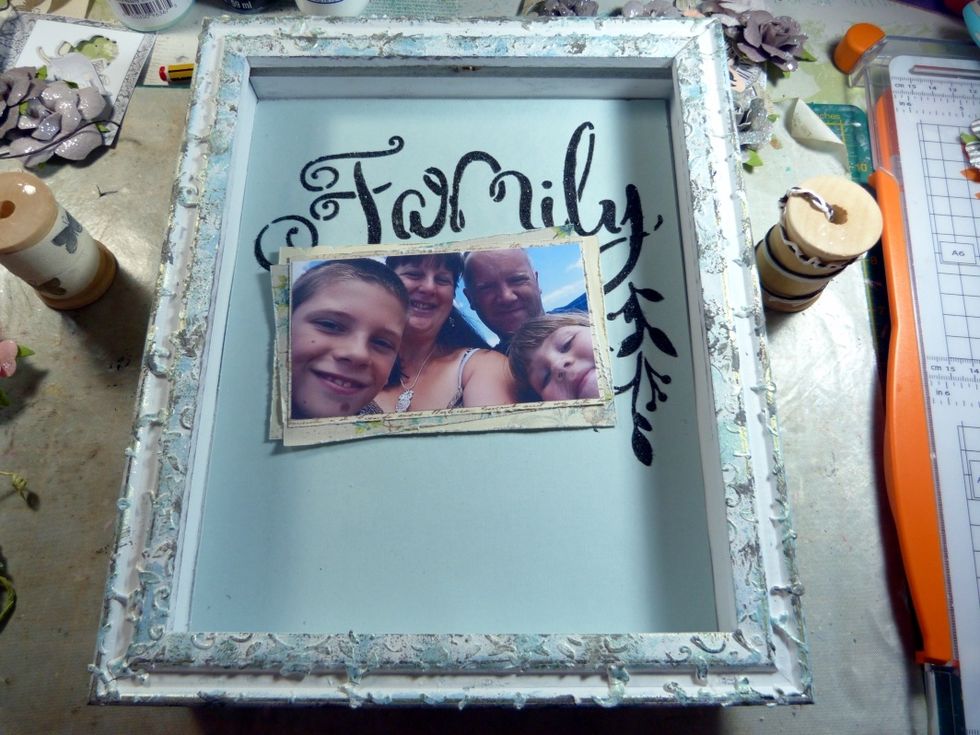
Layer up your photo with 2 pieces of distressed pattered paper from the main kit, making the layers slightly wonky. Fix onto box.
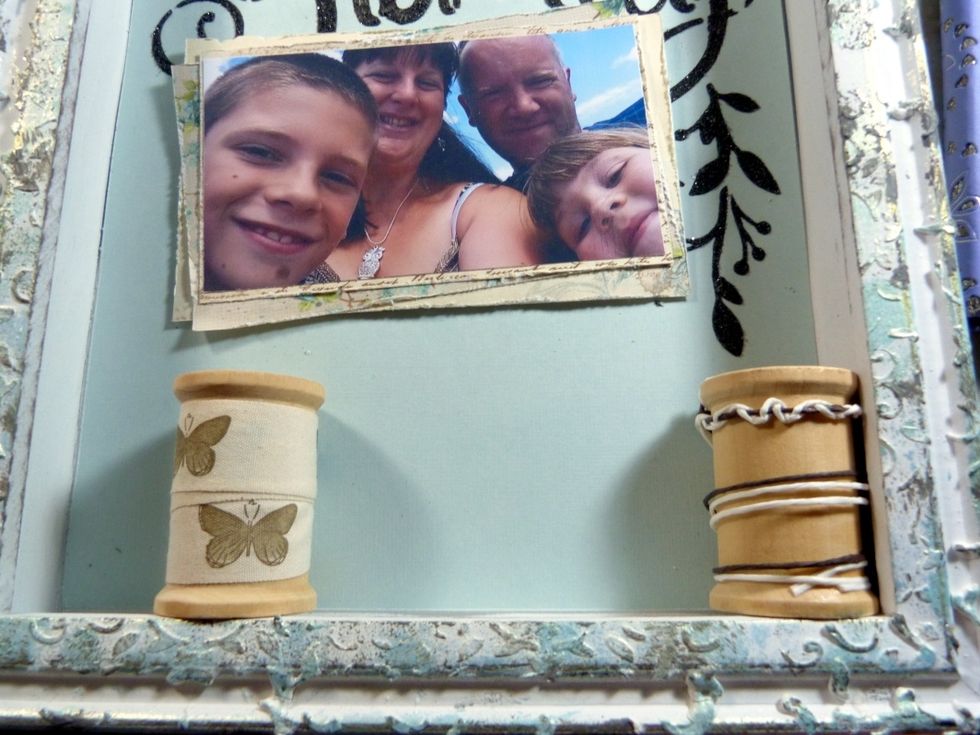
Use the cord and ribbon from the main kit & embellishment kit. Wrap and glue around the cotton reels. Glue reels onto the bottom edge of the box.
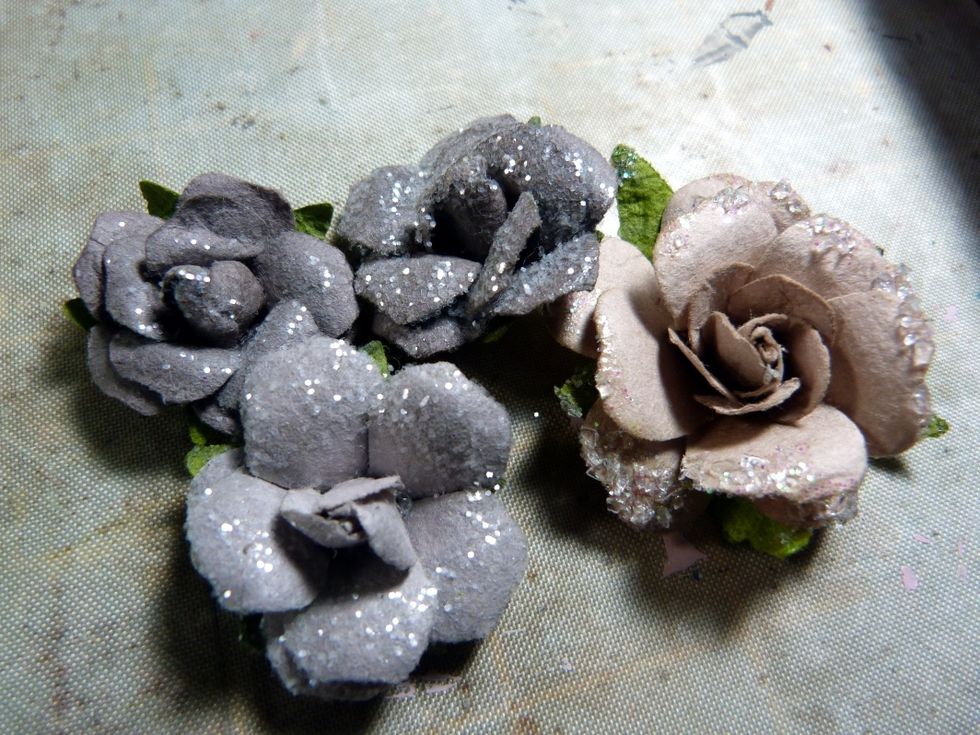
Now use four of the grey Prima flowers from the flower add on kit......
..... & poke into the vine so we've loads of flowers!
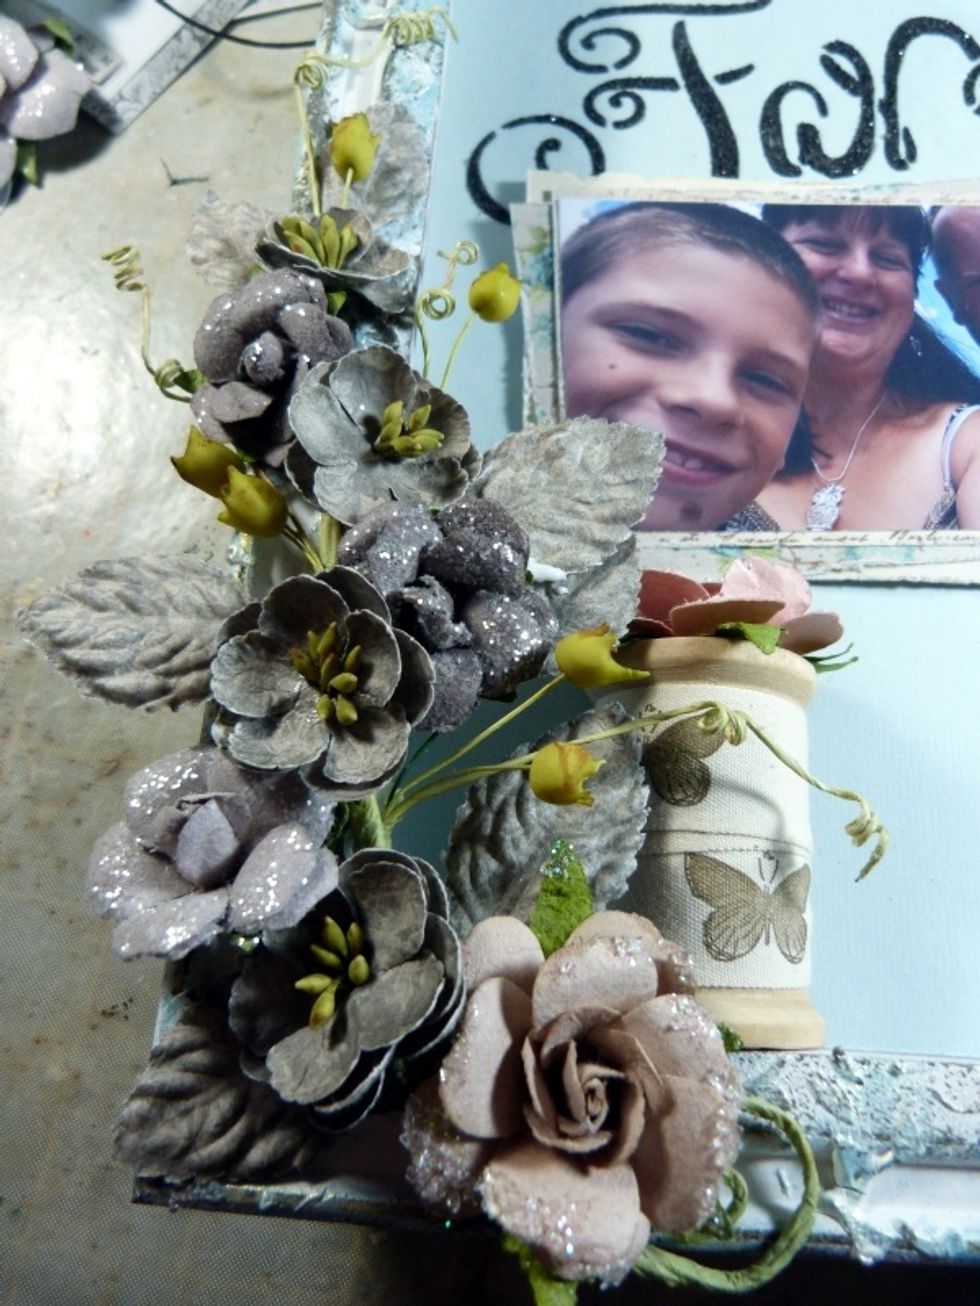
Using some pieces from the Salvage District ephemera from the embellishment add on, ink and poke into the end of the vine cluster.
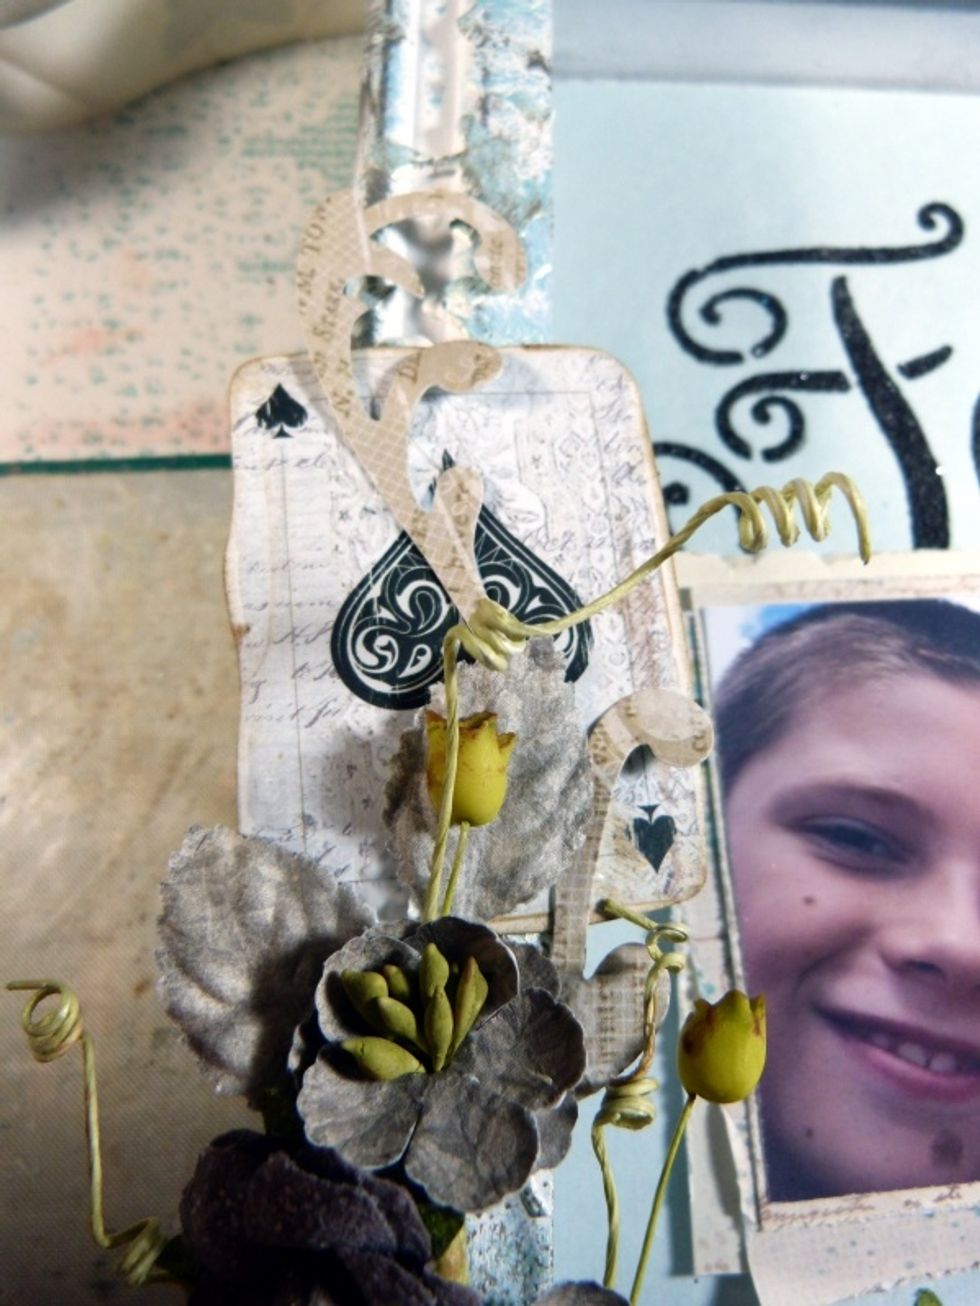
And again some of the ephemera into the top of the vine cluster.
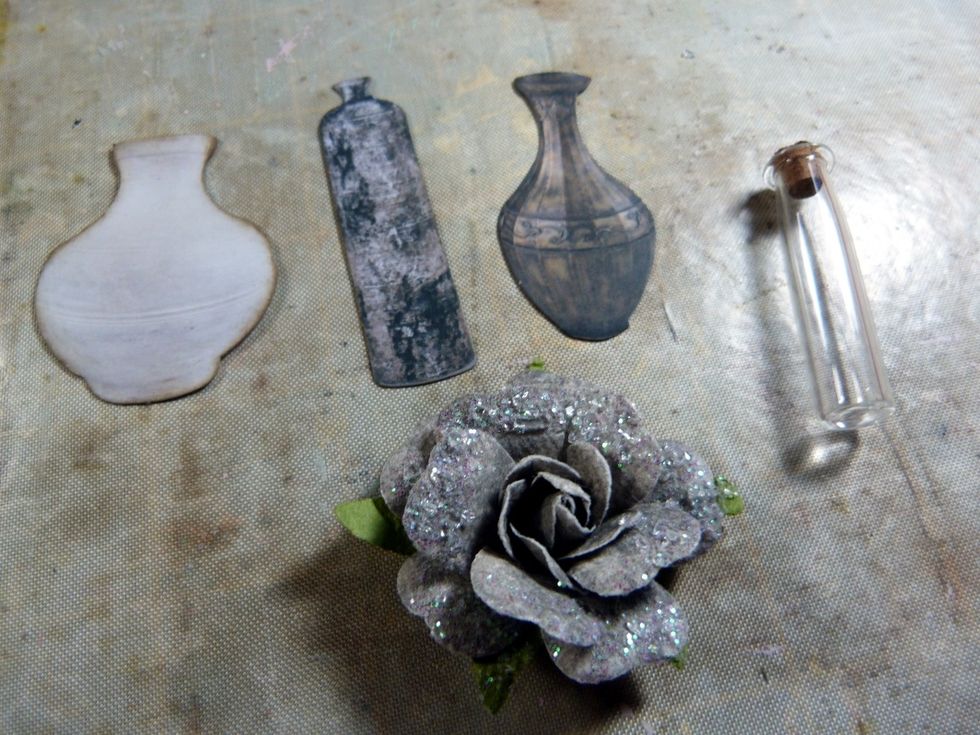
You need these bottles & die cut vases from the Prima ephemera, ink edges. Also one more grey flower. Glue a piece of lace to the bottom inside 'shelf' in between where you have put the cotton reels.
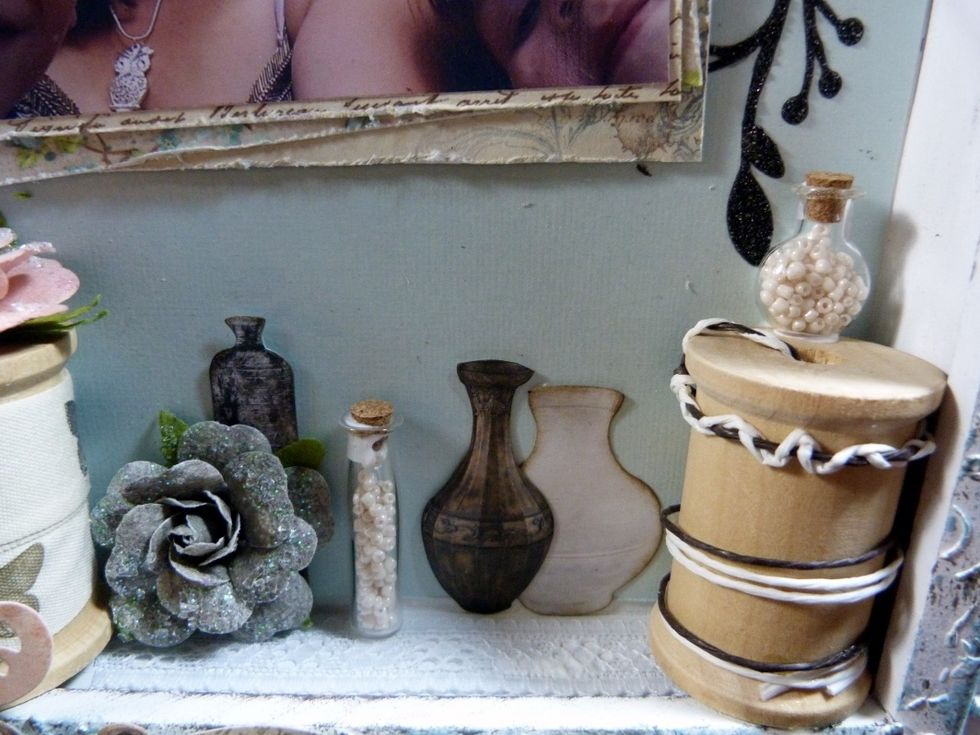
Fill bottles with seed beads. Glue the die cuts to the cardstock at bottom, overlapping two of them. Add the flower. Glue bottles in place, one on top of reel and one stood on the base of the box.
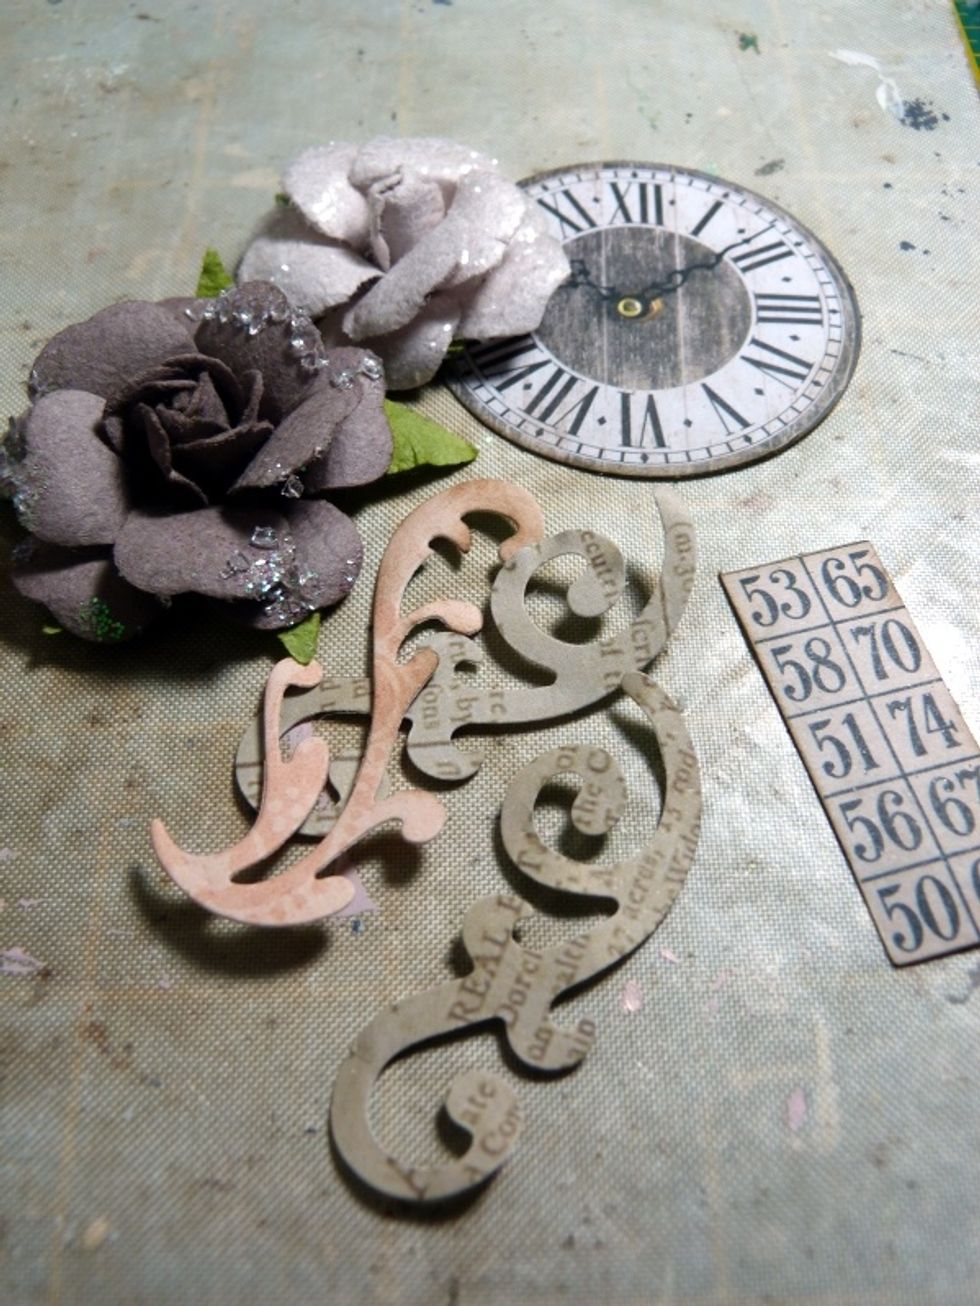
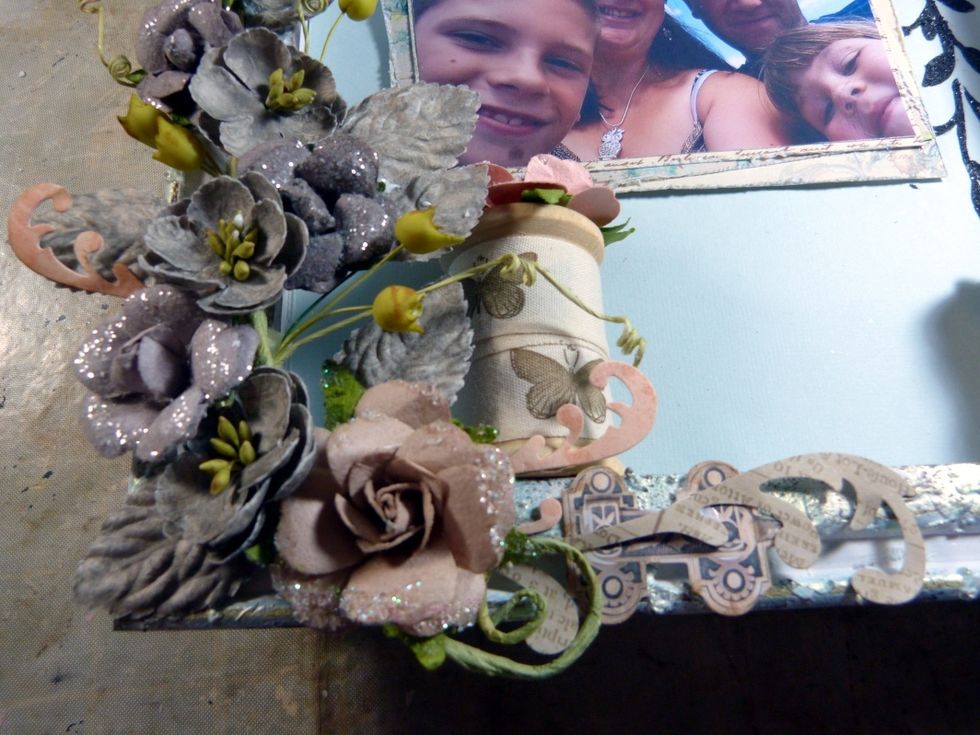
Using these items, and some die cut swirls I cut myself from my own dies, .......
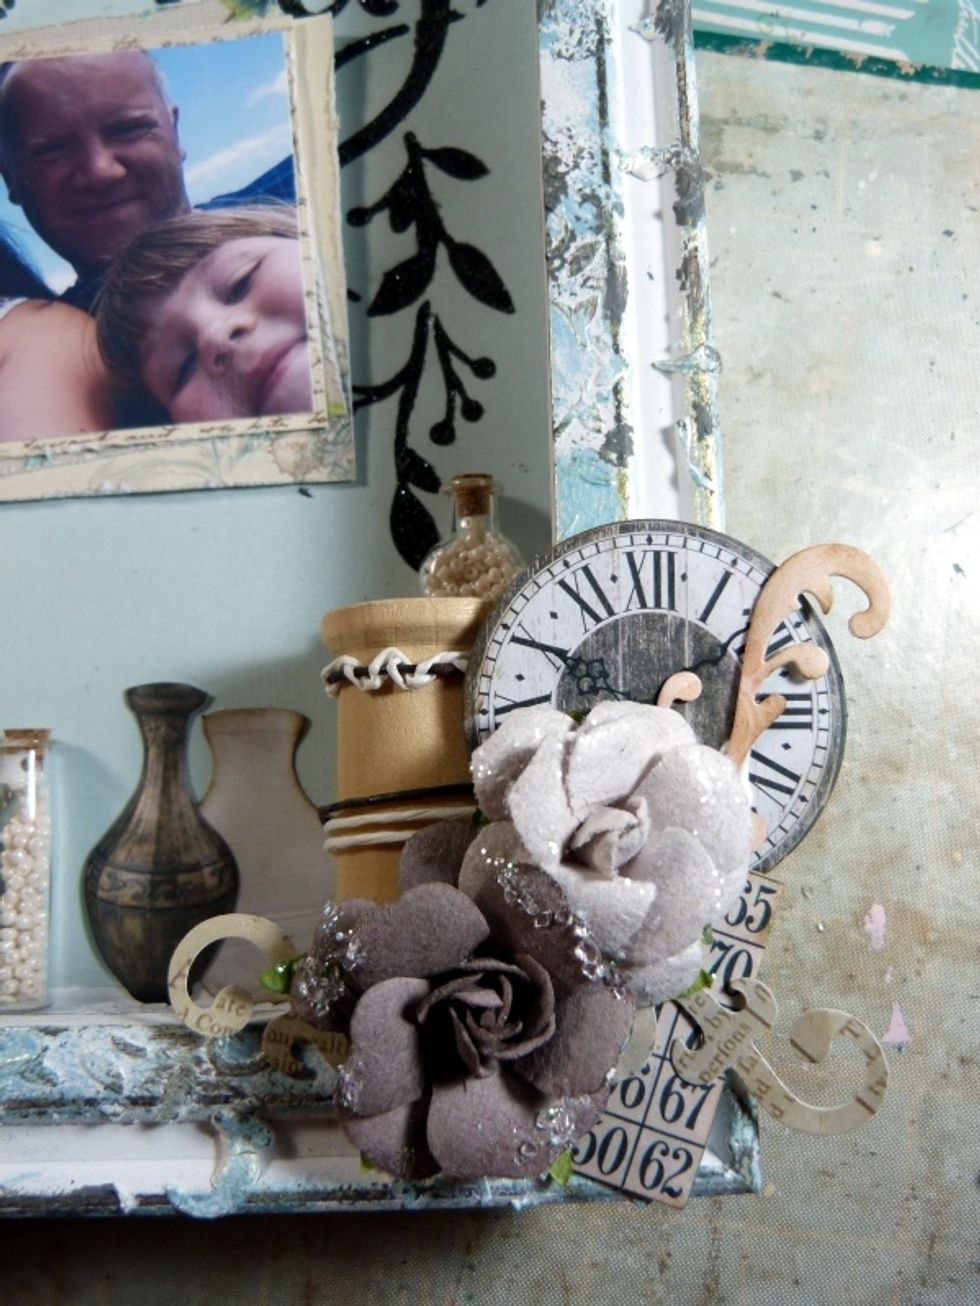
......make a cluster on the bottom right outside corner of the shadow box.
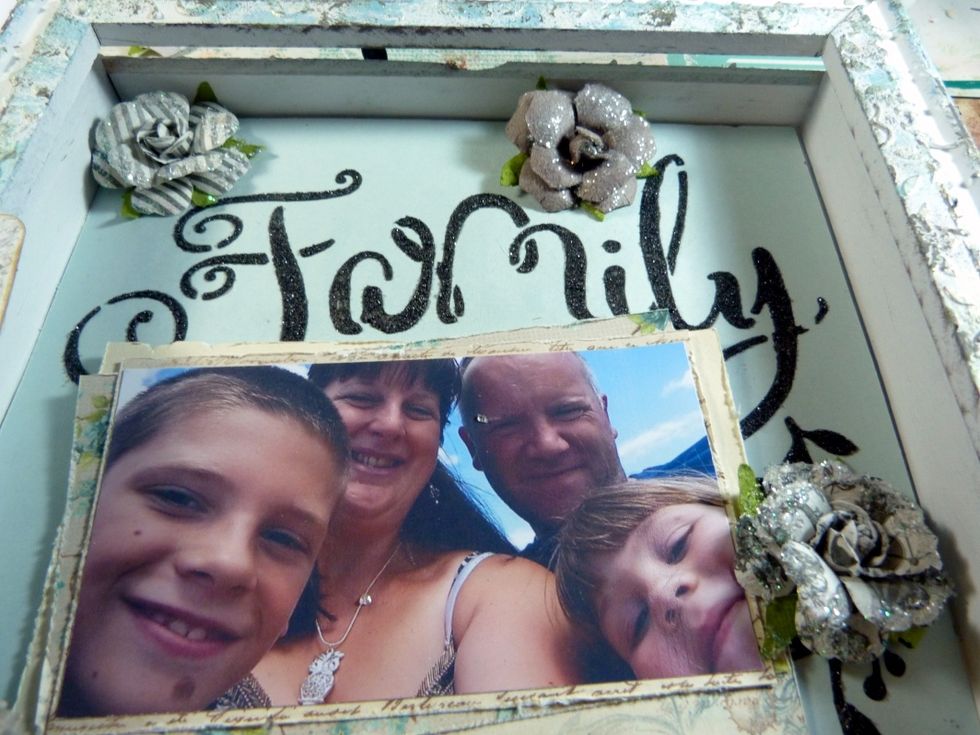
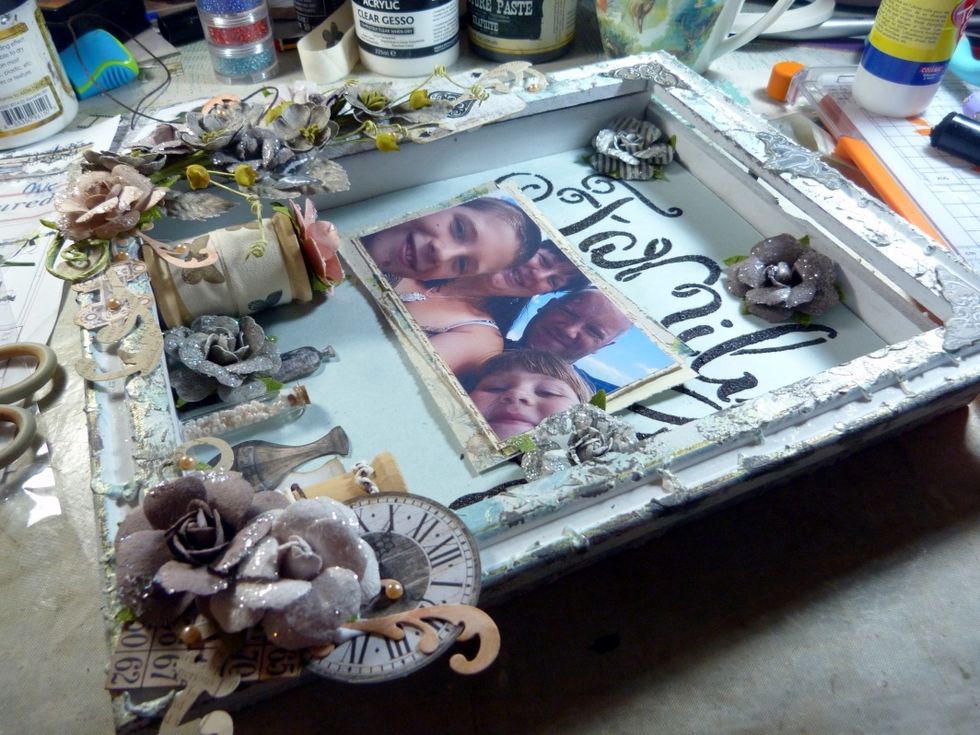
Add three more flowers to the inside of the shadow box like in the photo.
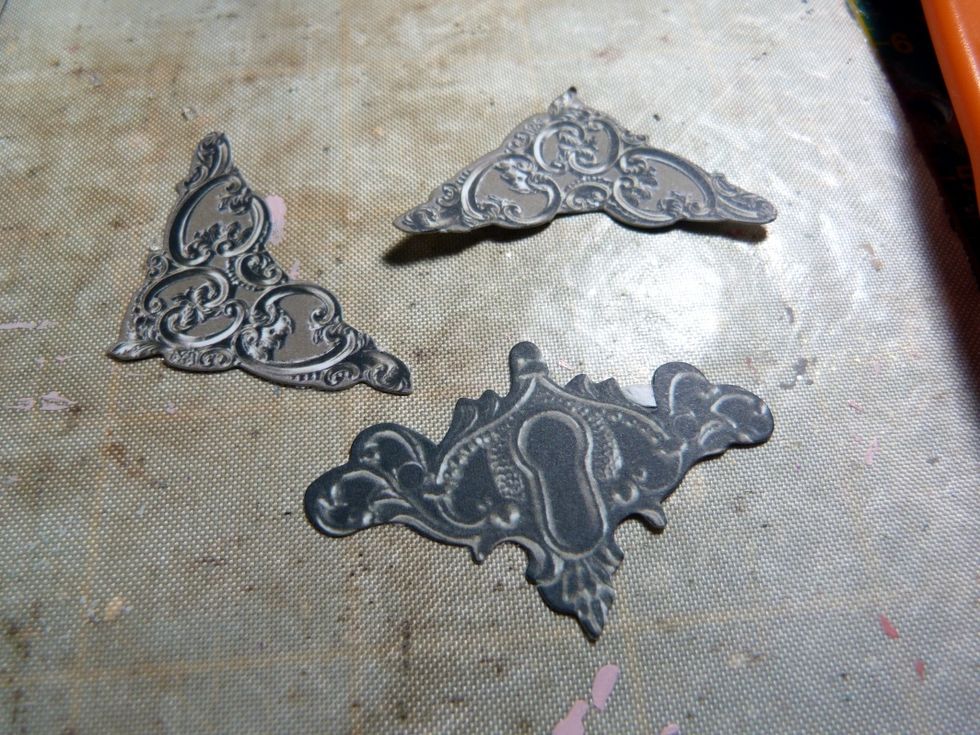
Find these corners and keyhole from the Prima Ephemera, ink edges.
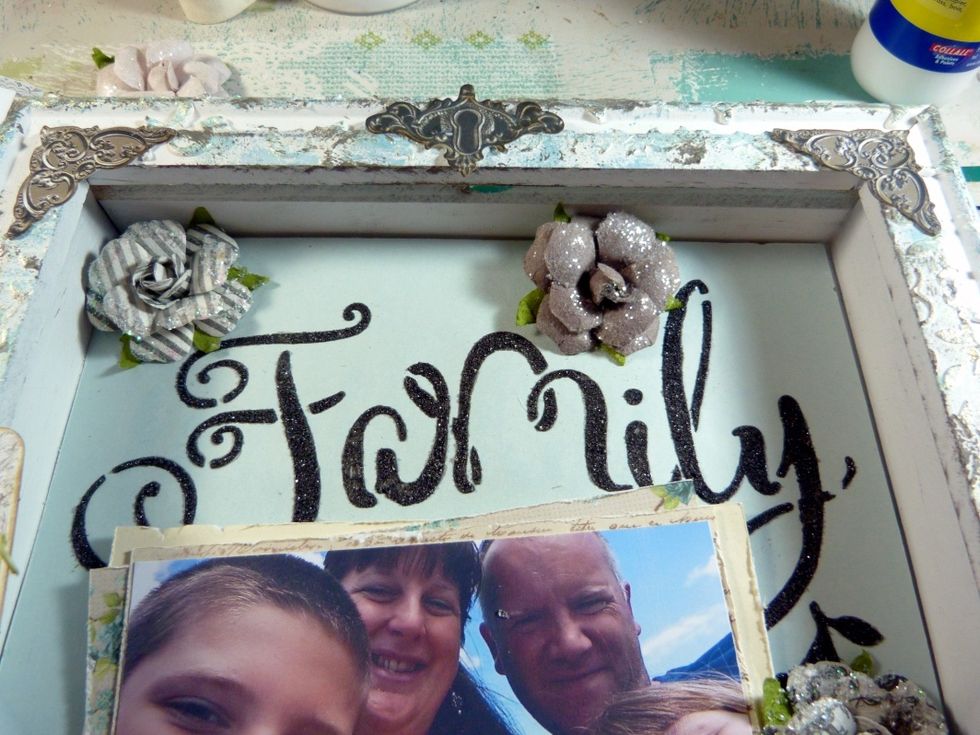
Glue corners onto the top corners of the shadow box and the keyhole in the centre at the top.
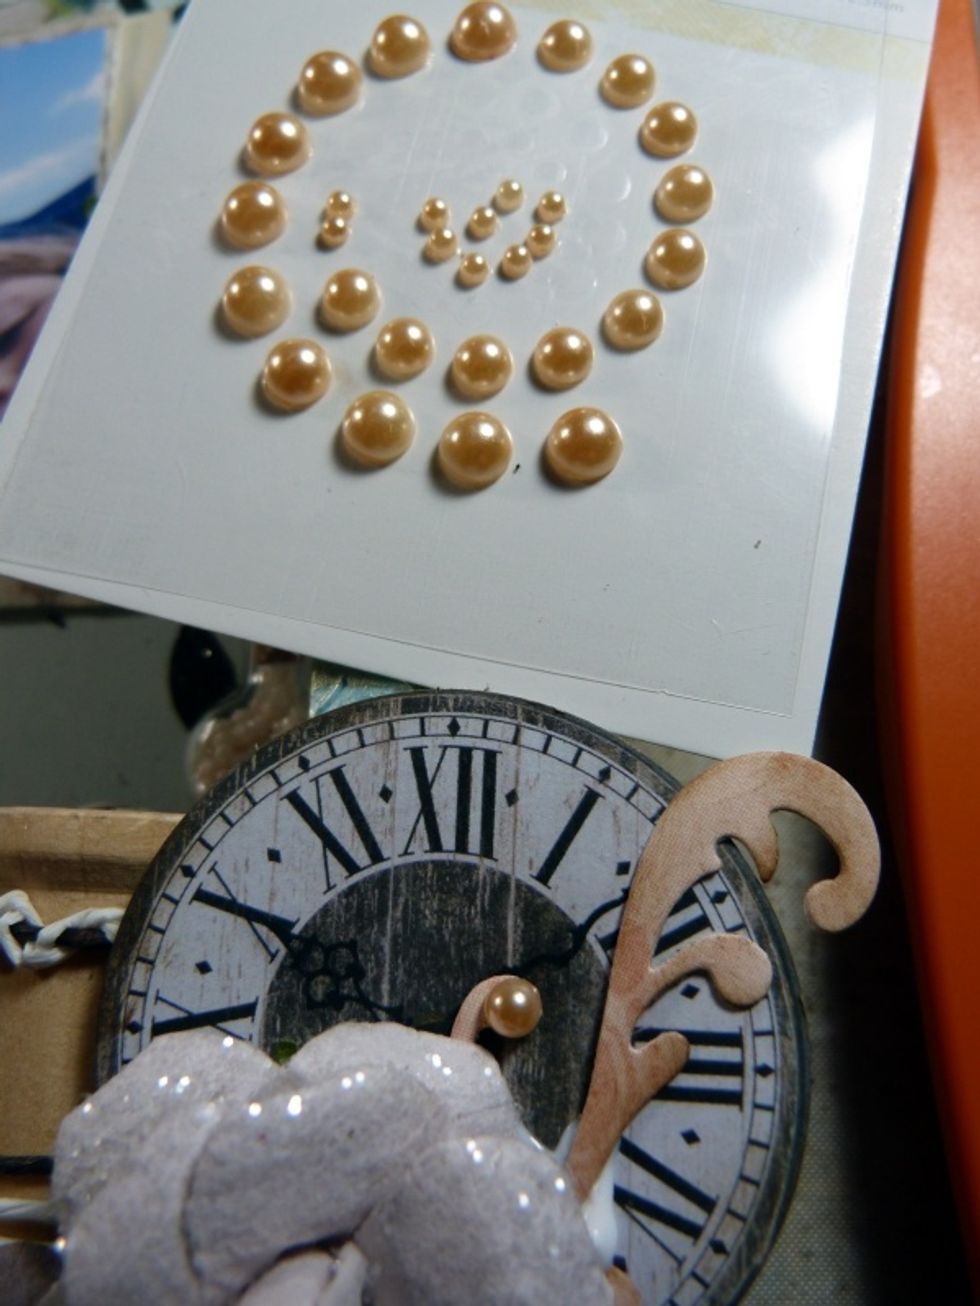
Lastly add some pearls to the clusters.
And Voila!!
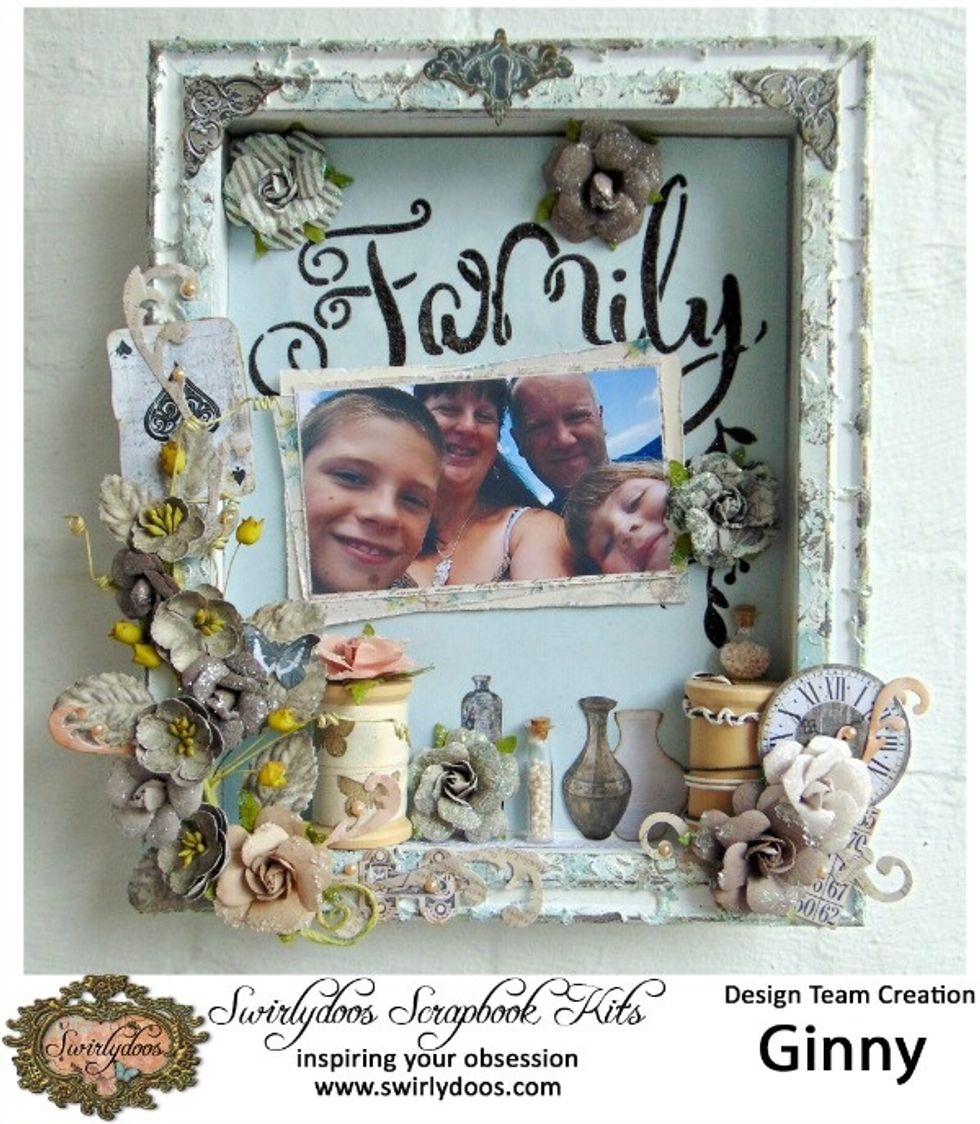
This is a Design Team creation made for Swirlydoos Kit Club. More photos on the Blog. http://swirlydoos.blogspot.co.uk/