The Conversation (0)
Sign Up
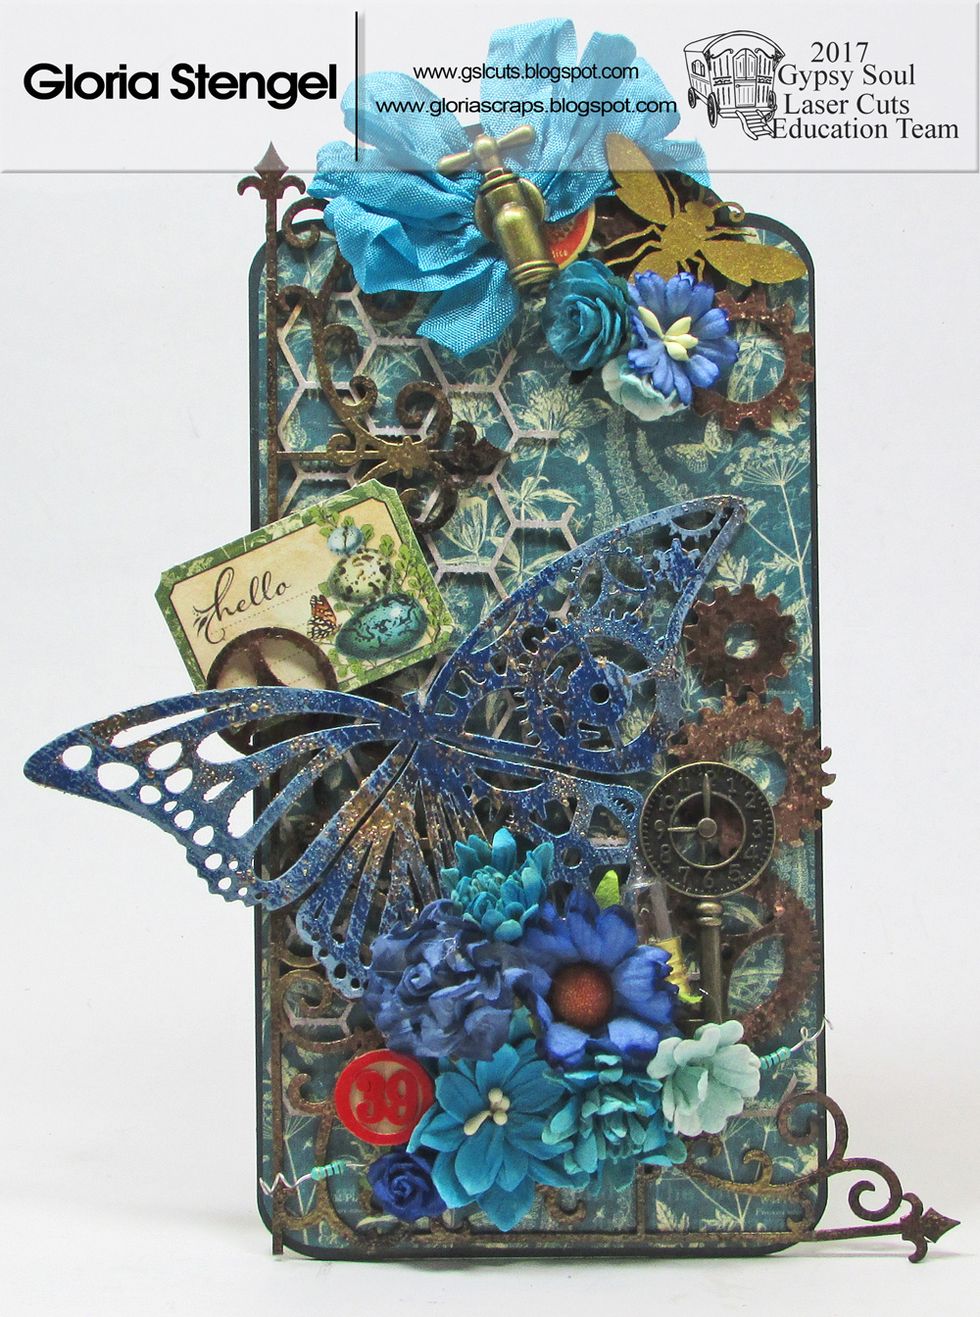
Gather supplies. The base tag is made from chipboard and measures 8" x 4".

Prepare all surfaces. The paint and ink require time to dry.
Gyspy Soul Laser Cuts: Tags in a Box Extra Tag Set, Butterfly of Gears, Wrought Iron Set, Gears Shape Set, Chickenwire 6x6 panel, Honeycomb and Bees - Medium (only a bee is used)
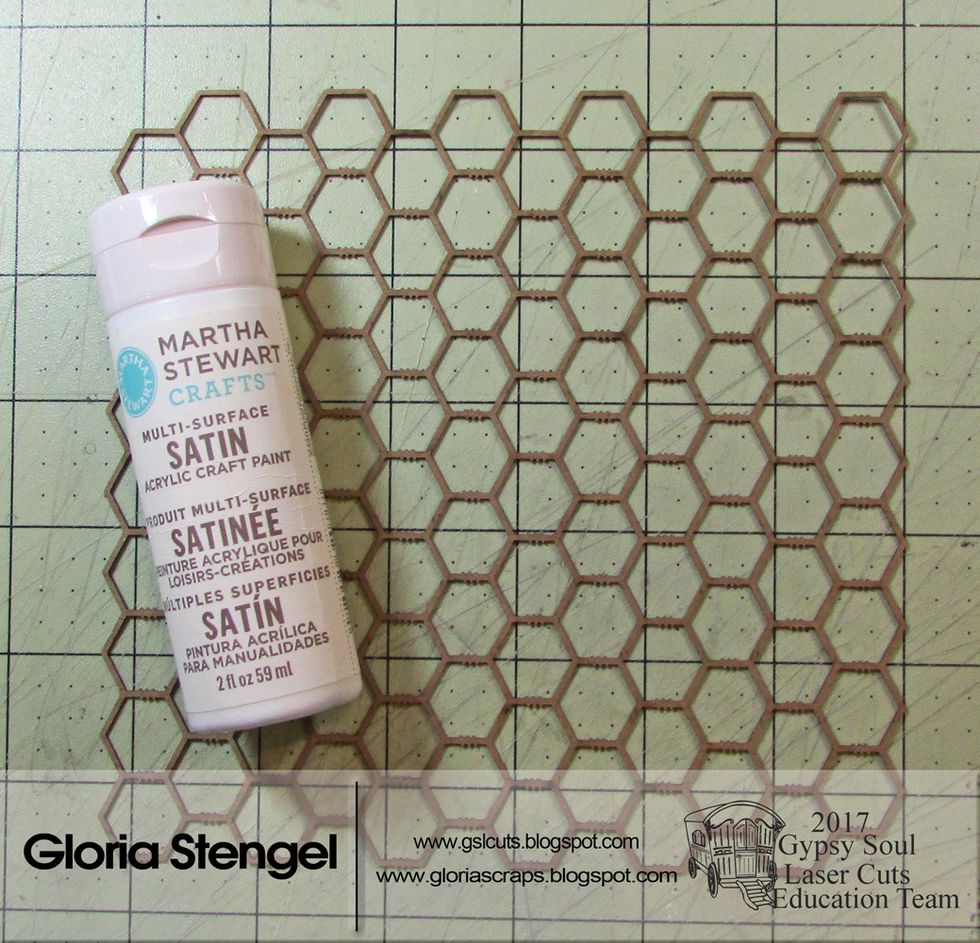
Paint chickenwire chipboard with a thin coat of off-white acrylic paint.

Allow the paint to dry and then dab the chickenwire piece with Vintage Photo distress stain.
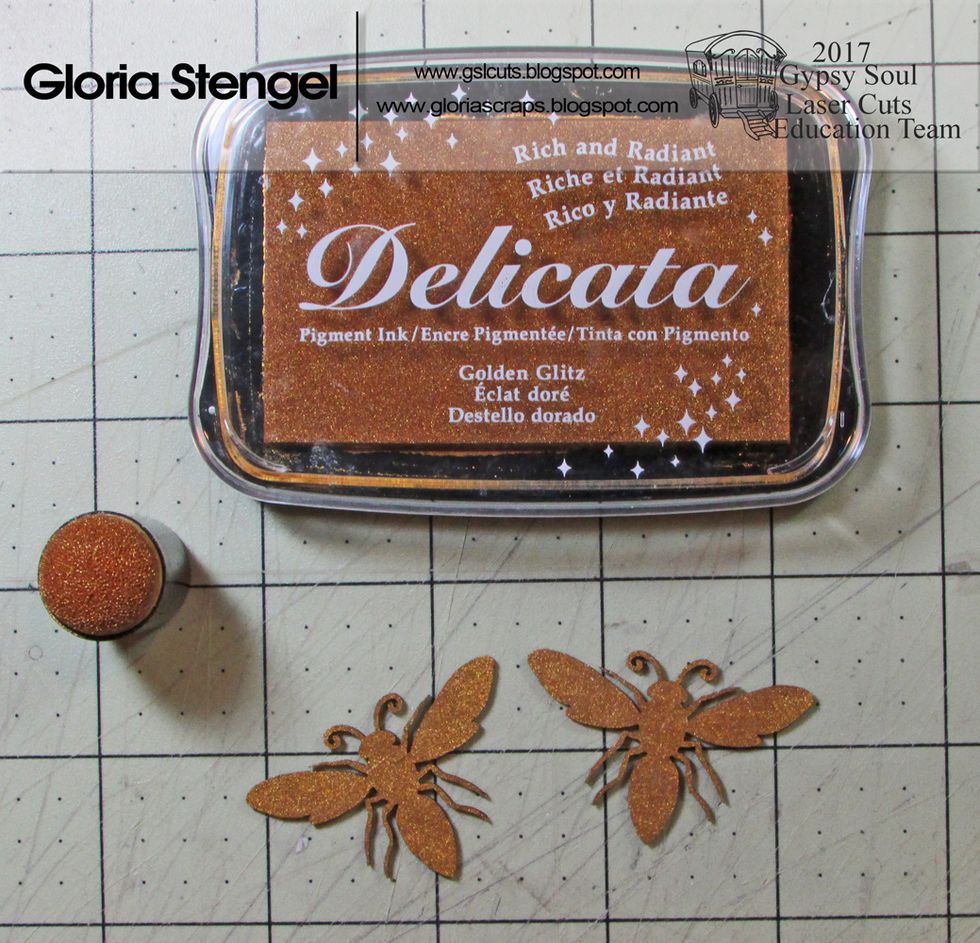
Cover a chipboard bee with gold pigment ink. Allow to dry.

Mix Salty Ocean distress paint with black chalkboard paint. Lightly coat the surface of a chipboard and gears butterfly. Work quickly and do NOT allow the paint to dry.
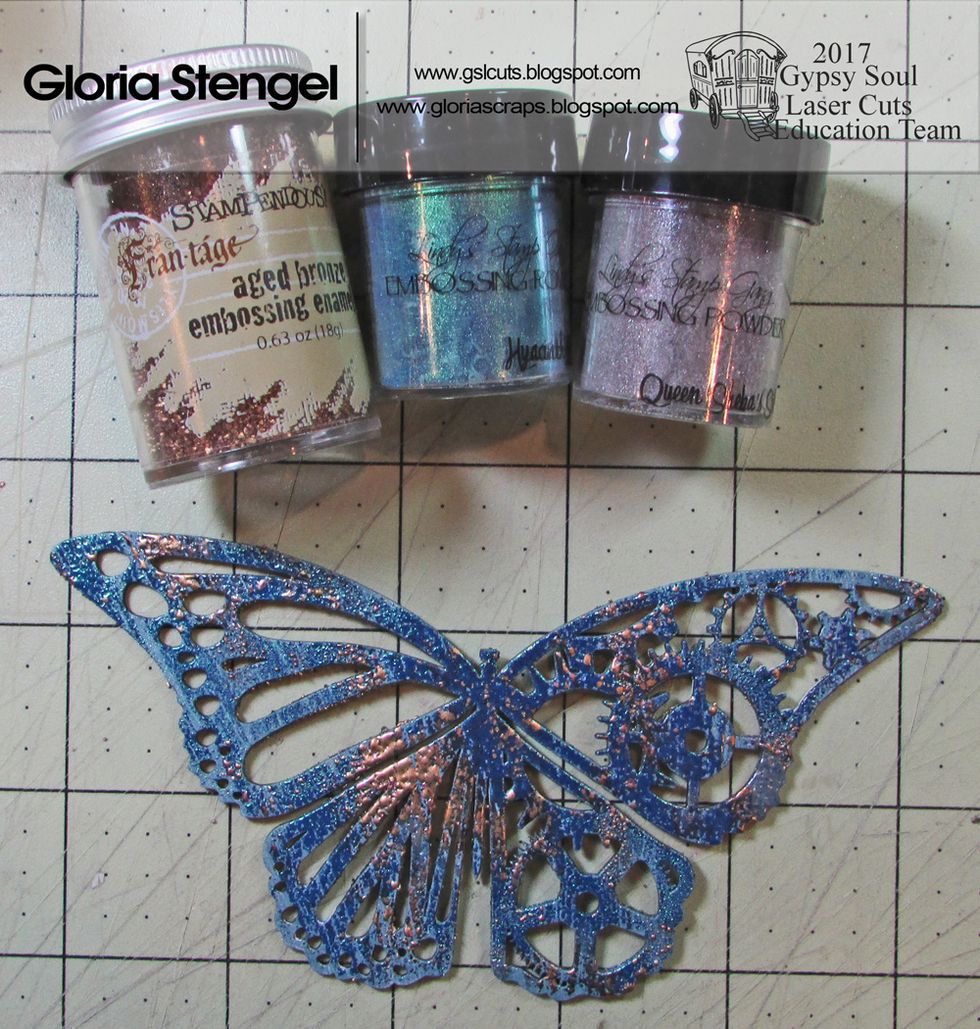
While the paint is still wet, sprinkle the chipboard with various embossing powders and enamels. Heat set.
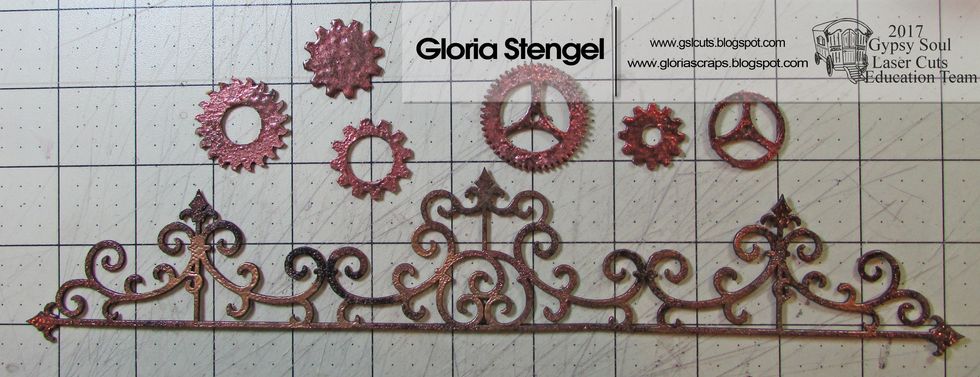
Cover chipboard gears and wrought iron shapes with watermark or embossing ink. Cover the pieces with various embossing enamels and powders. Heat set.
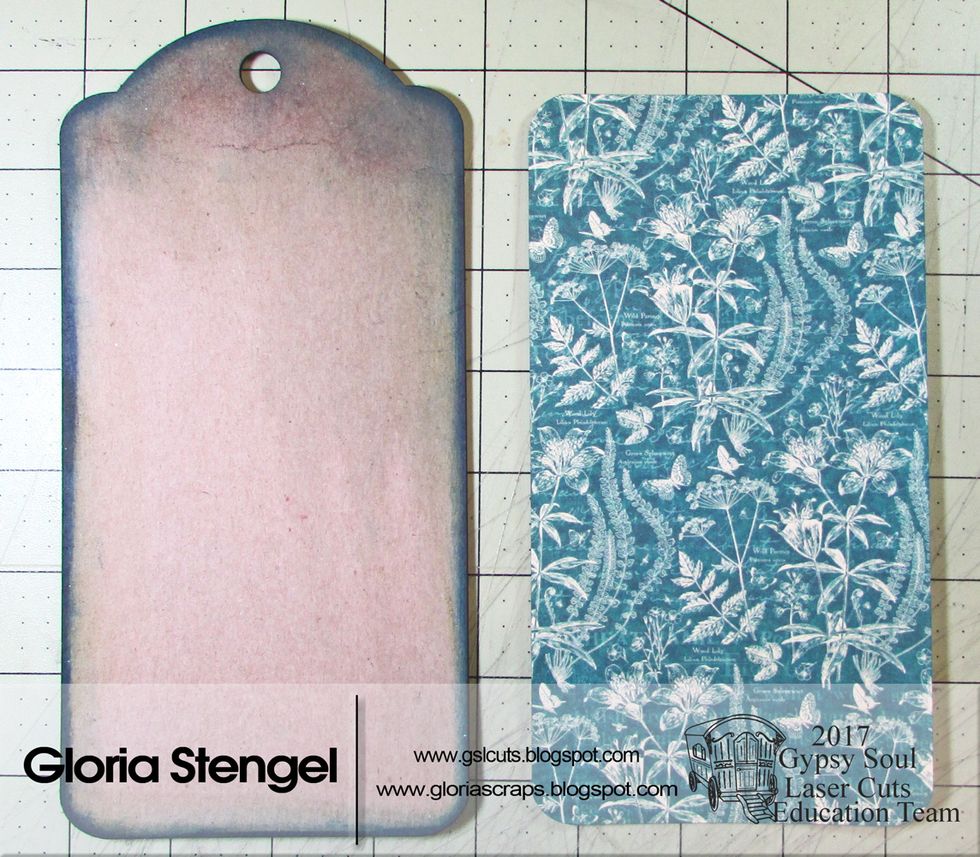
Use various pigment inks to ink the edges of a chipboard tag (8" x 4"). Allow the ink to dry. Cut decorative paper to 7 7/8" x 3 7/8" and round the four corners. (Graphic 45 Natures Sketchbook)
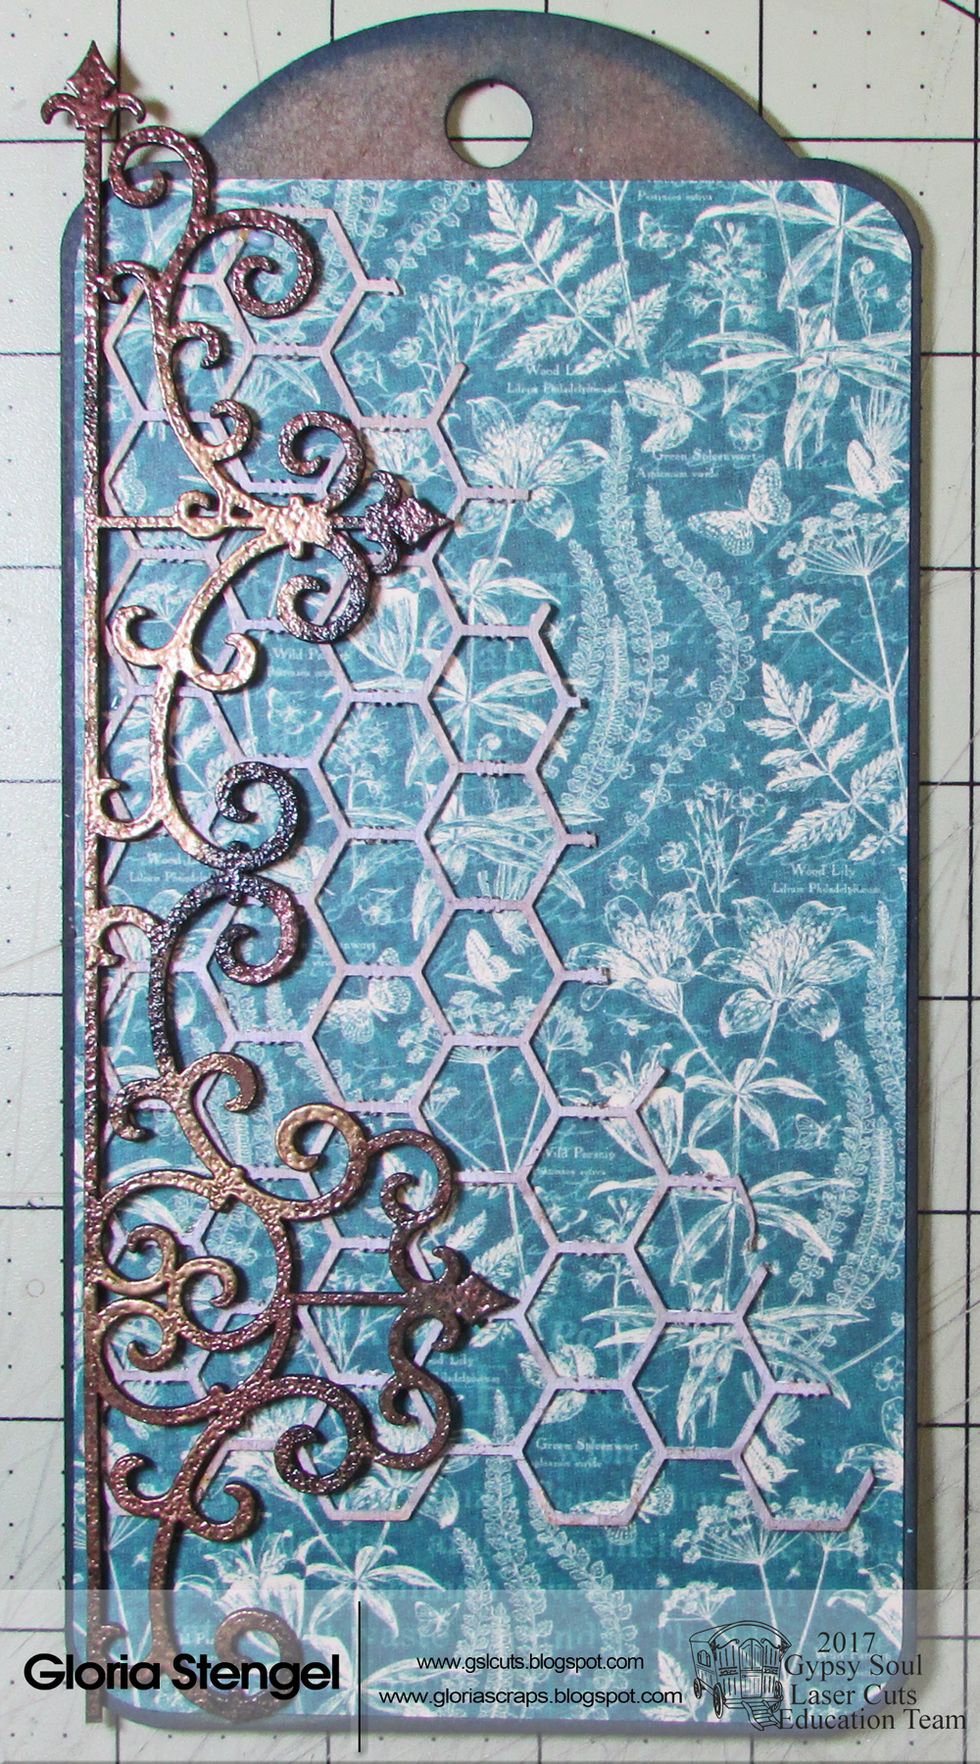
Attach the paper to the tag. Cut out a section of the chickenwire and glue to the tag. Cut the wrought iron element apart and glue the longer piece to the left side of the tag.
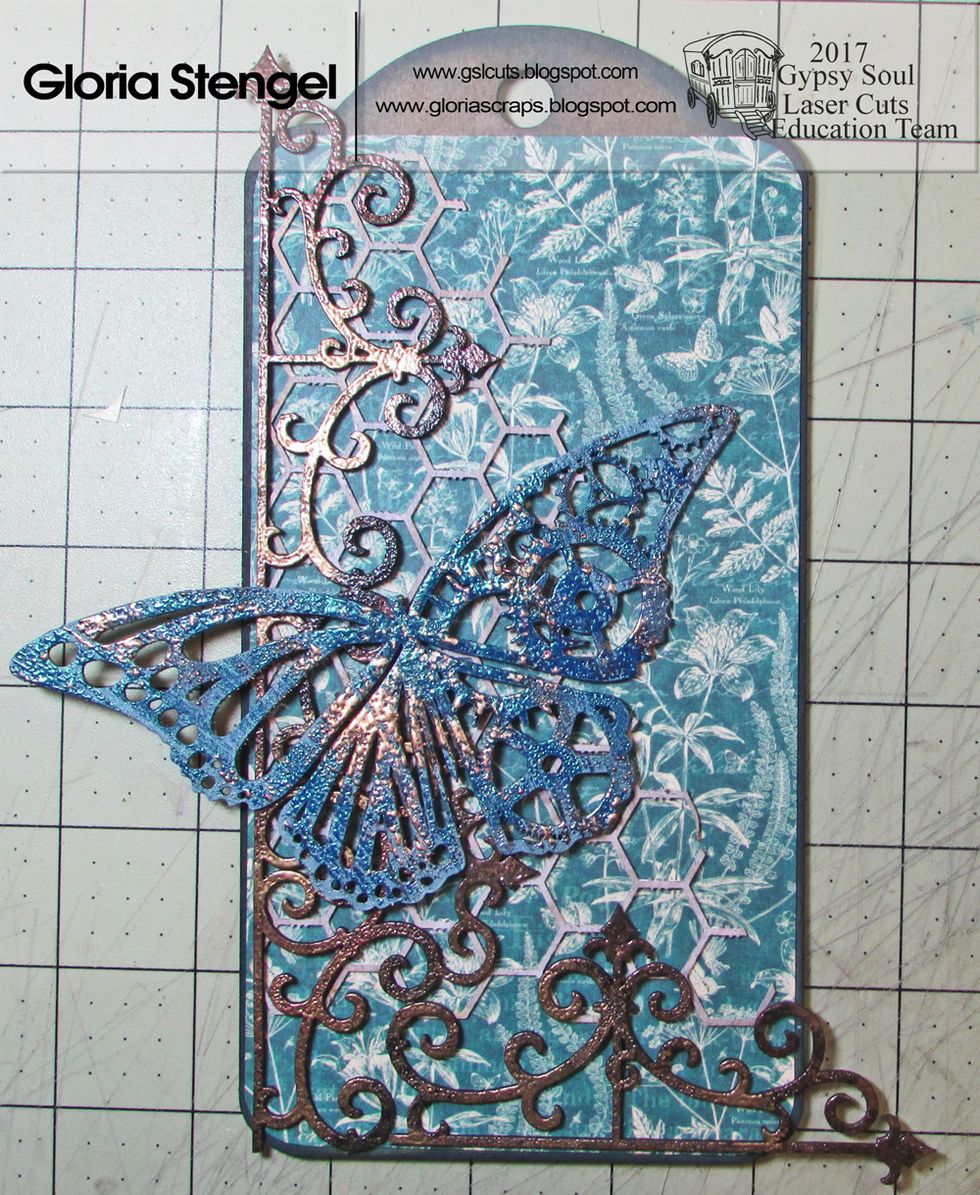
Glue the remaining section of the wrought iron element to the bottom of the tag. Attach the butterfly as shown.
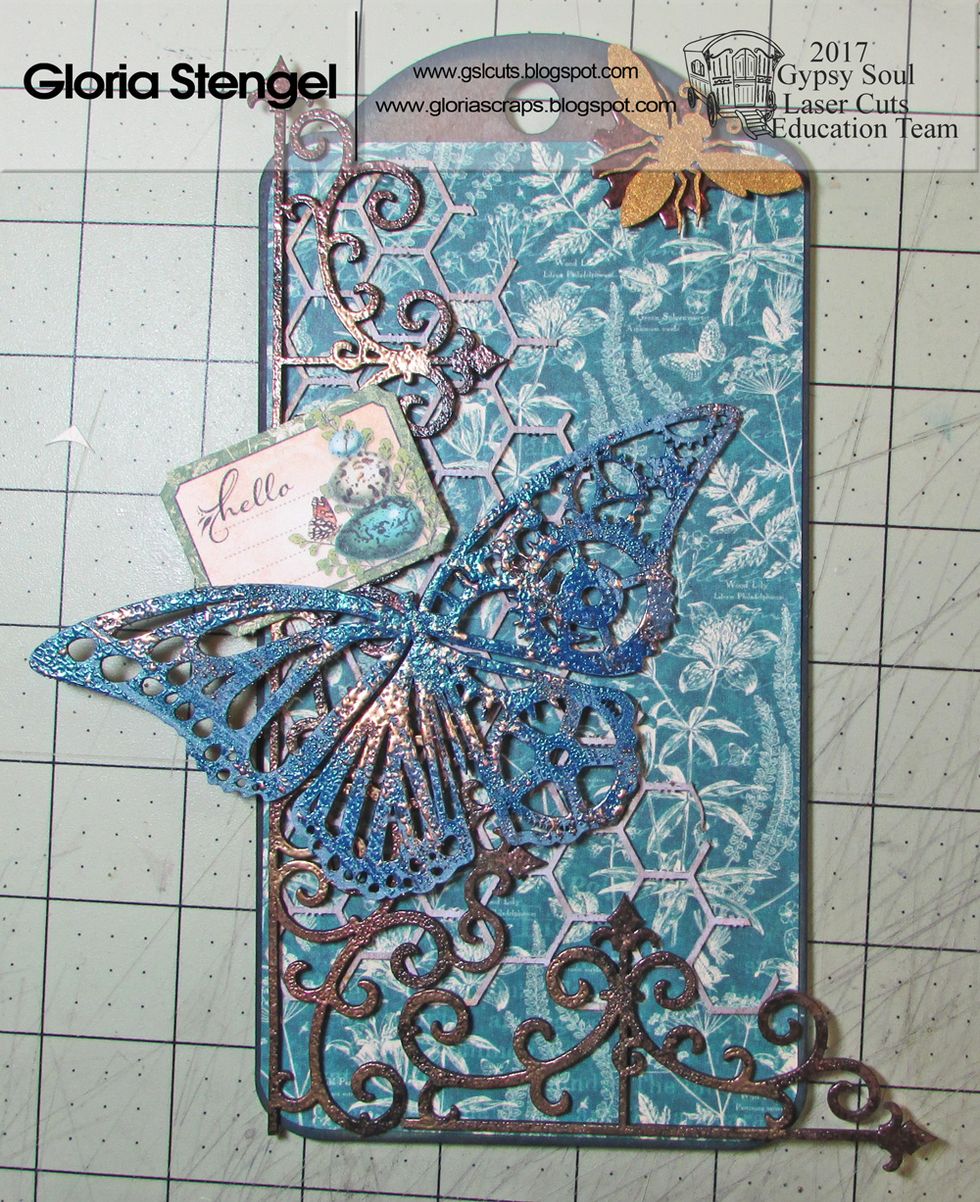
Glue a gear and the bee to the top of the tag. Add a decorative paper element to the left side of the tag, as shown.

Add gears as desired. Begin to glue flowers, using various shades of blue to match the paper and embossing powders.
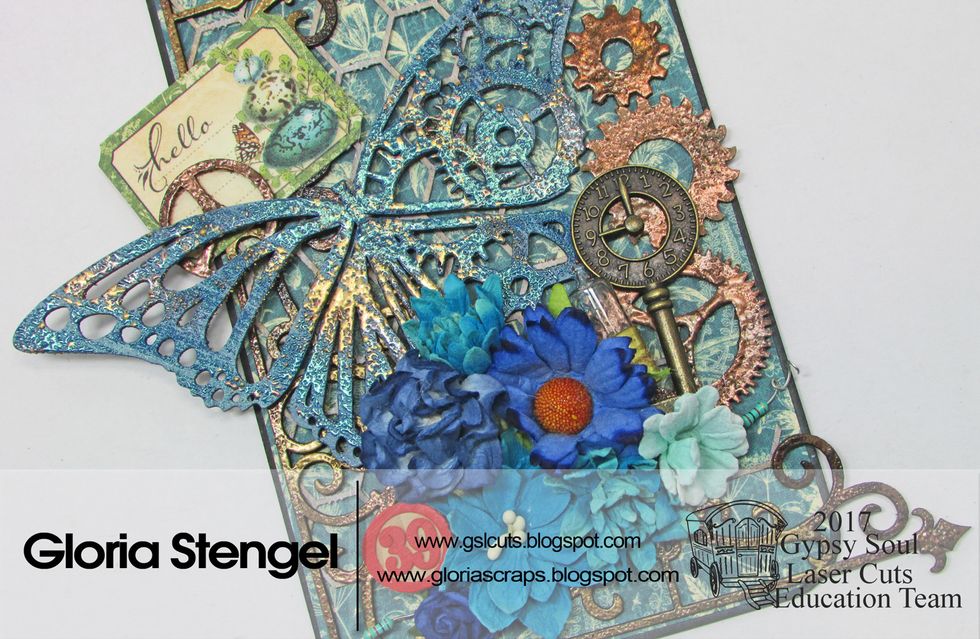
Add metal embellishments such as the clock key. Also add found items such as the light bulb and resistors shown.

Please visit the Gypsy Soul Laser Cuts Blog: http://gslcuts.blogspot.com/2017/03/altered-butterfly-tag.html
Visit my blog here: http://gloriascraps.blogspot.com/2017/03/altered-butterfly-tag.html