The Conversation (0)
Sign Up
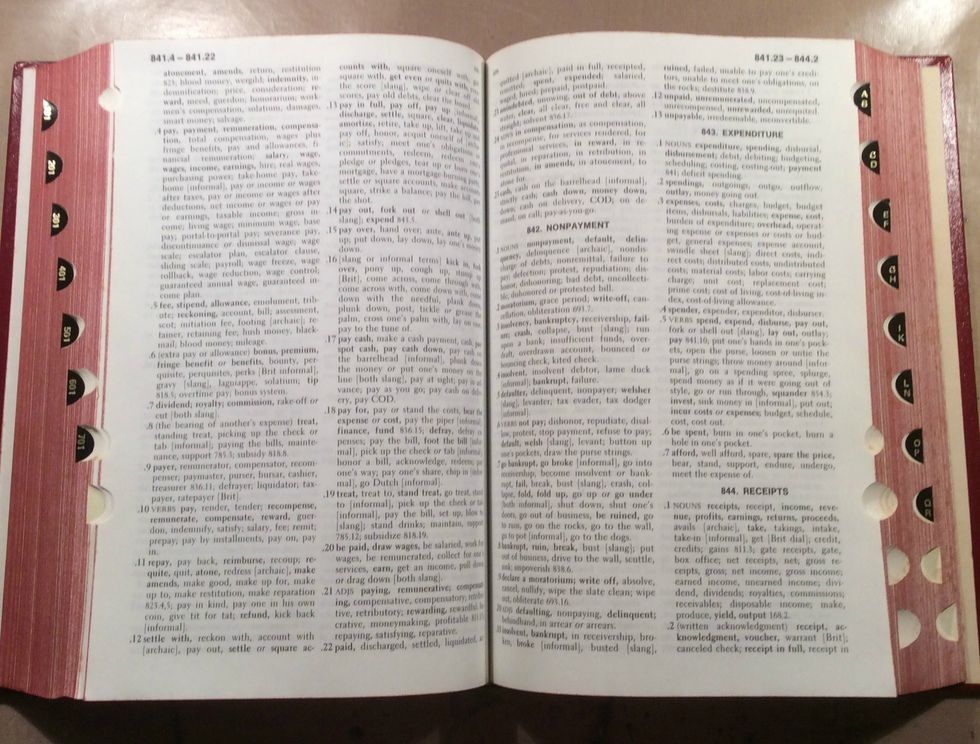
I purchased this book at a thrift store for $1.00... Make sure it's large enough to fit your photo.
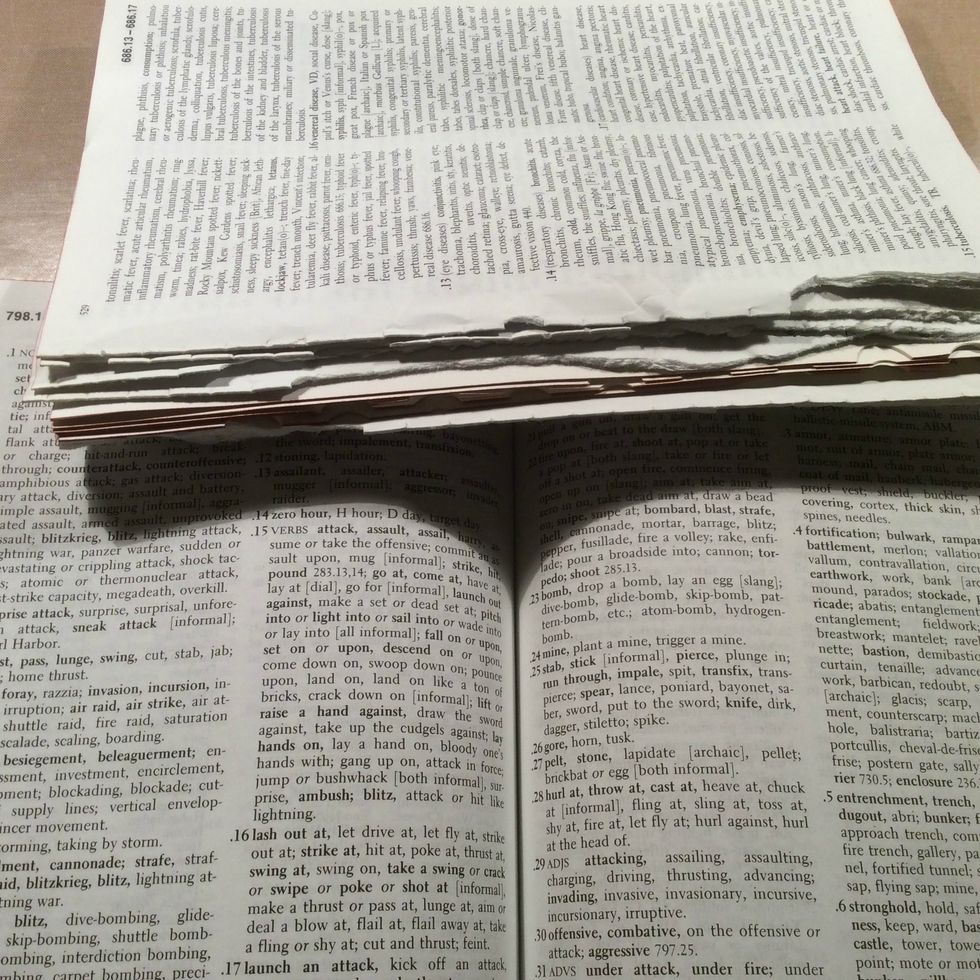
Go through your book and randomly remove sections of the pages to lessen the thickens of the book. You can use these pages for future projects.
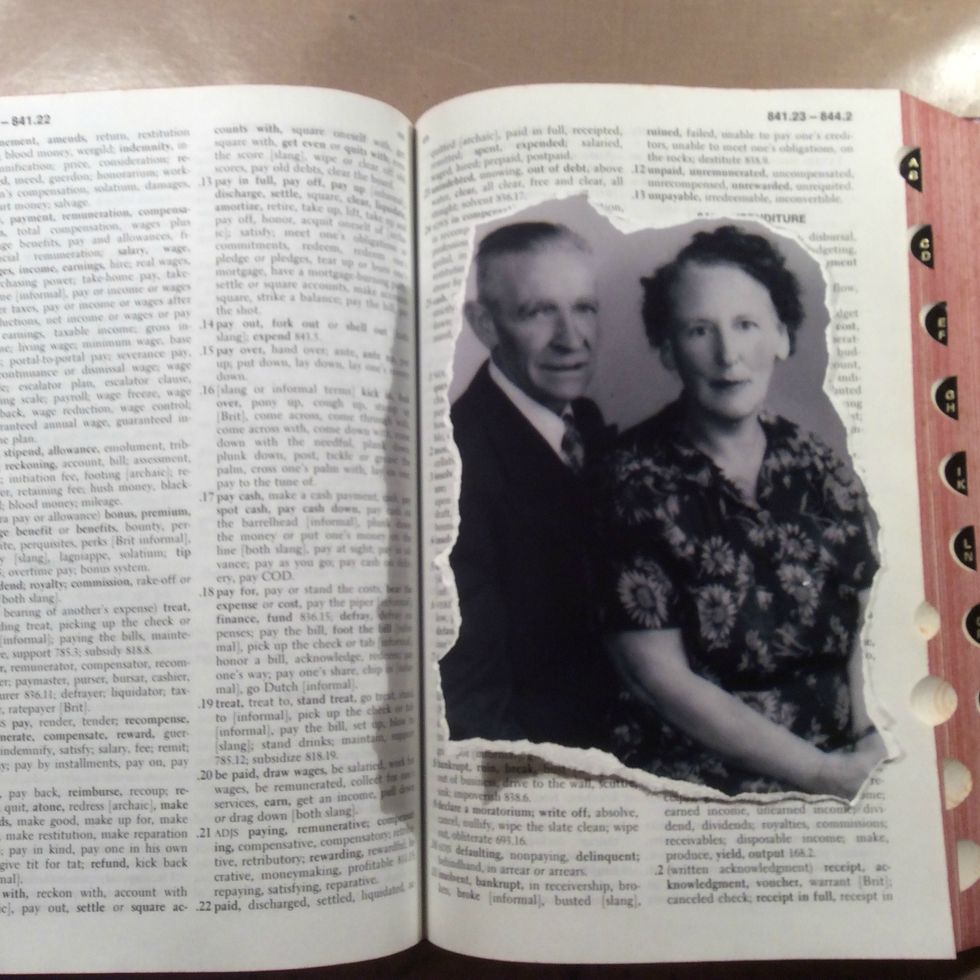
I ripped the edges of my photo for a distressed look and traced around it so I knew where to cut the niche.
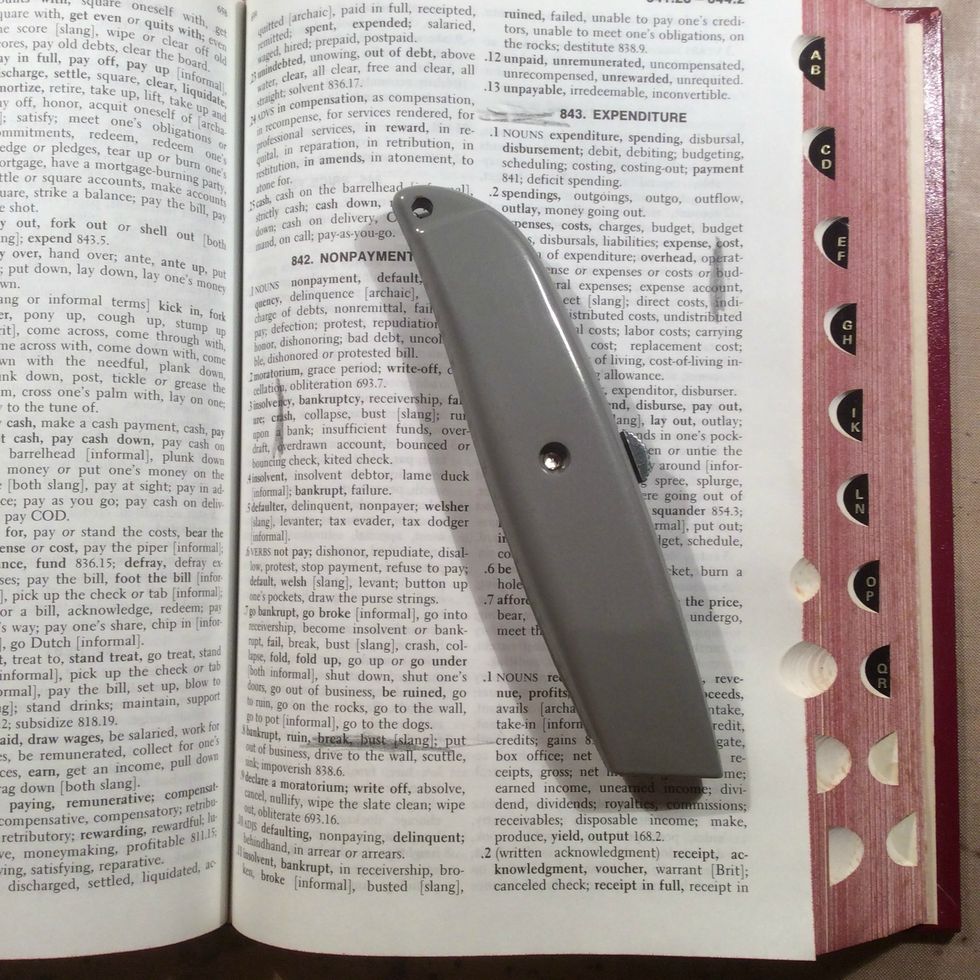
Using your knife start cutting out the inside to hold your photo.
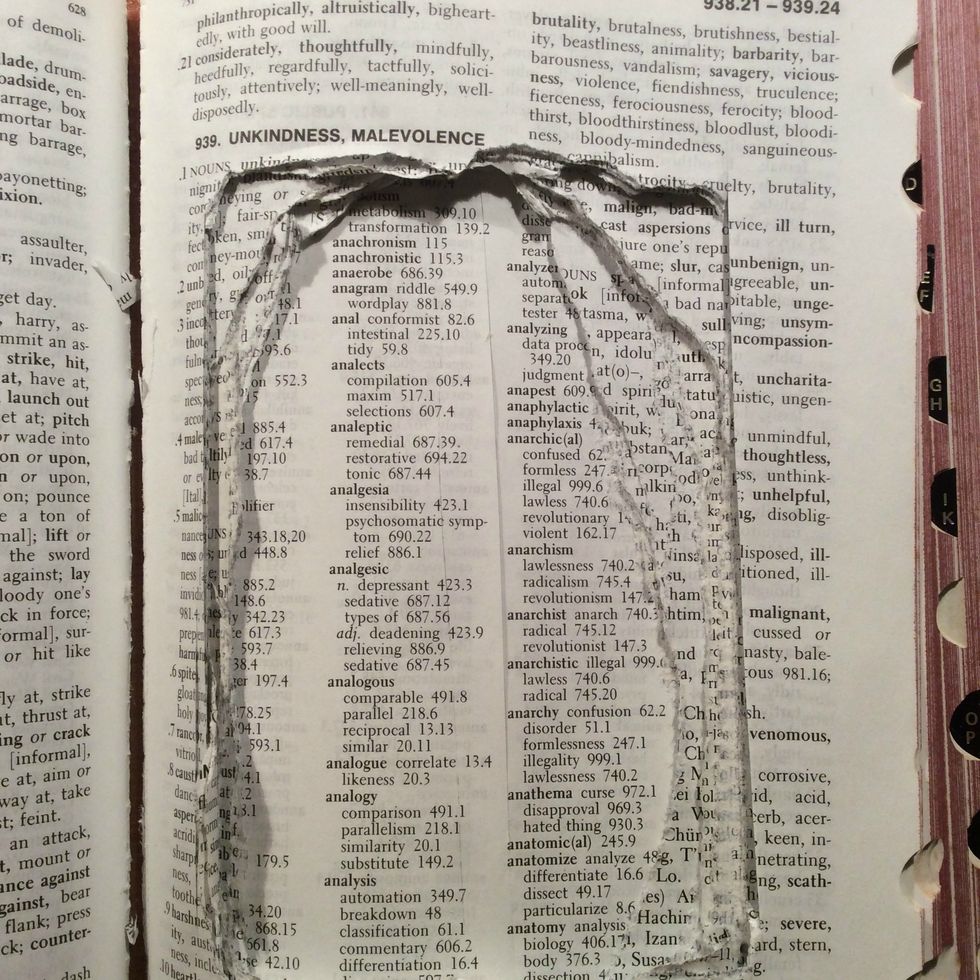
Start cutting your area and then rip some of pages out by hand so that you can fold and manipulate the pages for a more distressed appearance.
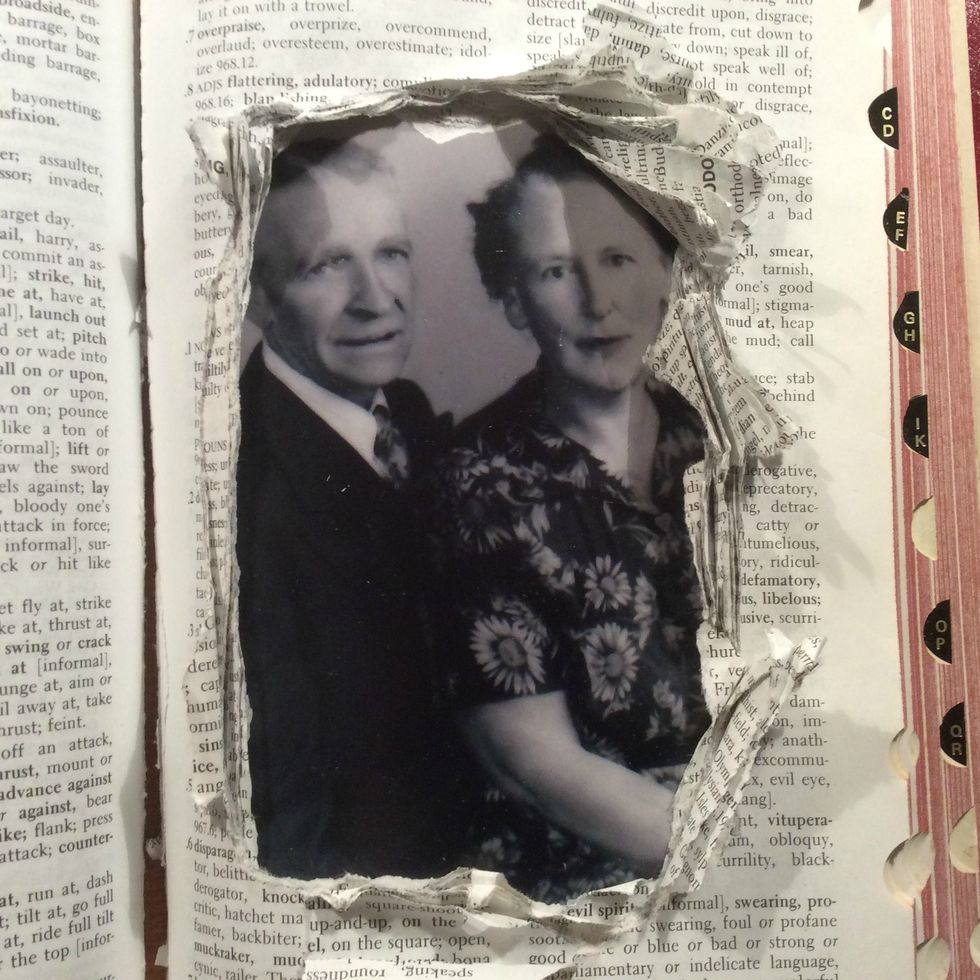
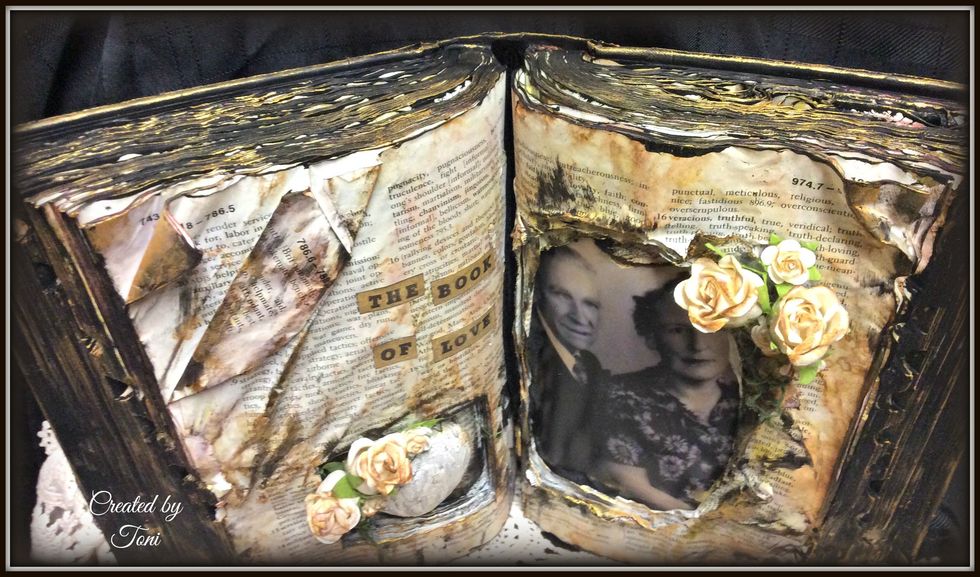
Place your photo under all the photos to make sure it fits appropriately. I spritzed the pages with water and then bent them around a skewer.
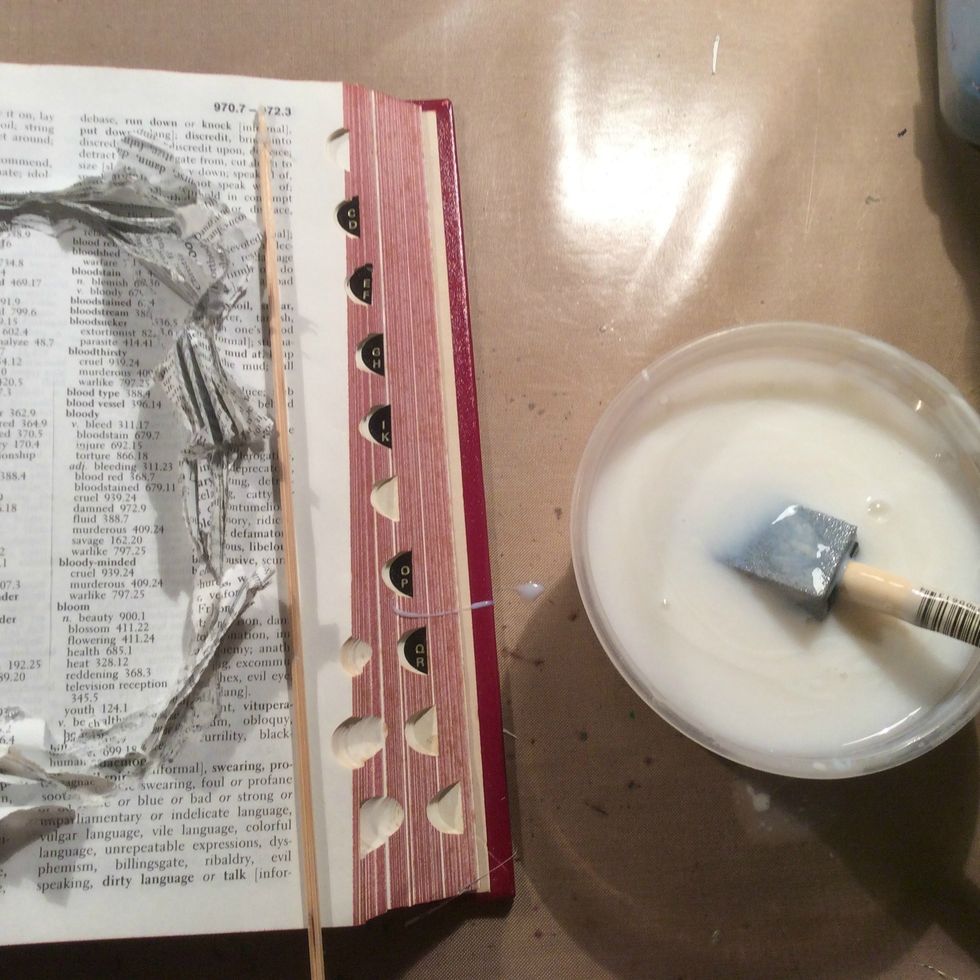
Using Mod Podge or you can make it yourself... 1/2 water and 1/2 regular school glue...mix together well.
Apply Mod Podge over your pages. Make sure to get in all the little folds. I placed a sheet of wax paper between the niche pages and the page I will be placing the photo as to seperate them.
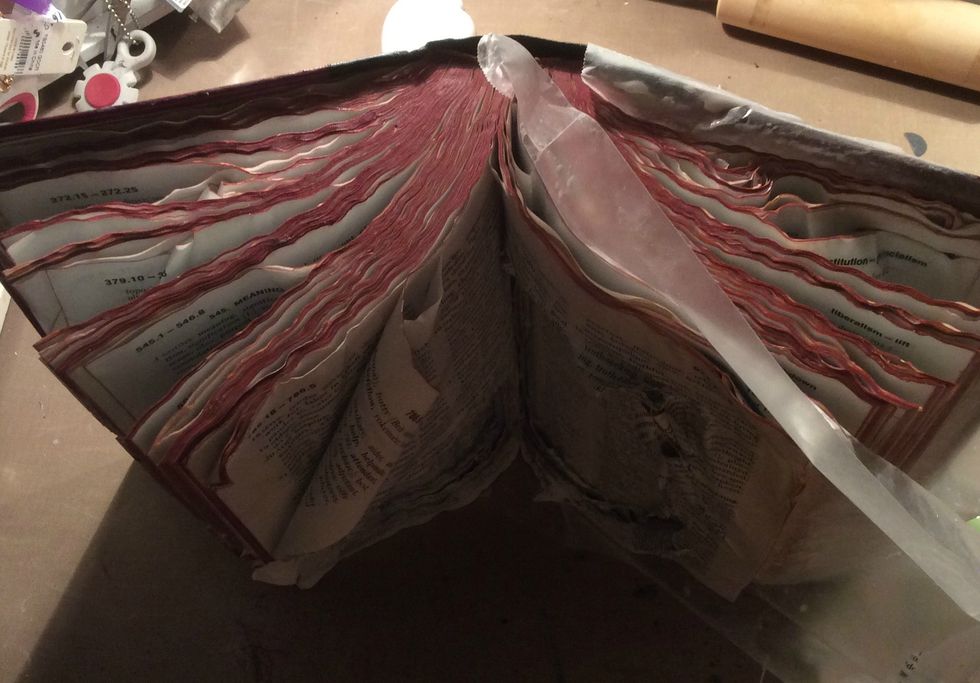
While applying your glue mix, wrinkle and fold and bend your pages the way you would like them to appear once dry. Allow to dry completely. I let it set over night.
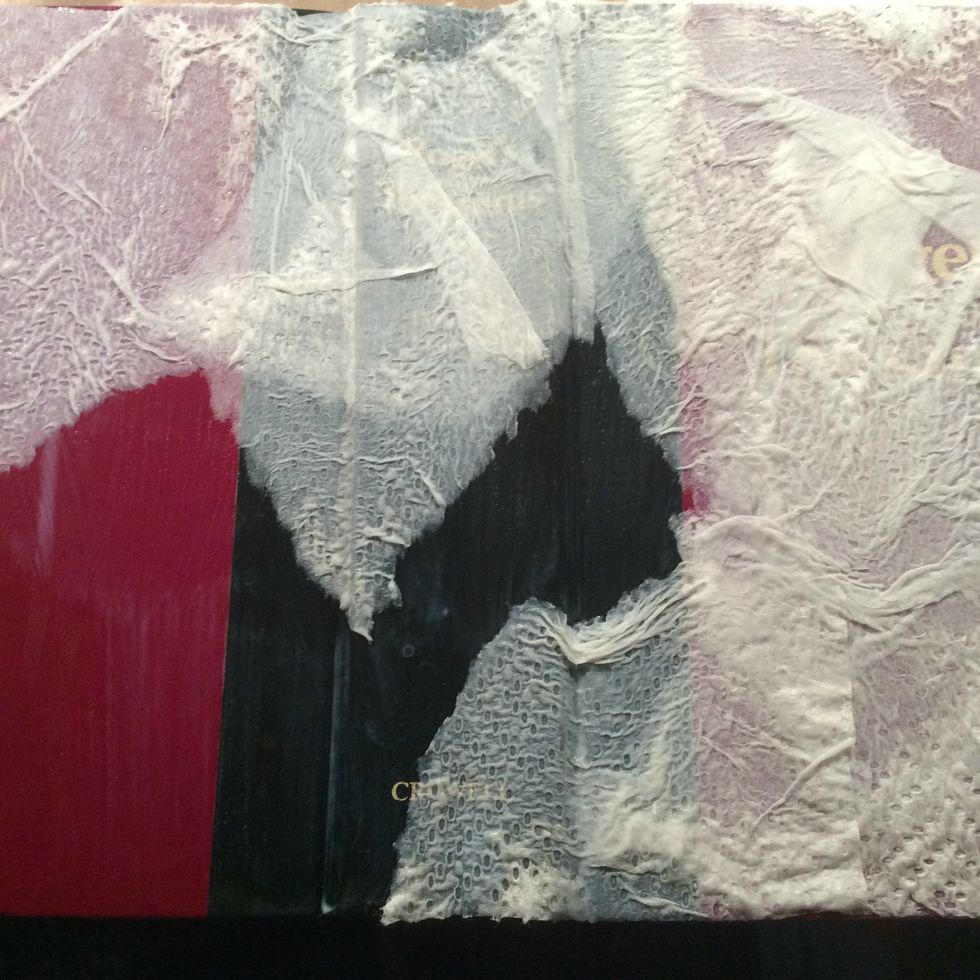
For the cover of the book I ripped paper towels and applied my glue mixture to adhere. Allow to dry.
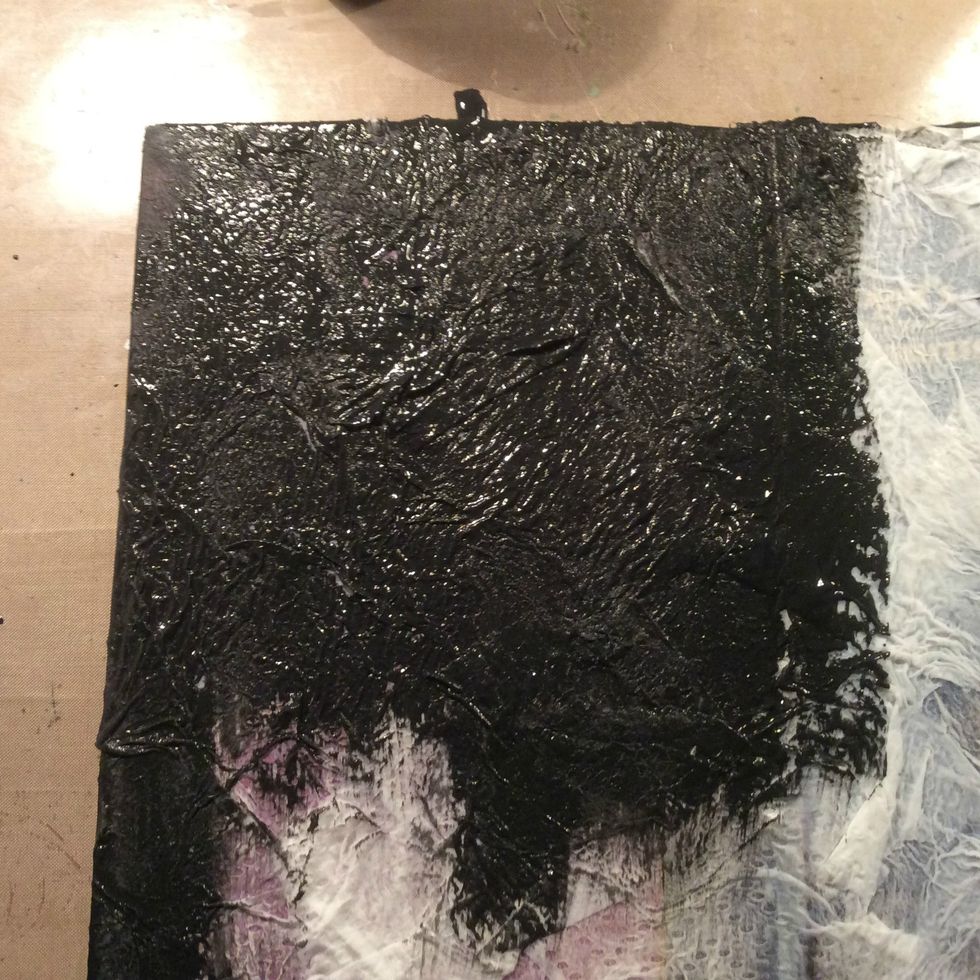
Once dried, paint with a coat of black gesso for a mat finish. You can also use acrylic but this gives more of a shiny finish.
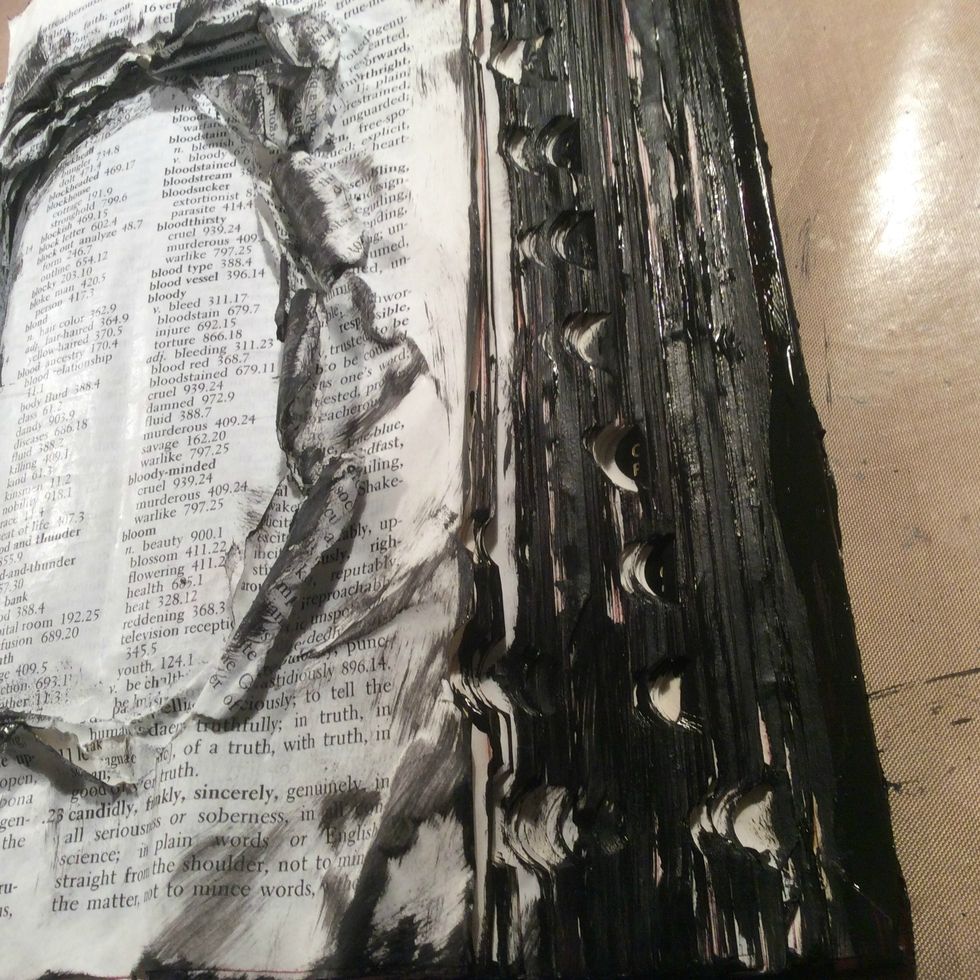
Also paint all sides and bottoms of the pages with the gesso and randomly hit the high spots of your niche pages.
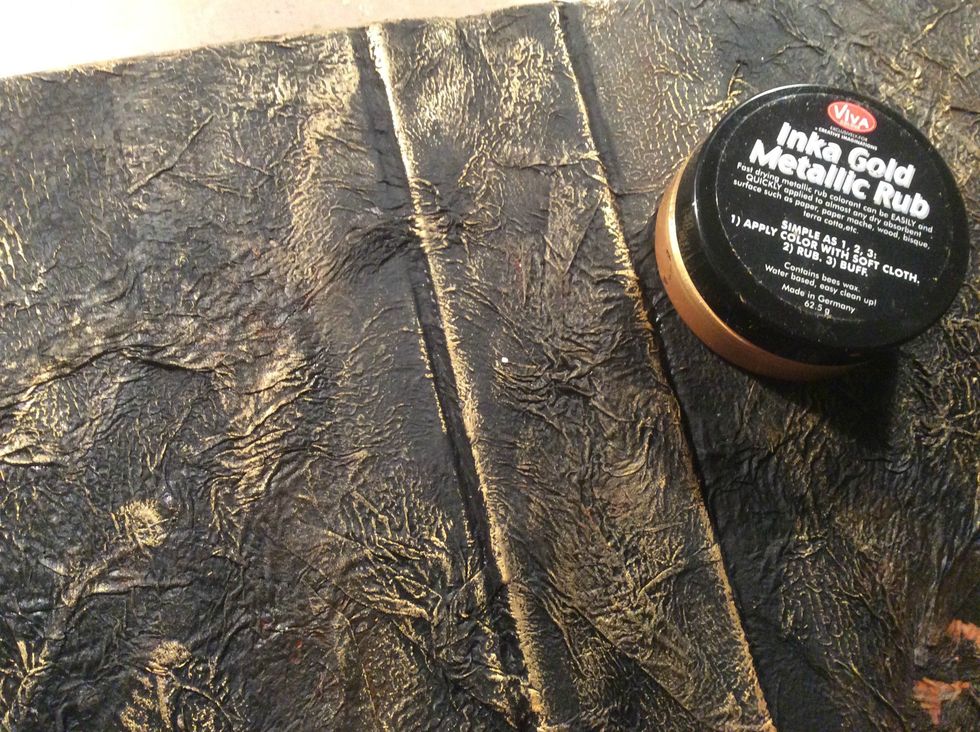
Once your cover is completely dry rub Inka Gold on all the high points. Don't forget to go around the edges of the book also.
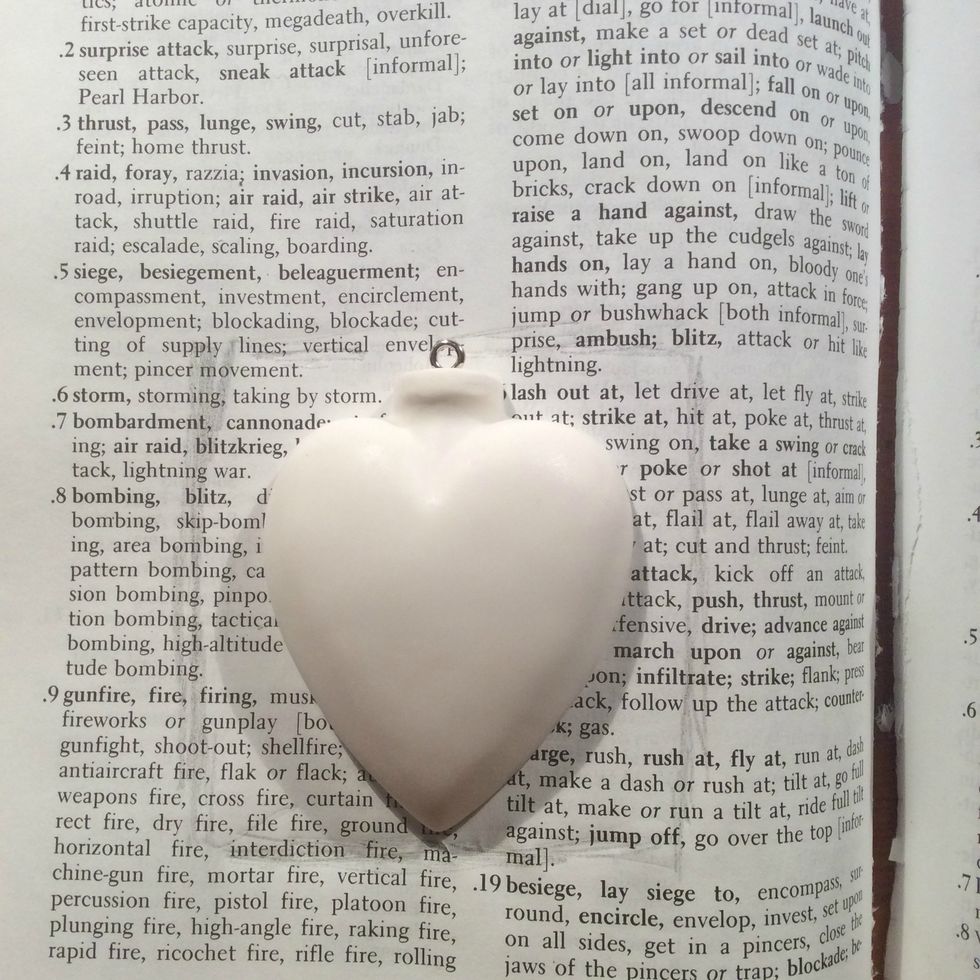
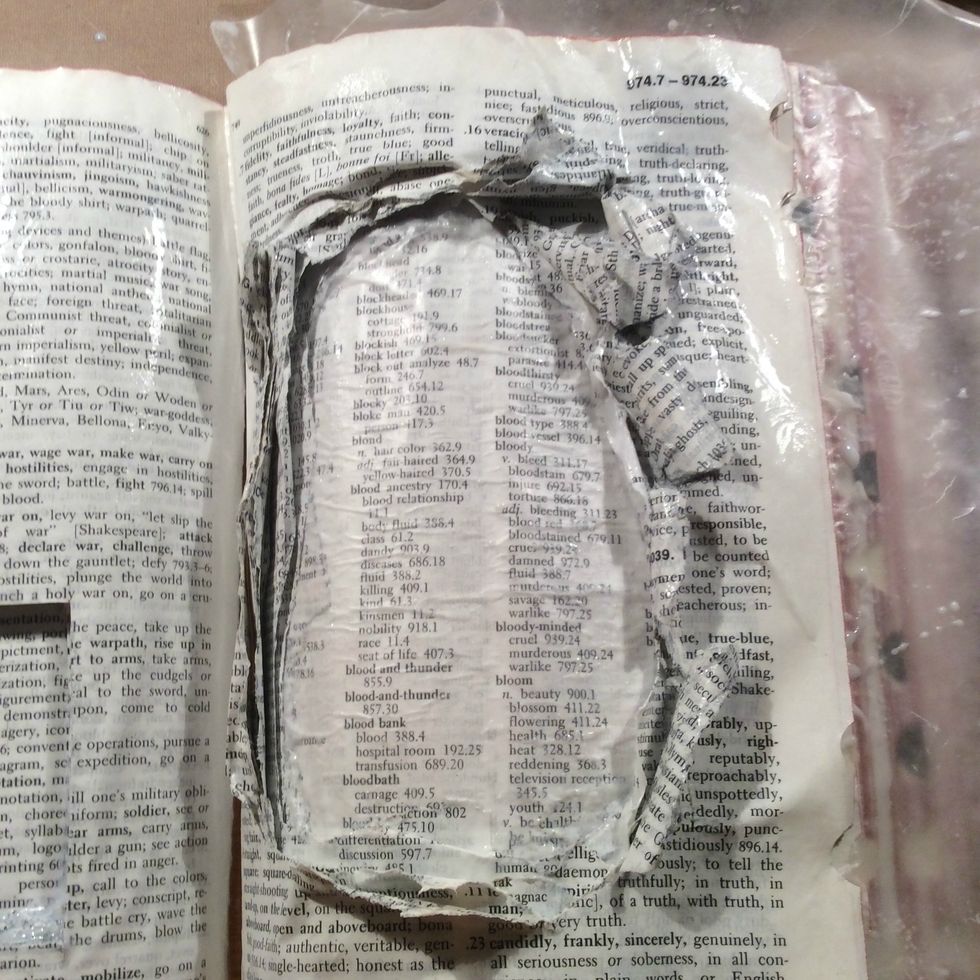
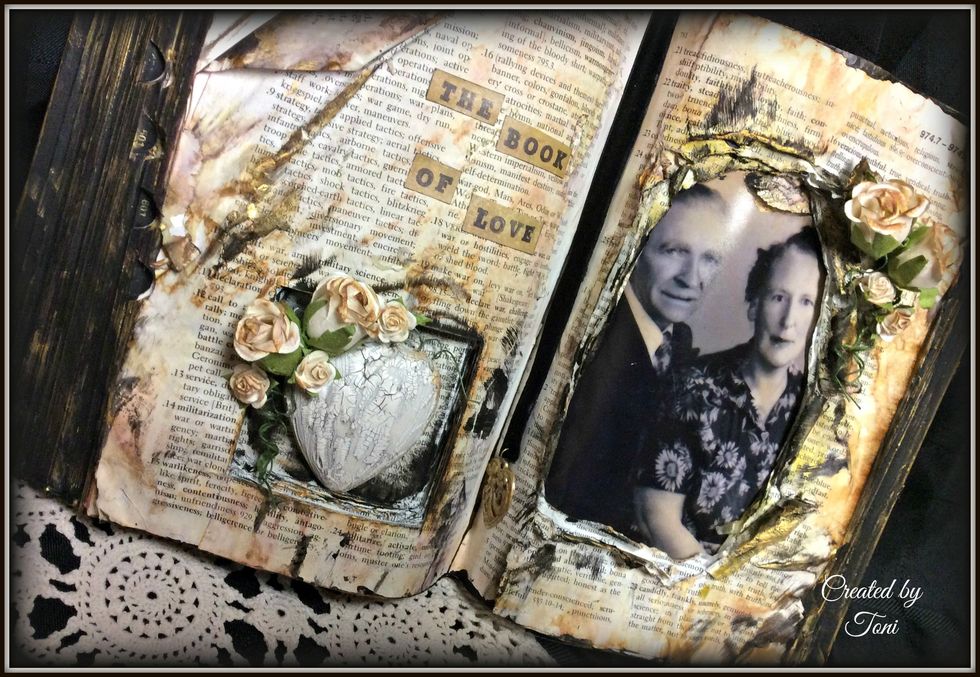
For the other side of the book I took this heart and traced around it.
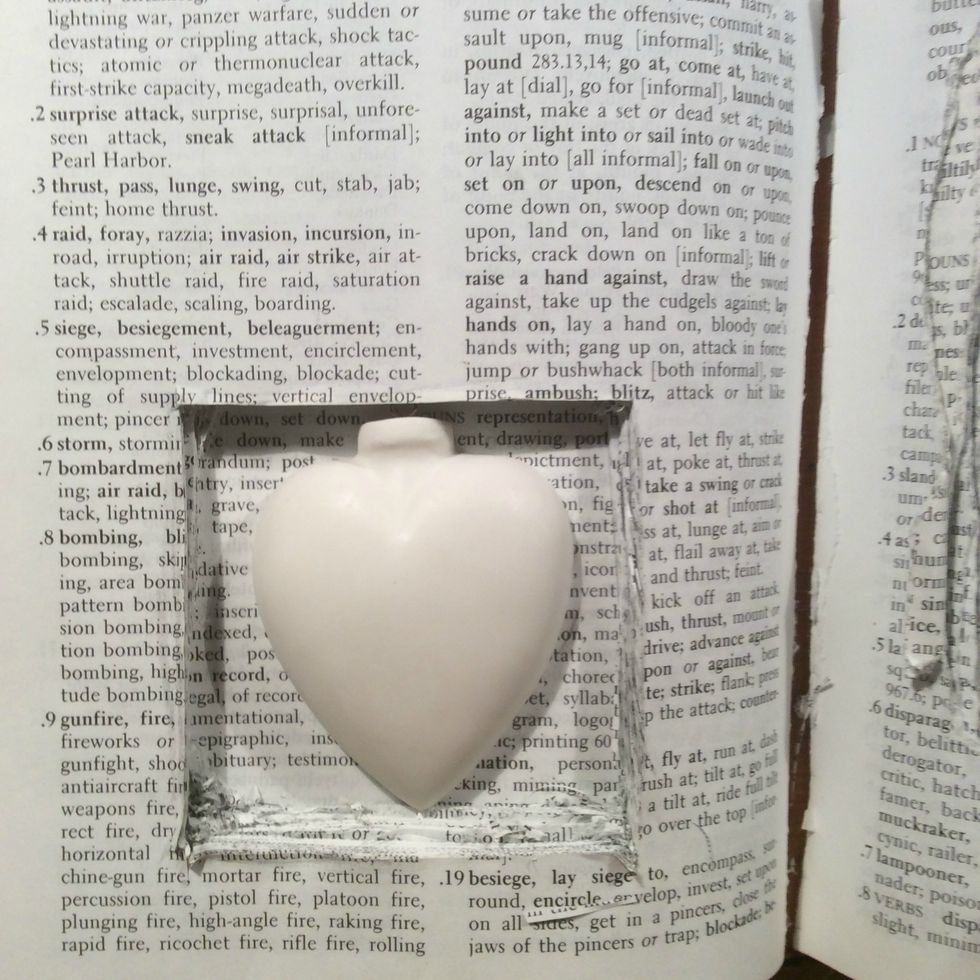
Start cutting your niche for this heart.
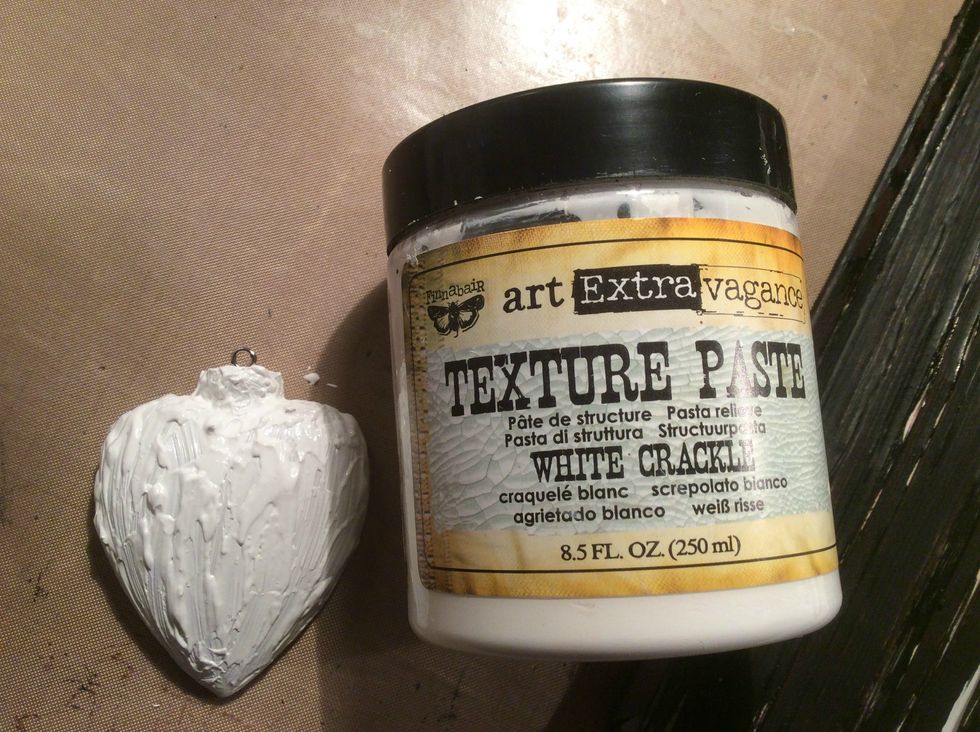
Use Texture Paste White Crackle in a thick coat and apply to your hear. Allow to dry naturally.
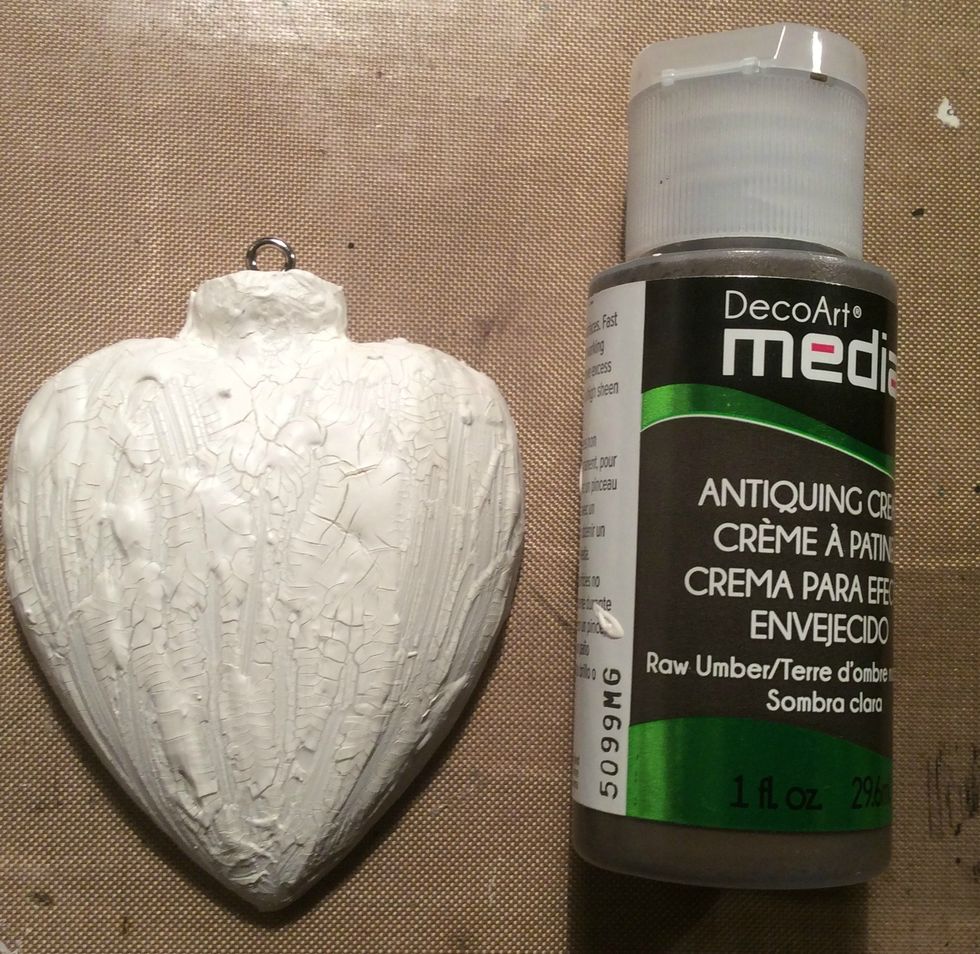
Deco Arts Antiquing Creme is wonderful for using with crackle paste. Paint over the entire piece and allow to sit and then wipe away excess.
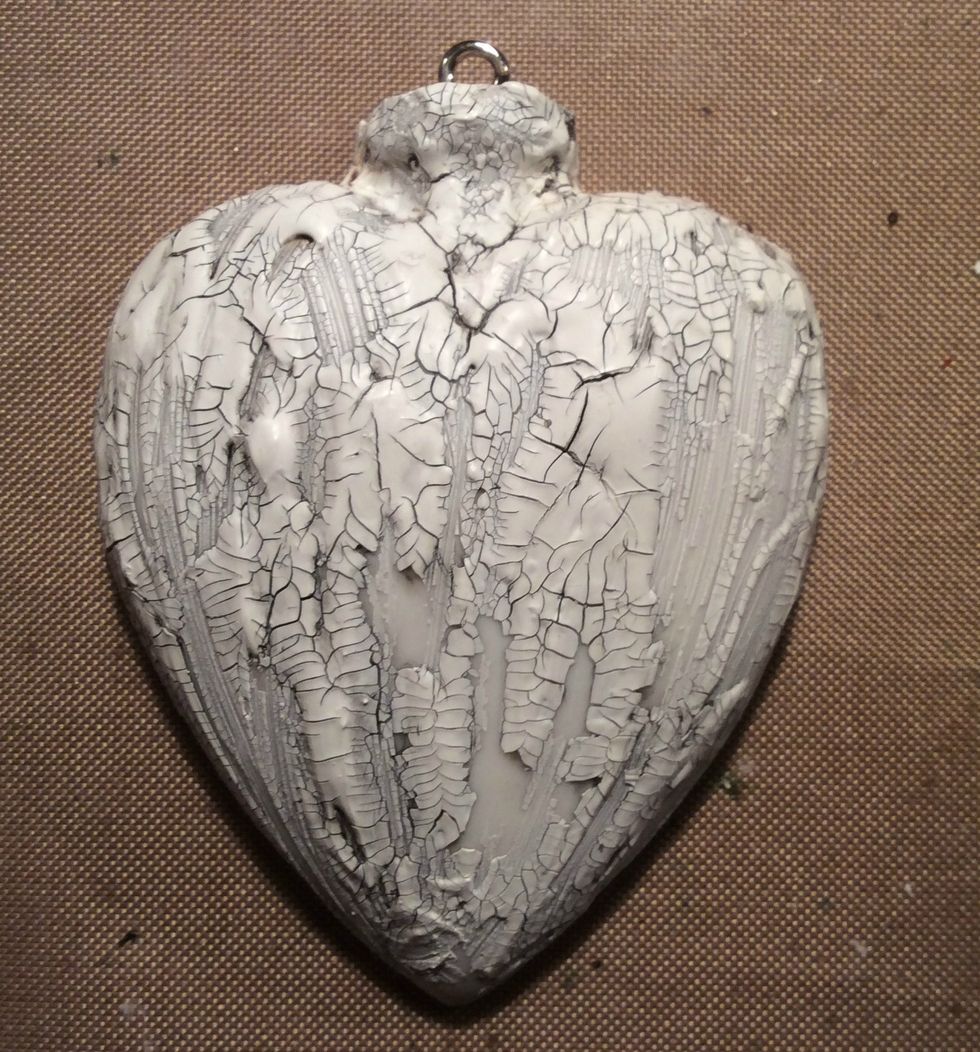
Love the aged appearance the cracks give to this heart.
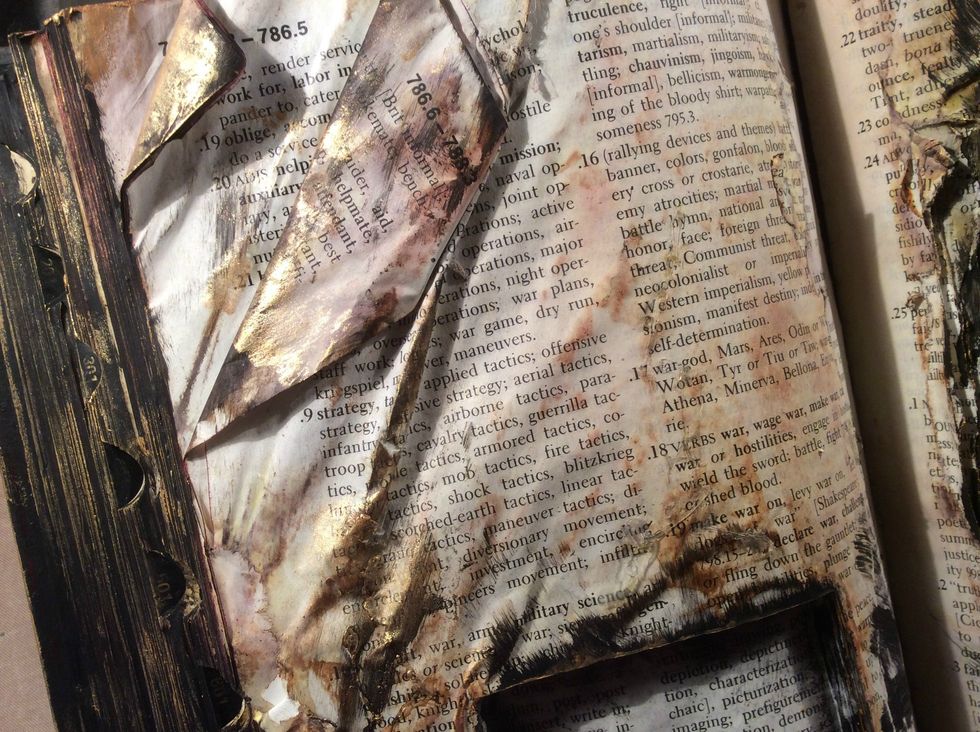
I even added Inka Gold here and there to some of the pages for a gilded effect.
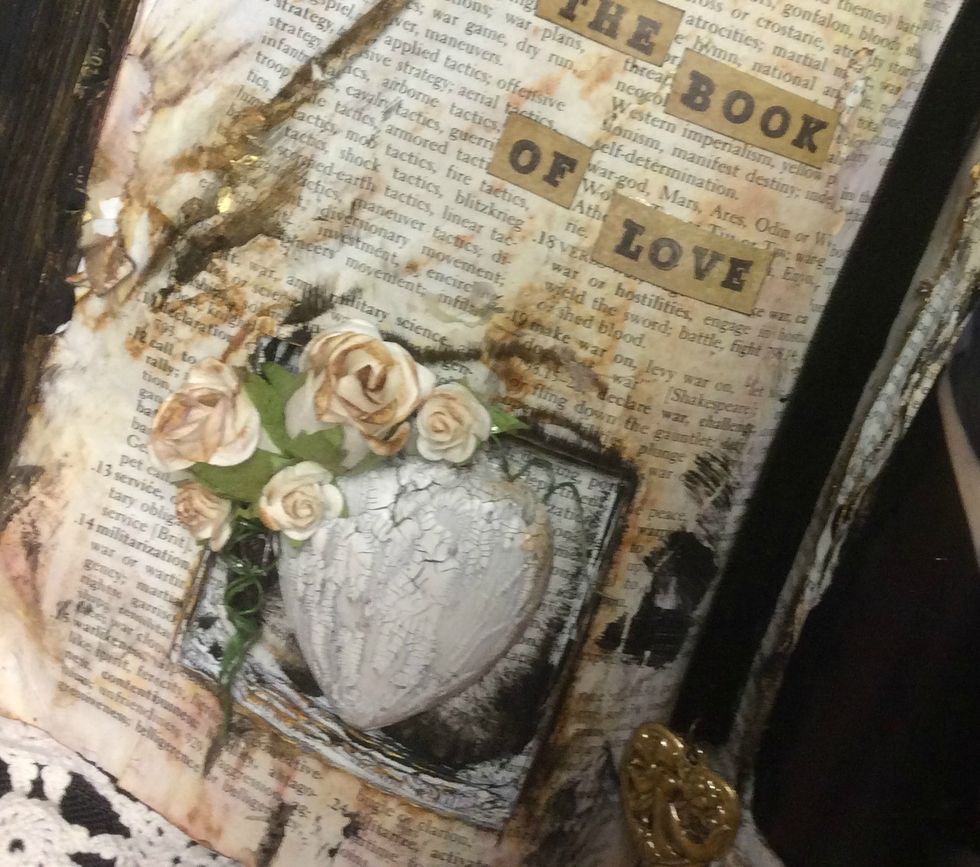
Adhere the heart in its space and then glue assorted flowers around it. I misted them with water then applied Vintage Photo DI to the edges.
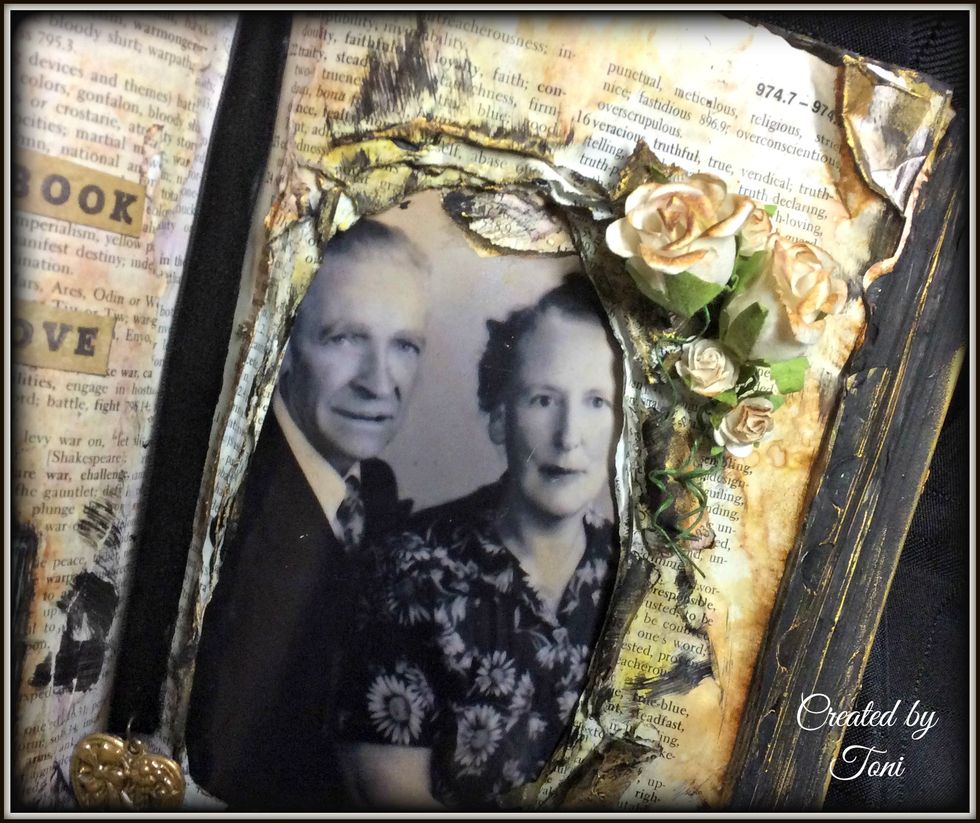
Using the same technique as before I glued more flowers around the outside of the frame.
Make sure you use Inka Gold on the edges of the book pages. Really provides a wonderful vintage look.
I spritzed the pages a bit with water and then ran Walnut Stain and Vintage Photo DI across the pages.
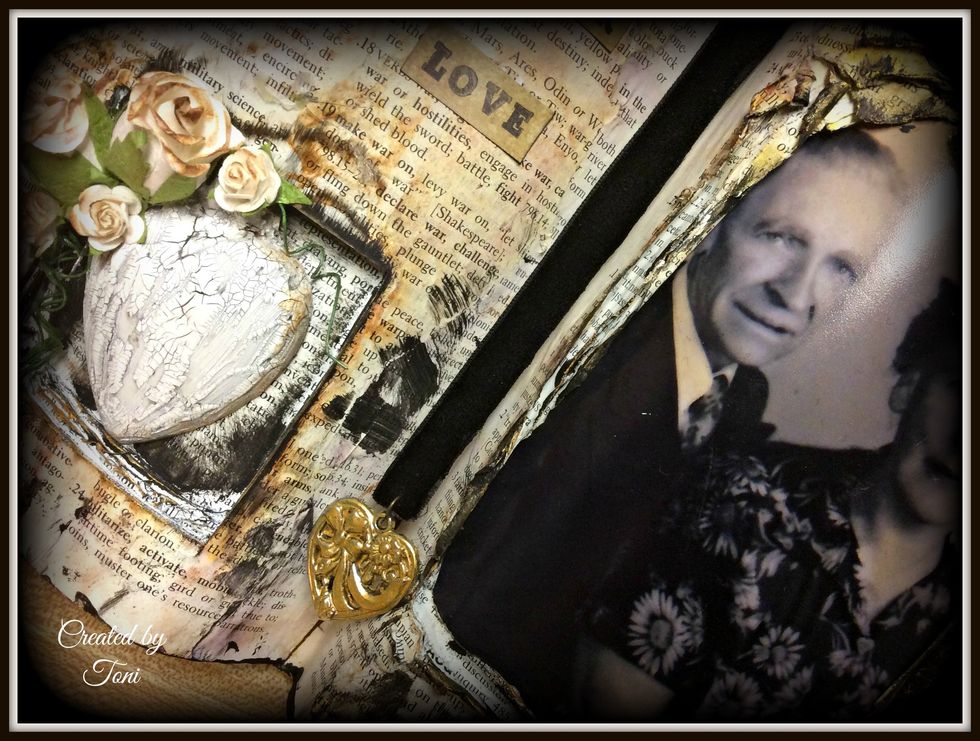
For the bookmark I used a piece of black velvet and glued it inside the top cover and hung in over the pages then attached a charm to the bottom.
Hope you enjoyed this tutorial and for more inspiration please stop by my blog @ http://www.toni-burks.blogspot.com/