The Conversation (0)
Sign Up
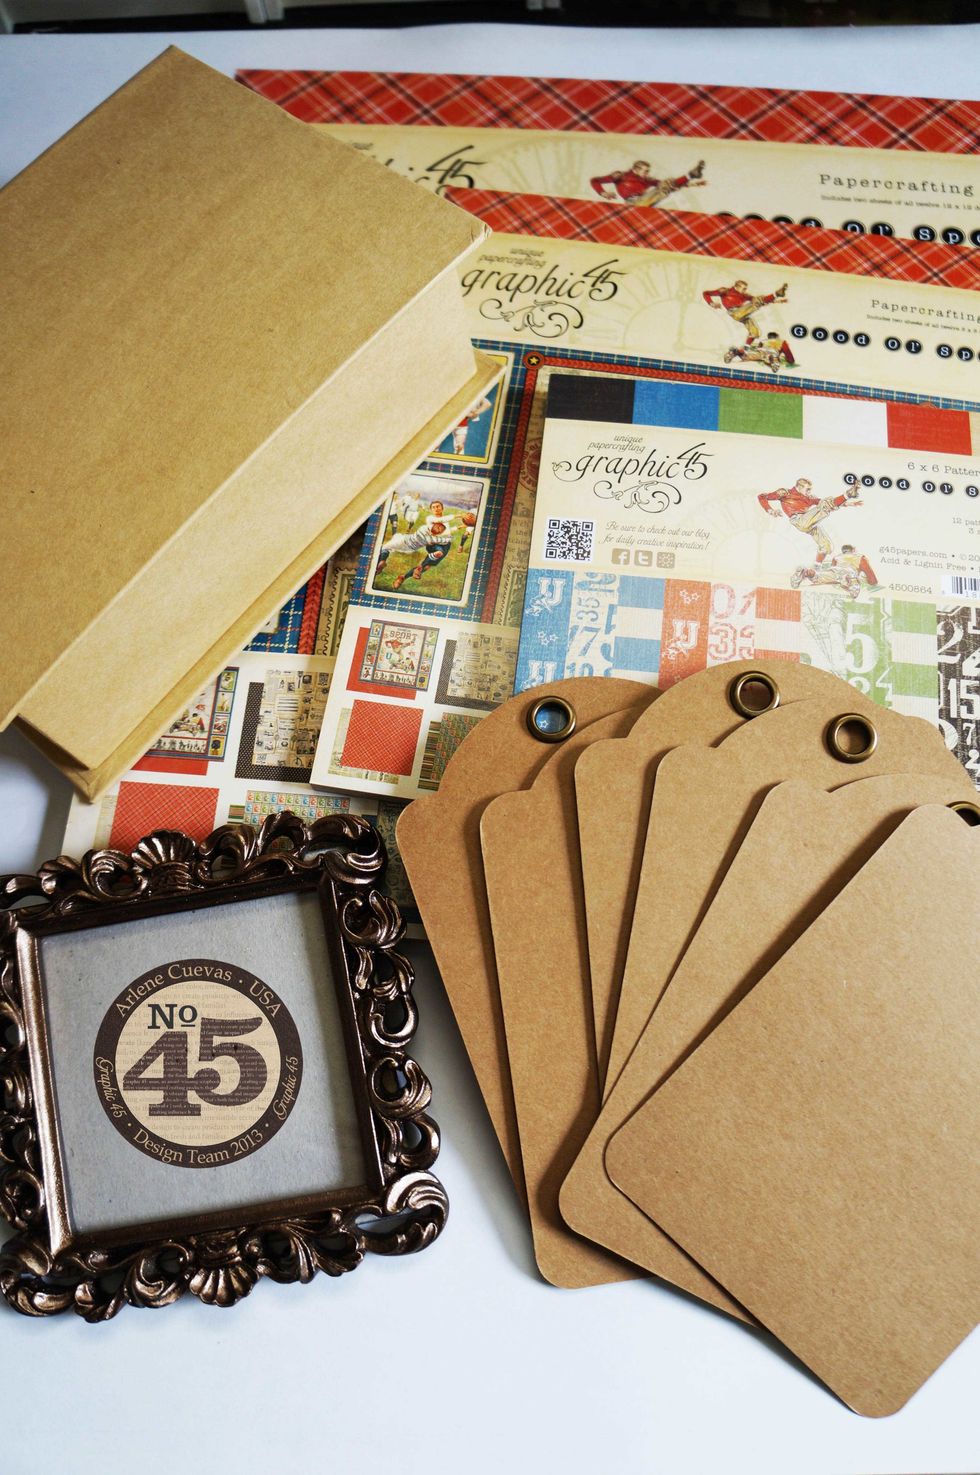
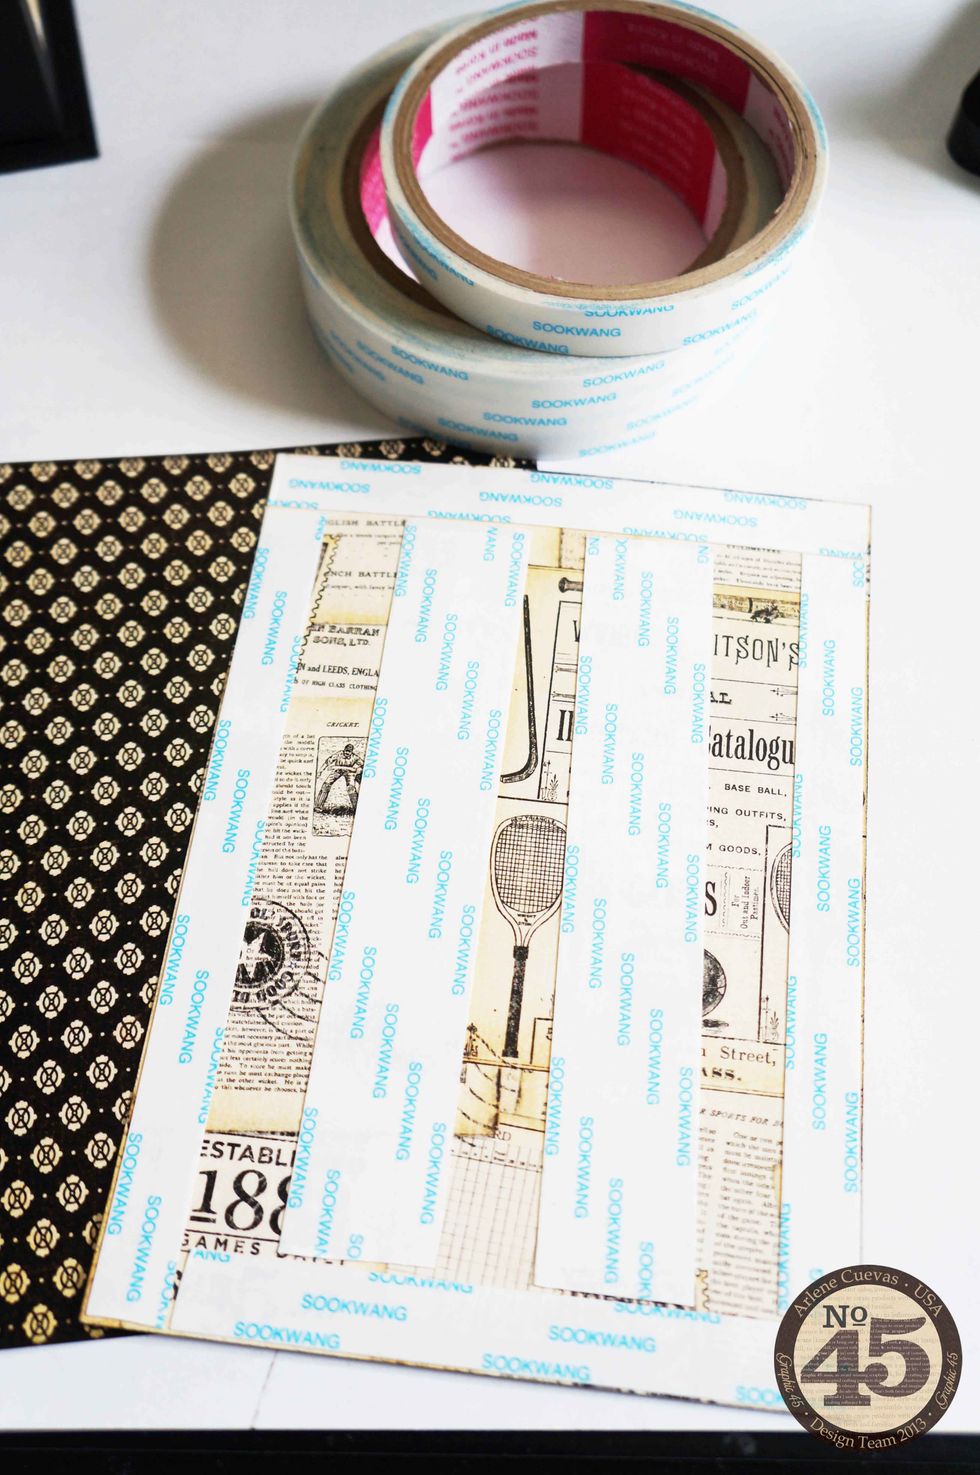
Gather your materials. Basics: Graphic 45 design paper, Staples Book Box, Staples Regular Tag Album, frame from craft store dollar bin…
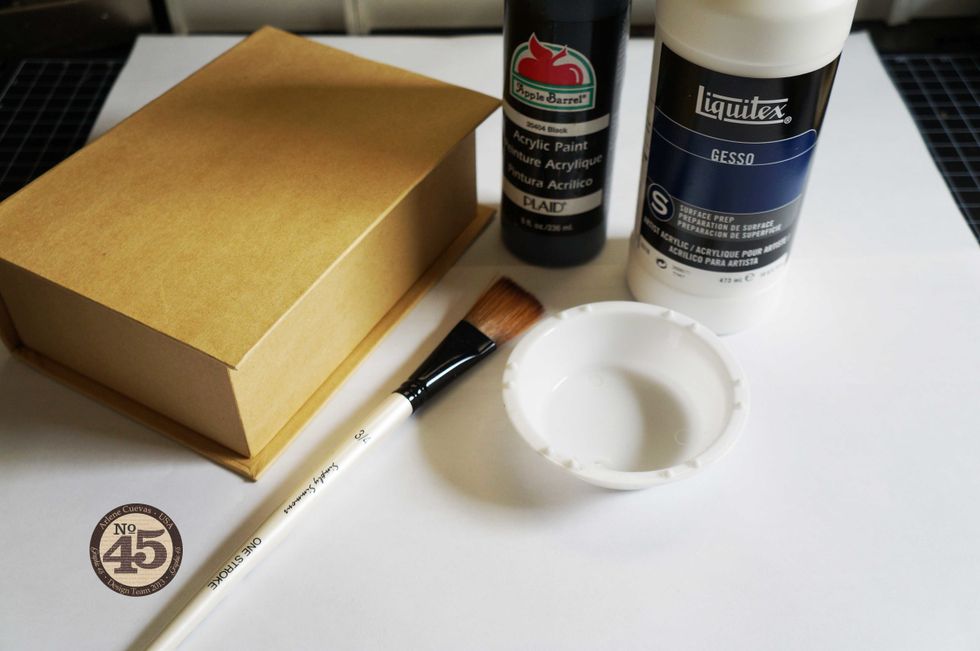
First, prep the box. You will need Gesso (to prime or prep the box for painting), acrylic paint, a paint brush and a paint dish.

Since we will be covering the box with design paper, focus your efforts on the edges of the box. First, prime with Gesso using a paint brush.
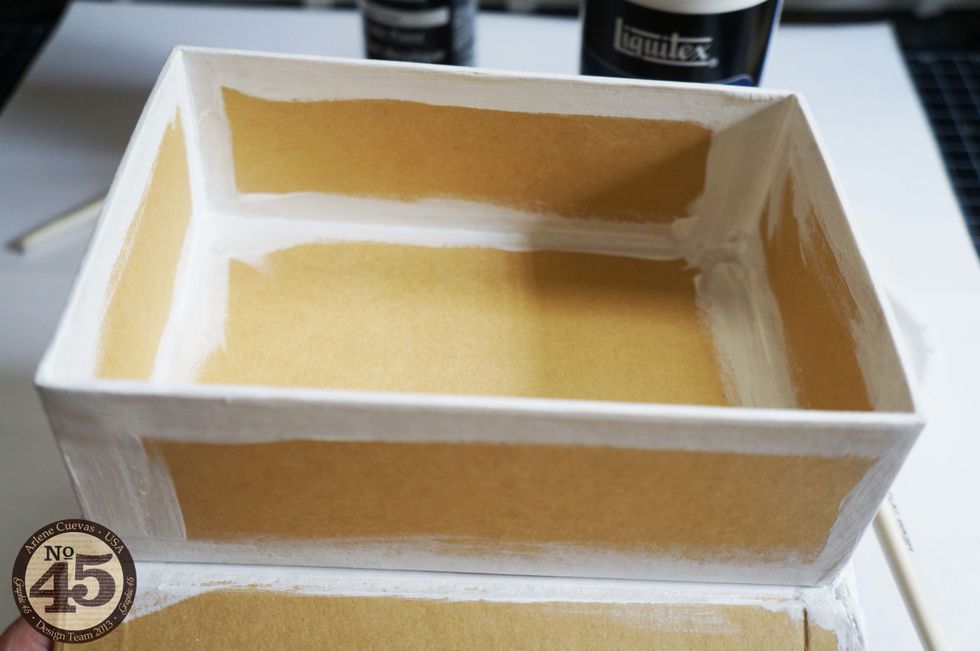
Here’s what your box will look like so far...

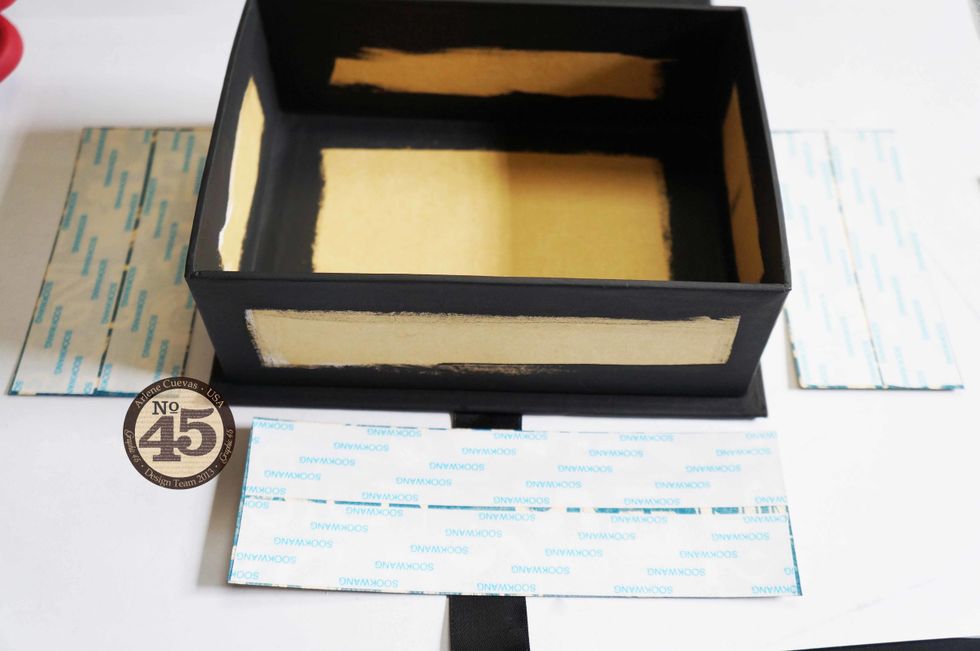
Next, cover with acrylic paint. You can choose to dry the paint with your heat tool or let it air dry if you have time.

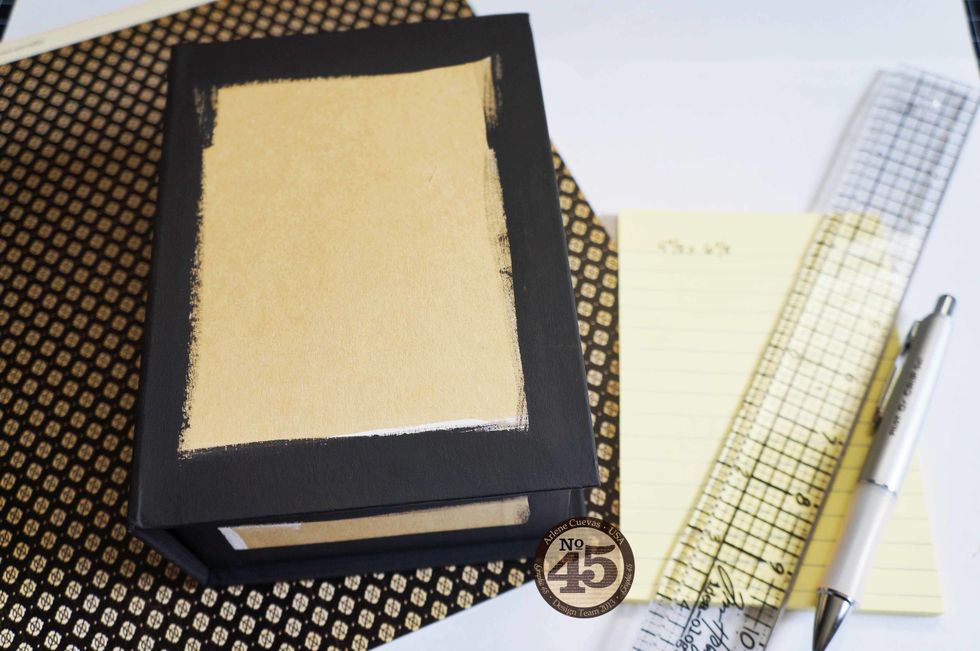
Here’s what your box looks like so far...
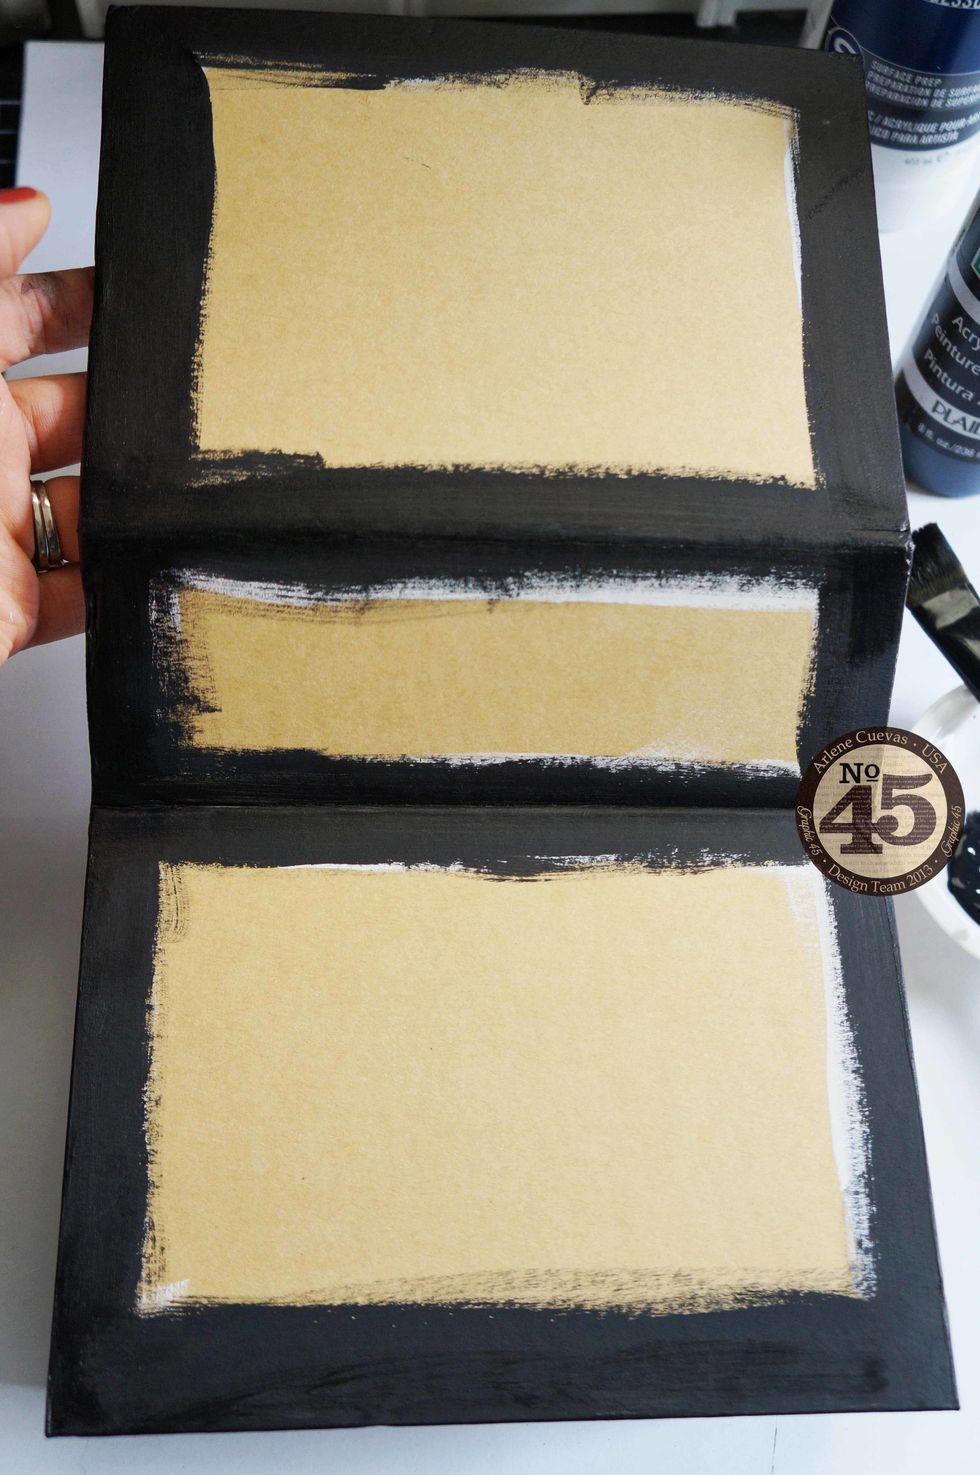
Don’t forget the outside of your box, too!
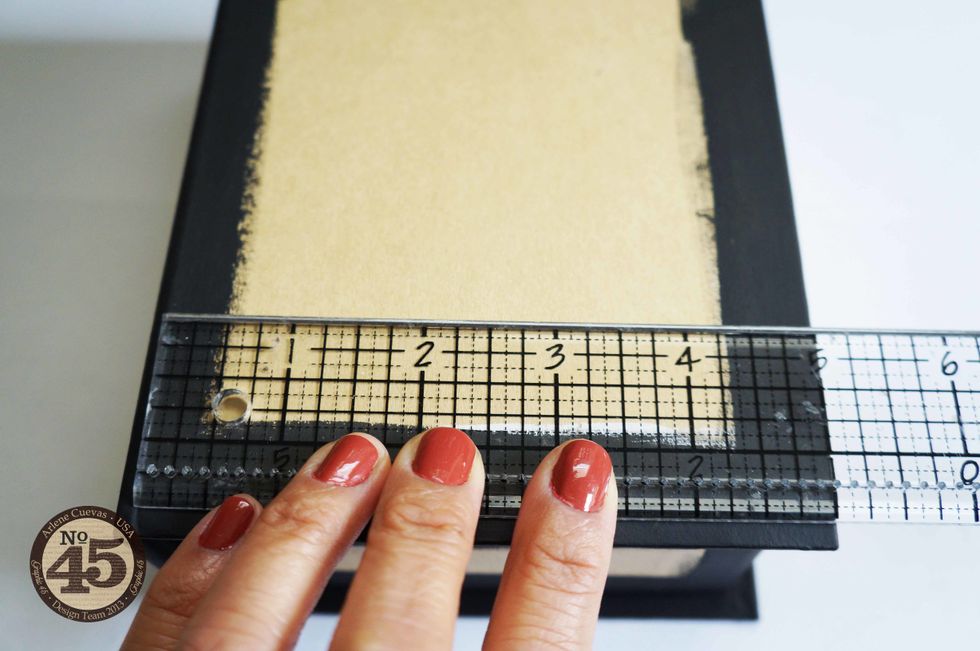
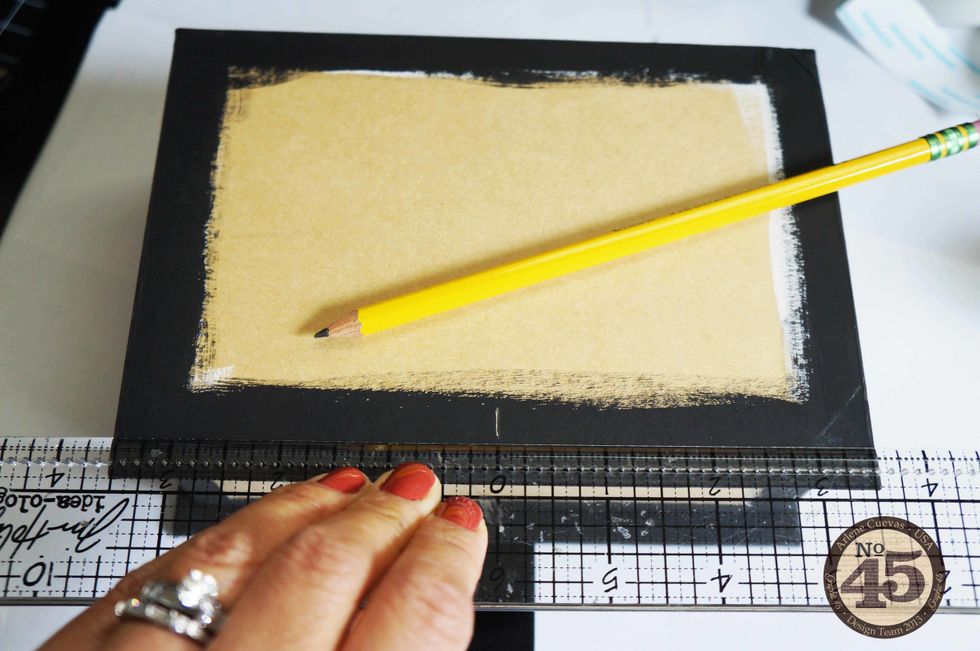
Measure the size of the box so you can trim design paper to cover it. I usually leave a 1/8” to 1/4” border so the painted edges of the box peek out.
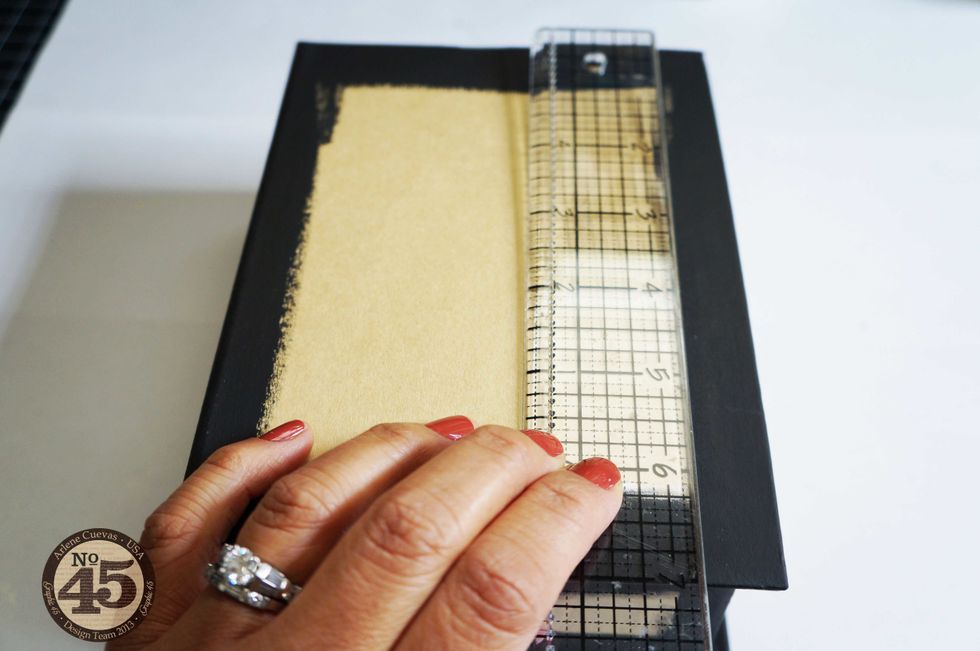
I love my Tim Holtz ruler as it’s easy to see through the ruler to get accurate measurements. But any clear ruler will do!
Write your measurements down and select the design paper you will be trimming down for the cover of your box.
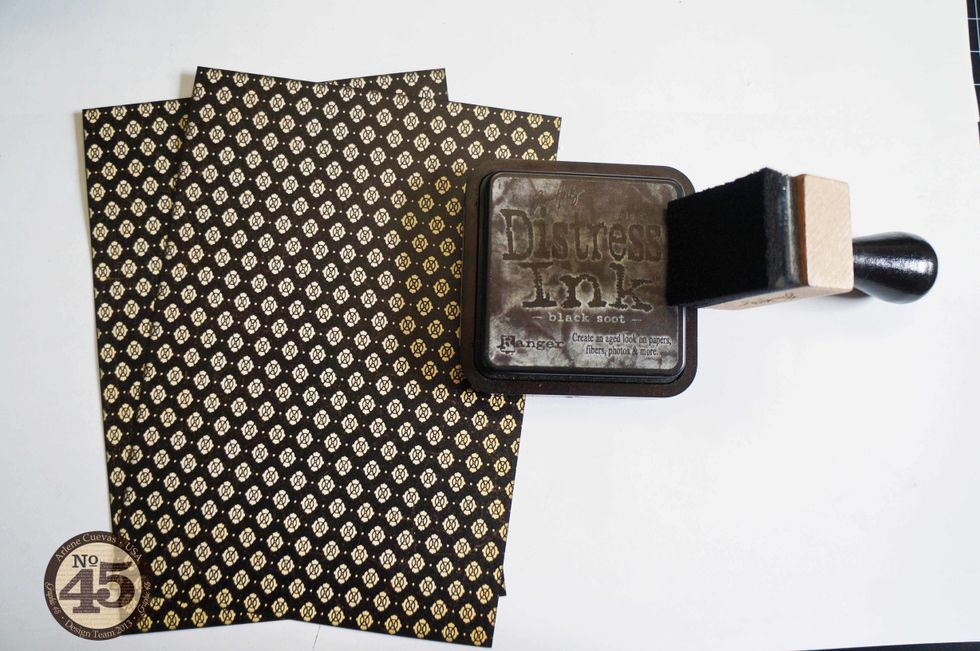
Trim down 2 pieces for the front and back of your box. Measure and trim down design paper for the spine of the box (not shown in tutorial). Edge with Distress Ink for a finished look (optional).
Use ScorTape or any strong adhesive to apply your design paper to the box. This will ensure the paper stays put over the years.
We will be adding ribbon to hold the box shut. Find the middle section of the box edge, right where the box opens up. Use your ruler to mark the center with a pencil.
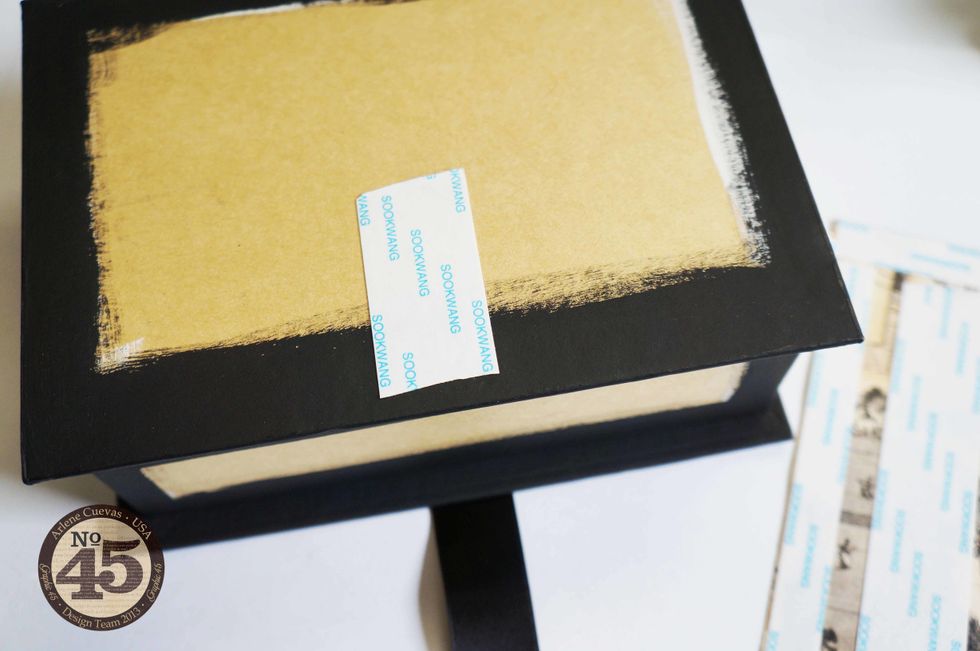
Add a strip of score tape centered right on the pencil mark
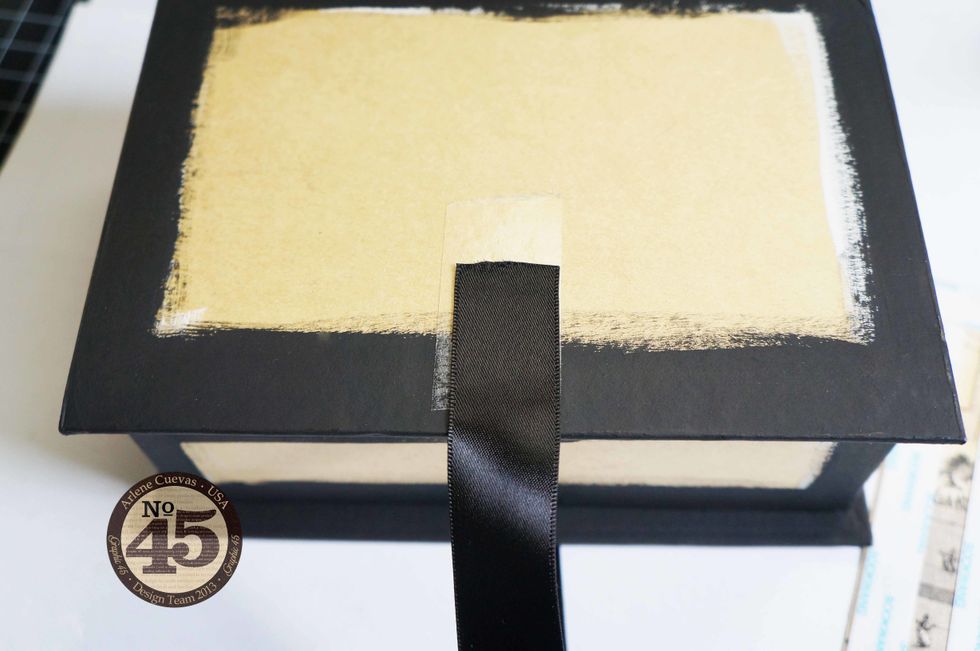
Cut 2 strips of ribbon (approx. 10-12 inches each in length). Adhere the end of one ribbon strip to the ScorTape as shown.
Remove the backing from the ScorTape and adhere your design paper to the box as shown.
Measure and cut strips of design paper for the sides of your box. Add ScorTape, then adhere to the box.
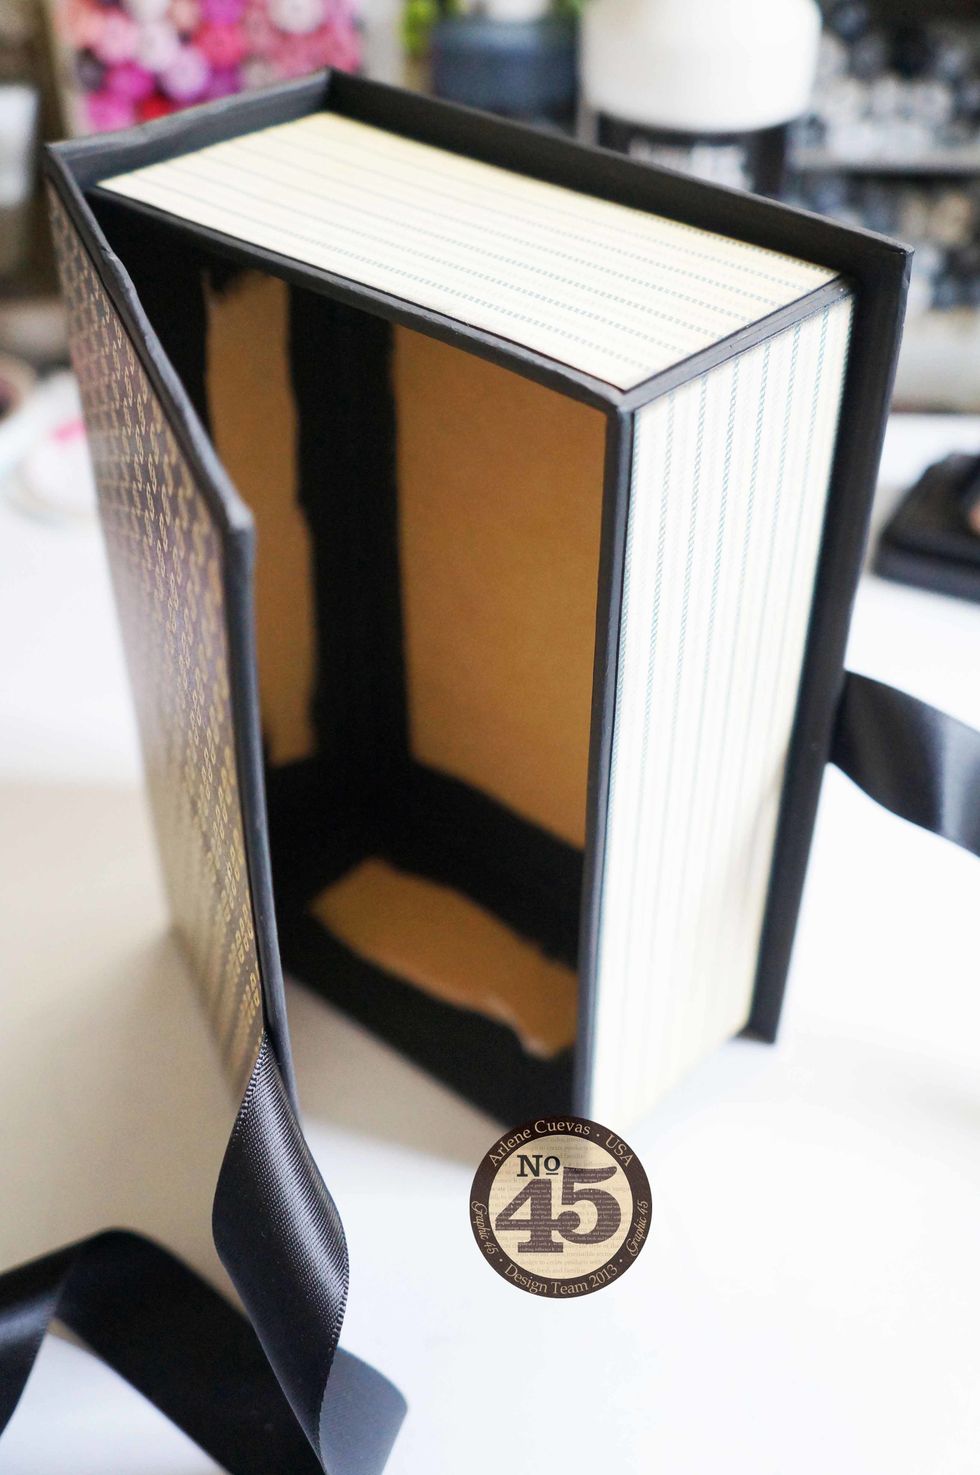
Here is how our box is looking! So far so good? ☺
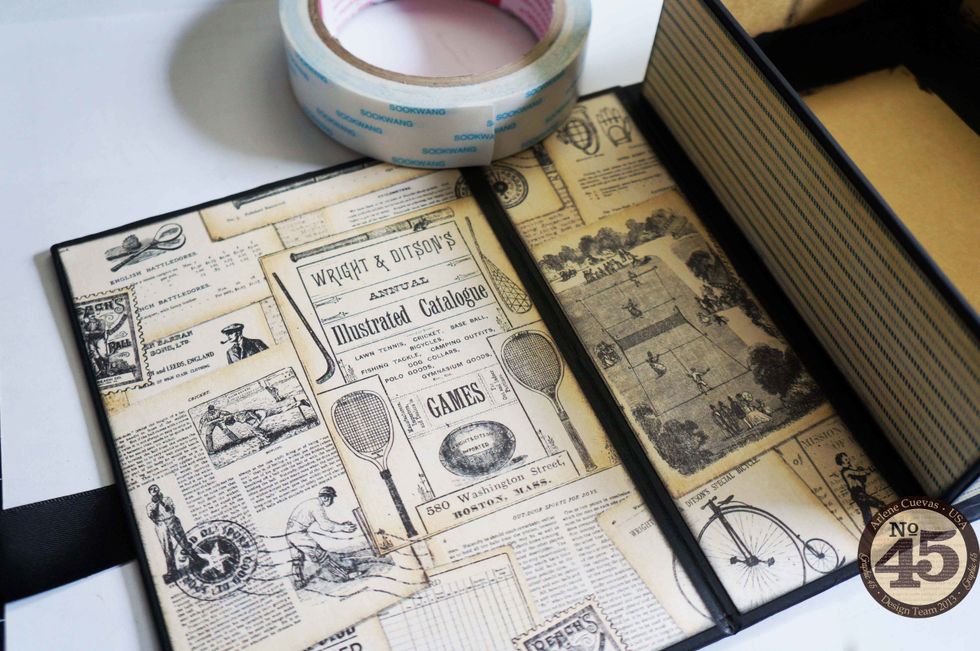
Measure and adhere design paper to the inside of your box as shown. Again, use ScorTape or strong adhesive to lay the papers down.
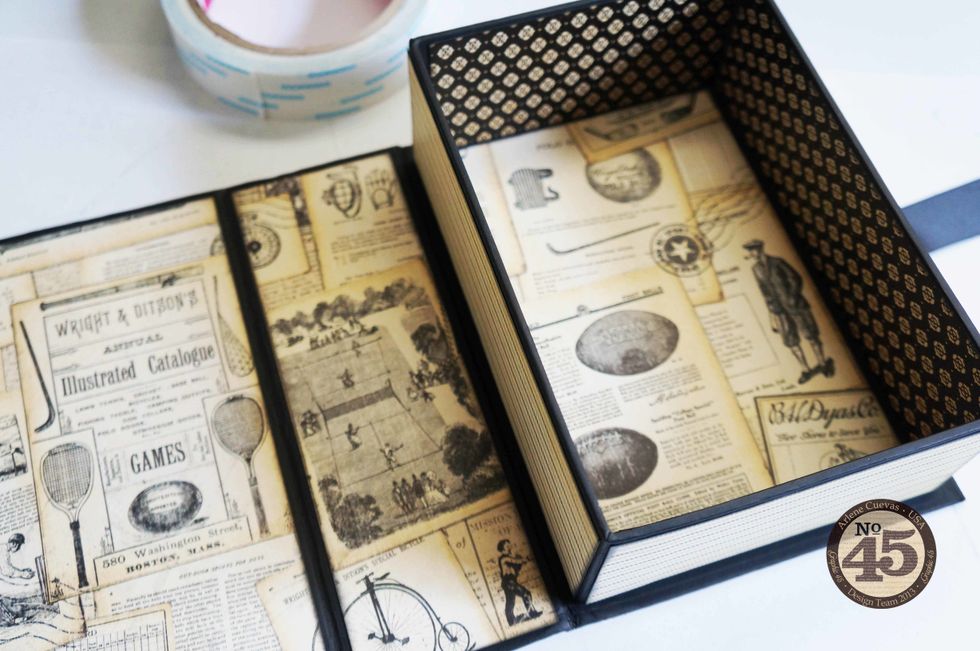
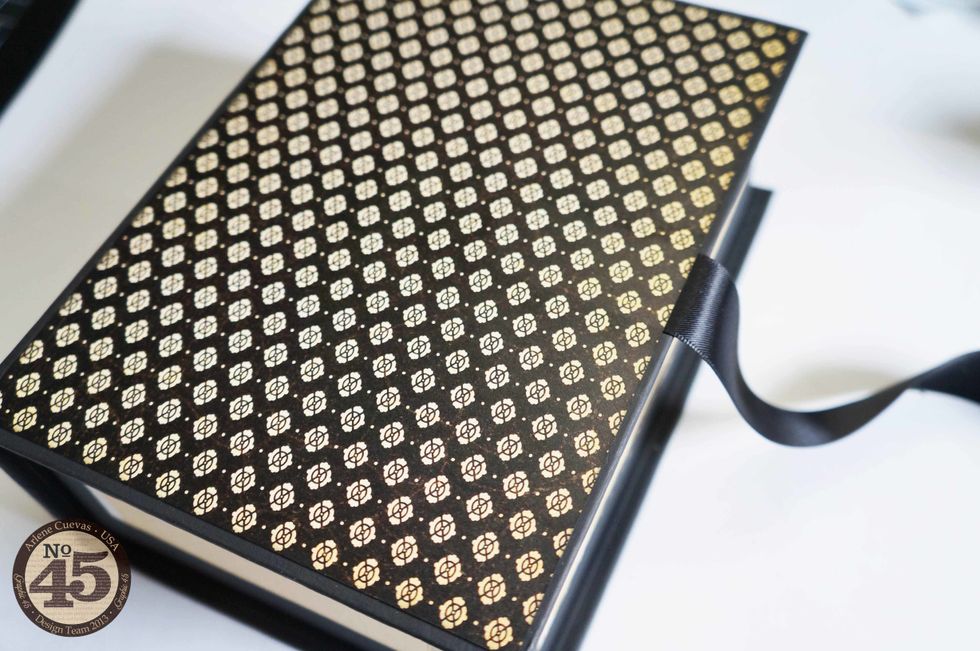
Now we have a finished box that is ready to embellish!
Before we go, let me show you how I cover the tags on the Staples Regular Tag Album....
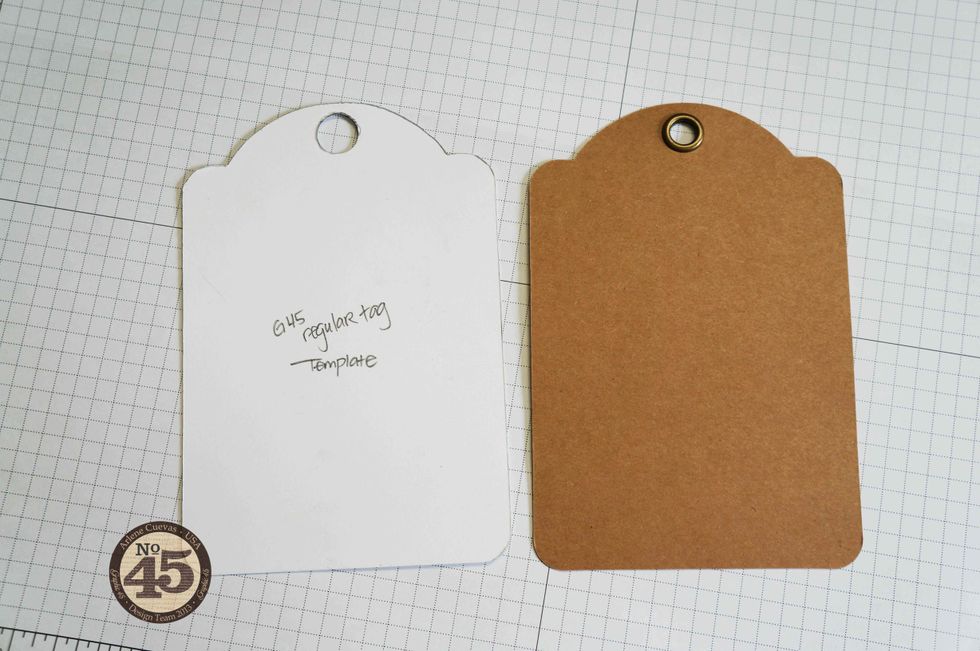
First, create a template (or you could chose to use one of the tags in the album pack).
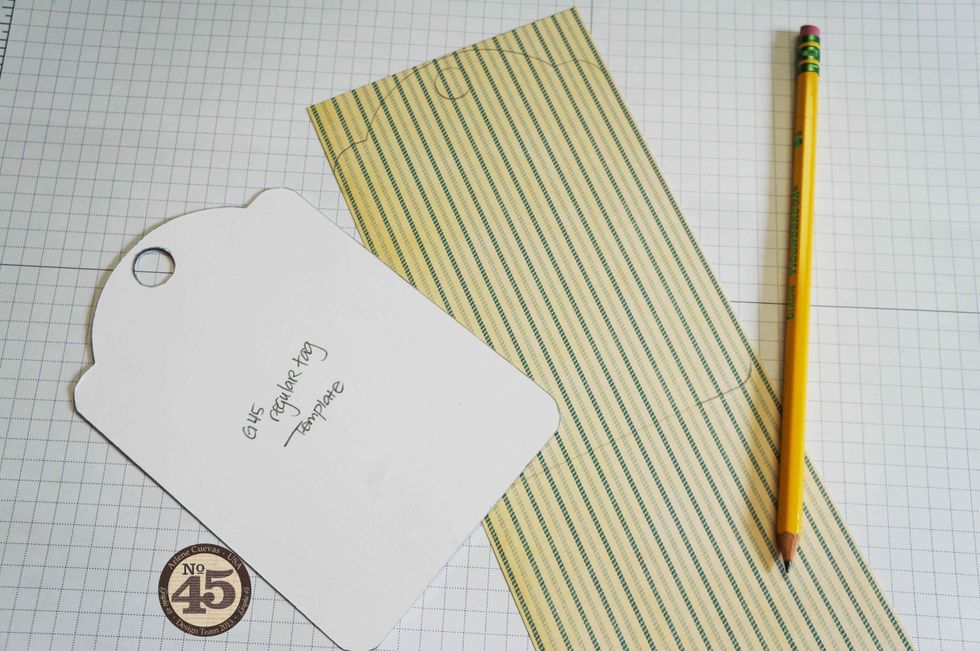
With a pencil, trace around the template on a piece of design paper as shown.
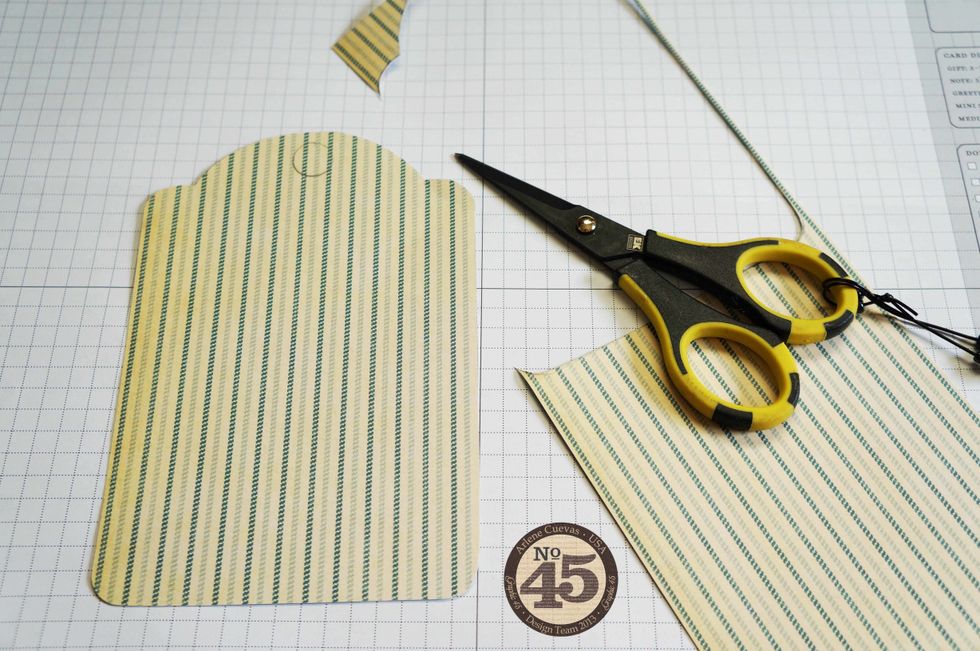
Use fine tip scissors to trim right on the pencil line as shown.
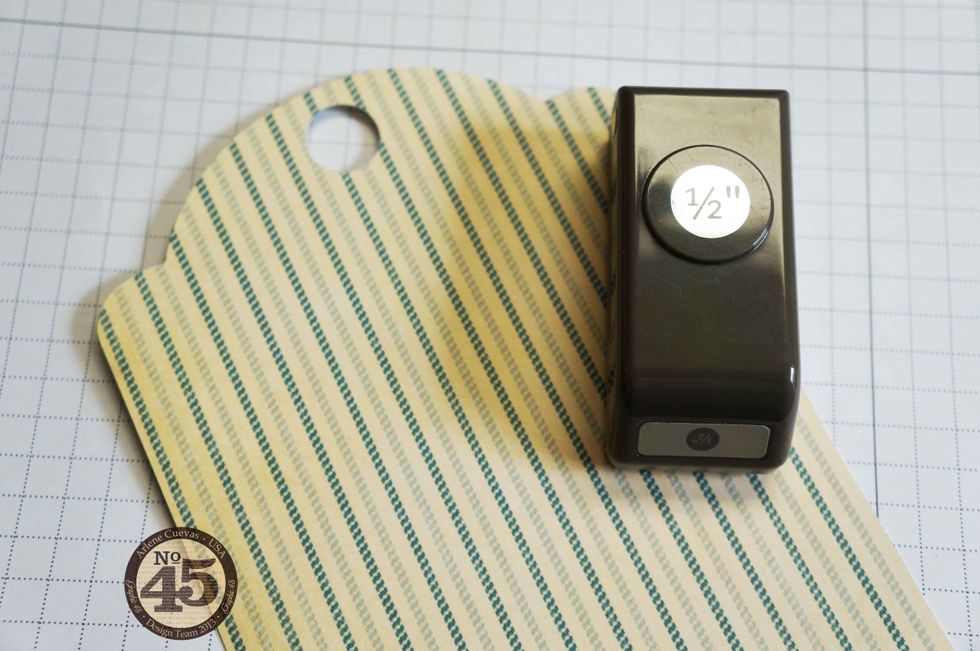
To get the design paper around the pre-installed grommet of the tag, use a ½” circle punch (I purchased mine through Stampin’ Up).
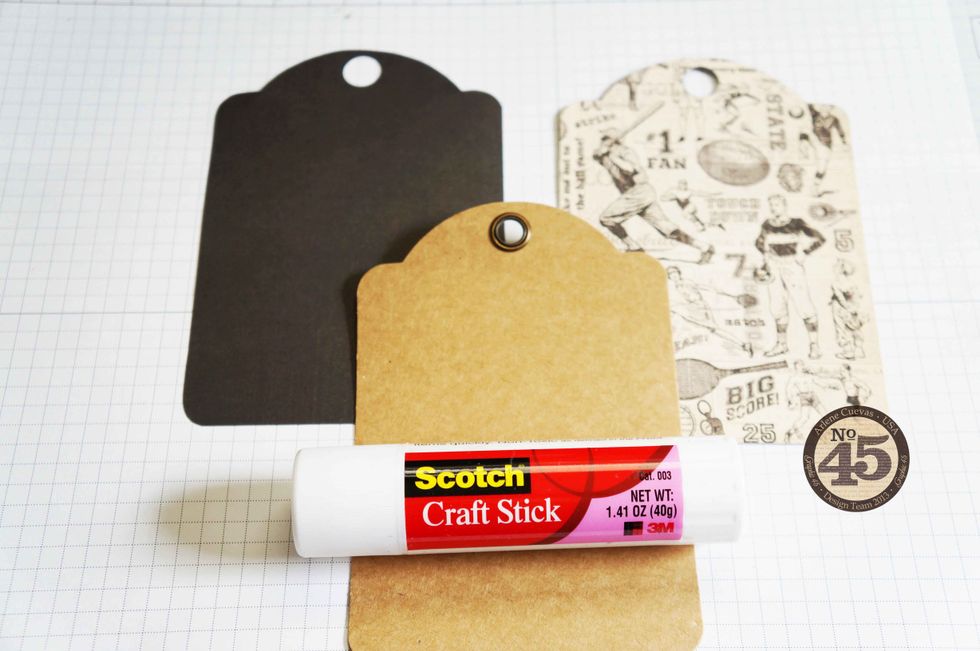
Repeat so you have design paper to cover both the front and back of the tag. Use a strong adhesive to prevent peeling. I use a Scotch Glue Stick to ensure even coverage.
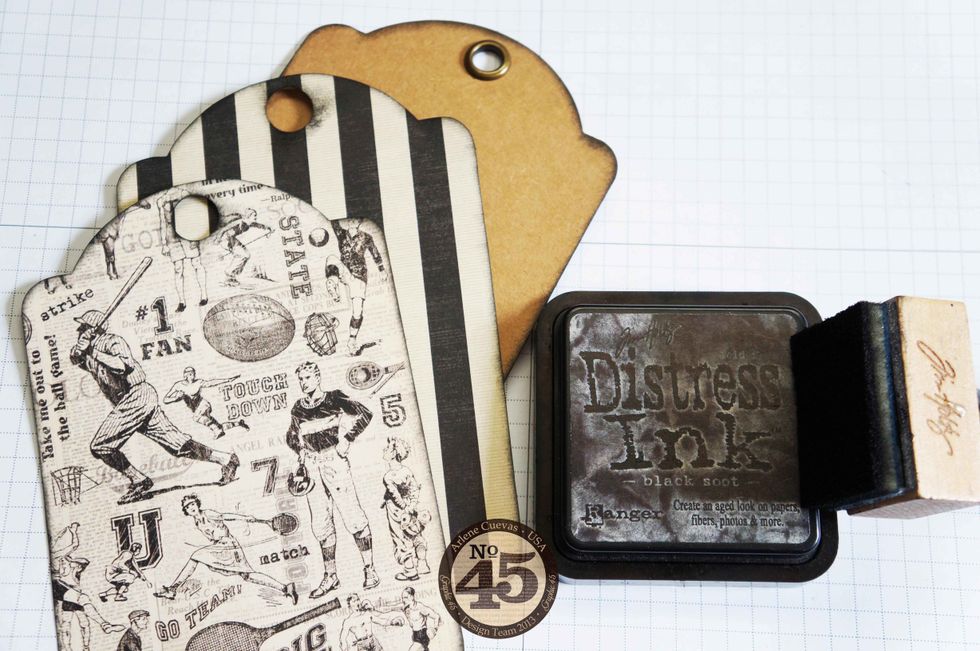
Before adding glue, I finish off the edges with Distress Ink (this is optional but gives the edges of your tags a finished/distressed look.) Don’t forget to edge your tag too!
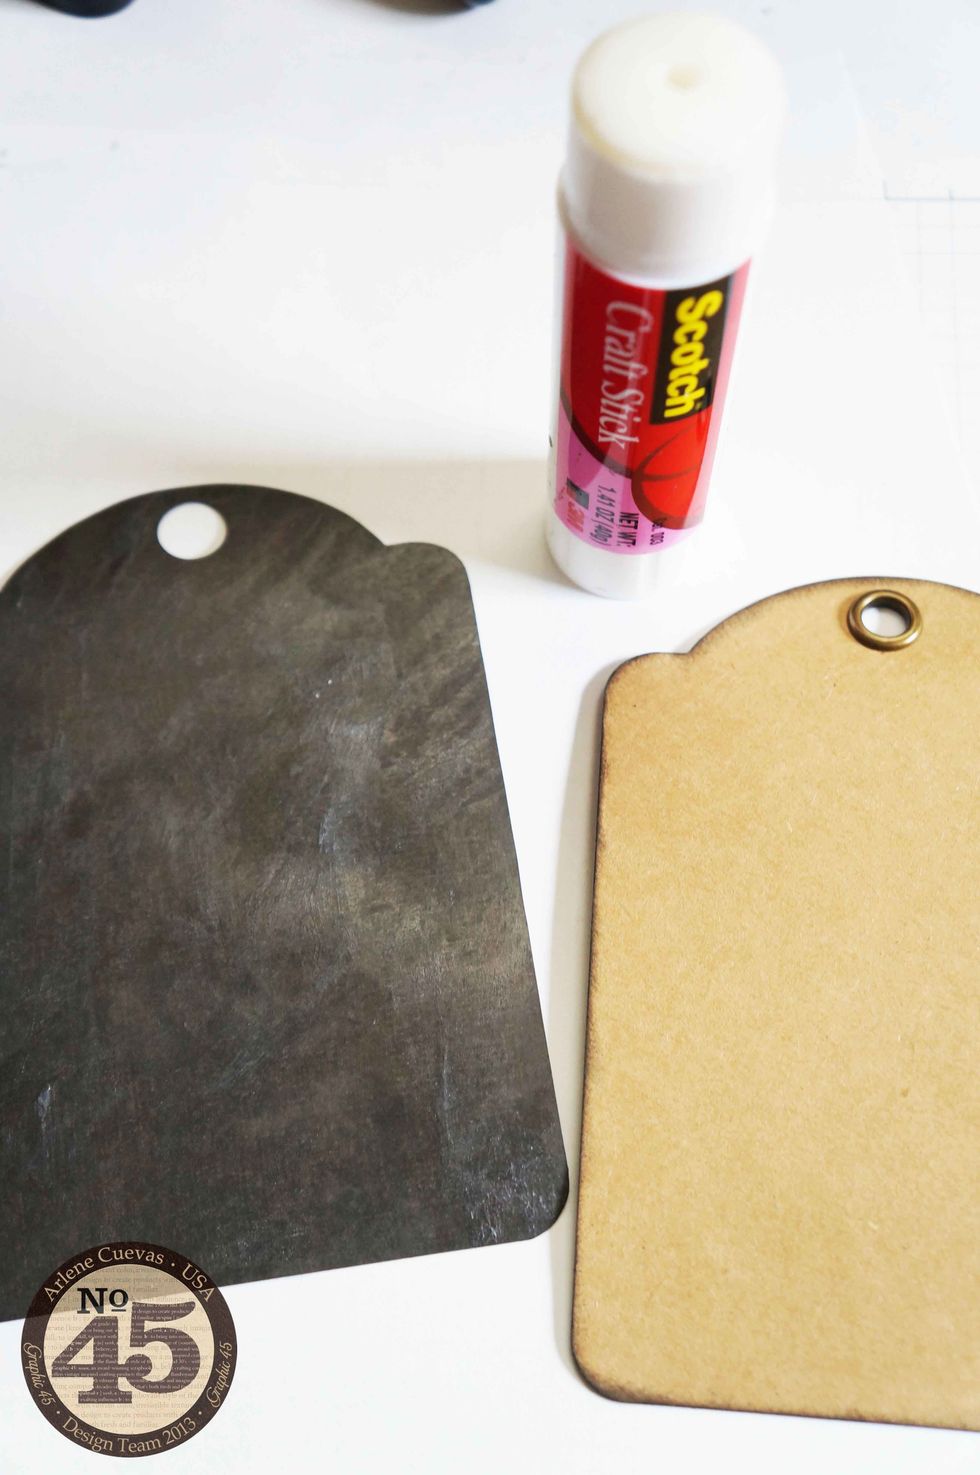
Apply glue.
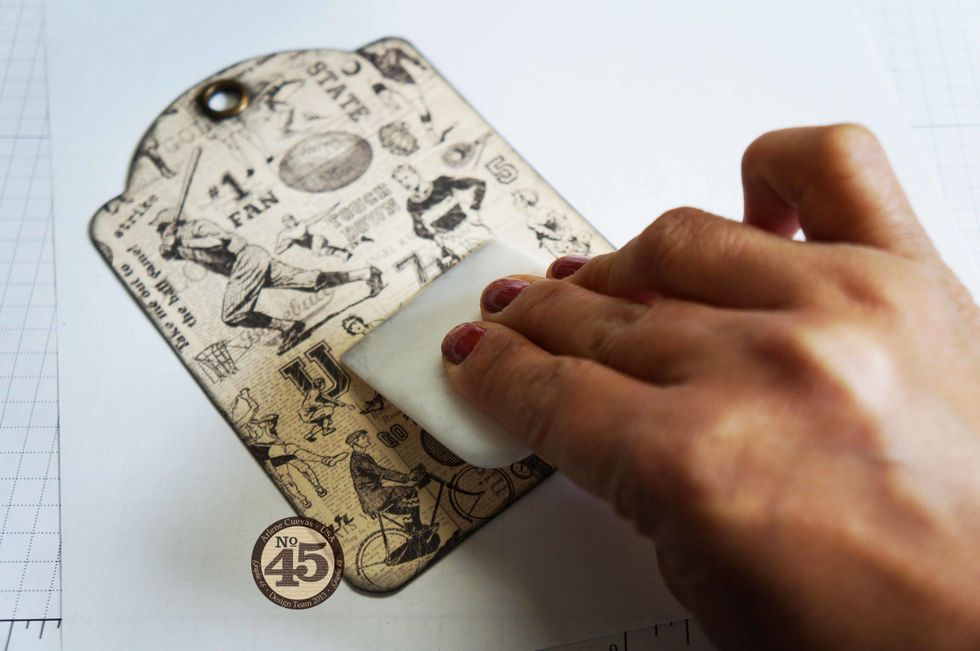
Use a bone folder to ensure design paper adheres well to the tag. This also pushes out any air pockets to ensure a firm hold.
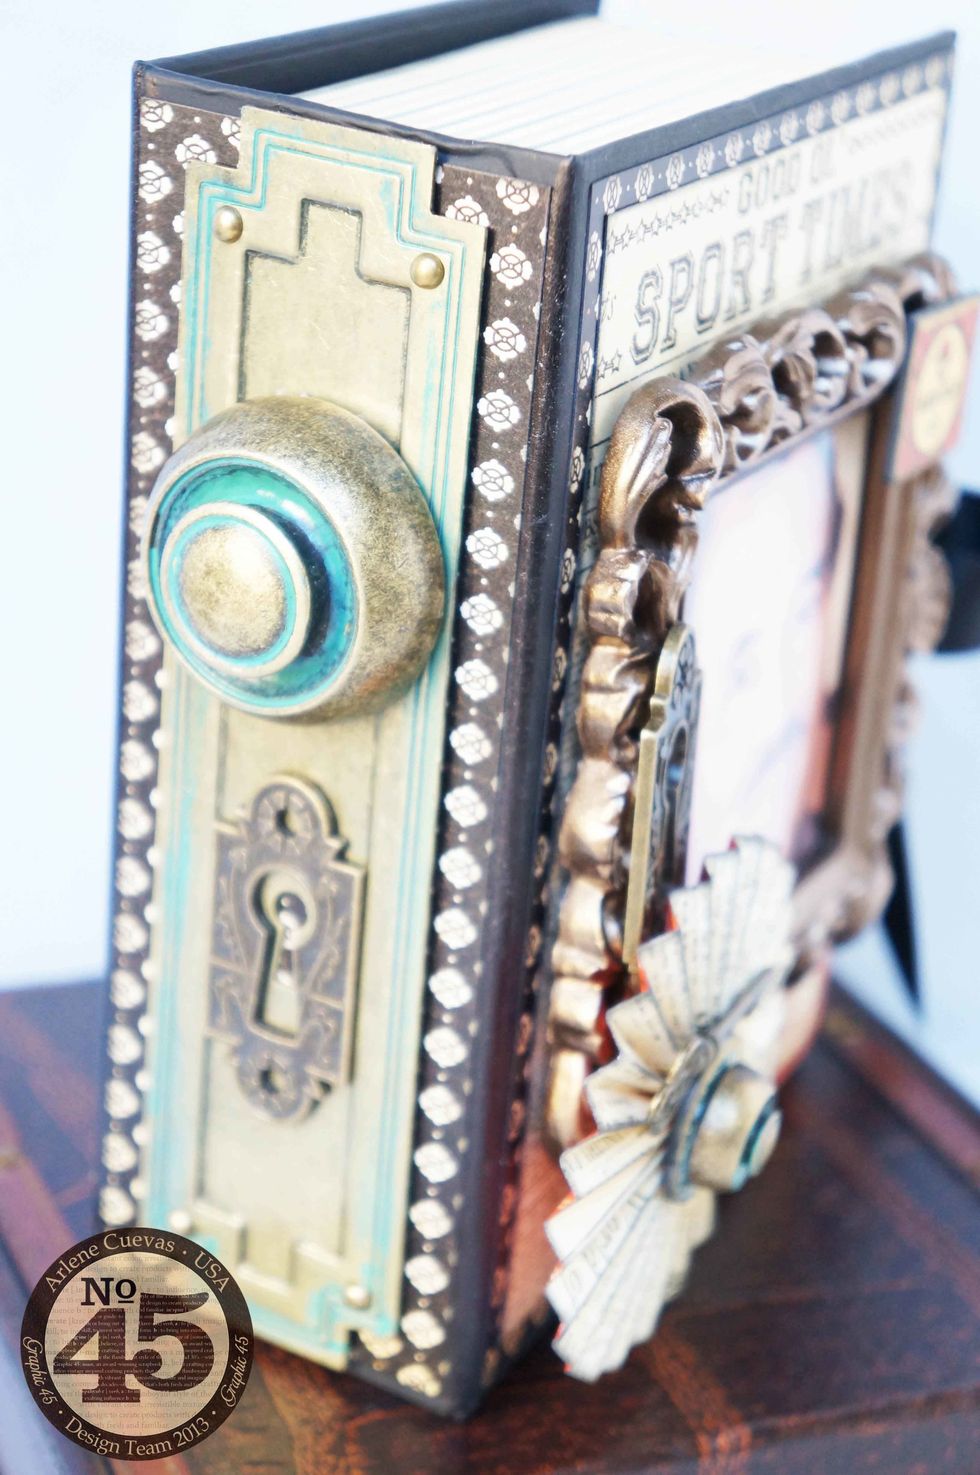
Here are some photos of the finished project! Details of this project can be found on the Graphic 45 blog at g45papers.typepad.com.
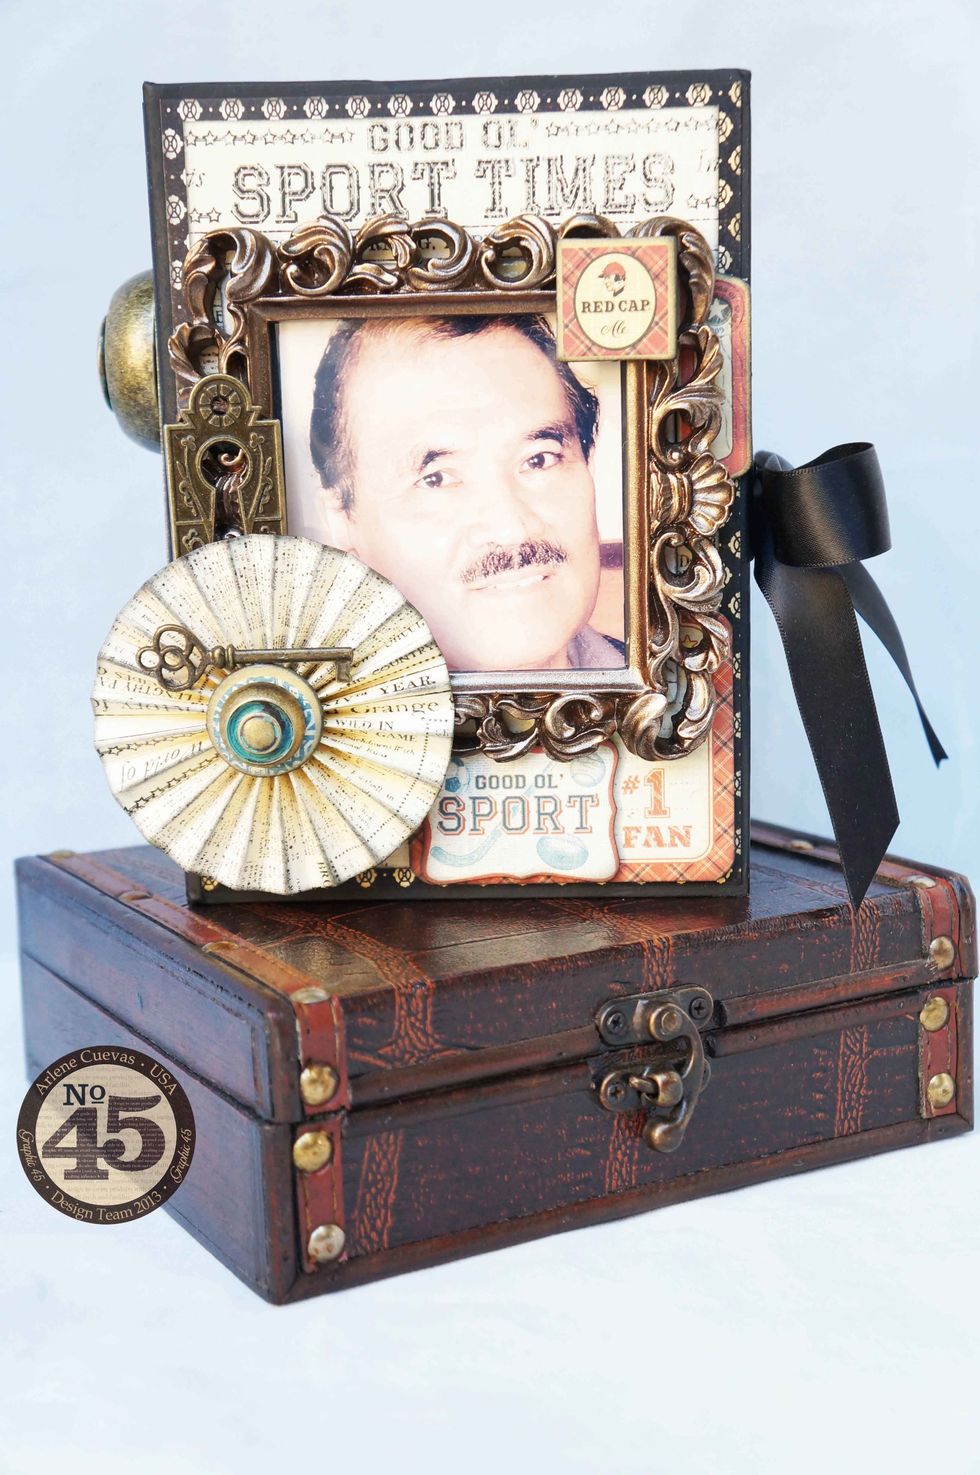
Add a photo of Dad in the frame before adhering it down to the project. Adhere frame to box with a strong adhesive like E6000.
Graphic 45 Staples Metal are fun to work with, especially on masculine projects like this... no mulberry flowers here!
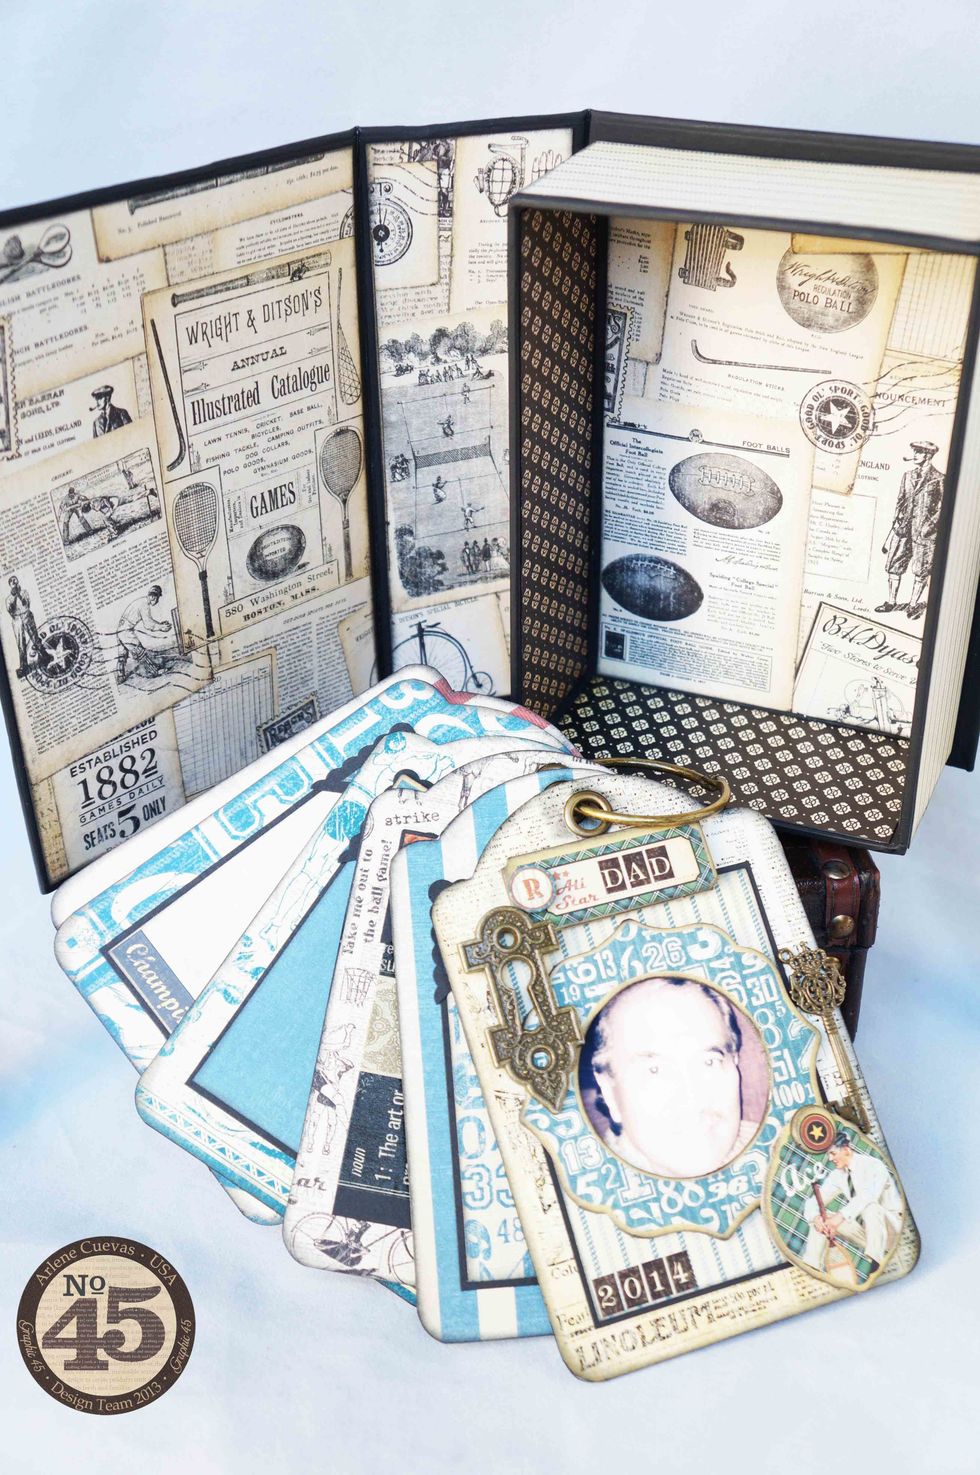
There is enough real estate inside the box to store other keepsakes in addition to the Tag Album.
For a detailed look at each page of the tag album, visit my YouTube channel at youtube.com/mybutterflykisses12. Thanks for hanging out with me today for this tutorial! xoxo