STEPS
TOOLS
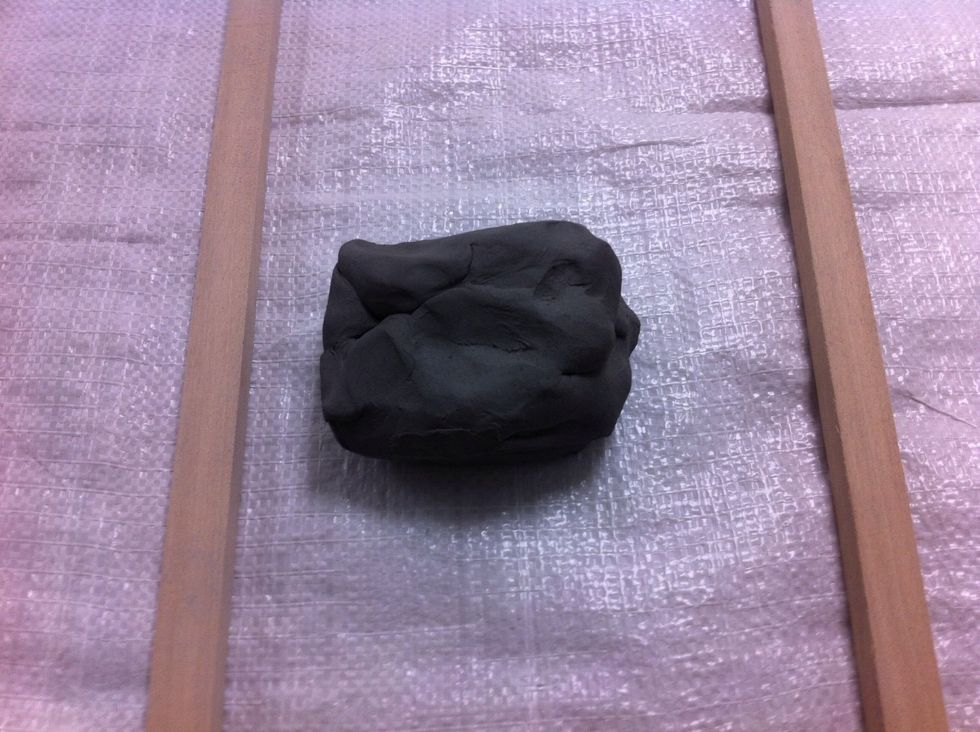
Start with a softball size ball of S-2 Air Dry Clay from Texaspottery.com
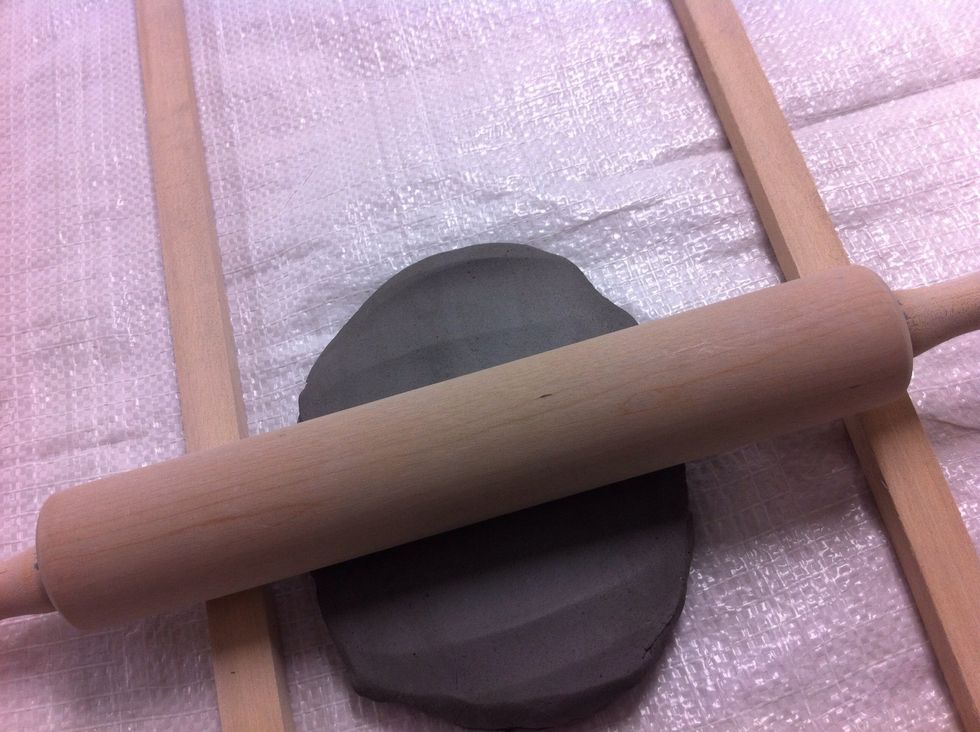
Using a rolling pin and some wood slats roll out a slab of clay. Note: S-2 is sticky, but it doesn't stick to the rolling pin.
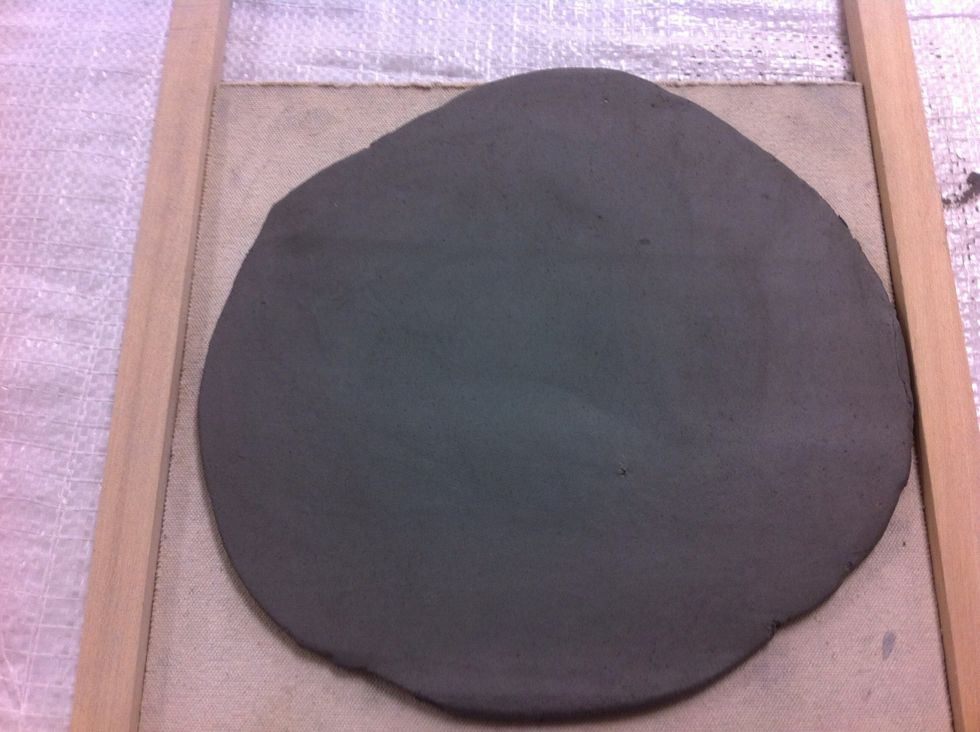
Pick up the slab and flip it and turn it like you would if you were rolling out a pie crust.
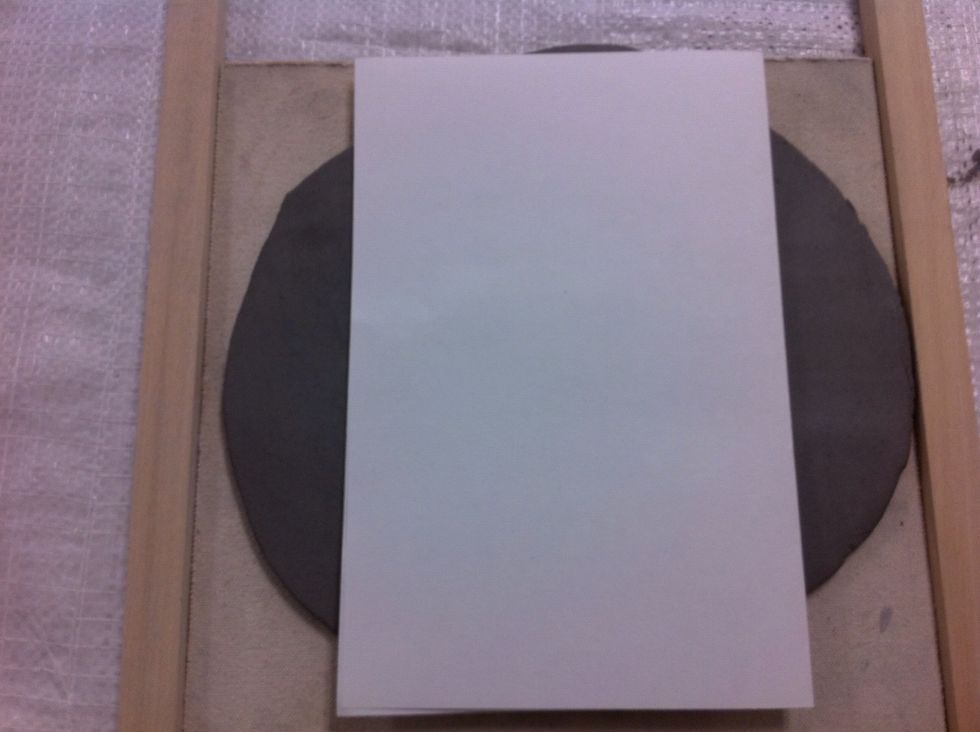
Compare the size of the slab to your template. If you need to, cut some of the extra and place it overlapping onto the short edge. Roll smooth.
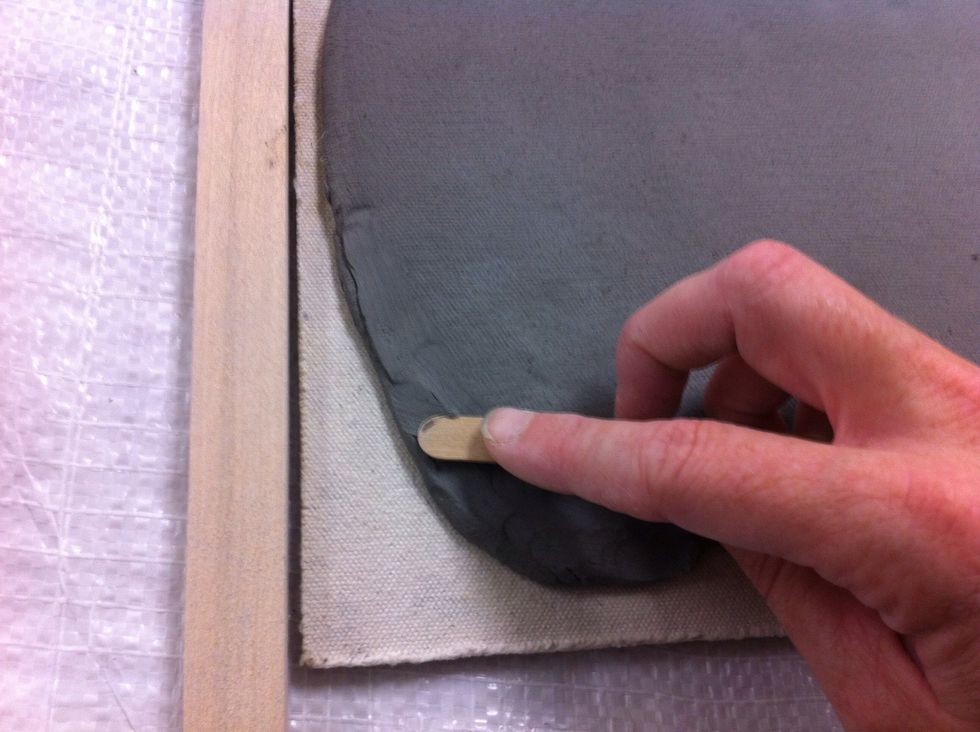
I used a Popsicle stick to smooth out the seam where I added clay.
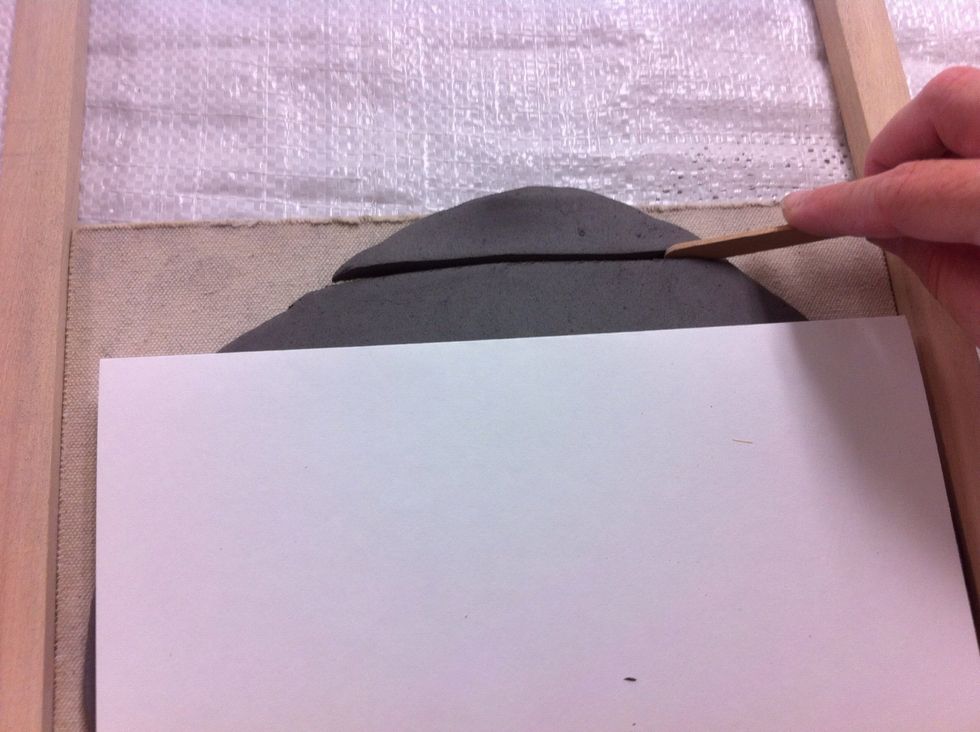
Now that the slab is large enough you can use your template and cut a nice clean rectangle or you can wait and cut out an organic shape later.
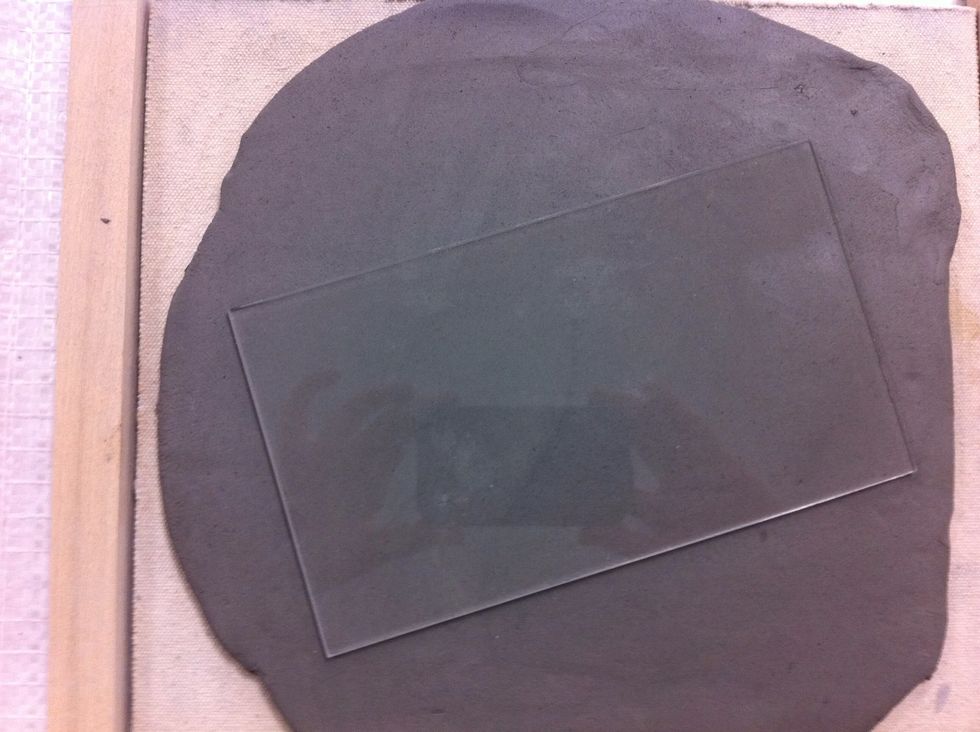
Place the inside template on the clay and make sure that you will have at least a one inch border around the template..
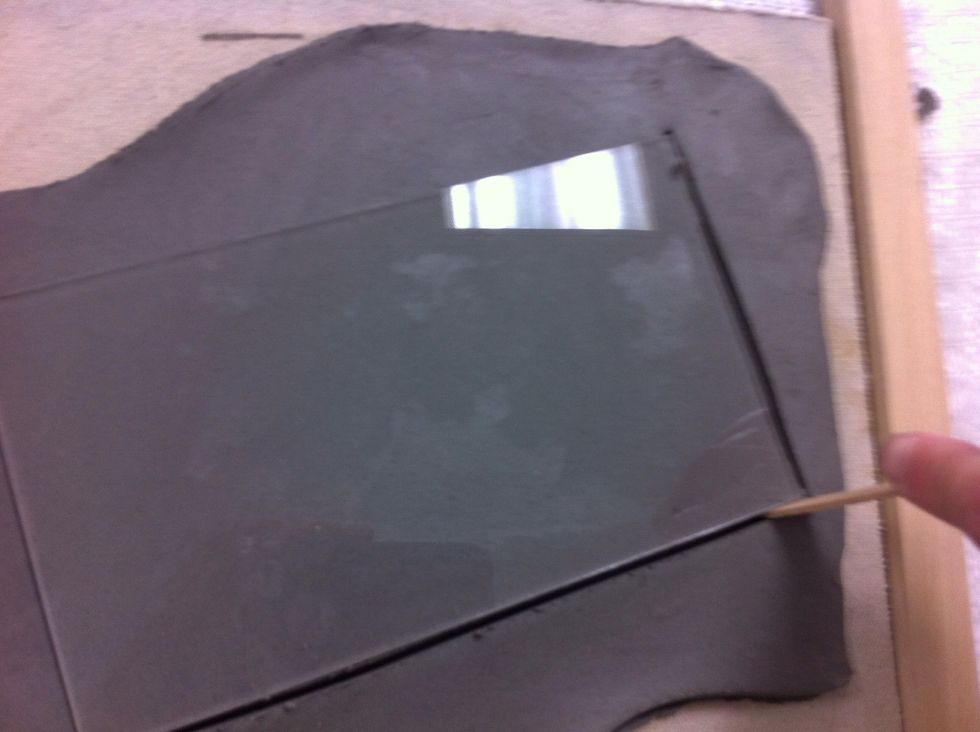
Cut around the template. I used a Popsicle stick. I have clay tools, but I don't want to get my air dry clay tools and my firing clay tools mixed up! I use disposable tools for the air dry clay!
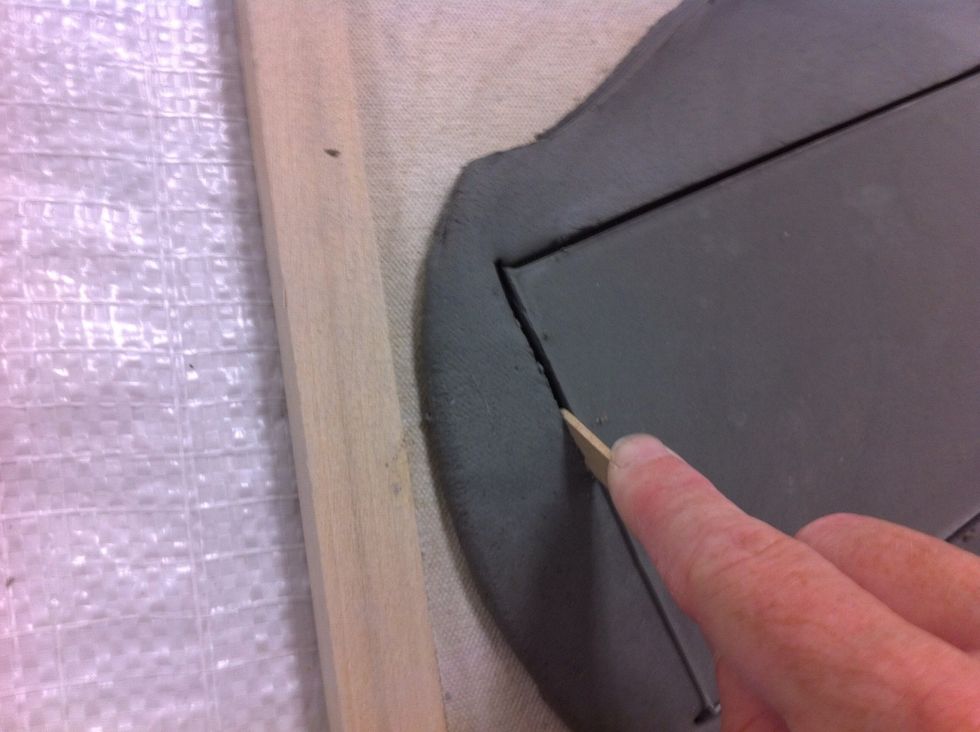
Cut slowly and get a nice clean cut.
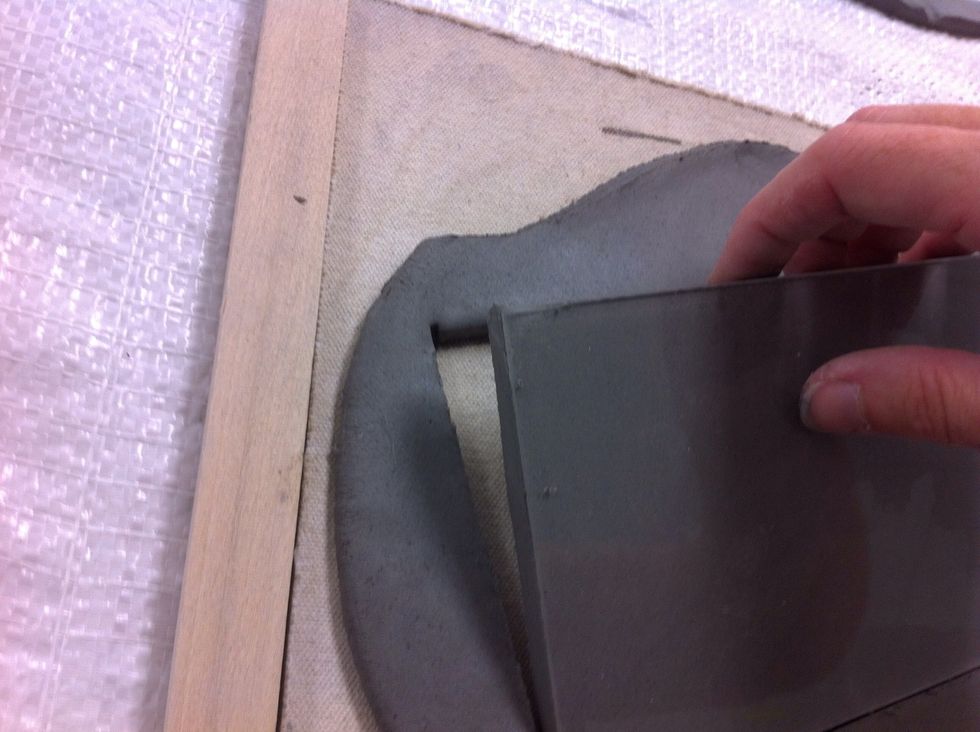
I use a plexiglass template. This holds onto my clay just enough to pull it from the frame easily.
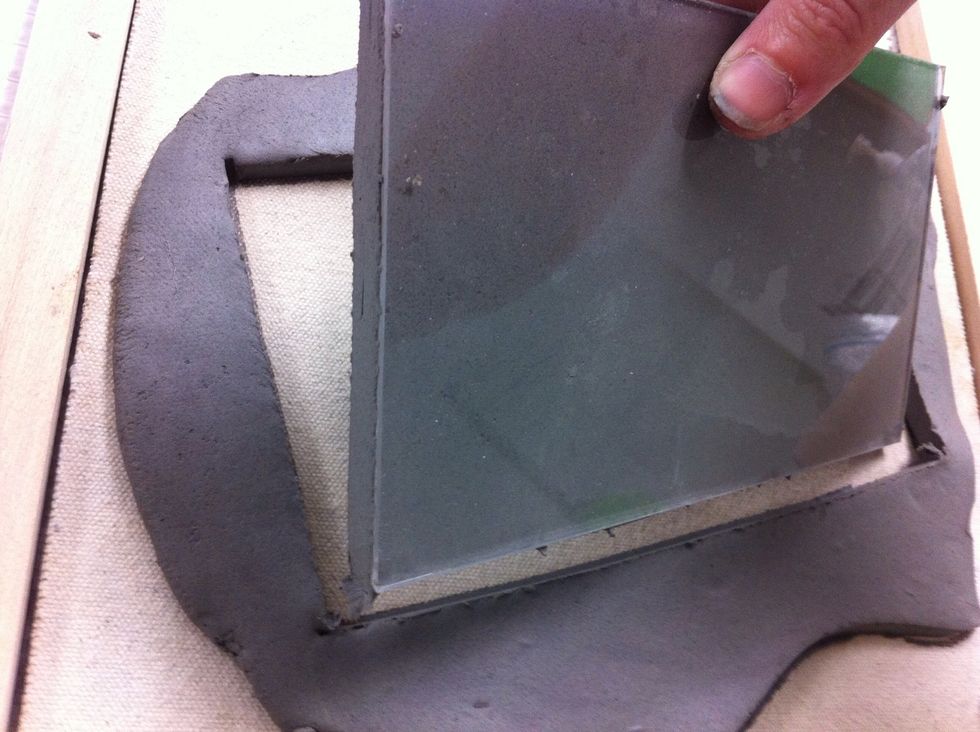
See the plexiglass?
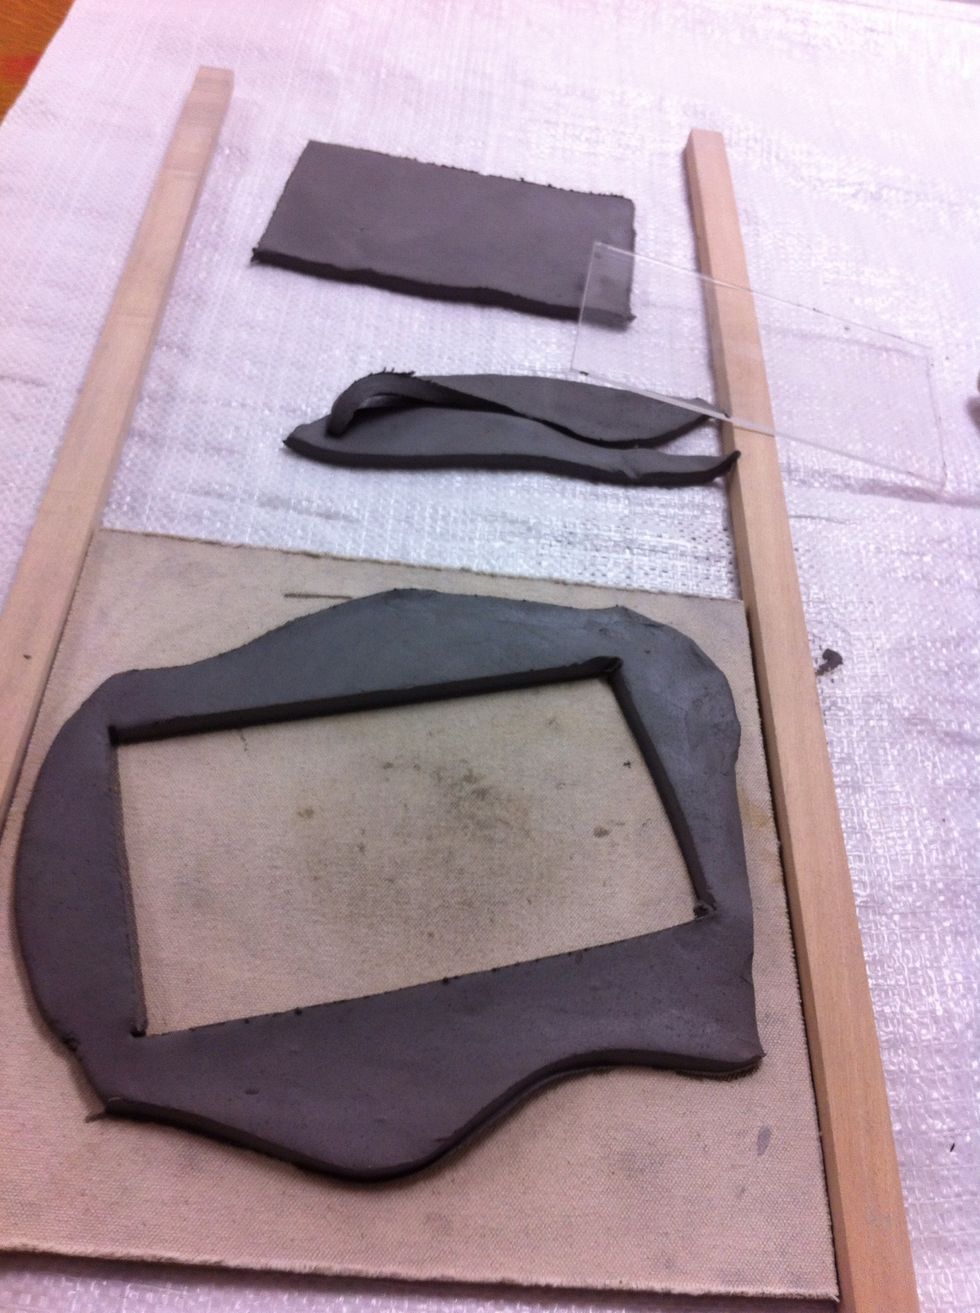
Once the inside piece is cut, I go back and cut the edges to have an organic free from feel.
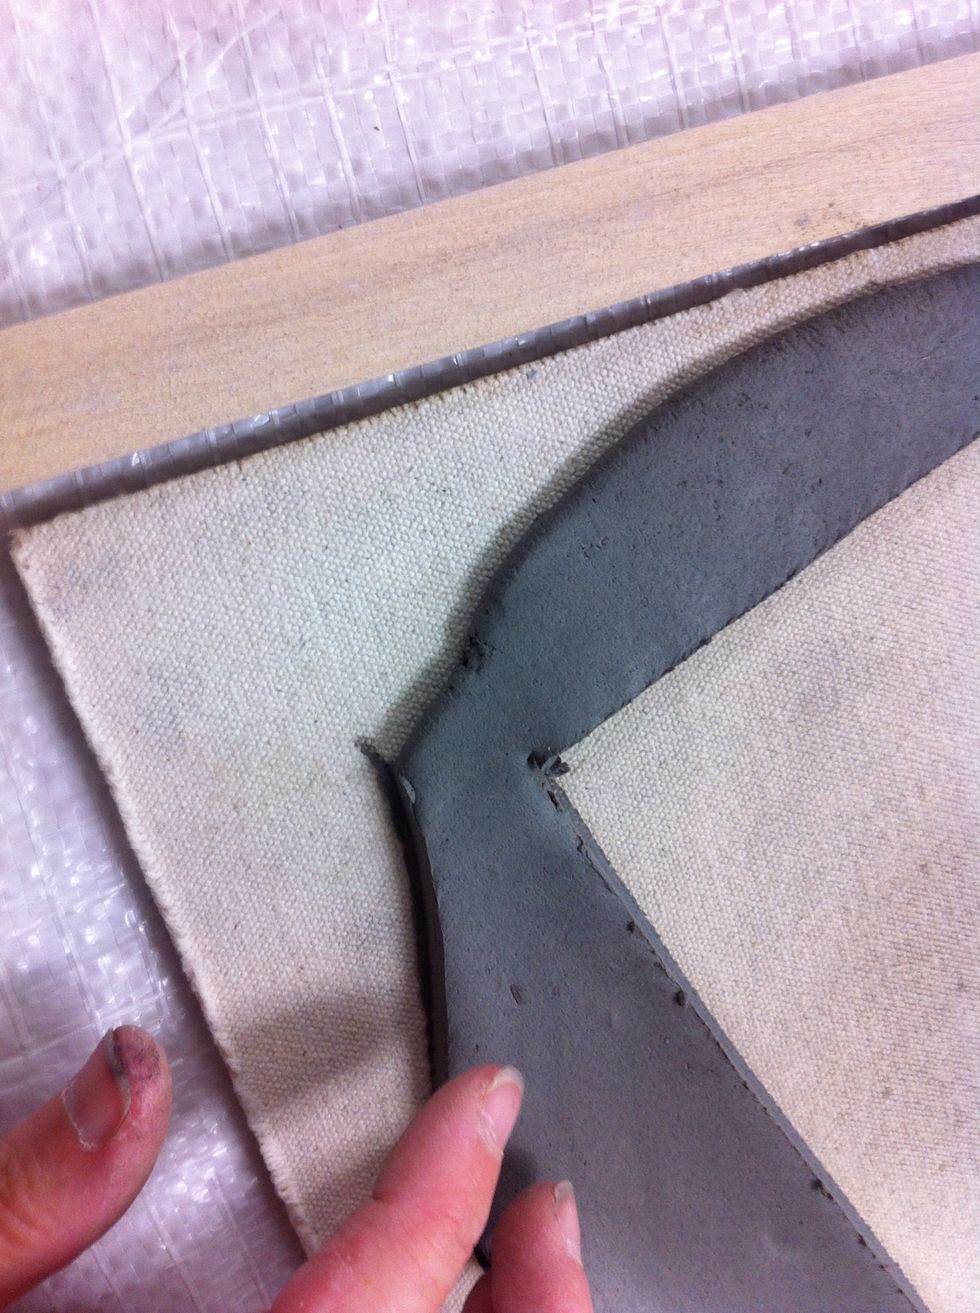
Now SMOOTH all edges and get rid of all the burrs. If its rough now, when its dry it will cut!
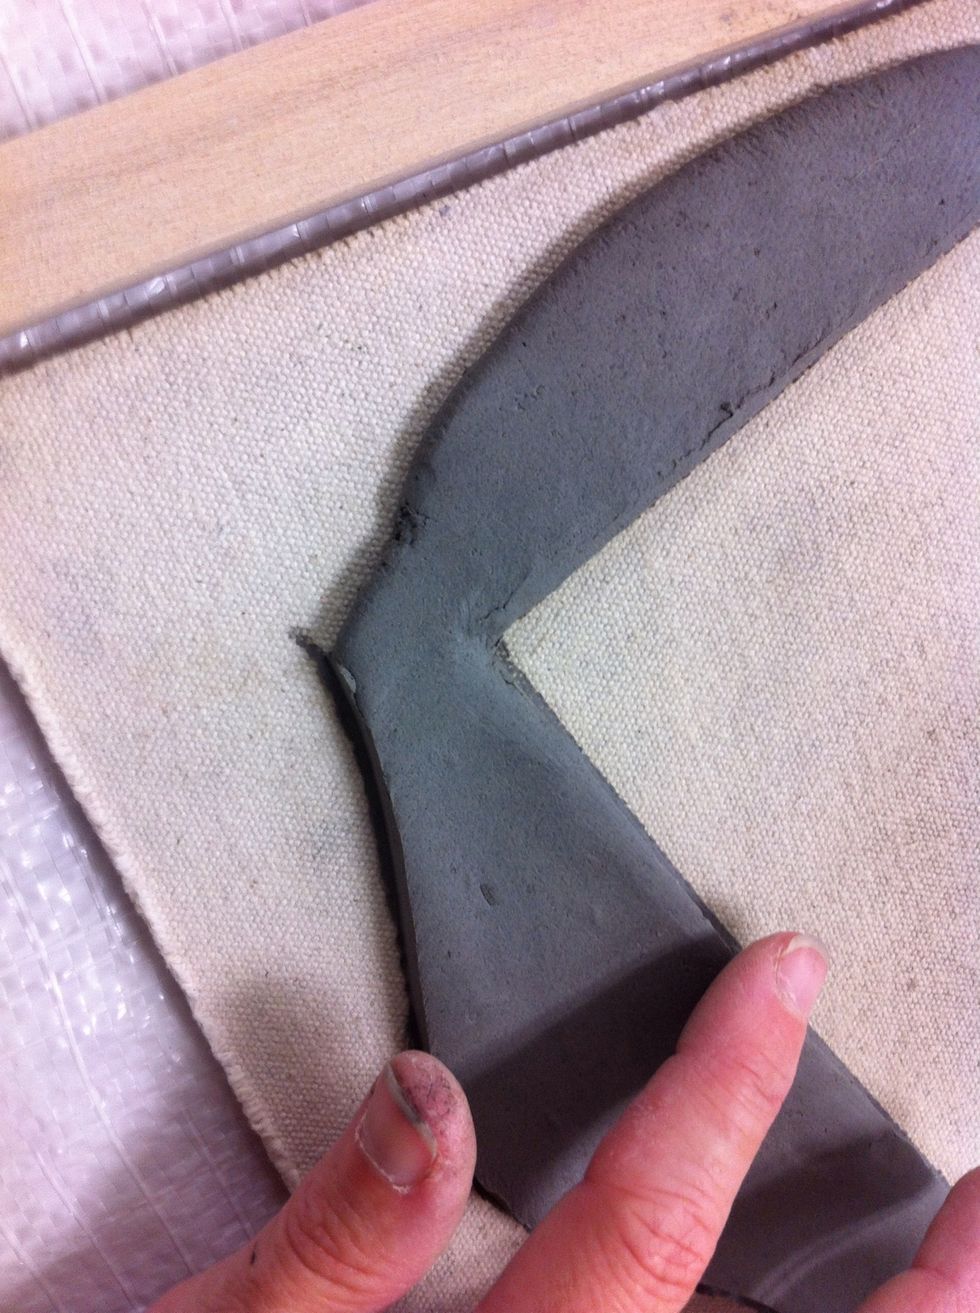
Your finger will smooth the clay just fine!
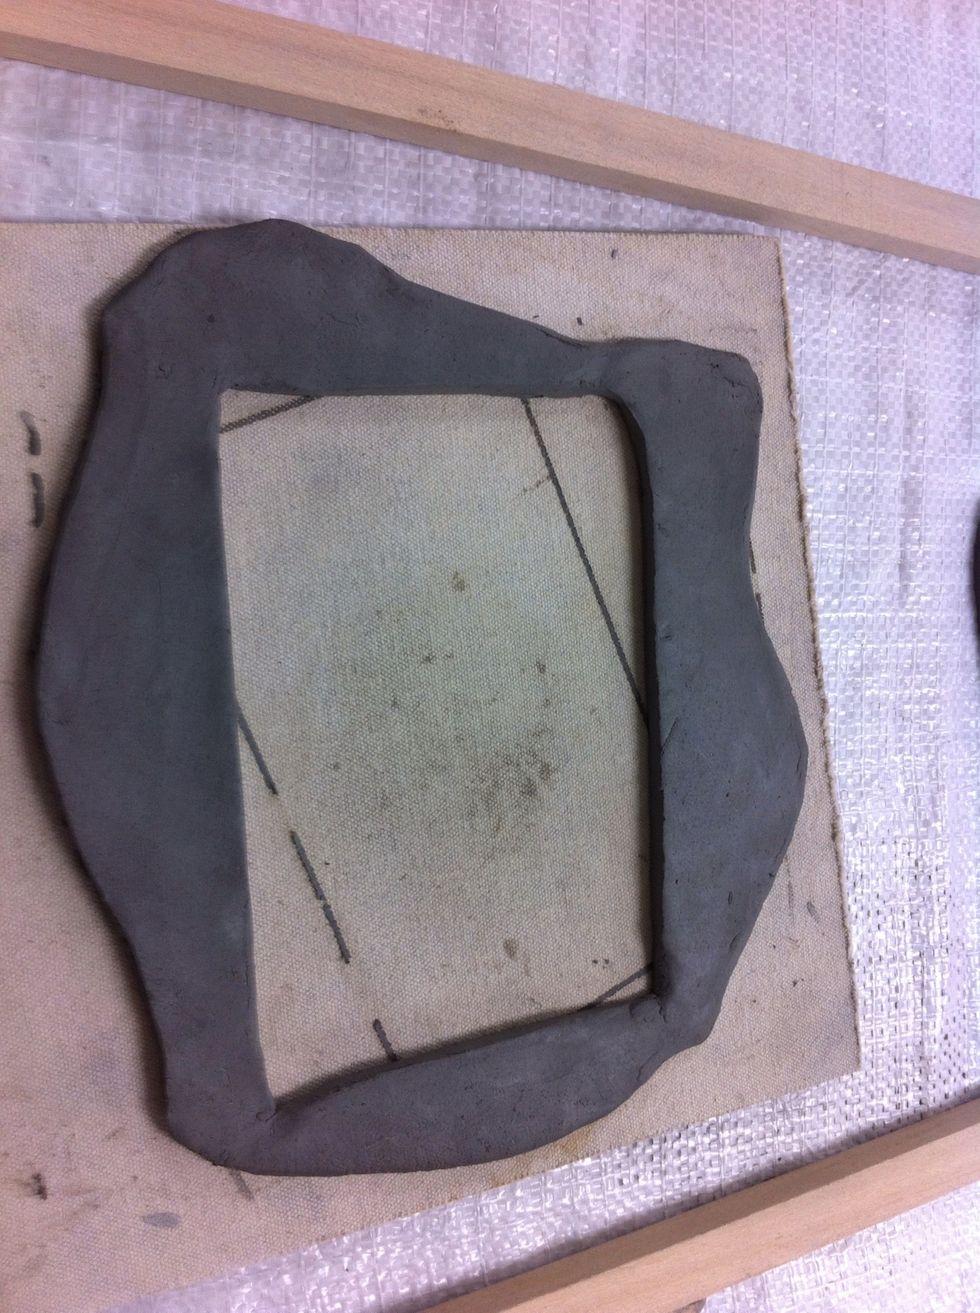
Don't forget the back. Yes, I pick it up! If it doesn't survive me carefully picking and flipping there is no way it is going to survive later!
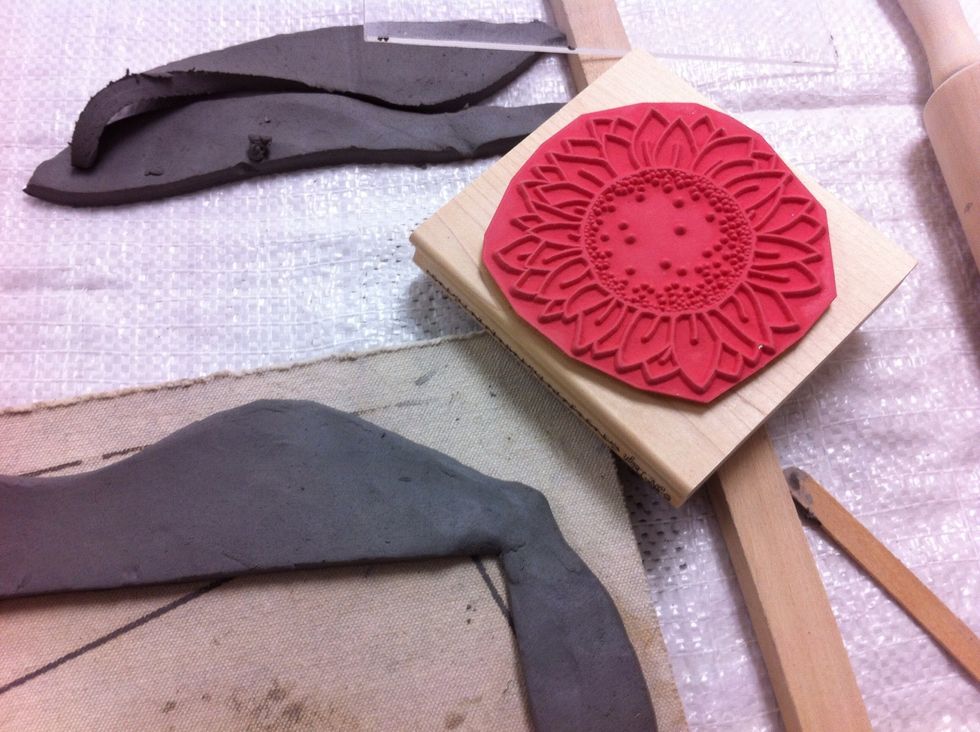
Once the frame is smooth, decide on your decorations. I love rubber stamps!
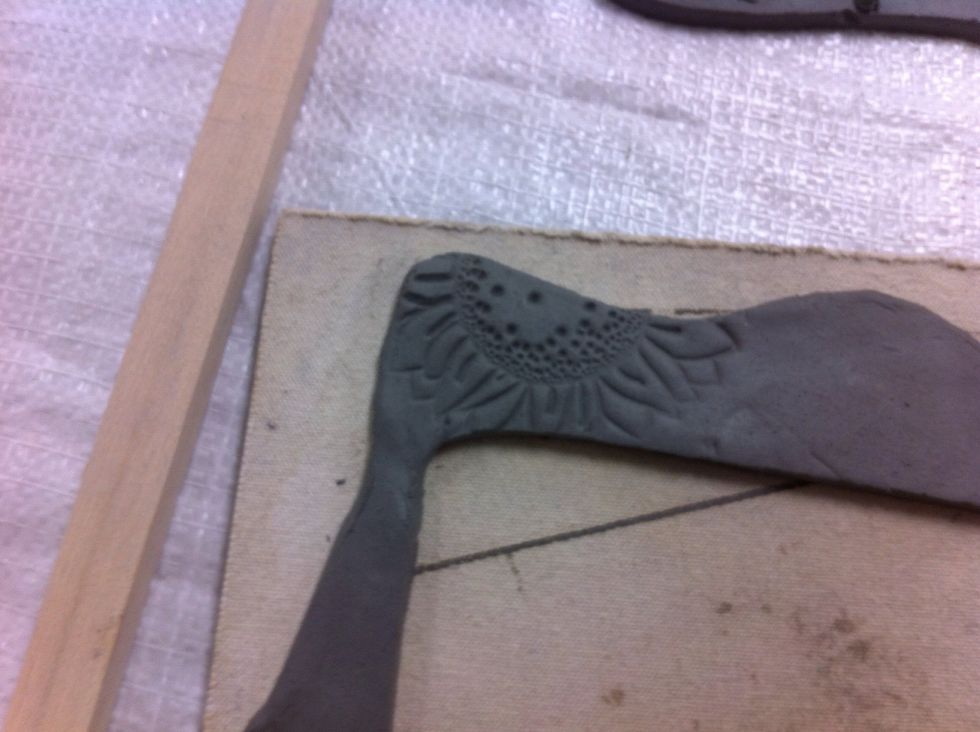
Stamp the image. Push firmly! Hold the clay in place as you peel off the stamp.
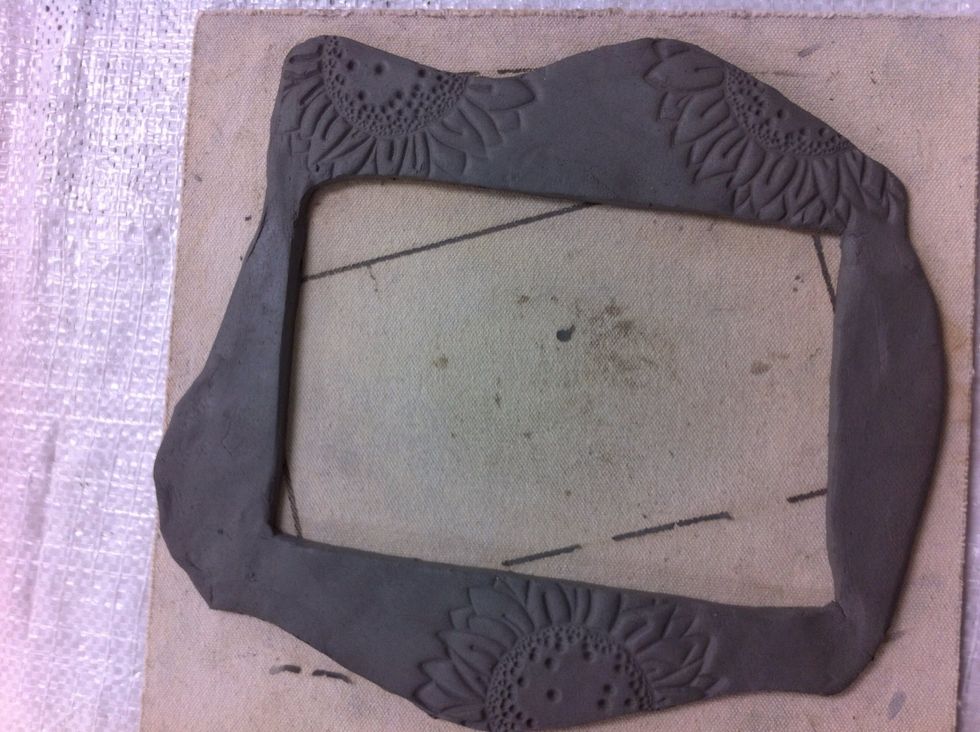
The clay leaves no residue on the stamp. Easy!! At this point you have to decide, is this a frame or a loom. If only a frame, stop here and let dry. Then move to the painting slide.
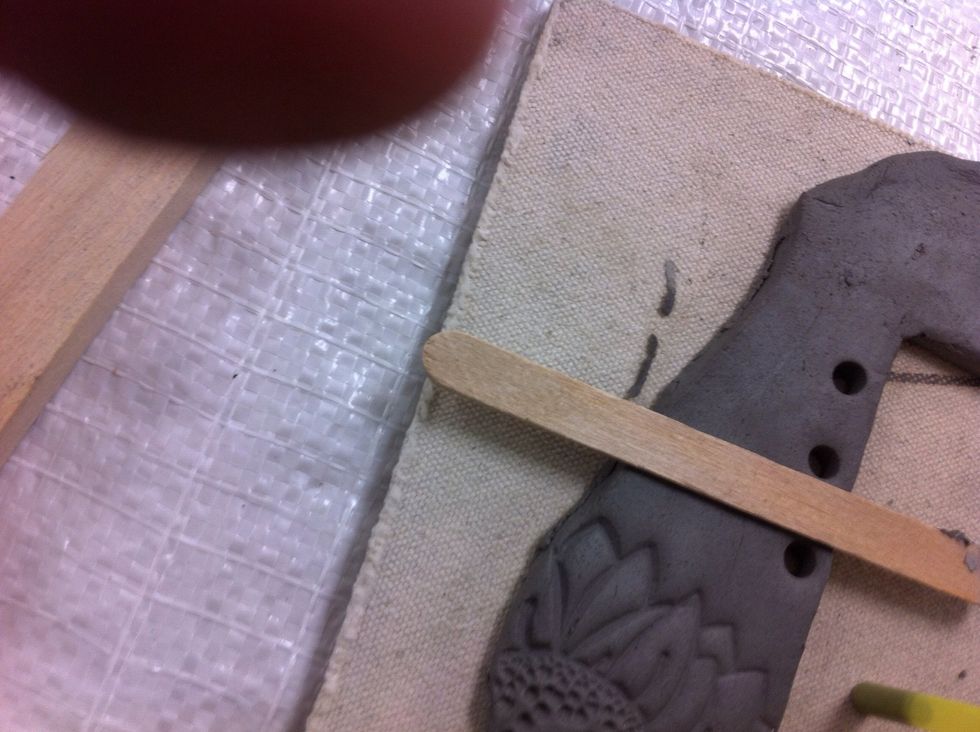
If using as a loom, line up a Popsicle stick with the edge of the opening and use a straw to poke a hole in the frame.
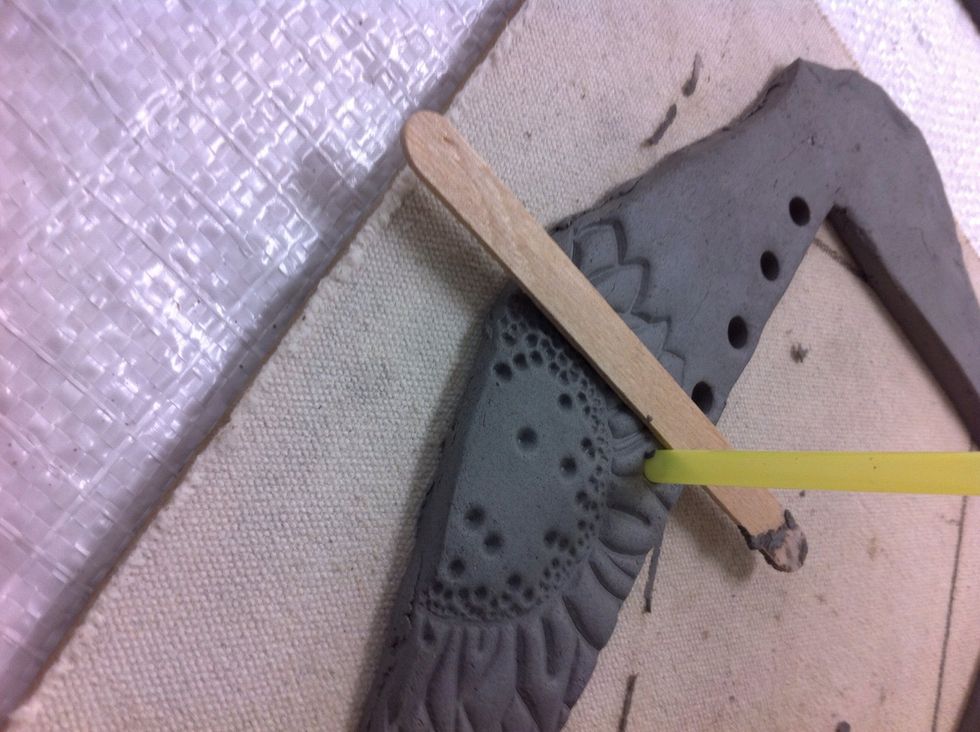
You will use the width of the Popsicle stick to space the holes. I had 10 openings on my frame.
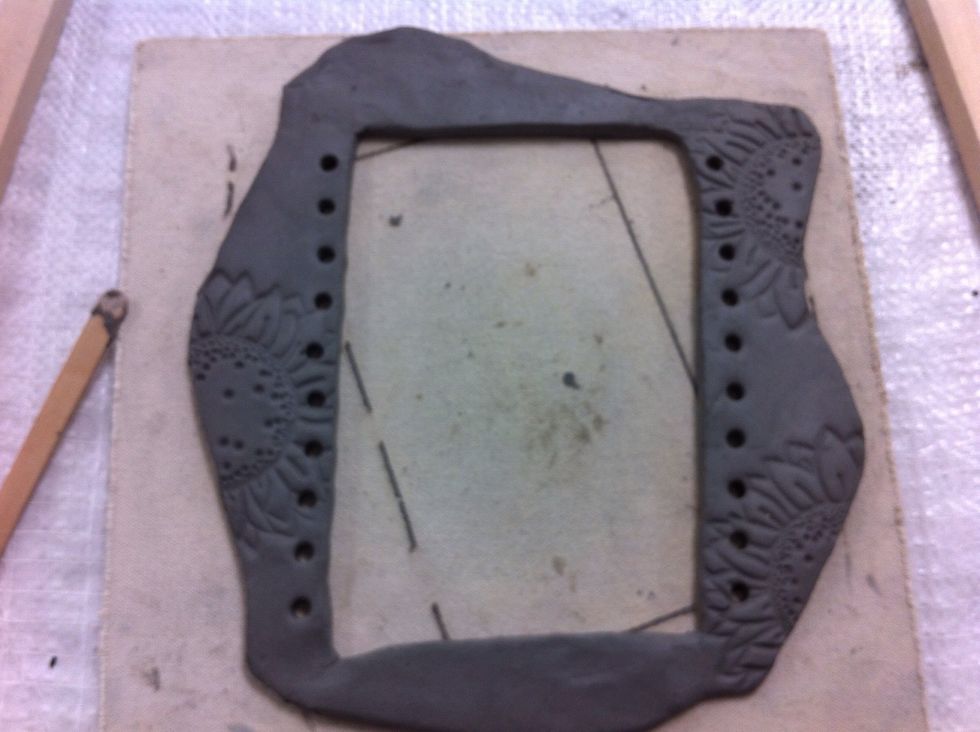
I chose to put holes in the wide side, I could have put holes in the short sides. It's personal preference!
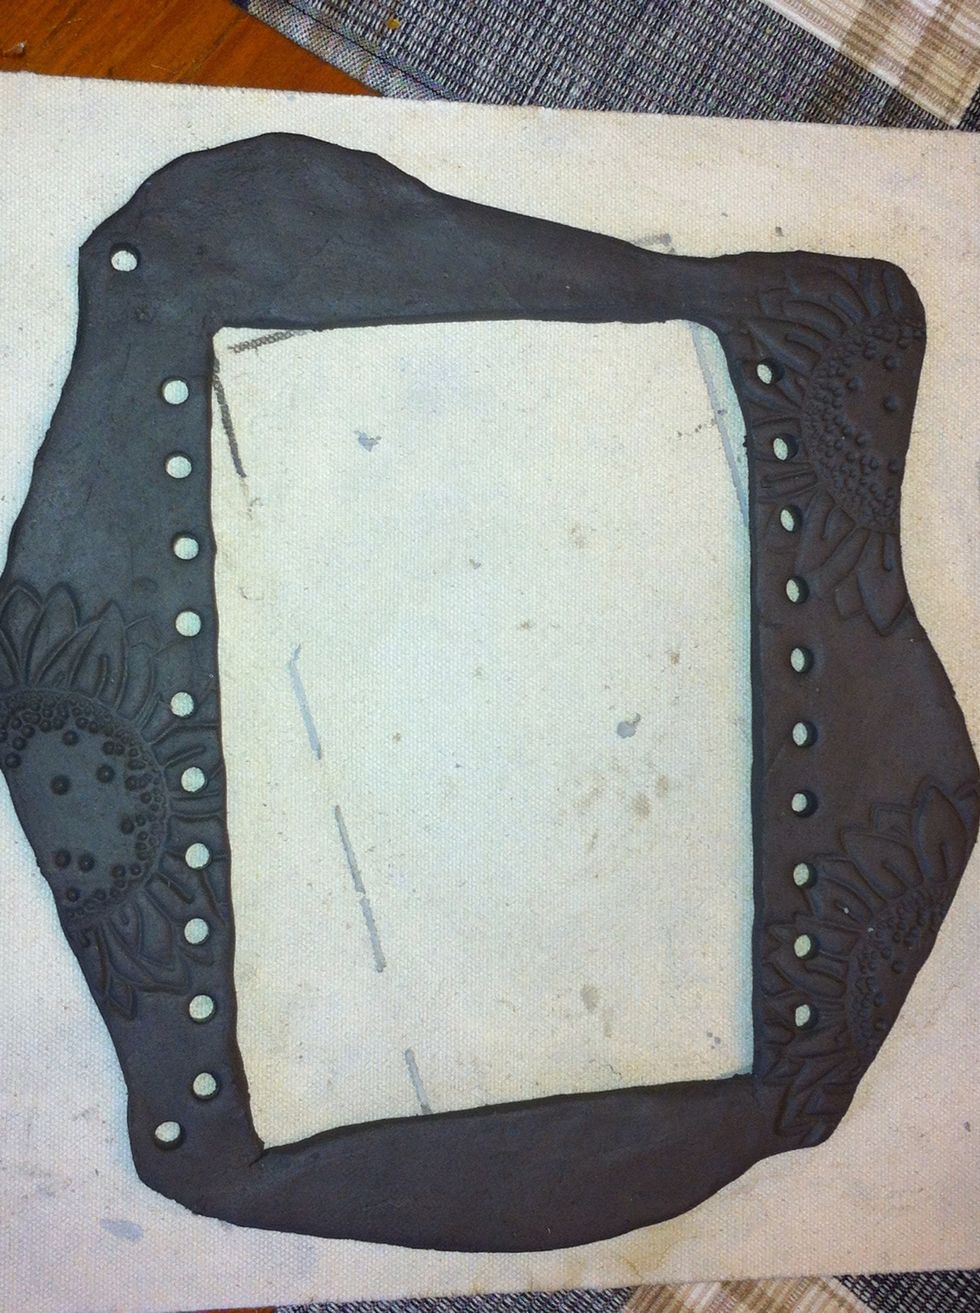
Decide where the top is. Make an extra hole on each side for hanging.
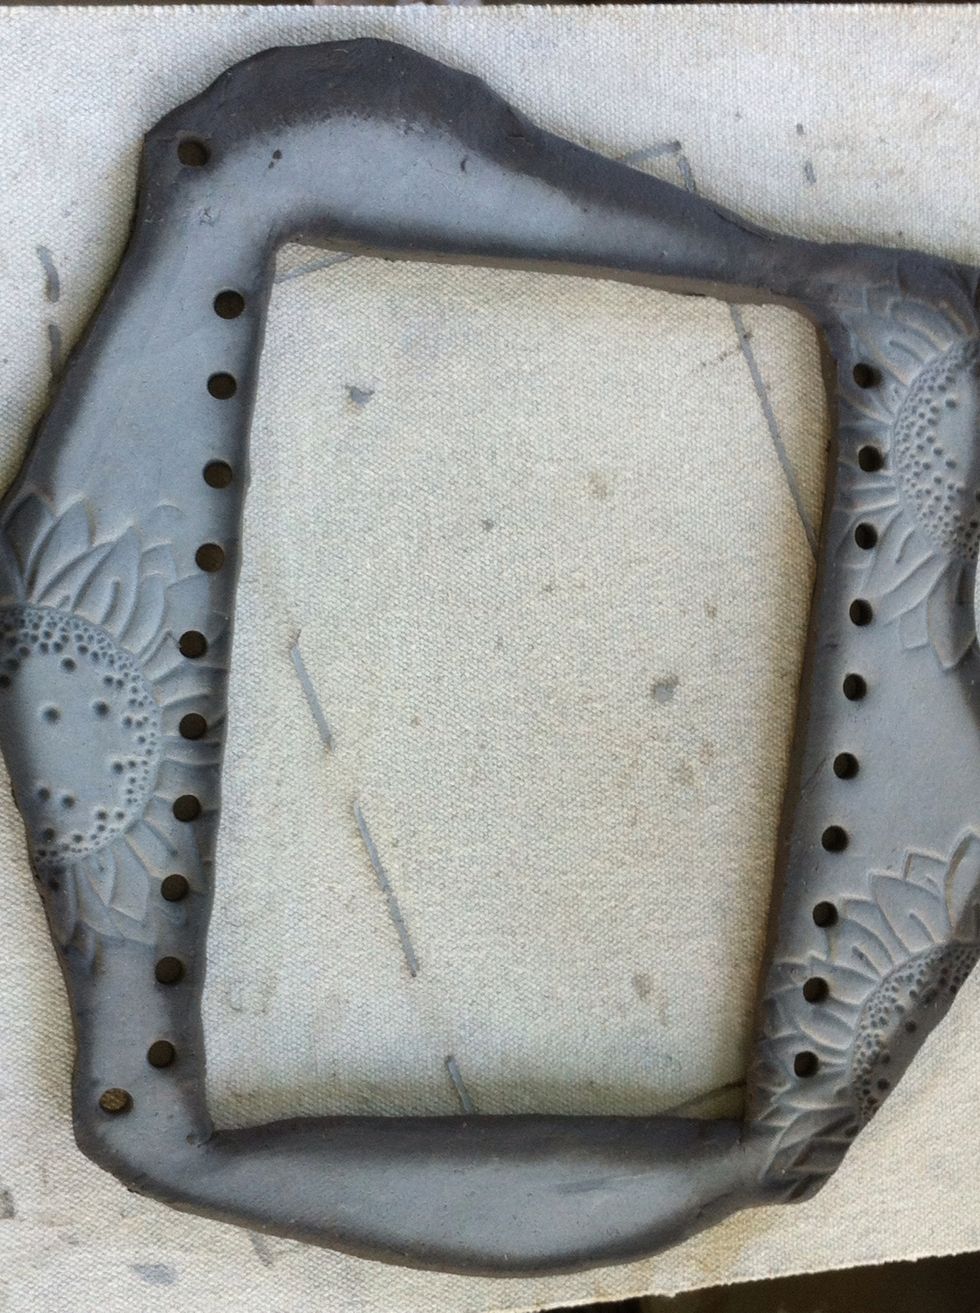
Let dry. I flipped mine a couple of times, but left it upside down for most of the drying. I ended up with the lighter side up and the darker dried side down. It doesn't make a difference.
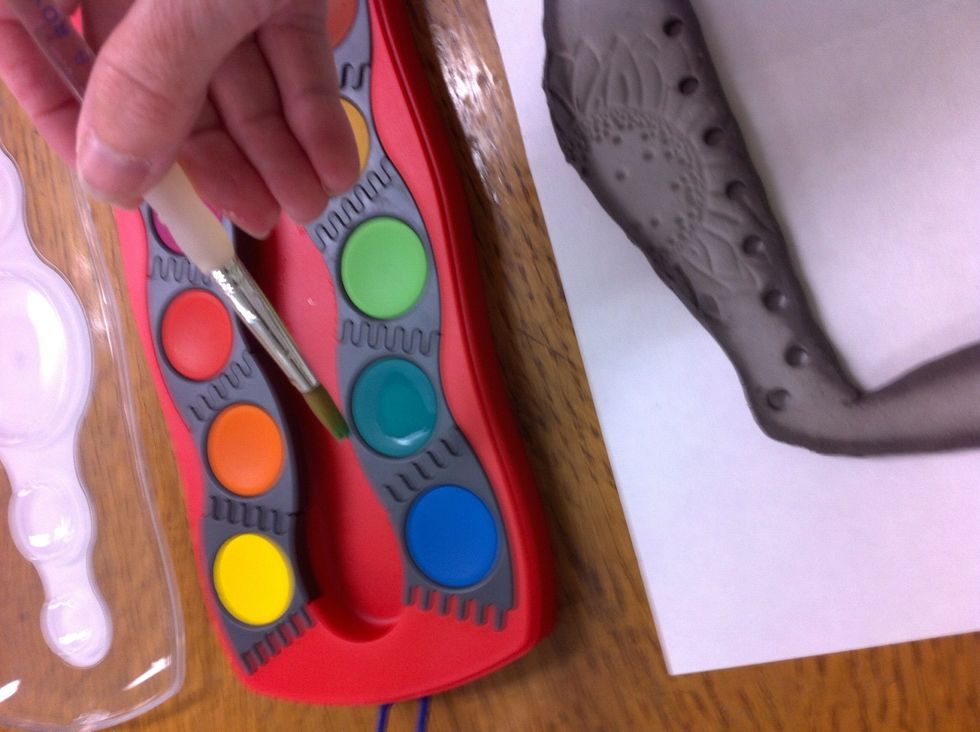
Ready to paint. I used Faber-Castell paint tablets.
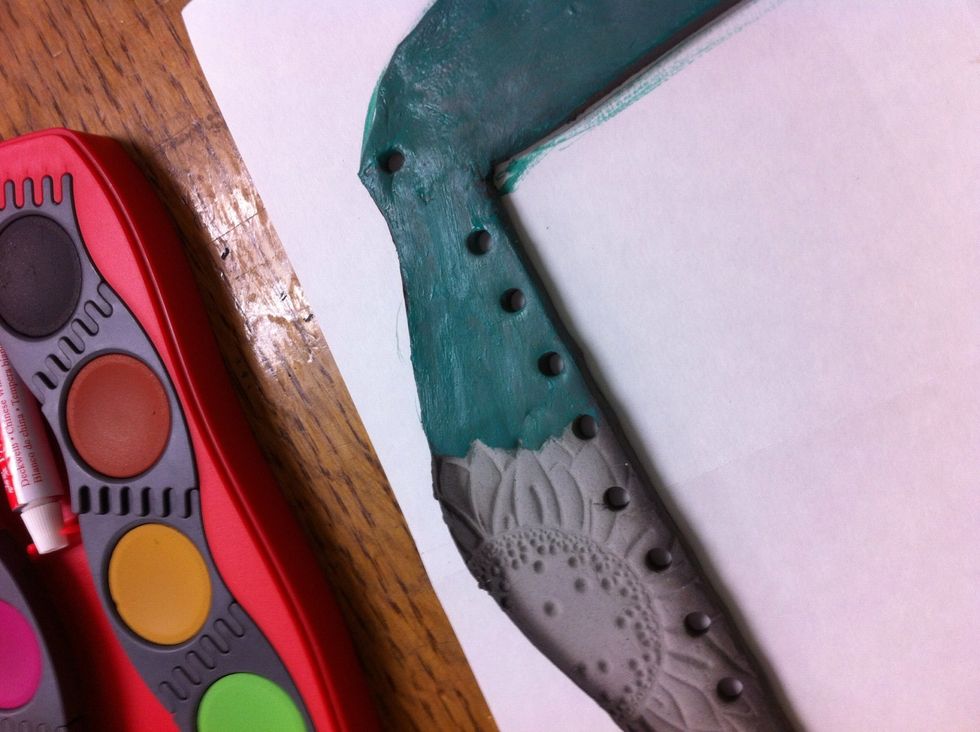
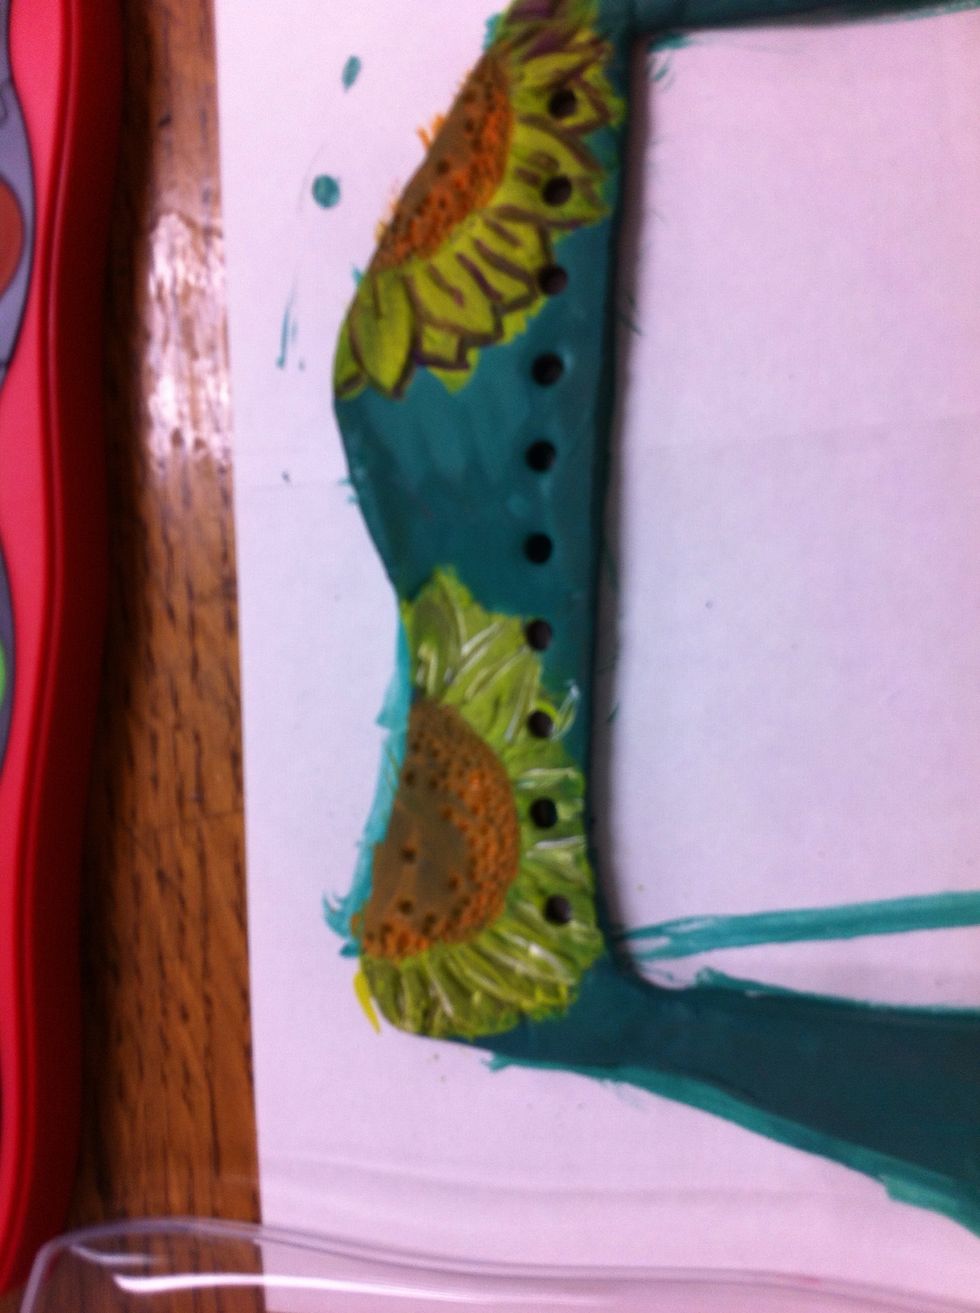
I wasn't careful and I purposely had the paints bleed into each other.
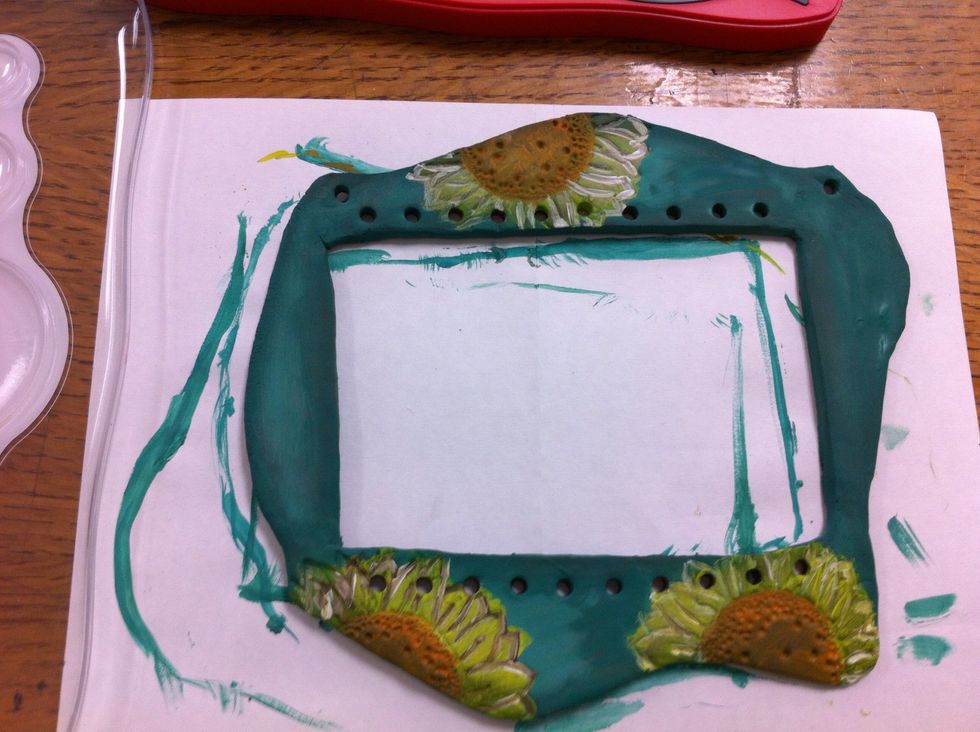
I added white and purple highlights. It took 3 coats of green on the light portions on the clay. Don't flip and forget, check to make sure the top is exposed to the air to dry for painting ease!
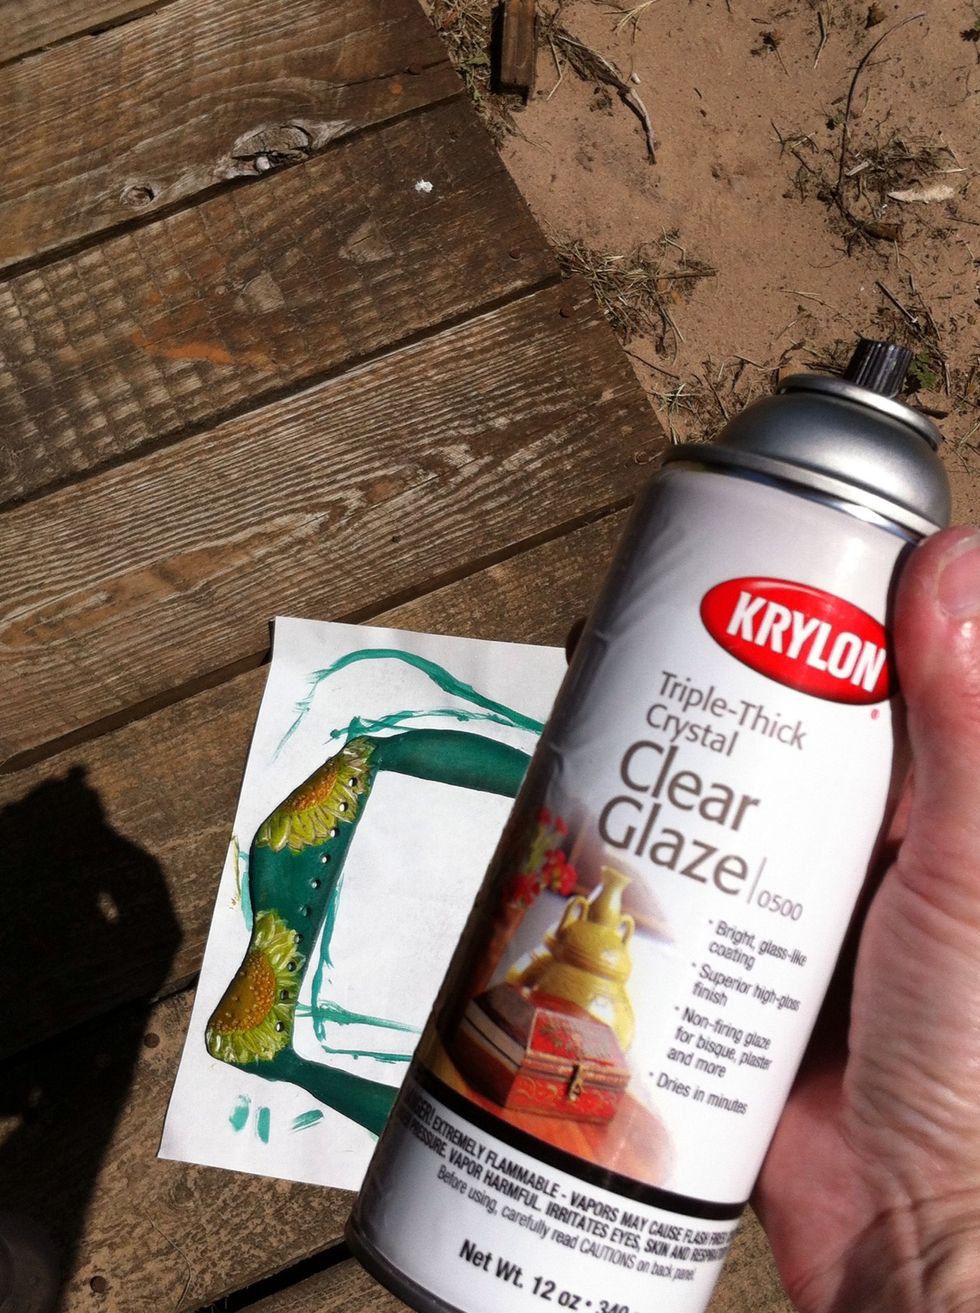
Once dry, spray a couple of coats of clear glaze on the clay to seal.
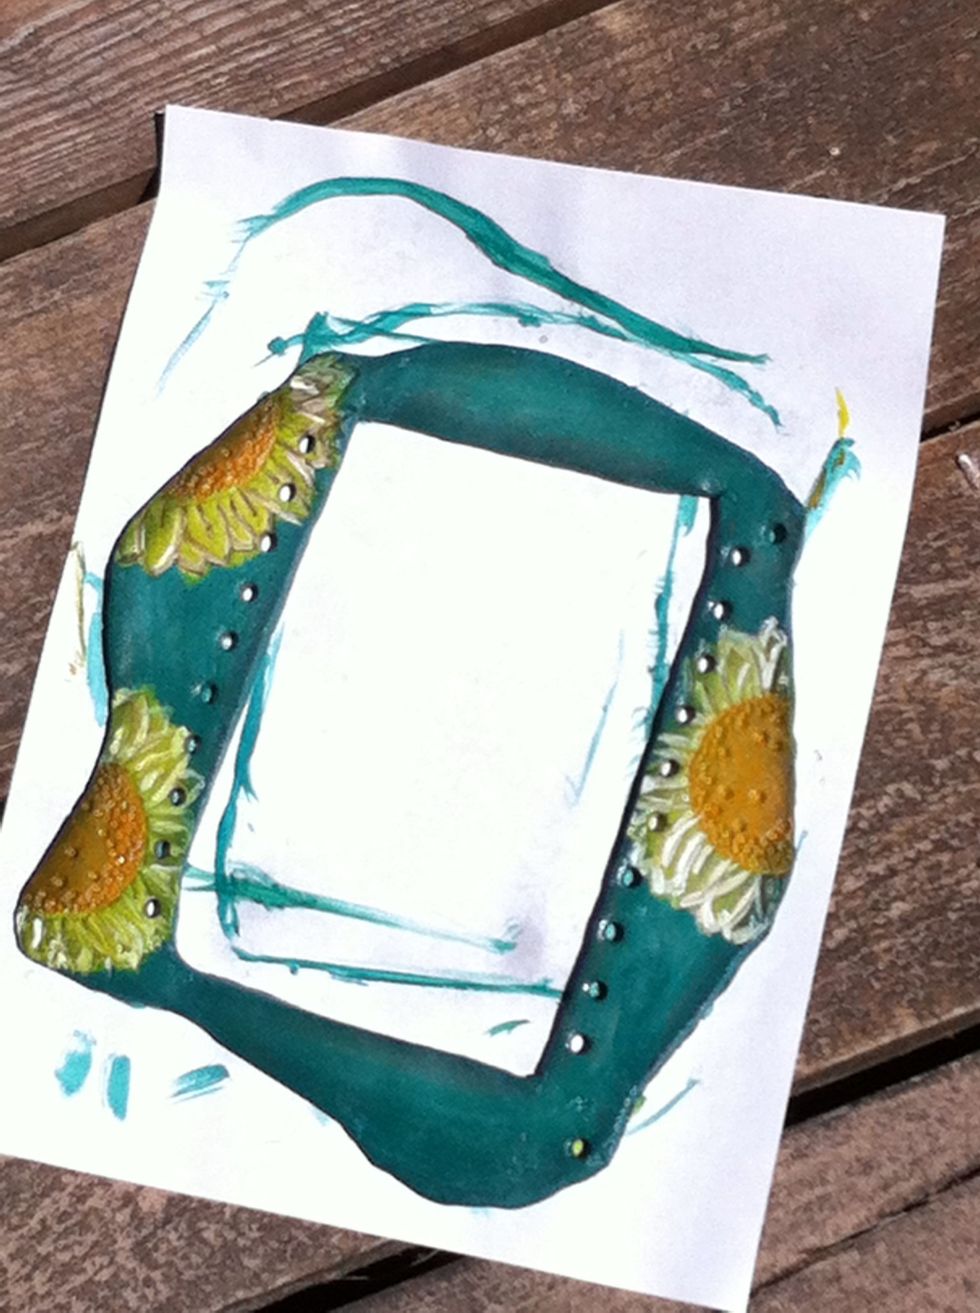
All done! Now it's time to string the loom!
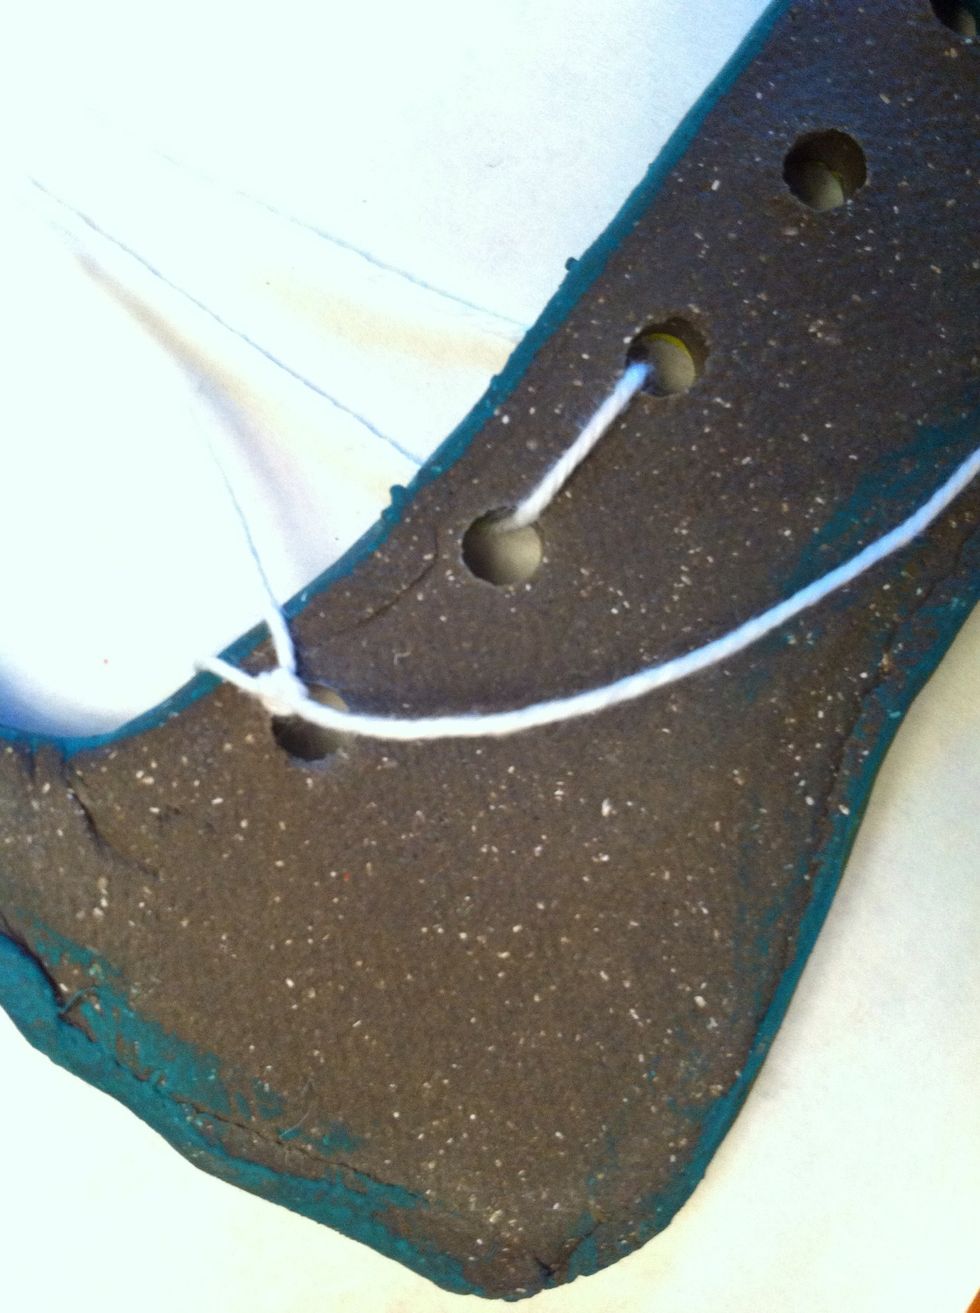
Tie a knot around the first hole to secure the string.
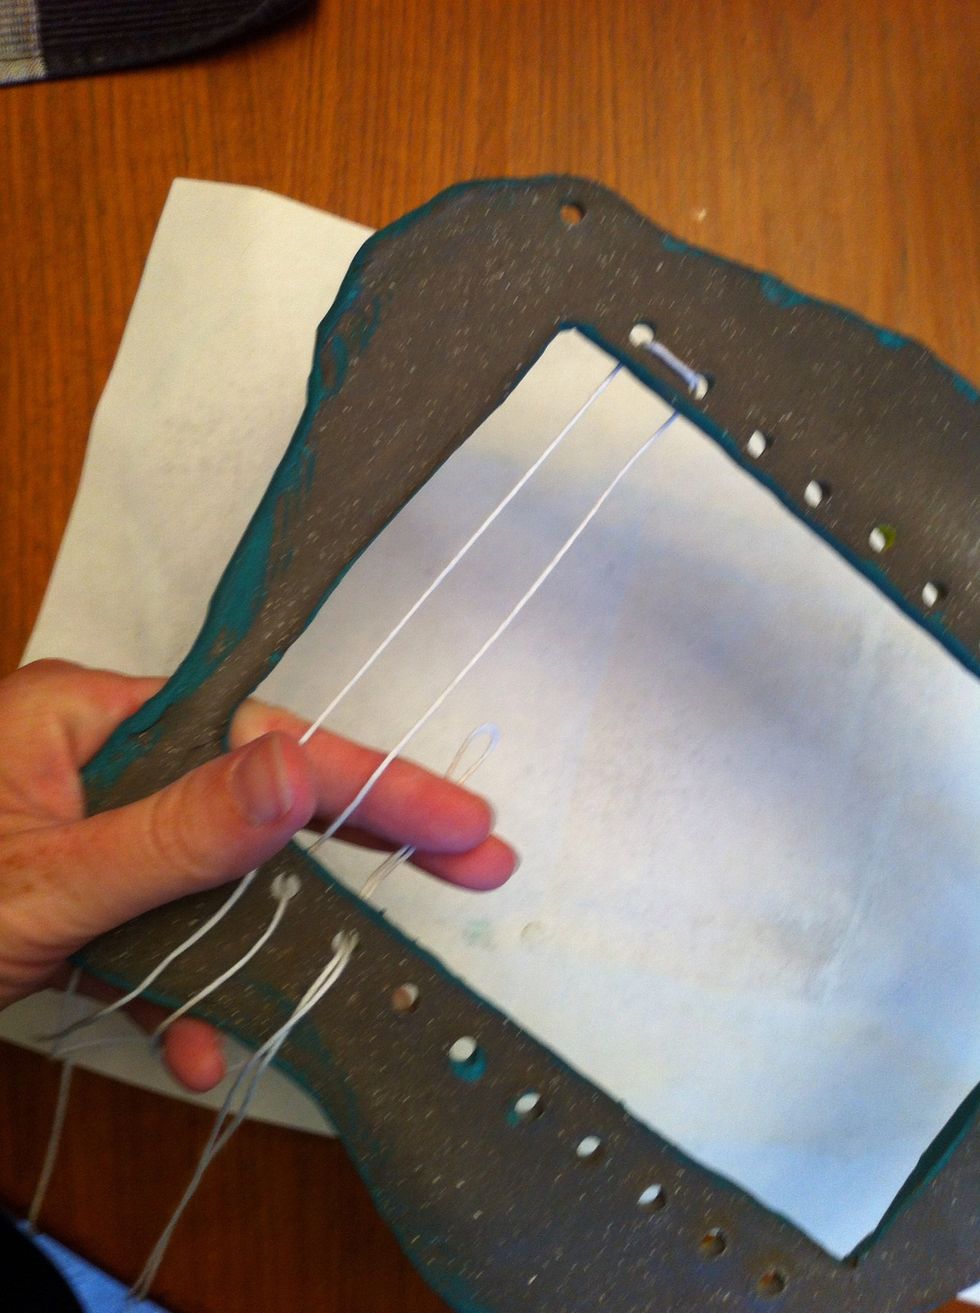
Take some cotton yarn and go up, around and back all the way across the loom.
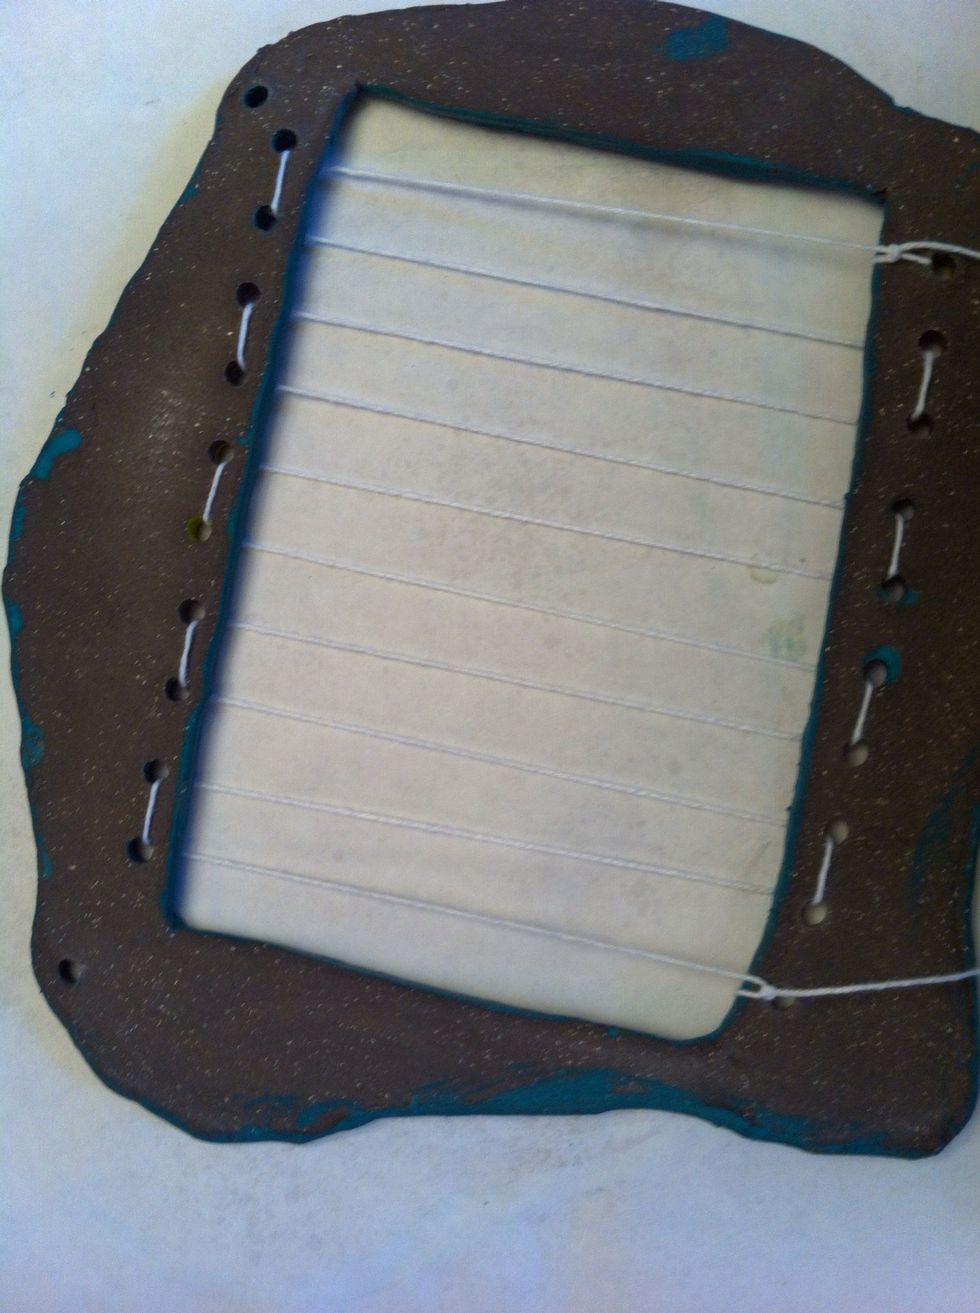
Pull the yarn taut as you string the loom. Tie a knot at the final hole.
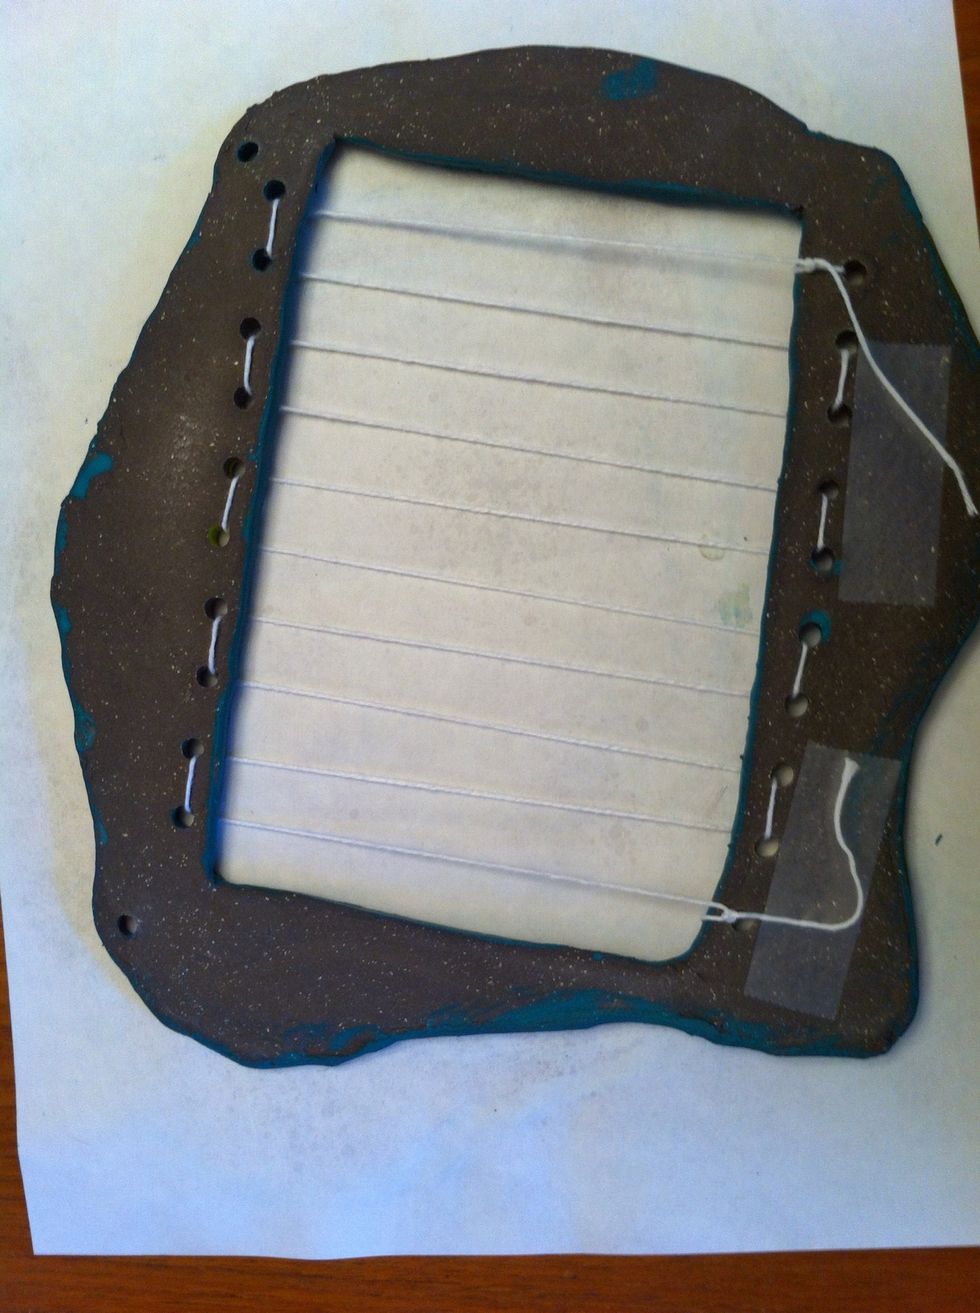
I didn't want to cut off my warp threads, so I taped them down.
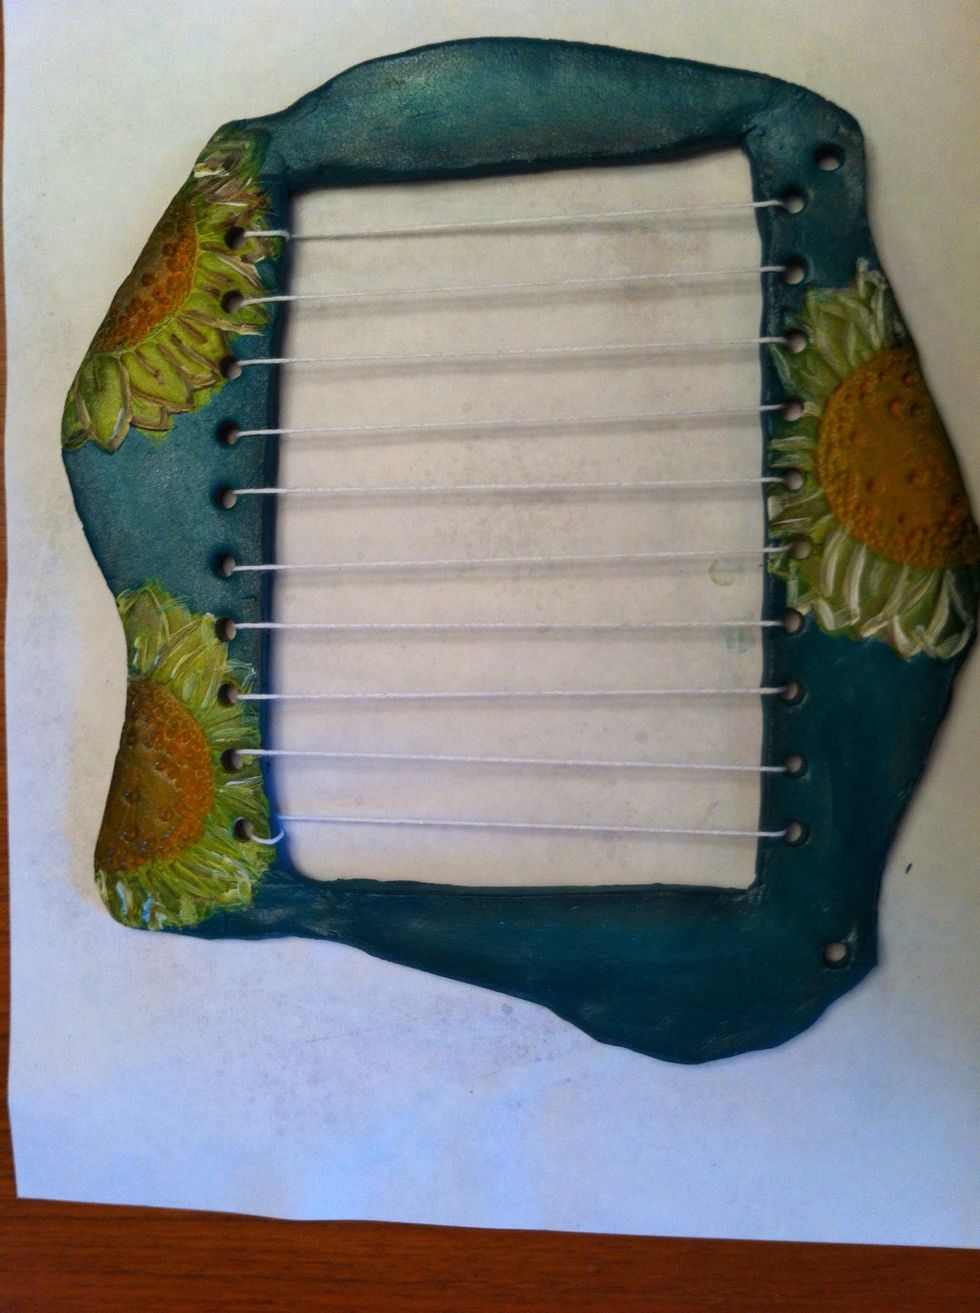
All done! Check out my other snapguides to learn how to weave a clay loom. Enjoy! www.faithhopeandart.blogspot.com
- S-2 air dry clay from Texas Pottery
- Rolling pin
- Straw
- Rubber stamp
- Watercolors
- Clear Gloss Sealer
- Template for loom size
- Template for opening