The Conversation (0)
Sign Up
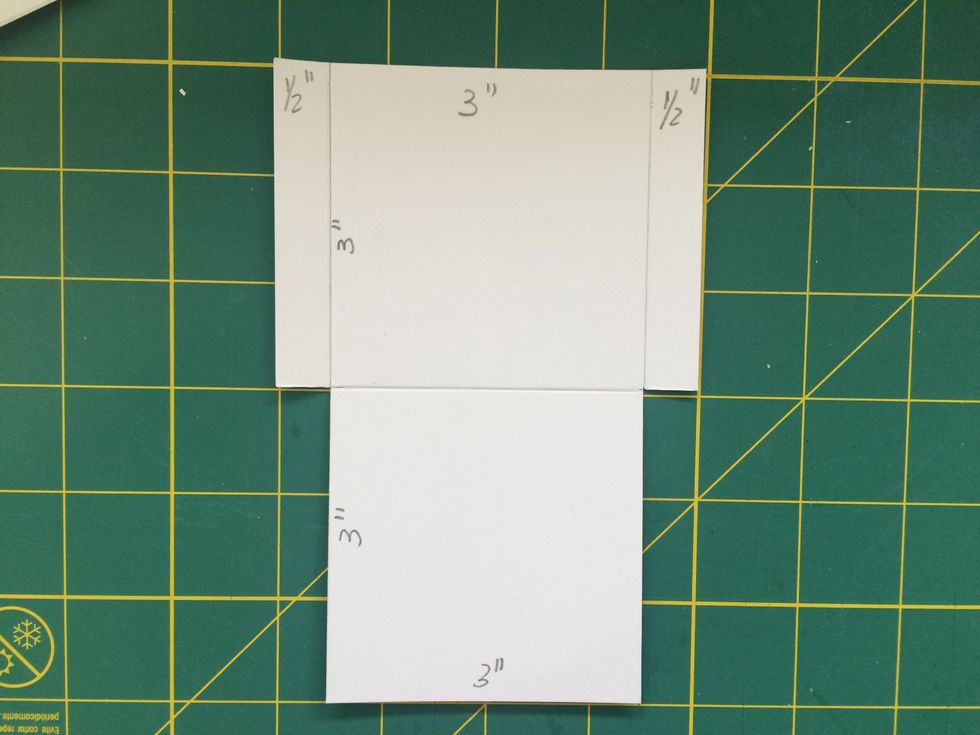
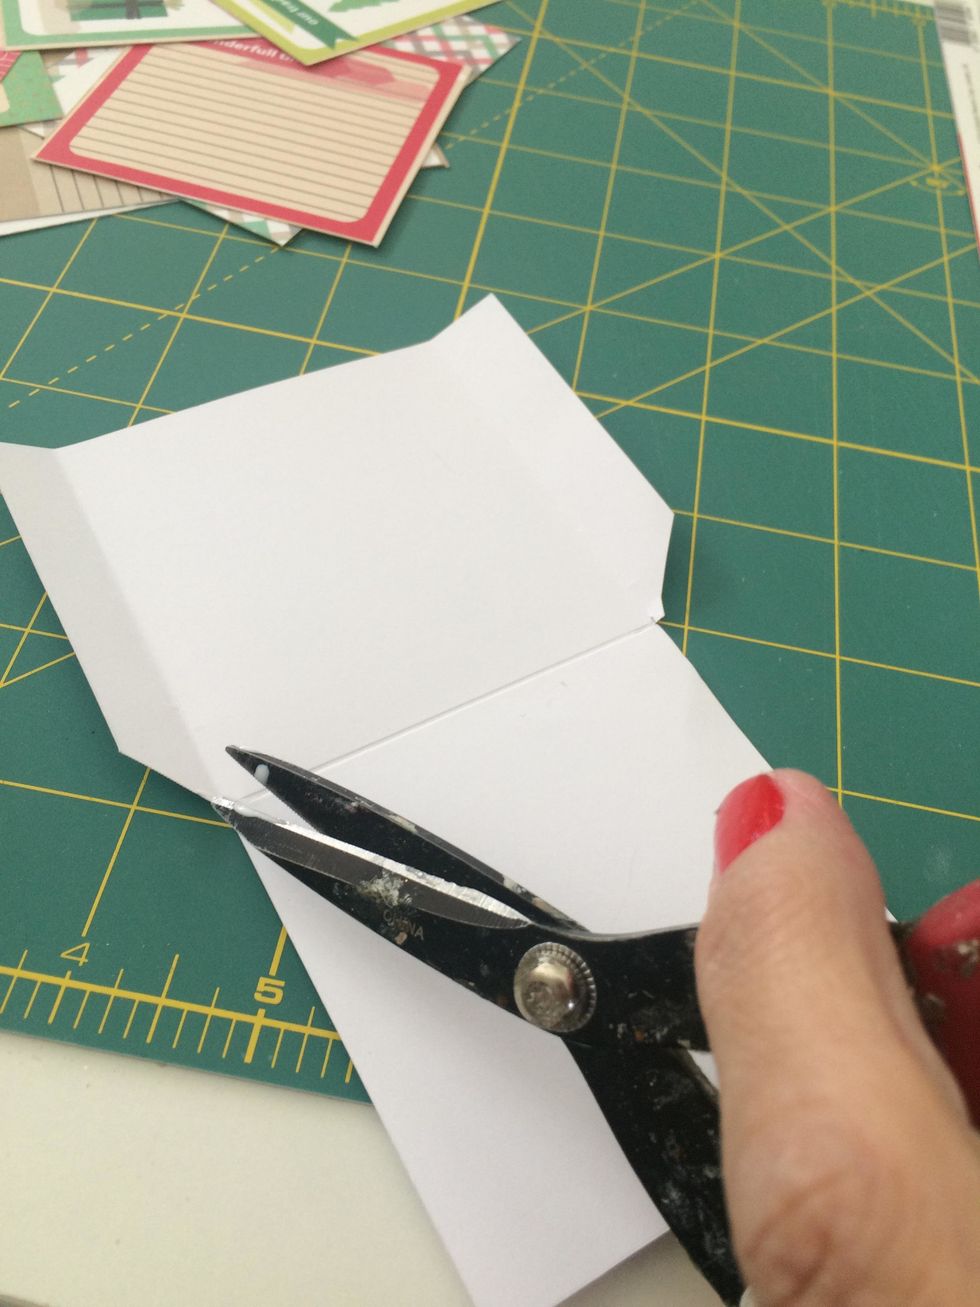
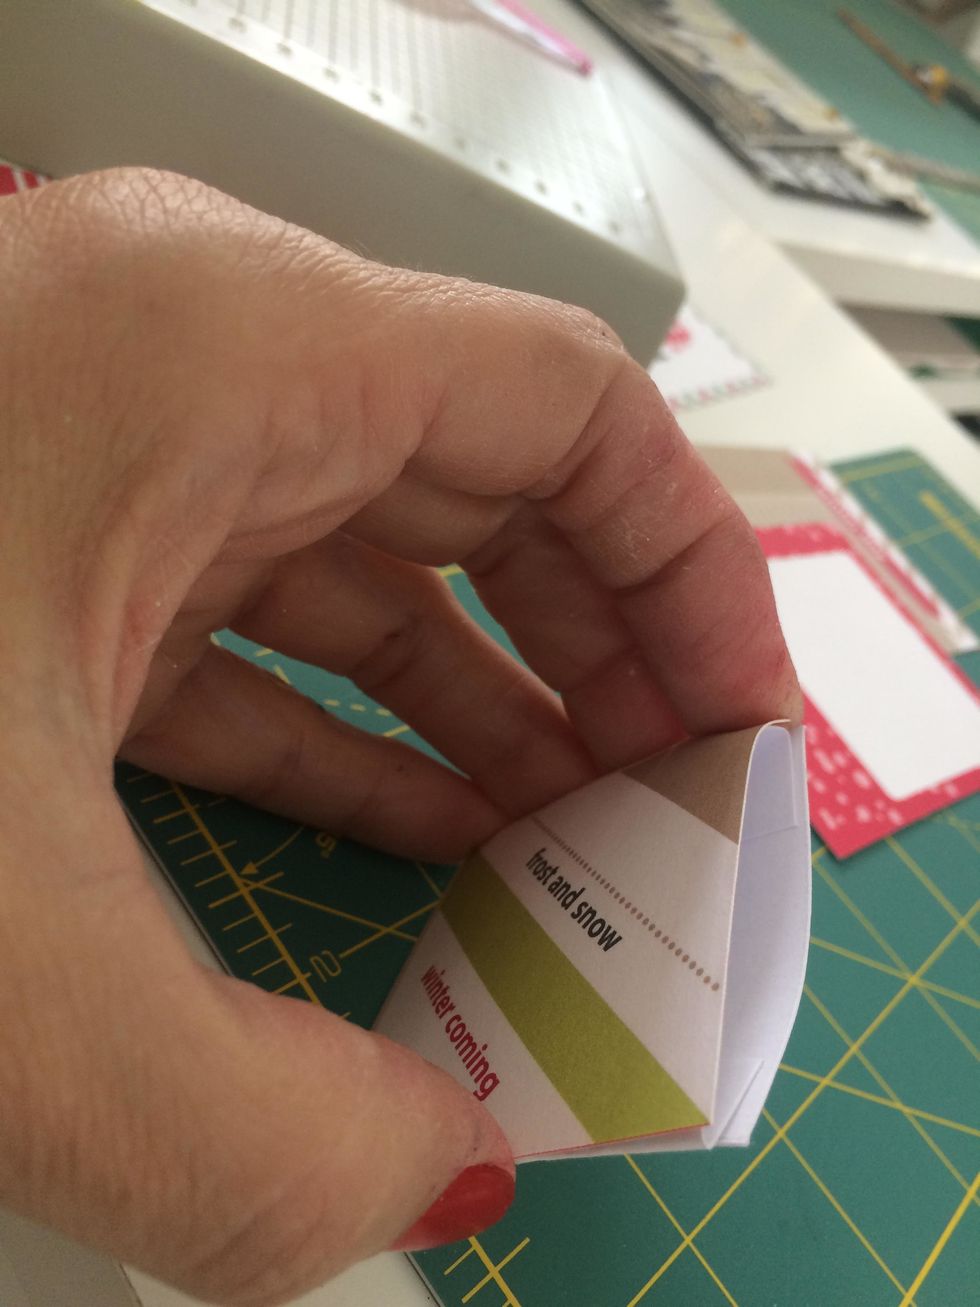
Start making six pockets measuring 3"x3"with two tabs measuring 1/2".
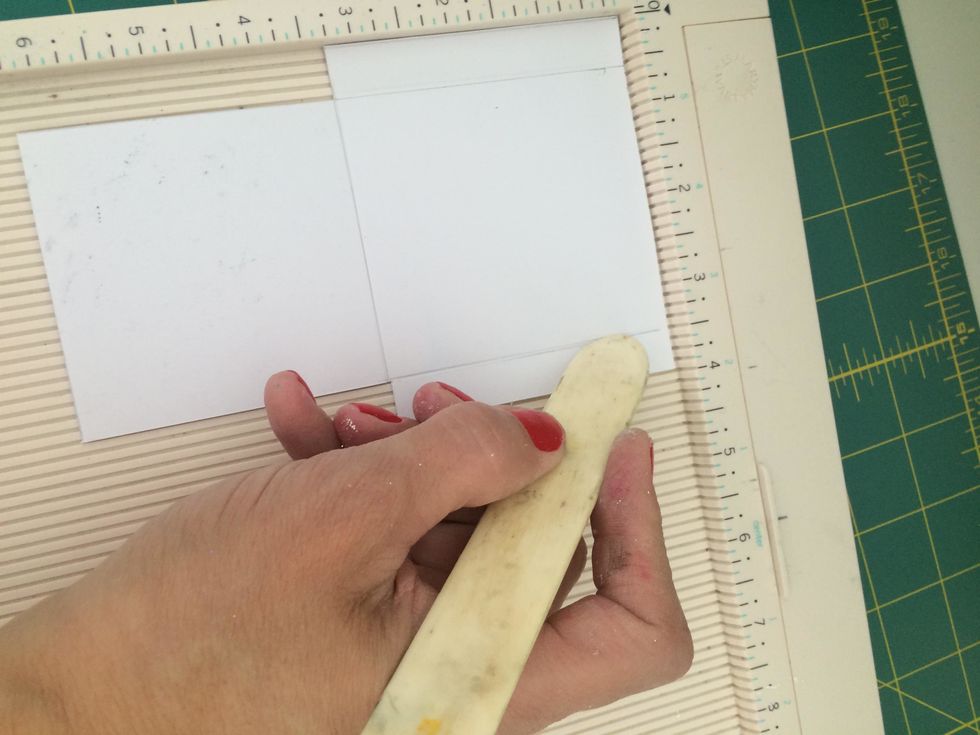
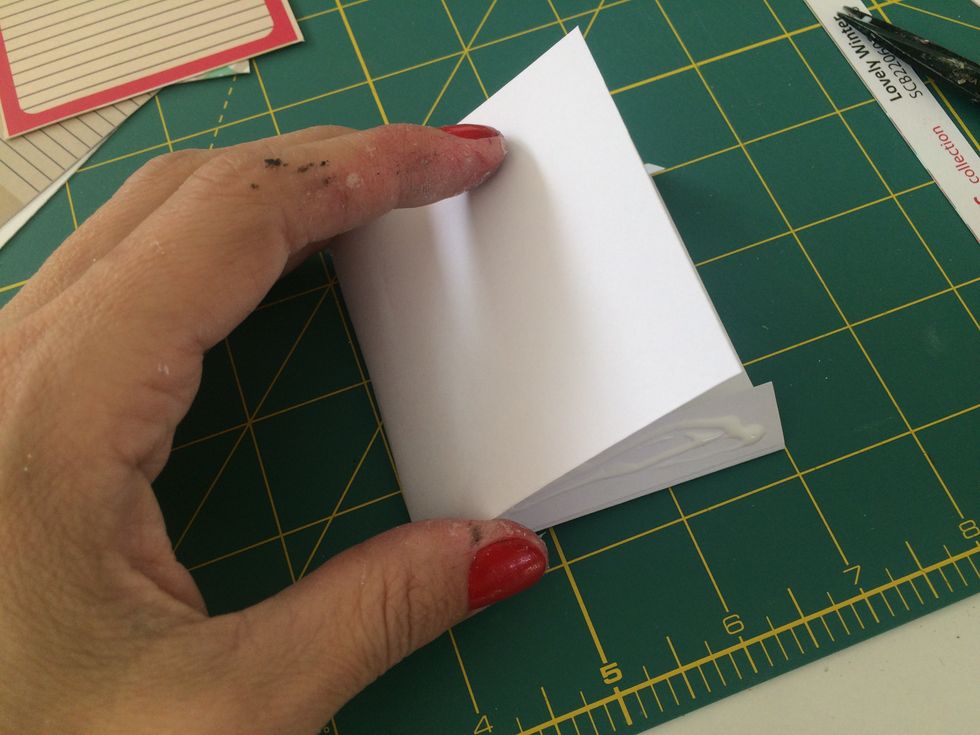
Score the lines,
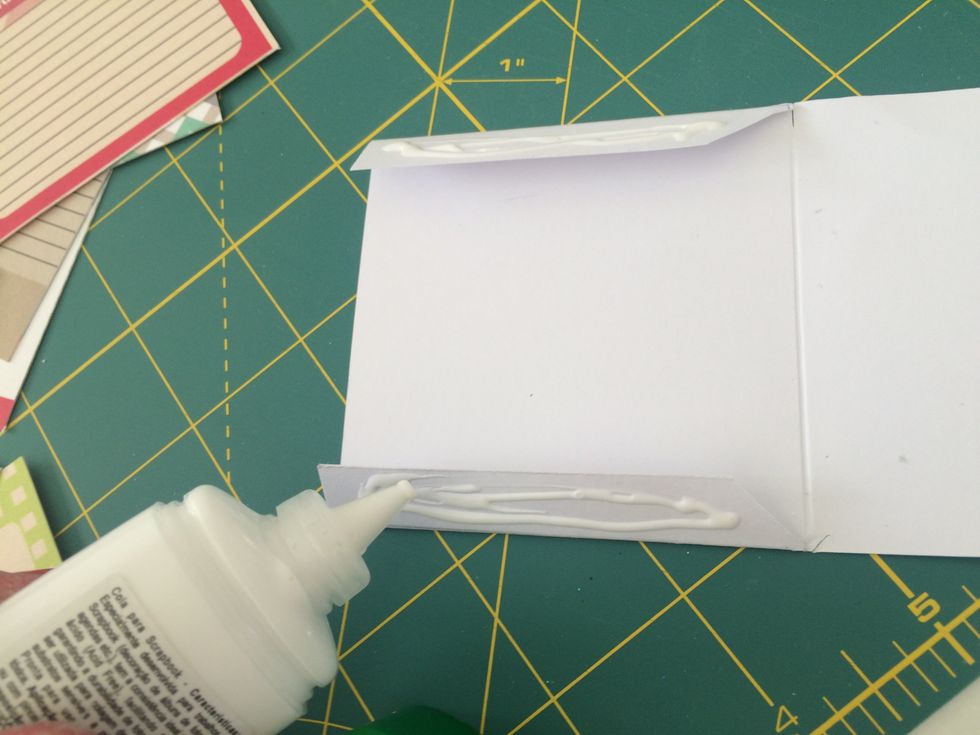
Apply glue on the tabs.
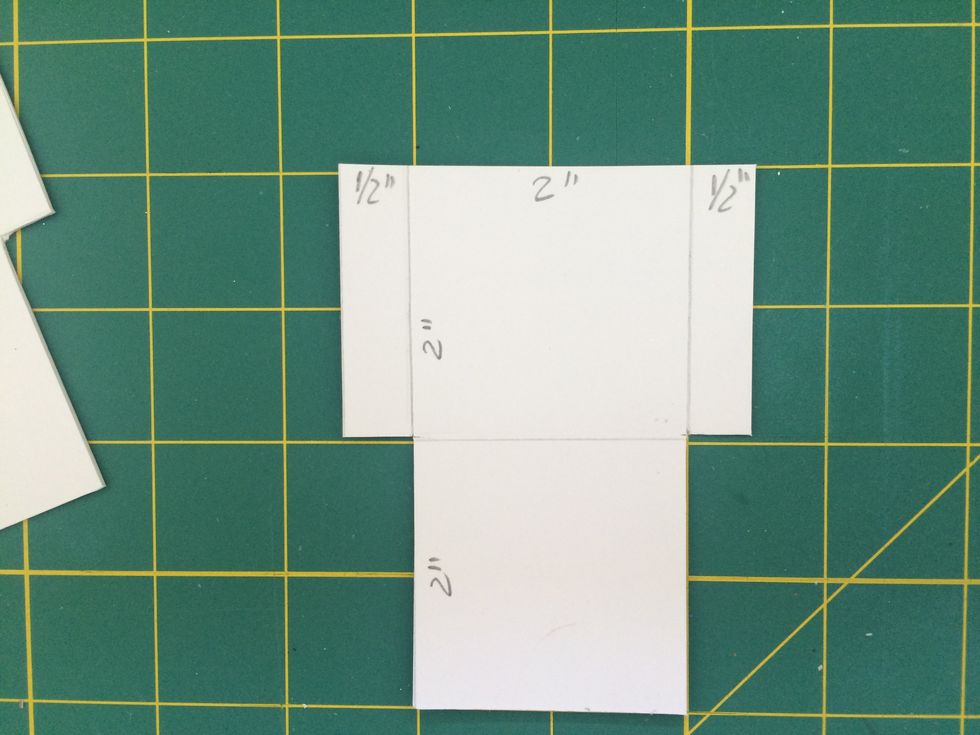
Repeat the same process making eight pockets with 2"x2" and ten pockets with 3"x4".
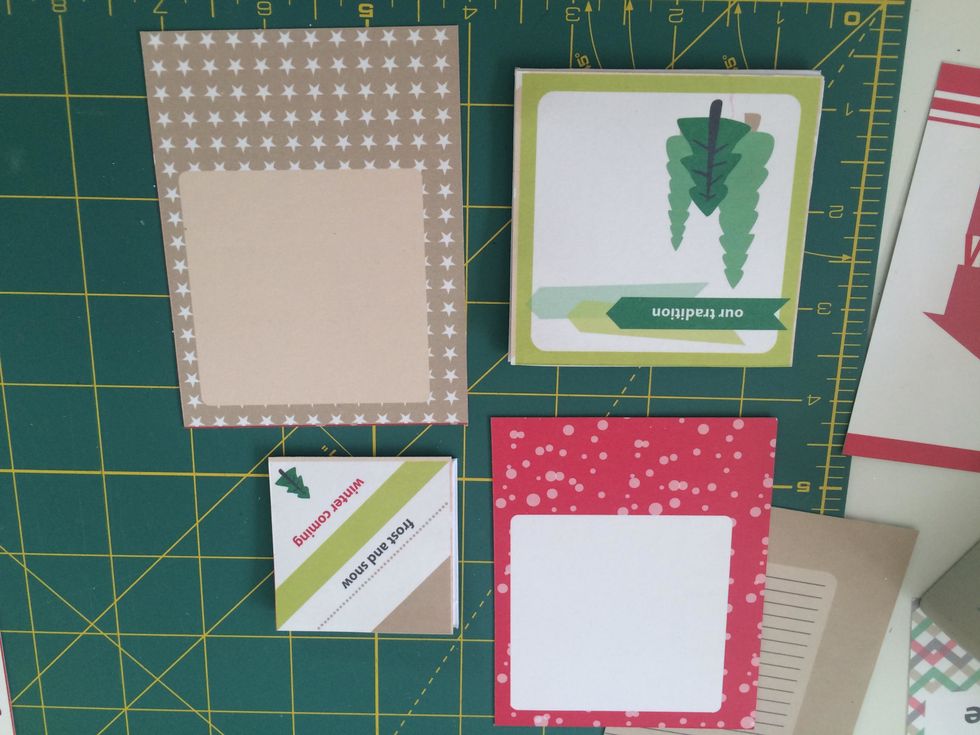
Cut six squares with 3"x3', eight with 2"x2"and ten with 3"x4" from ScrapBerry's Happy Holidays.
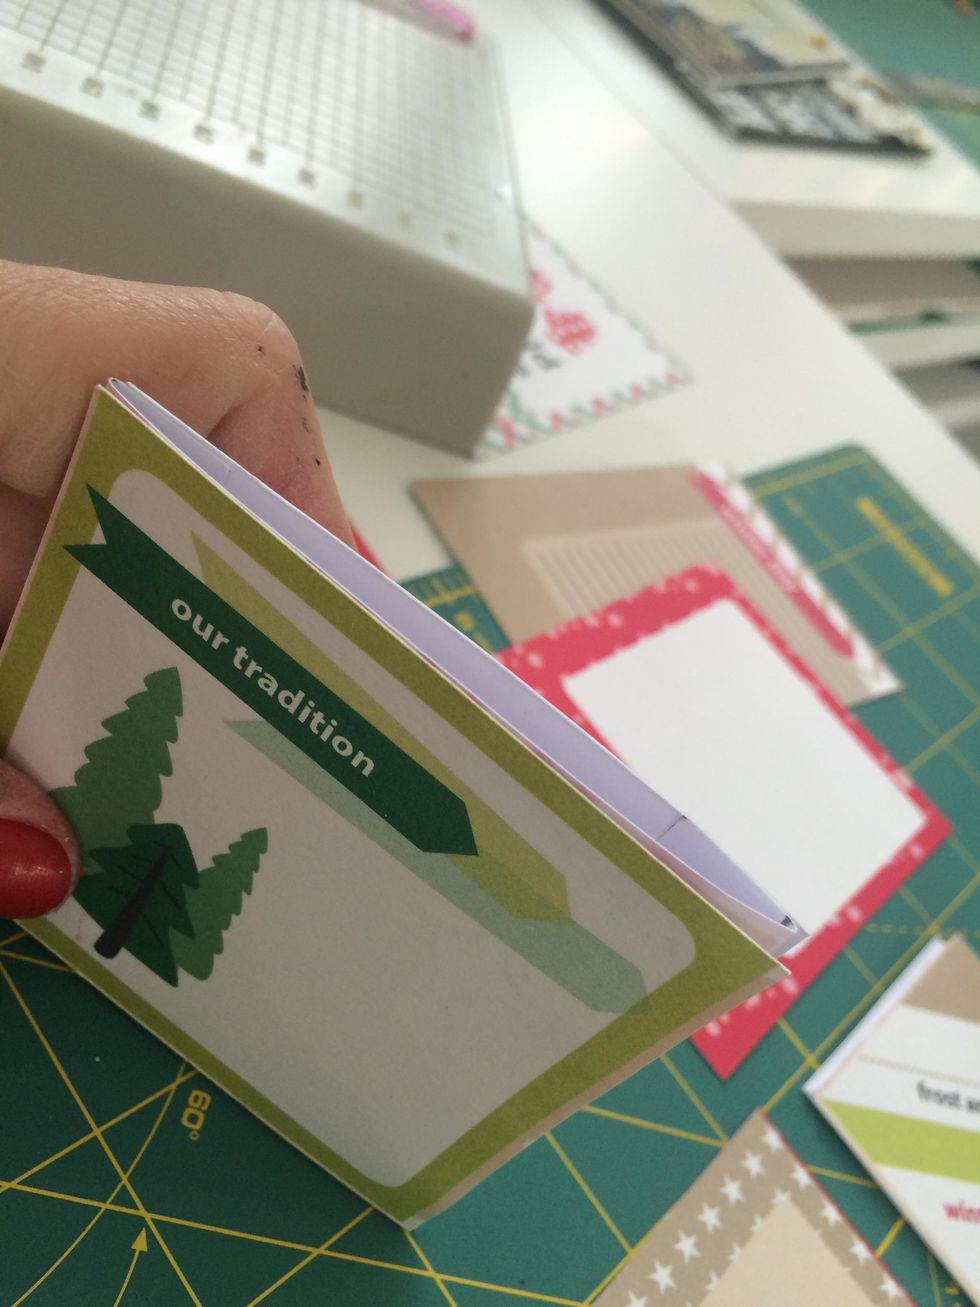
Glue these squares on the pockets.
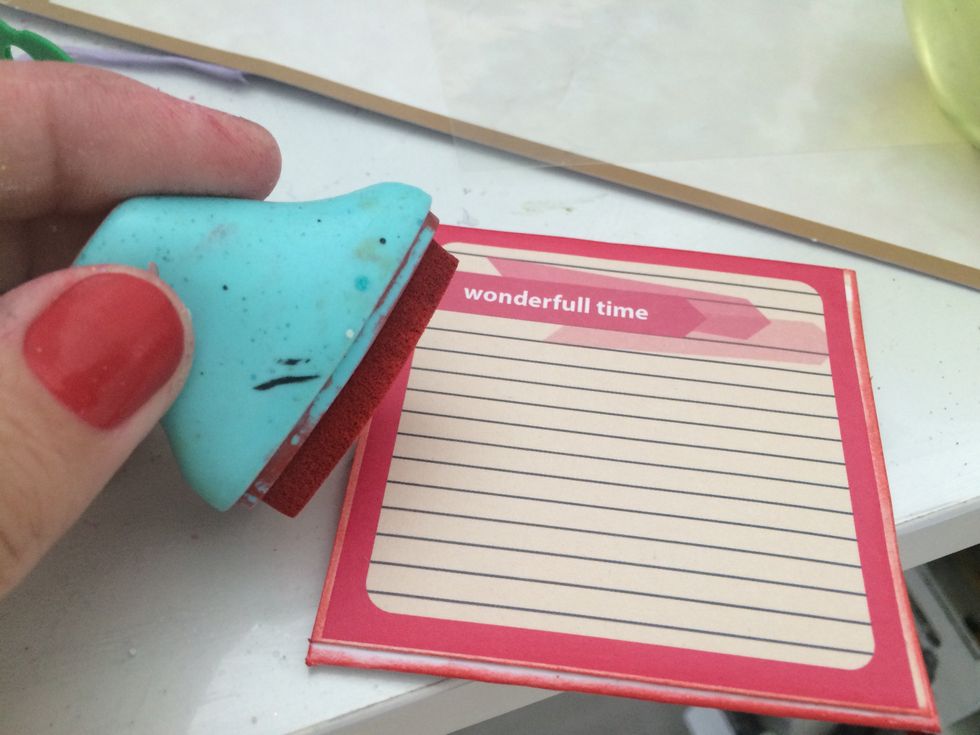
Apply ink pads on the pockets.
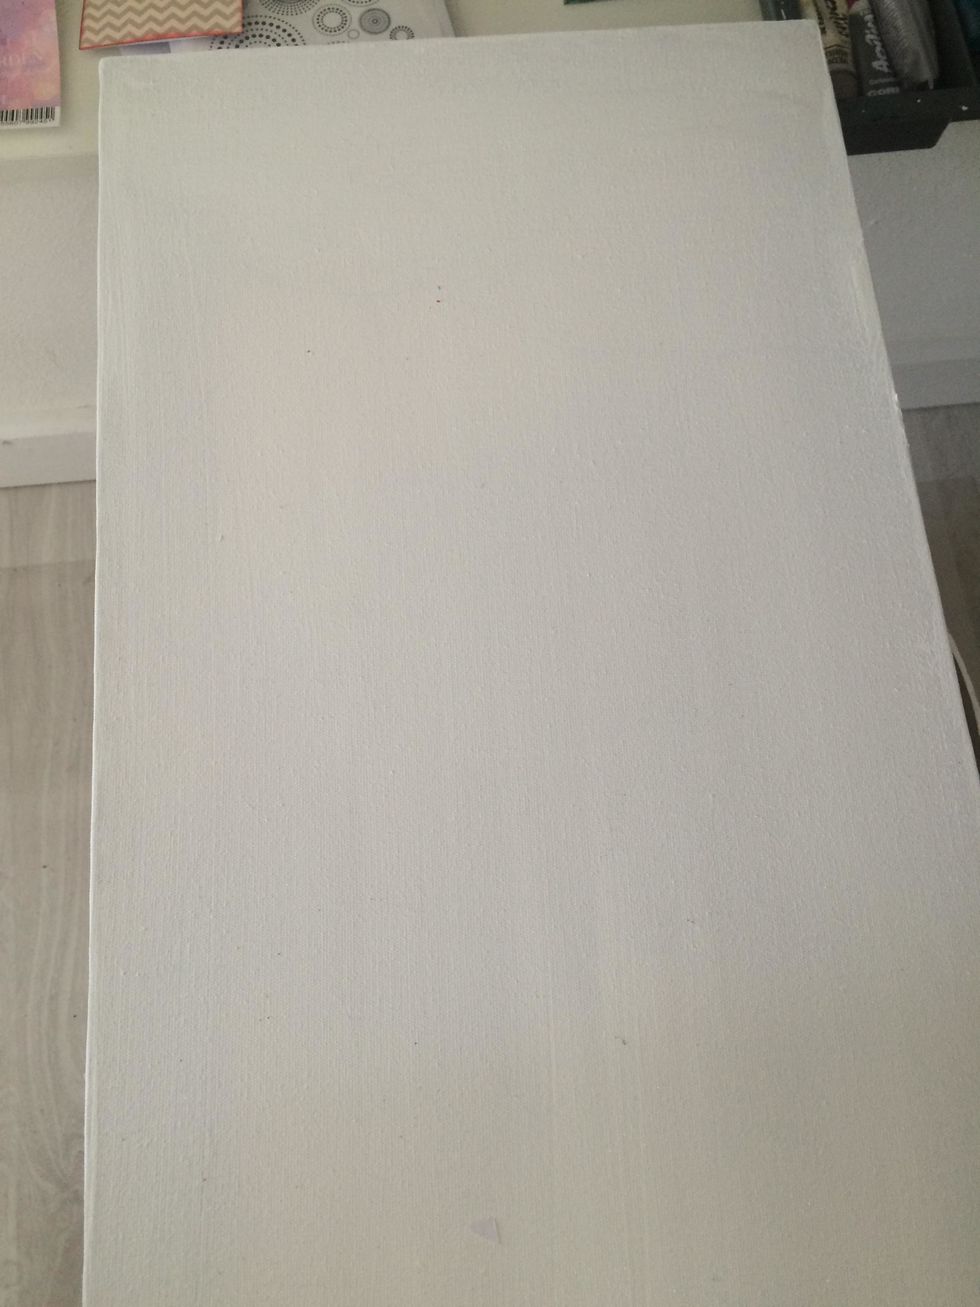
I used a canvas measuring approximately 12"x 24" as a base for my calendar.
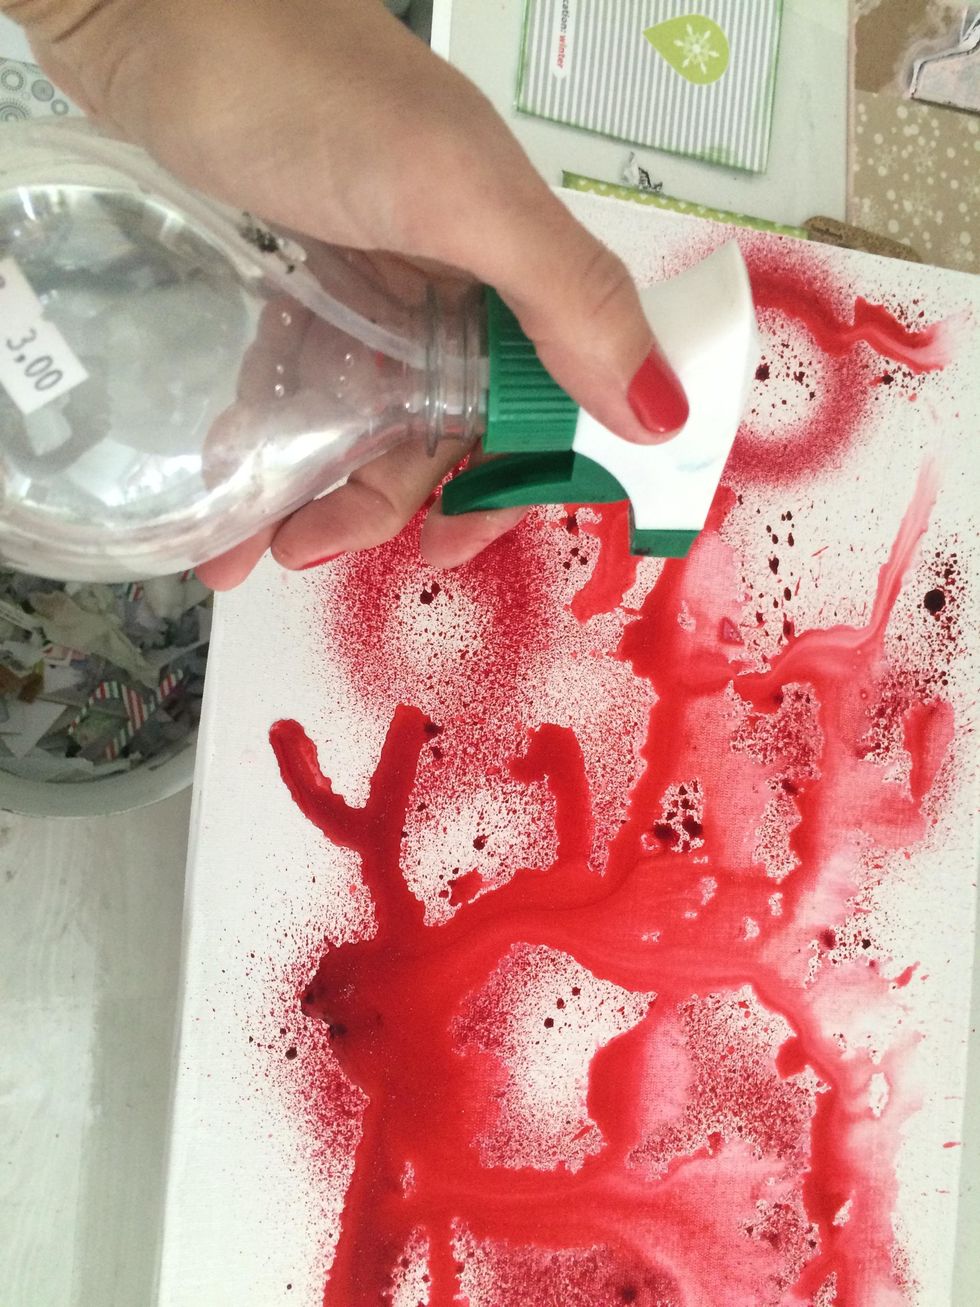
Apply red spray ink and spray water.
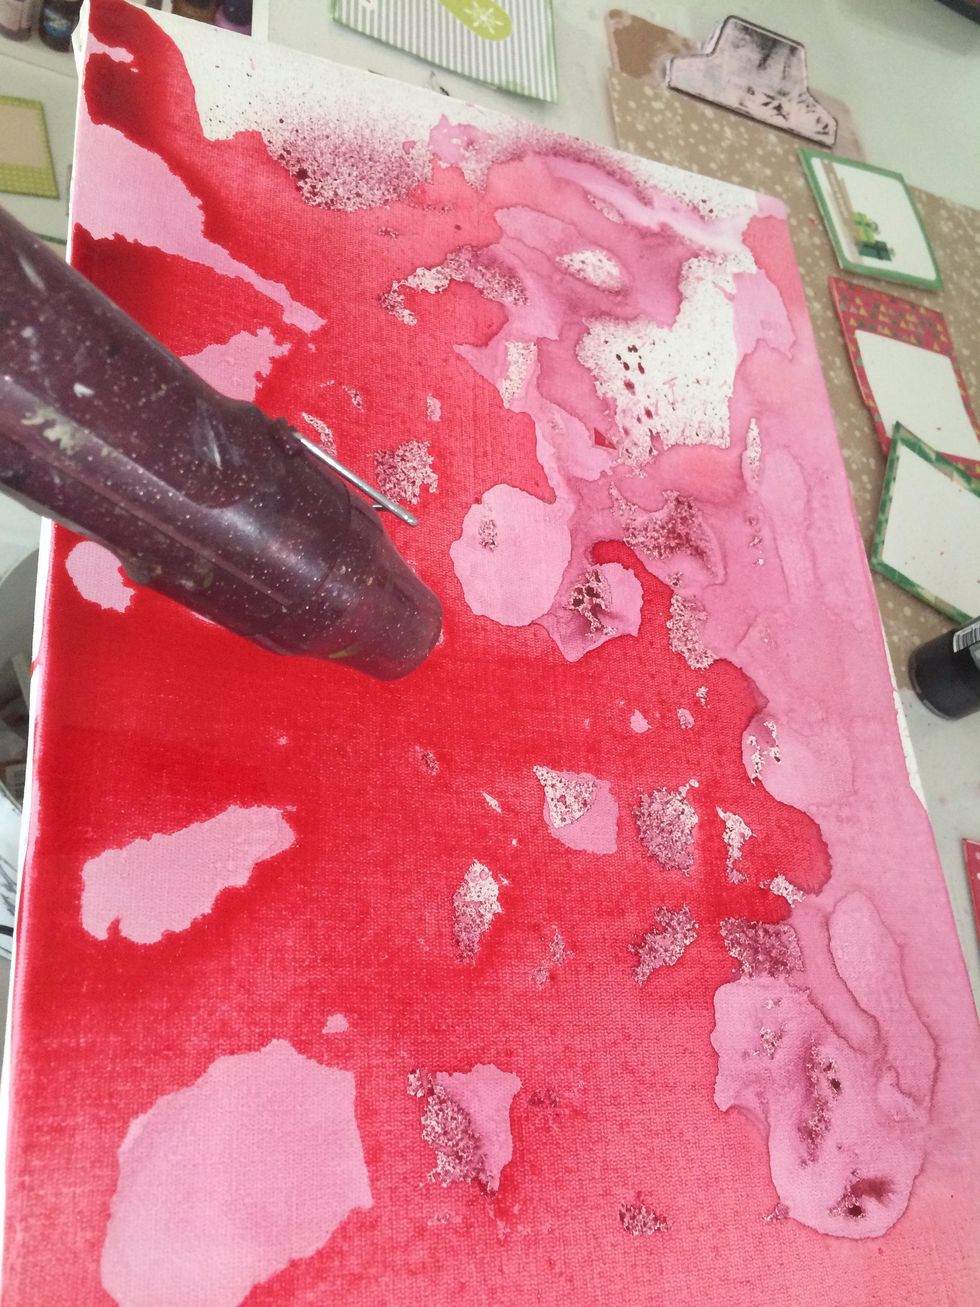
Use a embossing heat tool to dry the ink.

Repeat the same process with green spray ink.
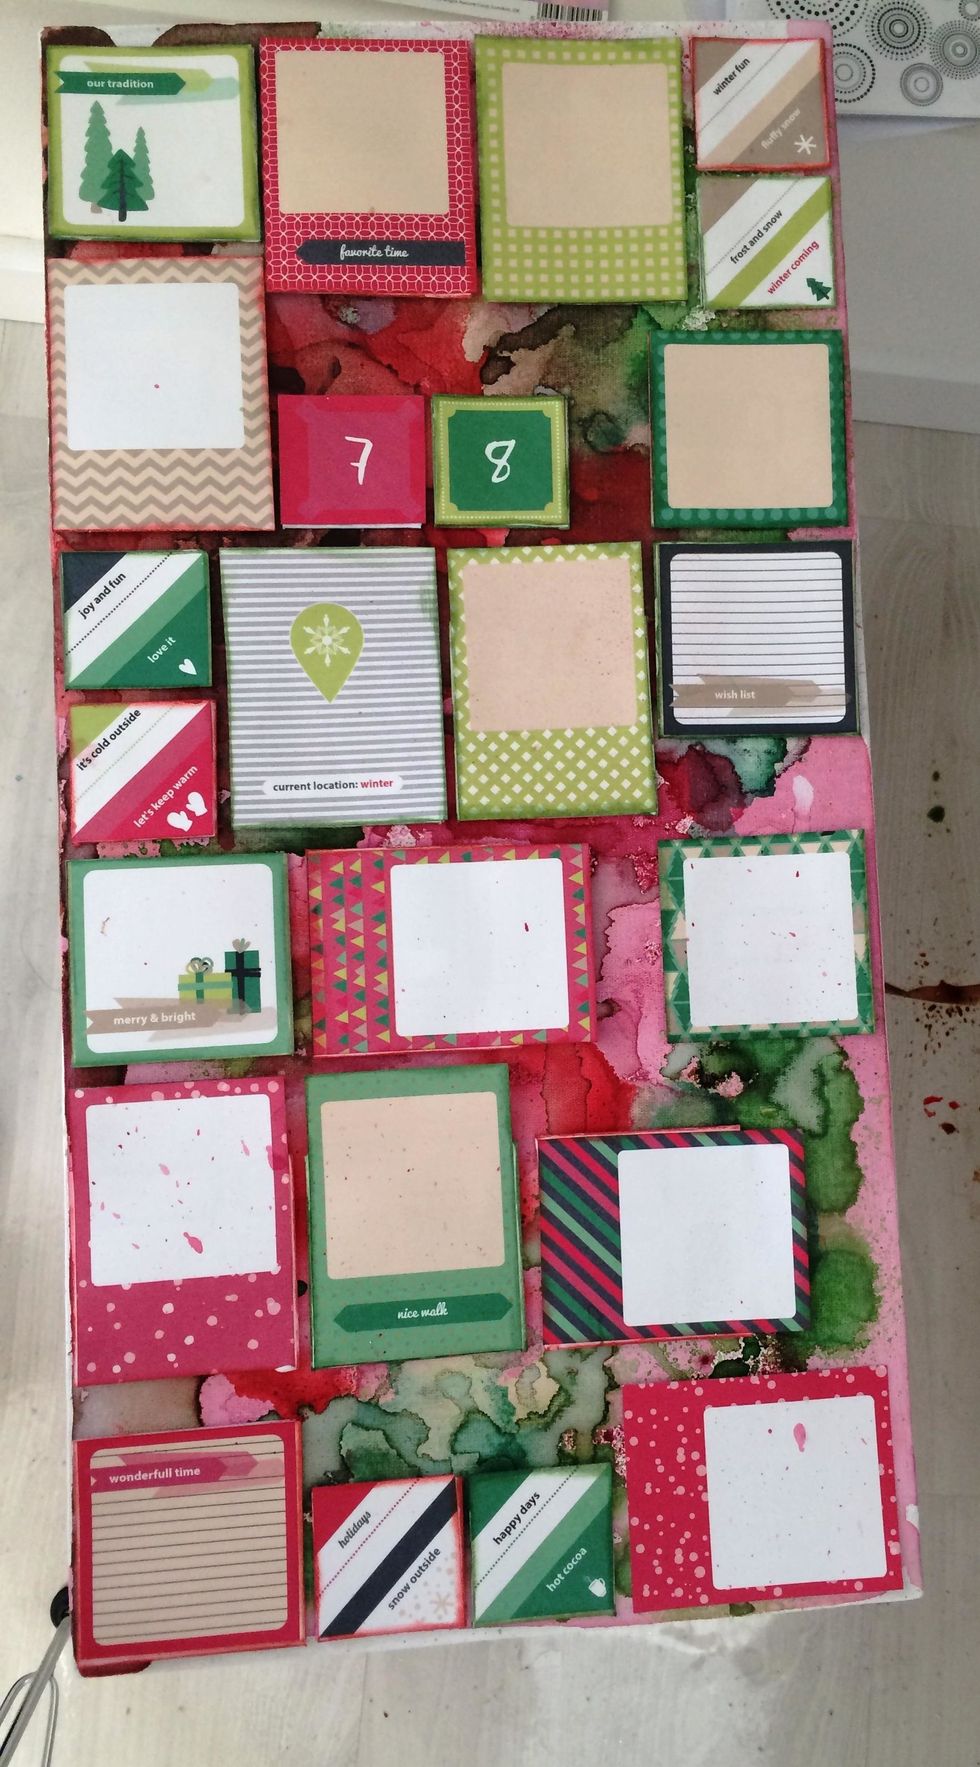
Distribute the pockets on the canvas.
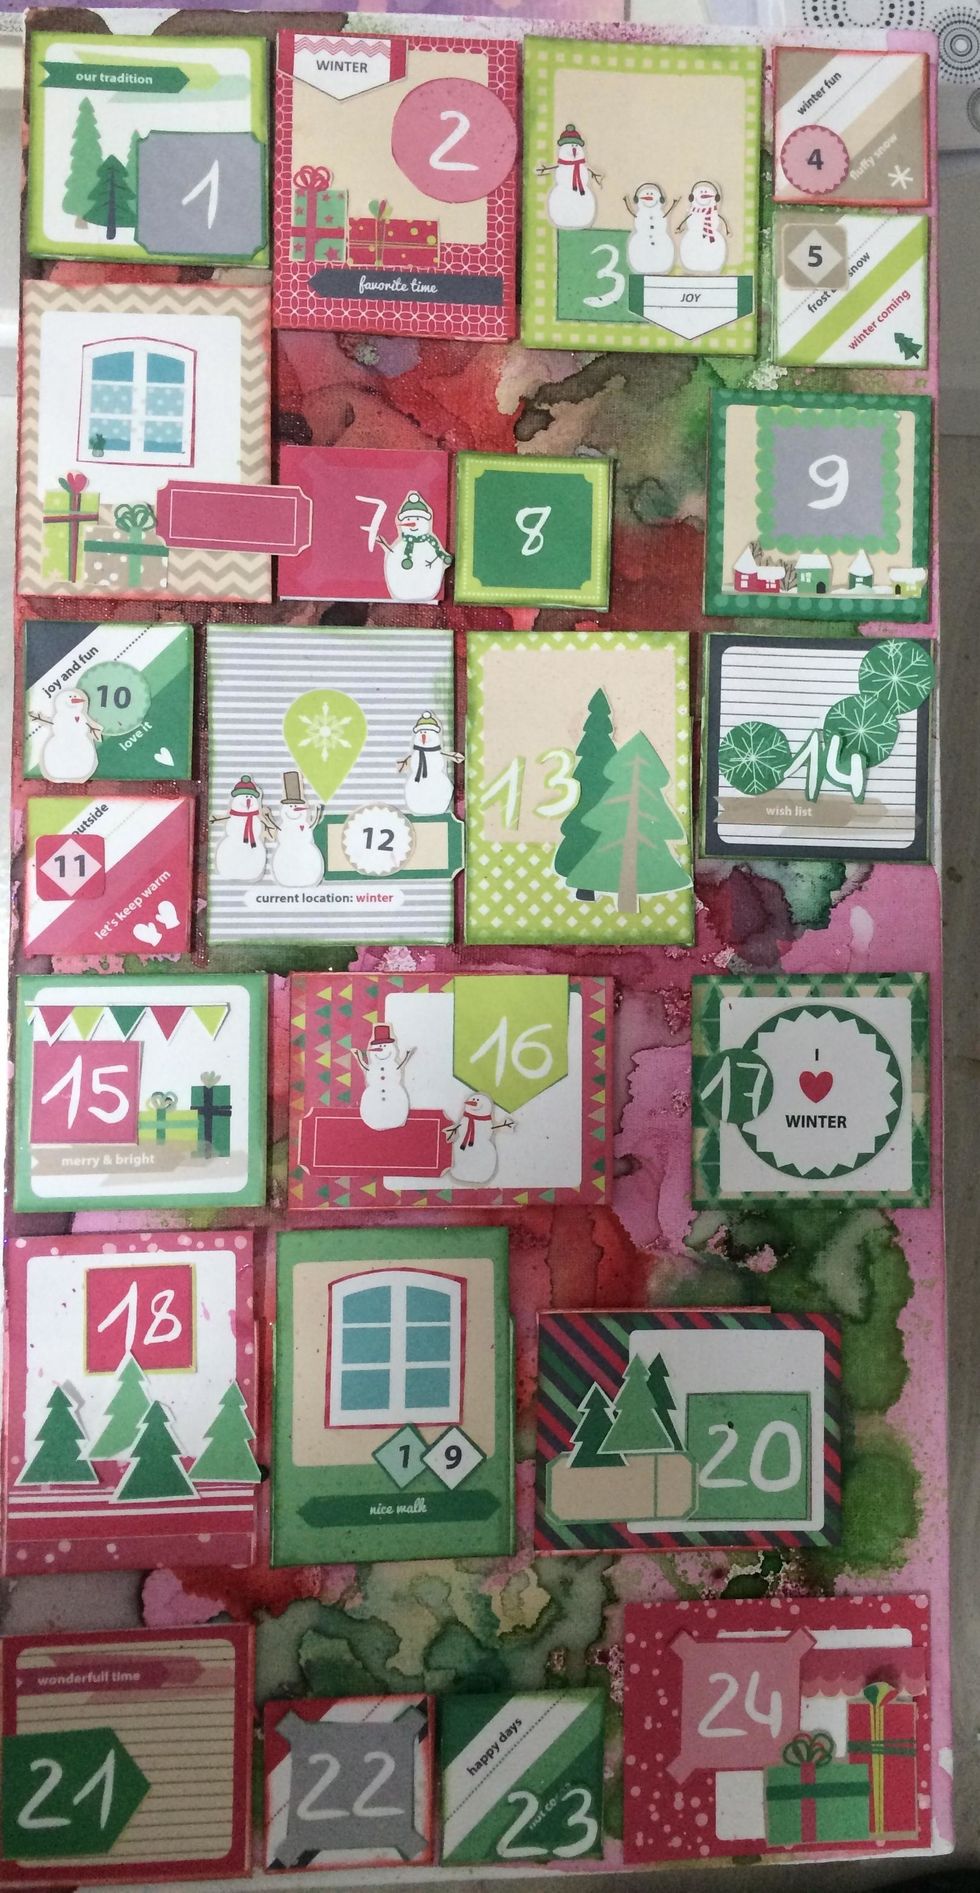
Add ScrapBerry's embellishments and cut outs from Happy Holidays.
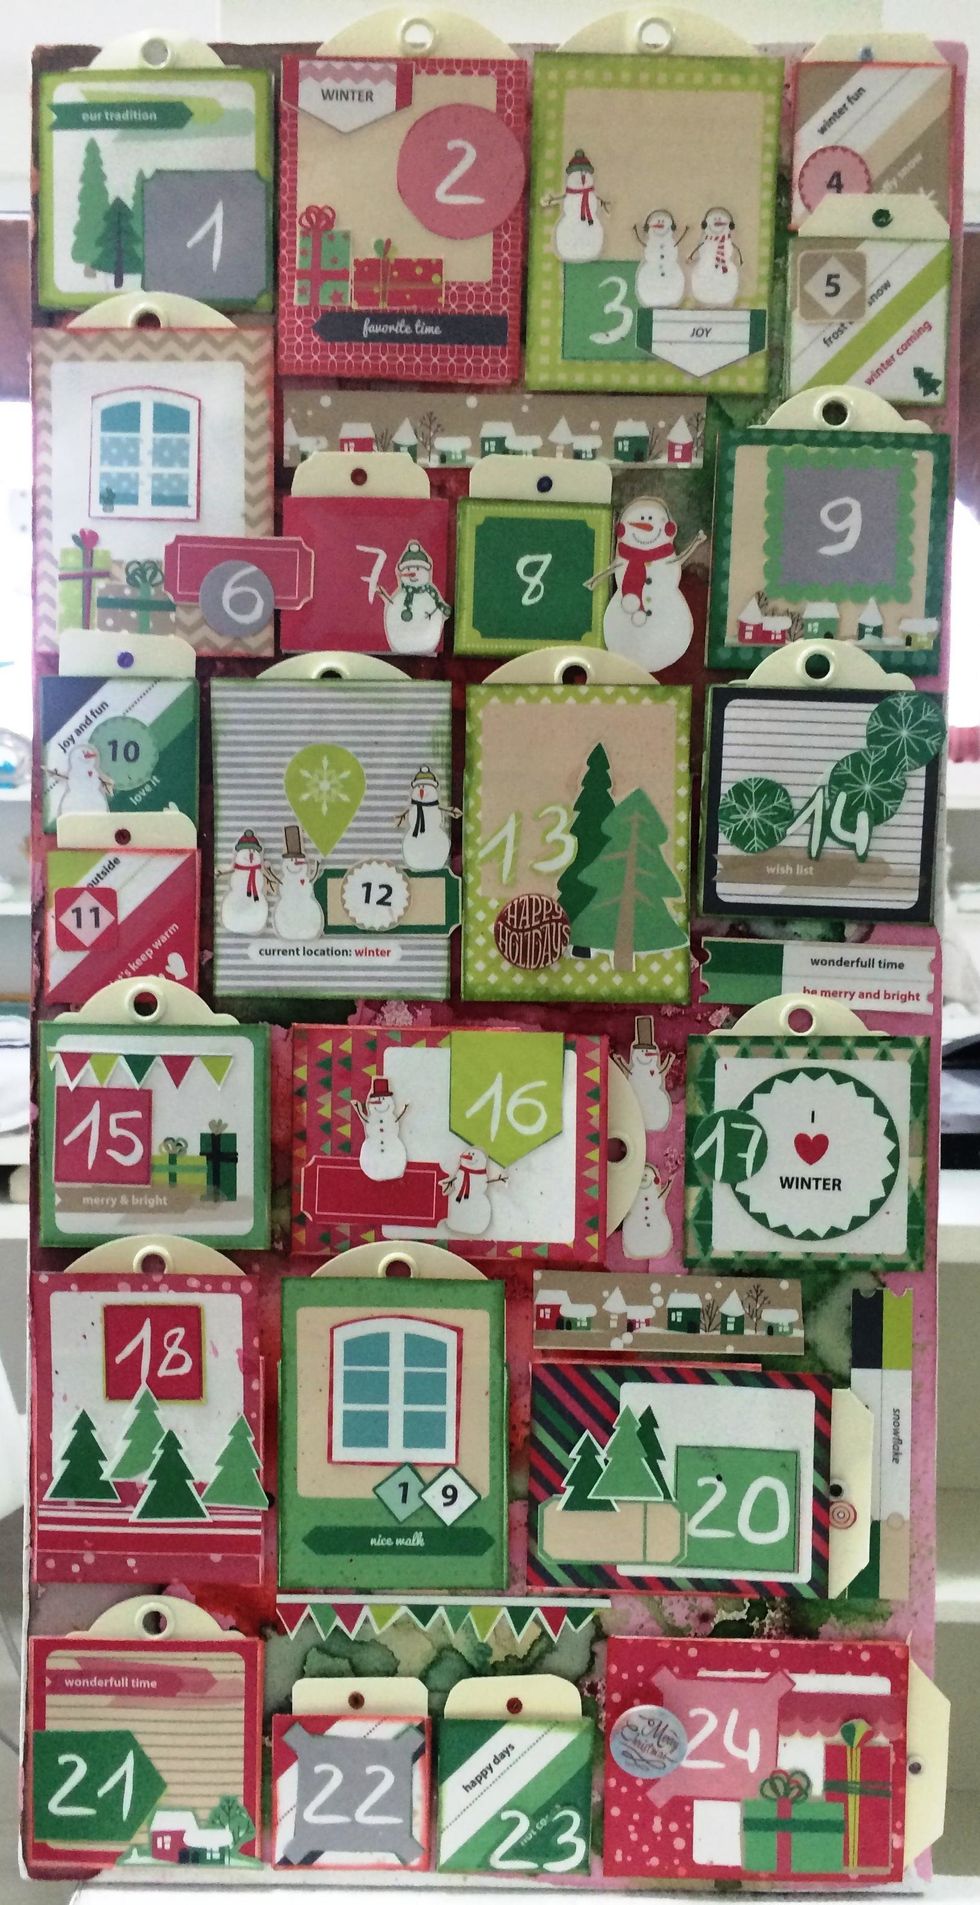
Put a tag in each pocket.