The Conversation (0)
Sign Up
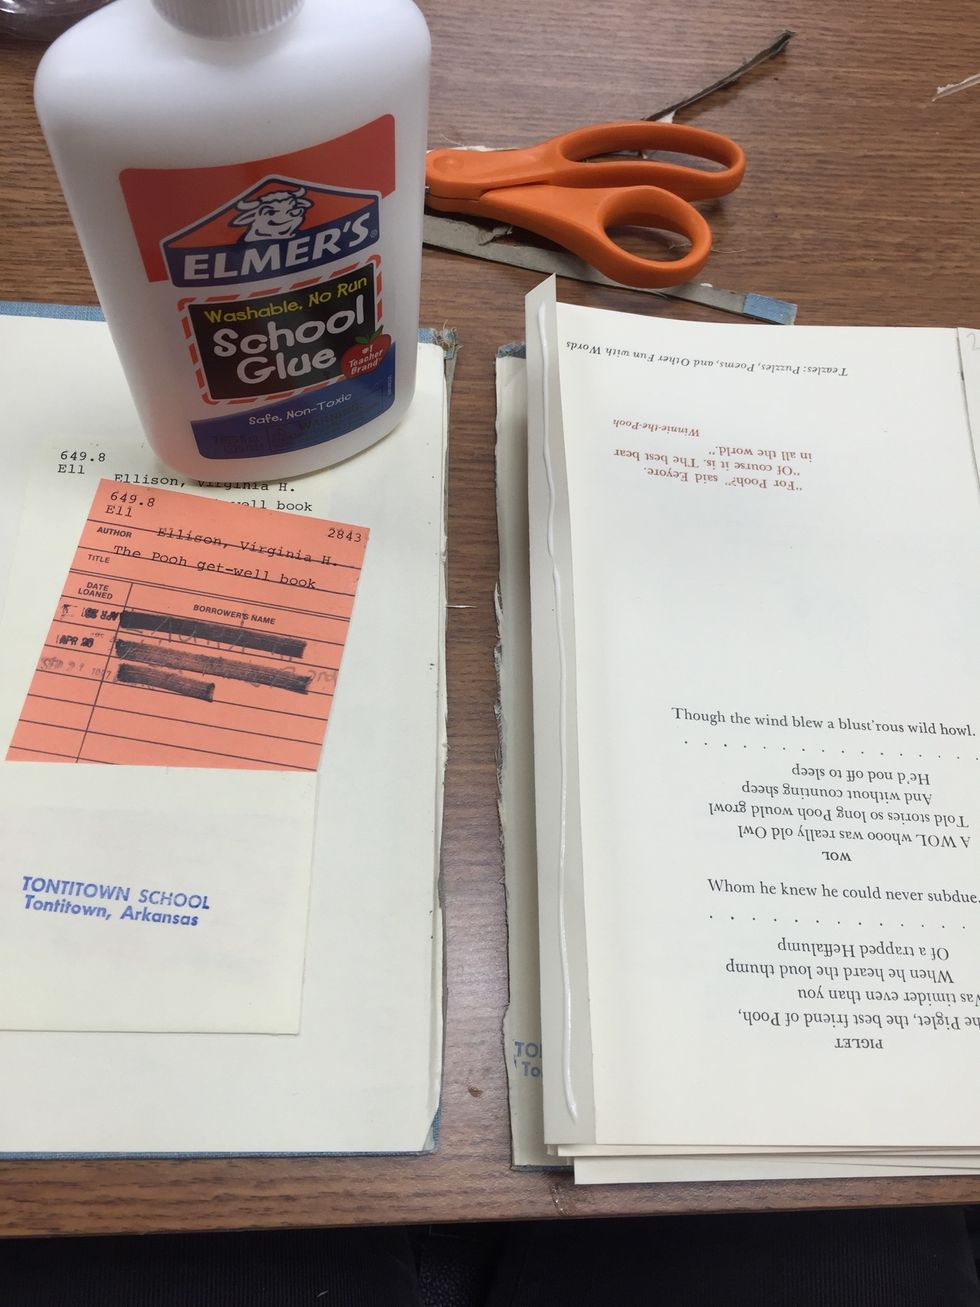
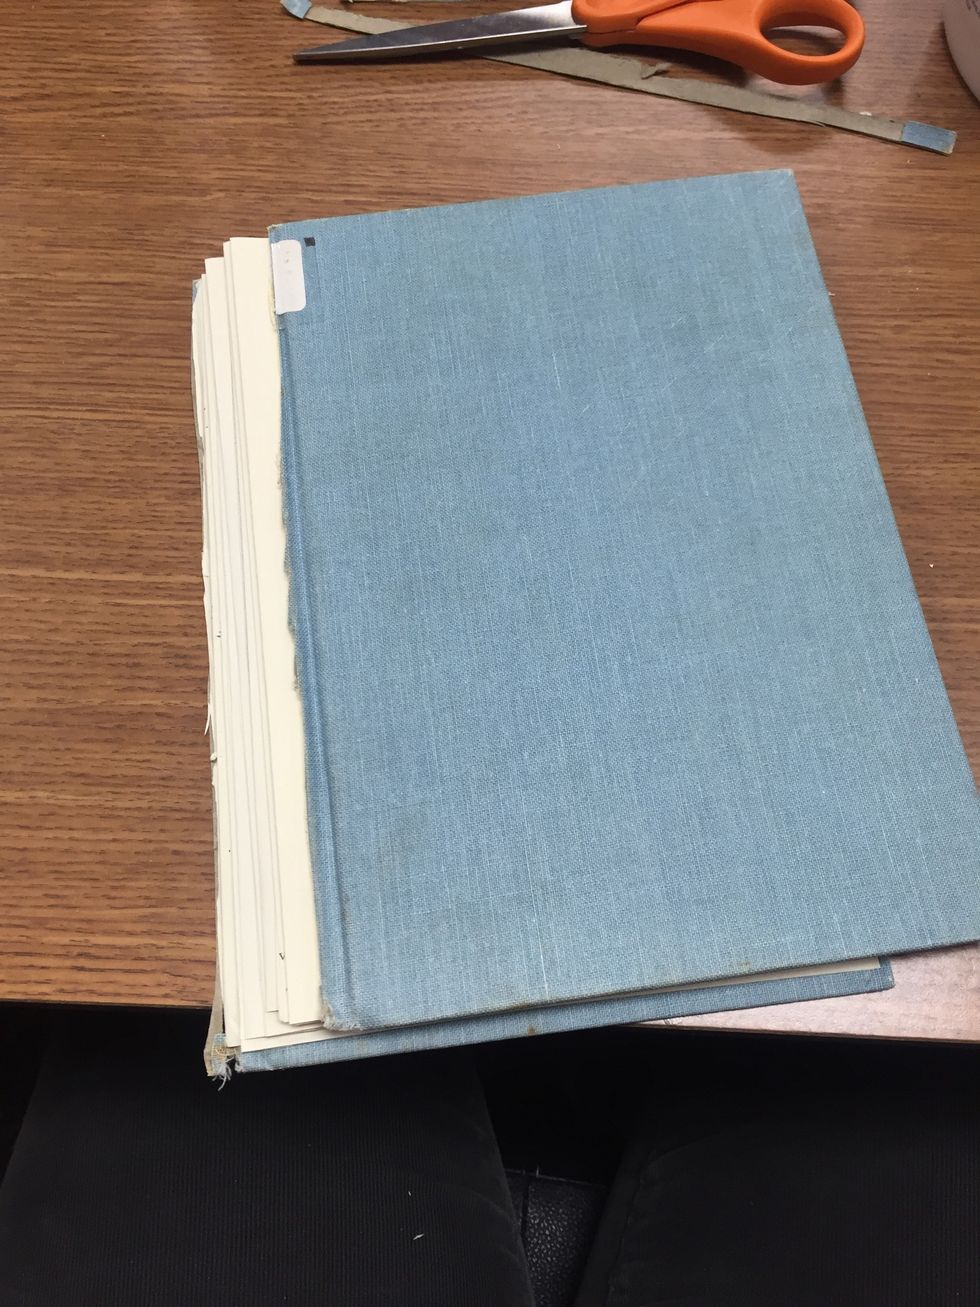
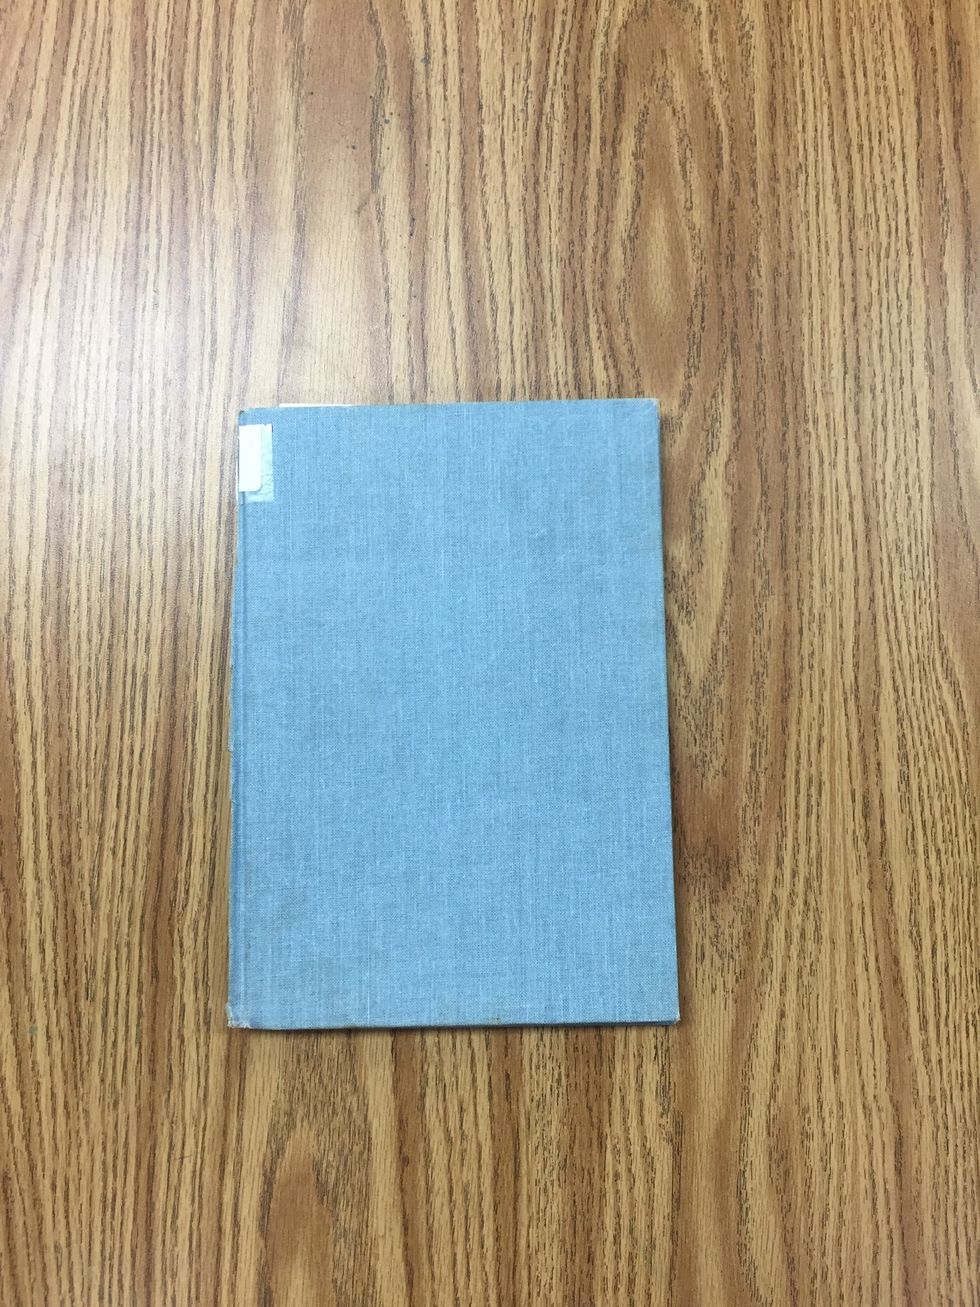
Use a sharpie to: Write your name. On the back. Small.
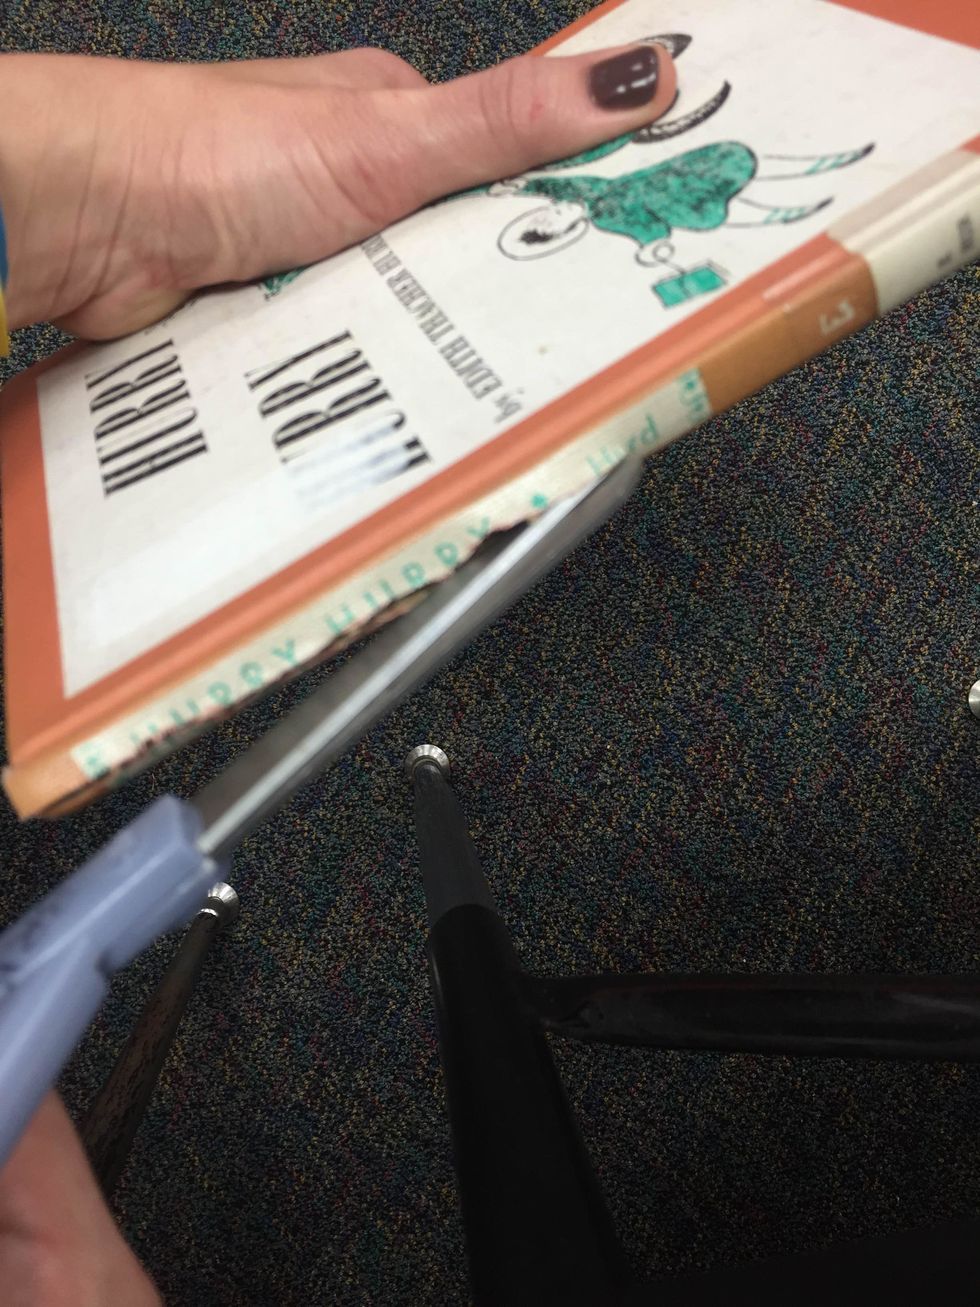
Hold your book underneath when cutting the spine. This will keep your hand safe in case that your scissors slip.
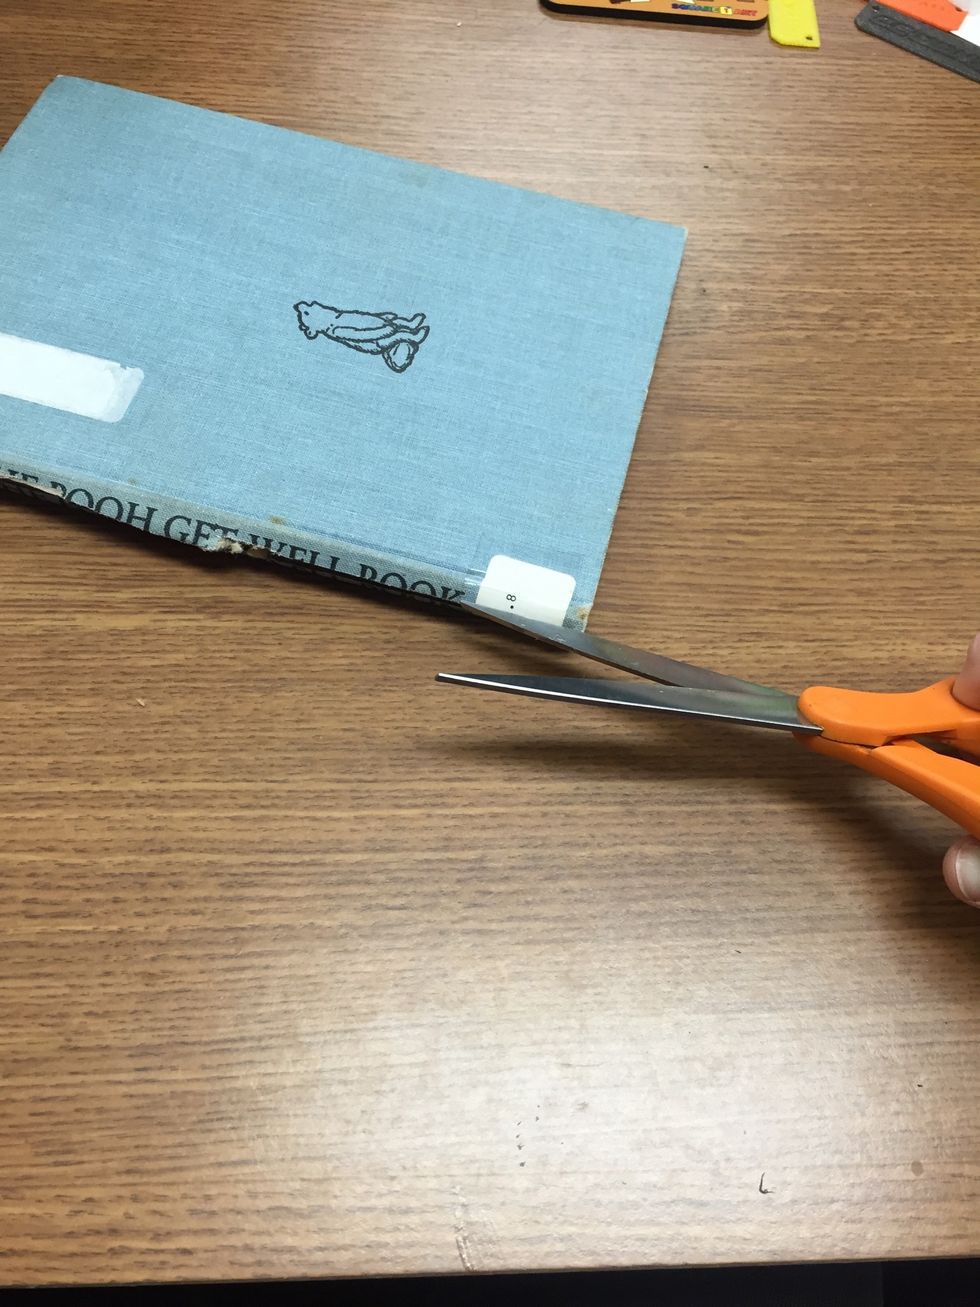
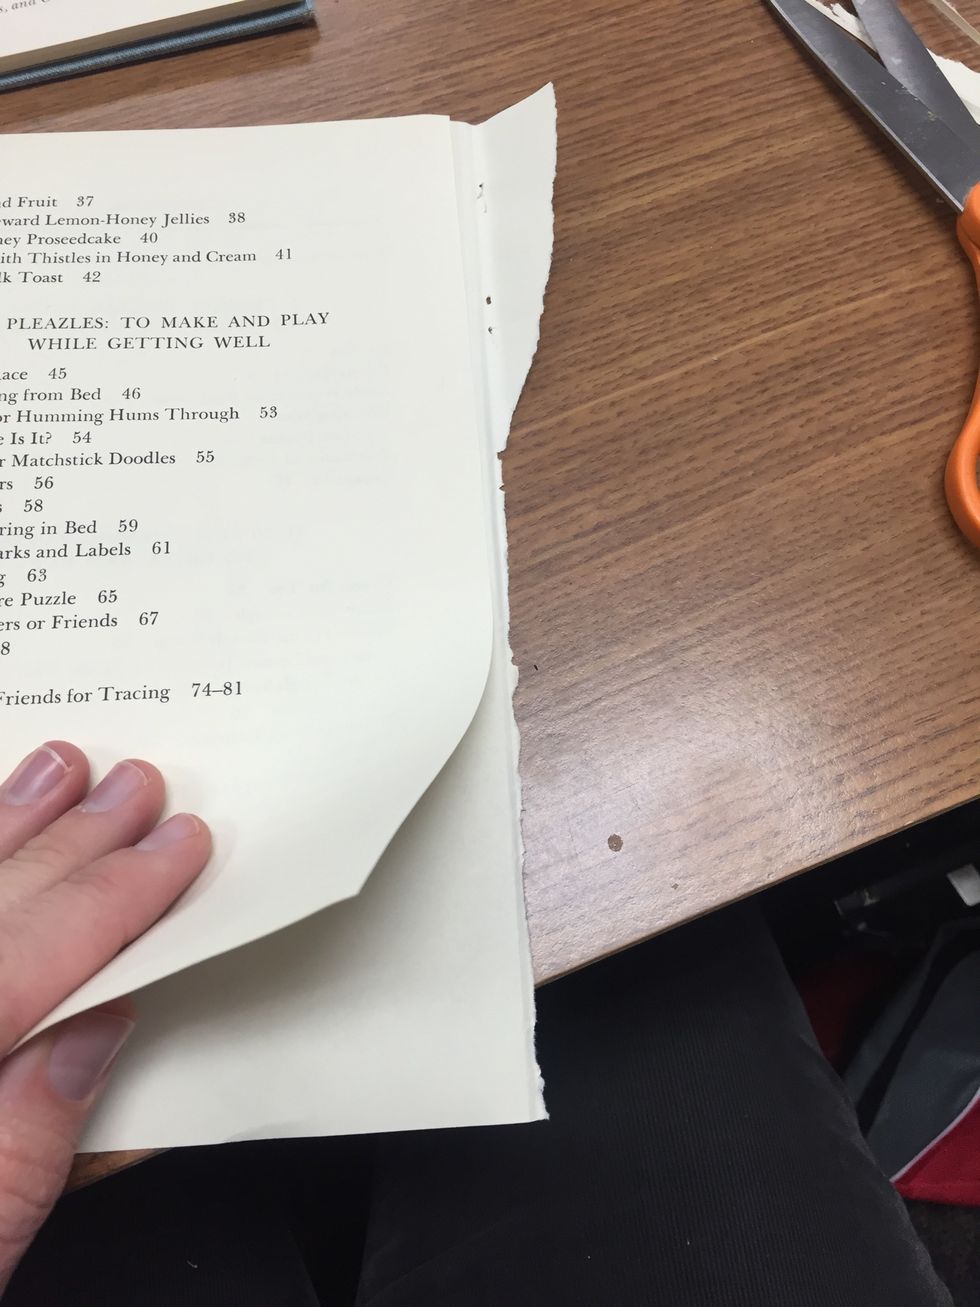
Cut through the spine of the book. Be careful!
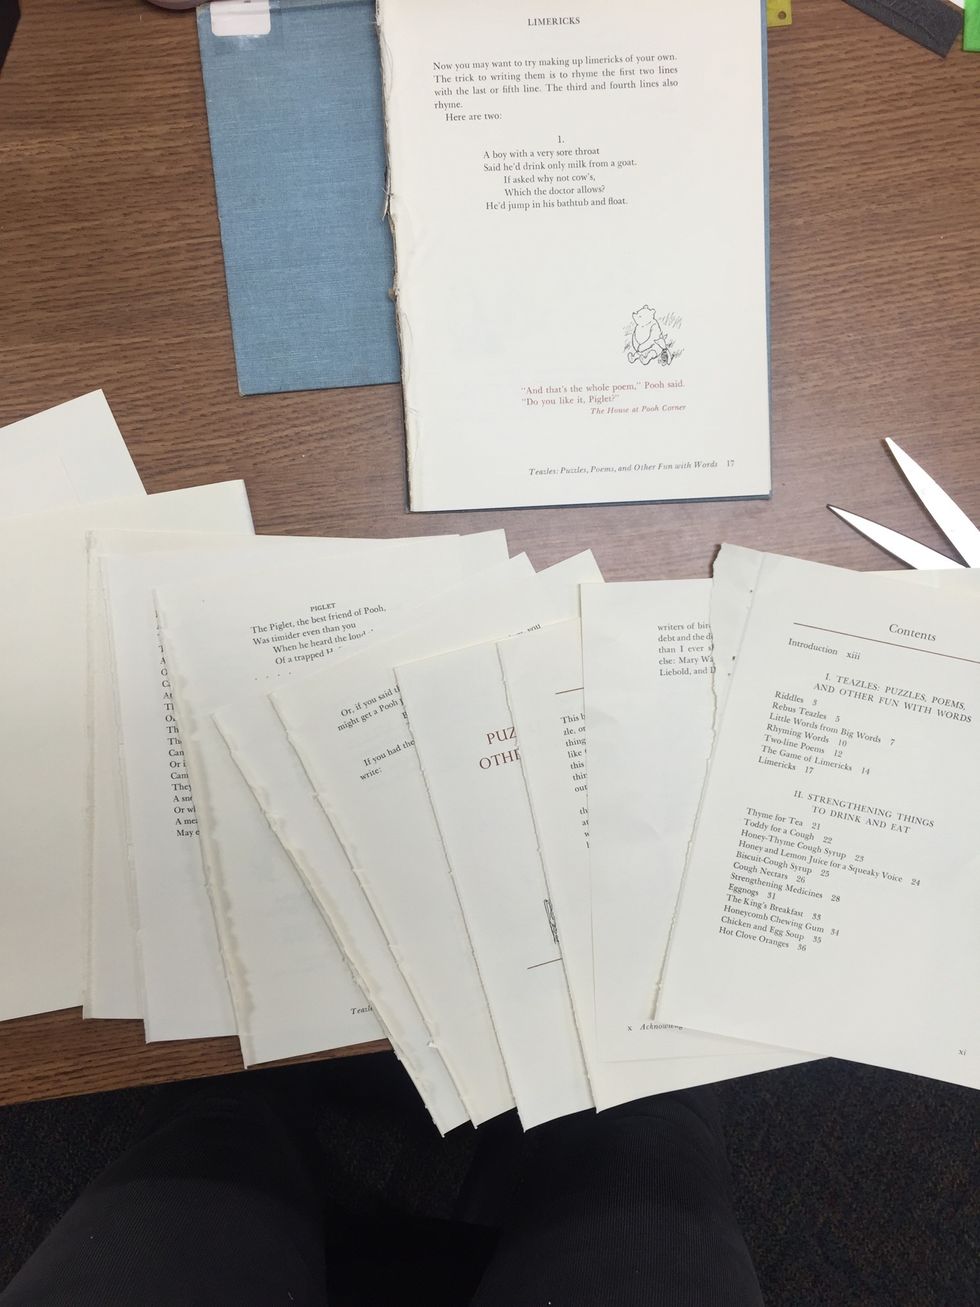
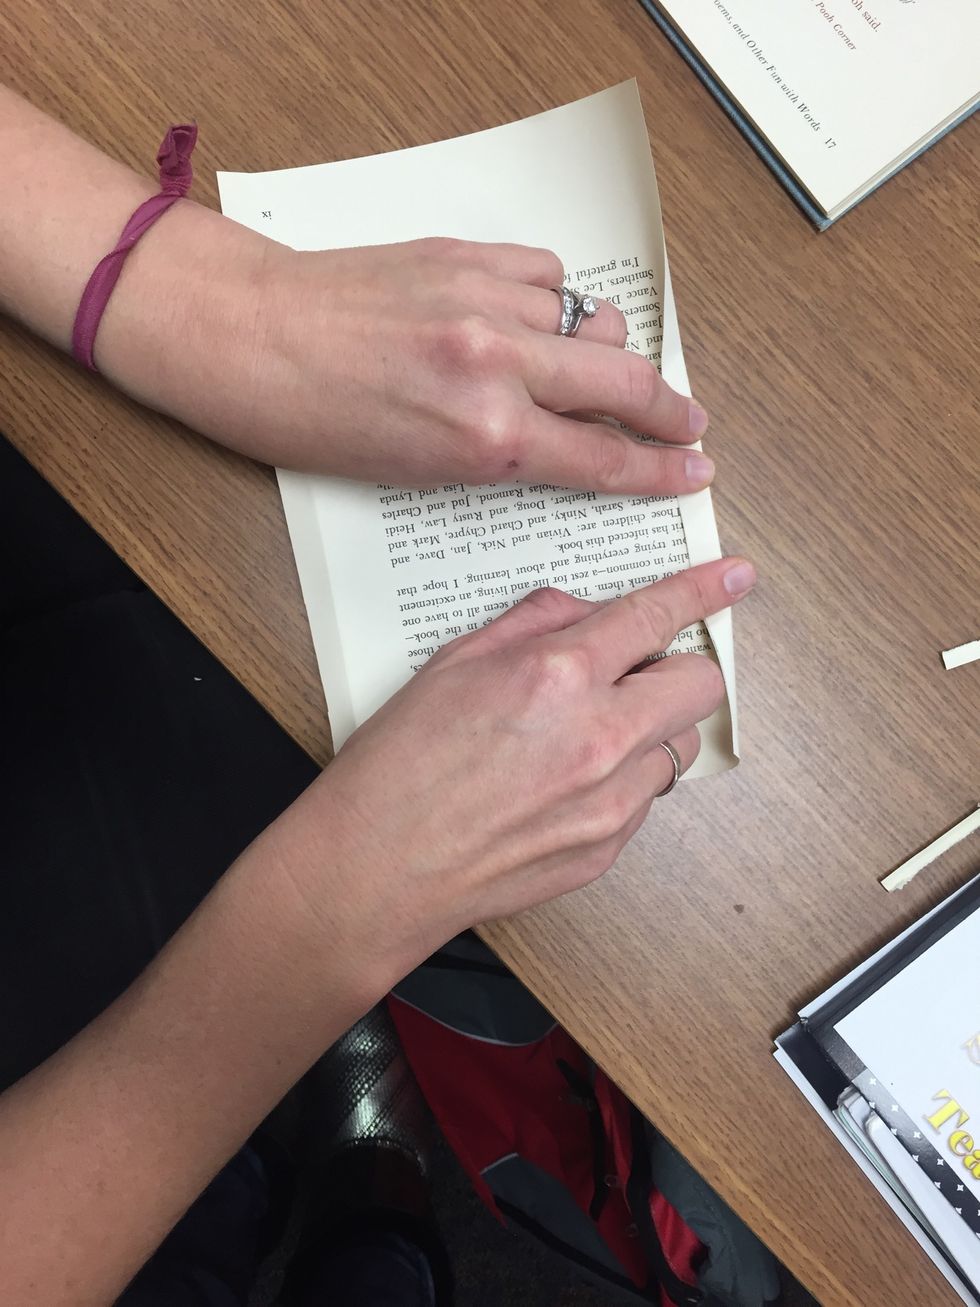
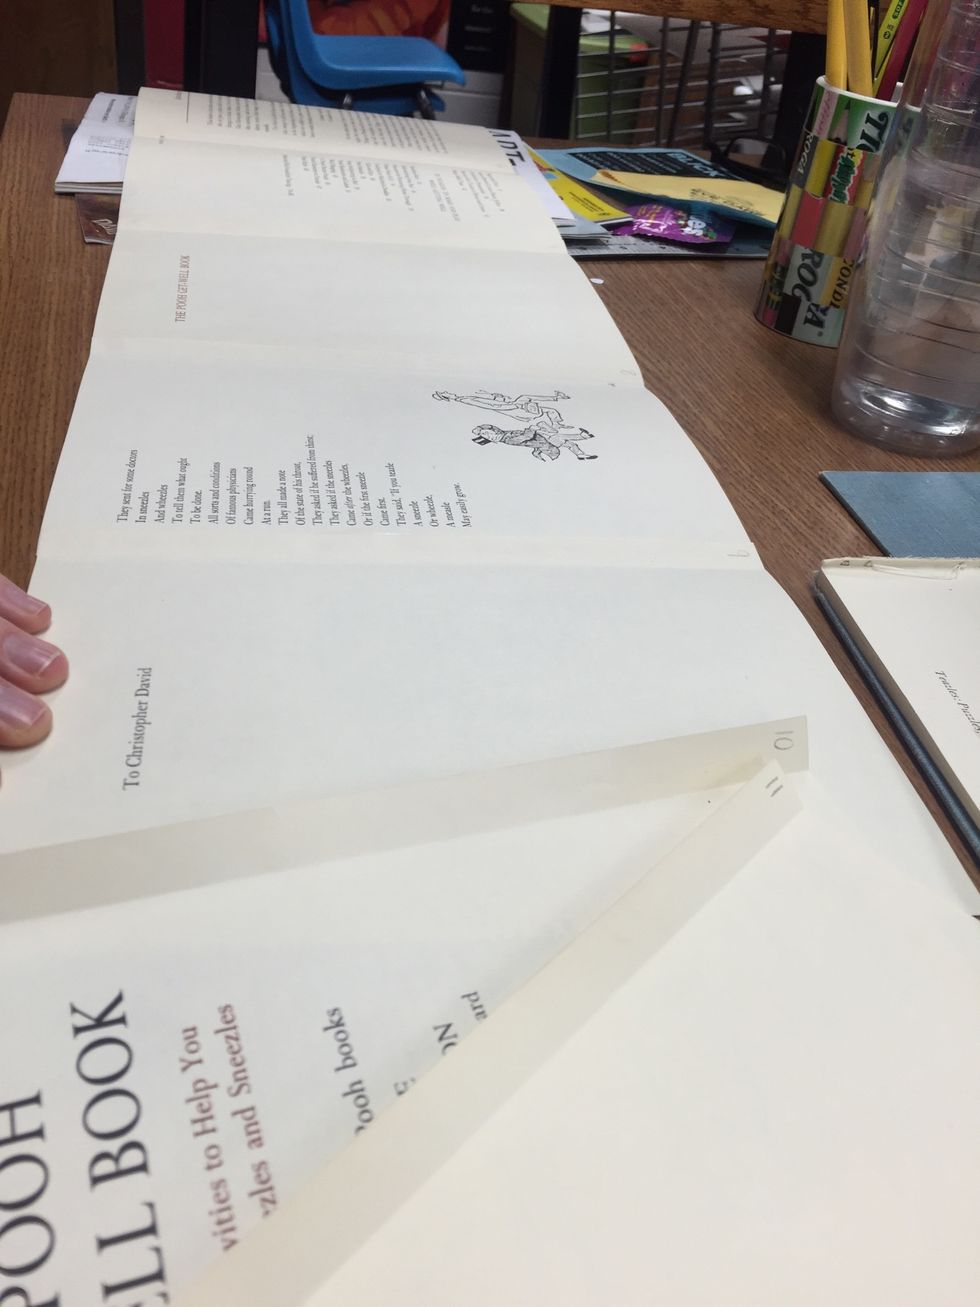
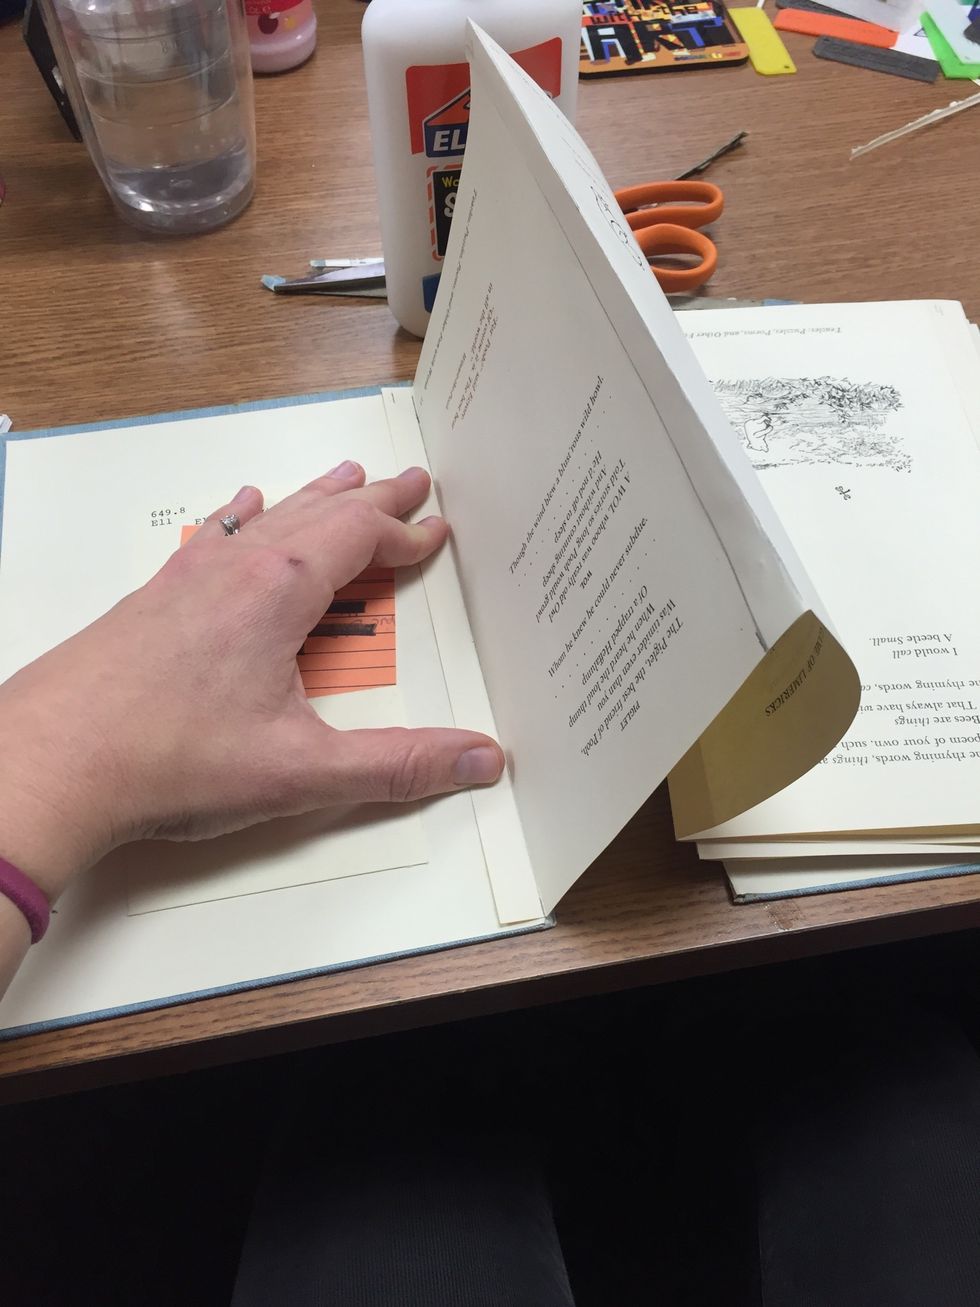
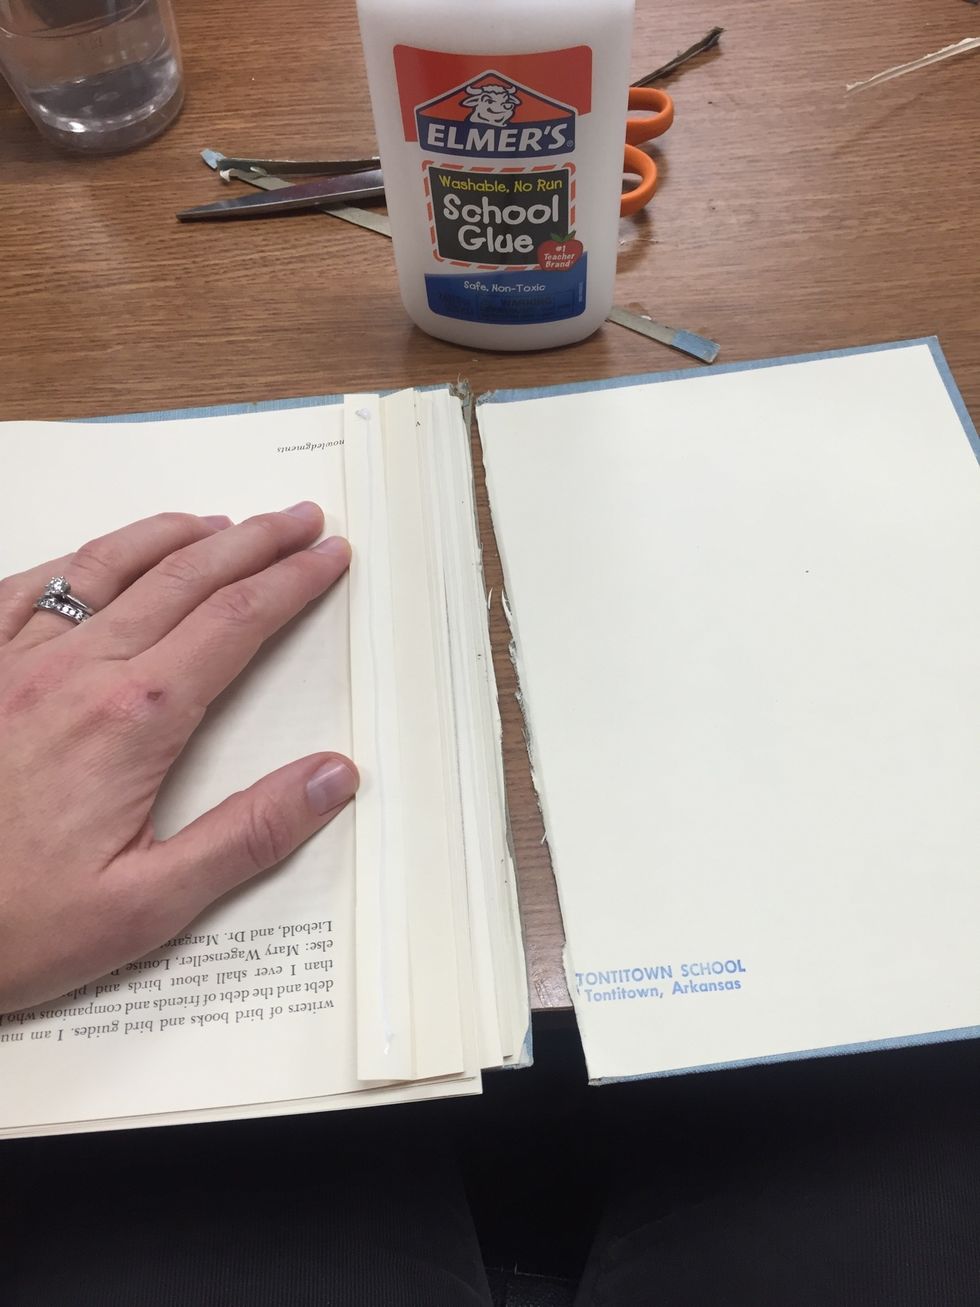
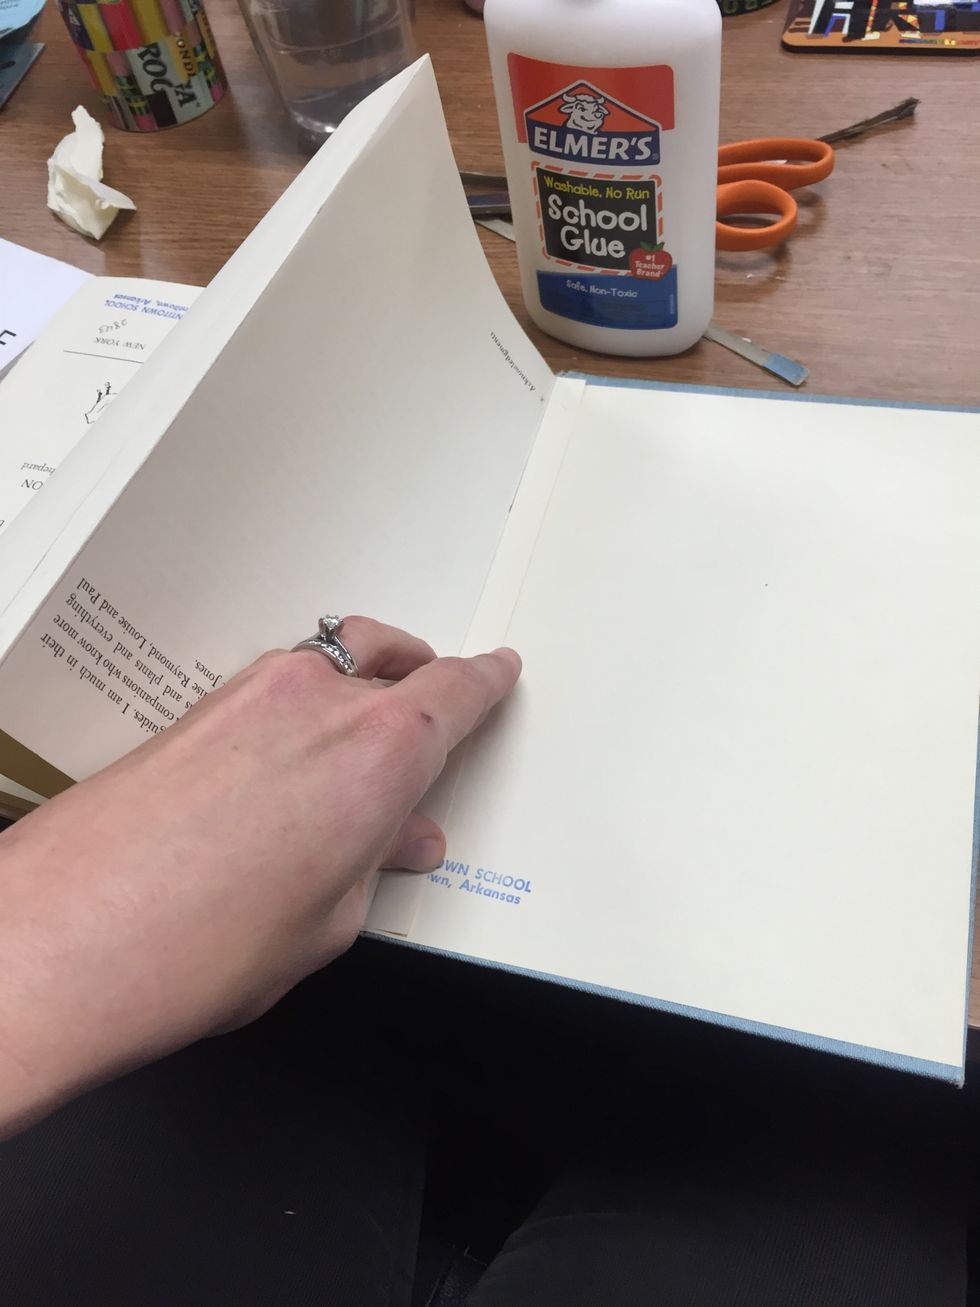
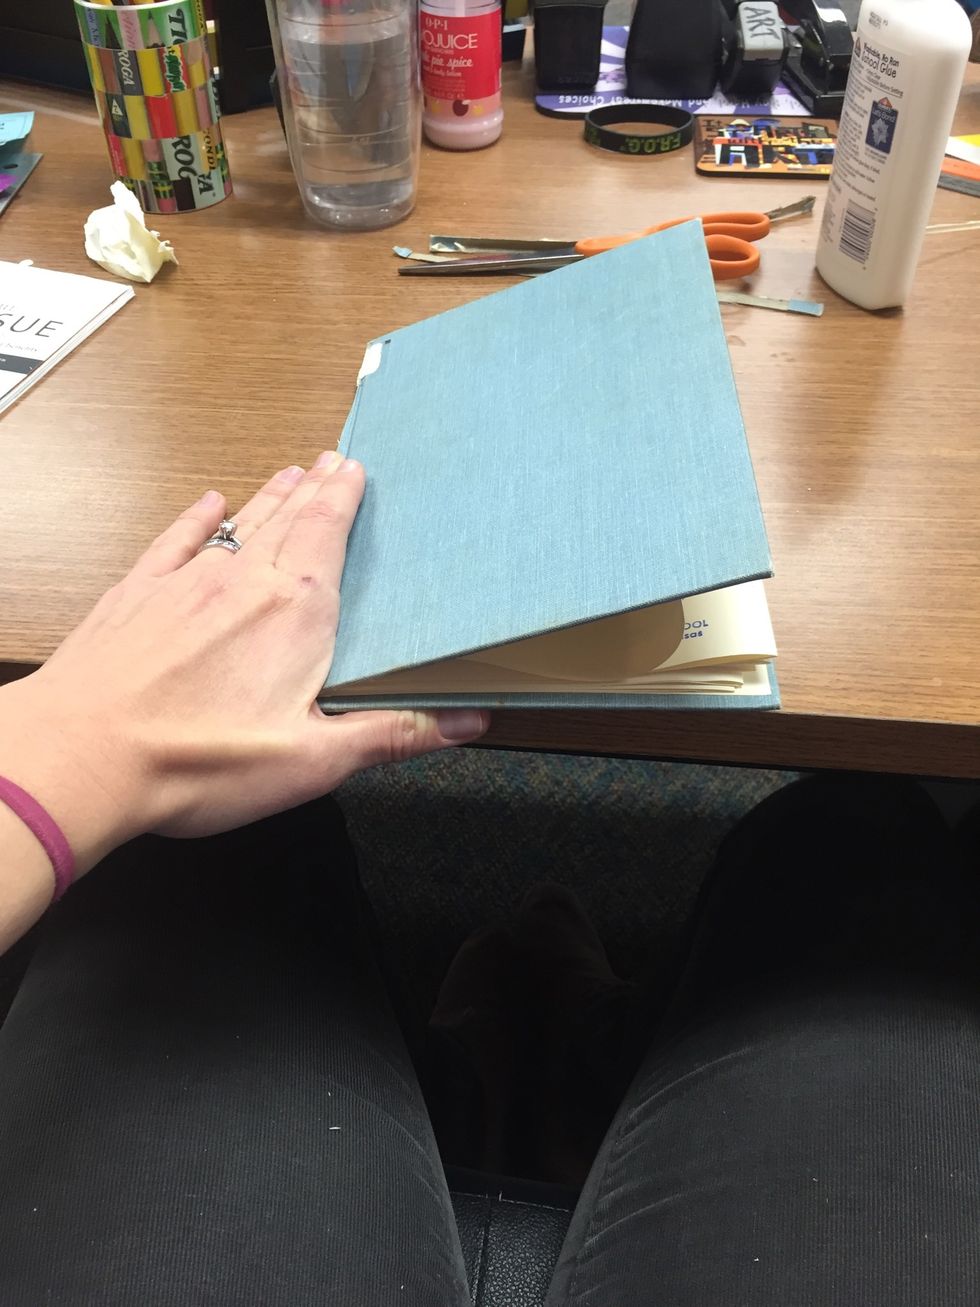
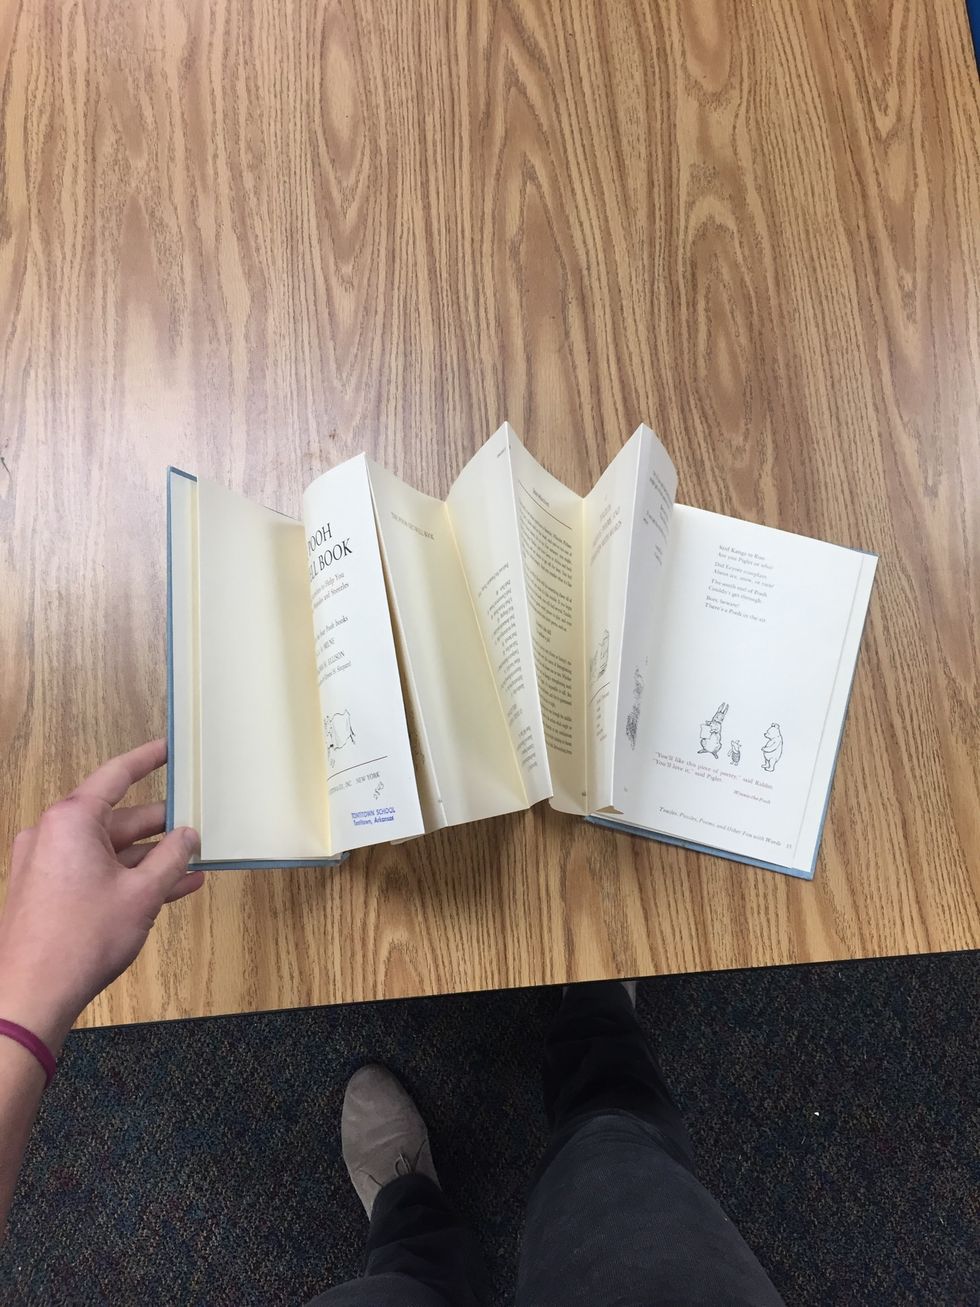
Carefully tear out 10-15 pages.
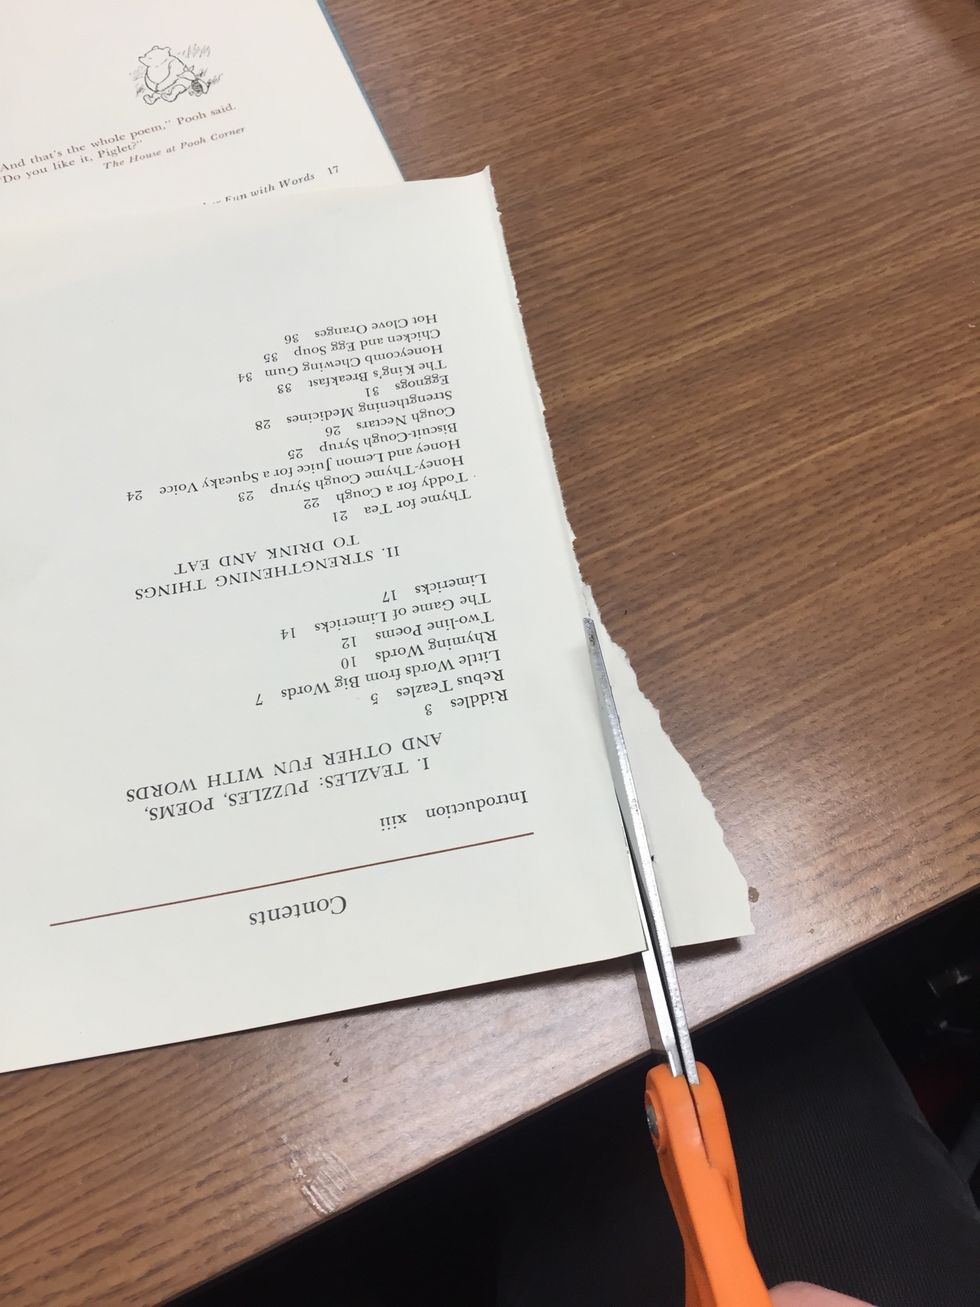
Trim off the jagged edges.
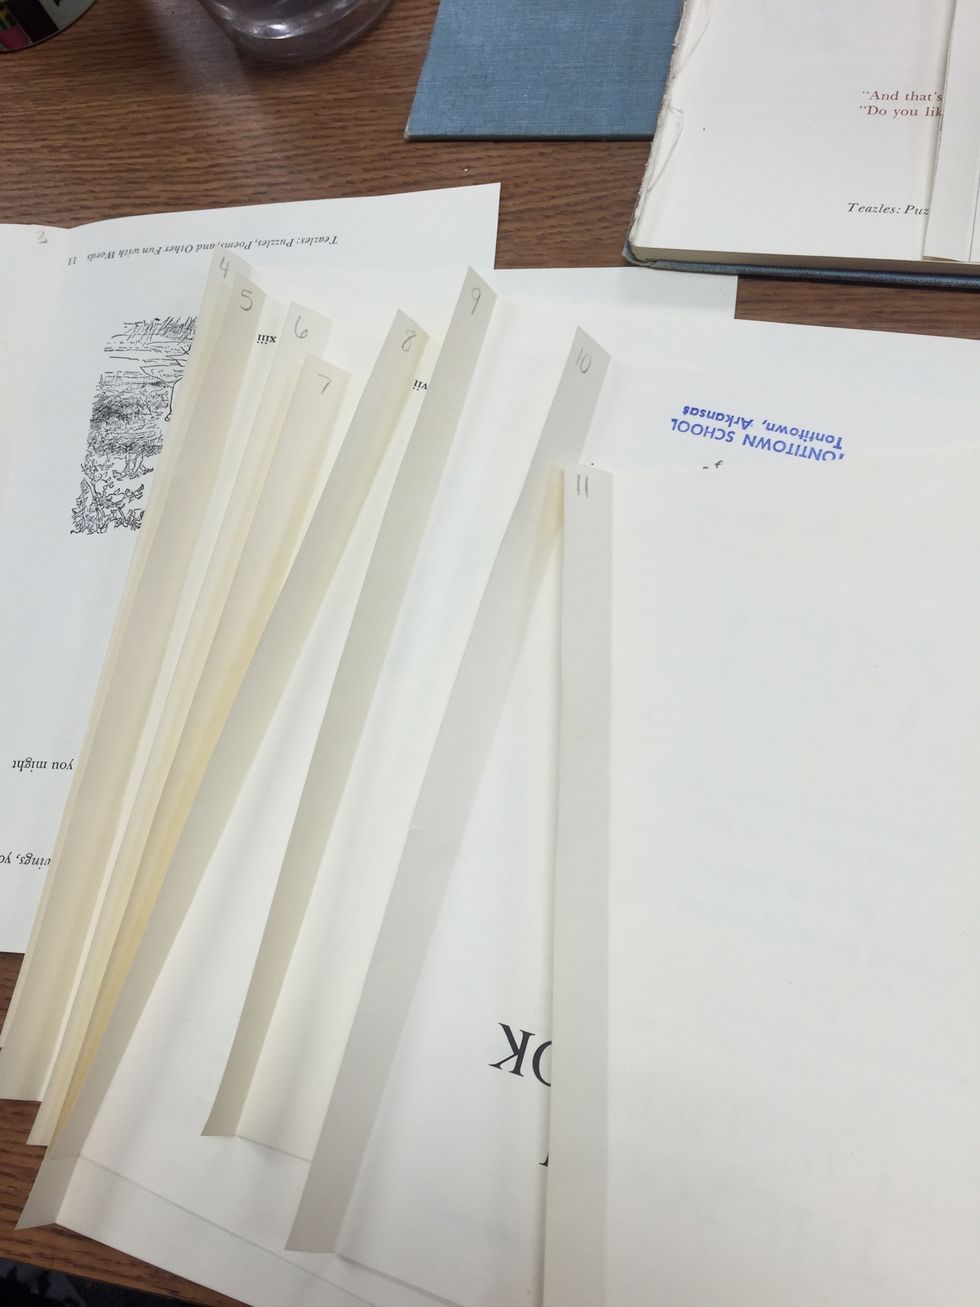
Use the first trimmed page as a template for each page. All pages need to be the same size.
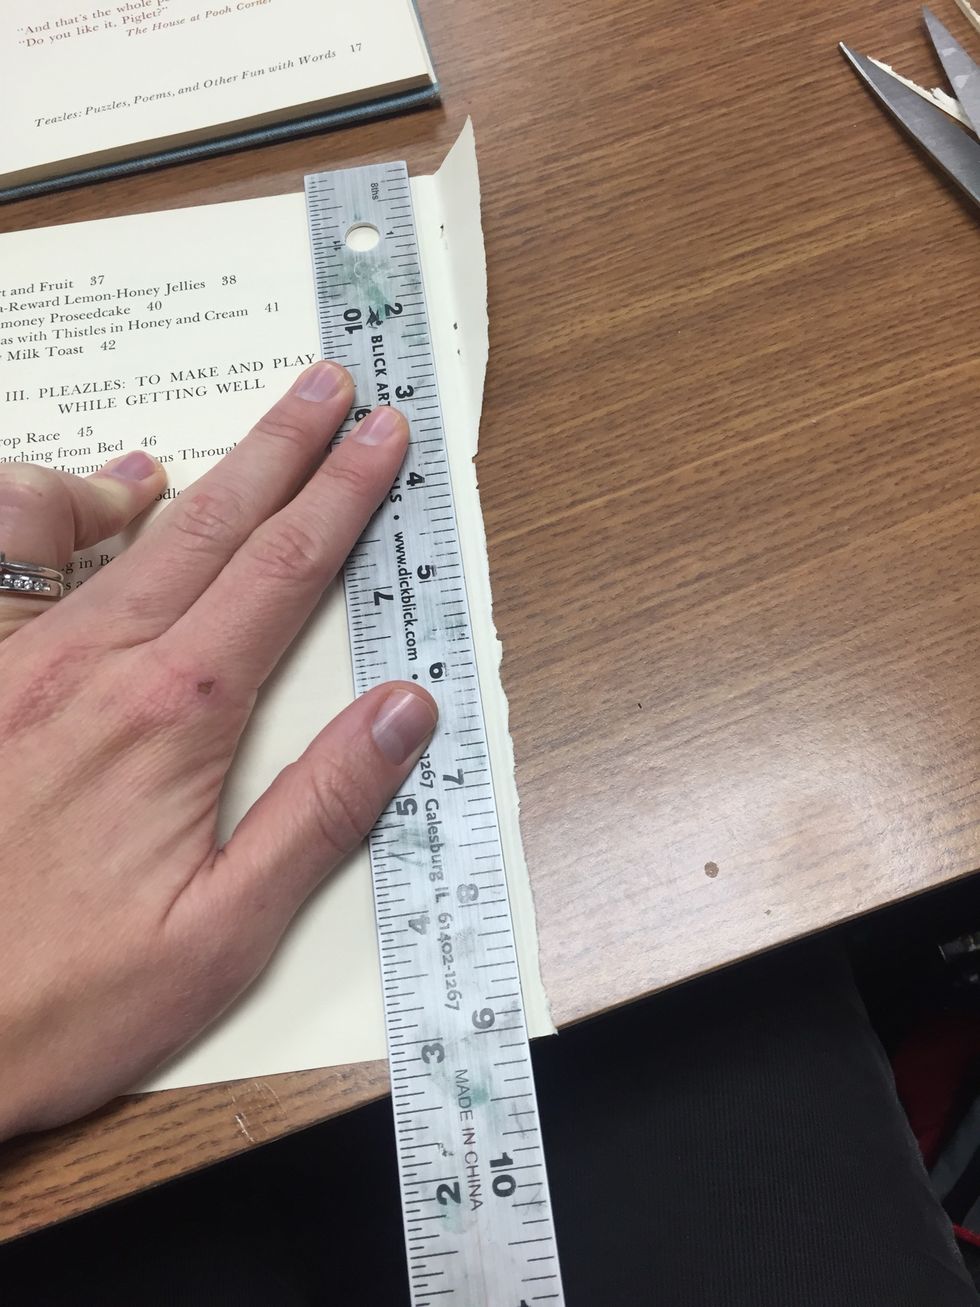
(optional) I used a ruler to create a straight line.
(optional) Then I drew a line in pencil.
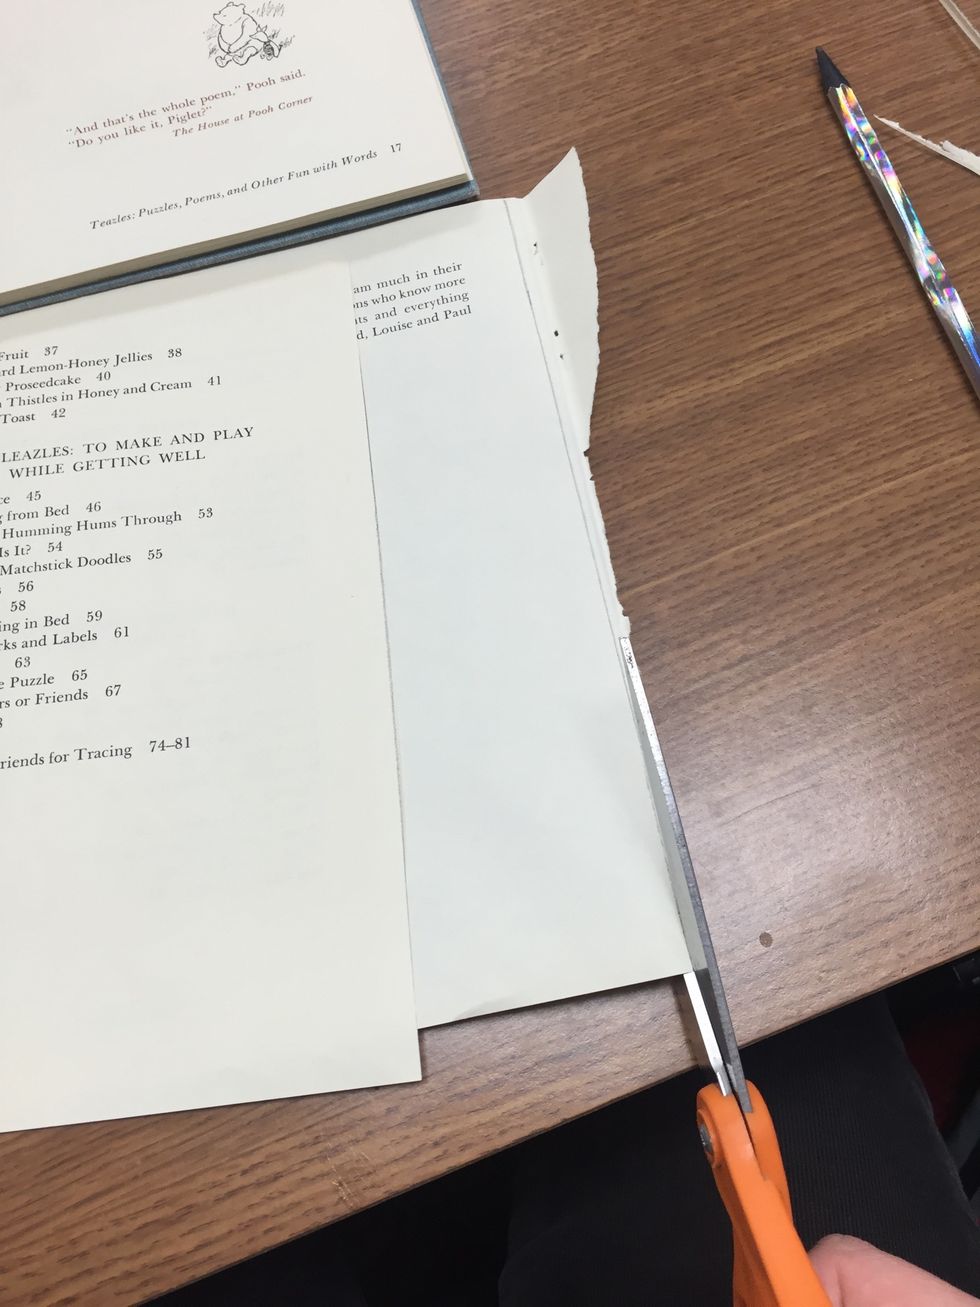
I cut along the pencil line to create a nice straight edge.
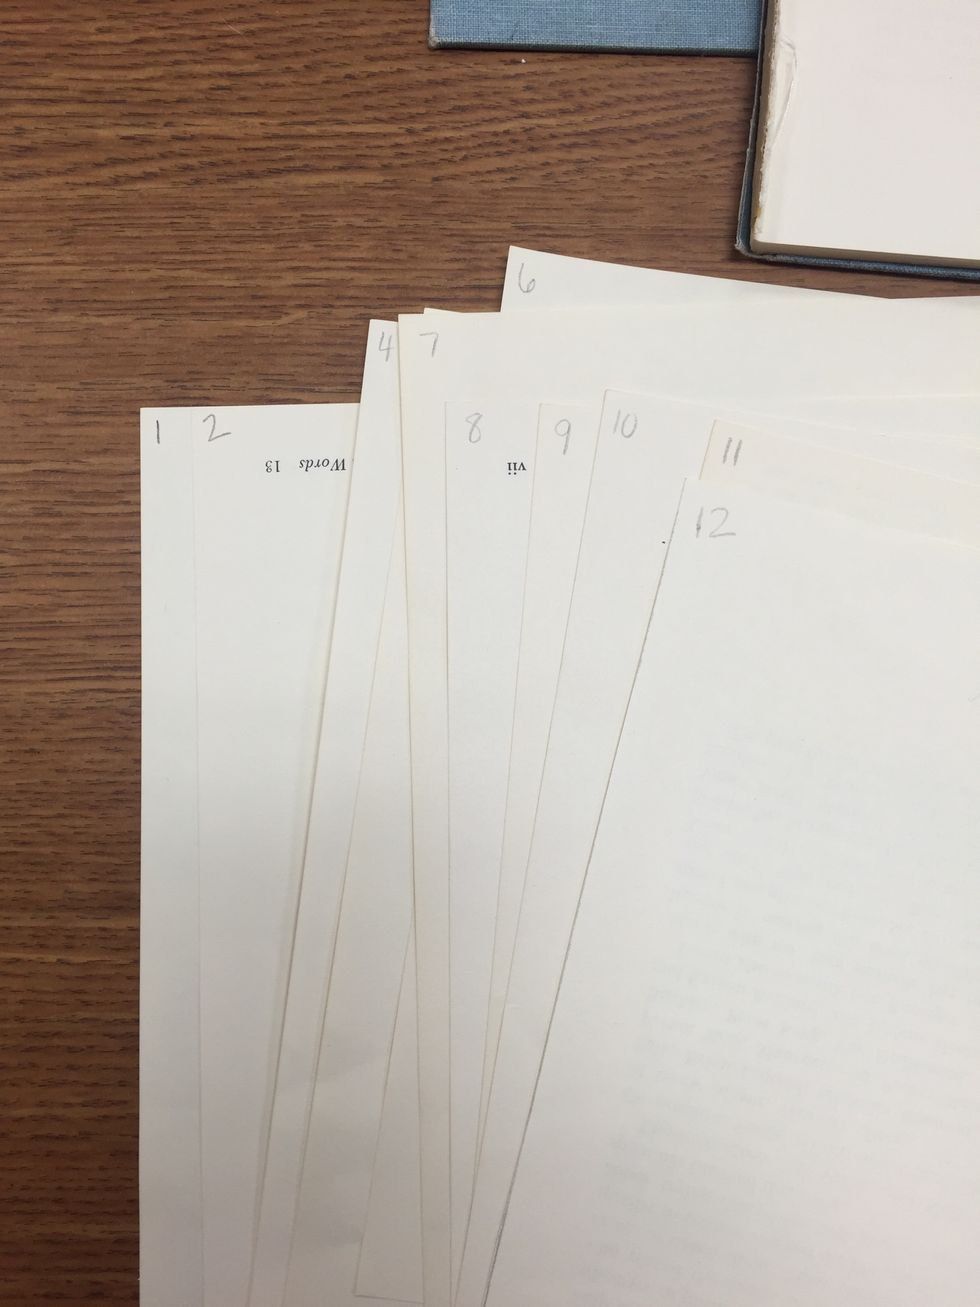
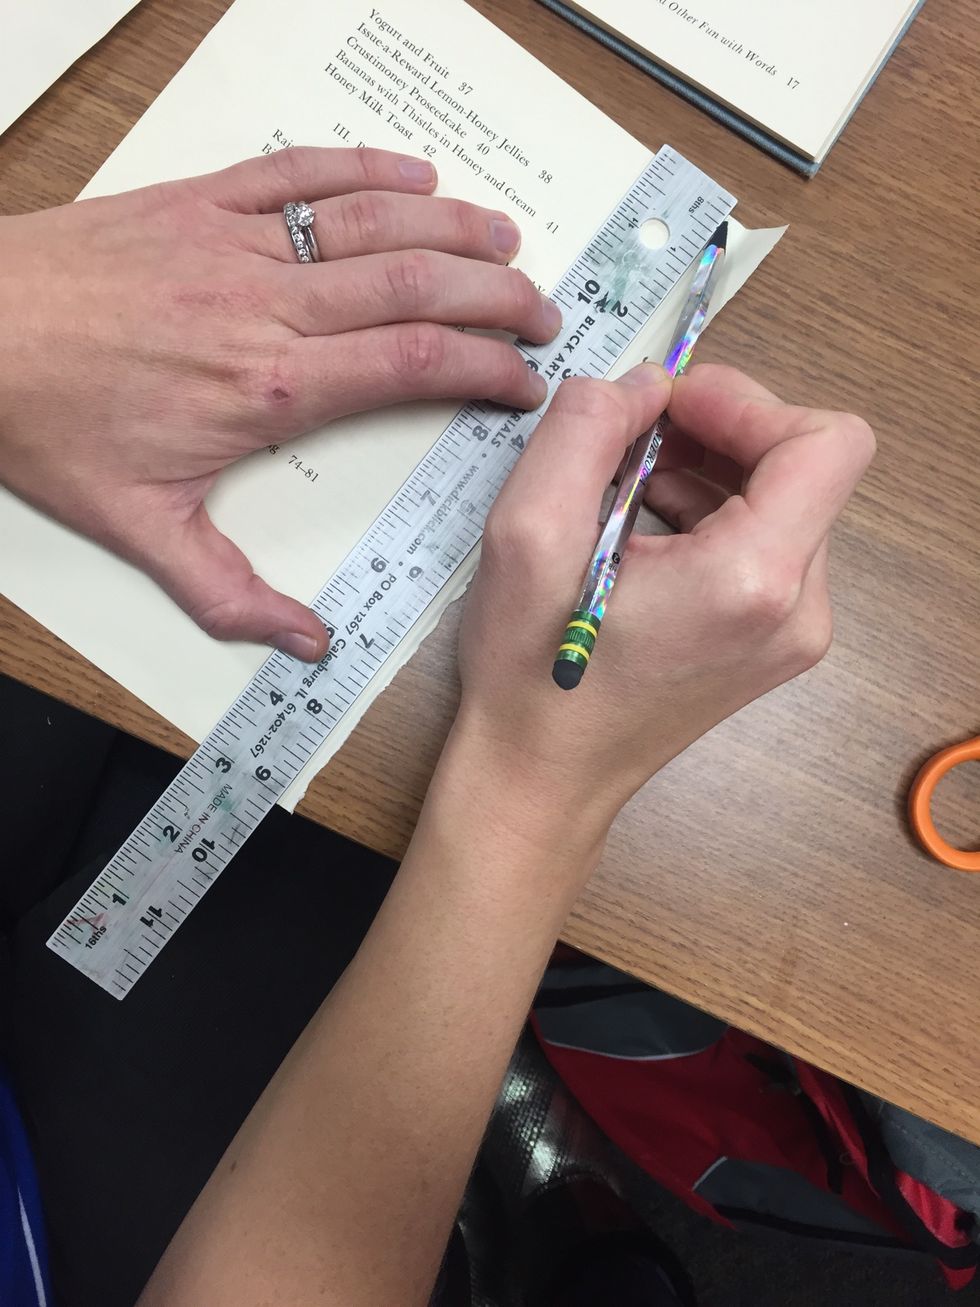
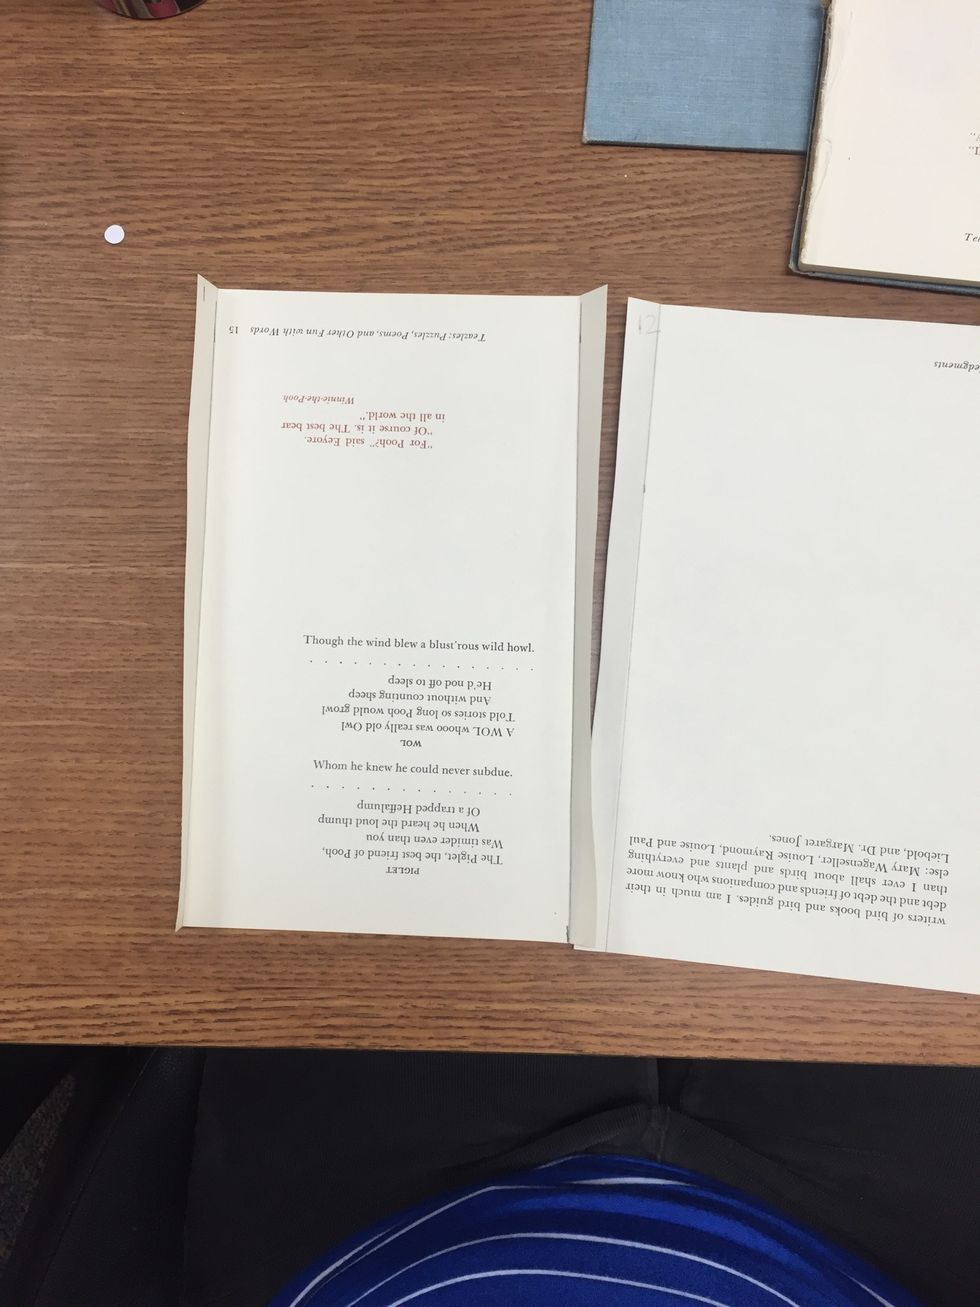
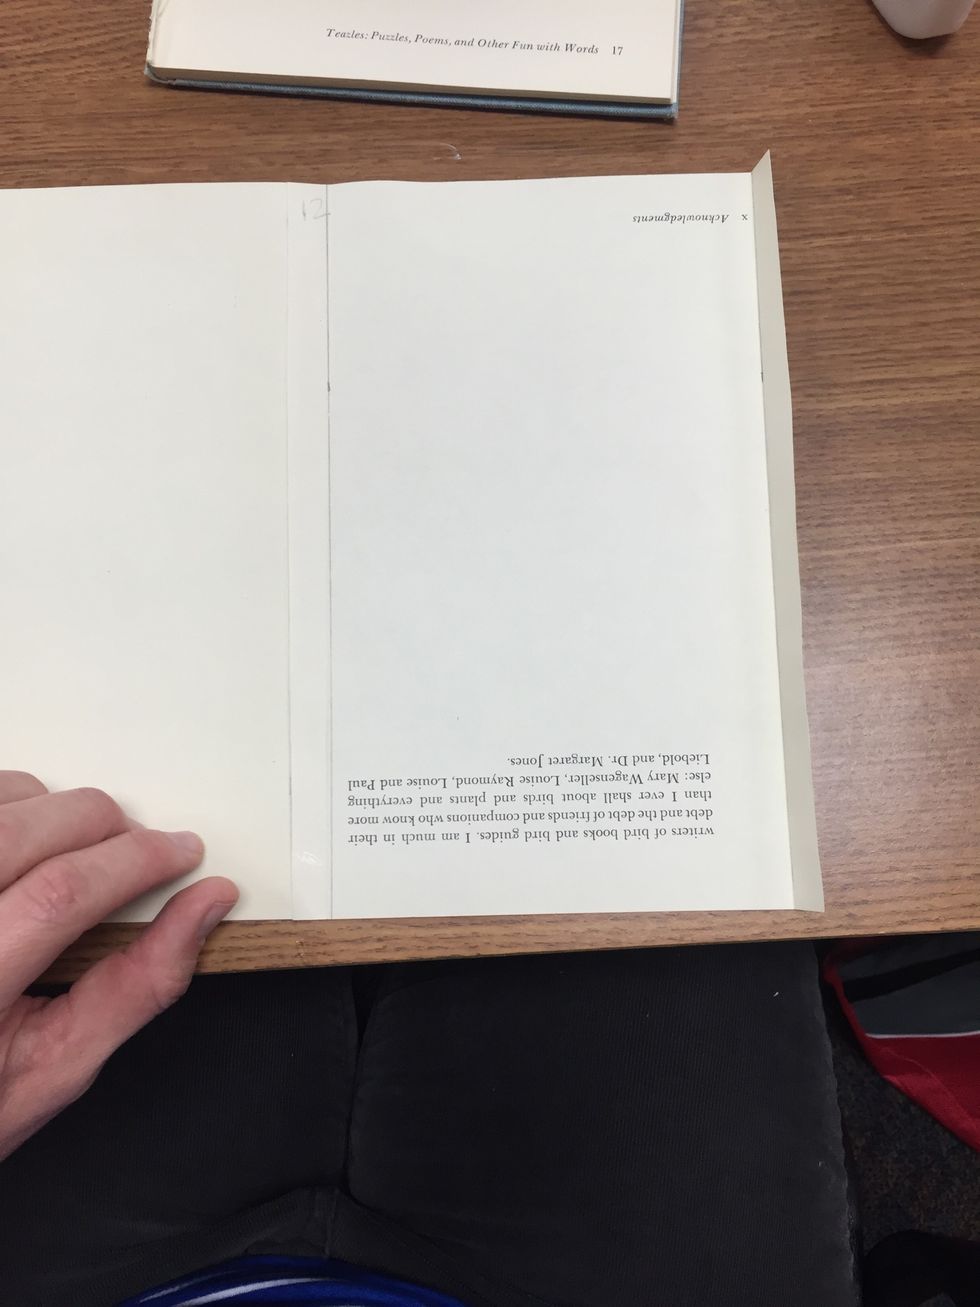
In the top left hand corner (one side only), I numbered each page, lightly using a pencil. DO NOT number on both sides.
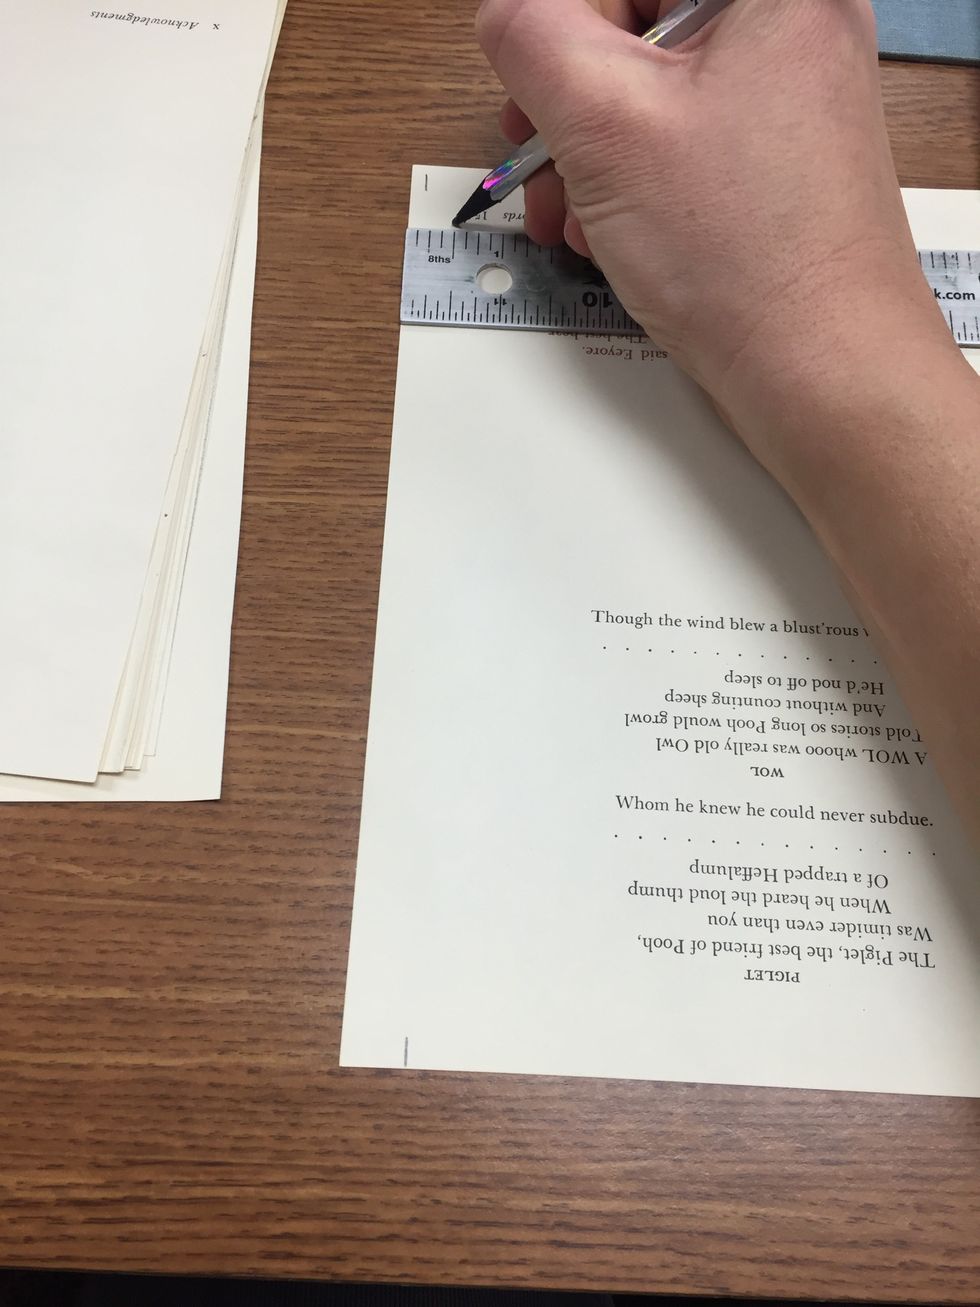
I used a ruler draw a line 1/2 of an inch from the edge of the paper.
Create this line on both sides of the first (page 1 for me) and last (page 12 for me) of the book.

Draw the lines!
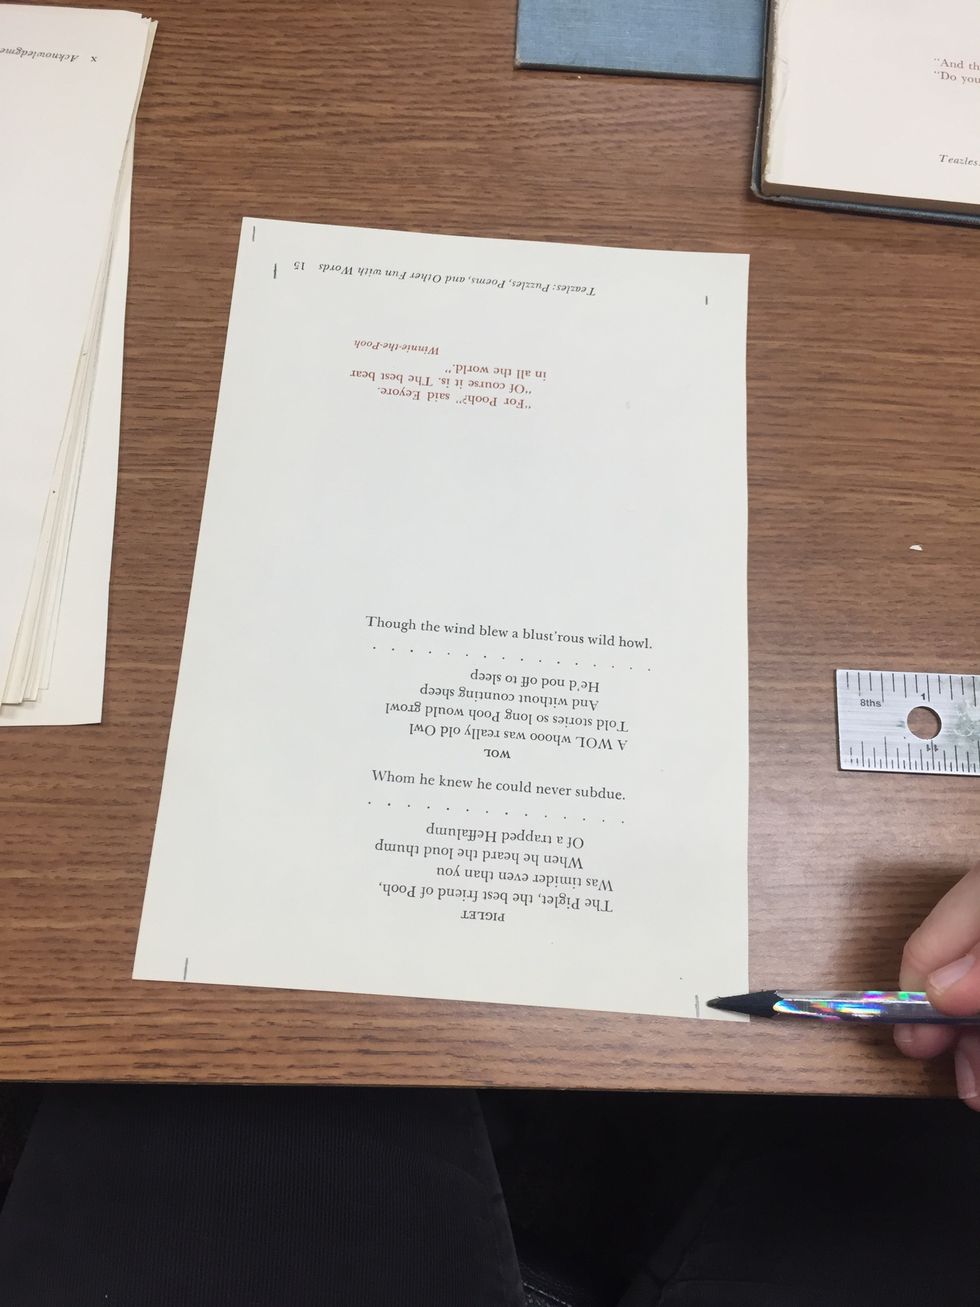
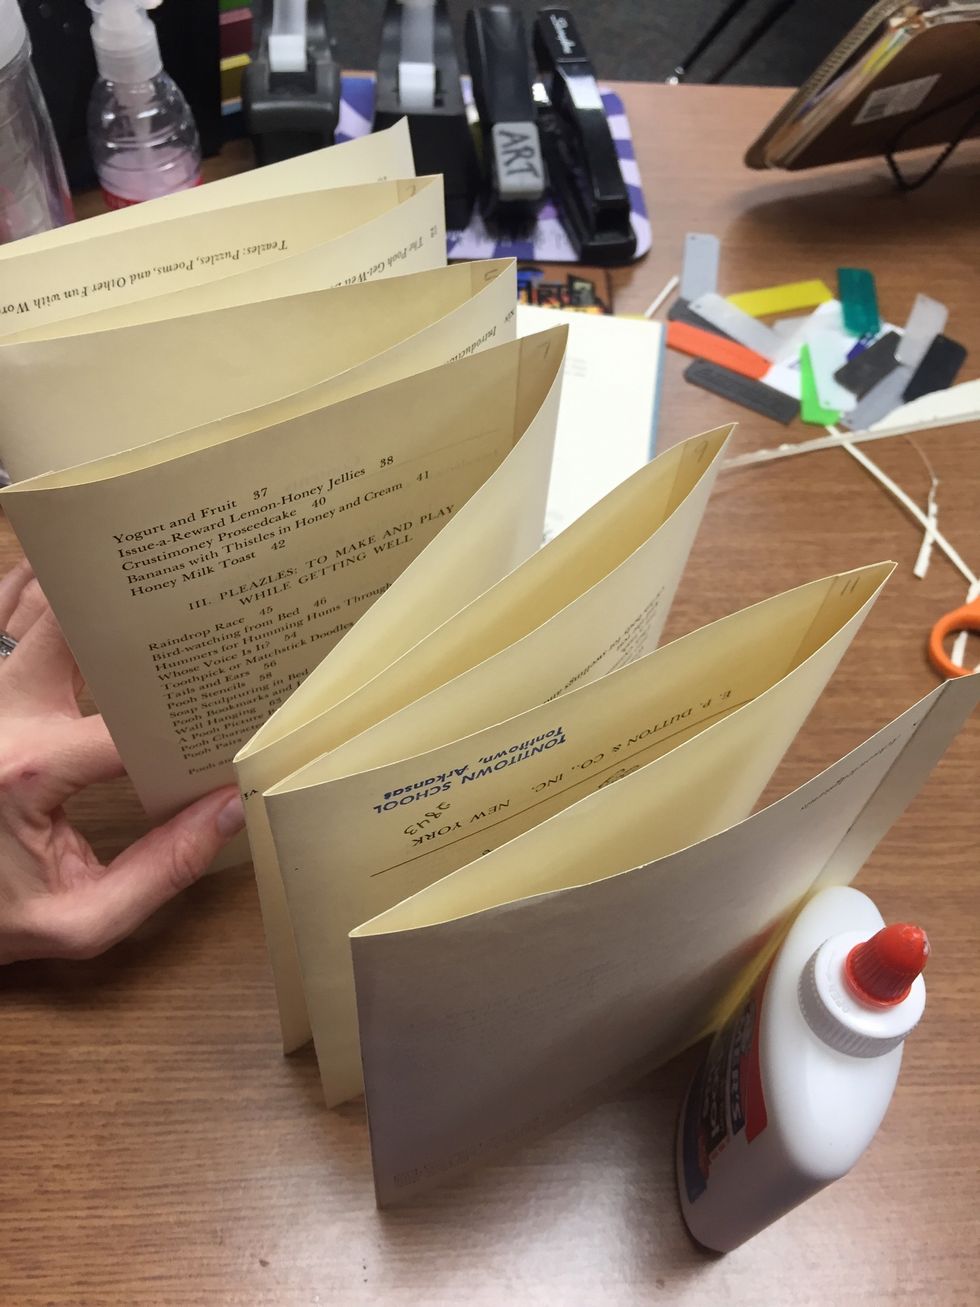
Fold along the pencil lines. (page 1)
Fold along both lines on the last page (page 12 for me) also.
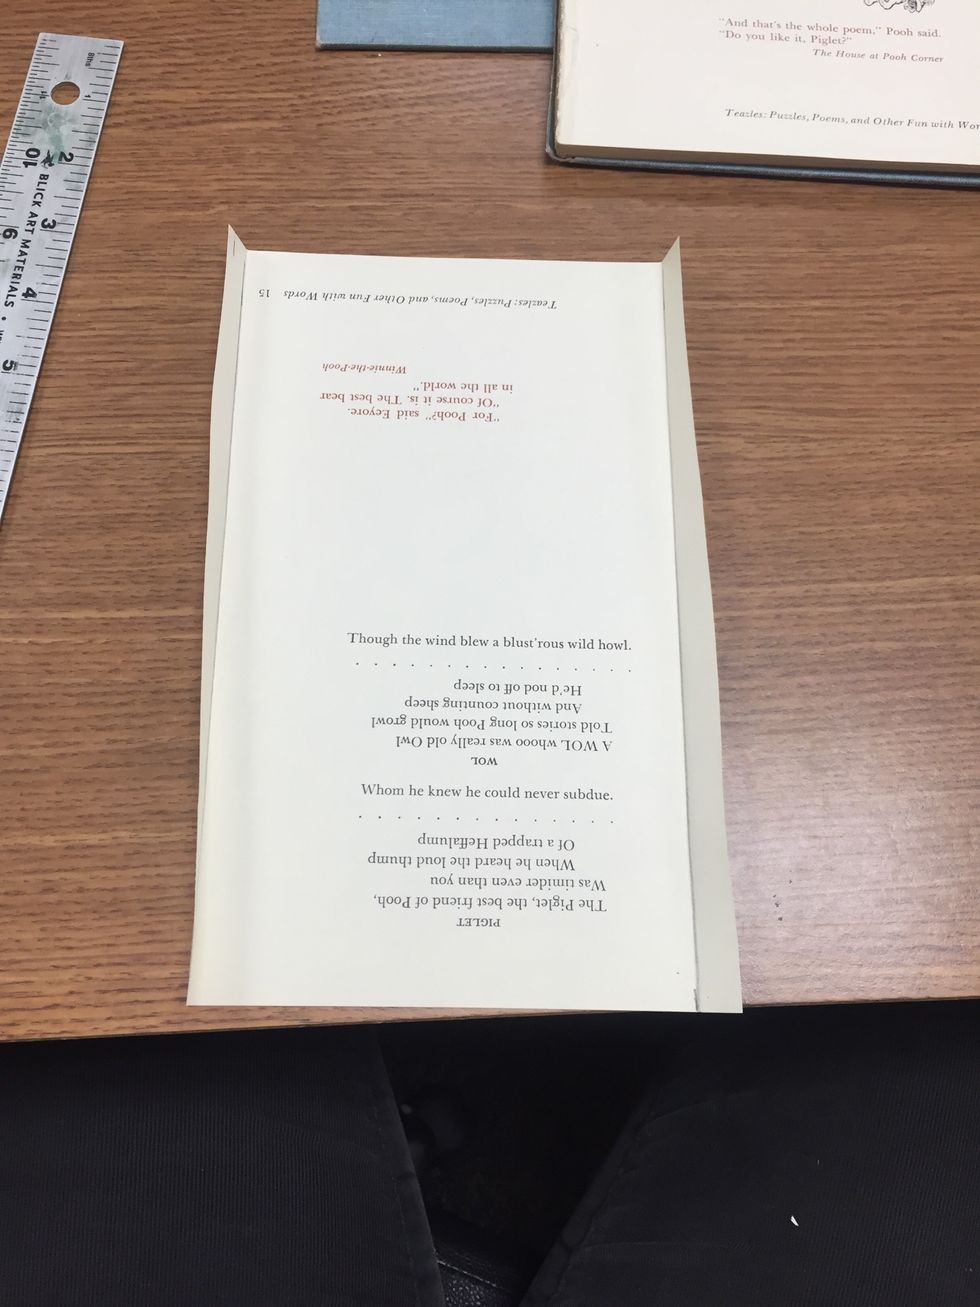
The first and last pages will have double folds. All other pages have single folds on the left side.
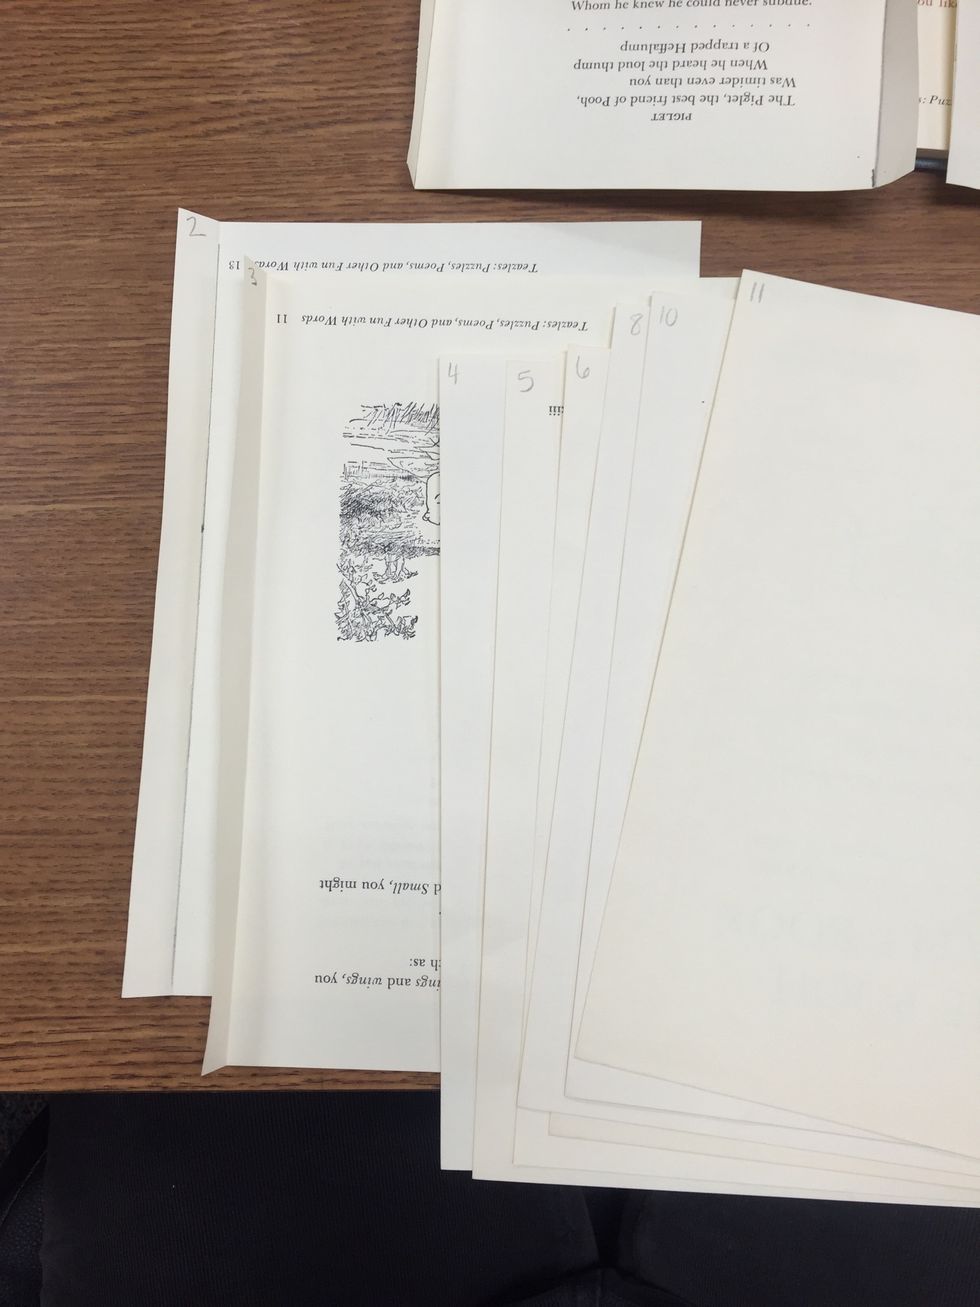
Draw the lines and fold each page. Fold each page on the left.
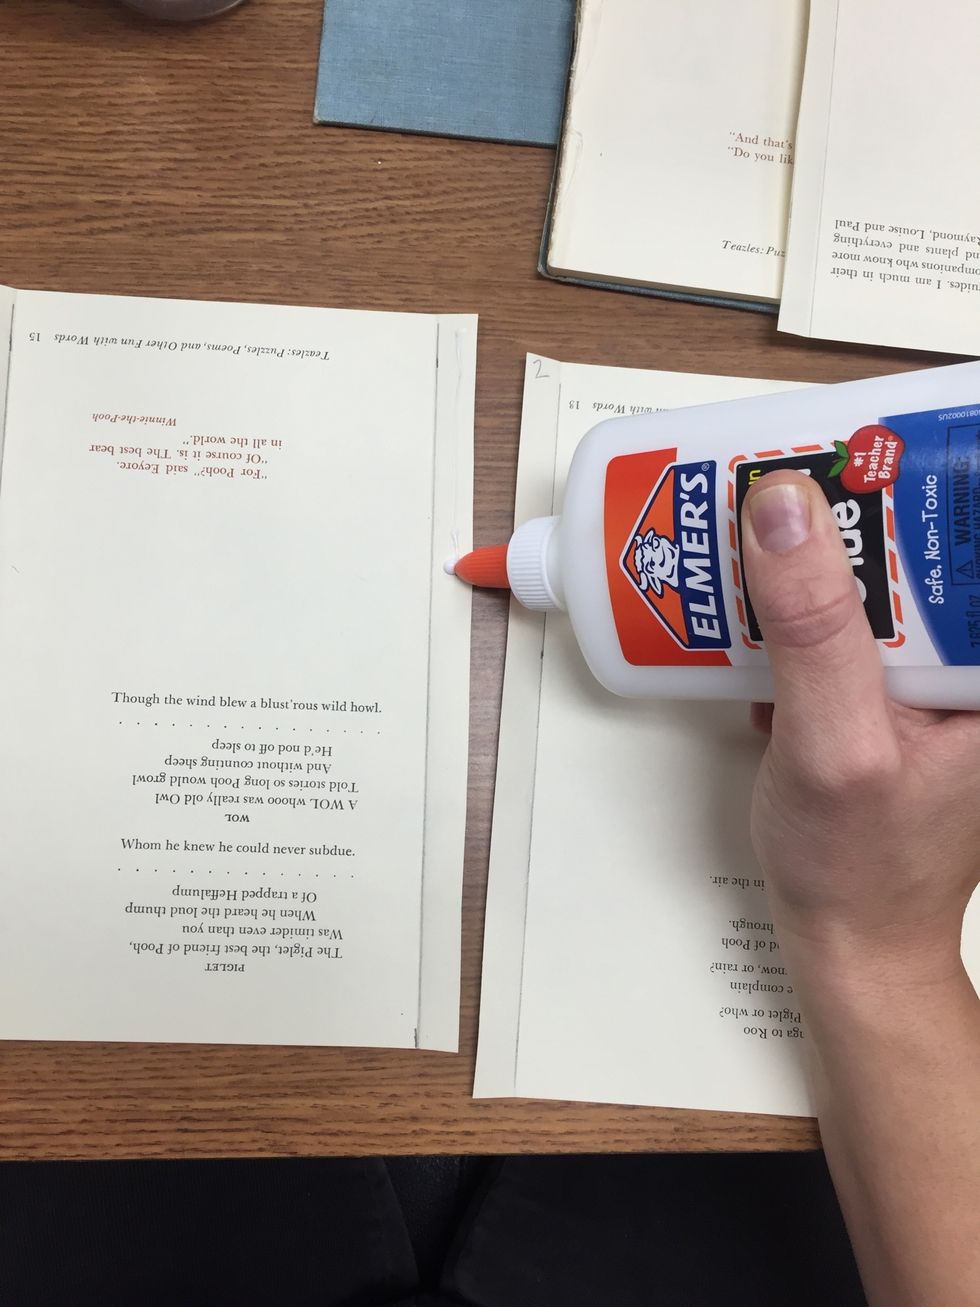
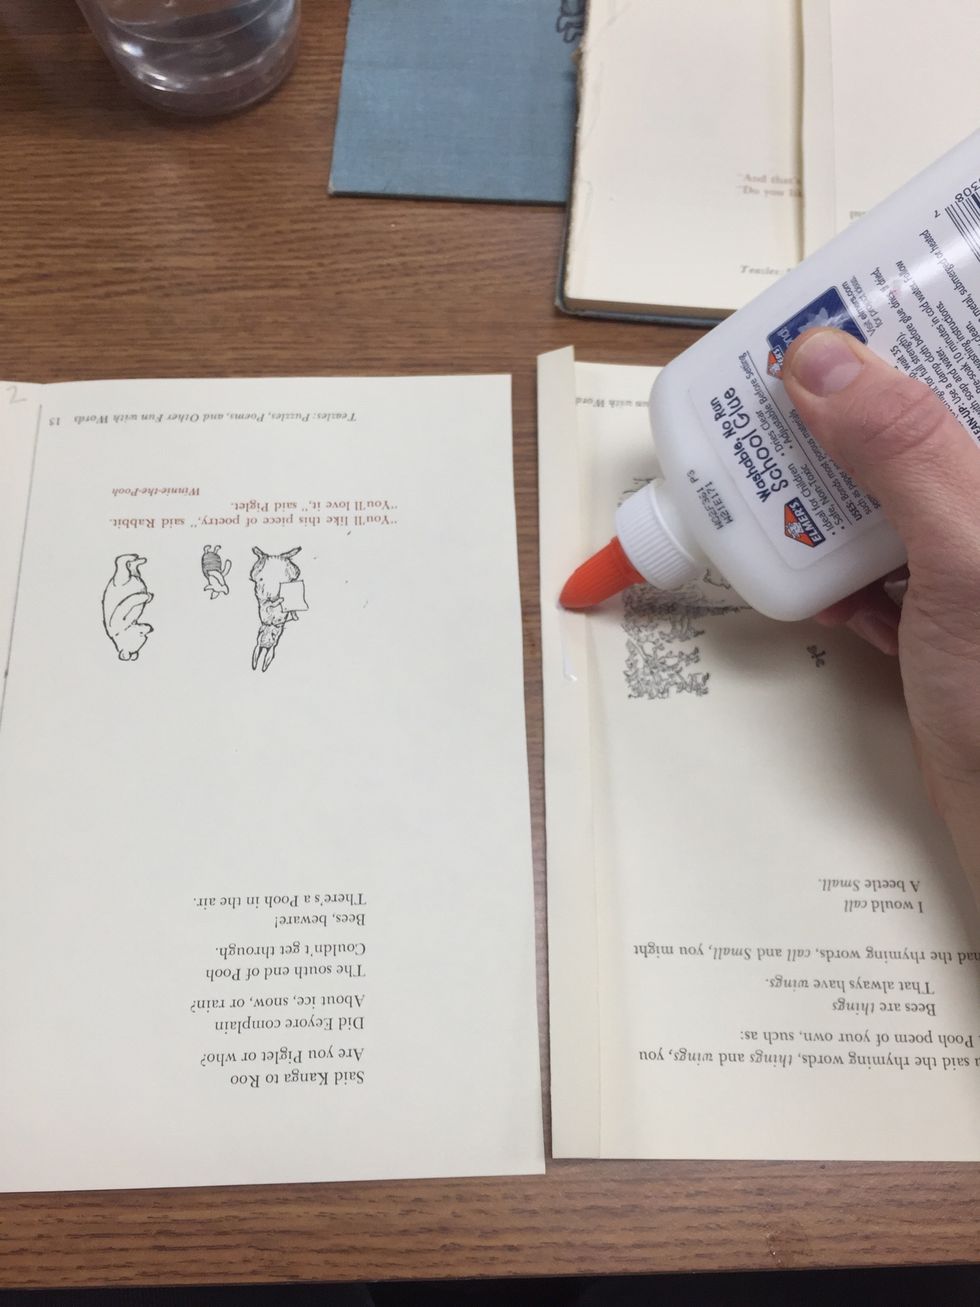
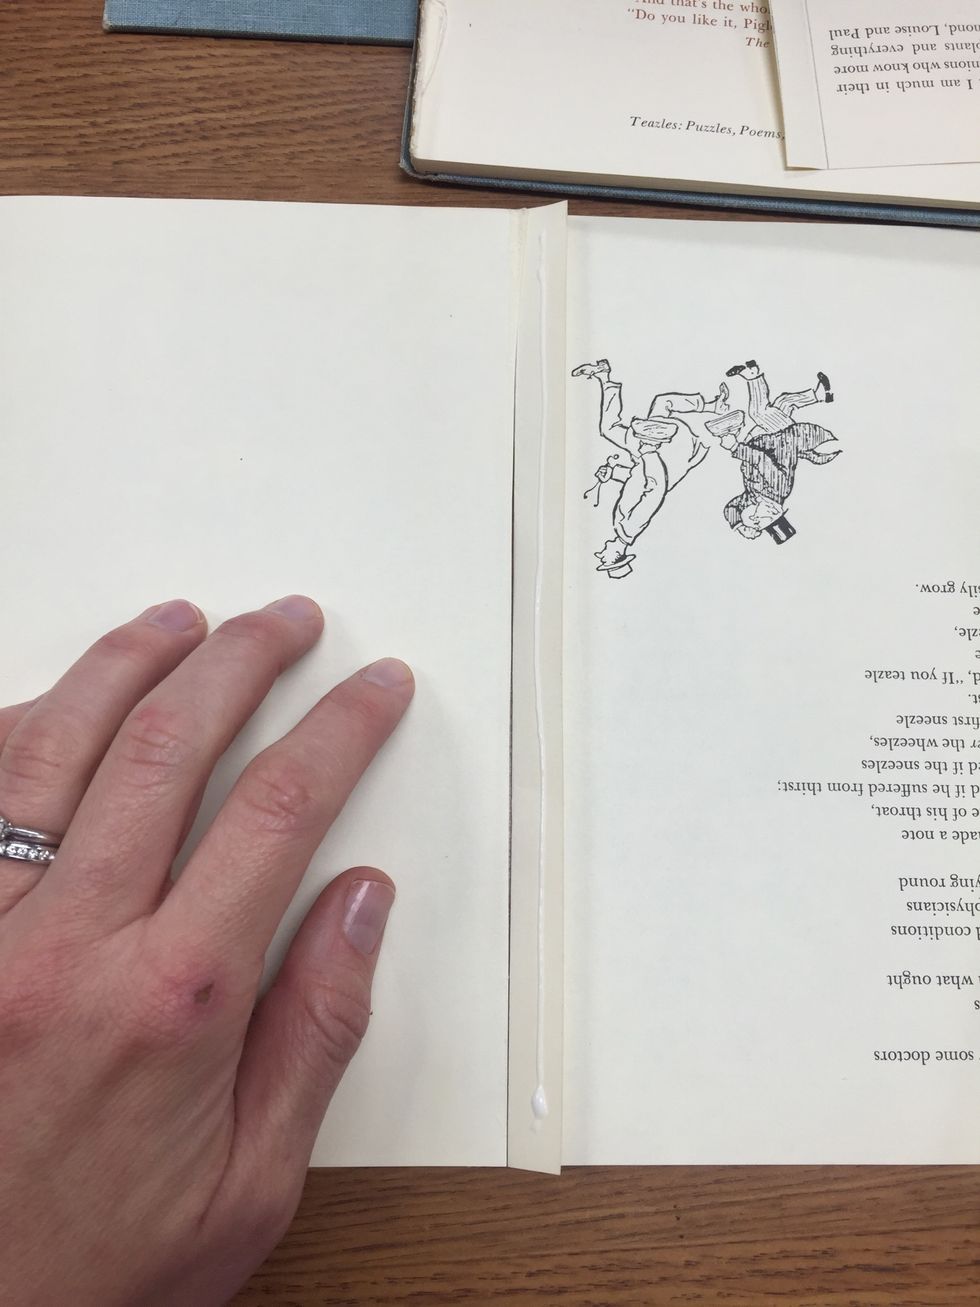
Add a small THIN line of glue to the right folded side of the first page.
Place the back side of page two (the folded part) on top of the glue. Press down.
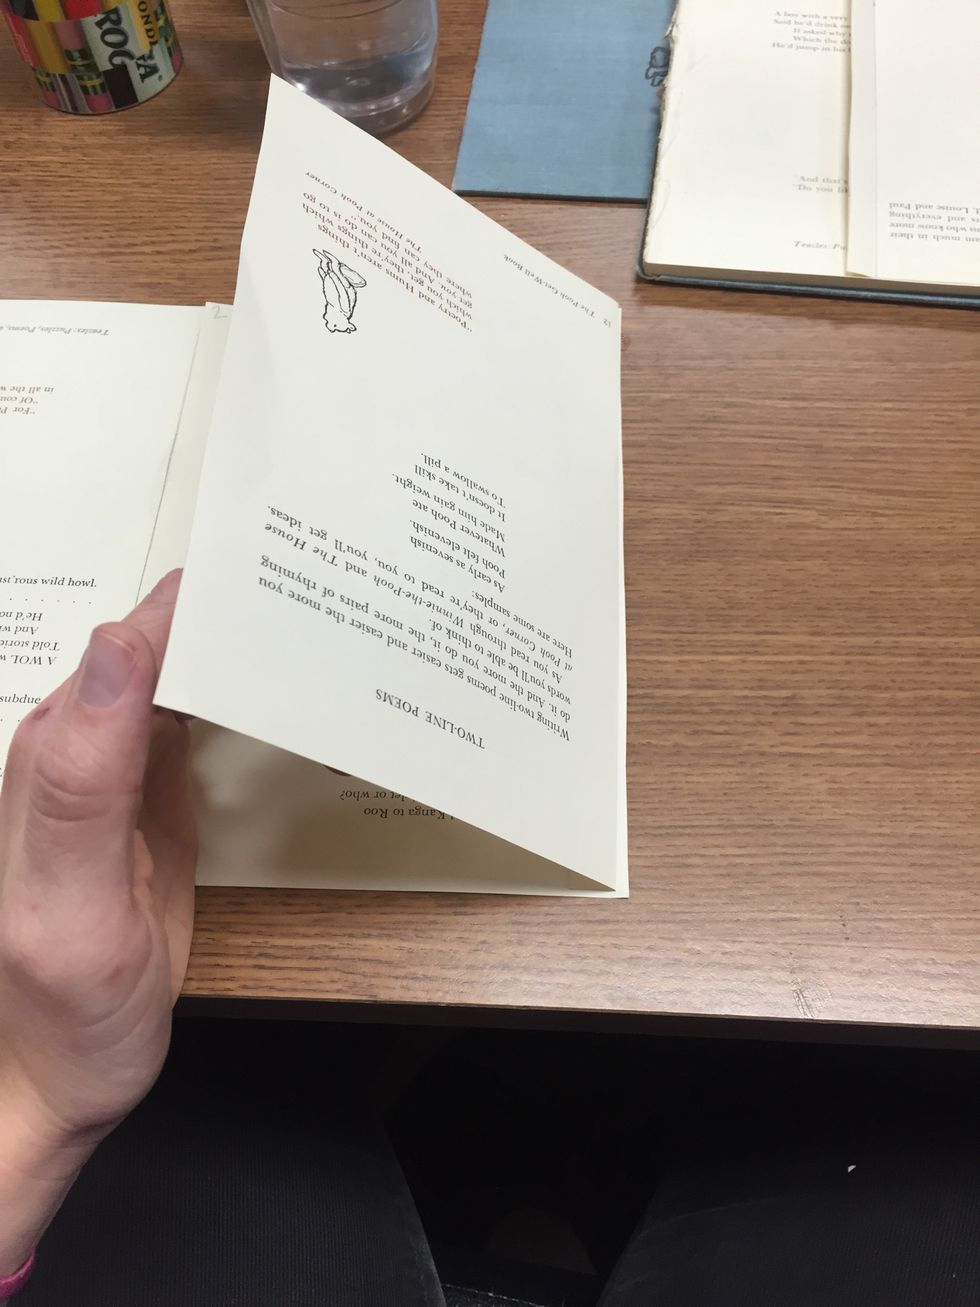
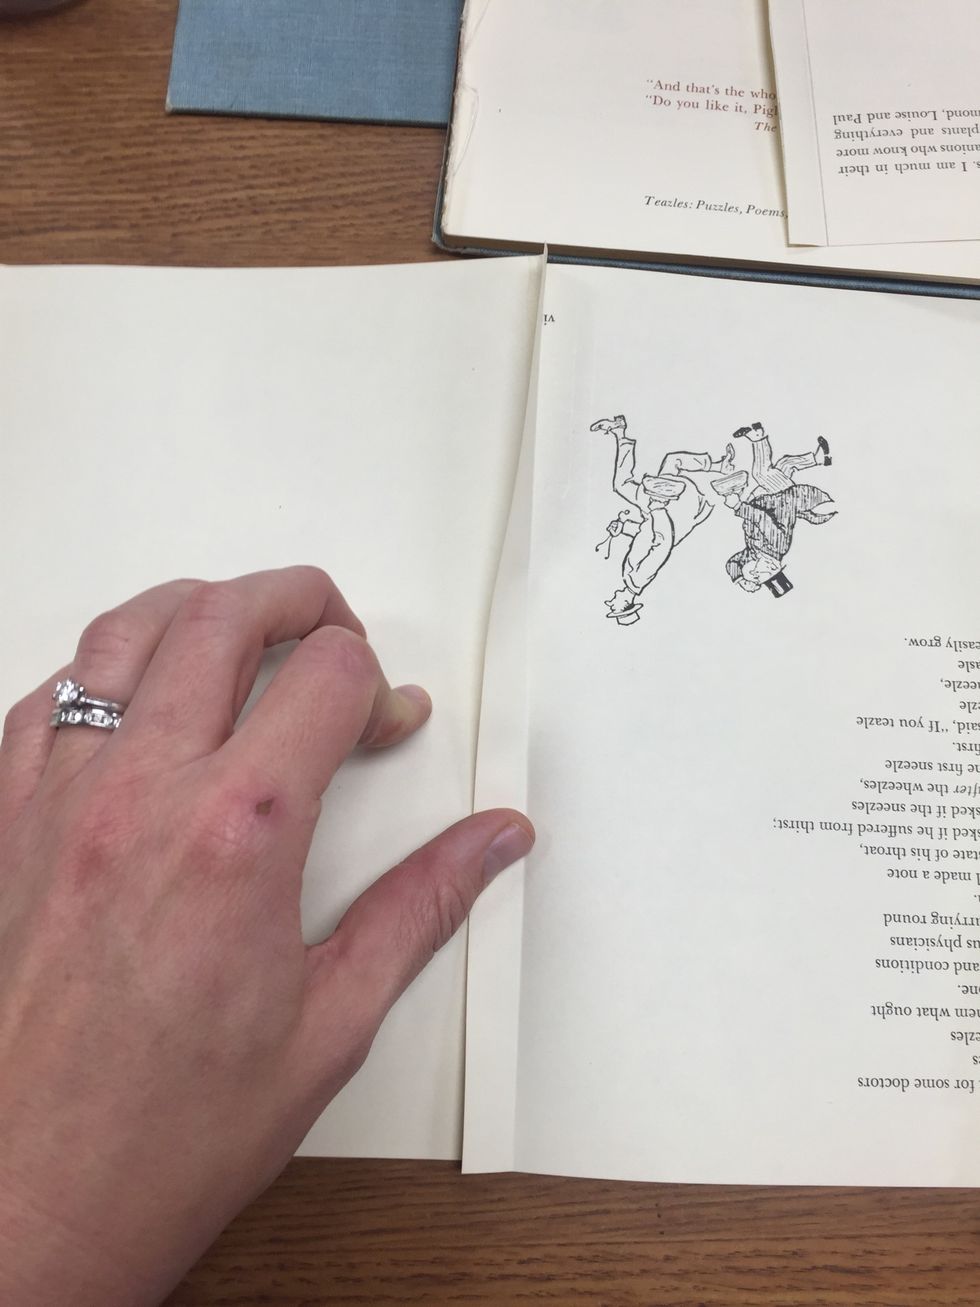
It should overlap and look like this.
Add glue to the back of the page 3 flap.
Glue it to the right side of page 2.
Here is page 3 after it is glued.
Glue the rest of the pages just like page 3 from step 21.
Like this!
And like this!
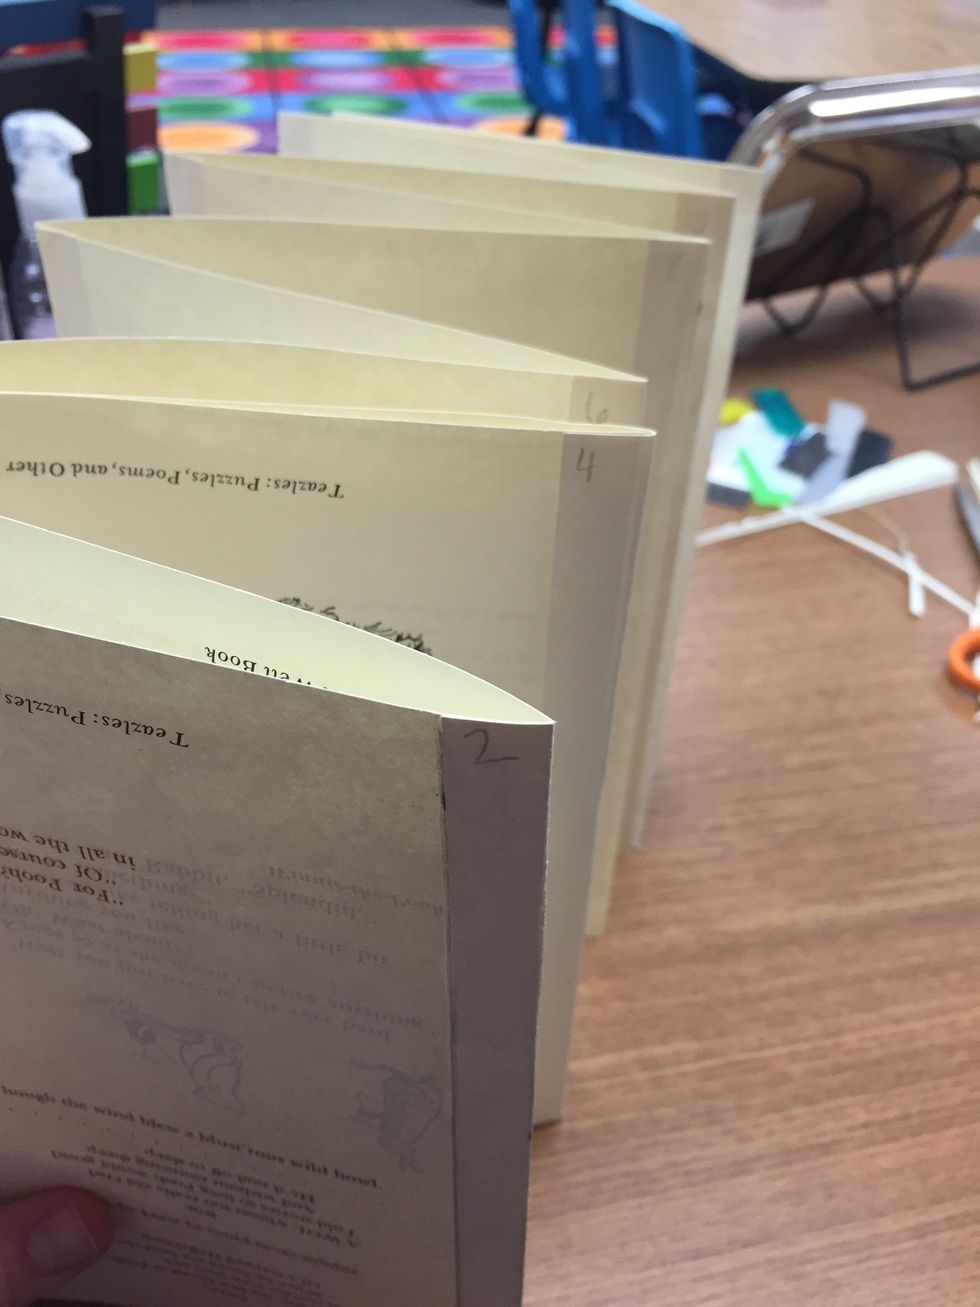
Your book should begin to look like one long page.
Glue the last page. This page is the page with two folded flaps.
See! Now we have an accordion book!
All of the even numbers should look like this.
Can you find the odd numbers in the corners?
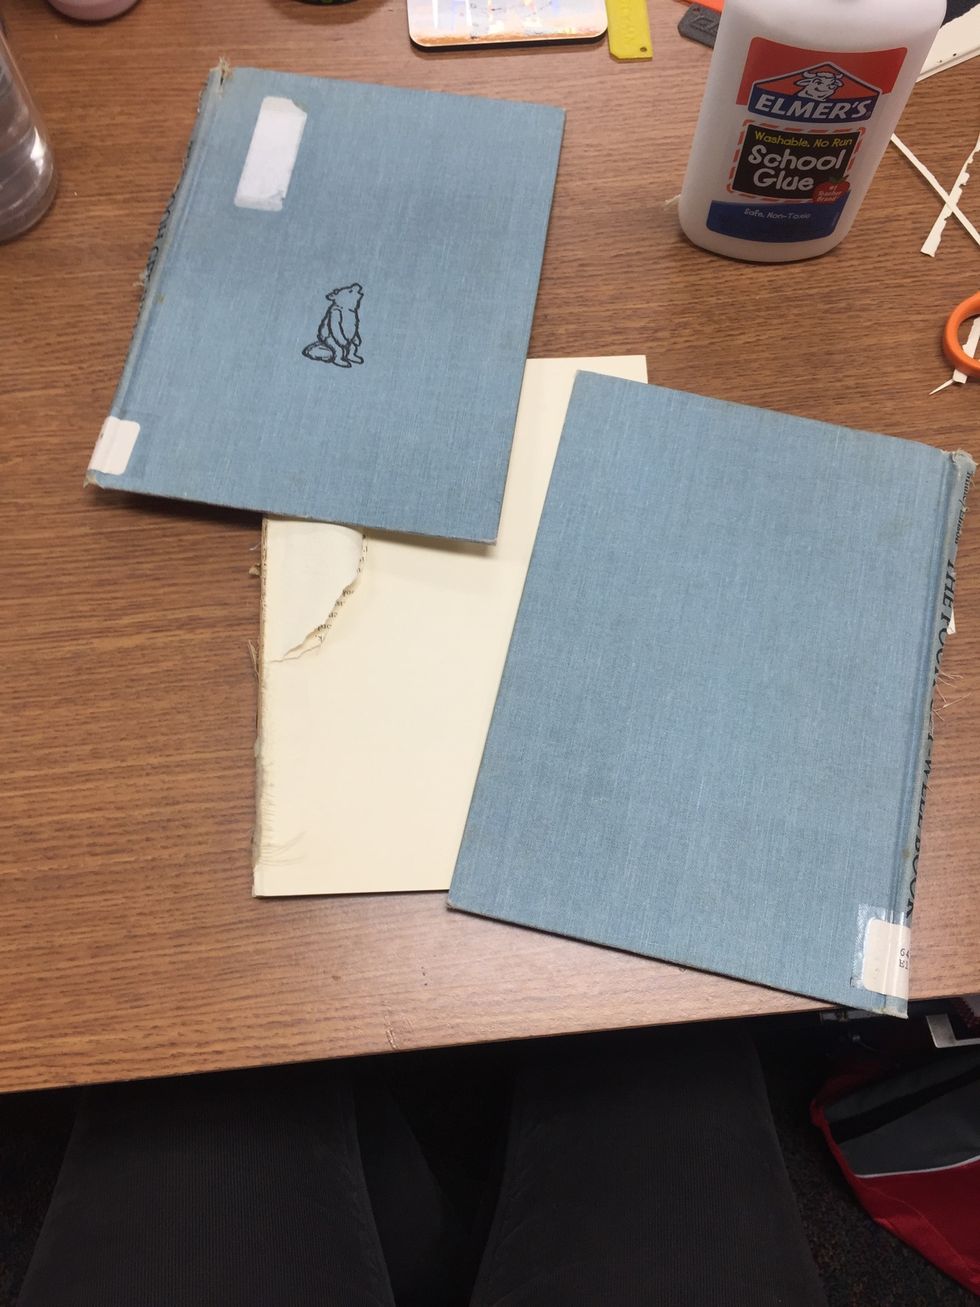
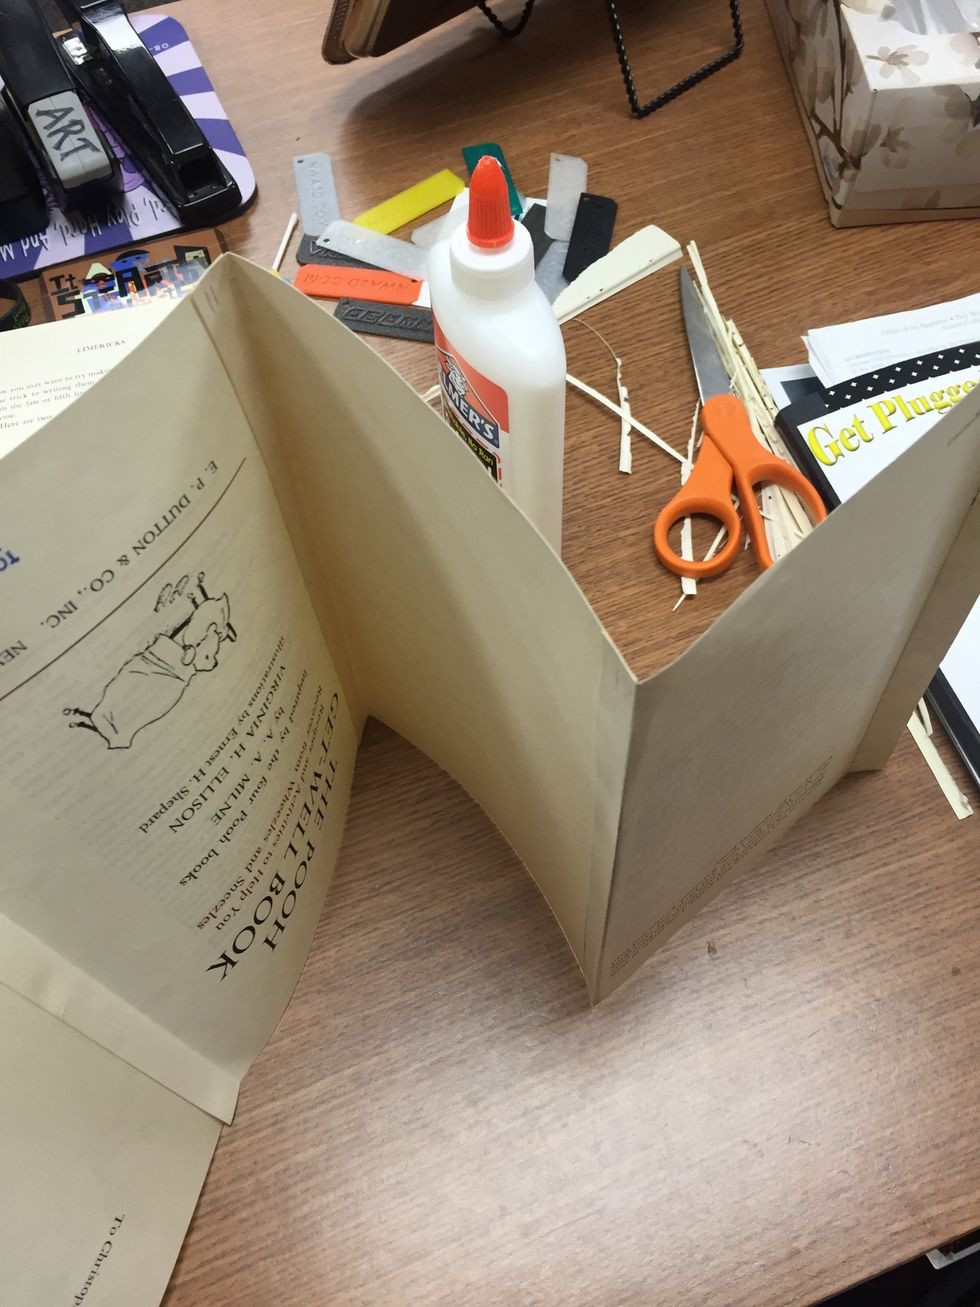
Let's add the front and back covers. Rip out any left over pages!
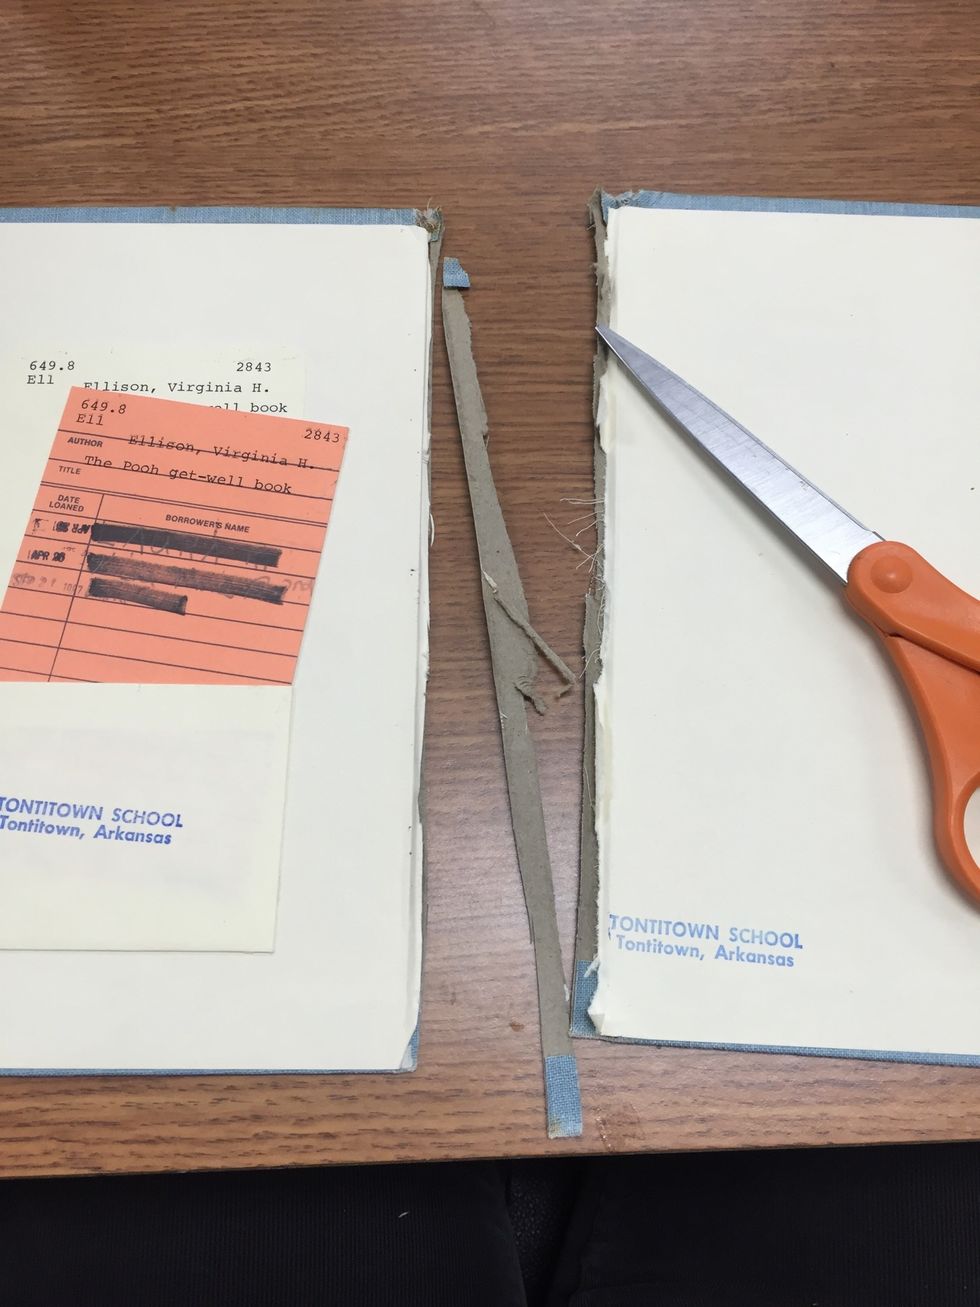
Trim up the edges of the book over.
Clean edges!
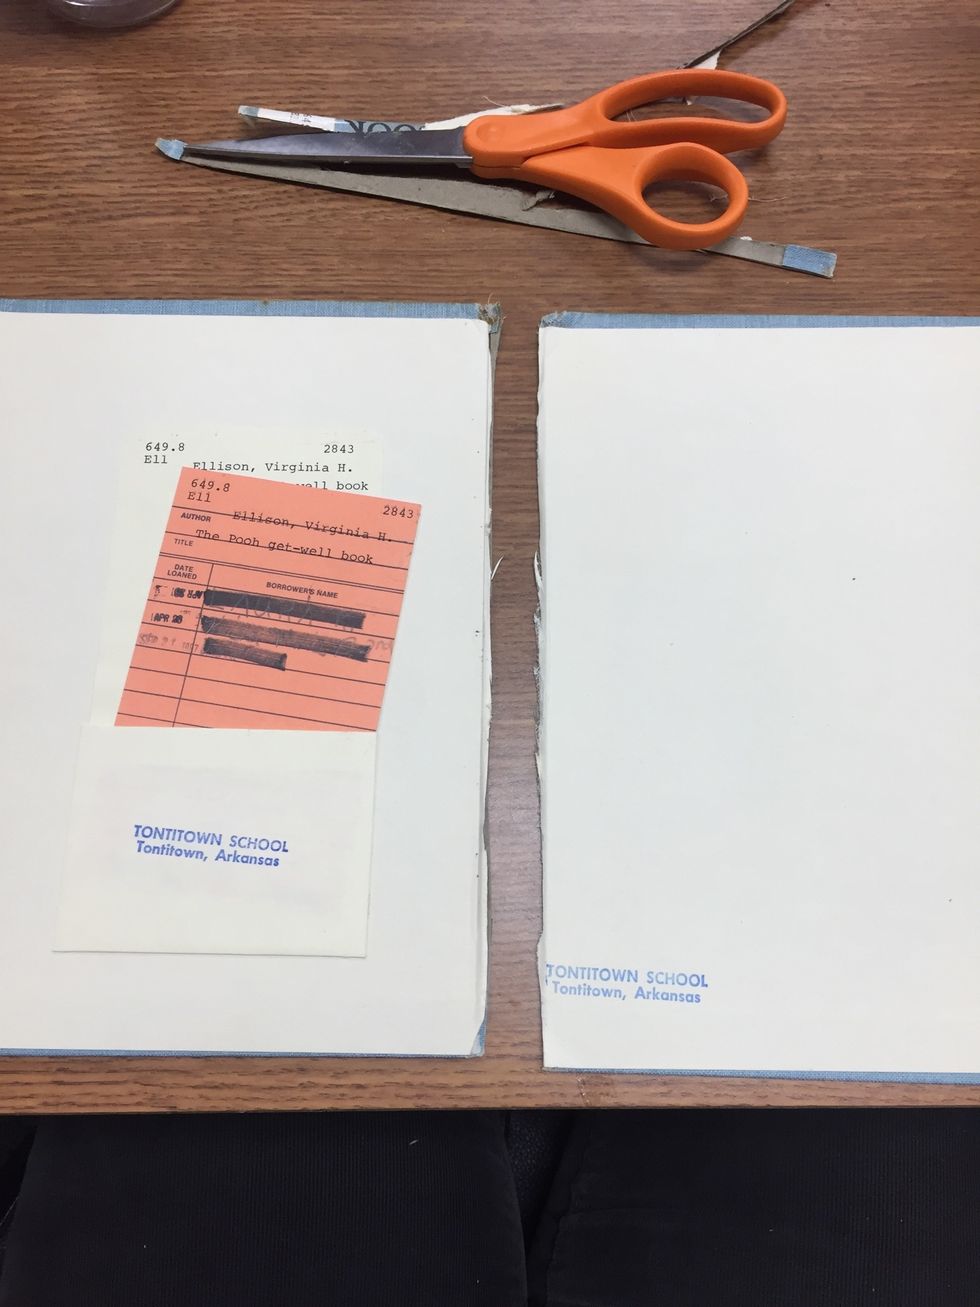
Glue page 1 into the front cover. Do this just like you glued all of the other pages to each other.
Glue the last page to the back cover.
Oooops! My book is a bit lopsided.
To fix that, I'll just line up the edge of the spine and fold all of the pages to fit. See that page that is curled up? It will be flattened out.
And here is the accordion style book! You did it!
Nice work artists!
Time to start designing and creating your pages :).
Use supplies to design your page. Don't glue yet!
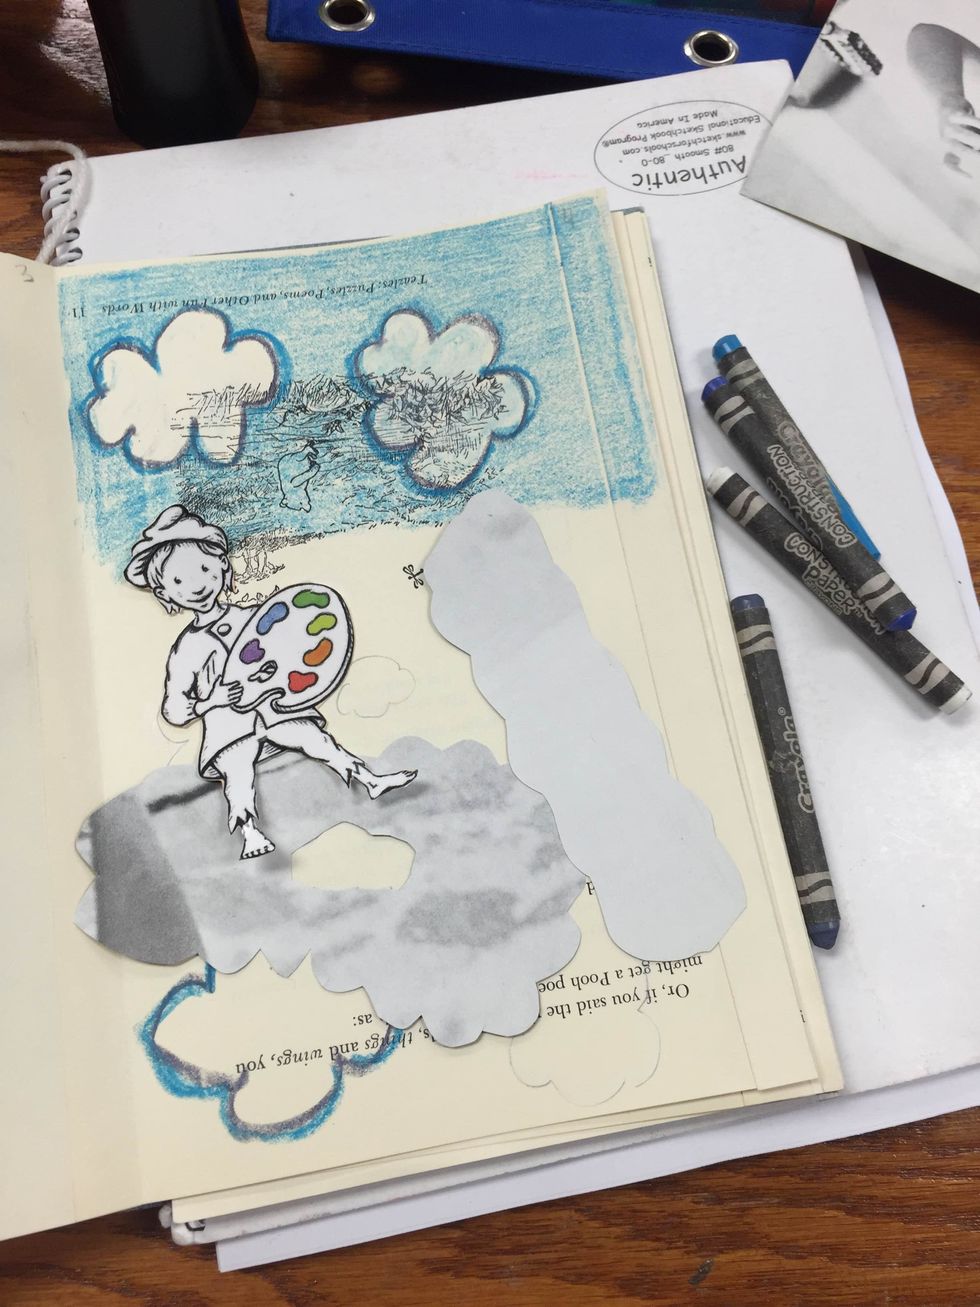
Add a background before you glue!

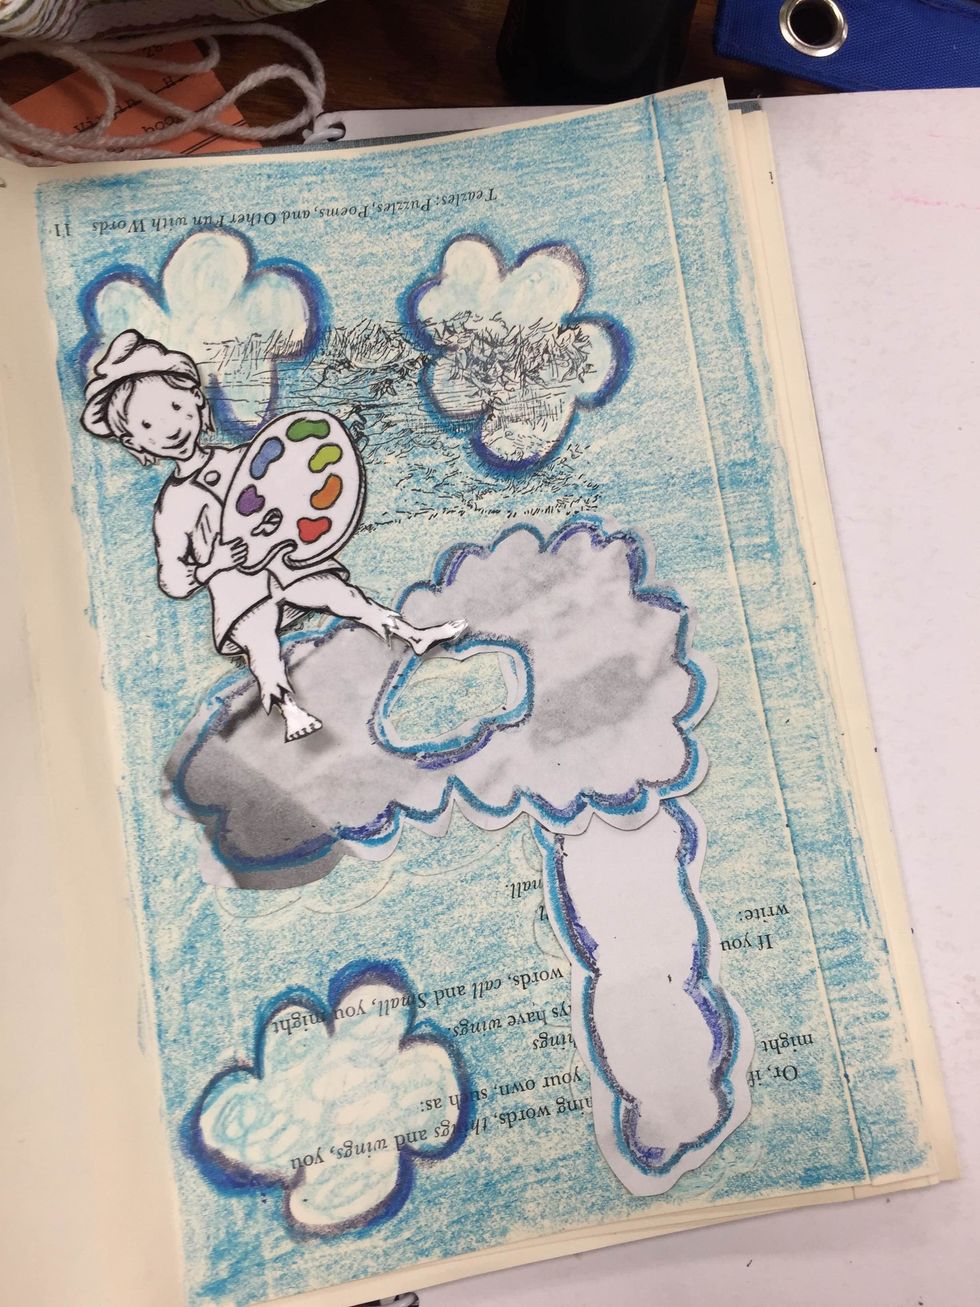
Glue all objects onto the page. Add details to your objects!
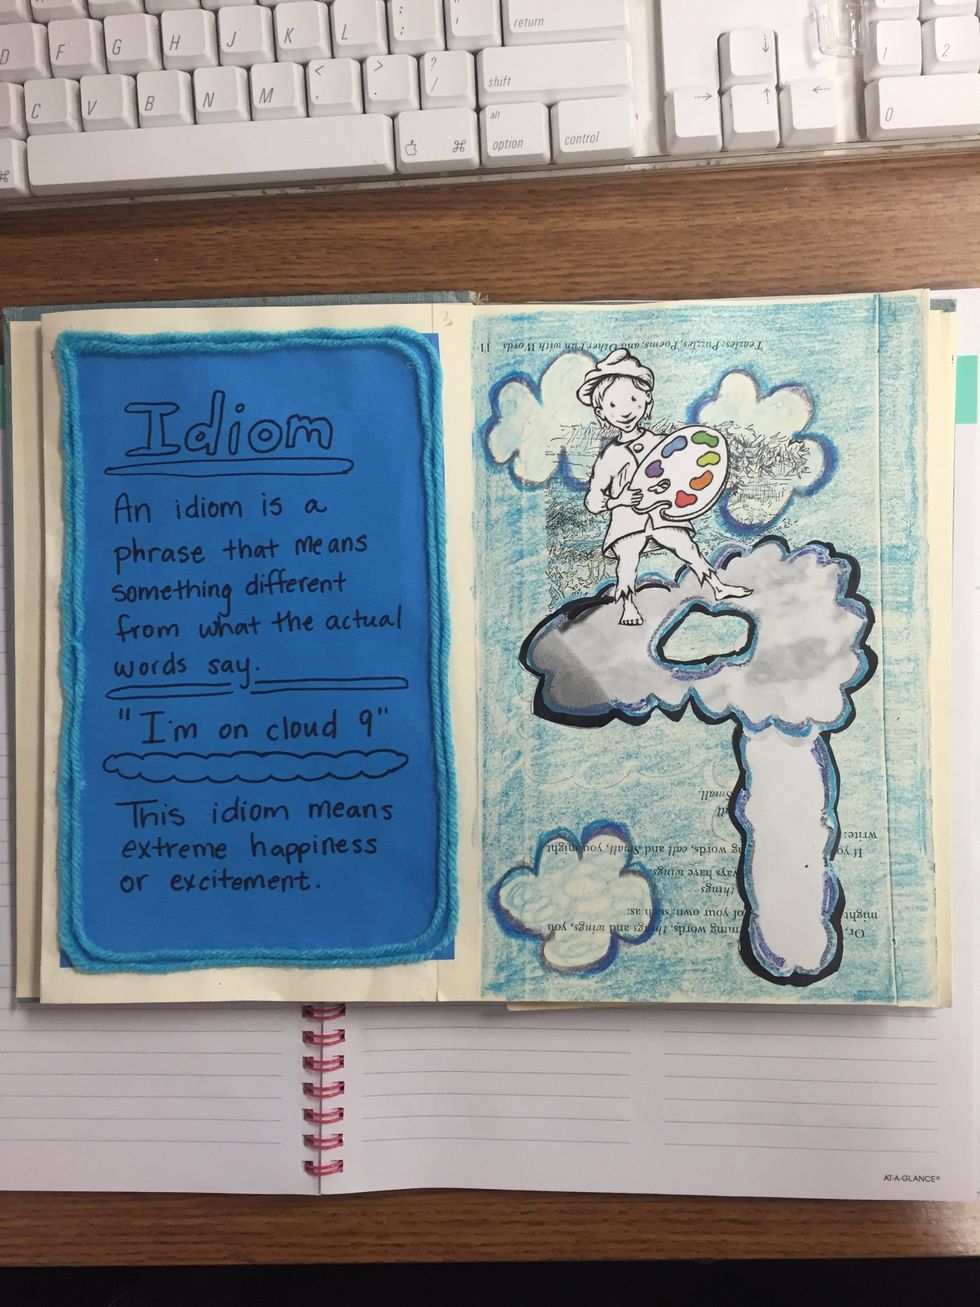
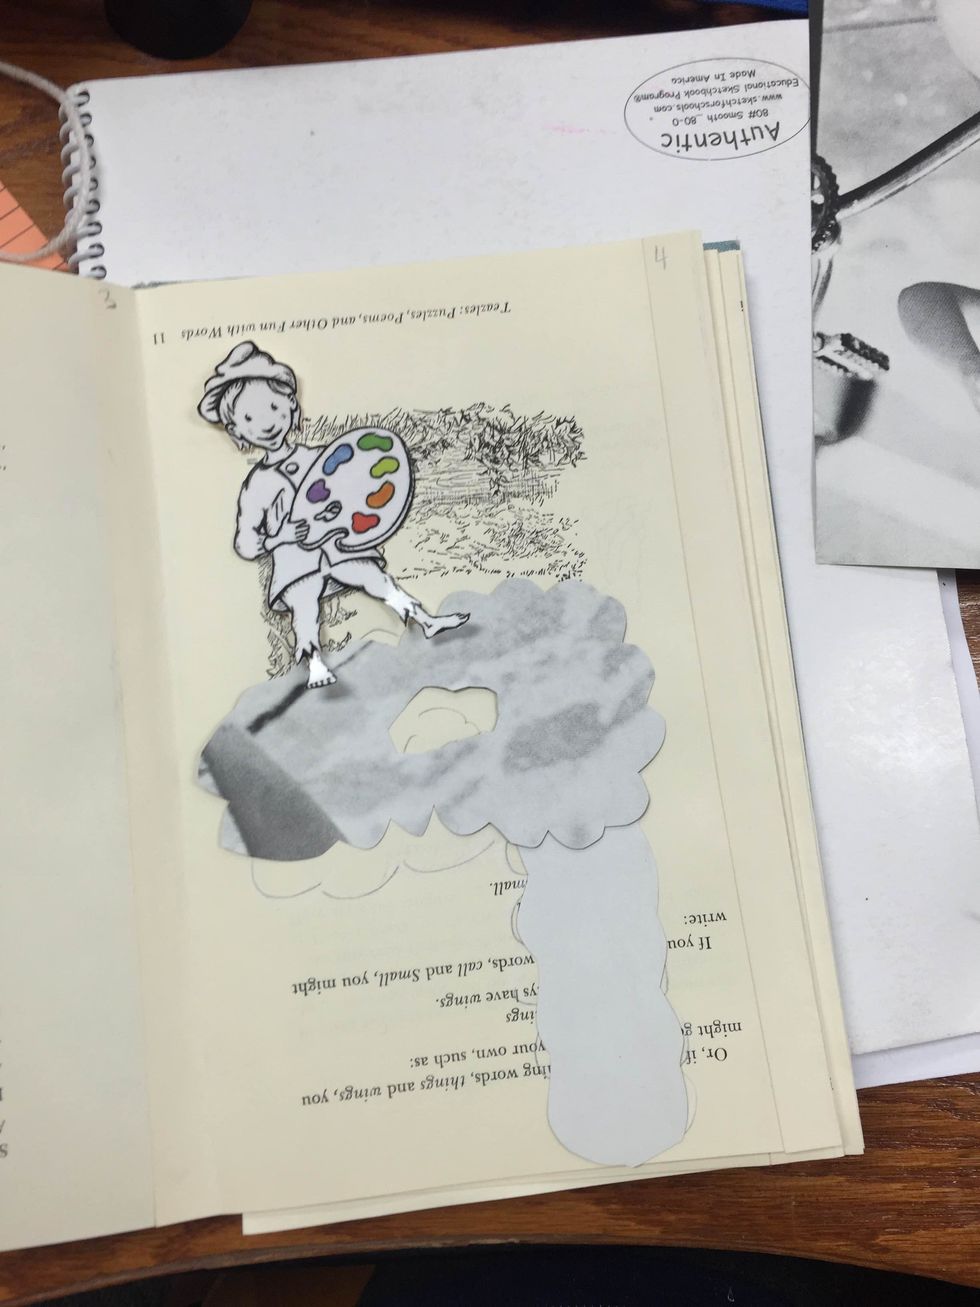
Design a page to explain the figurative language.
Design and create another page!
Figurative Language Pages simile, metaphor, idiom, hyperbole, onomatopoeia, personification
What is a SIMILE? It's a figure of speech involving the comparison of one thing with another thing of a different kind, used to make a description more emphatic or vivid. (dictionary.com)
An onomatopoeia is the formation of a word from a sound associated with what is named (e.g., cuckoo, sizzle ) from dictionary.com.
An IDIOM is a phrase or a fixed expression that has a figurative, or sometimes literal, meaning. An idiom's figurative meaning is different from the literal meaning. (from Wikipedia)
A METAPHOR is a figure of speech that identifies something as being the same as some unrelated thing for rhetorical effect, thus highlighting the similarities between the two. (from Wikipedia)
A HYPERBOLE is an exaggerated statement or claim not meant to be taken literally. (from Wikipedia)
PERSONIFICATION is a figure of speech where human qualities are given to animals, objects or ideas. It is the opposite of a metaphor but is very similar. (from Wikipedia)