The Conversation (0)
Sign Up
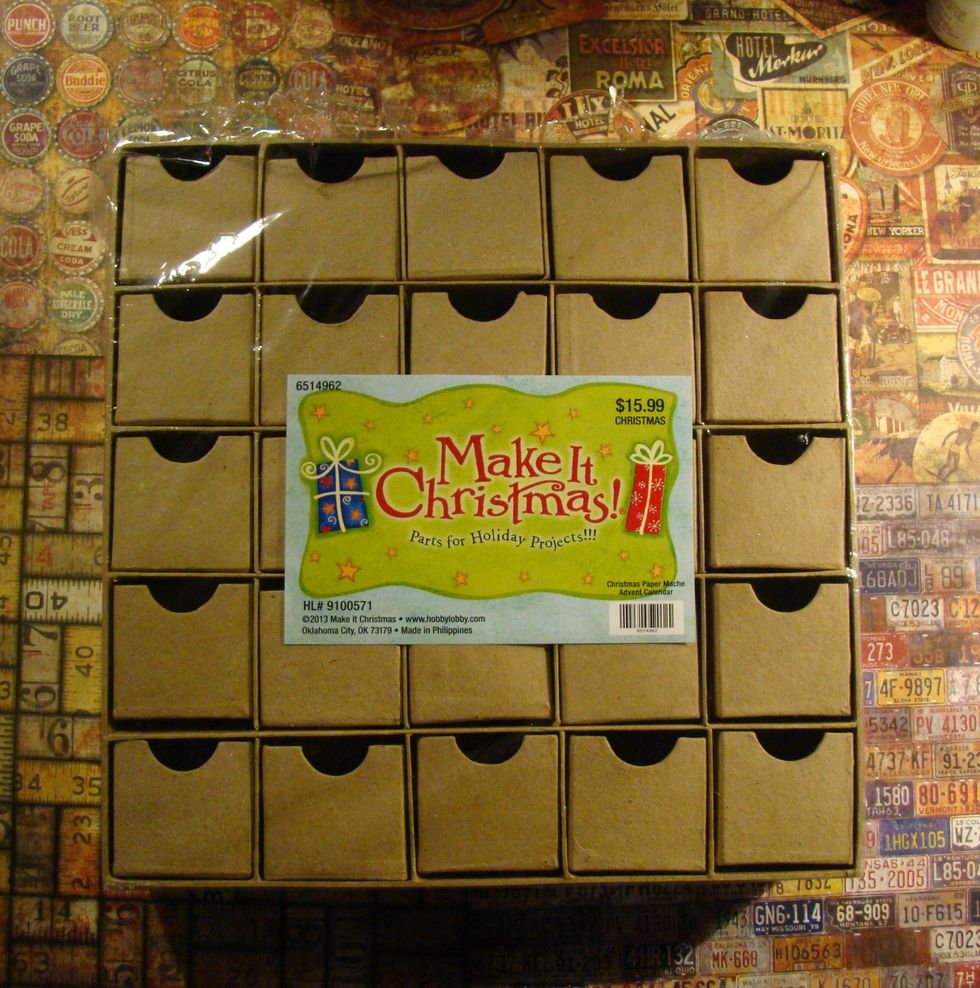
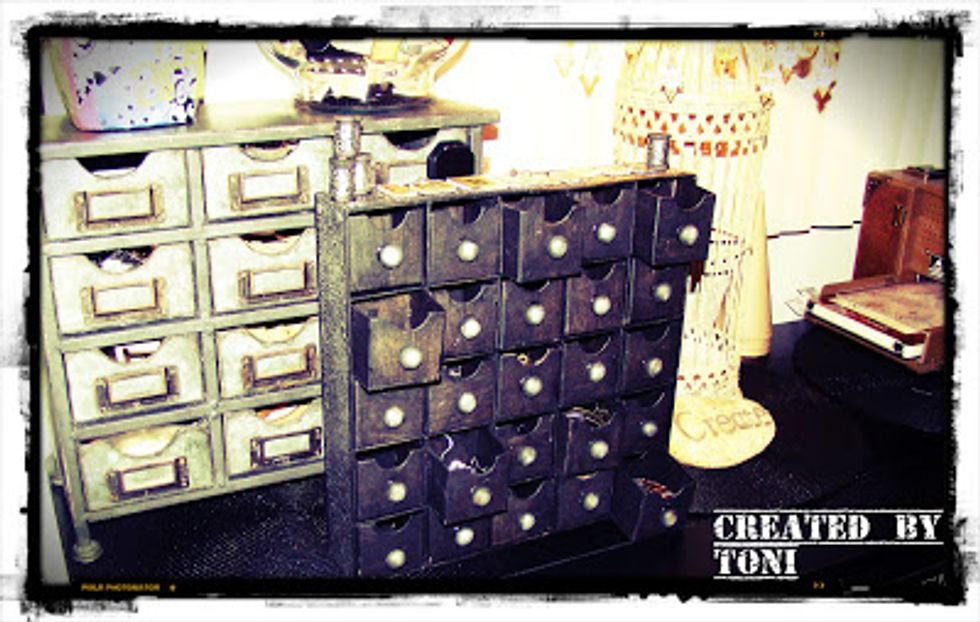
I purchased this advent calendar at my Hobby Lobby store. Used my 40% coupon.
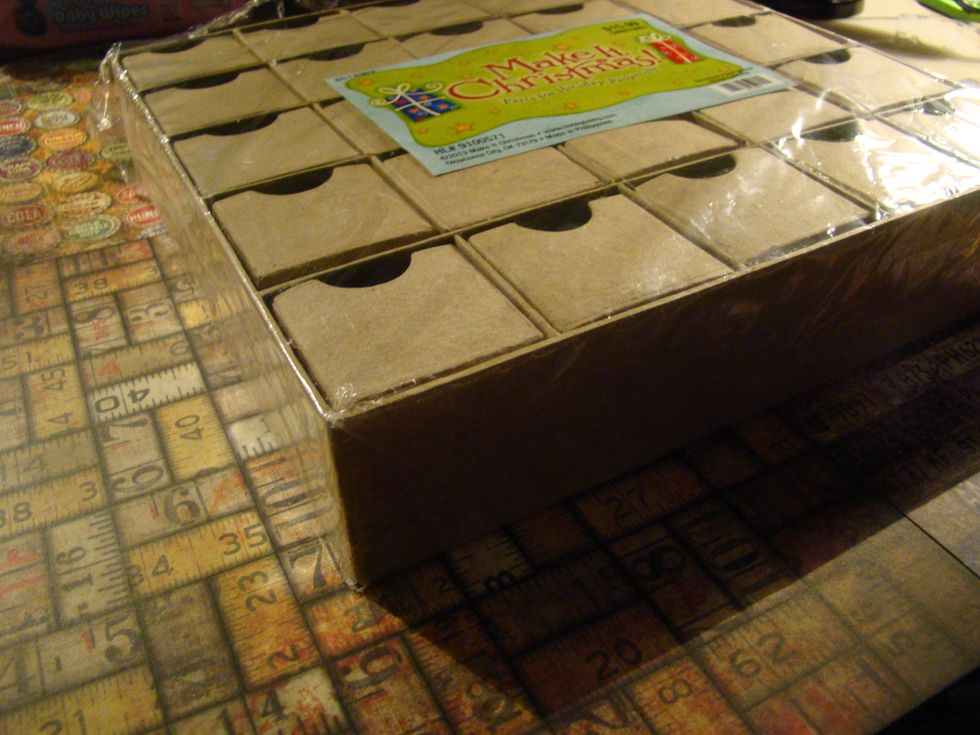
It has nice deep little boxes that will hold many embellishments.
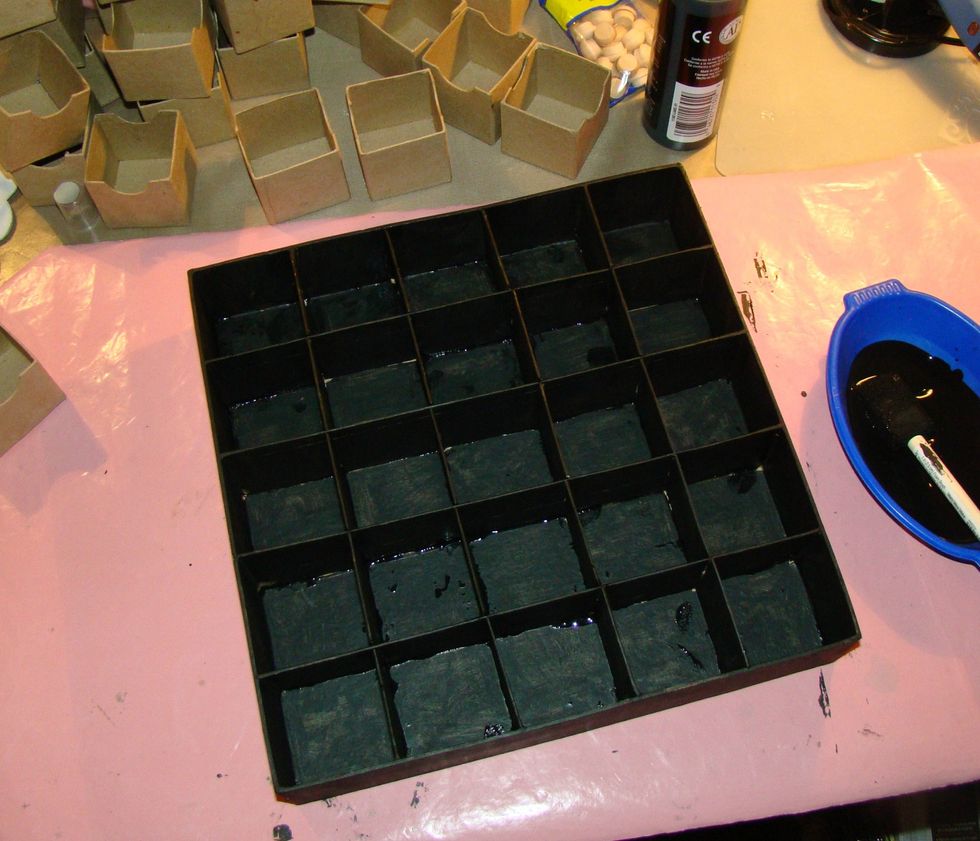
Paint the entire outside of the container.

Paint all of your boxes and allow to dry completely .

Apply strips of metal plumbers tape to paper, insert in embossing folder and run through your die cutting machine.

Cut your strips to fit the width all the way around the container and apply.

Apply a coat of black acrylic paint to the top of the embossed tape. Using a paper towel, wipe off the excess. Keep doing this till you get the effect that you are looking for.

Here is the end result.

Using mini wooden spools, I painted them black, let dry, then applied strips of the metal tape around the body and painted with black for distressing.
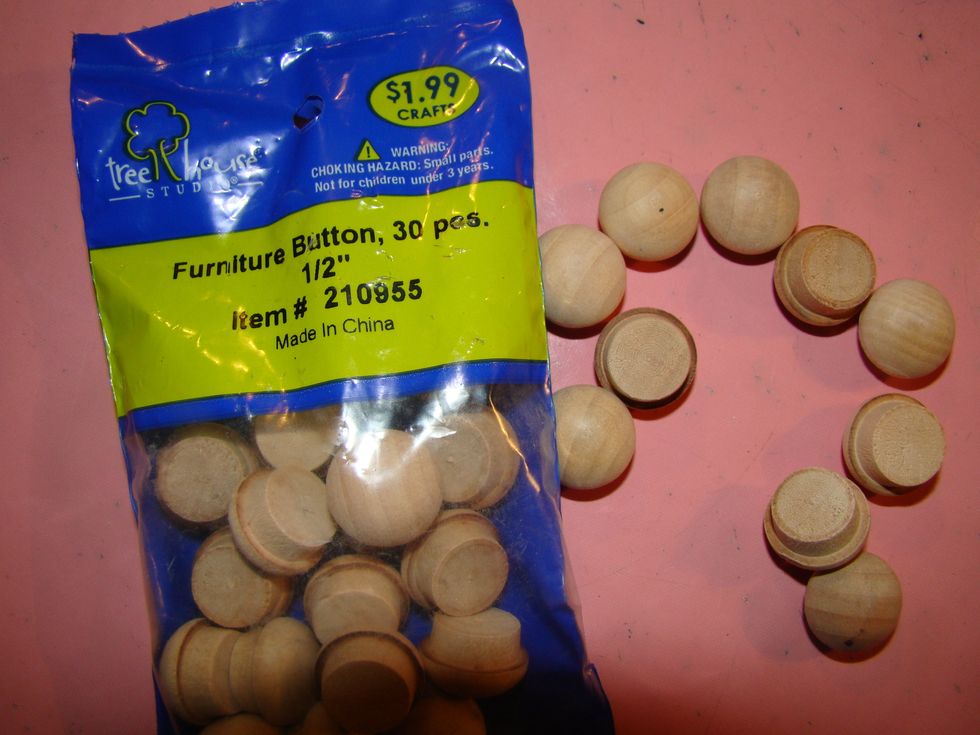
Purchased these furniture buttons also at my craft store. Paint these black and allow to dry.
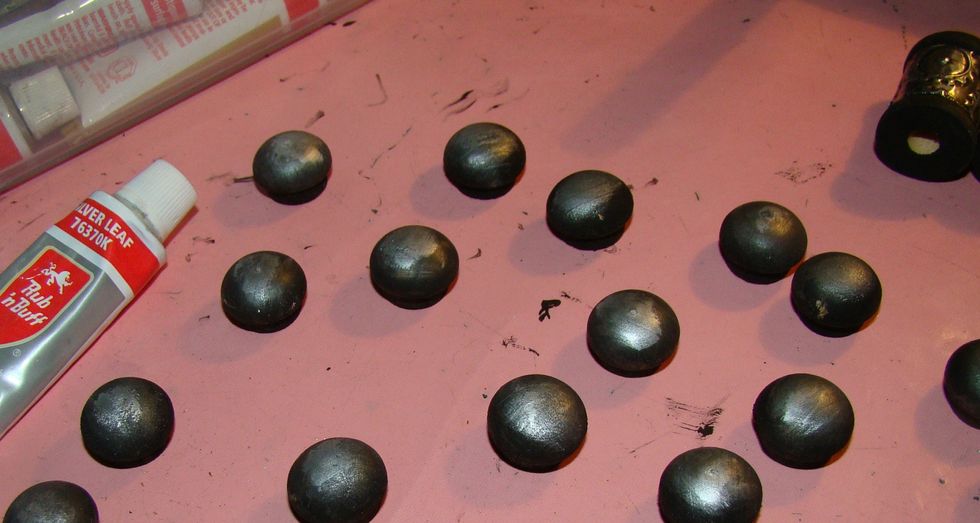
Using Rub N Buff Silver, I applied small amount to finger tip and rub a bit on the top of all furniture buttons, then buff to get a nice sheen. I like how it looks old and worn. Glue to front of boxes

Using Glossy Accents & chose letters from T!m Holtz Lost & Found paper collection & applied to different shapes of Fragments (rectangle & squares). Added some nail head brads for interest.
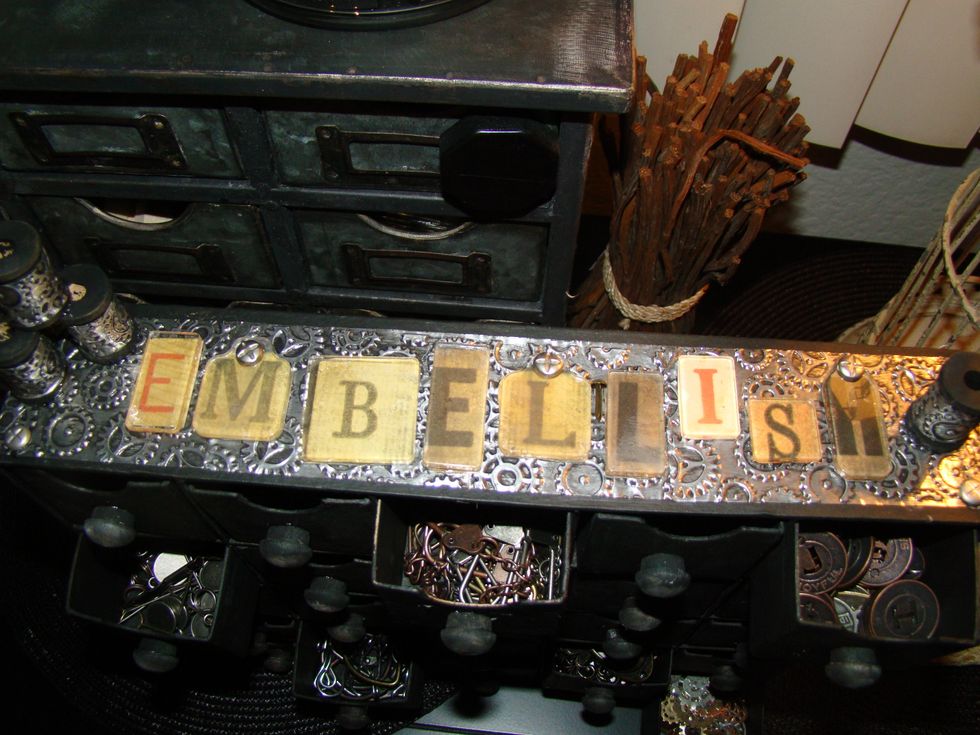
Glue your letters to top of embellishment holder
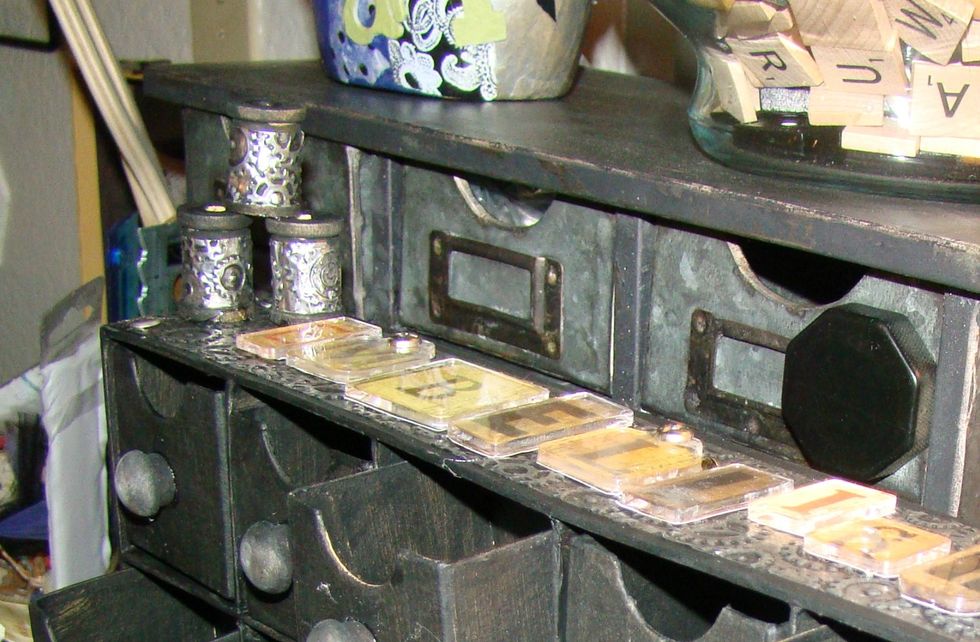
Glued my little spools on top for decoration.
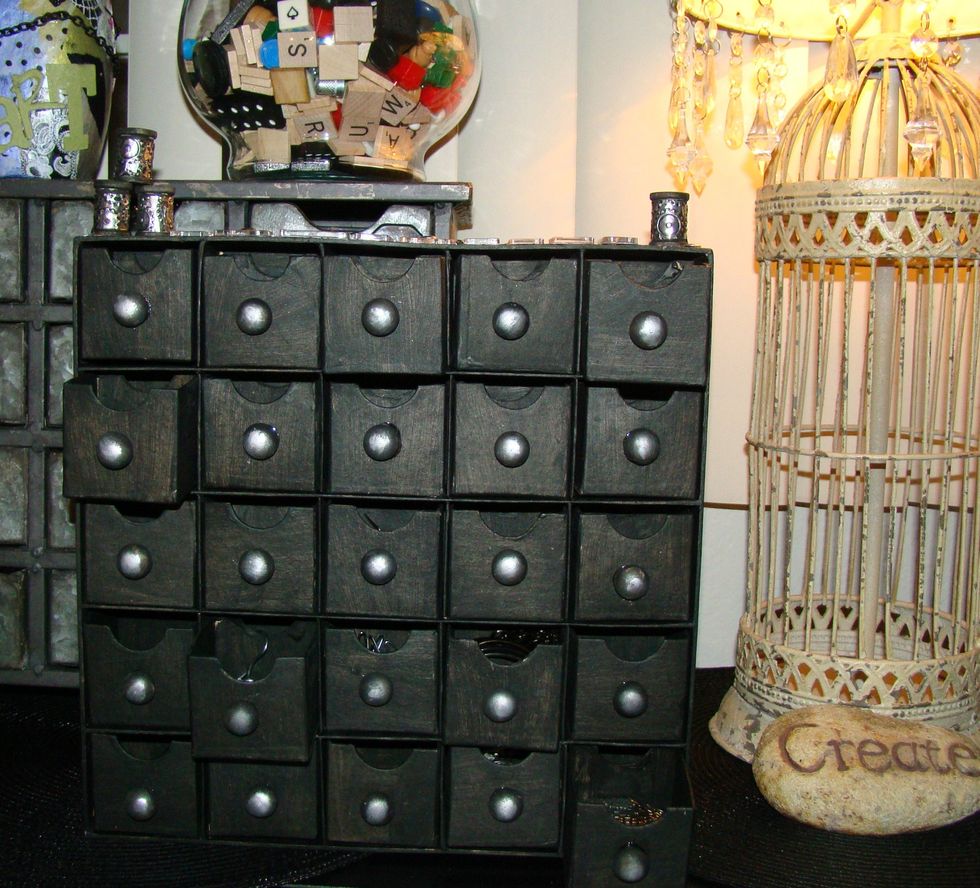
And now we're ready to fill with all our wonderful embellishments. This container hold so much.

You can also add labels to each drawer for easy access using a label maker.
Have fun making one of these holders. Can be used in your powder room for hair accessories, jewelry, makeup, etc.
For more info on this project, check out my blog here: http://www.toni-burks.blogspot.com/2013/09/artist-dont-lie-we-embellish.html