The Conversation (0)
Sign Up

I purchased this bubble gum machine on clearance for $5.00 and thought it would be perfect to store my pearls. I dismantled it to prep it for altering.
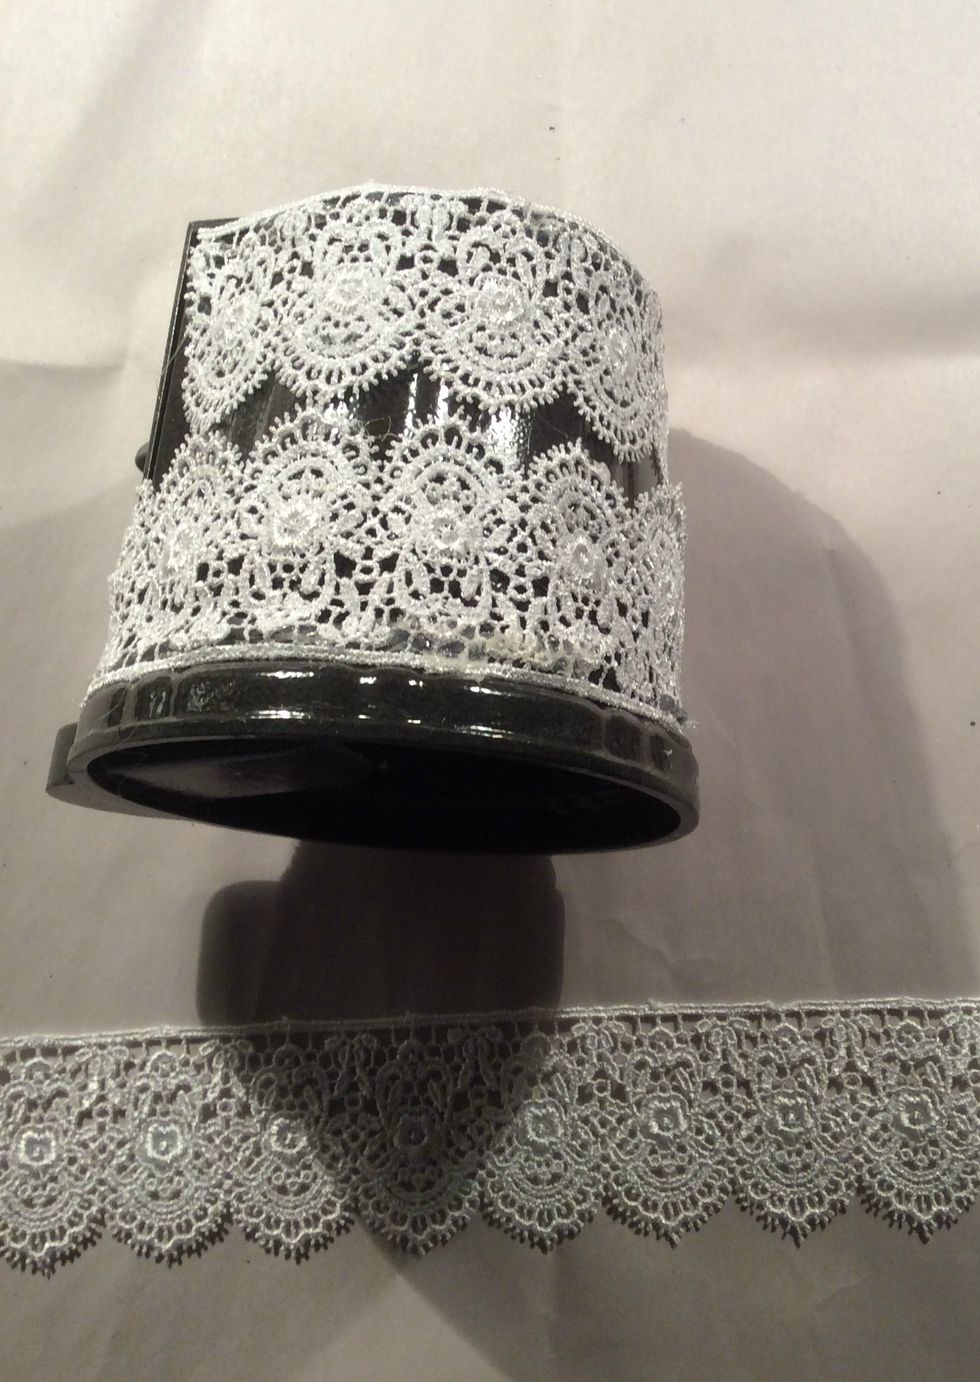
Using lace, I adhered it with adhesive. Laces provide a beautiful texture to your projects once covered with gesso or paints.
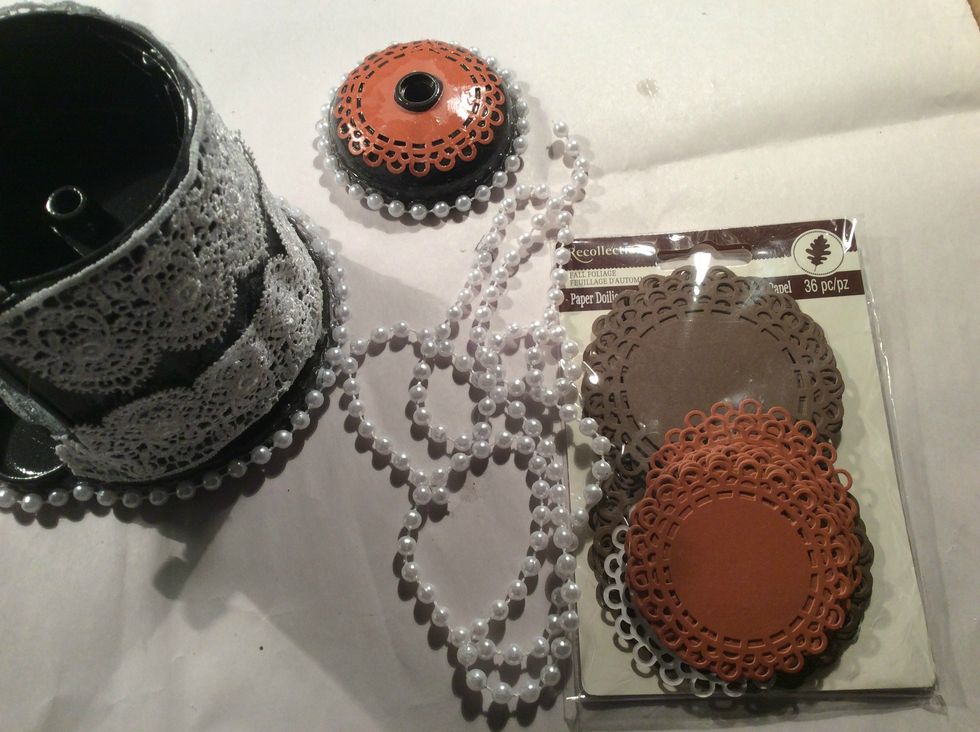
Using a hot glue gun I adhered pearls to the bottom of my bubble gum machine. The doileys are by Recollections and using Glue and Seal I adhered it to the top of my bubble gum machine.

Gather up an assortment of metal, wood, chipboard, plastic, buttons... whatever will add some nice texture to your piece. Use E6000 glue for adhering metals.
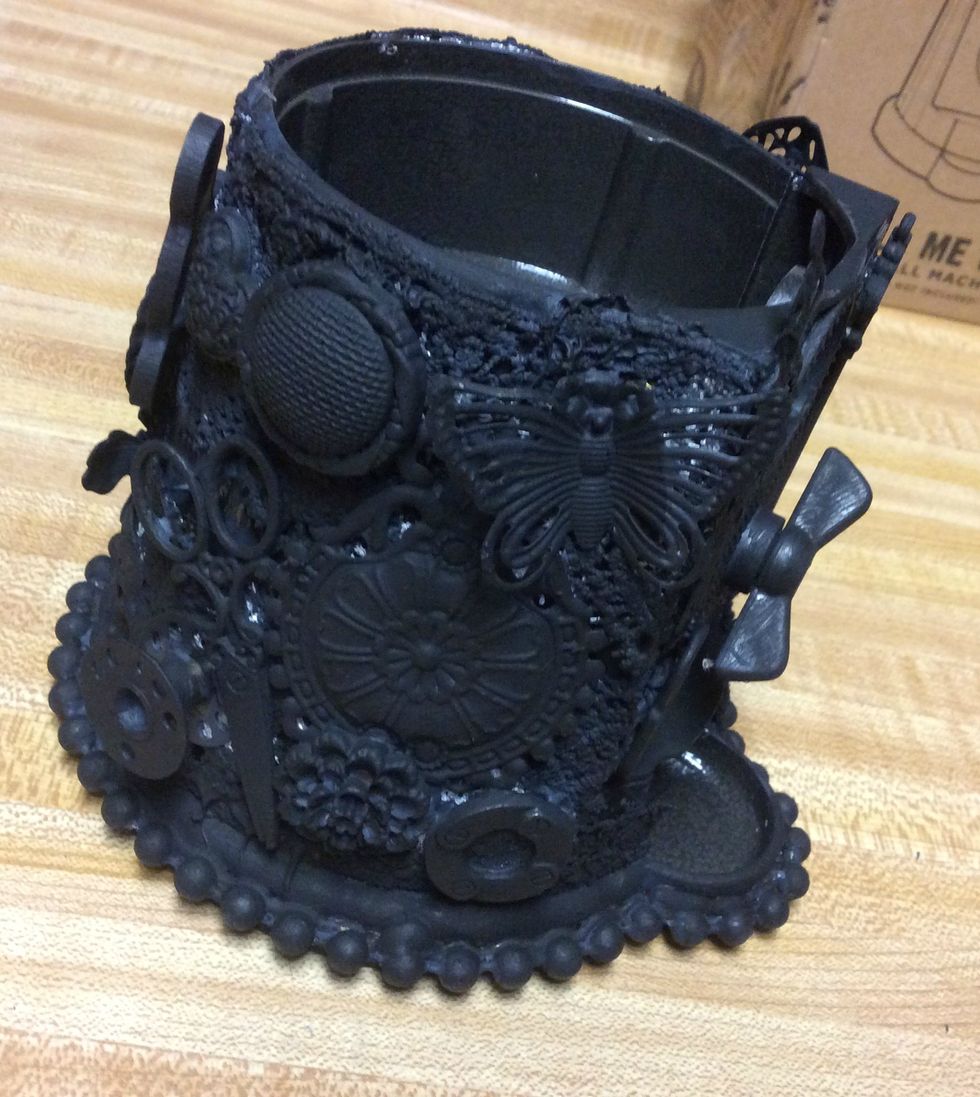
After all your pieces are glued on cover with a coat of black gesso.

Dry brush a coat of white acrylic paint over the top and allow to dry completely.
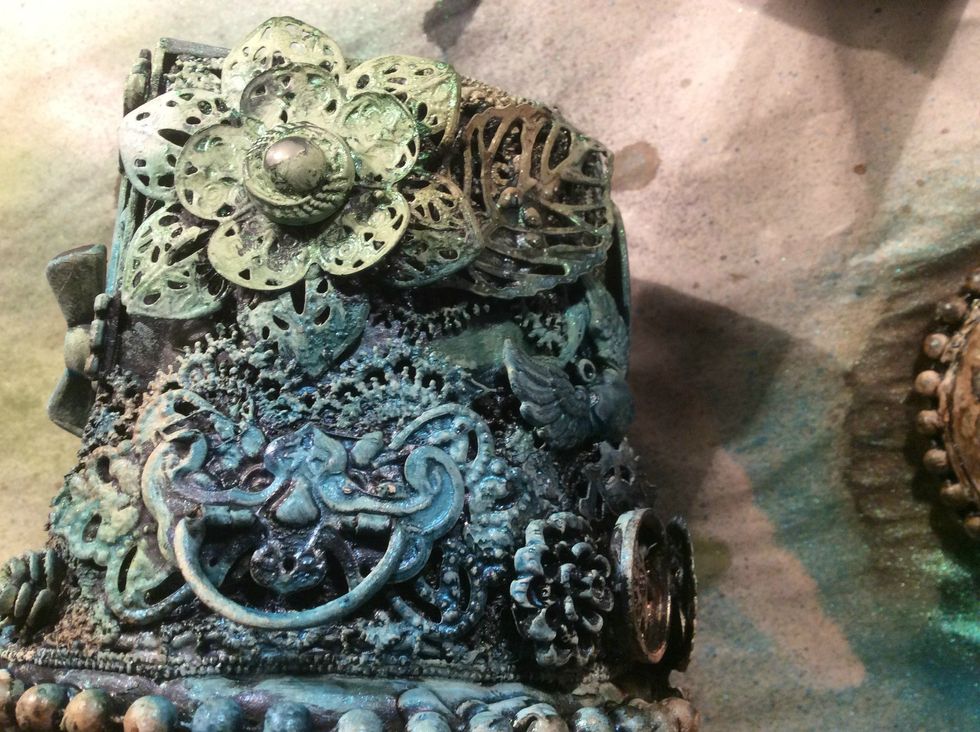
Gather your mists and sprays and start applying. Dry each color before adding another as to not cause the colors to bleed into each other. Continue adding colors till you get it the way you want.
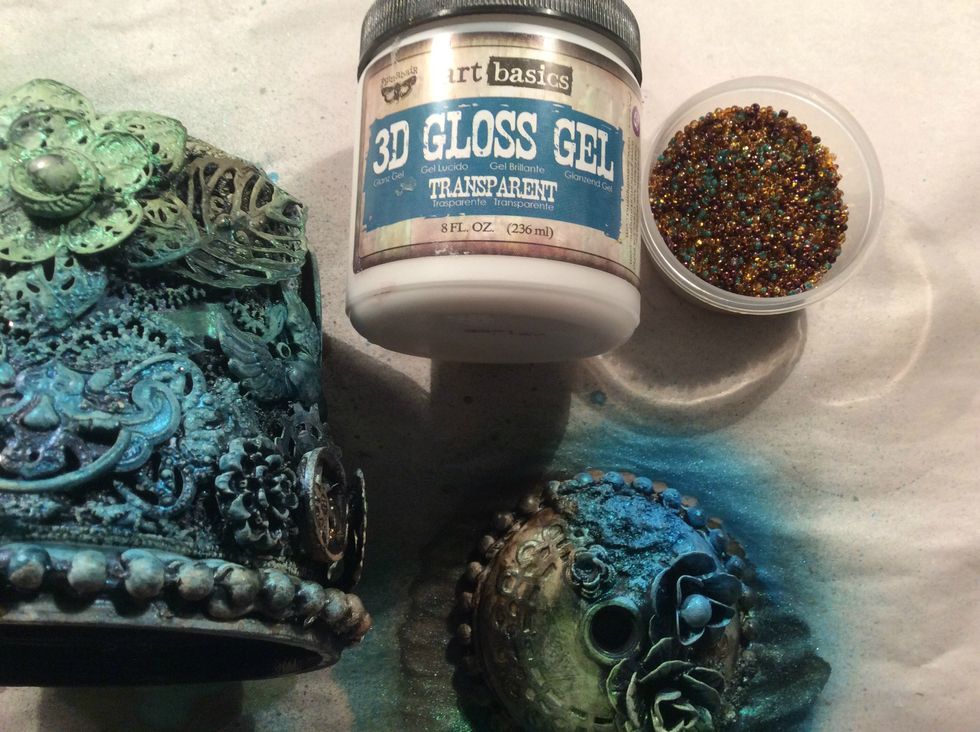
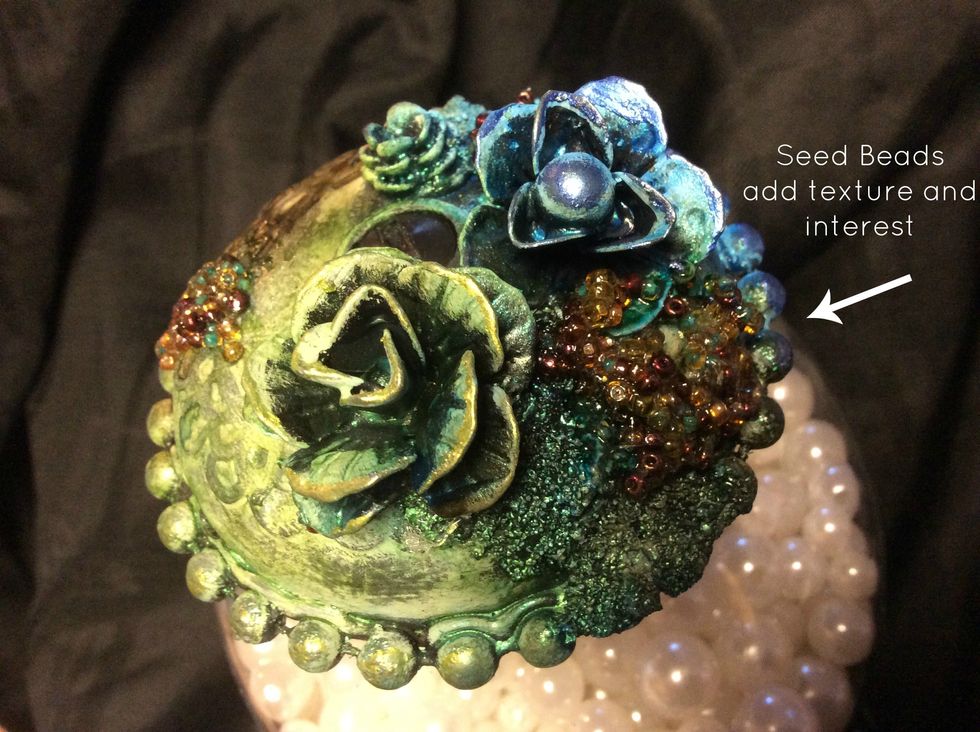
For adding texture, interest and dazzle, I mixed 3D Gloss Gel with a spoonful of seed beads and puddled them here and there on the project. Allow to dry completely.
Aren't the sprays gorgeous and the seed beads just add that little icing on the cake.
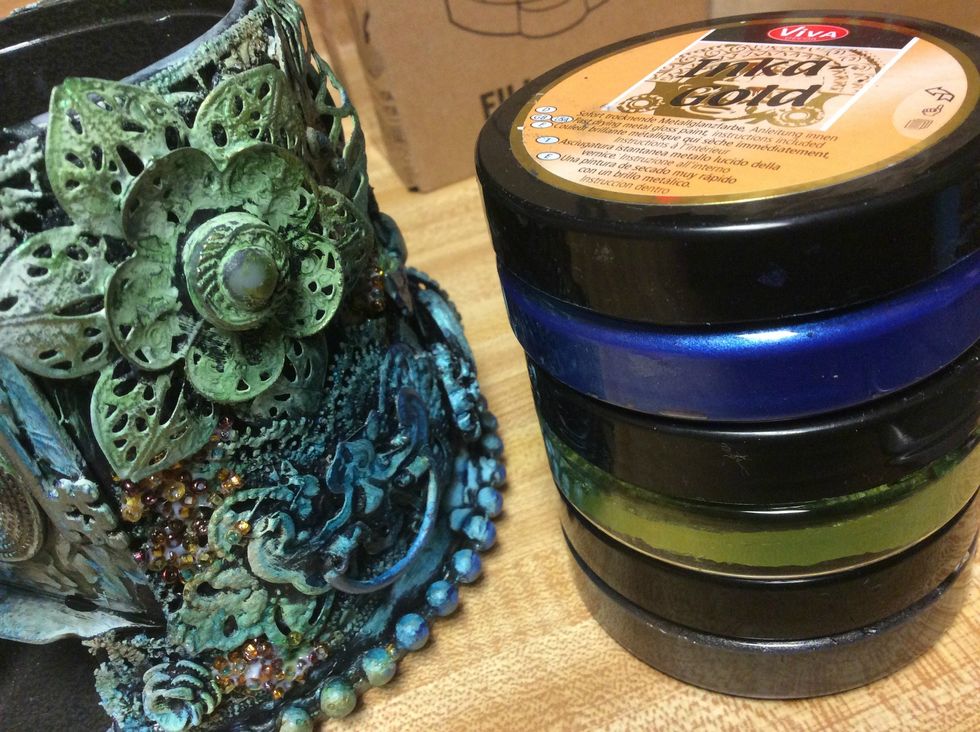
For a final touch I applied Inka Gold in matching colors to the tops of my embellishments. Rub on and then buff for a pretty sheen. You can also use Rub & Buff but Inka comes in so many pretty colors.
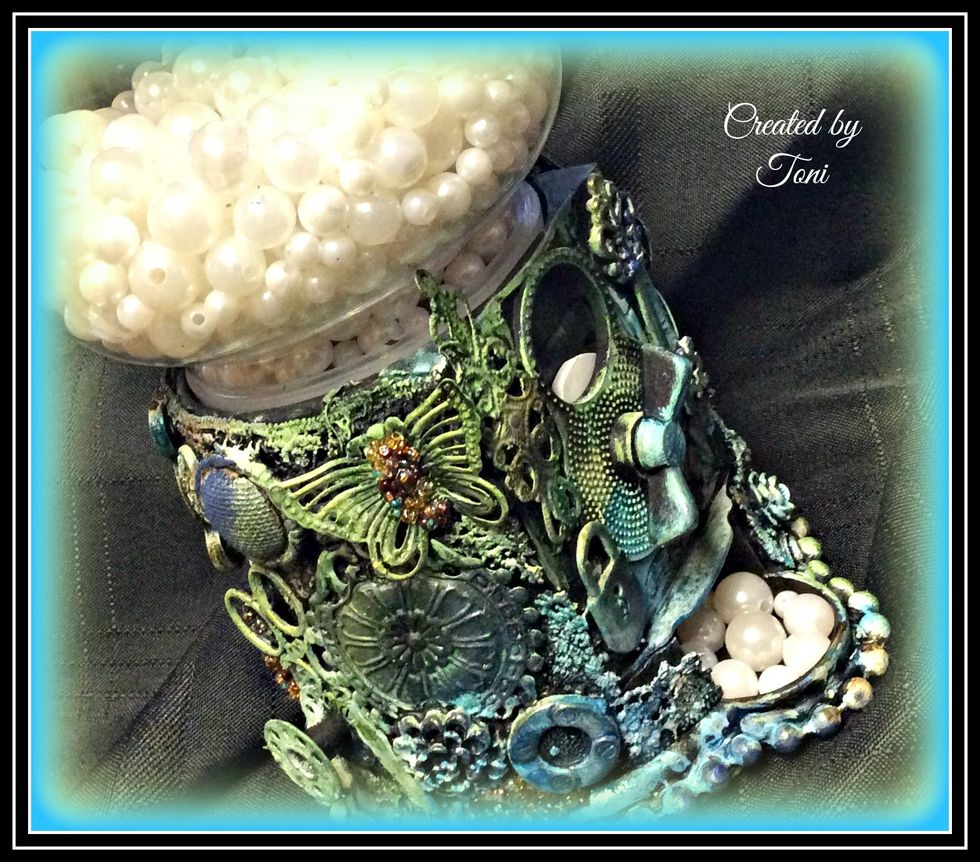
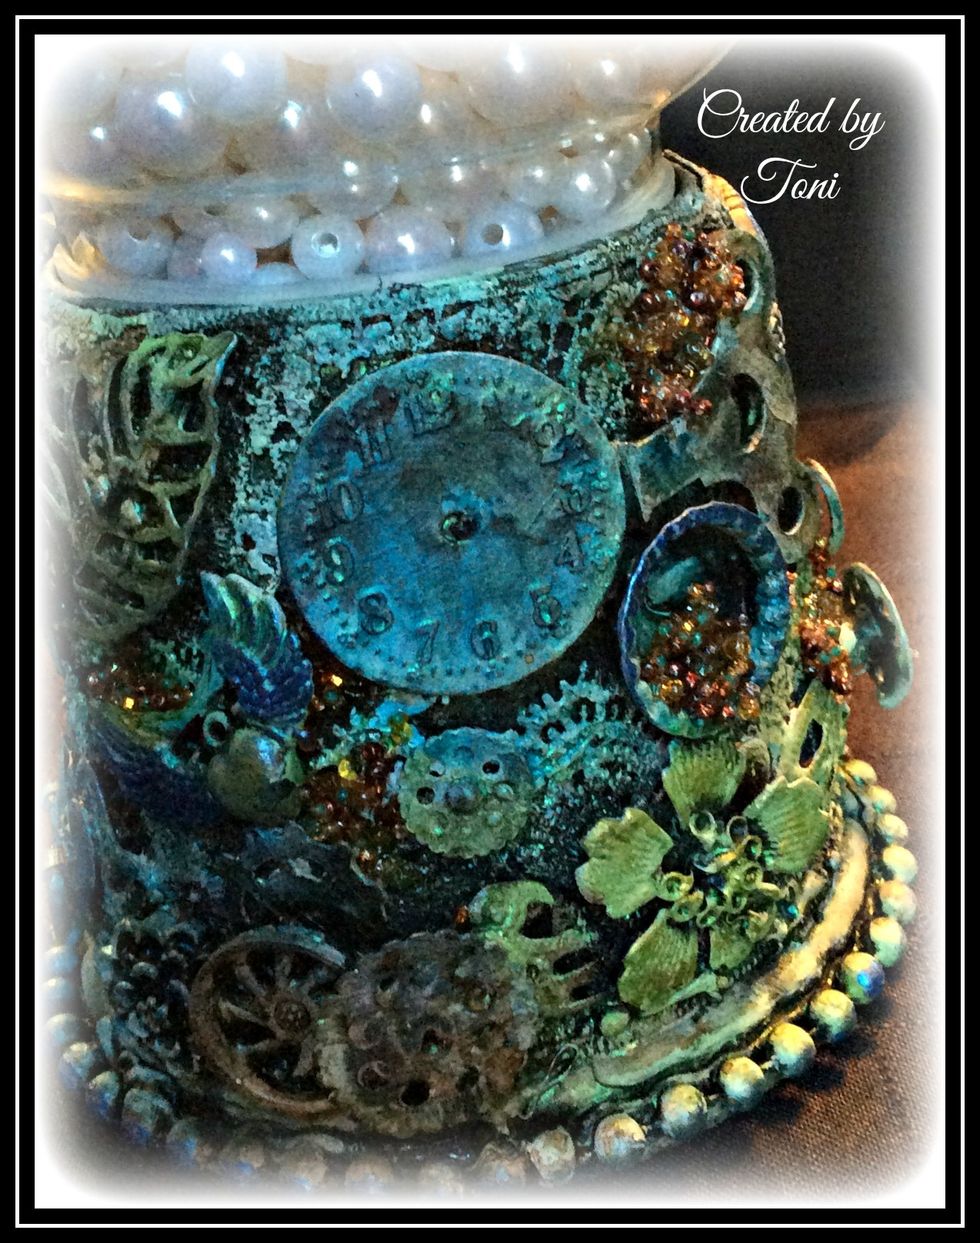
Close up of the wonderful texture the pieces provide.
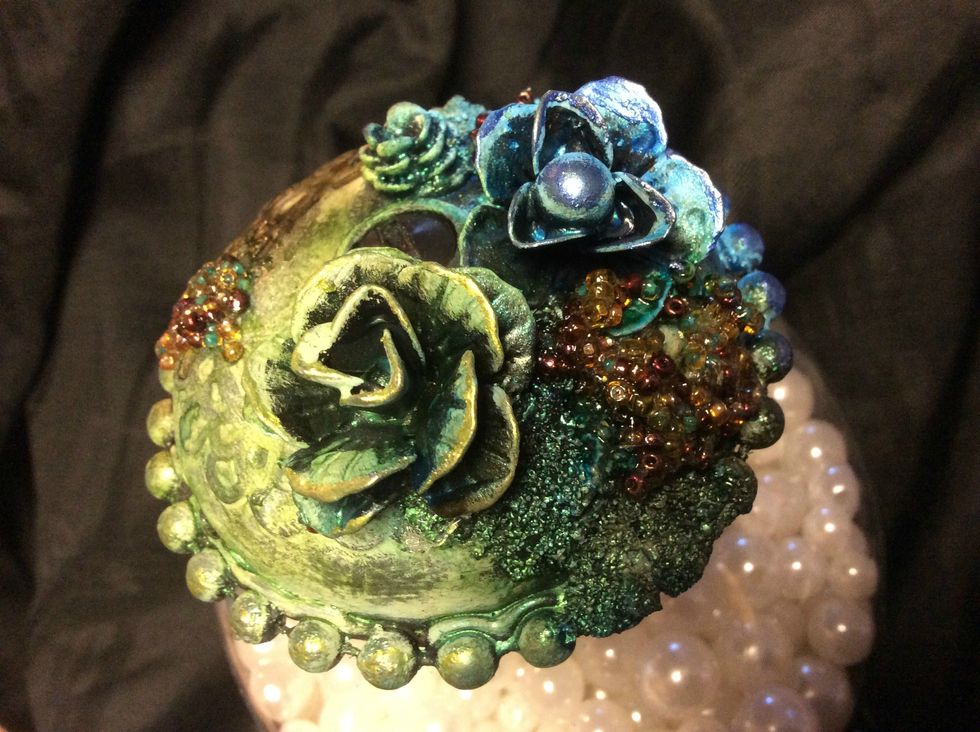
This is a closeup of the top of the lid.
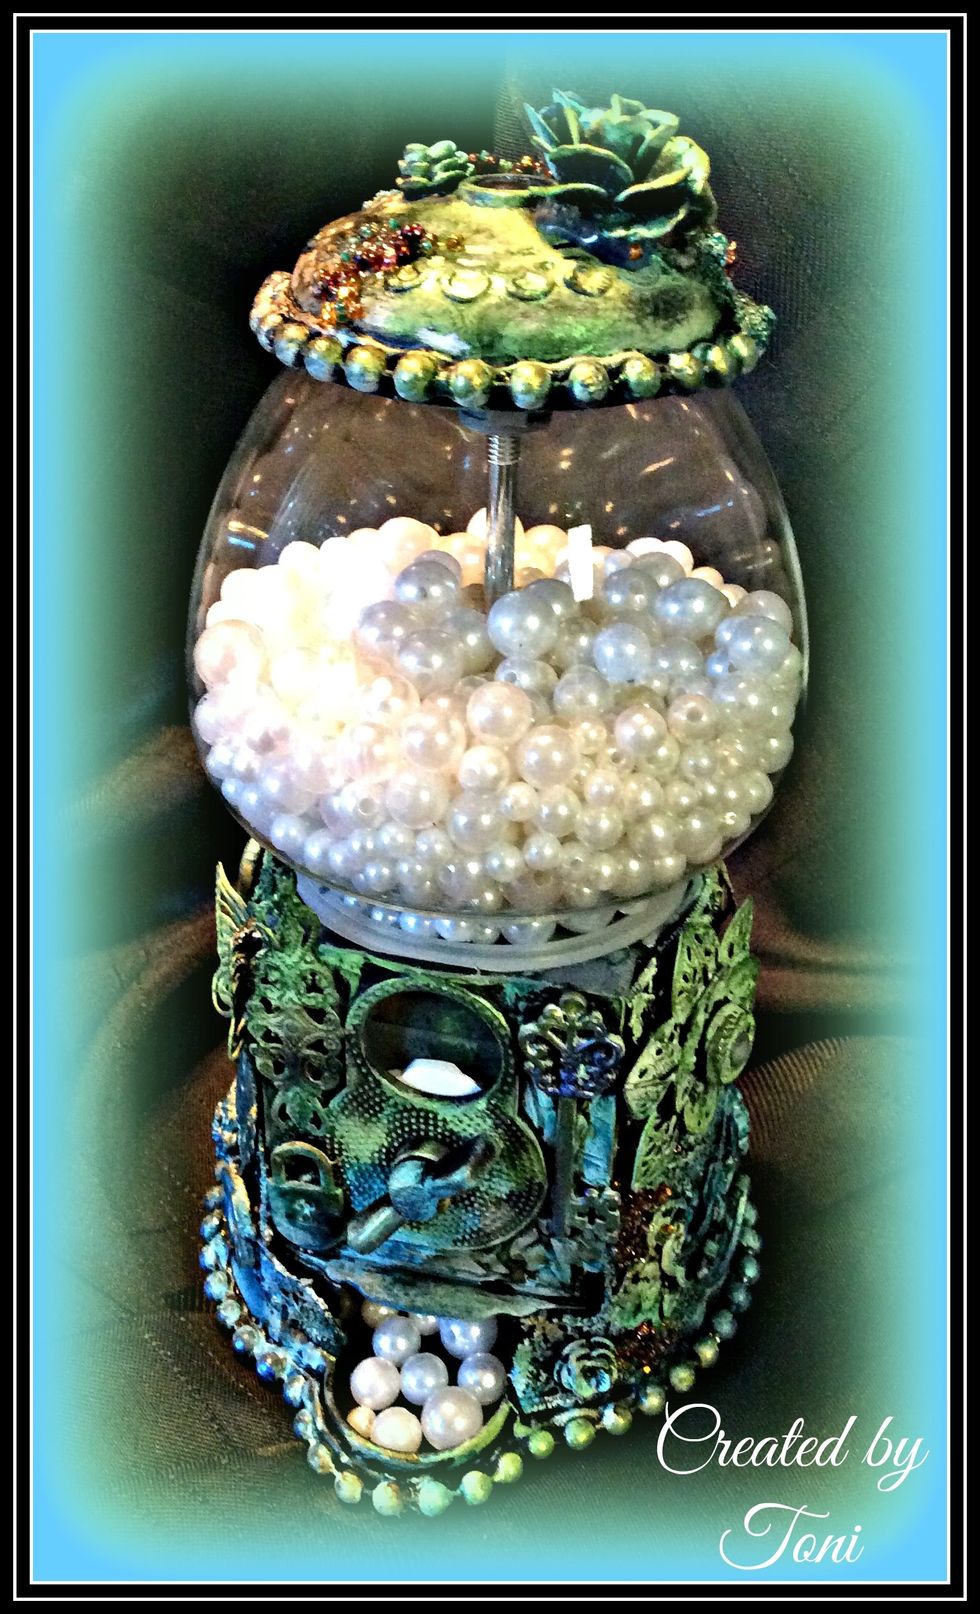
Put your machine back together and fill it with pearls, beads, gems etc. making sure your pieces aren't too large that they won't come through your bubble gum machine.
I hope you enjoyed this tutorial.... look around your house for fun jars such as mason jars, food containers, unusual containers such as my bubble gum machine and create fun storage for your craftroom