The Conversation (0)
Sign Up
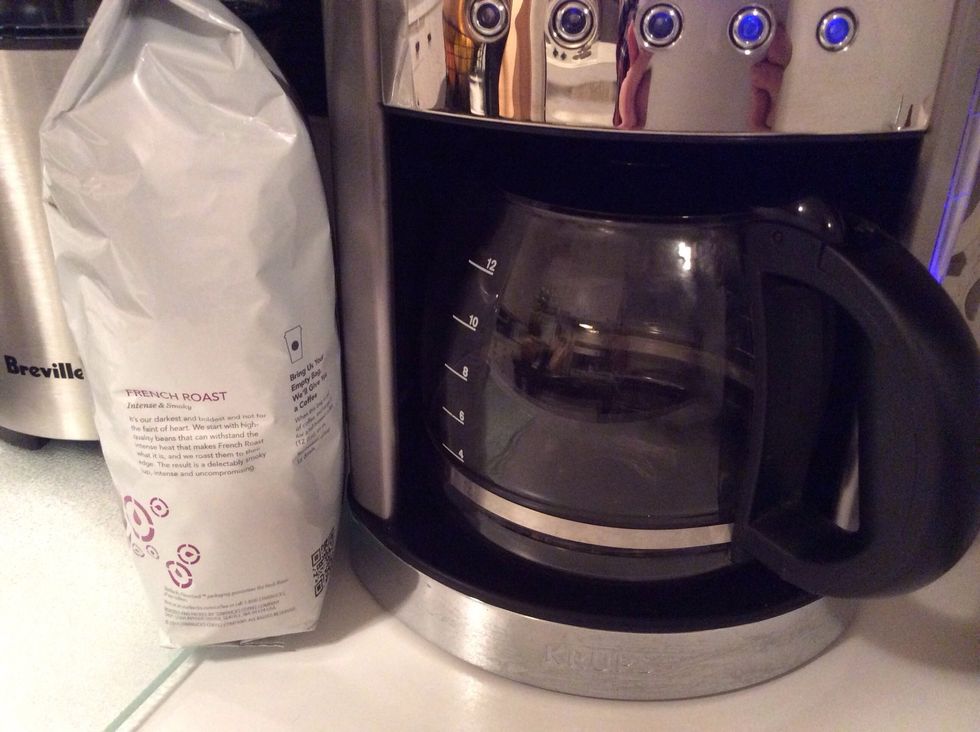
Don't pour that leftover, day old coffee down the drain! It's the perfect medium for aging paper goods. Like tea-staining, but w/coffee, which creates a rich, deep color in no time at all.
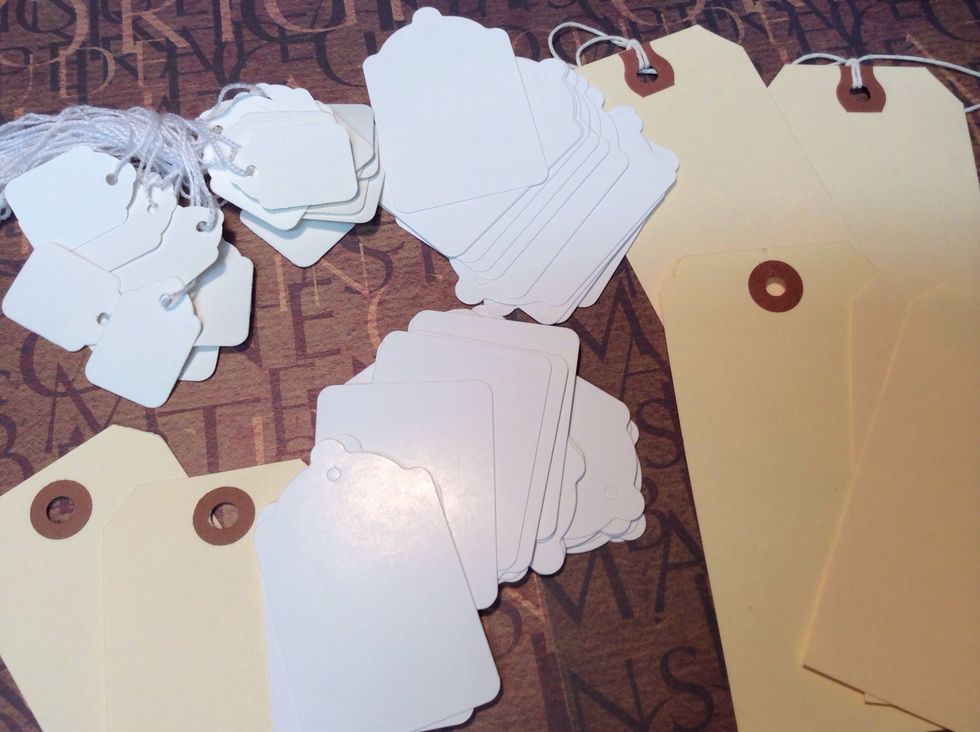
Gather the tags or paper goods you want to age.
Pour leftover coffee into disposable plastic containers. You can dilute w/water to achieve softer tones. The stronger the coffee, the more depth of color you will get.
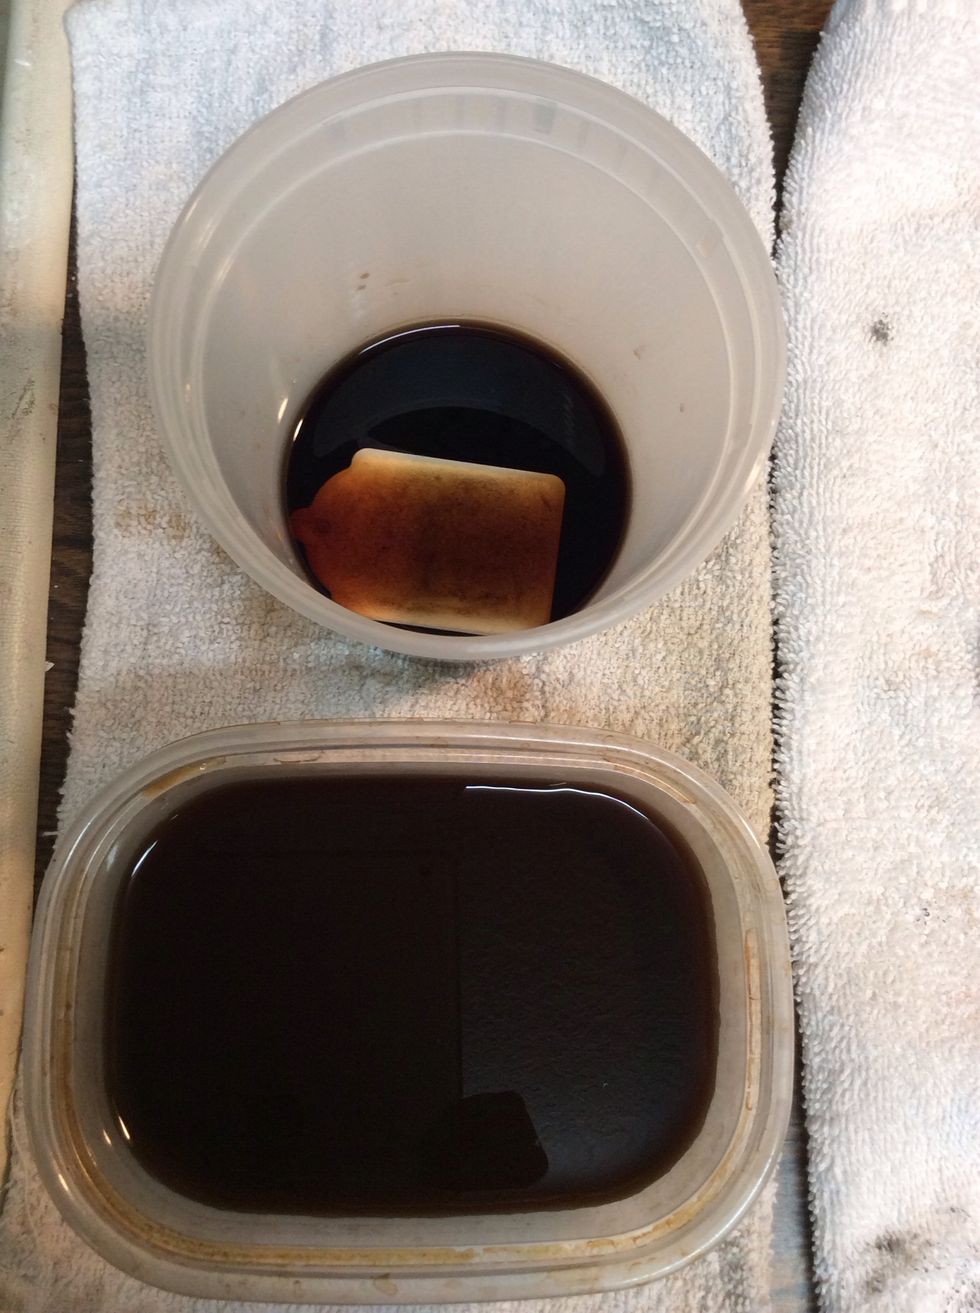
Add tags to coffee. (If you are aging larger paper goods, use larger containers. I use a shallow glass 9x12 baking dish when staining full size pages & larger pieces).

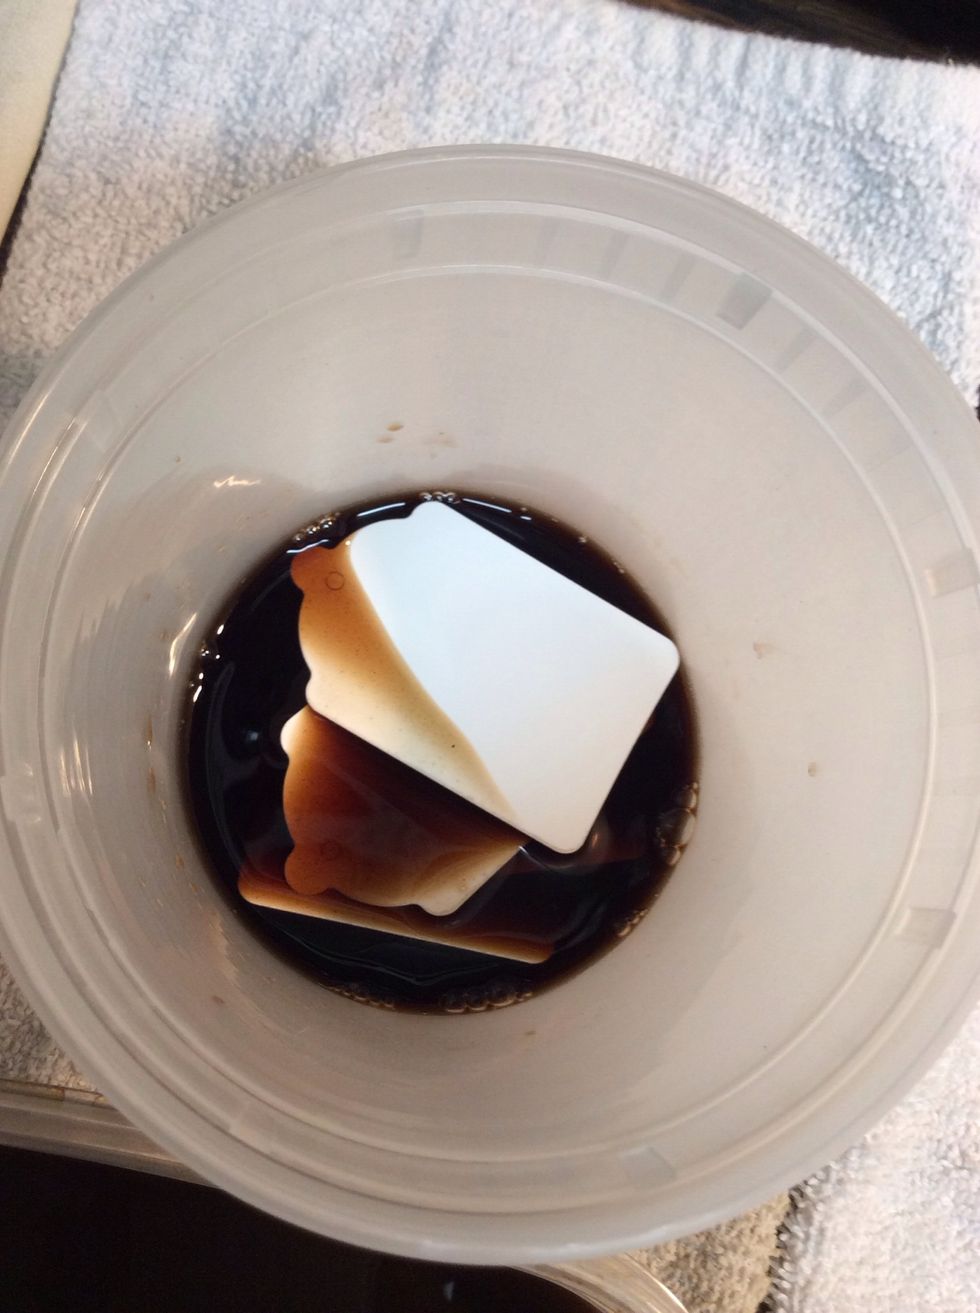
Make sure tags are kind of "floating" and that they aren't sticking together. I load them one at a time, submerging each tag completely, then adding the next.
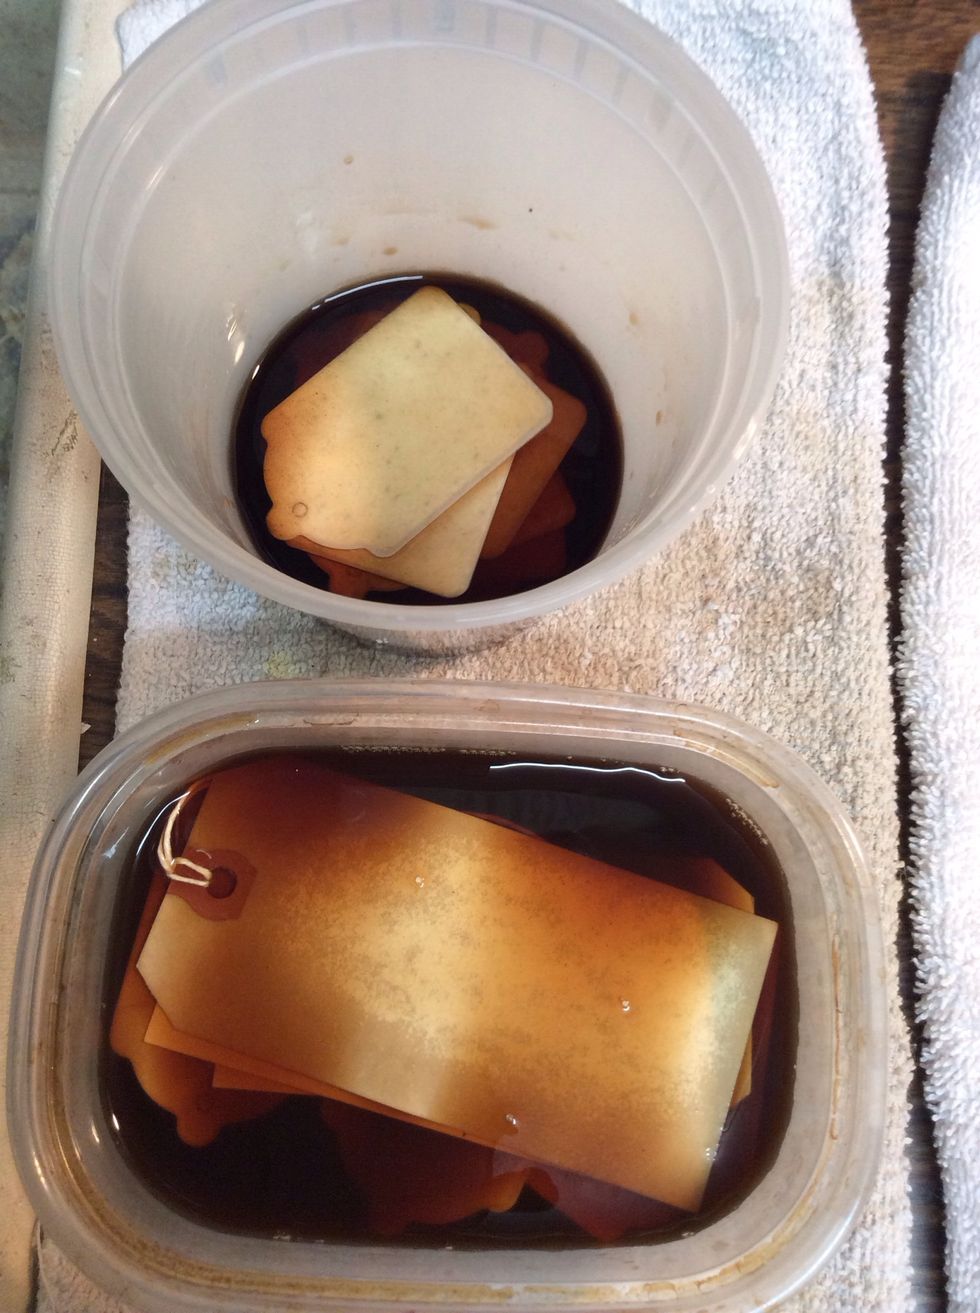
Let tags soak. Soak overnight for richer color. (Just be sure the paper you are using can hold up). Cardstock is usually fine, printer paper can only take short term soaking before disintegrating.
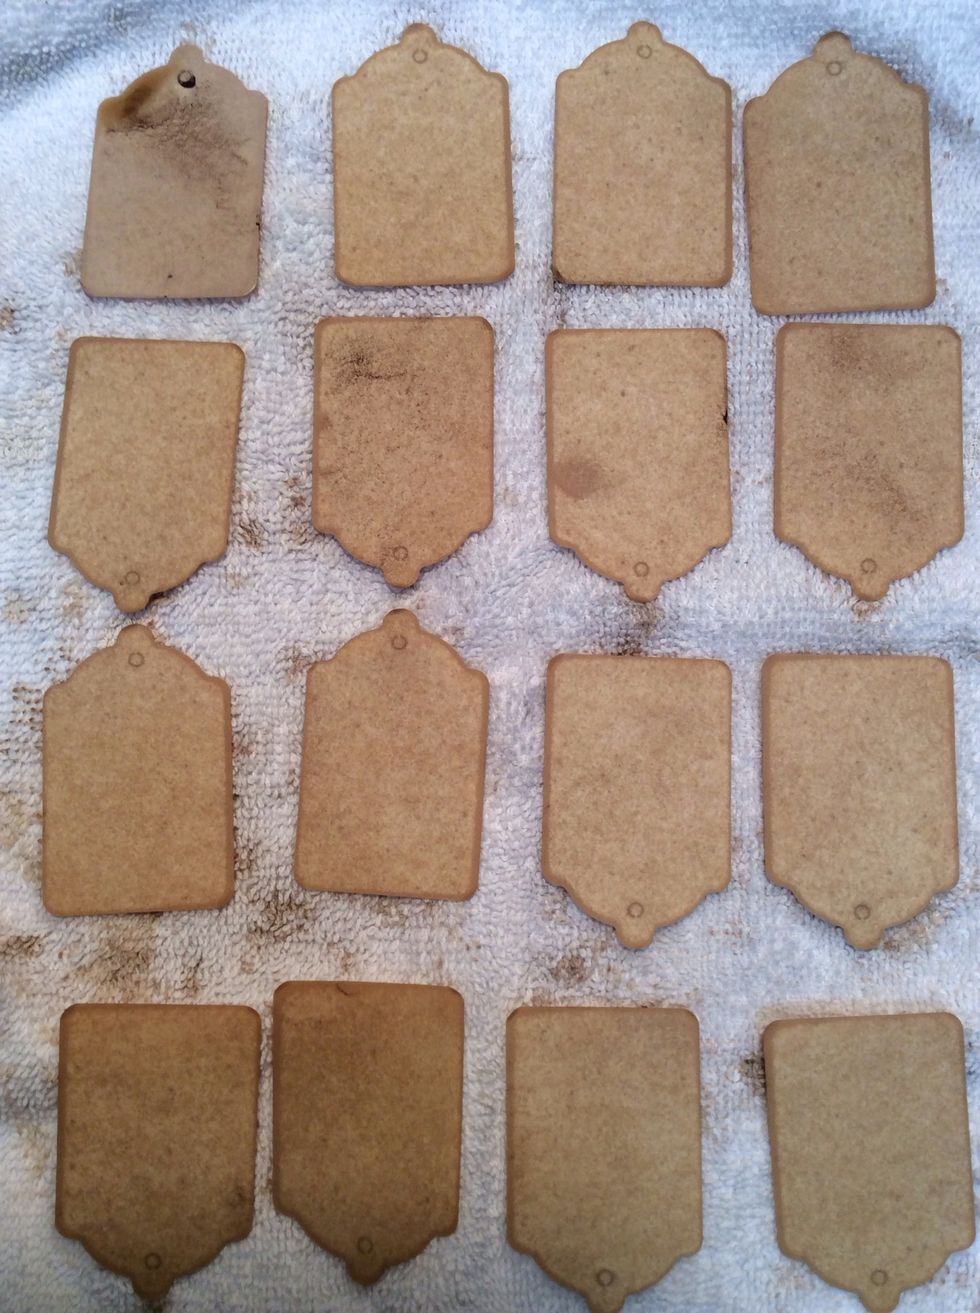
Once the desired color is achieved, remove tags and layout on old towels to dry. (Need them NOW?!?Lays tags on a paper towel placed on a paper plate, microwave for about a minute).
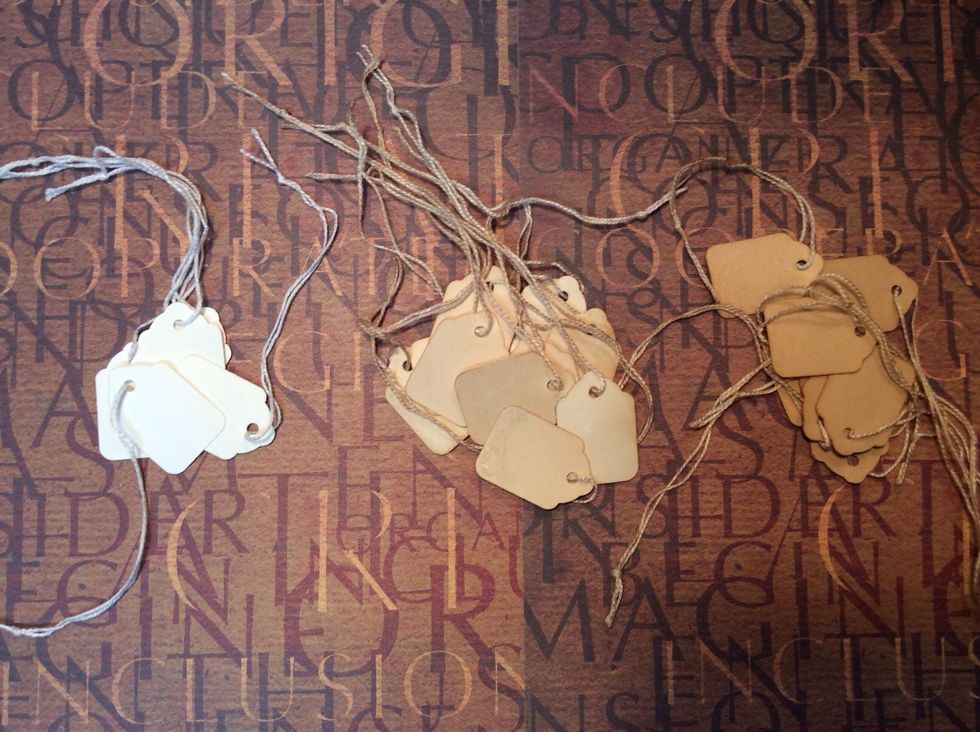
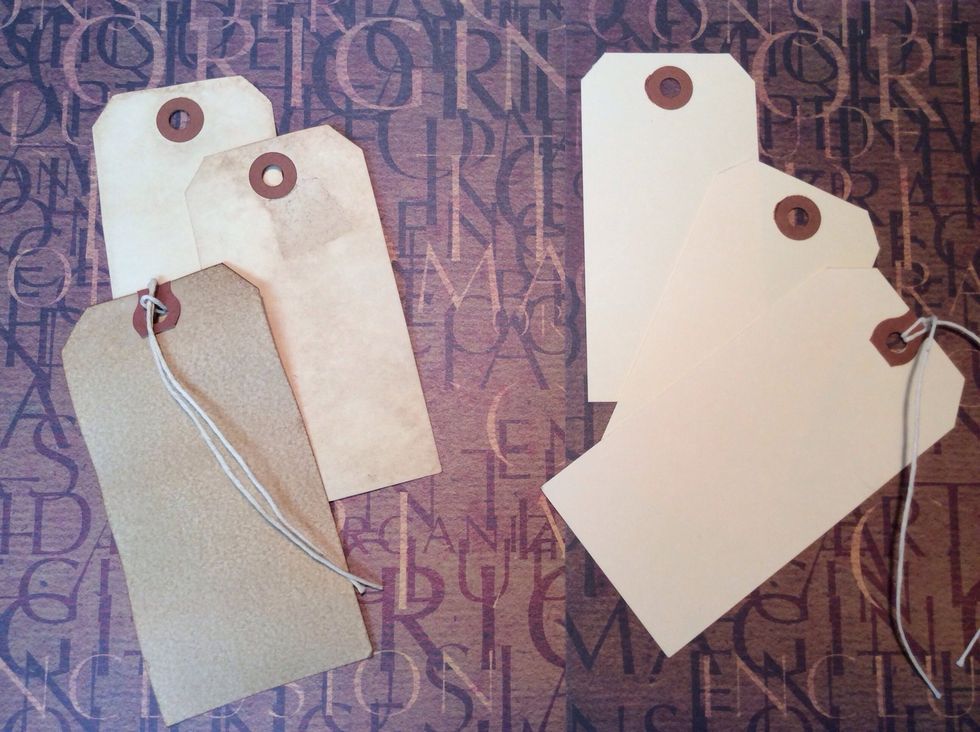
Stages...the first (white) tags are before aging. The middle tags are after a 1/2 hour soak. The third set are tags soaked over night.
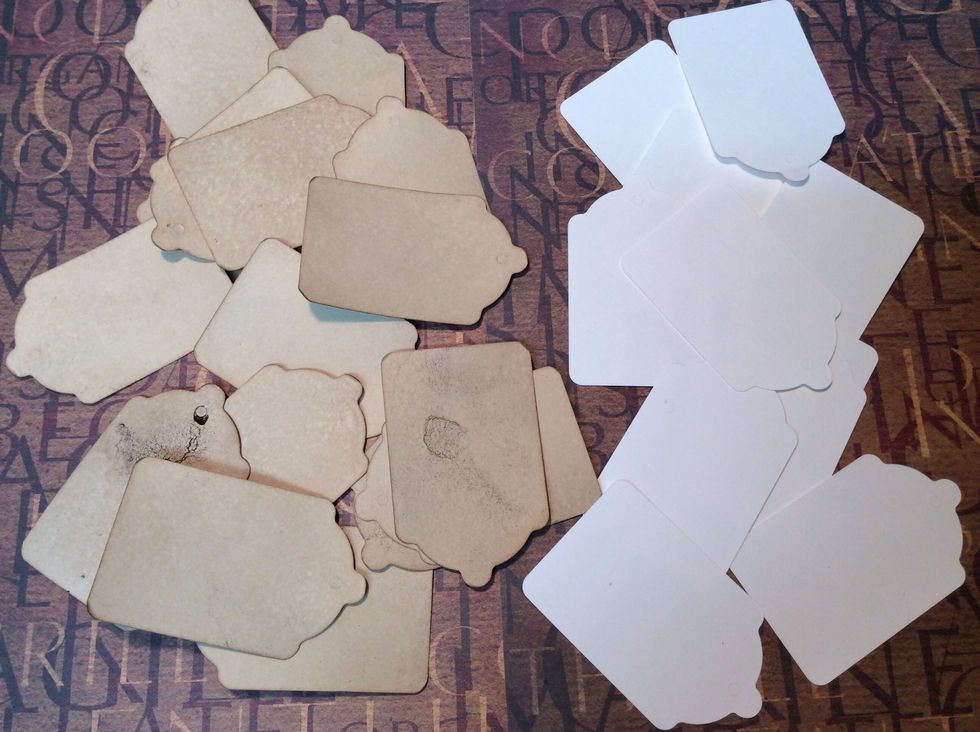
White tags...Before & after
Manila tags...Before and after. Here you can see how the color varies depending upon the paper used. The larger tag came out darker and the smaller tags are a little mottled. Every batch is different!

I printed these labels on plain white printer paper. (Let printing dry at least overnight, or it will bleed during aging). Crumple, then soak for approx 15 minutes. Lay flat or hang to dry.

Label before, and after samples.
That's it! Easy peasy!! I also age ribbon, fabric and patterned papers using the same technique. I like to age a couple batches every few weeks so I'm always in good supply of aged tags & goods. :)