The Conversation (0)
Sign Up
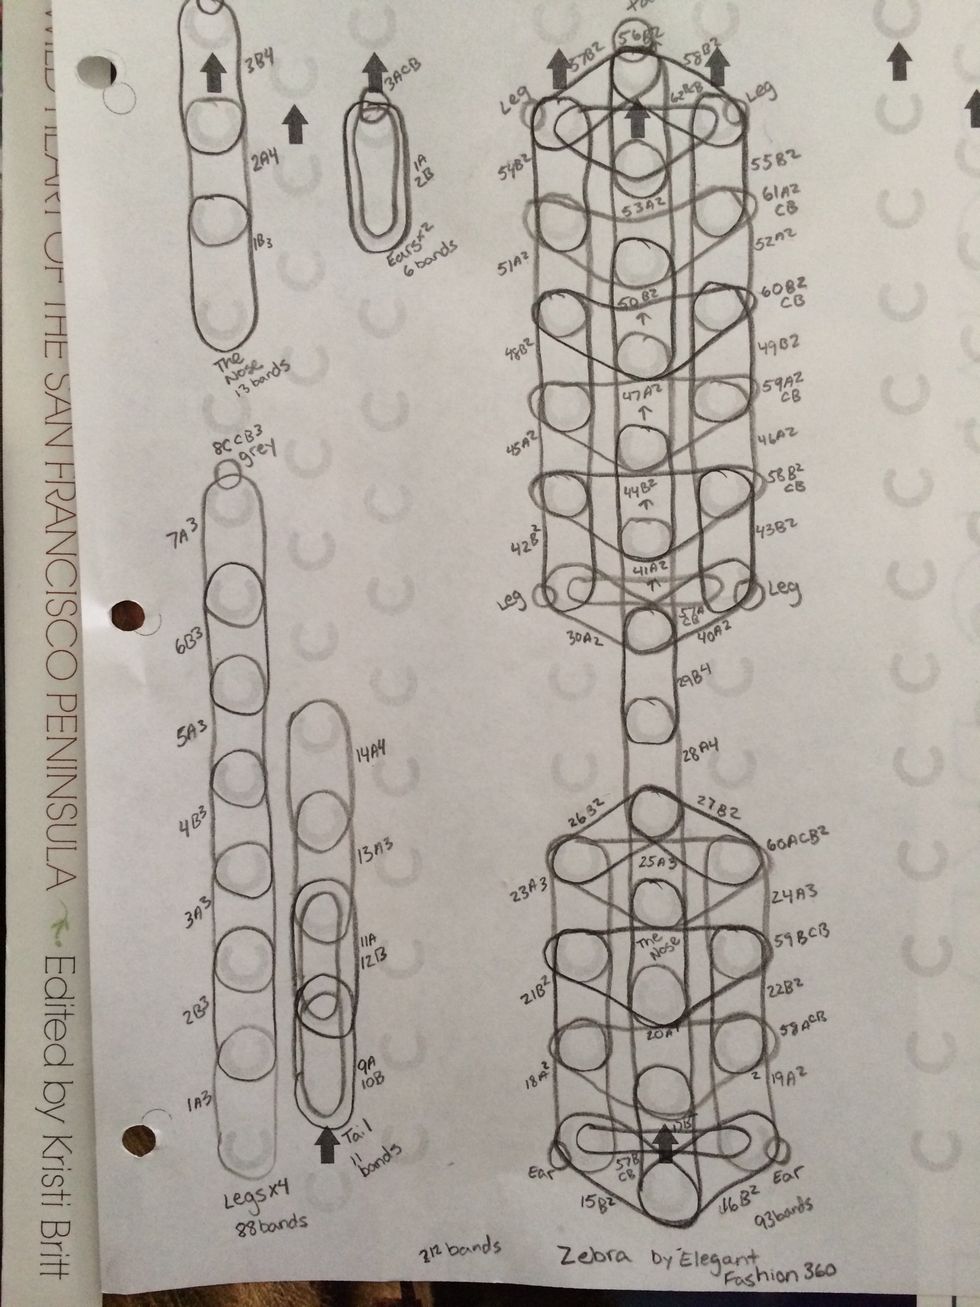
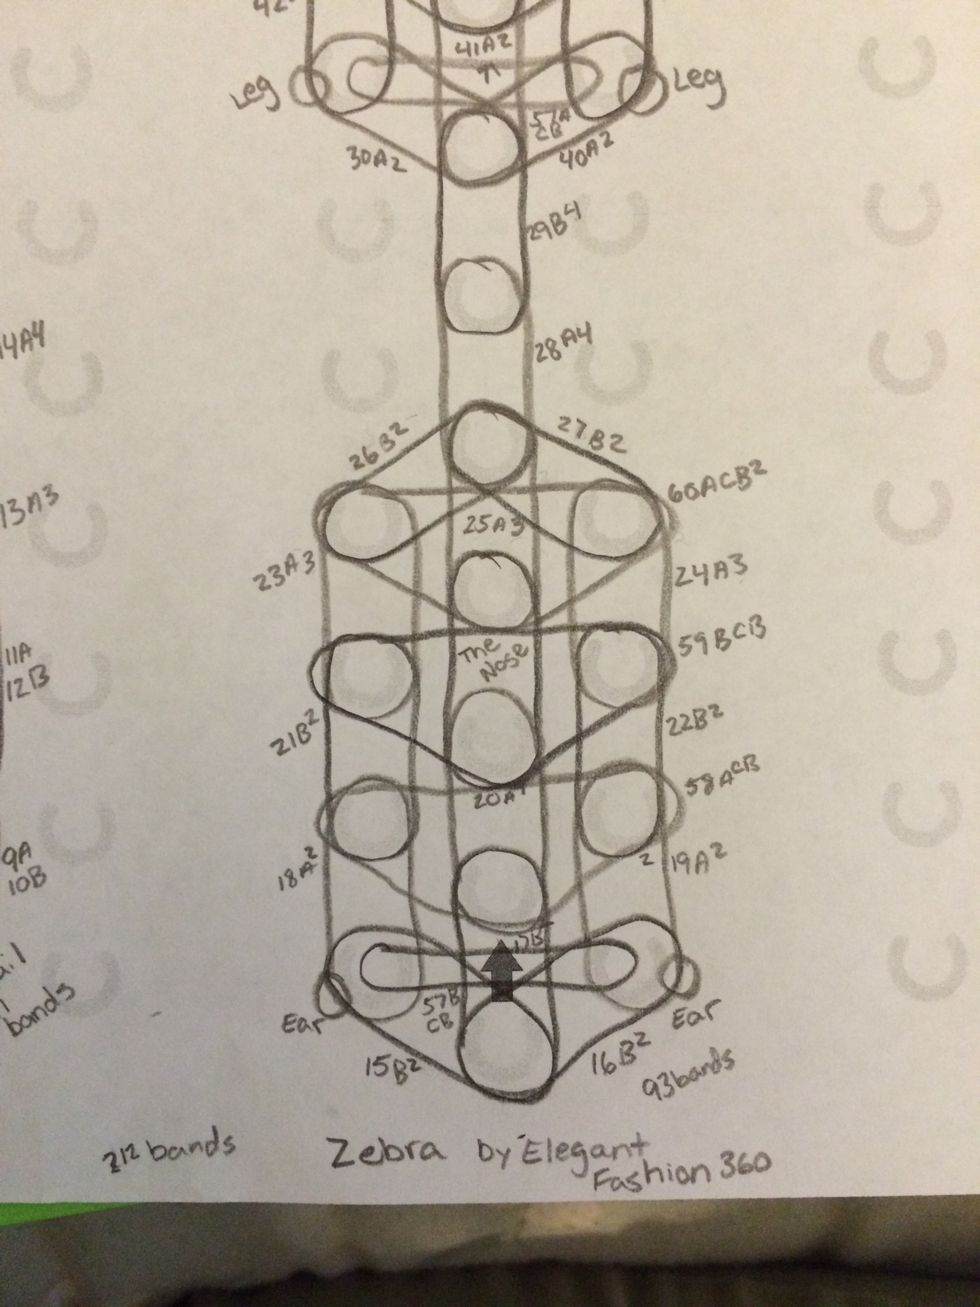
This is the pattern for the zebra that we will be following today. I will take closer pictures as we move through the steps
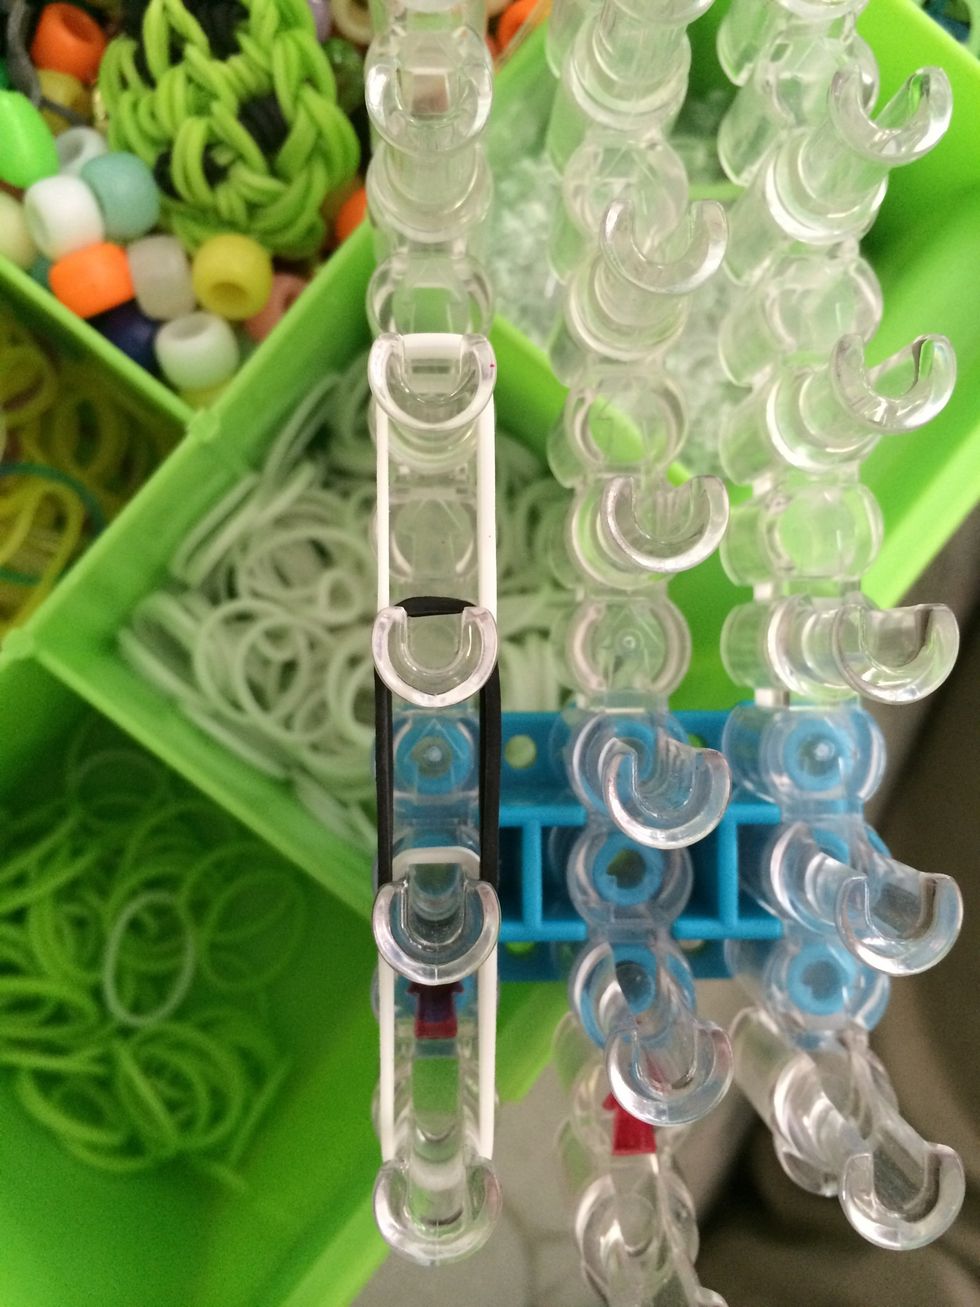
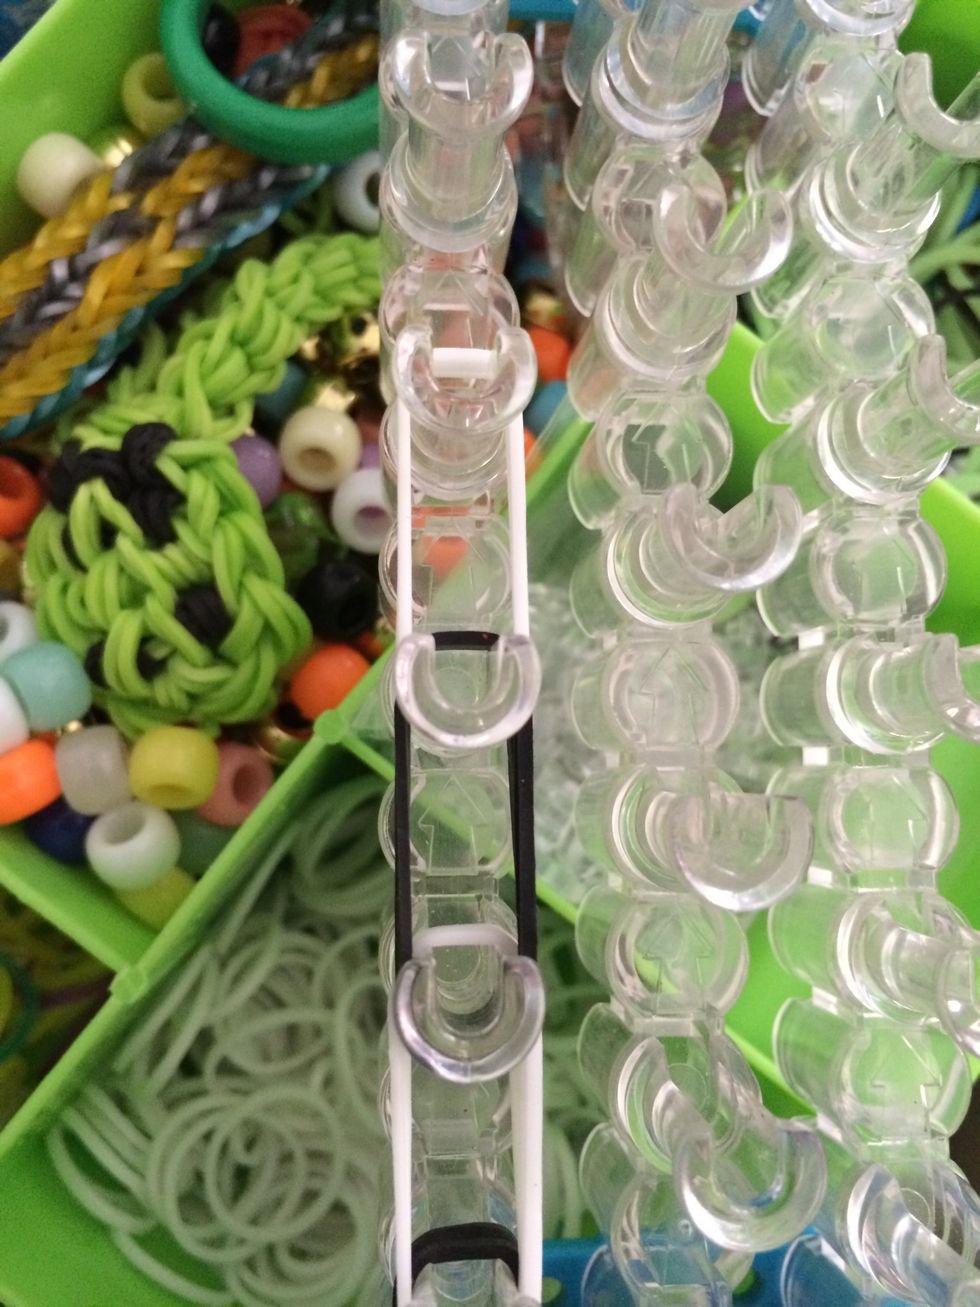
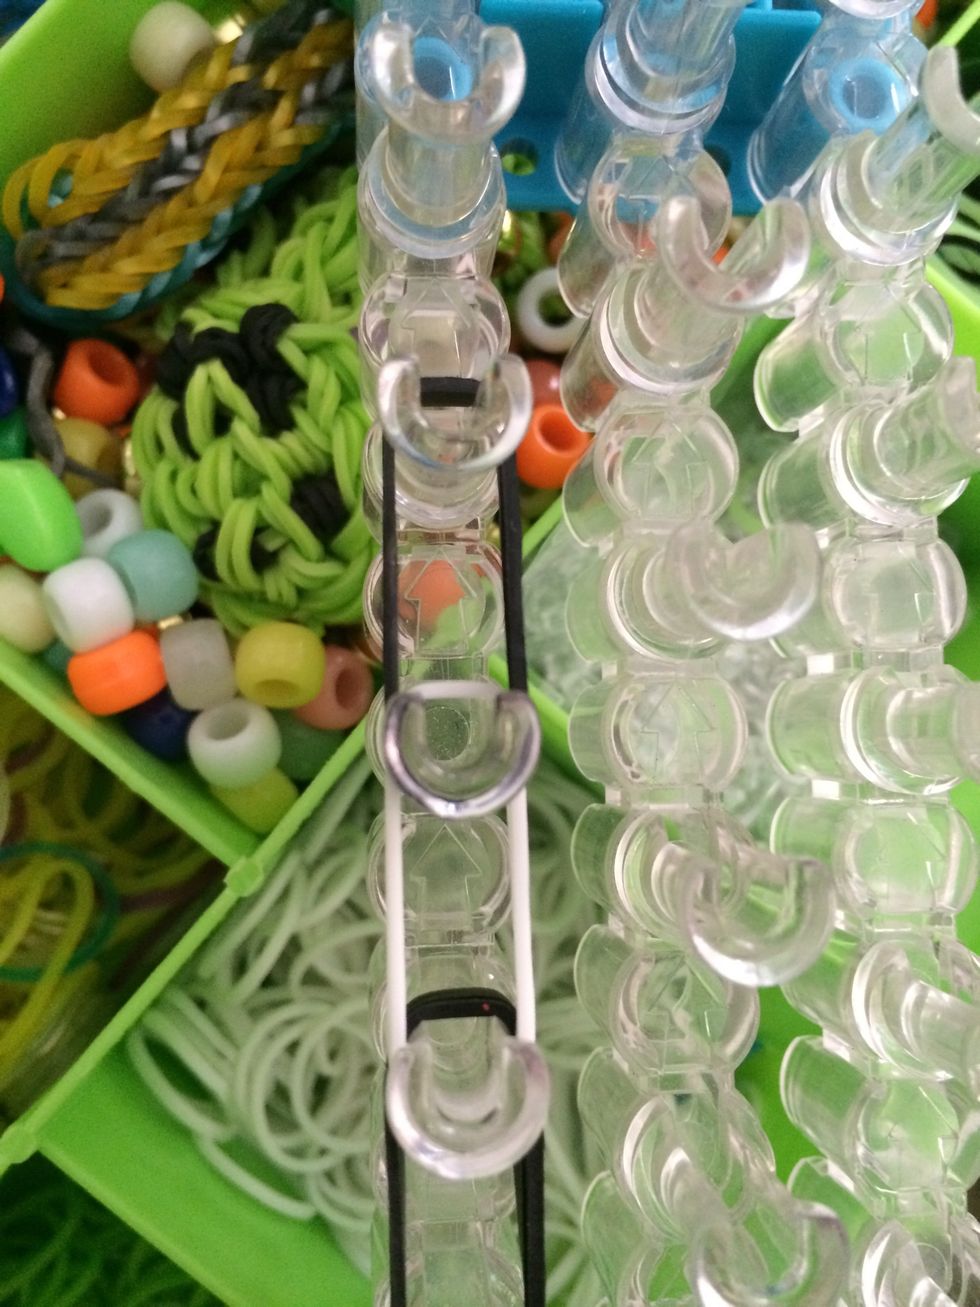
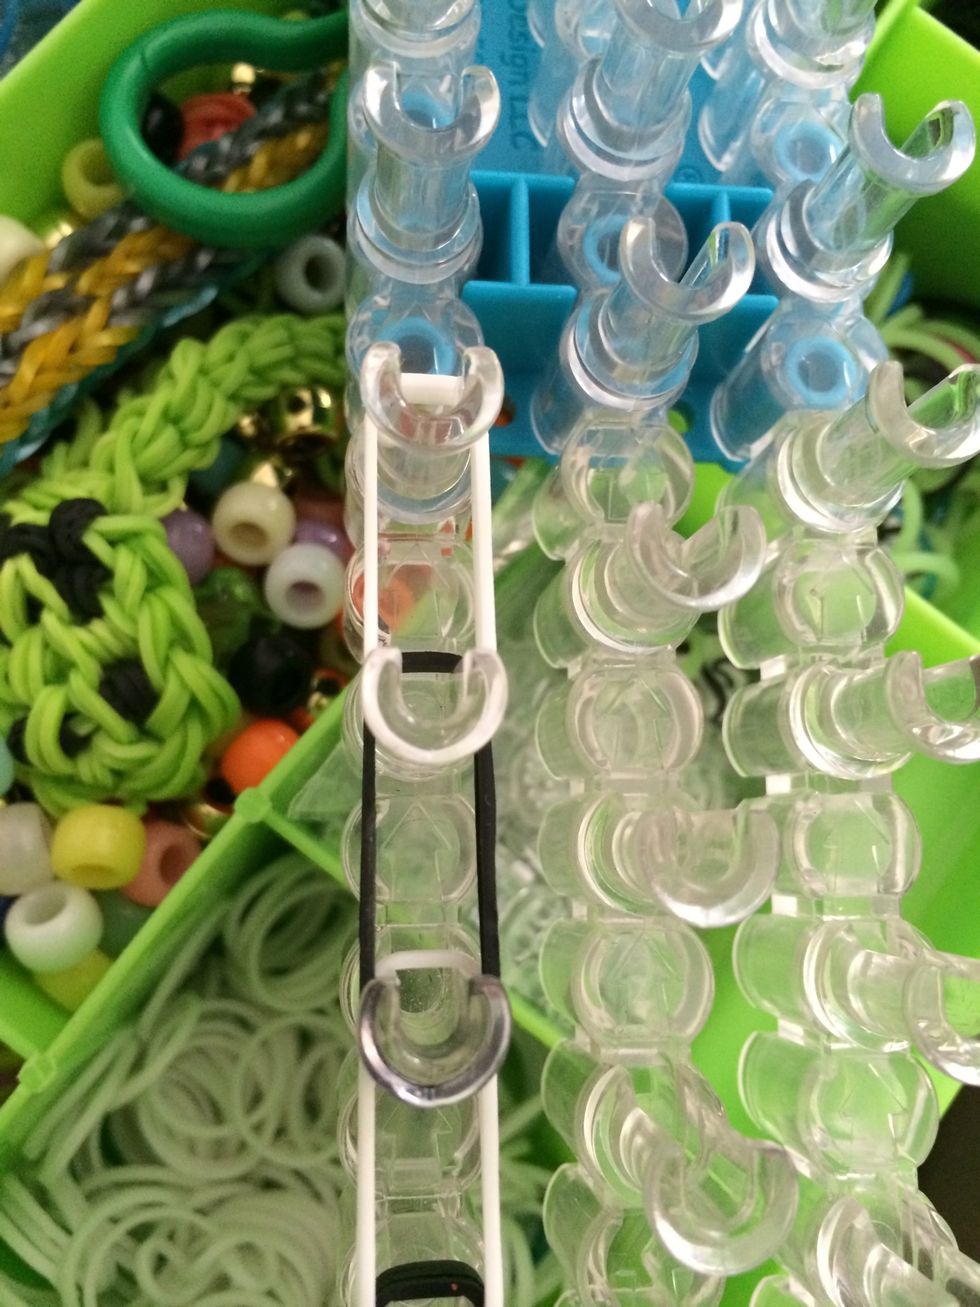
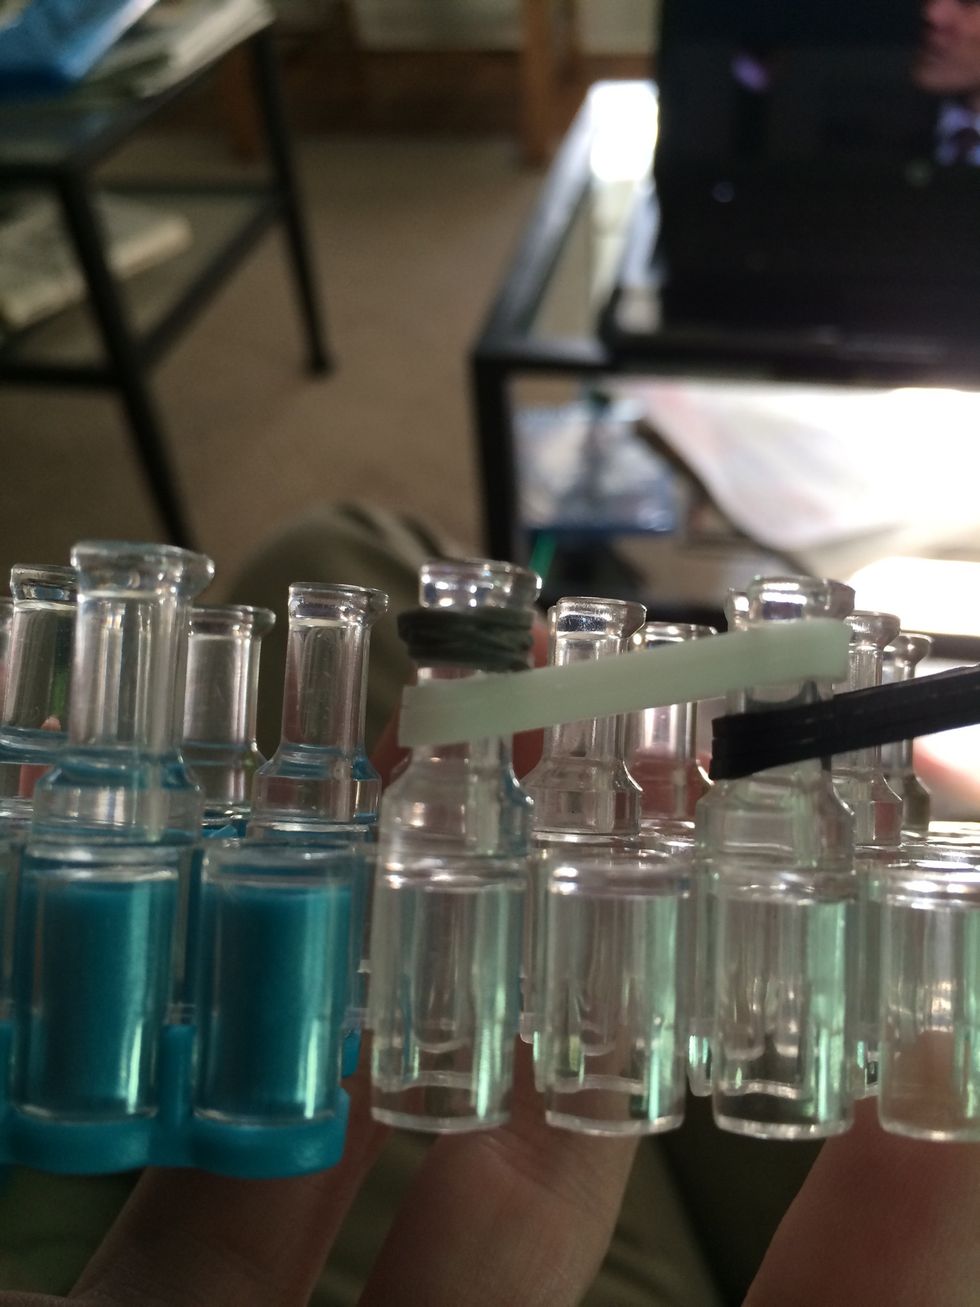
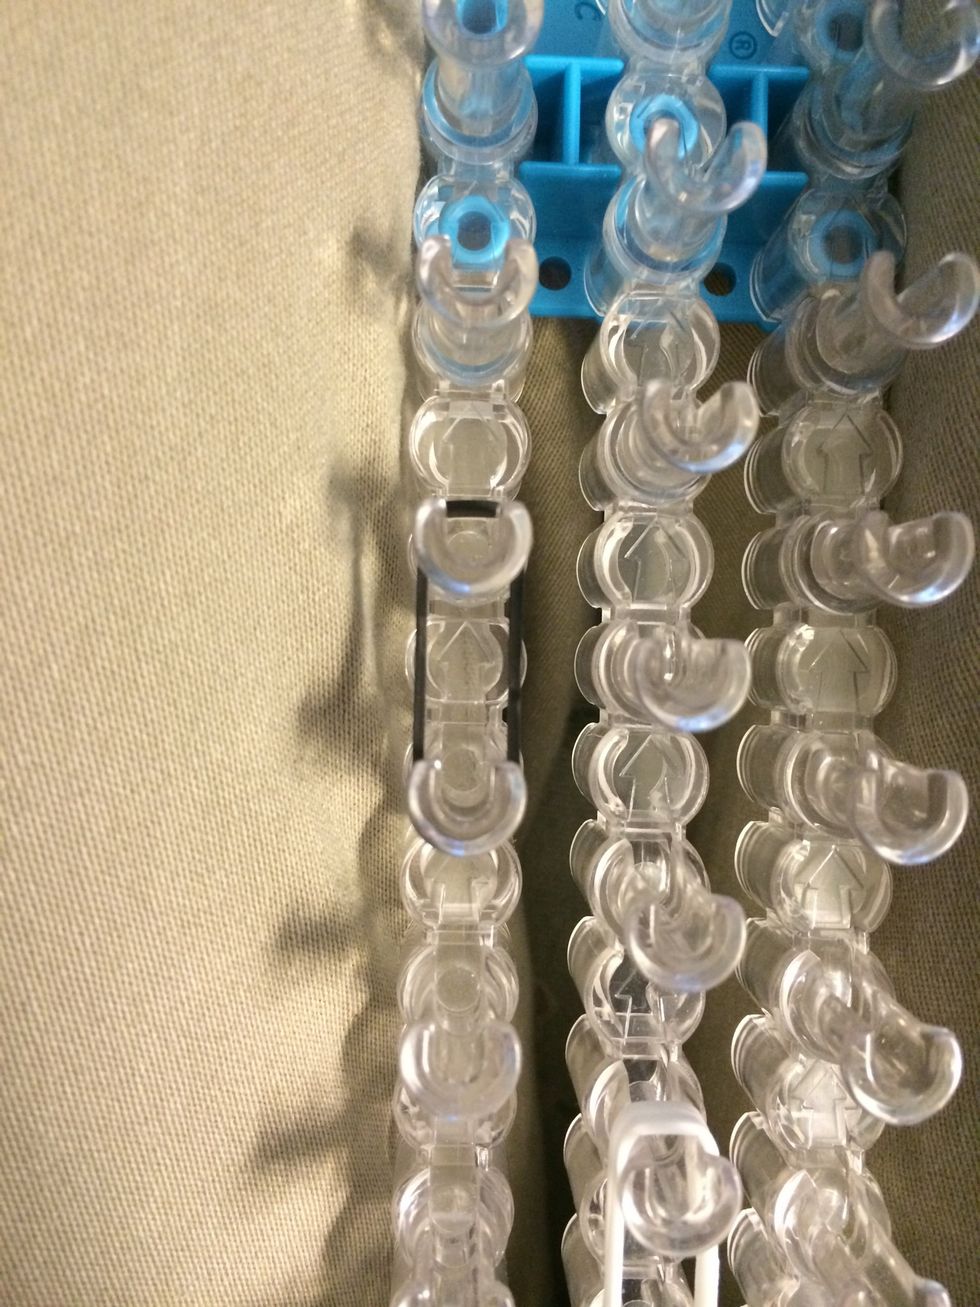
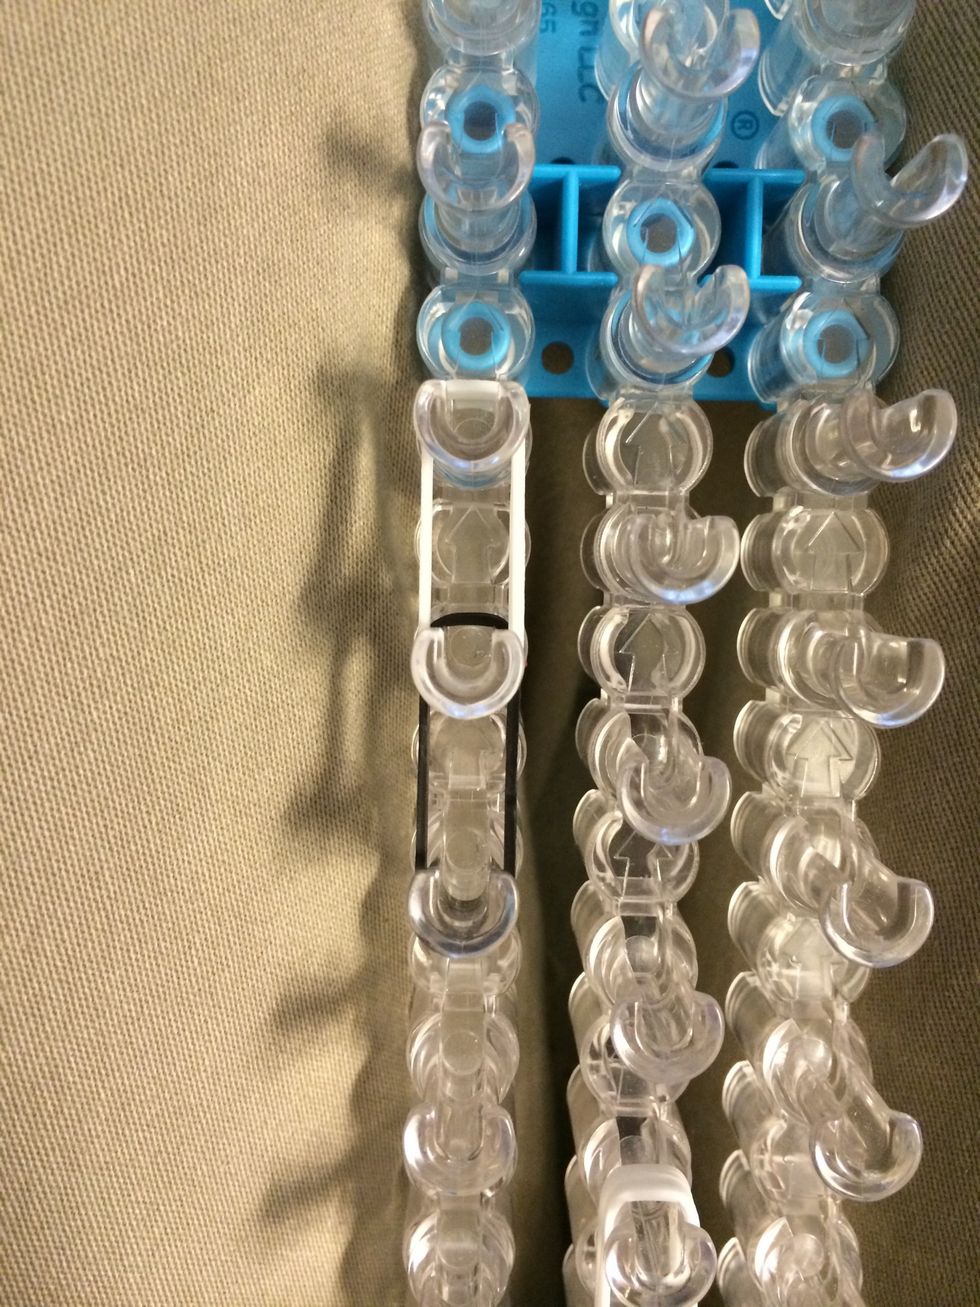
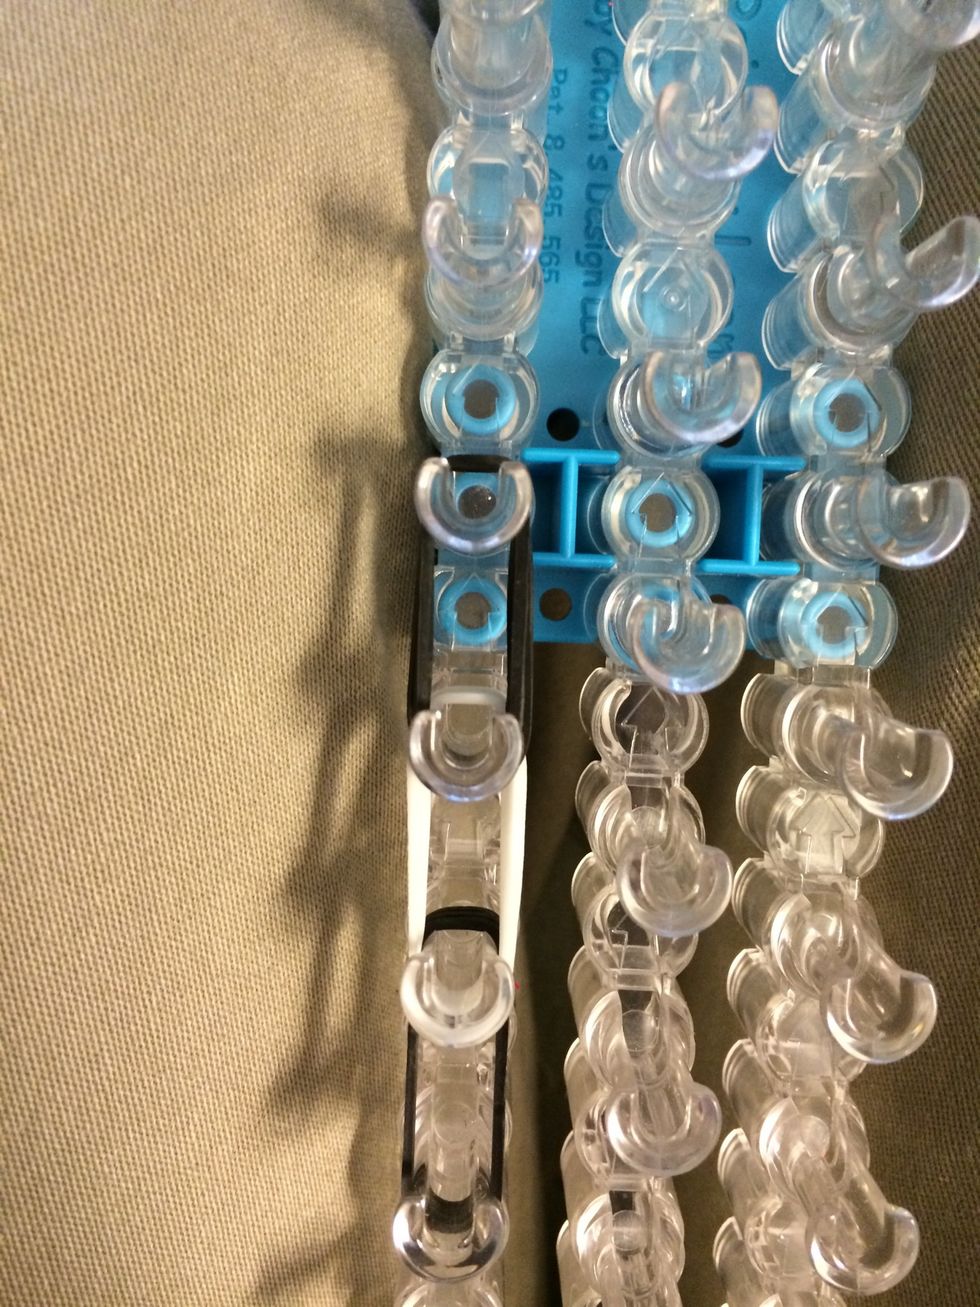
Get your loom and bands ready, you will need about 212 bands for the Zebra today. Let's get started
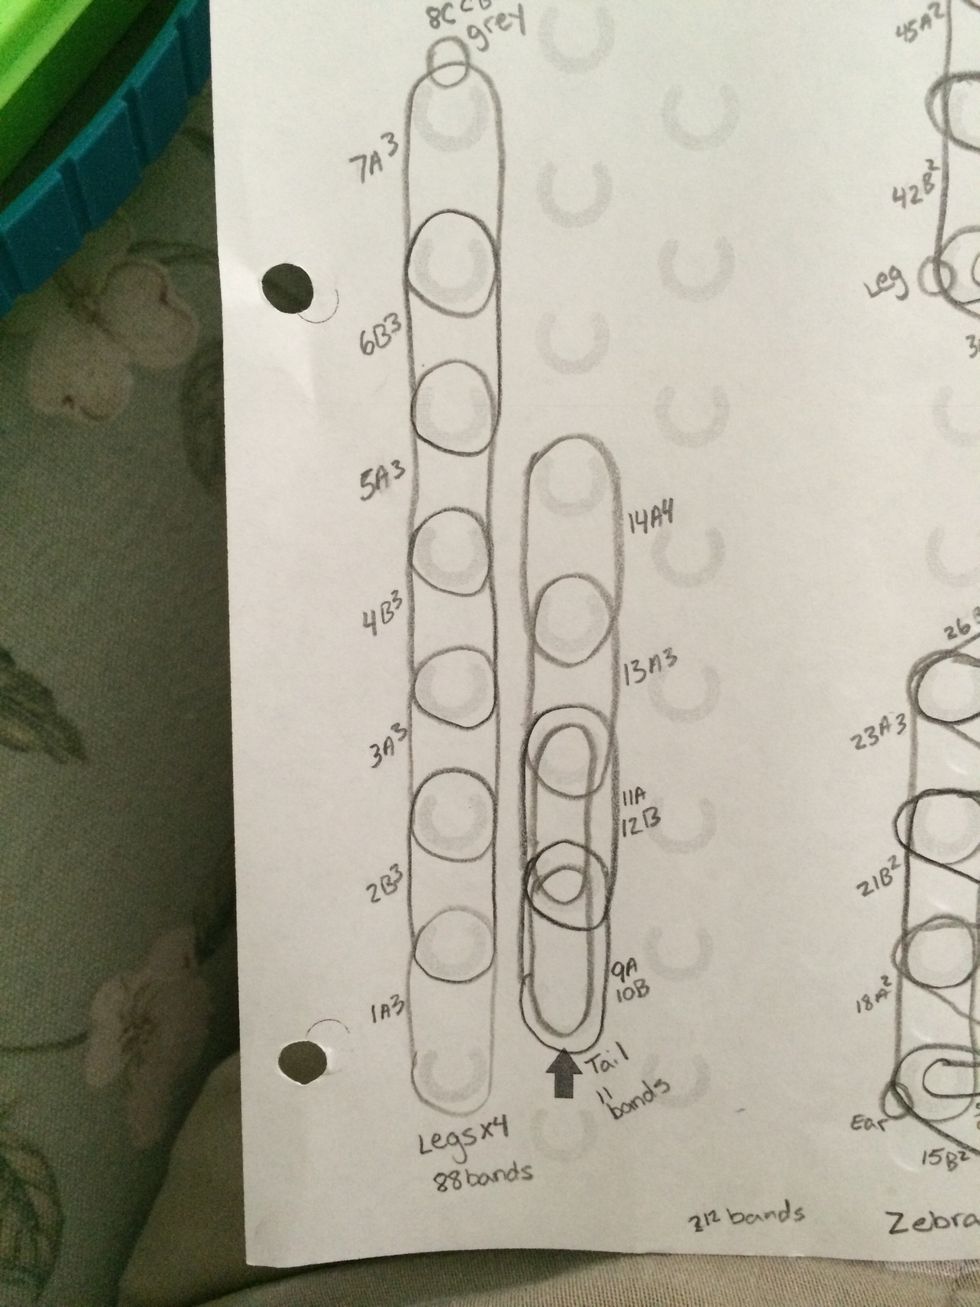
1st we will be making the legs and tail.
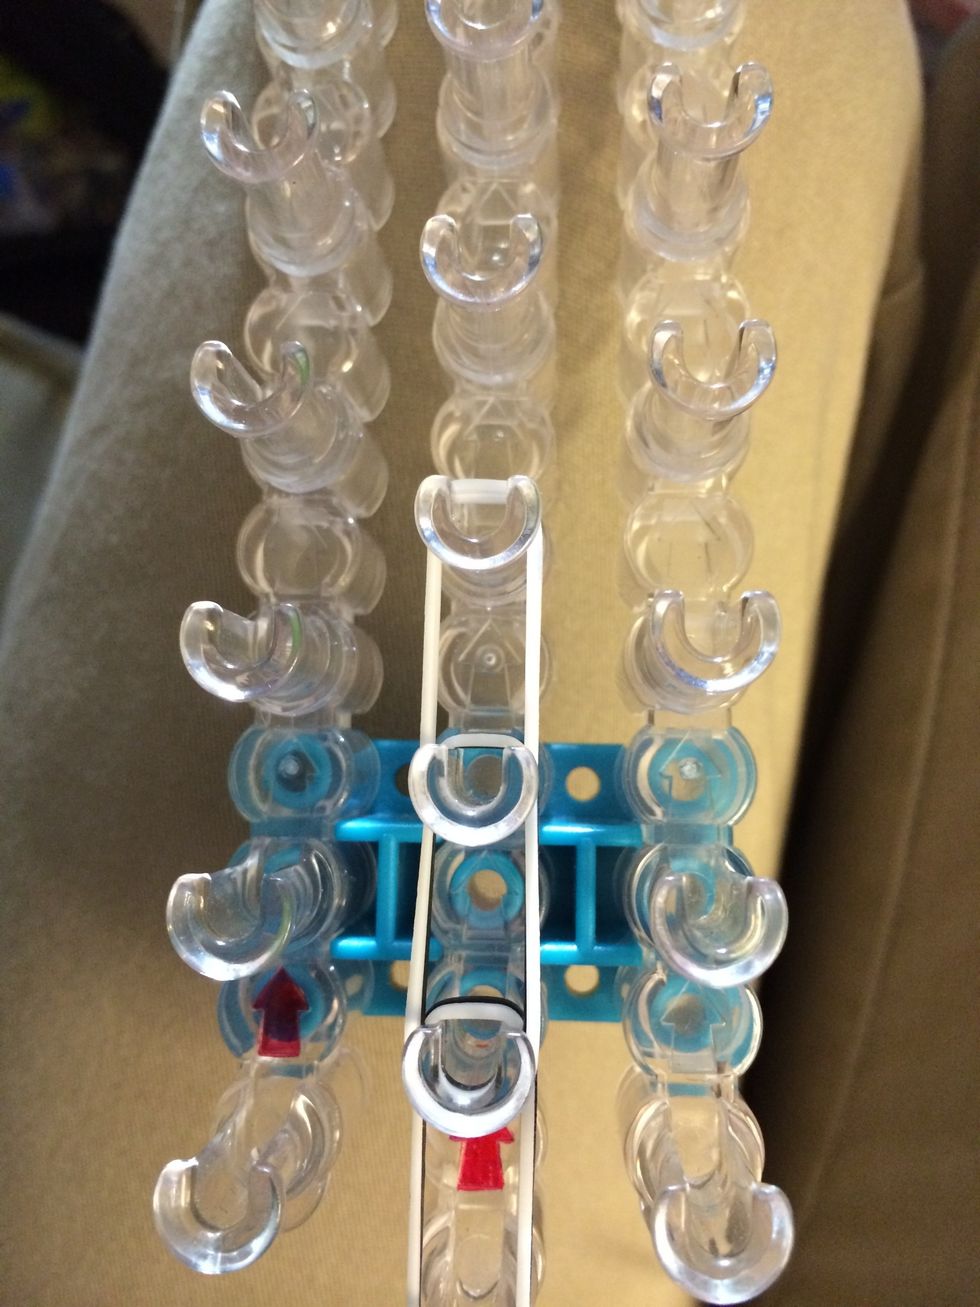
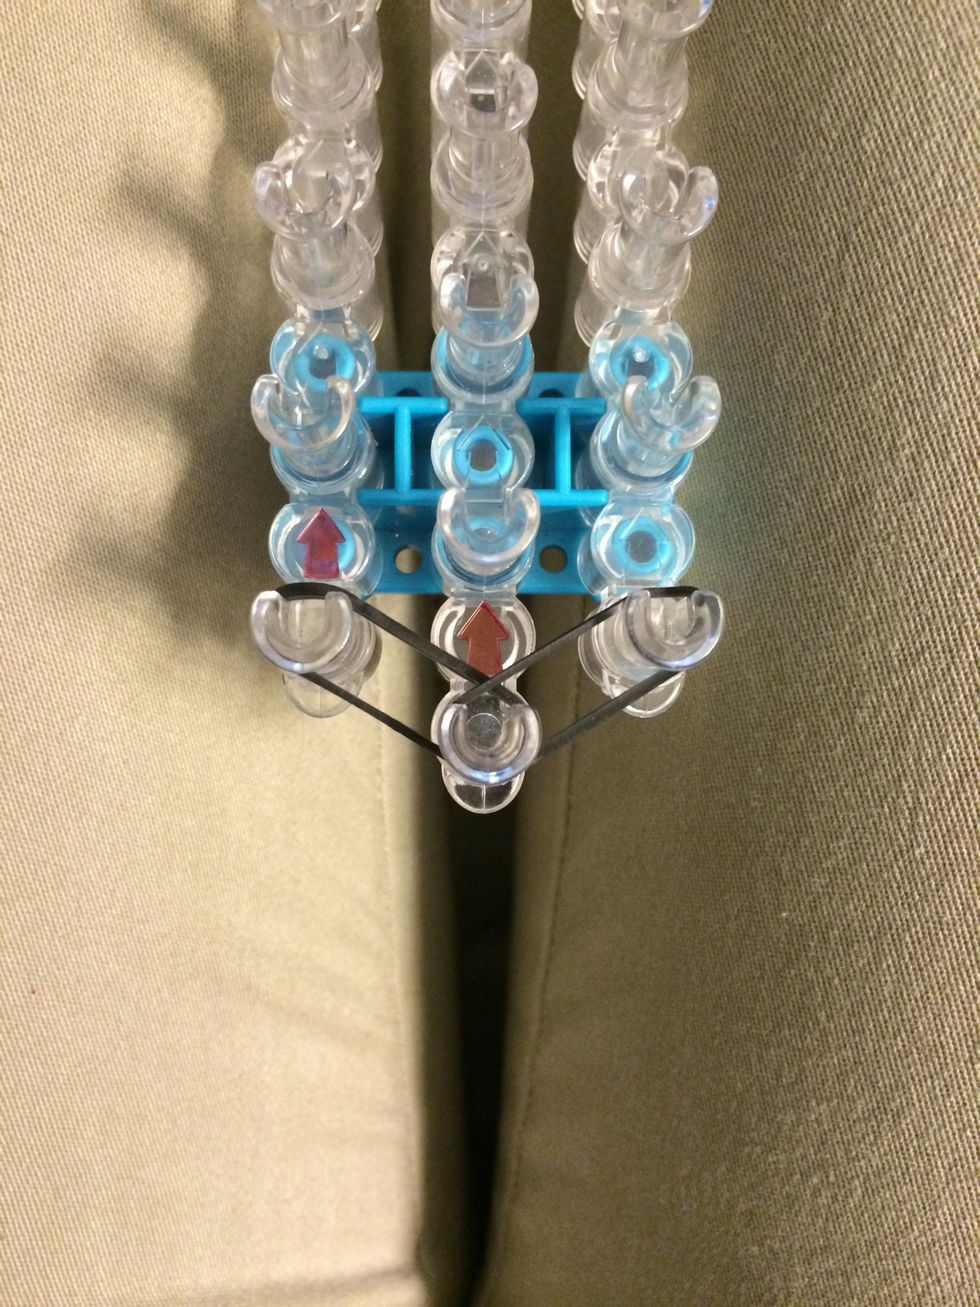
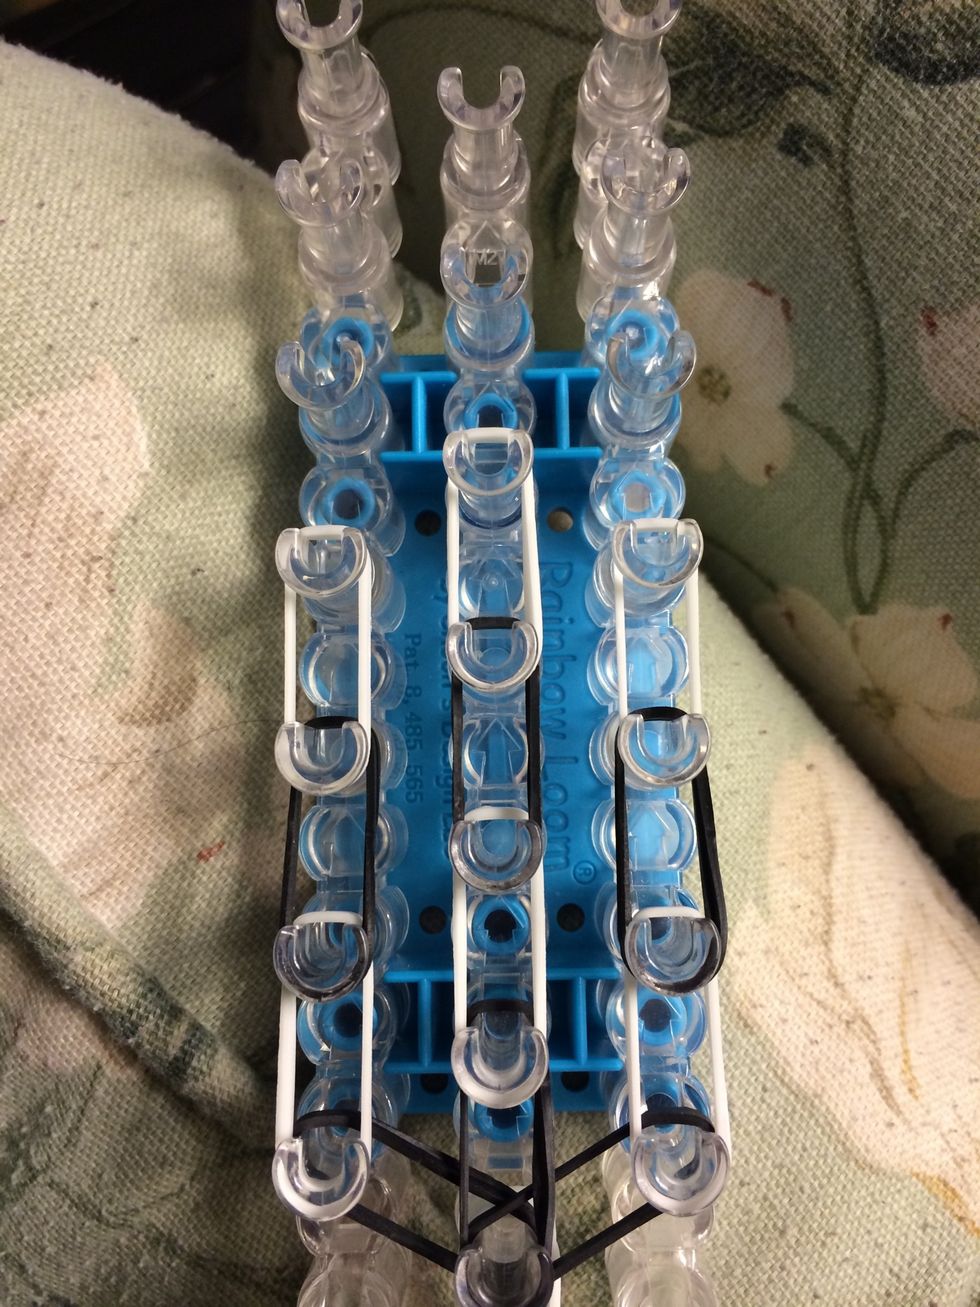
Place 3 white bands
Place 3 black bands
Place 3 white bands

Place 3 black bands
Place 3 white bands
Place 3 black bands
Place the last 3 white bands
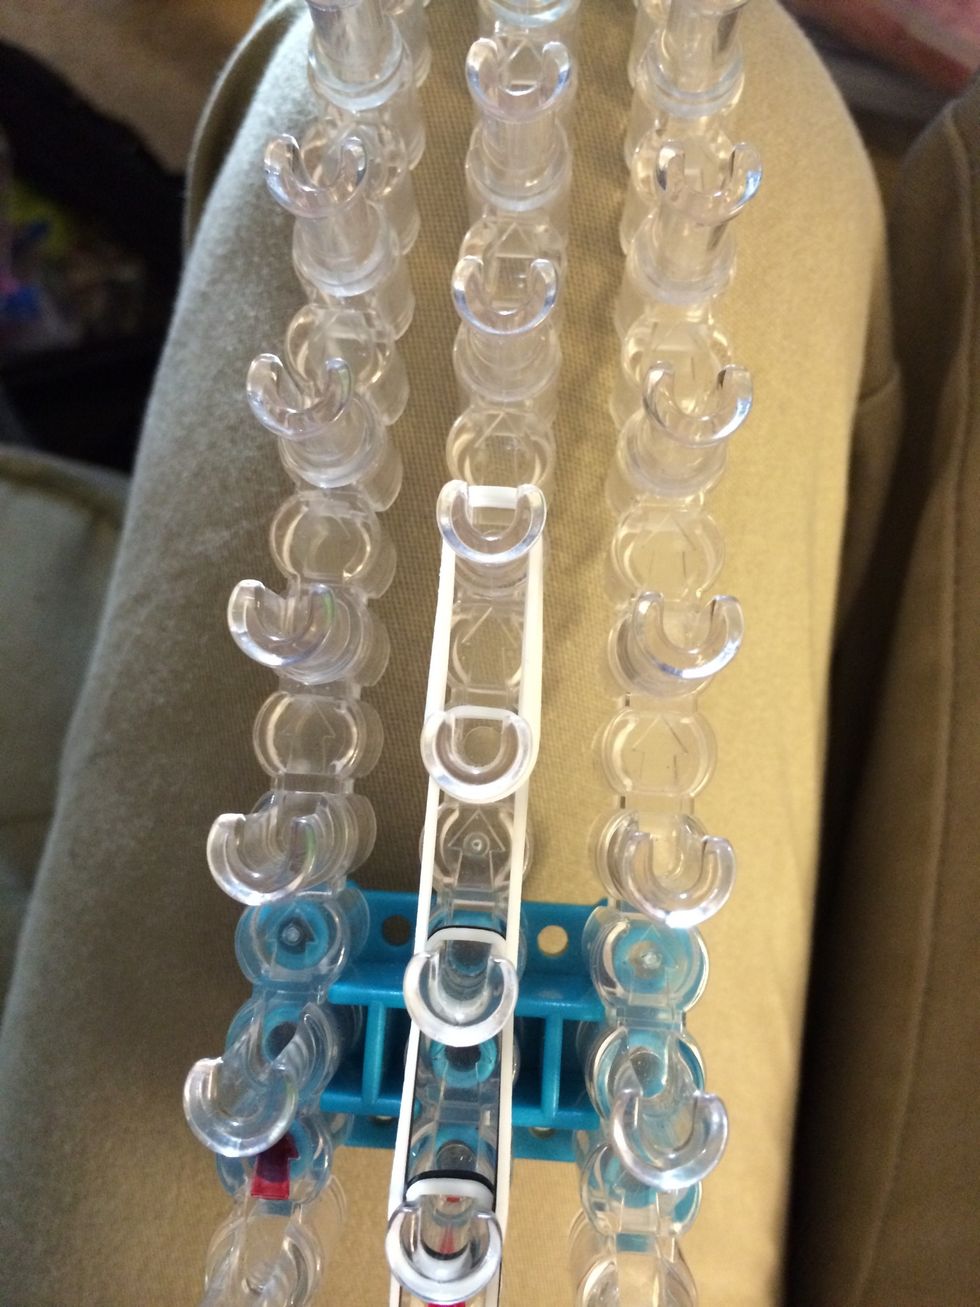
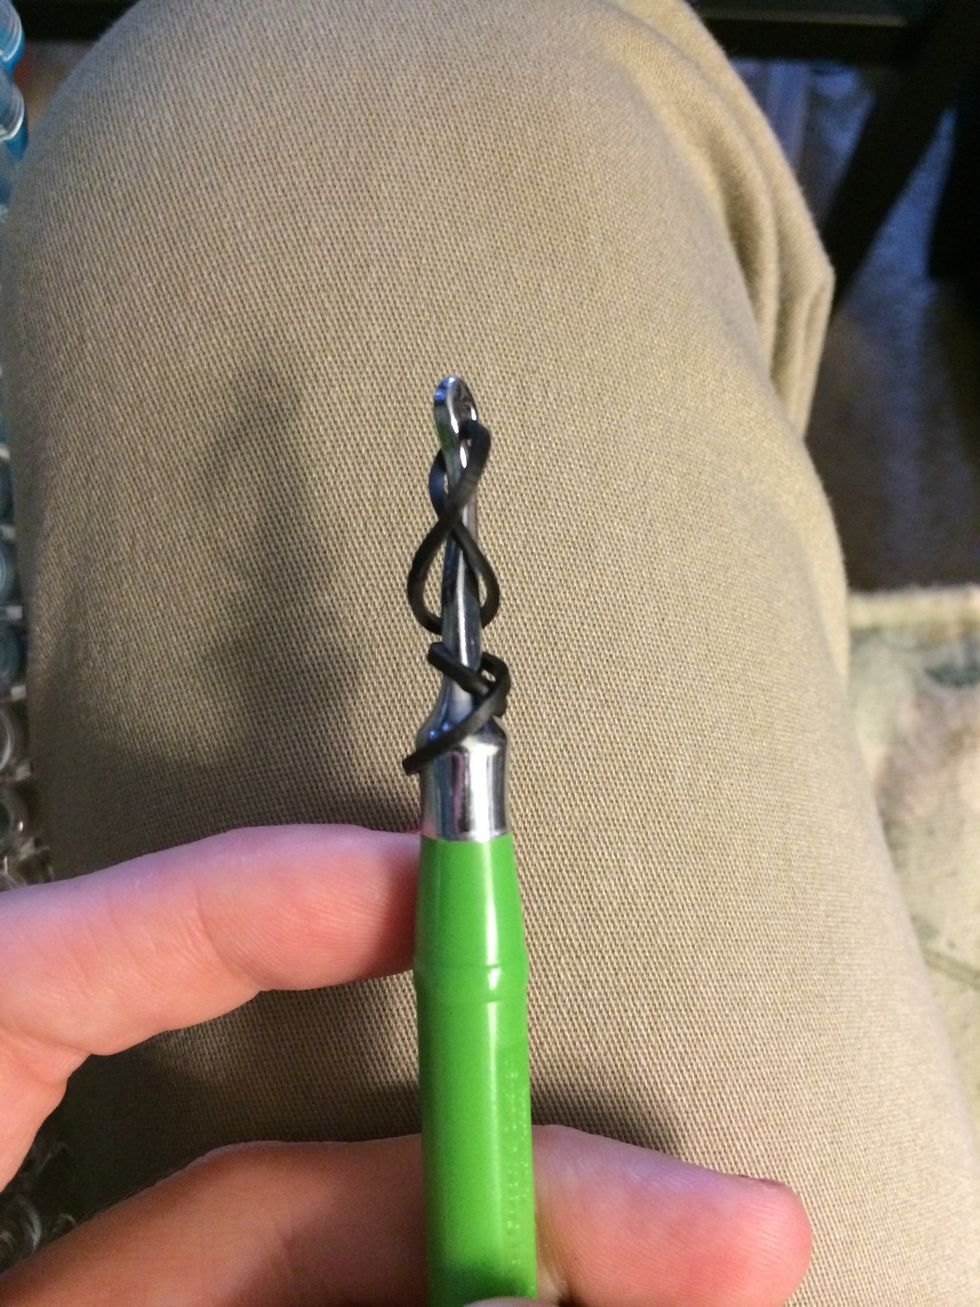
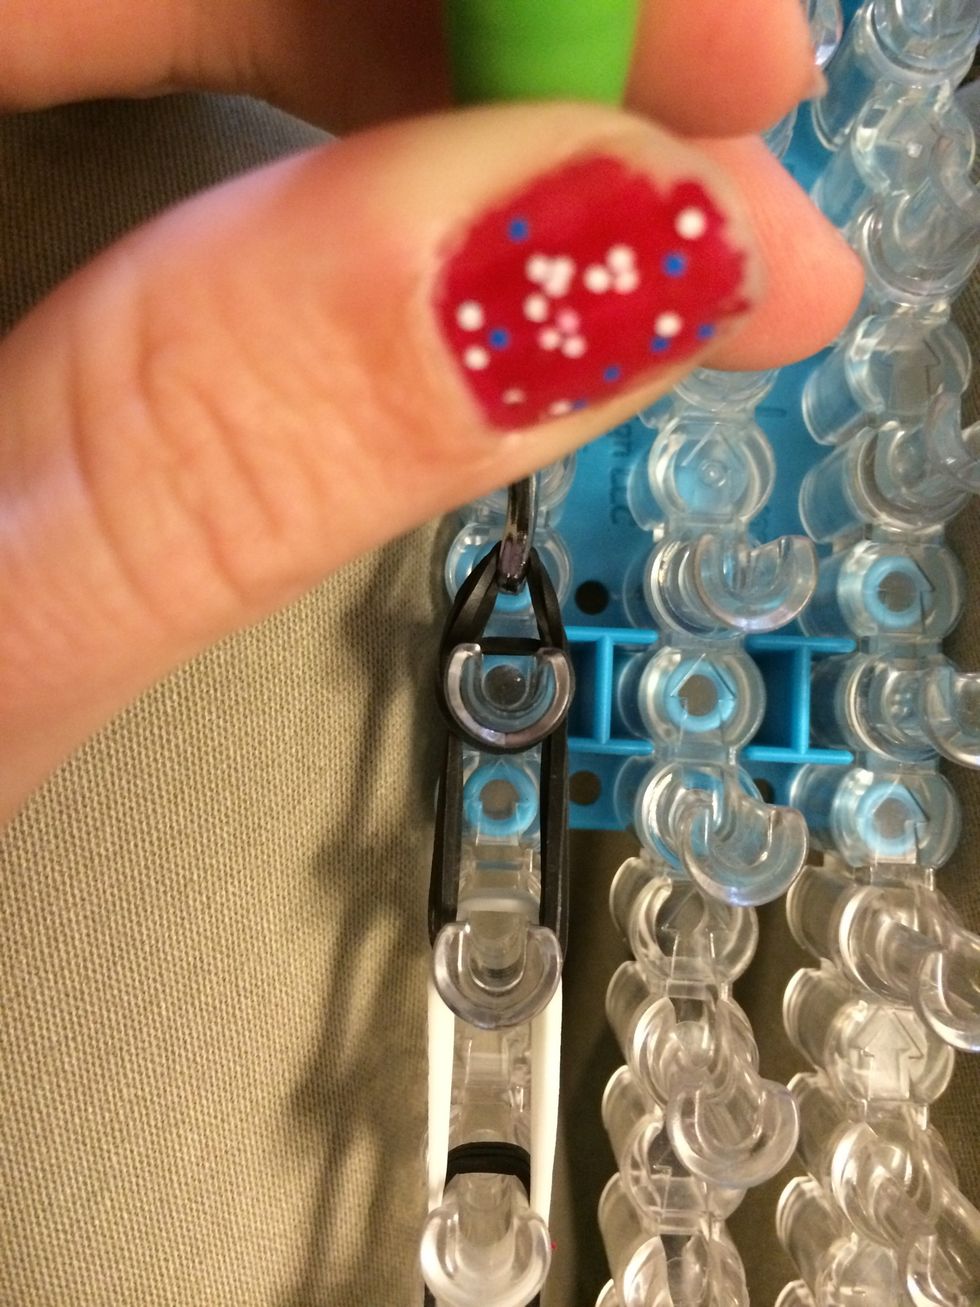
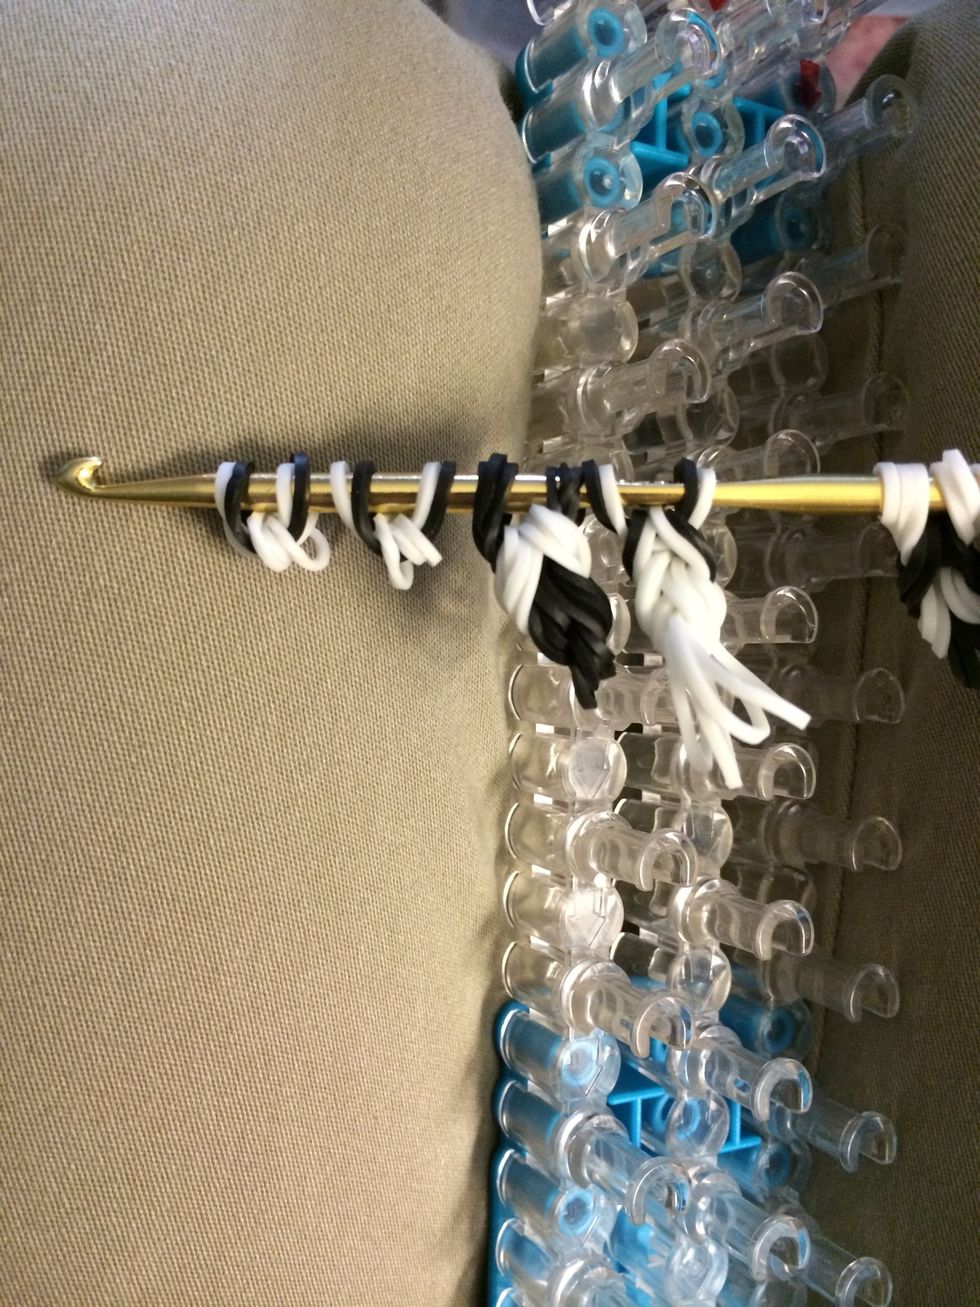
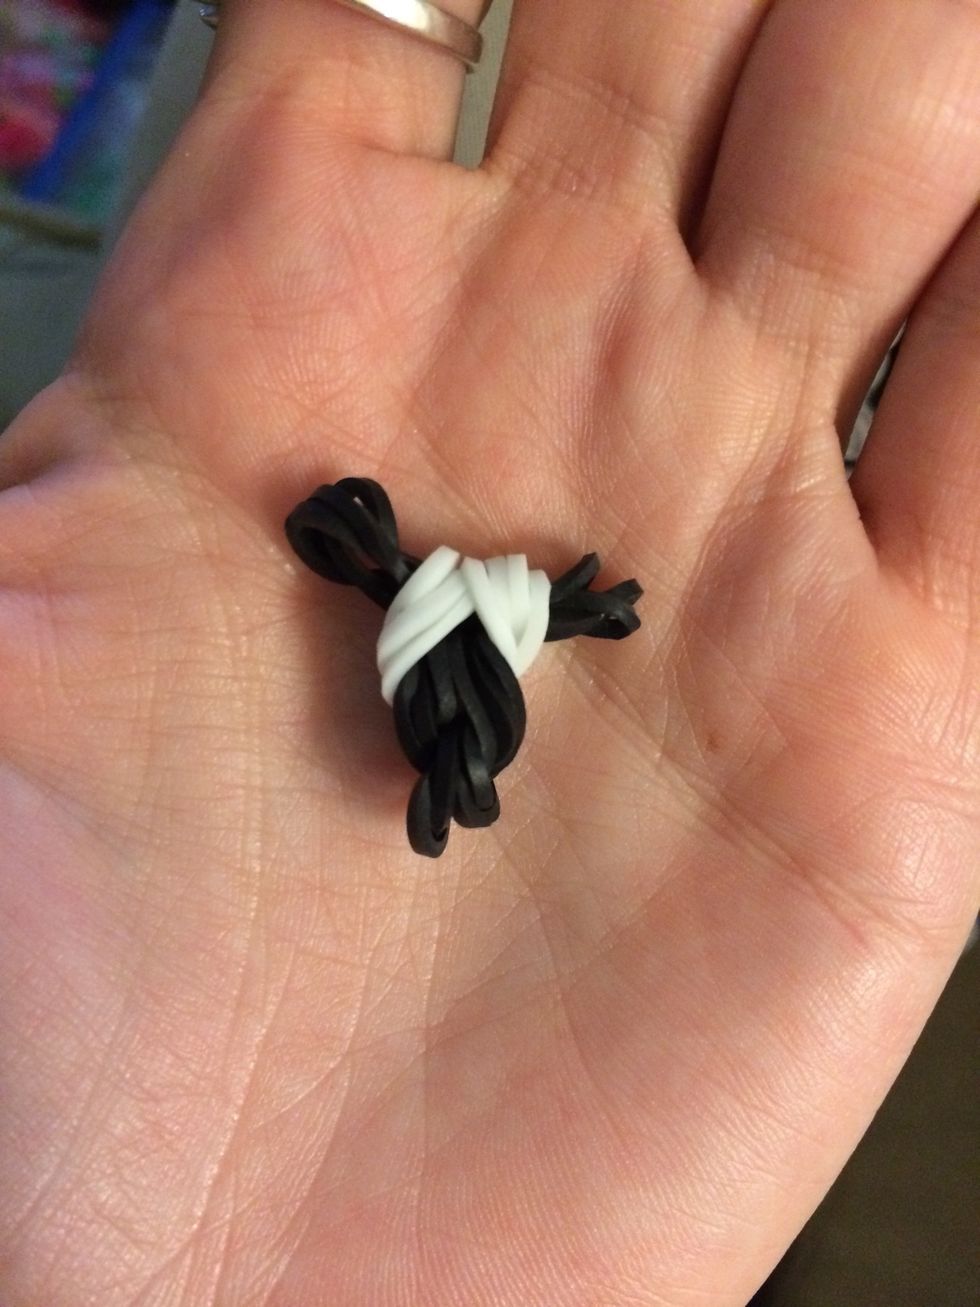
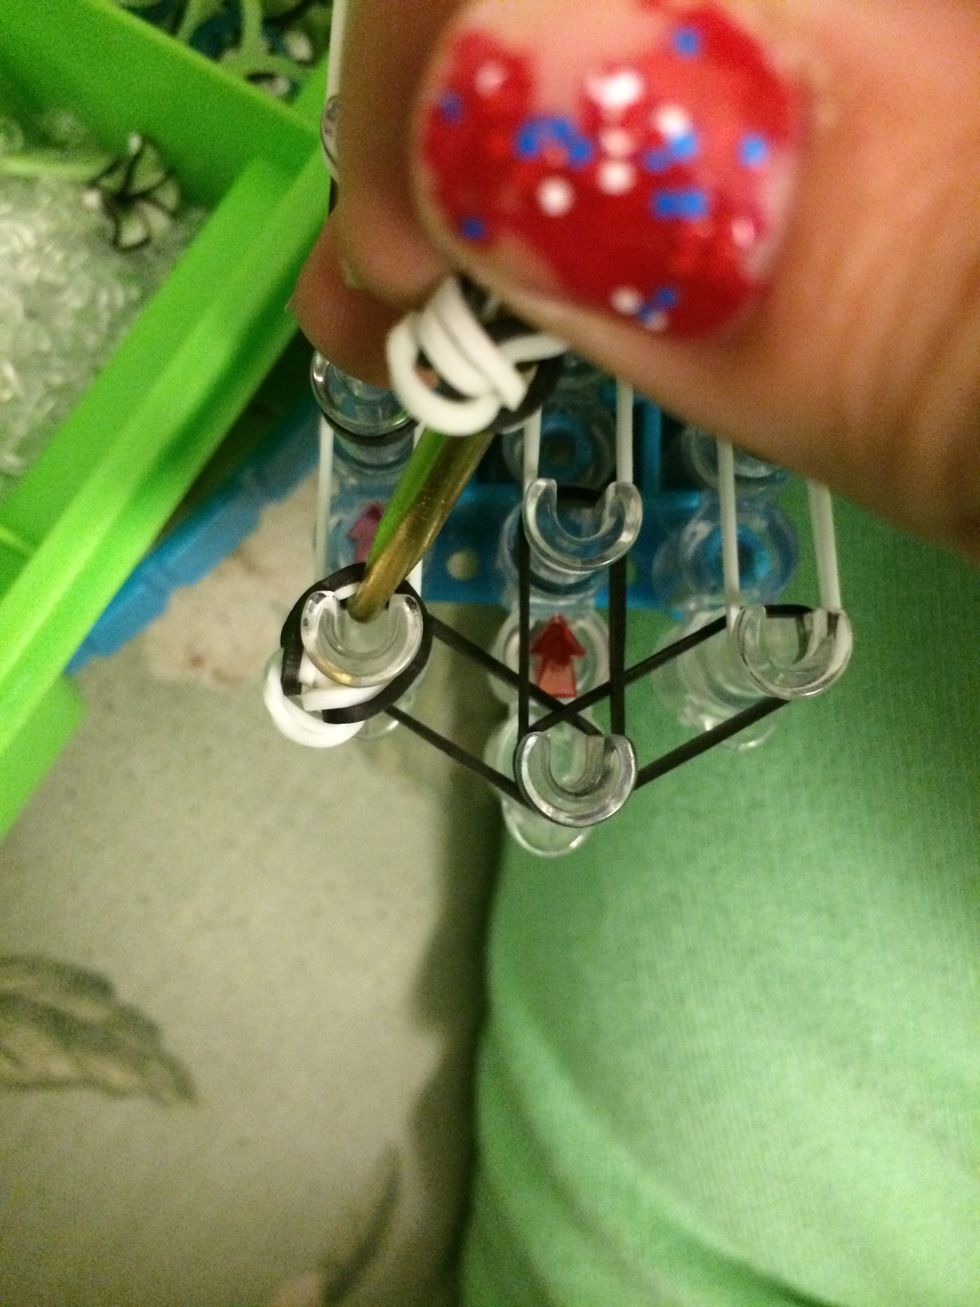
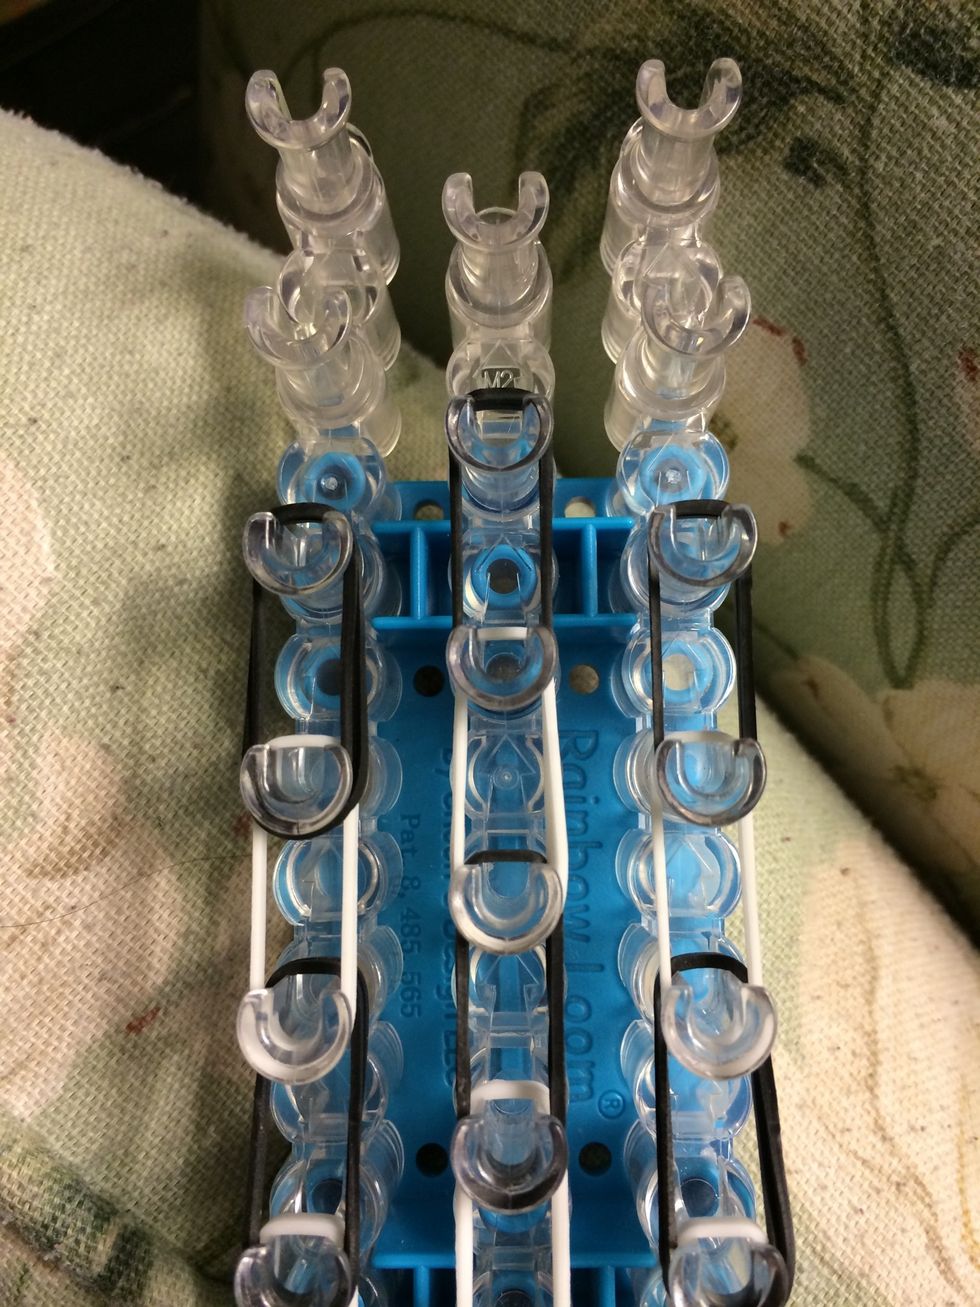
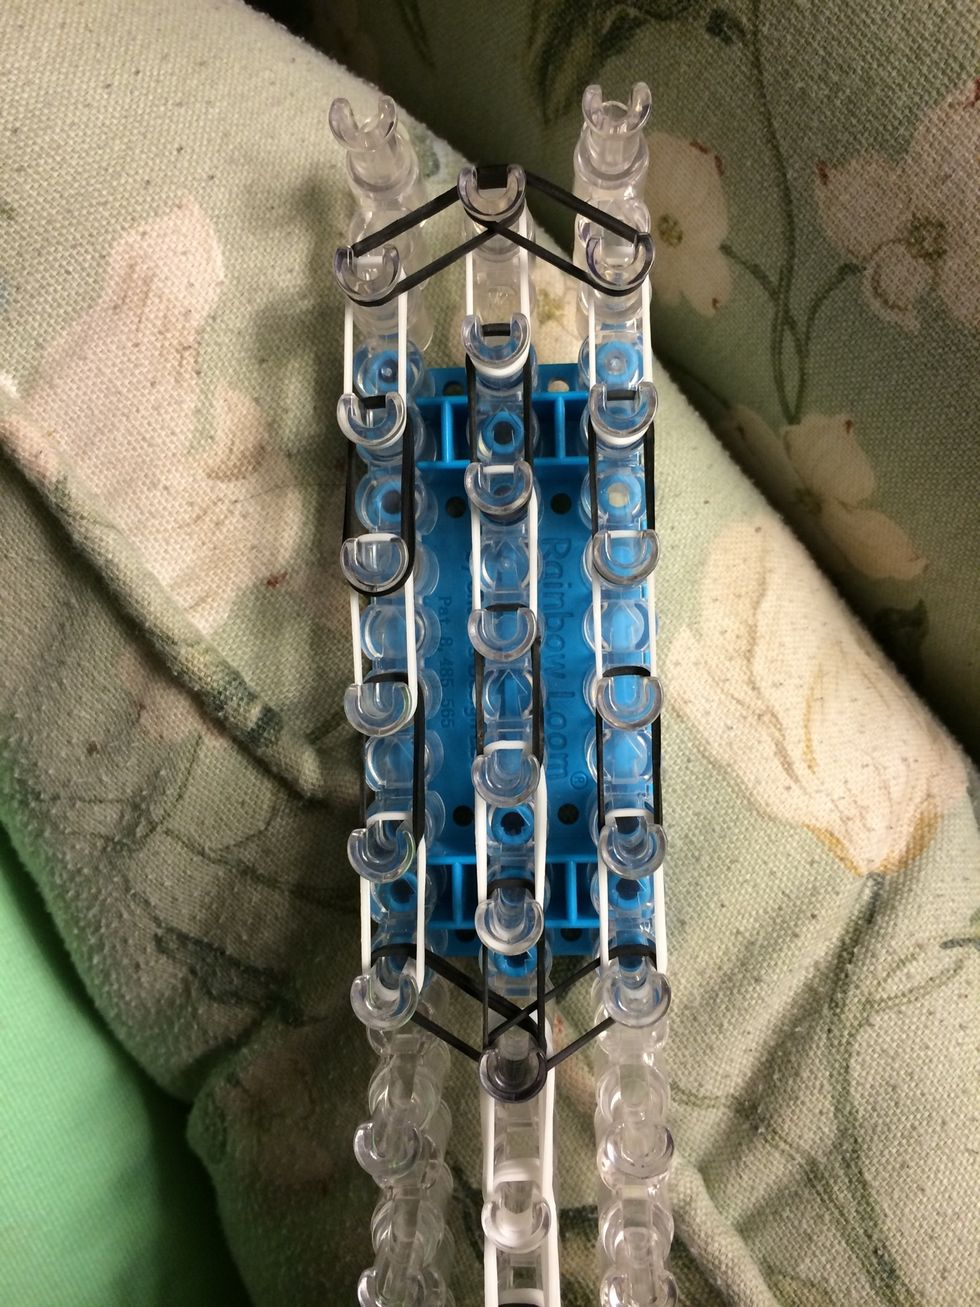
Take 1 grey band and wrap it around the hook 3 times.
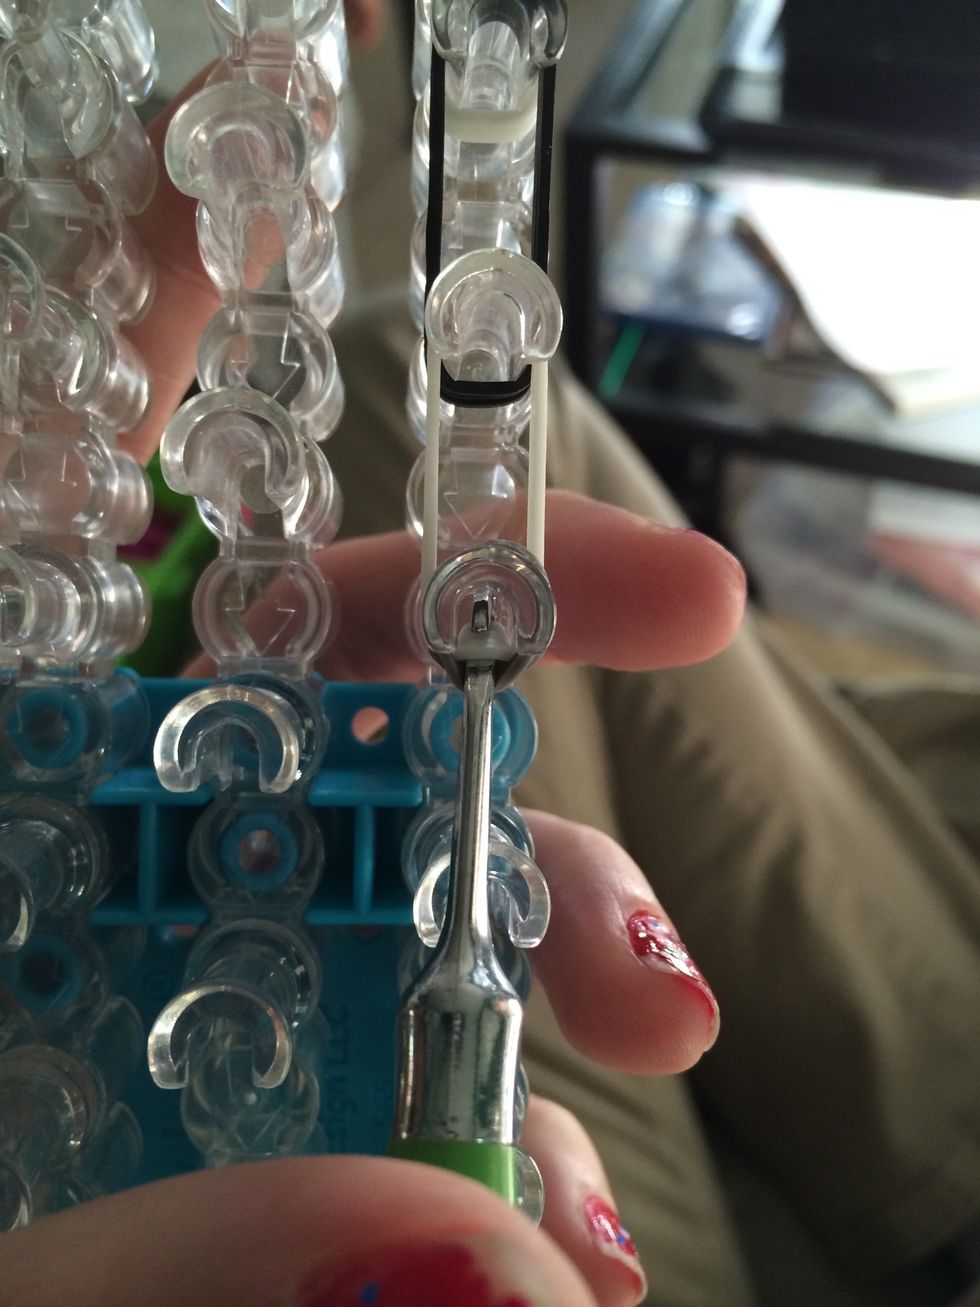
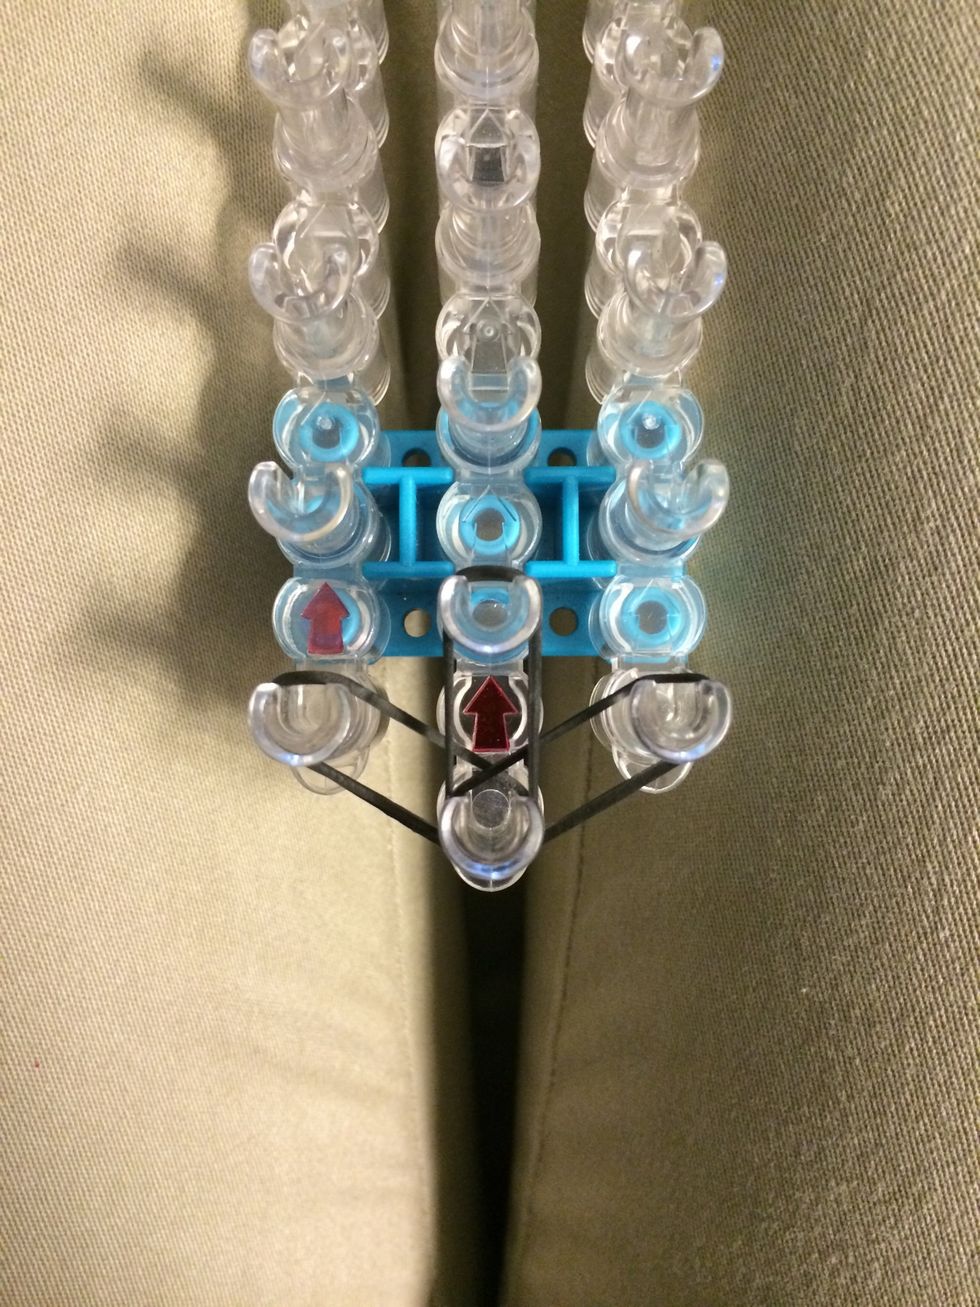
Turn the loom around. Reach in the last peg and grab the 3 white bands. If you don't get all three at once it's ok.
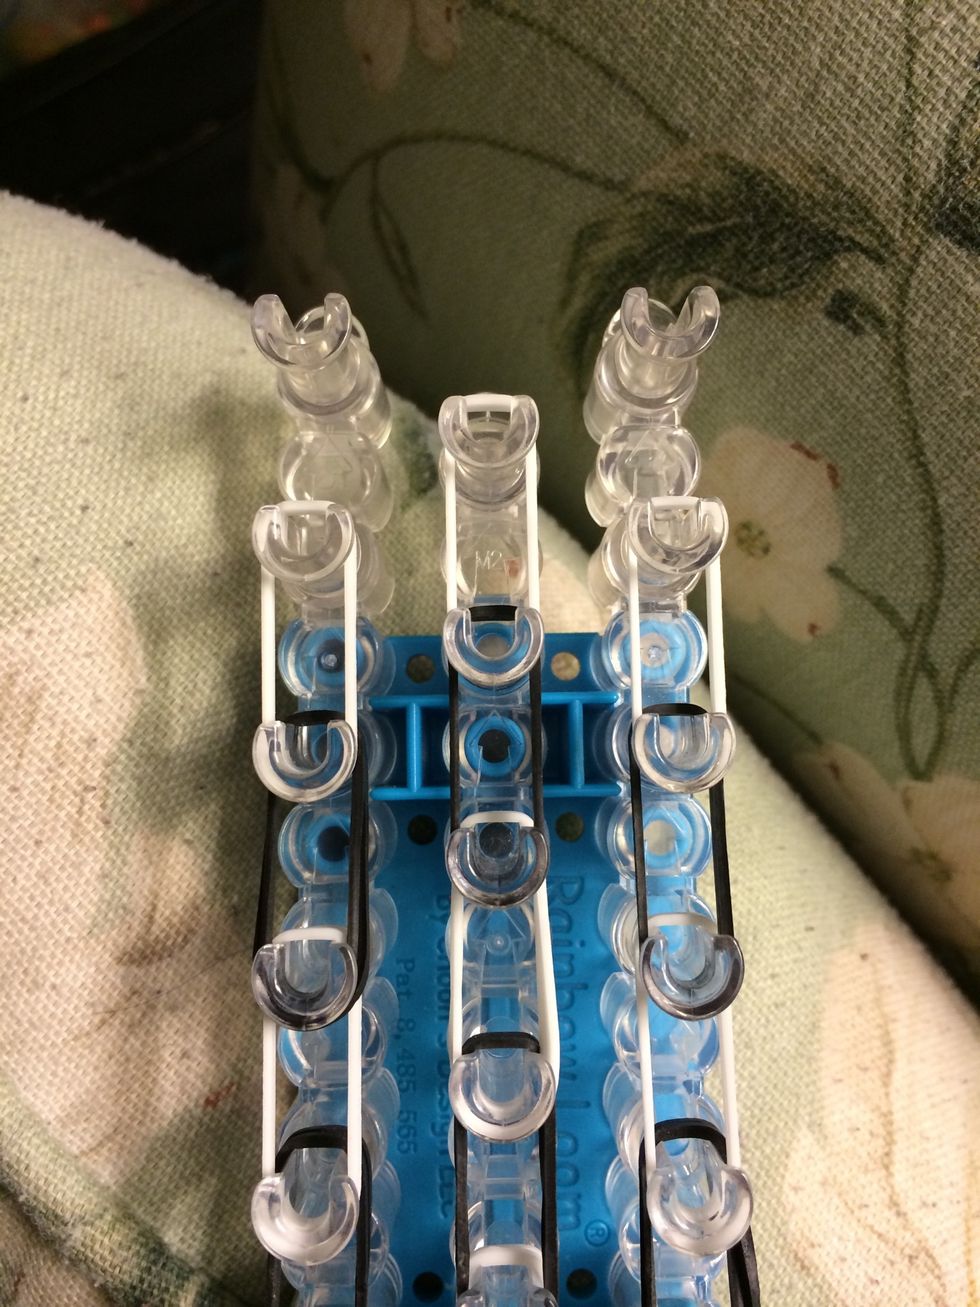
Loop it forward.
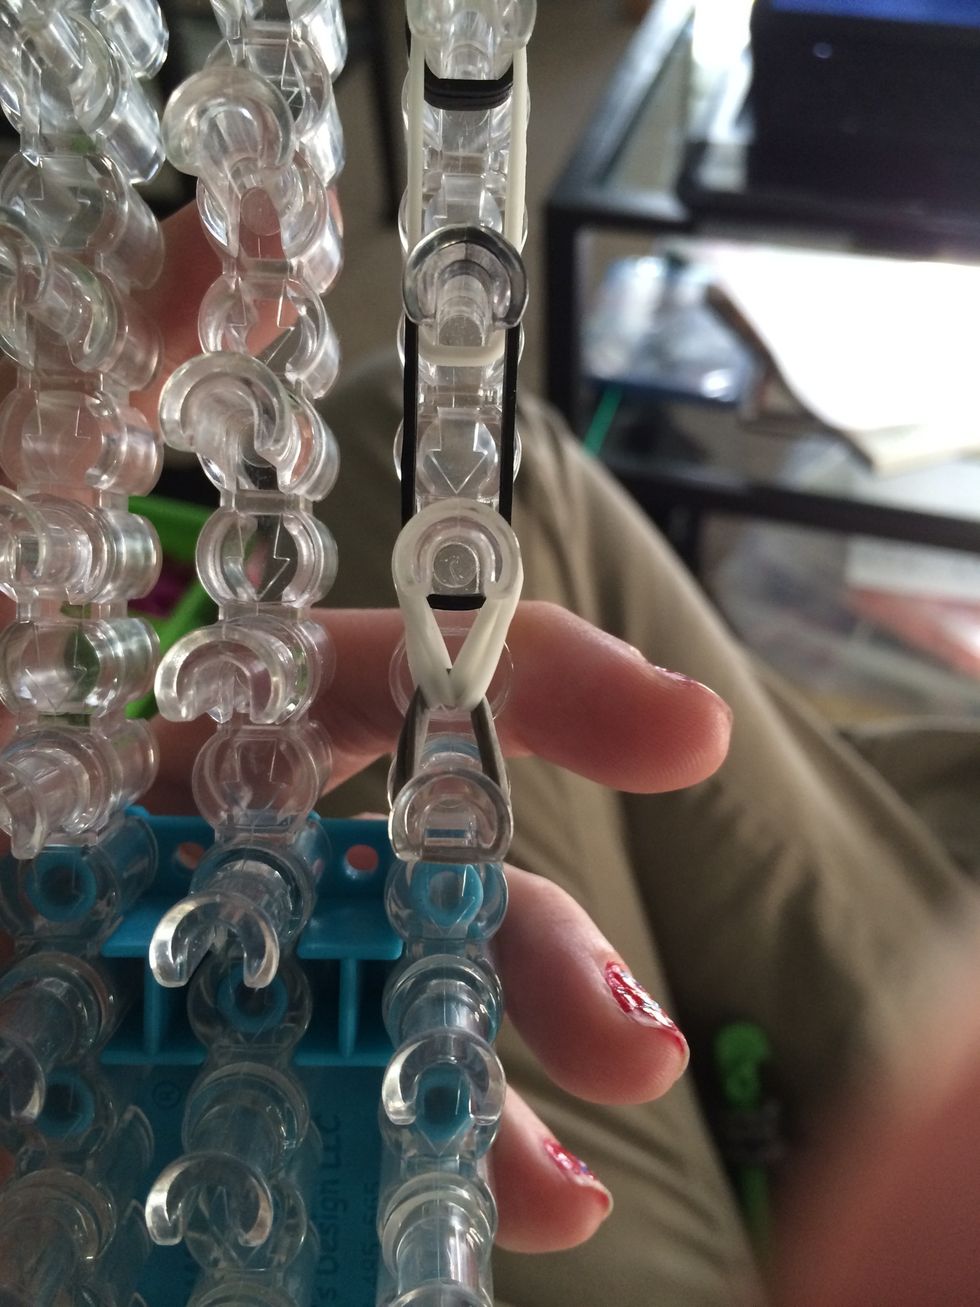
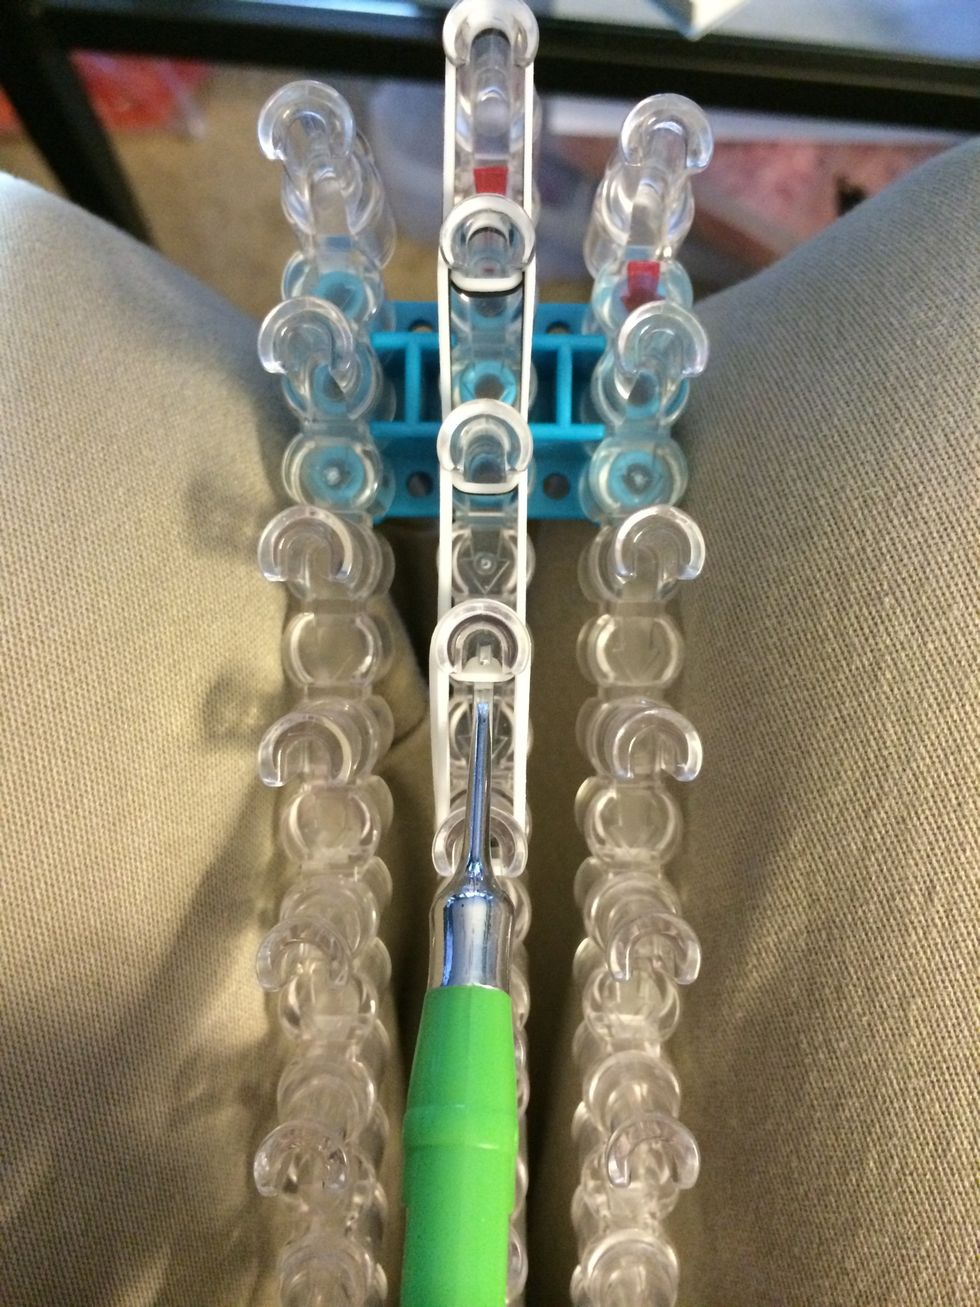
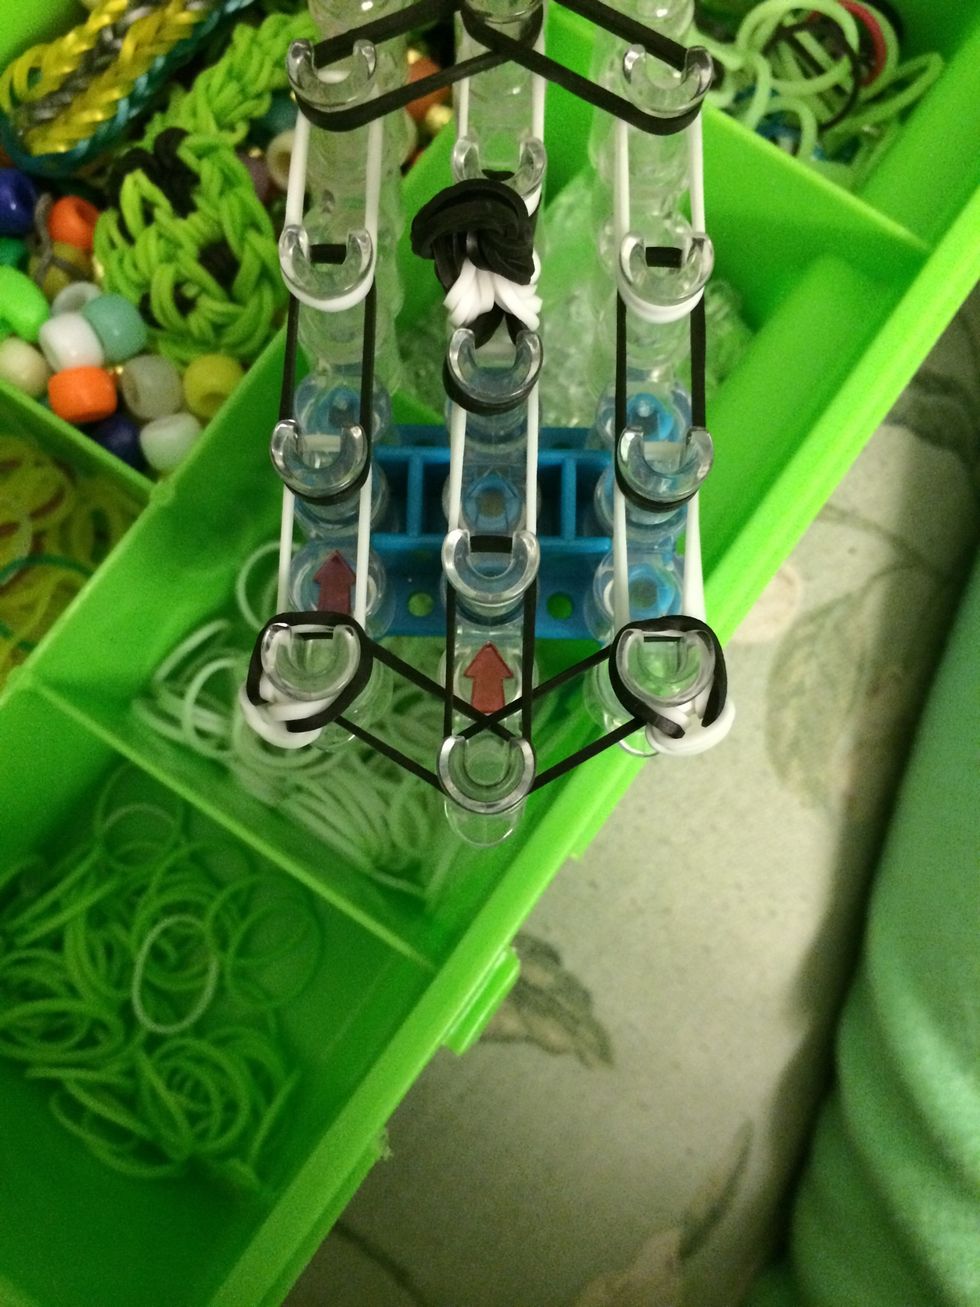
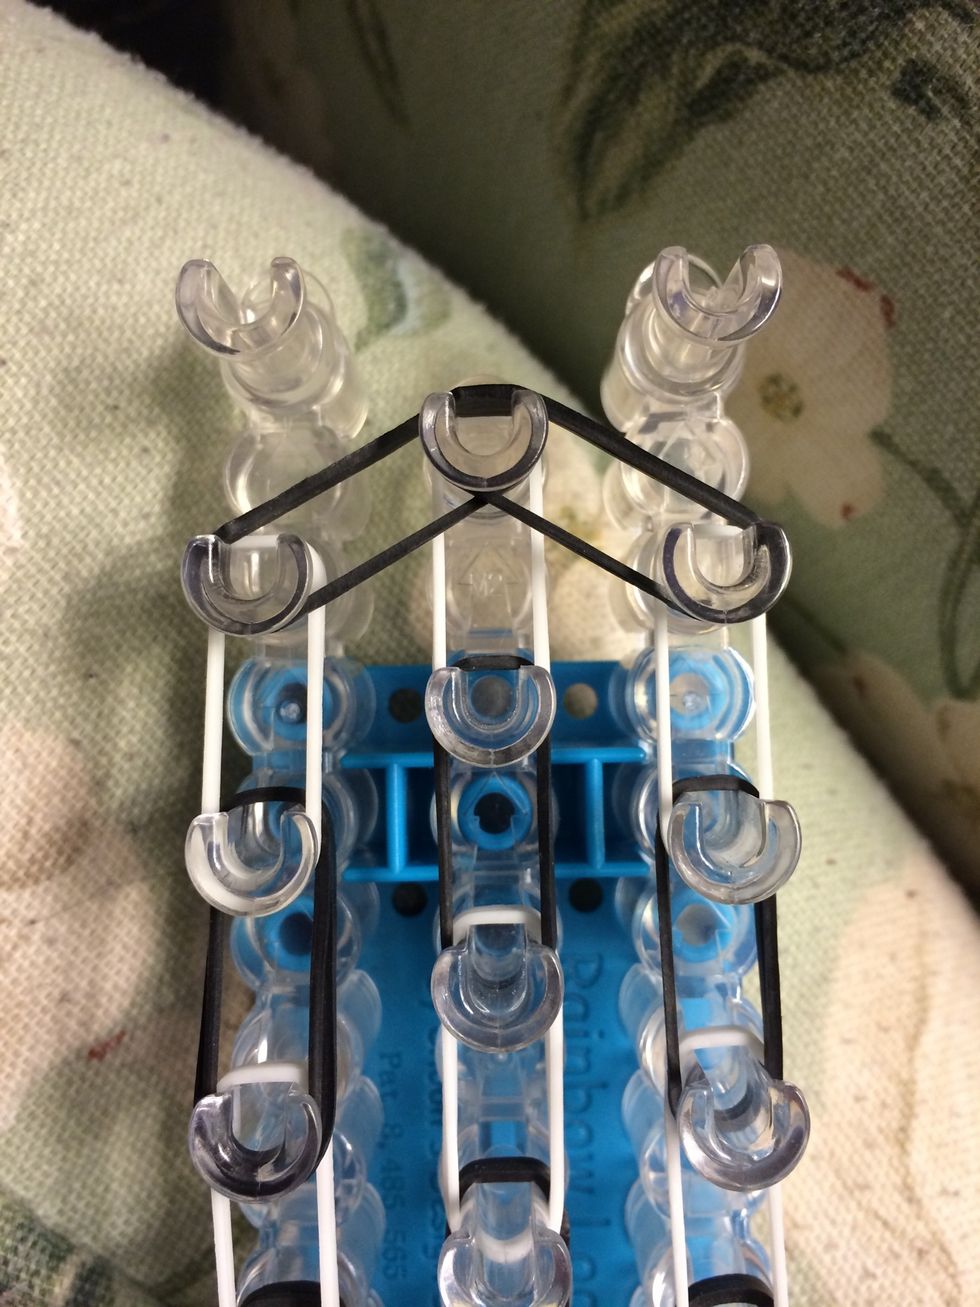
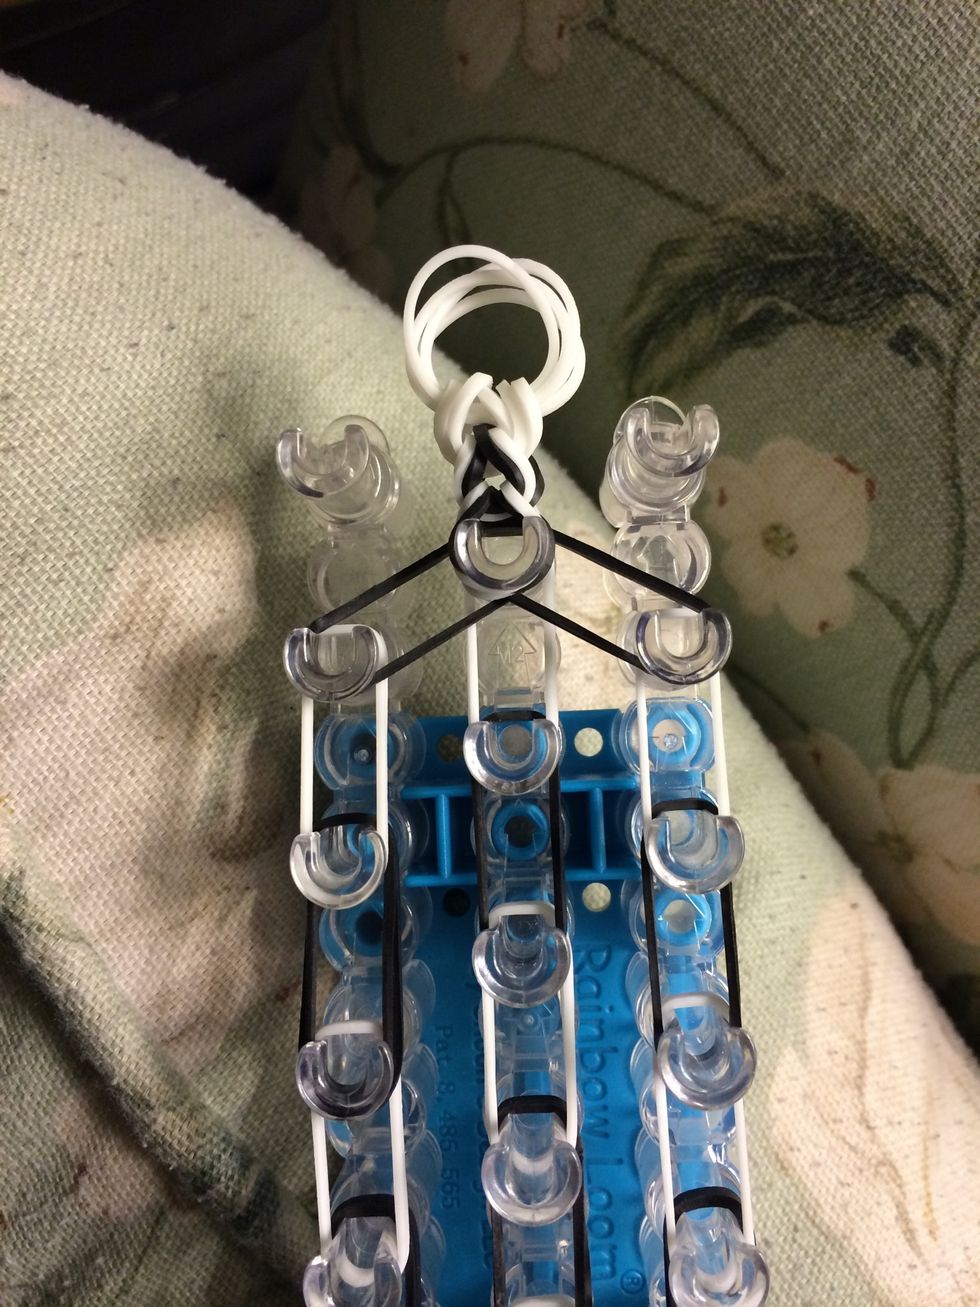
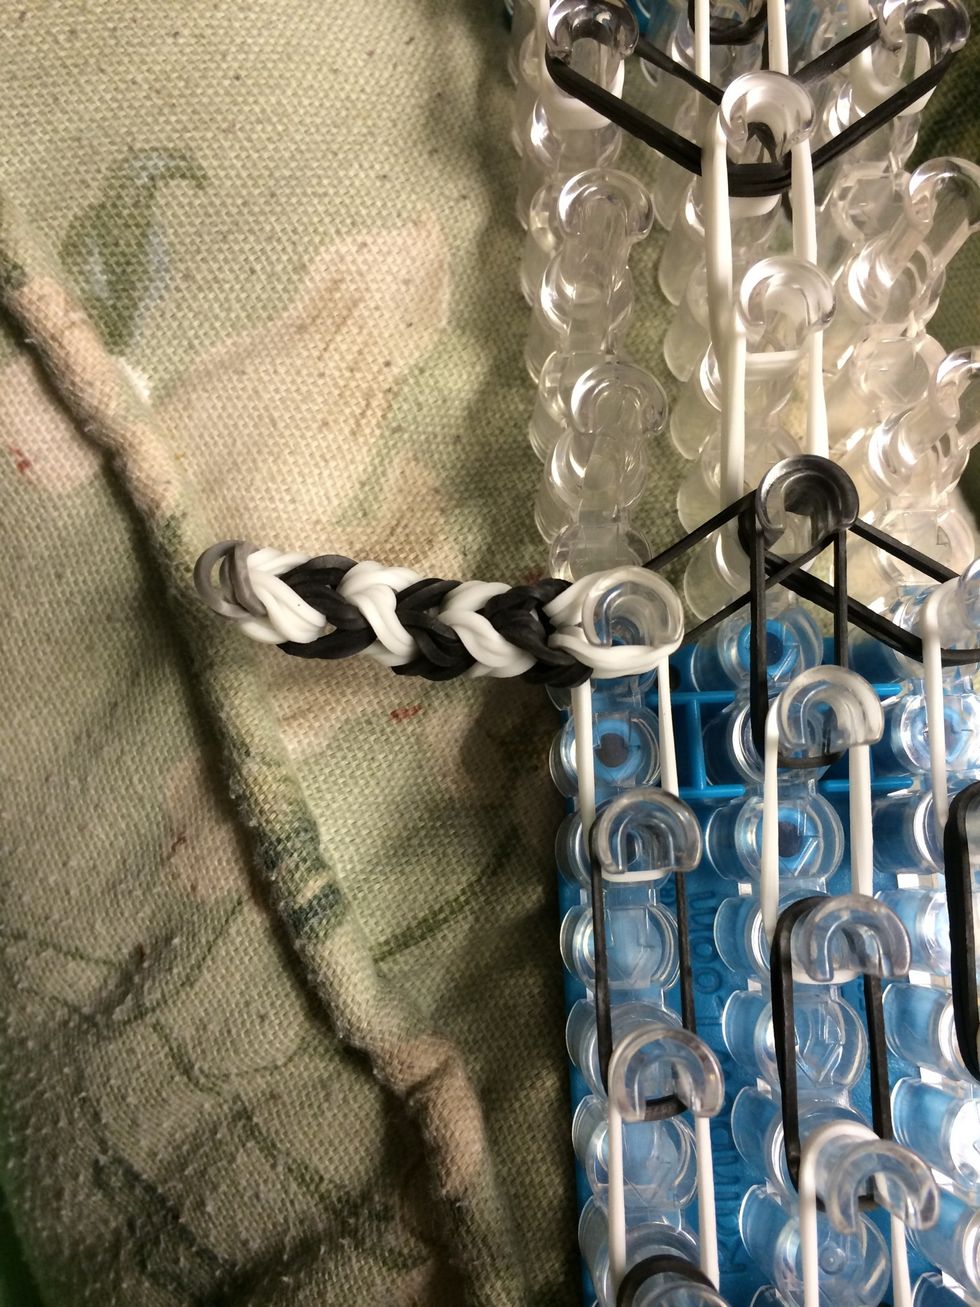
Continue your way up the loom. Pull the first leg off the loom.
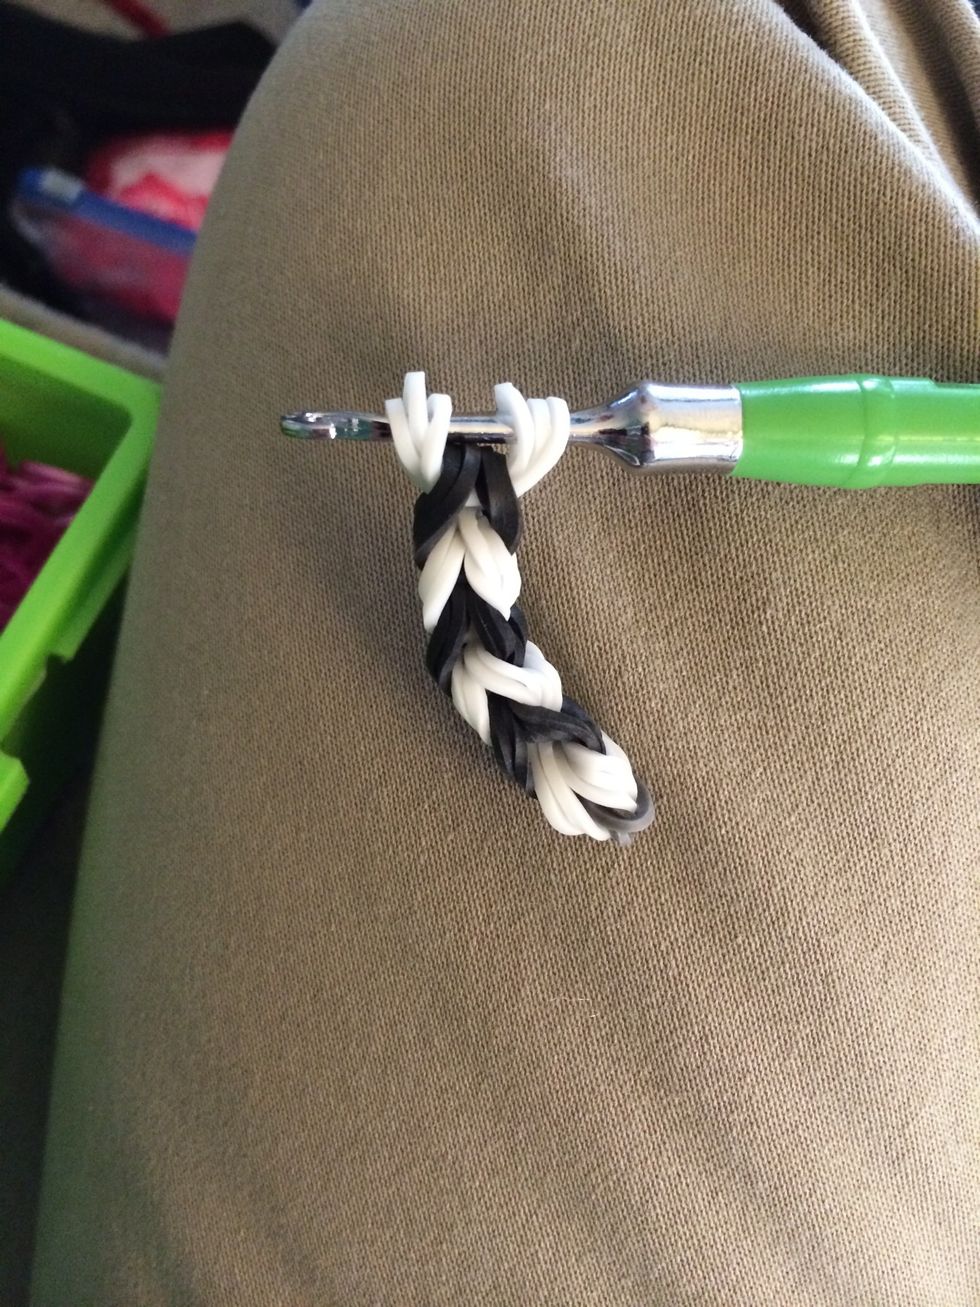
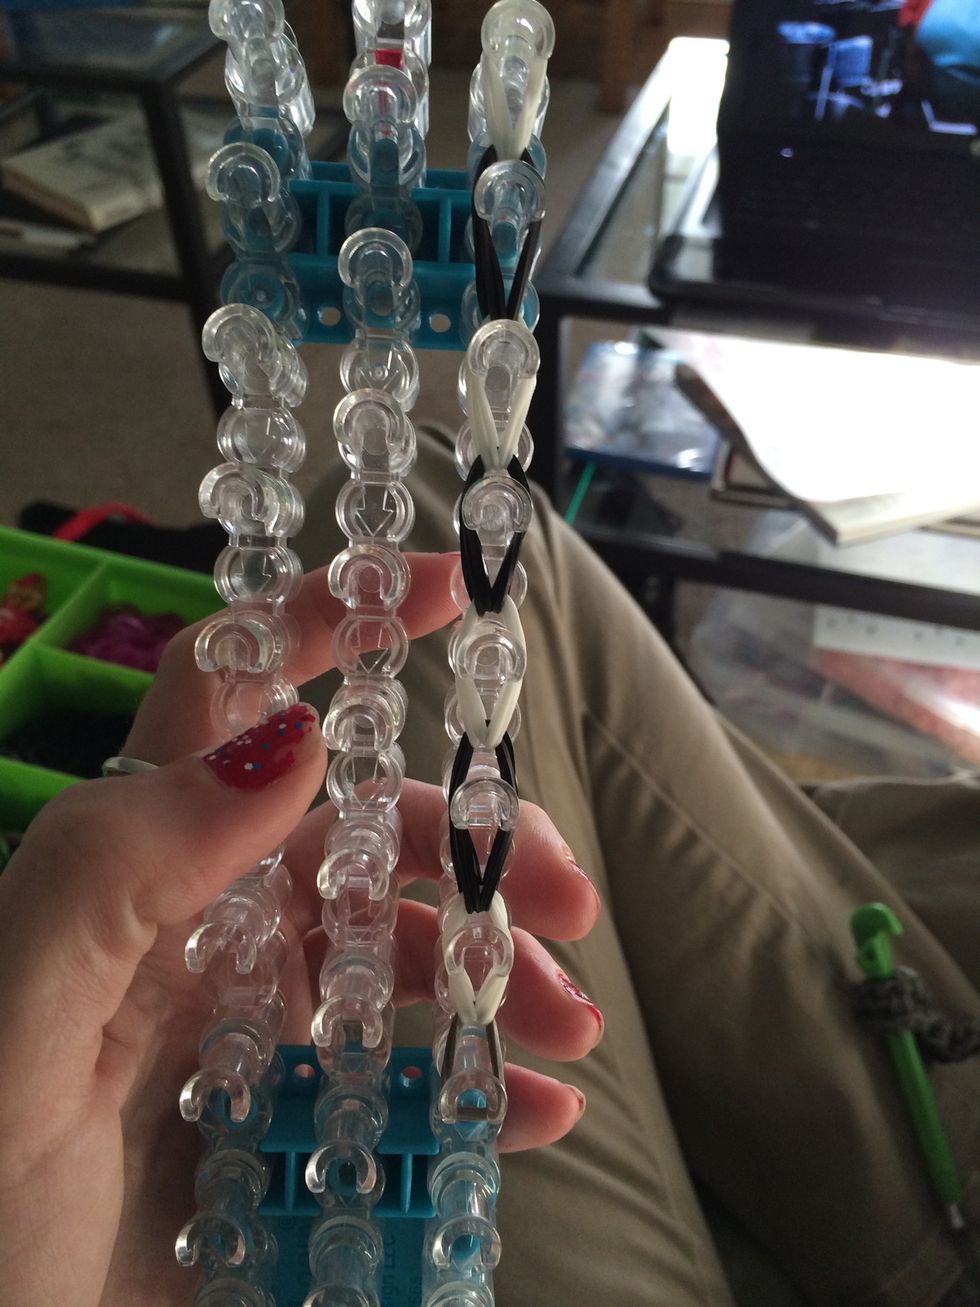
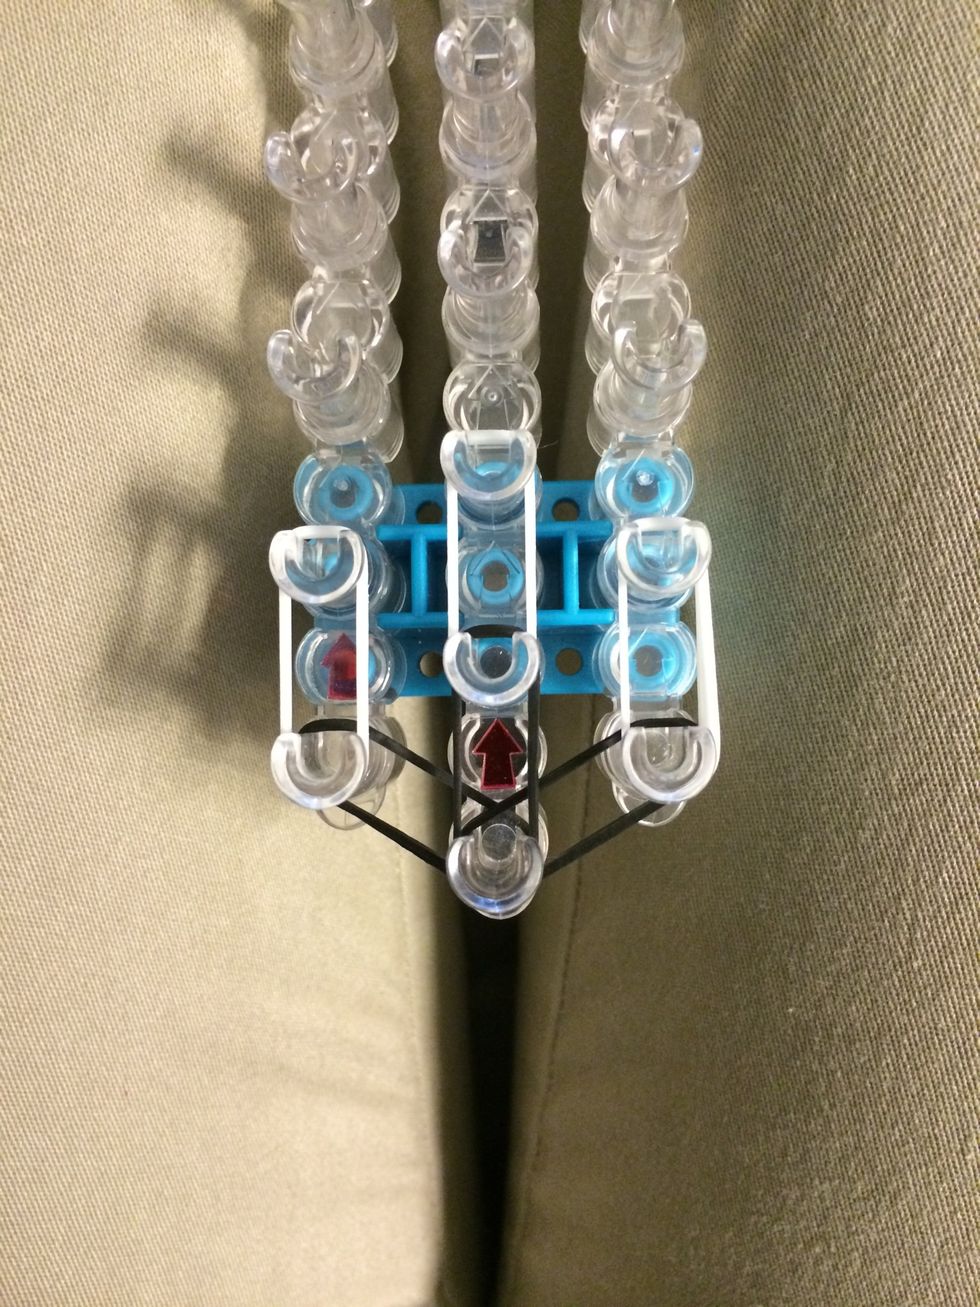
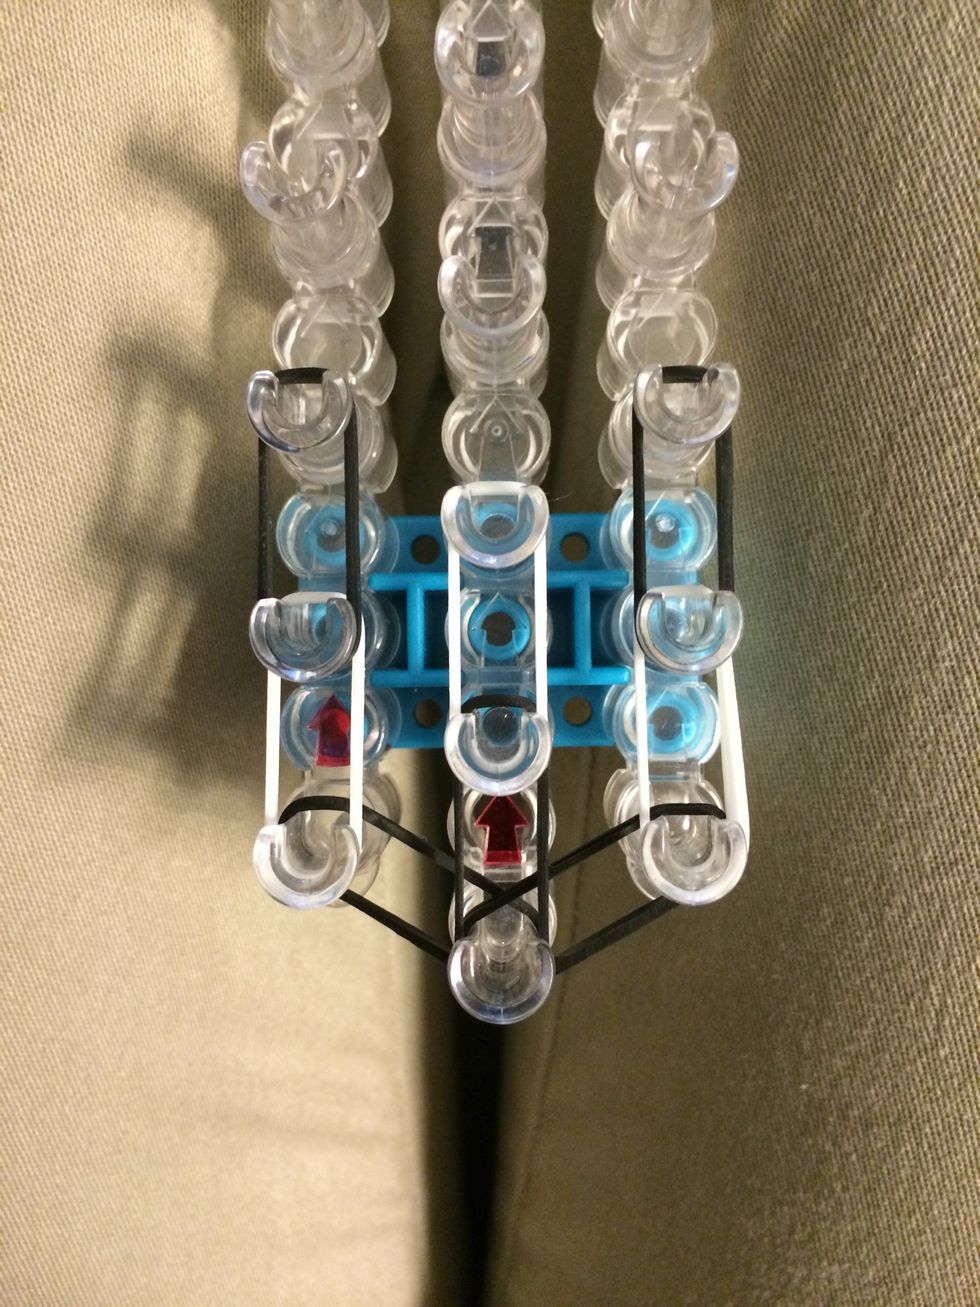
Here is our 1st leg. Let's make 3 more. Go back and follow the steps if you need to.
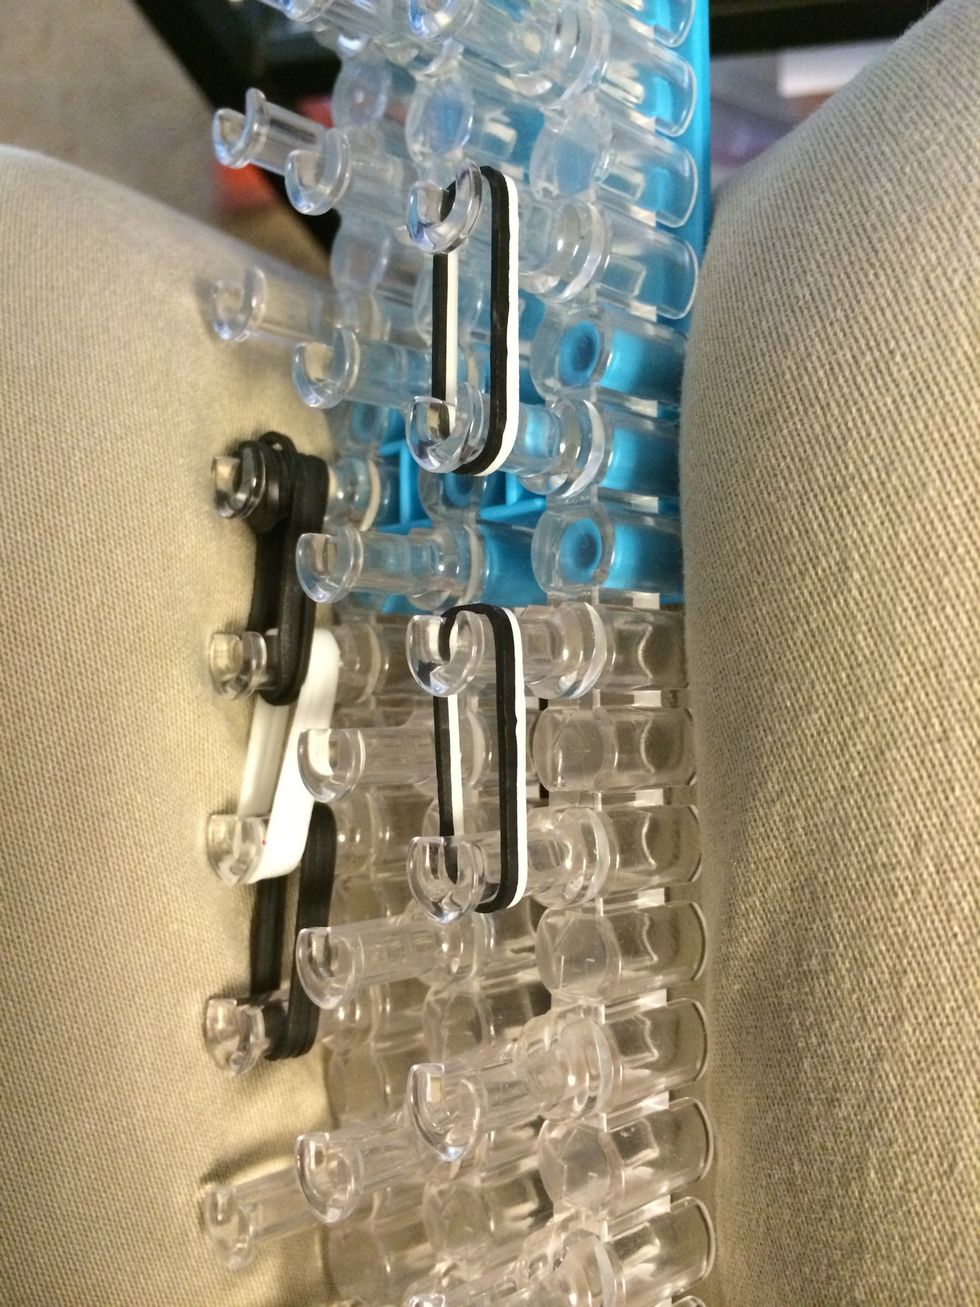
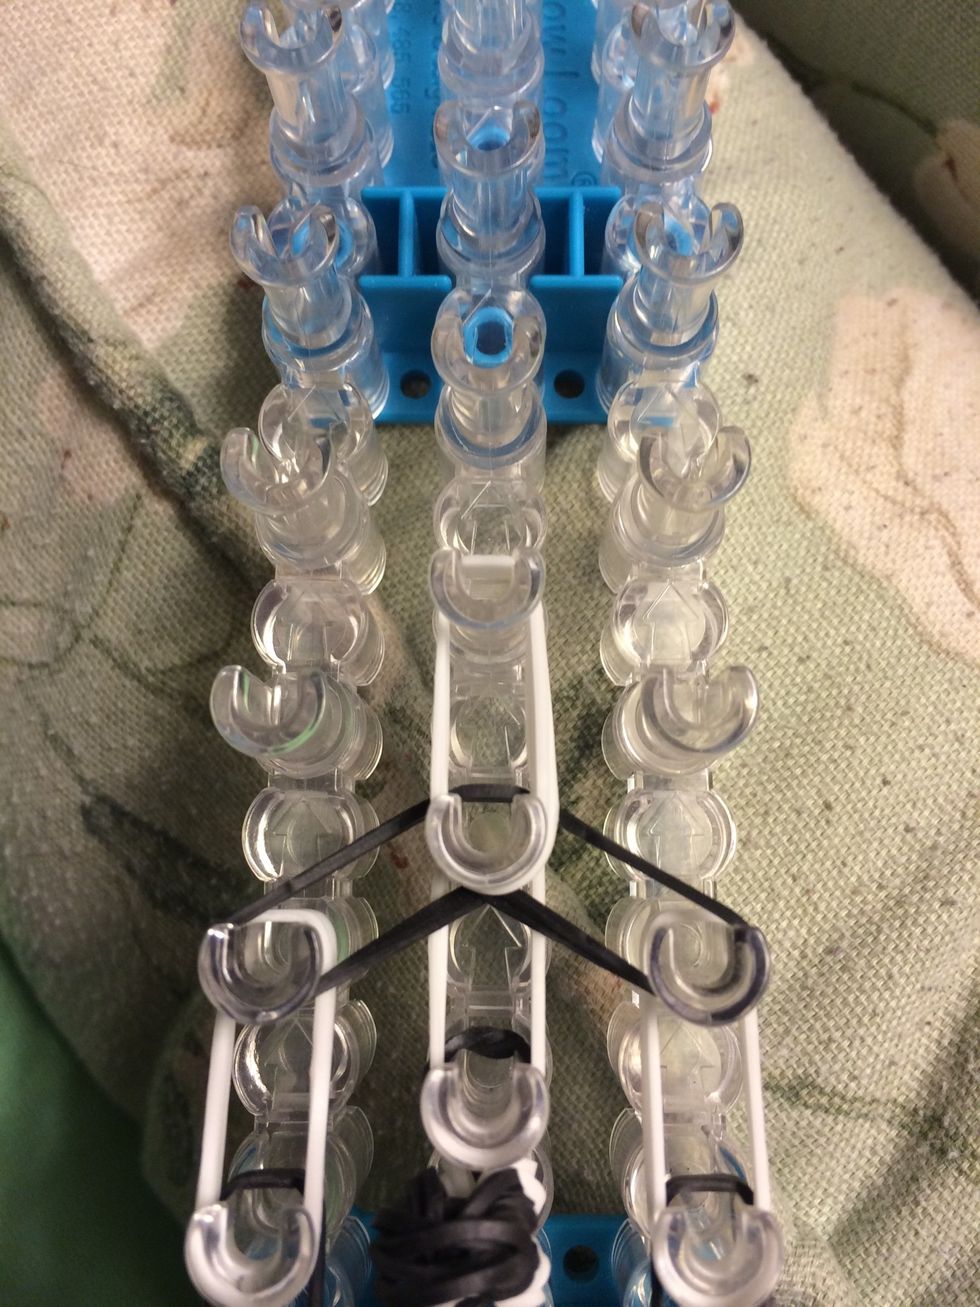
You can put the next 3 legs on your room at the same time.
With all 4 legs done let's work on the tail, nose and ears.
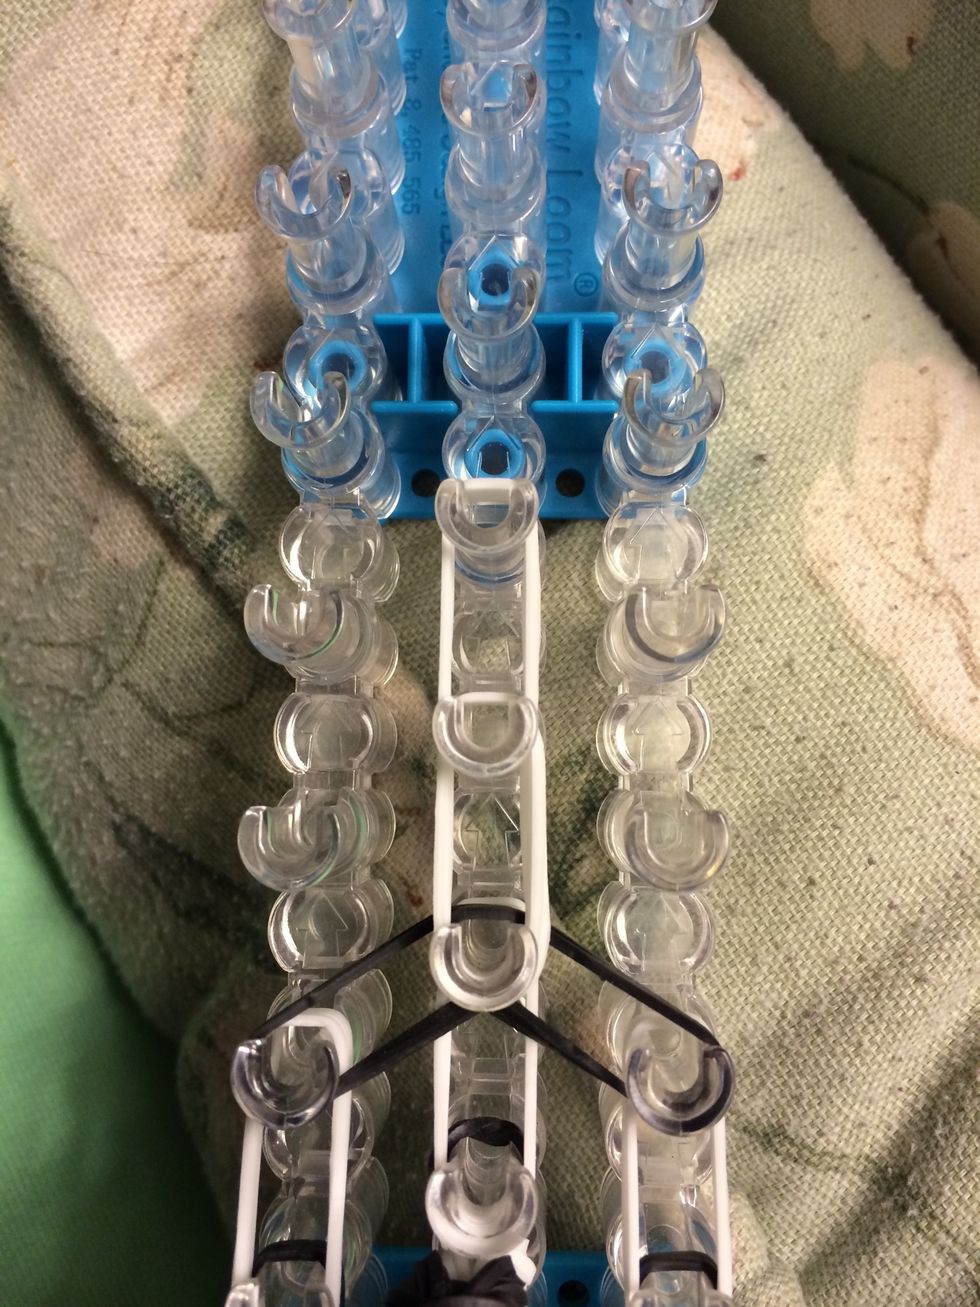
Place 1 white and black band, this is going to be the tail.

Place another white and black band
Place 3 white bands
Place 4 white bands
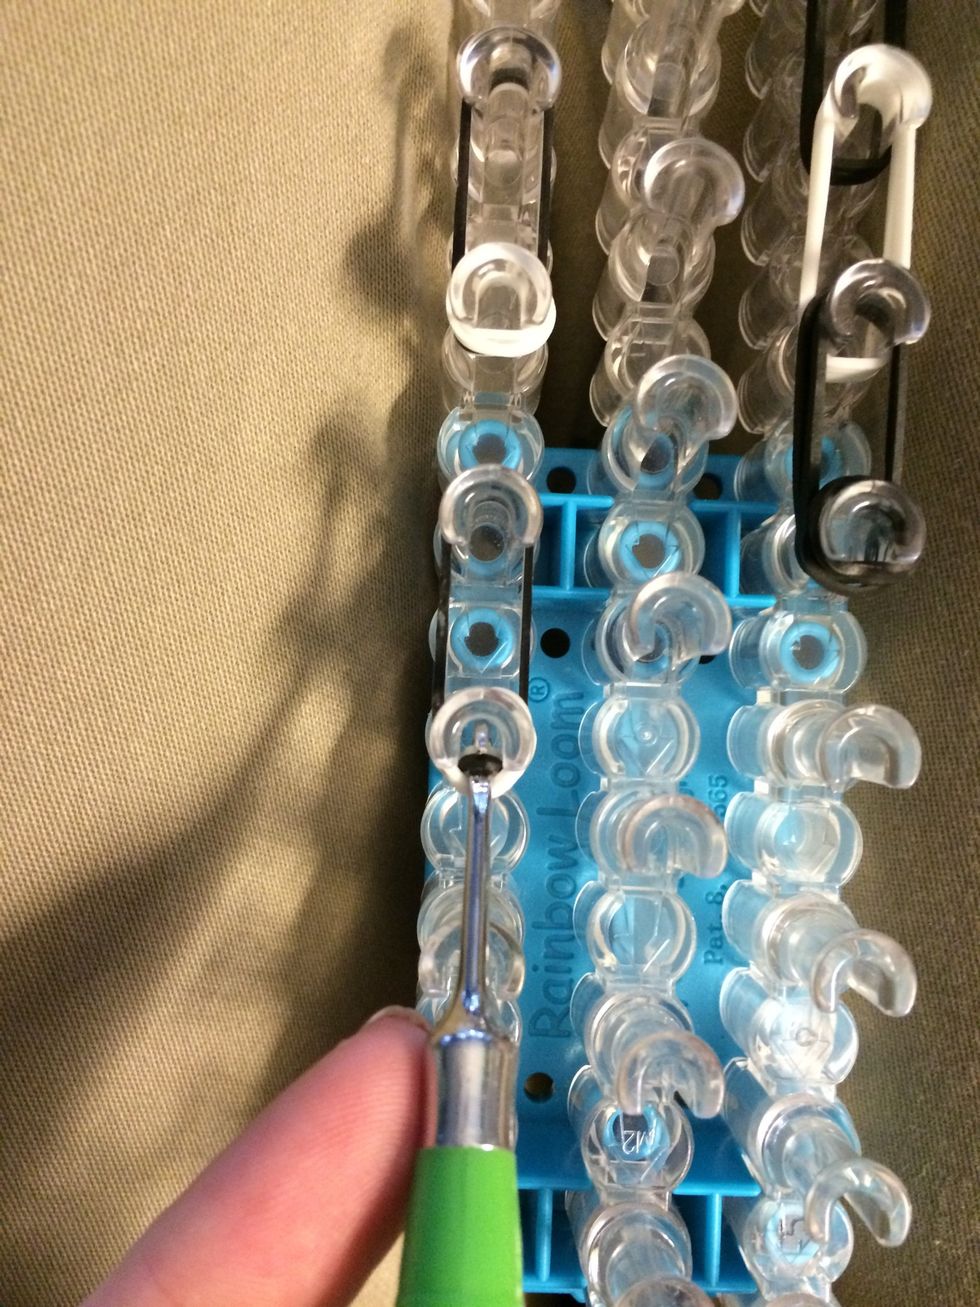
Turn your loom around and reach for the 3 white bands.
Loop them forward and count our up the row. Not looping the last set of white bands is going to leave us with a fluffy tail.
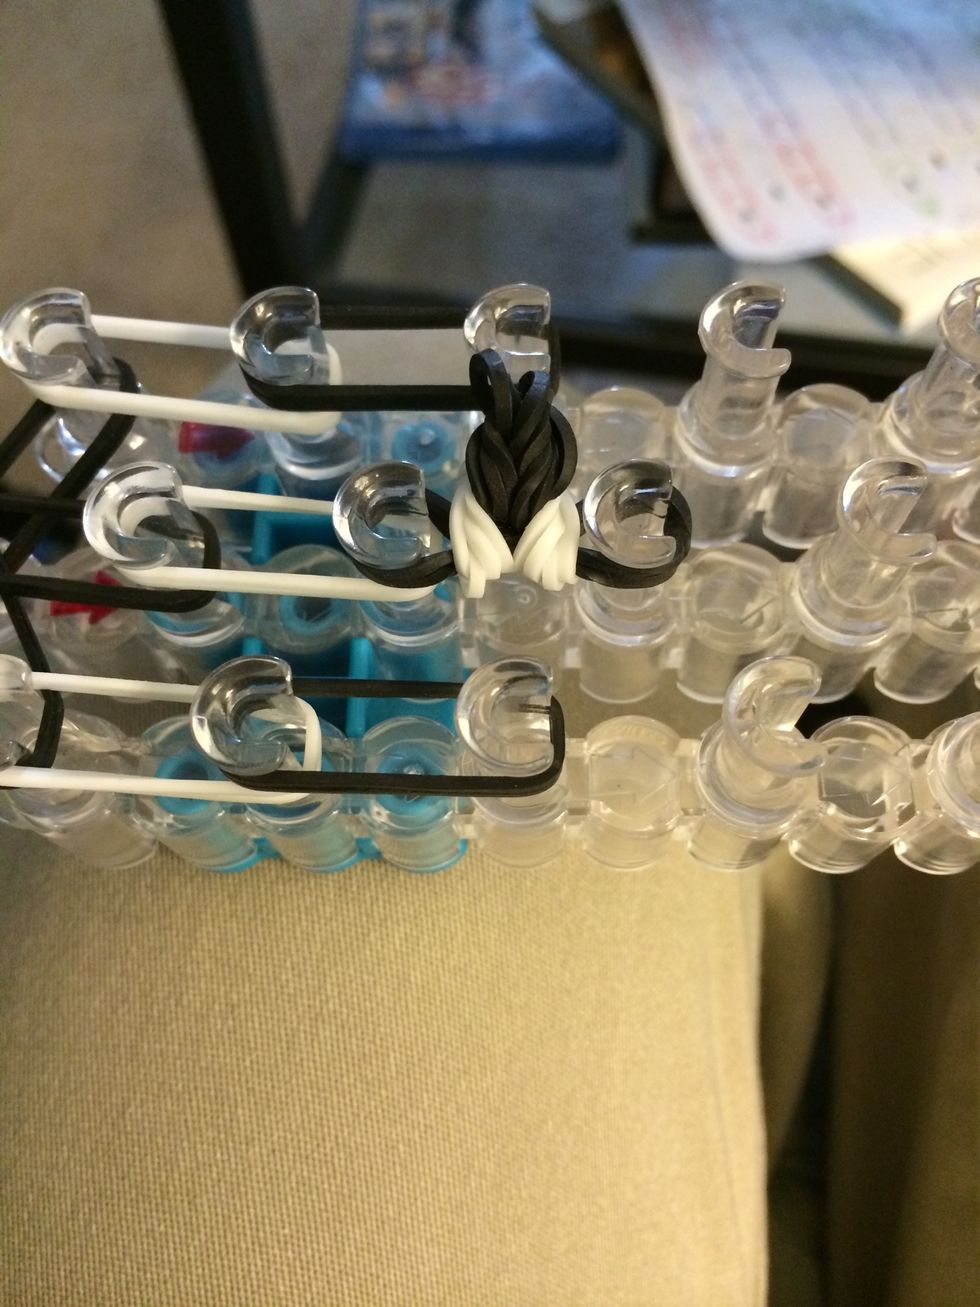
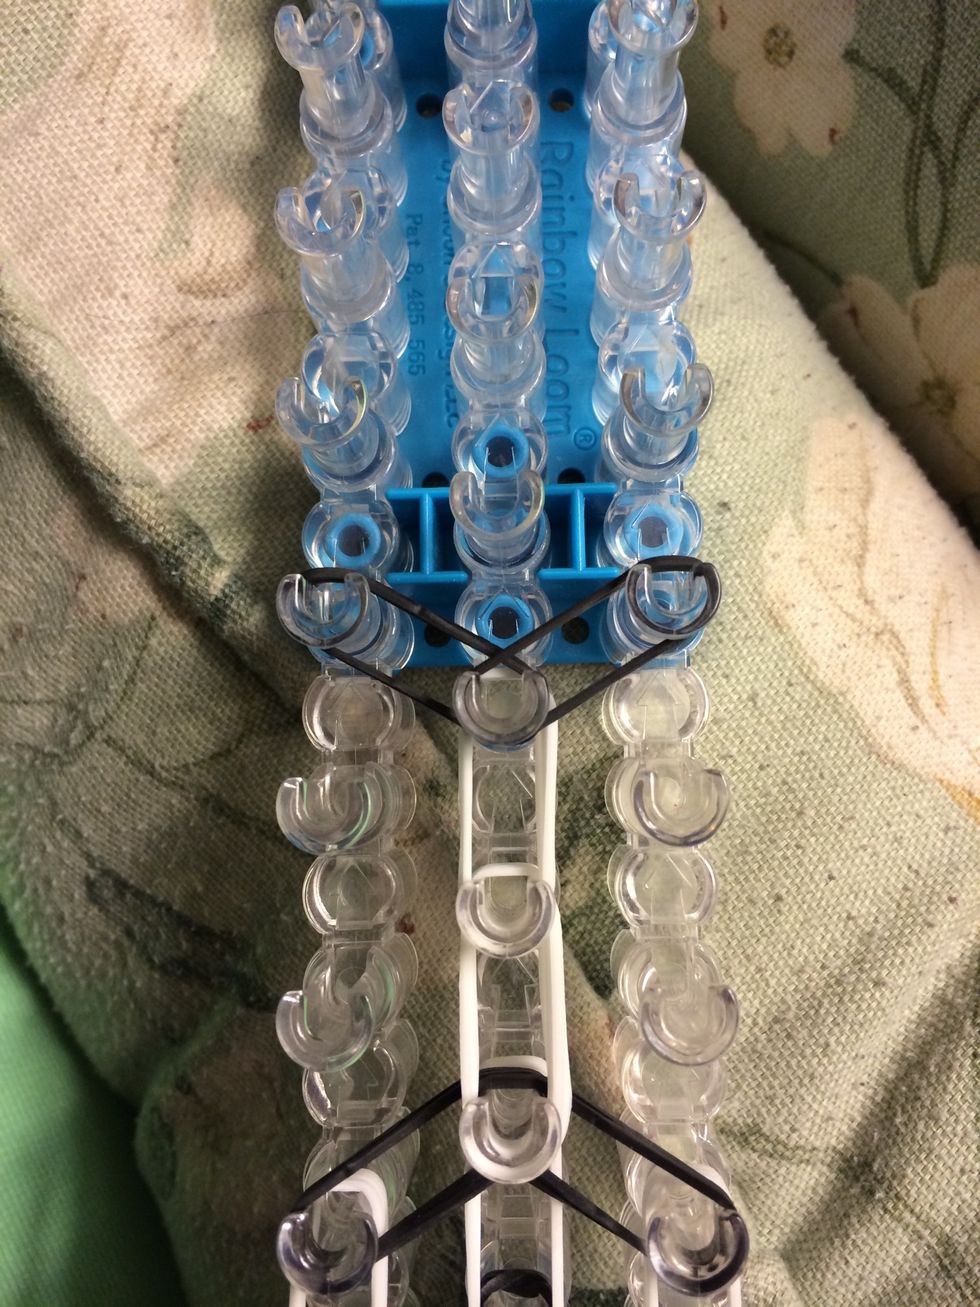
Place 3 black bands some where on your loom. This is going to be the nose.
Place 4 white bands
Place 4 black bands
Take 1 black band and wrap it around your hook twice. Take a 2nd one and do the same thing.
Place those two bands at the end. These are going to act like a capping band for our nose.
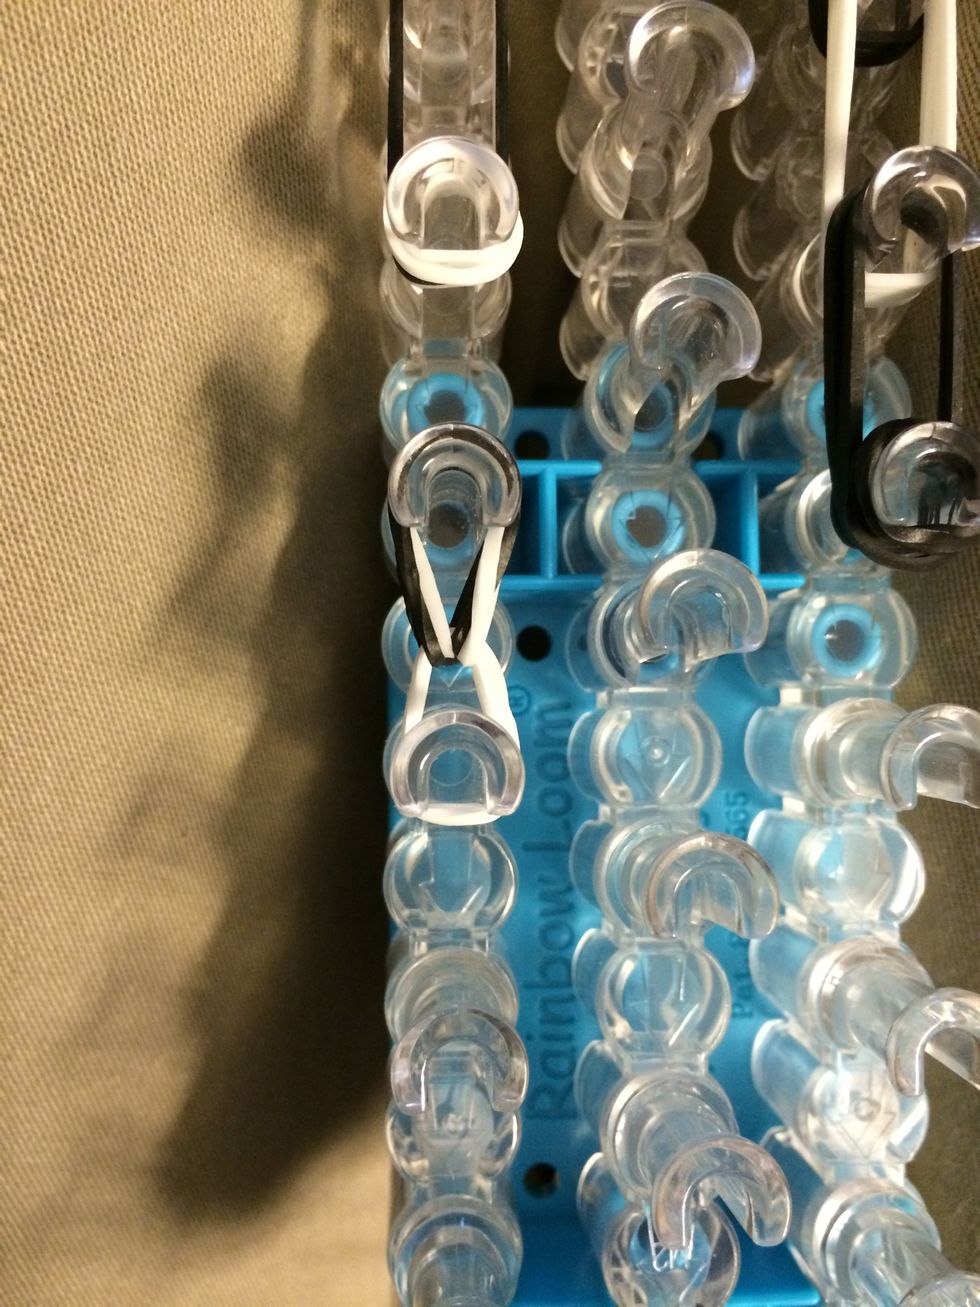
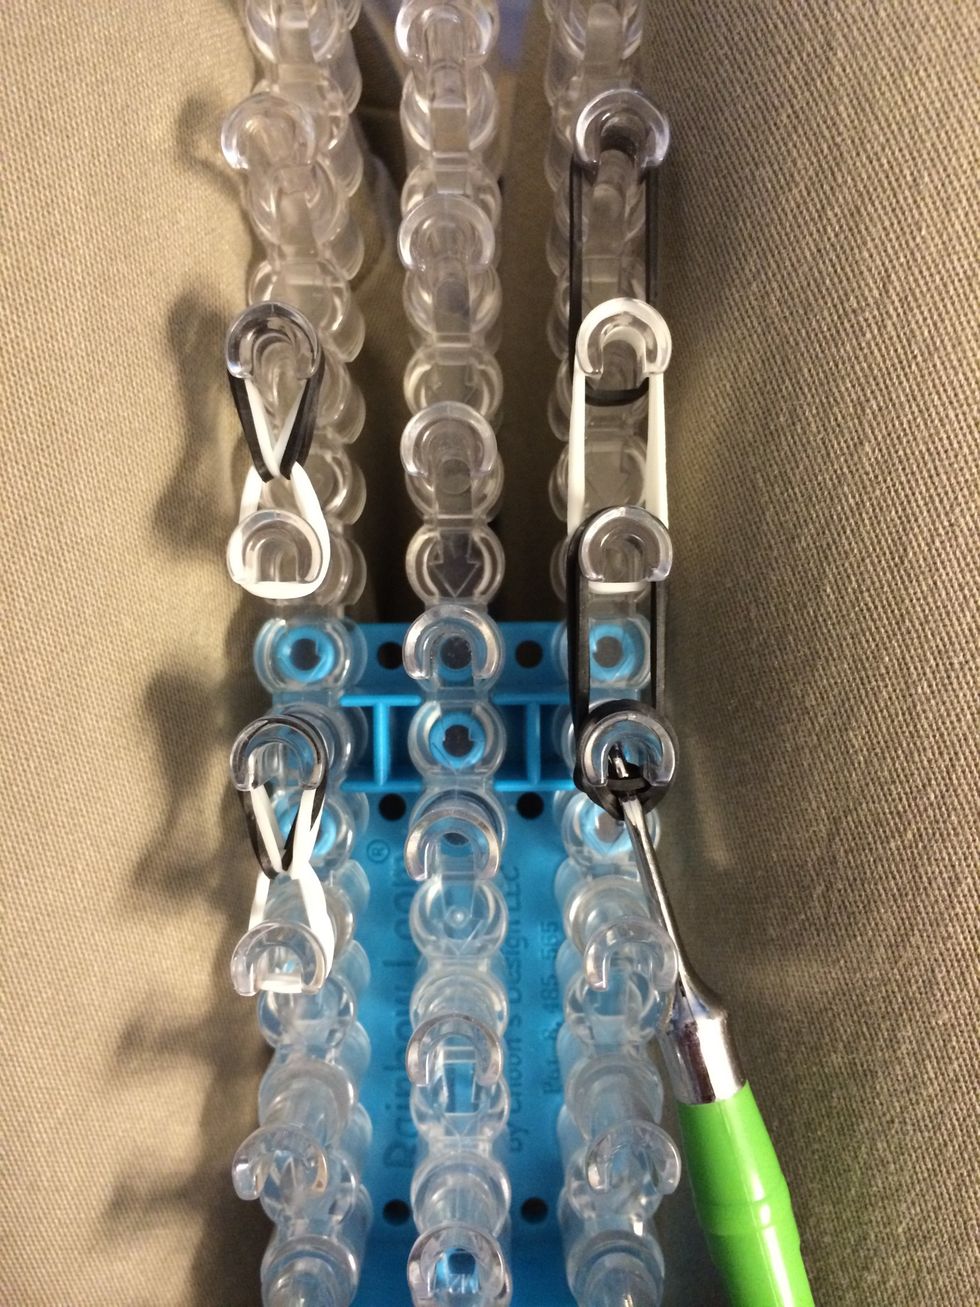
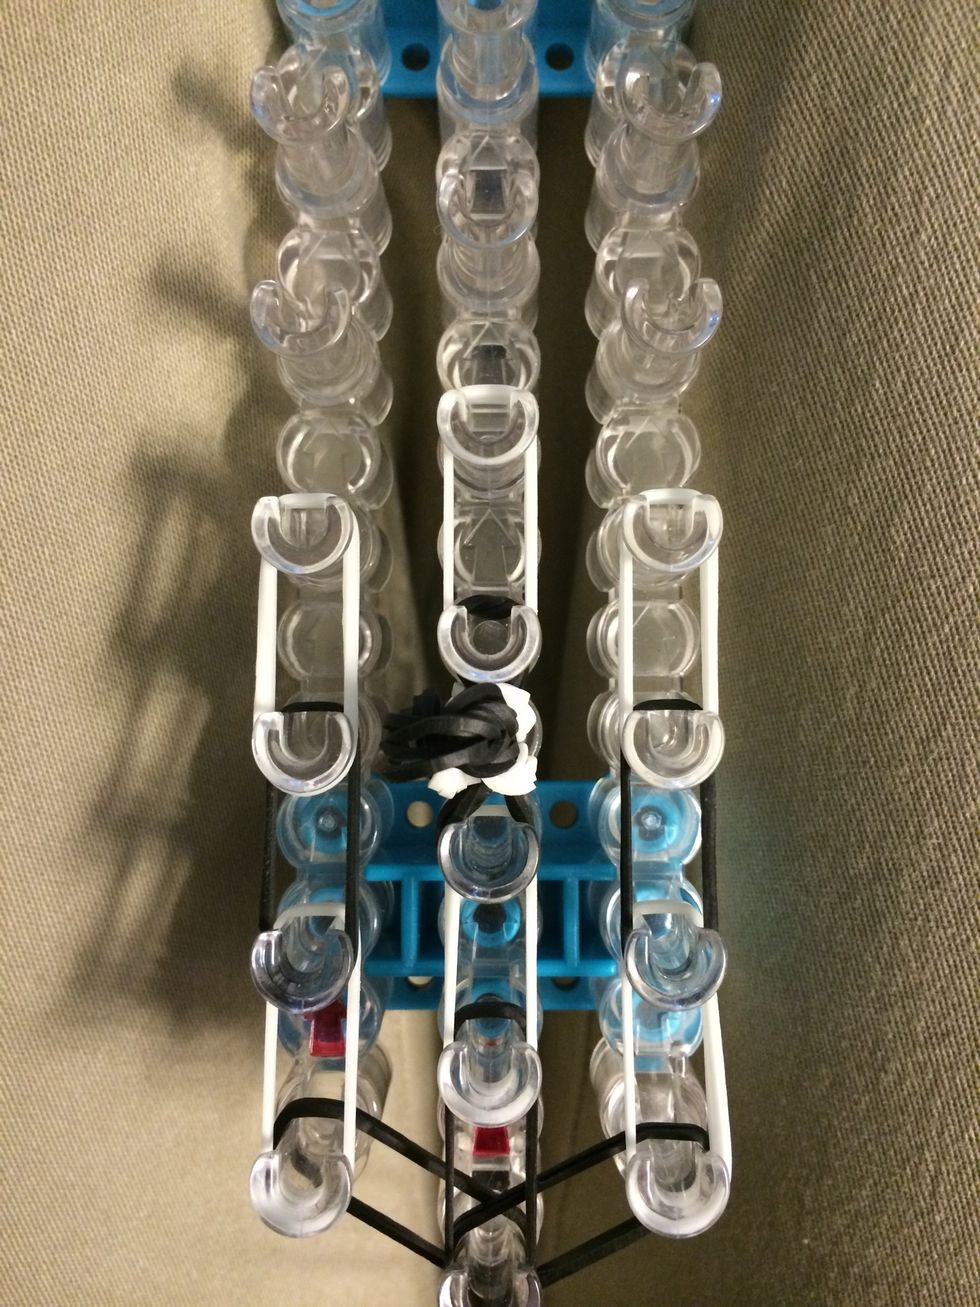
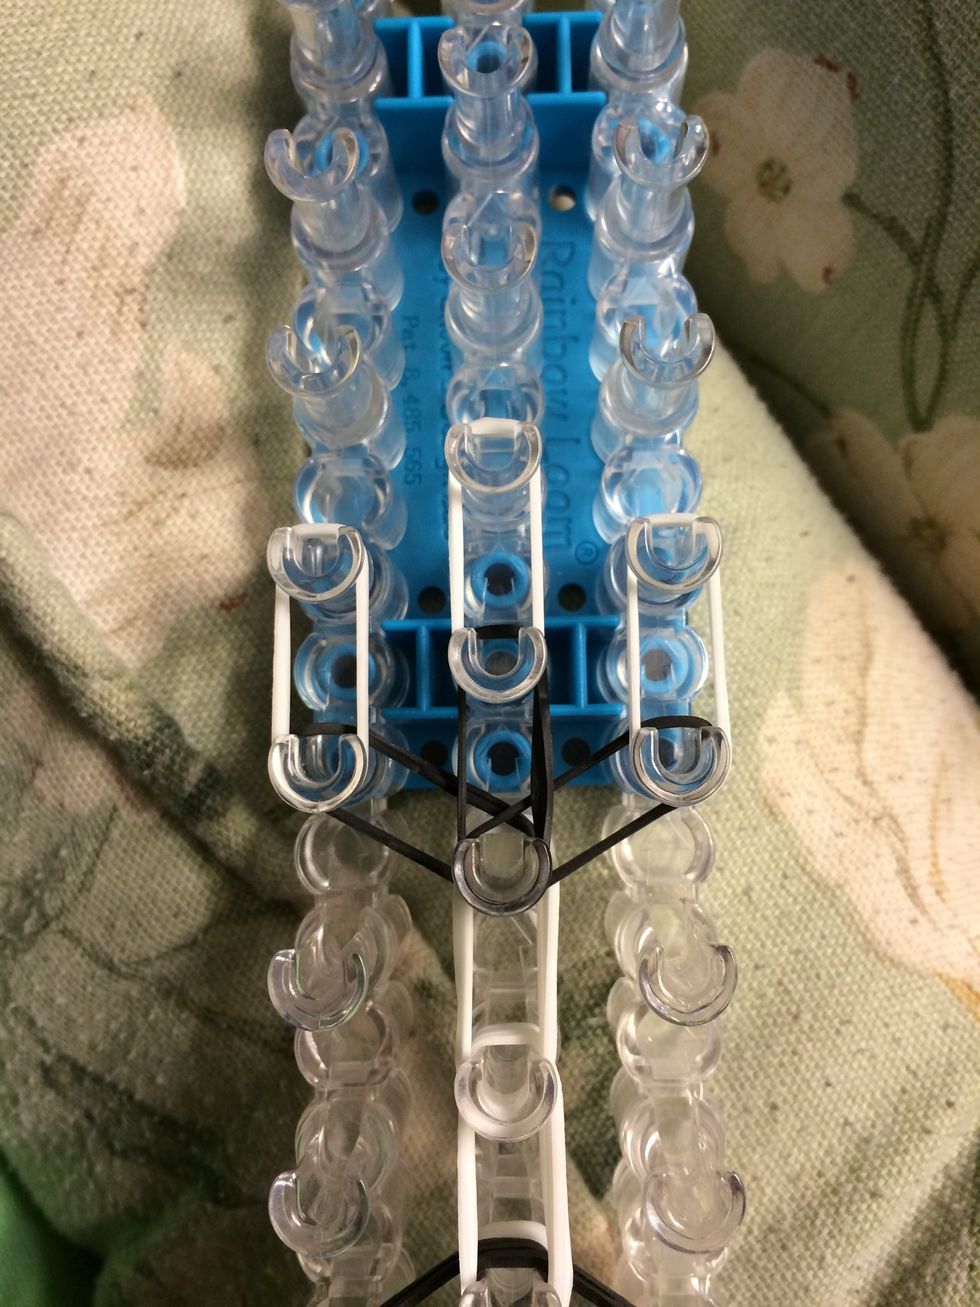
Place two separate sets of 1 white and black band. These are going to be our ears.

Take 1 white band and wrap it around each ear 3 times.
Turn your loom around and Reach in one of the ears and loop the two bands forward.
Just like this. Do the same thing to the other ear.
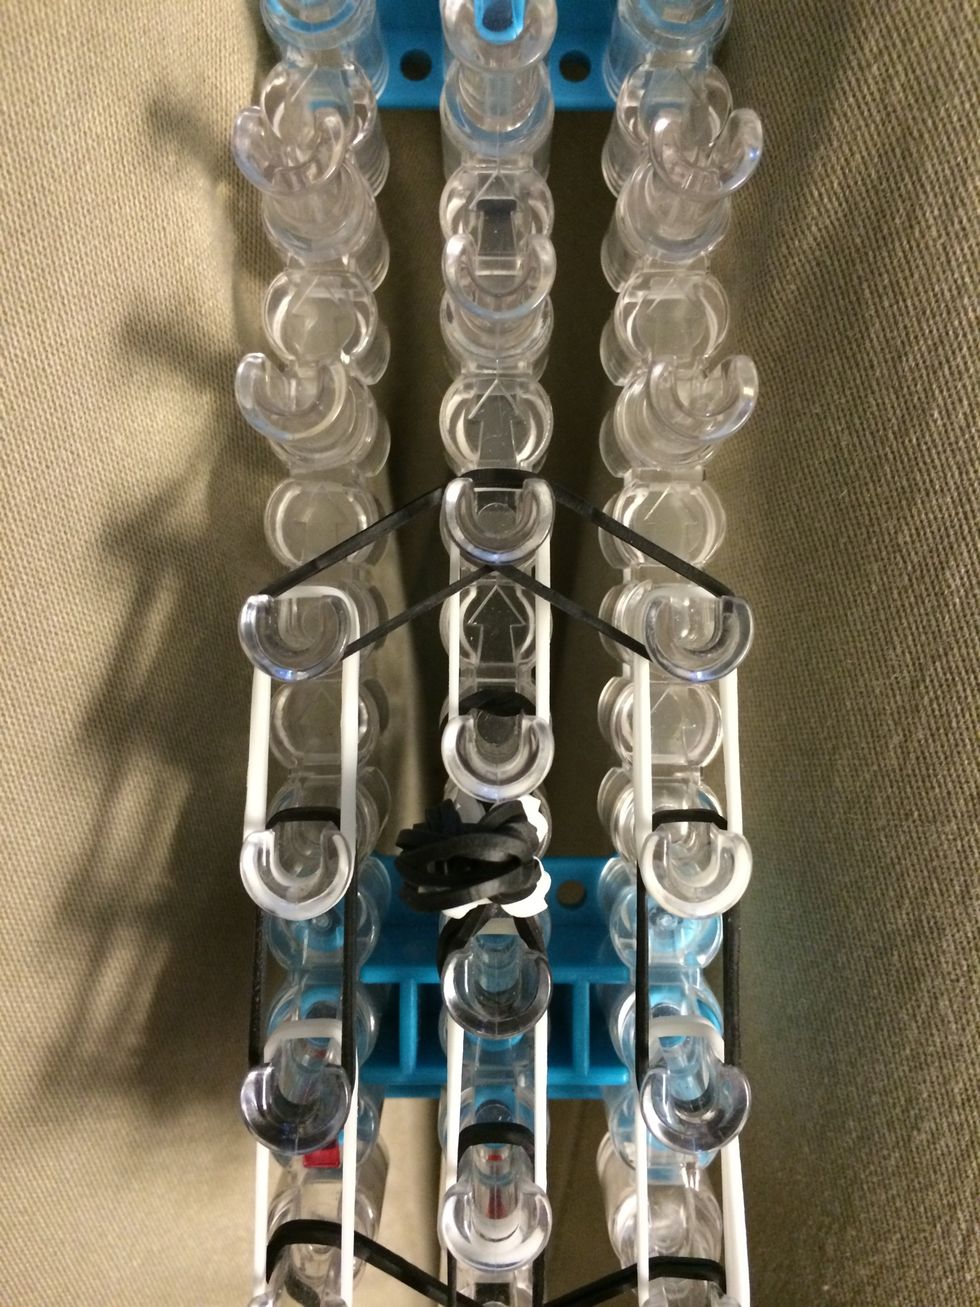
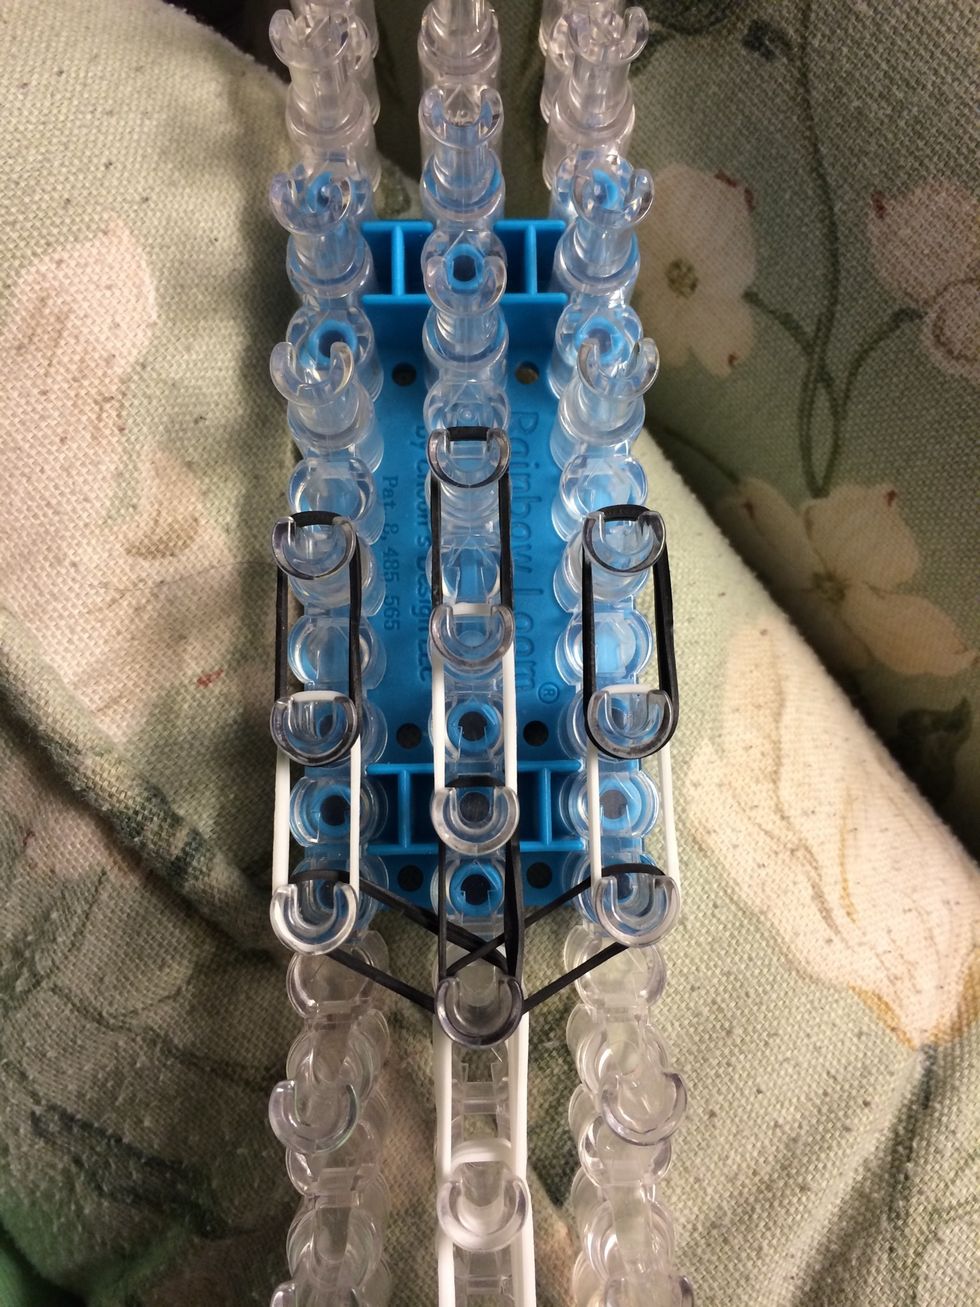
Now let's loop the nose. Reach in and grab the 1st set of bands and loop them forward. Continue for the next 2 bands.
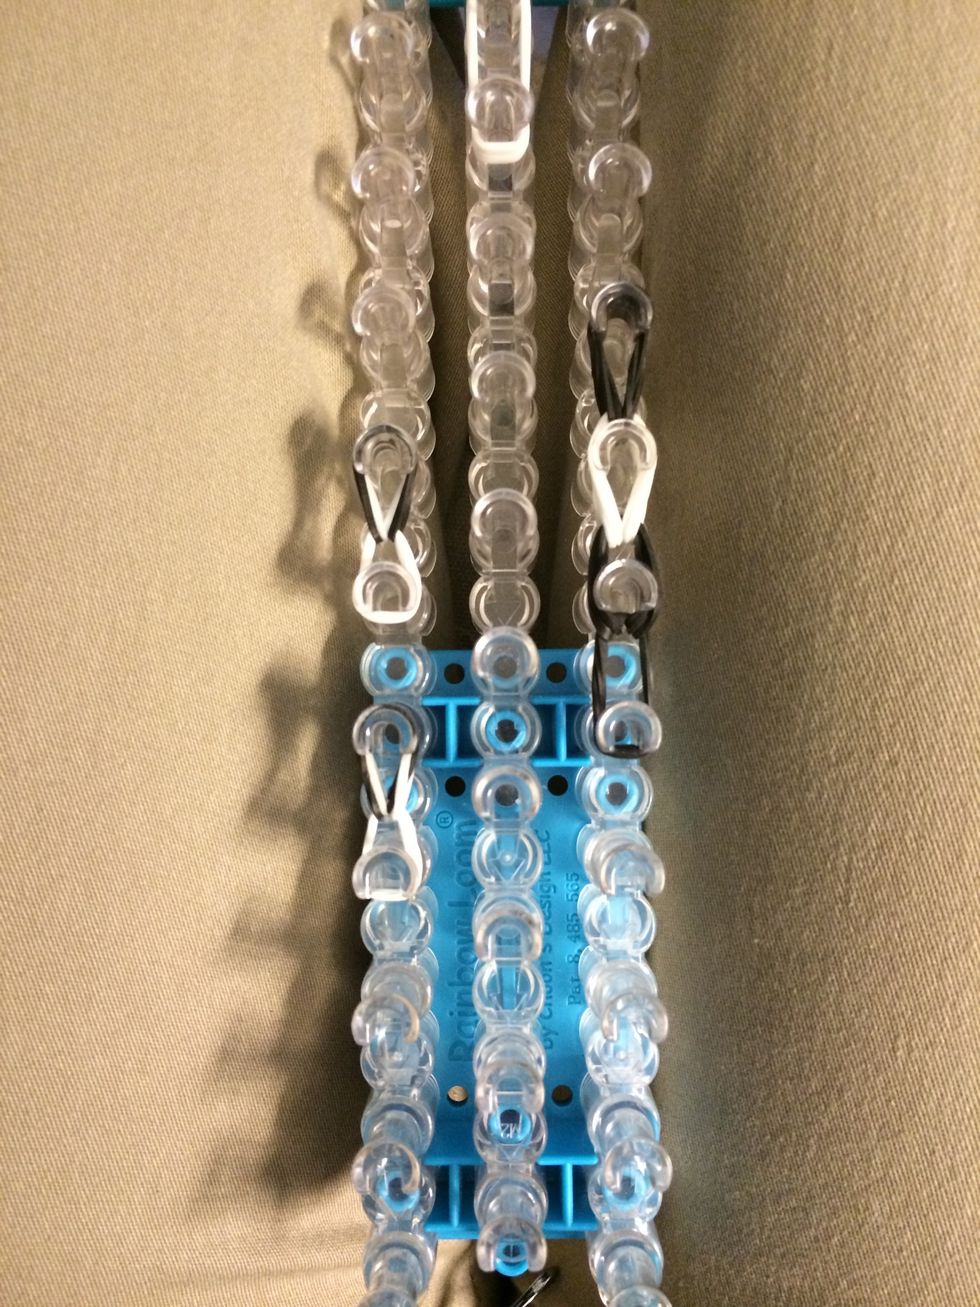
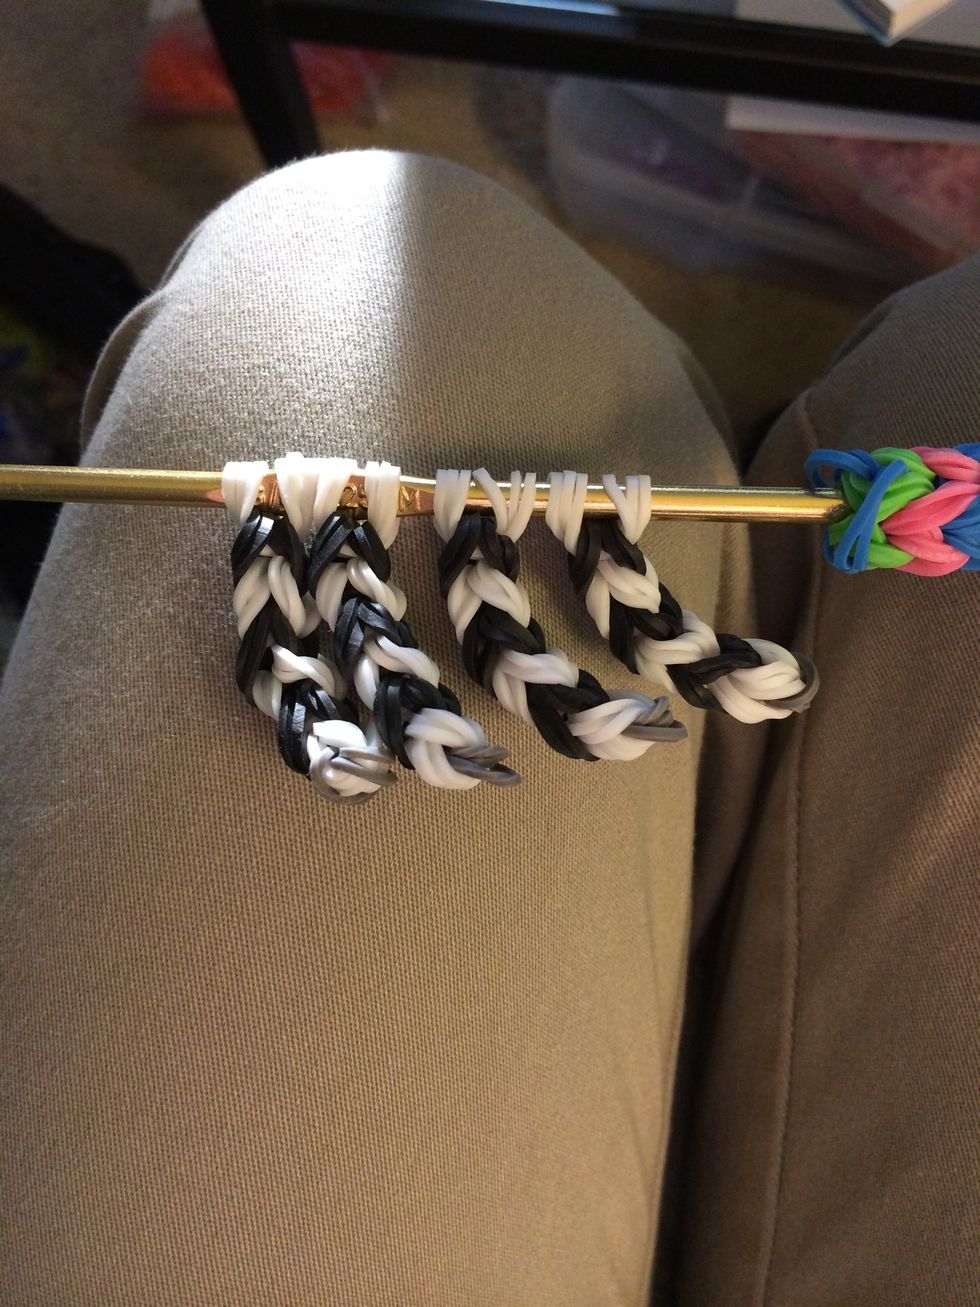
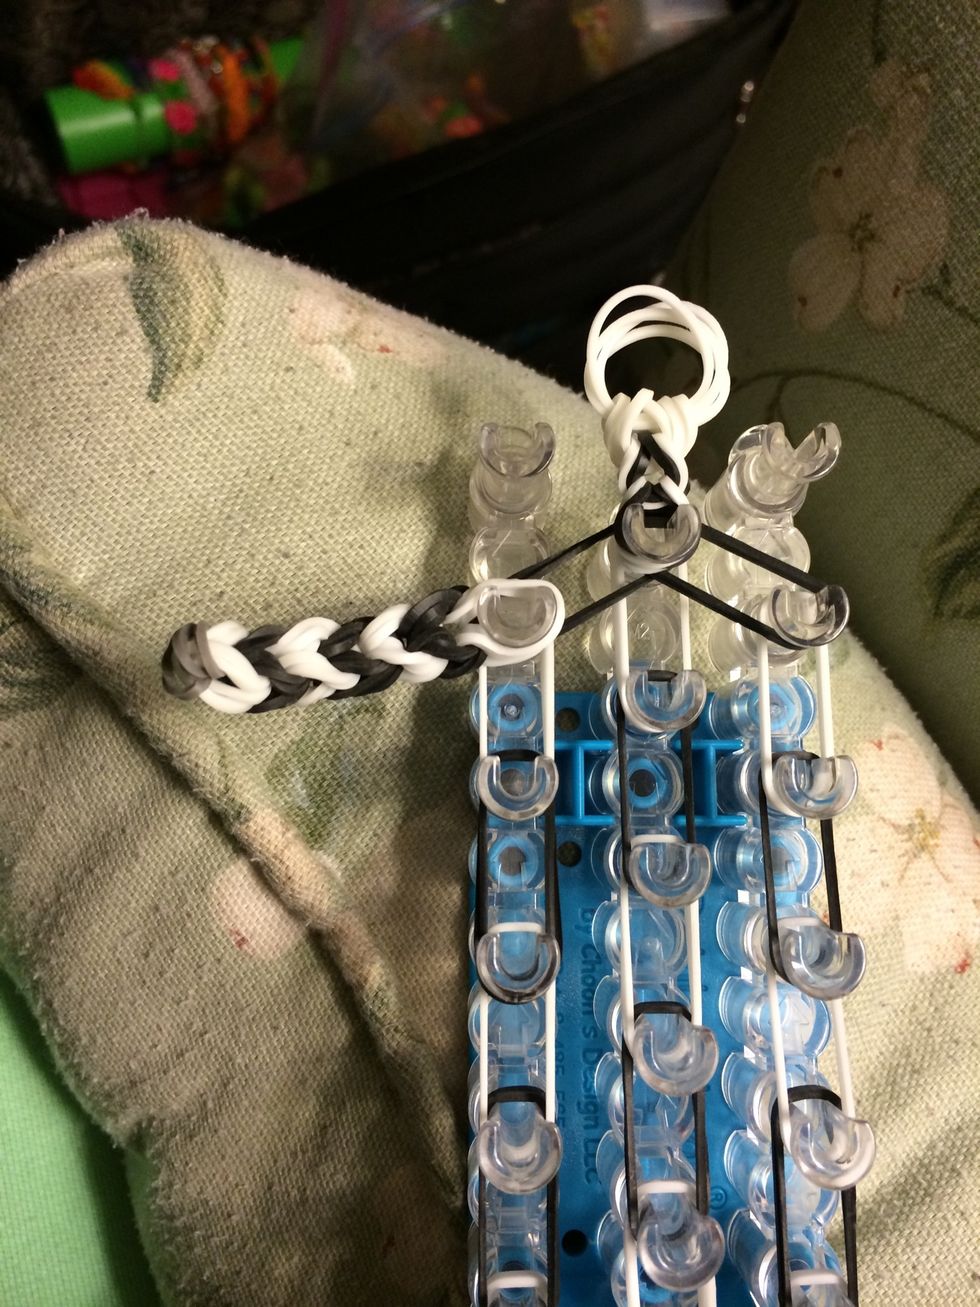
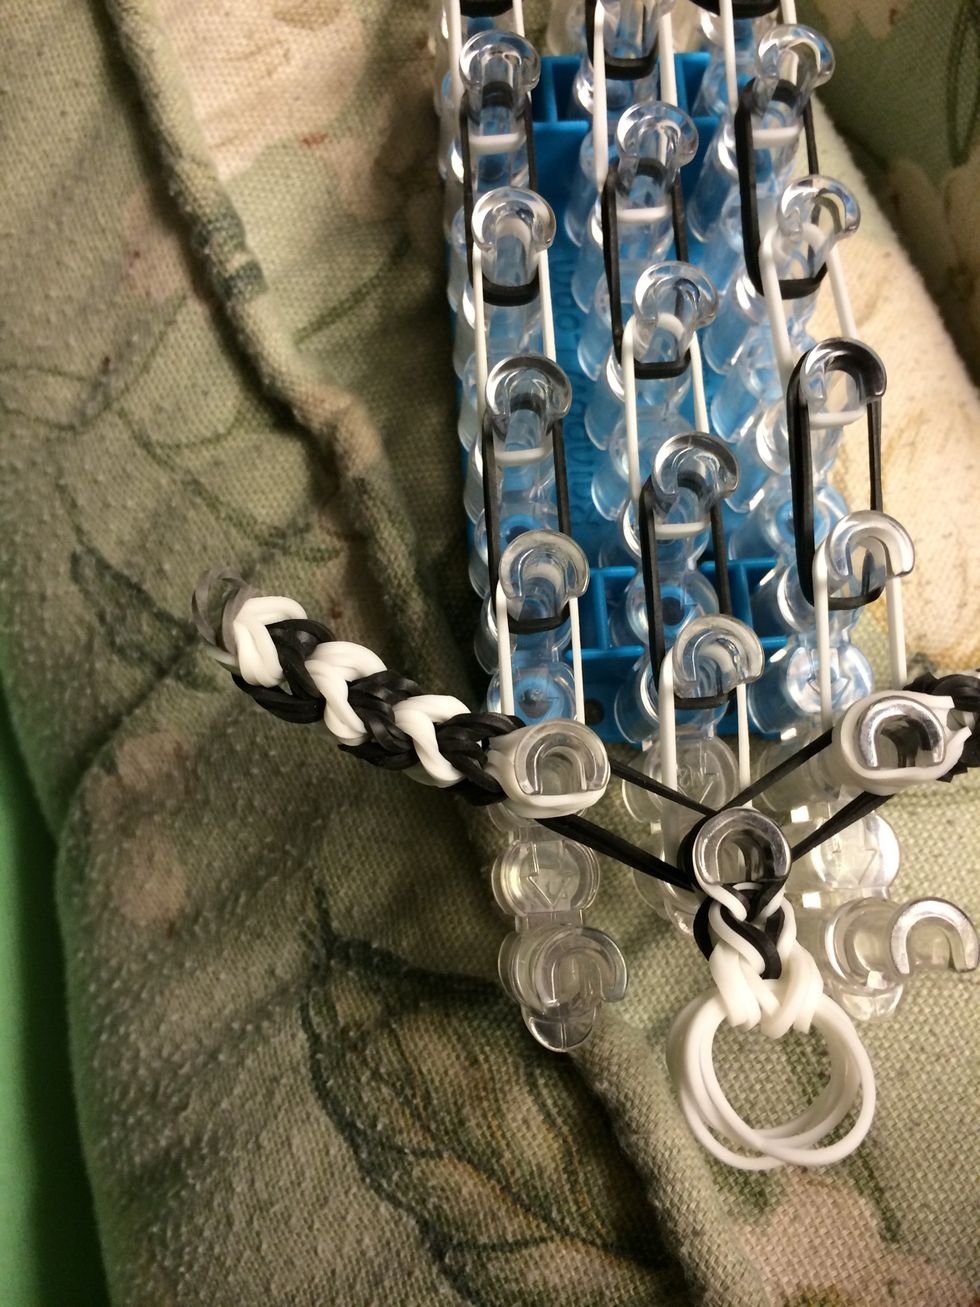
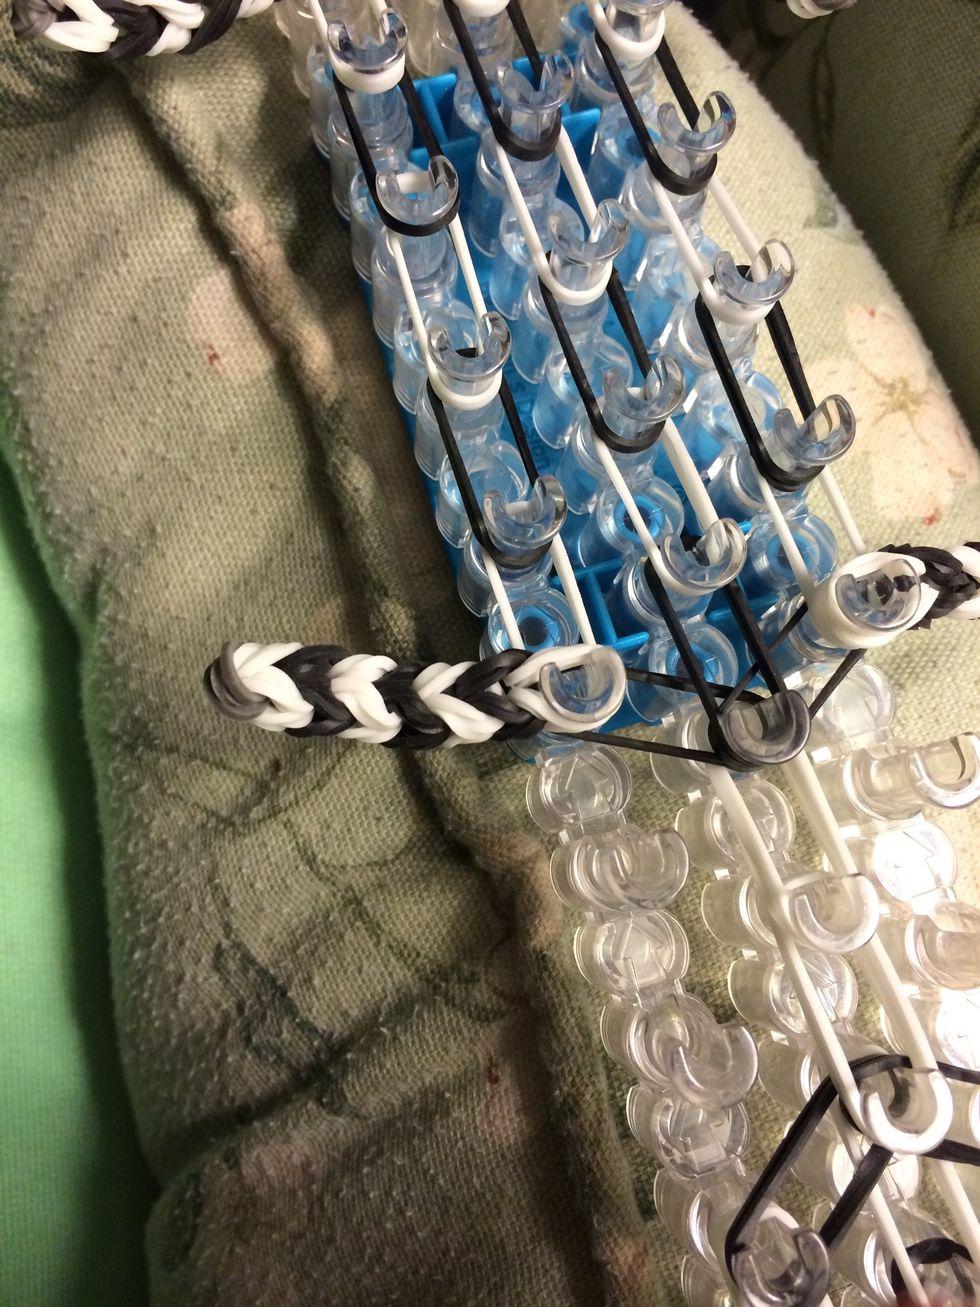
Now that we have the tail,ears and nose looped let's take them off our loom.
Here are the ears, nose and tail
Now let's start working on the head and then the body
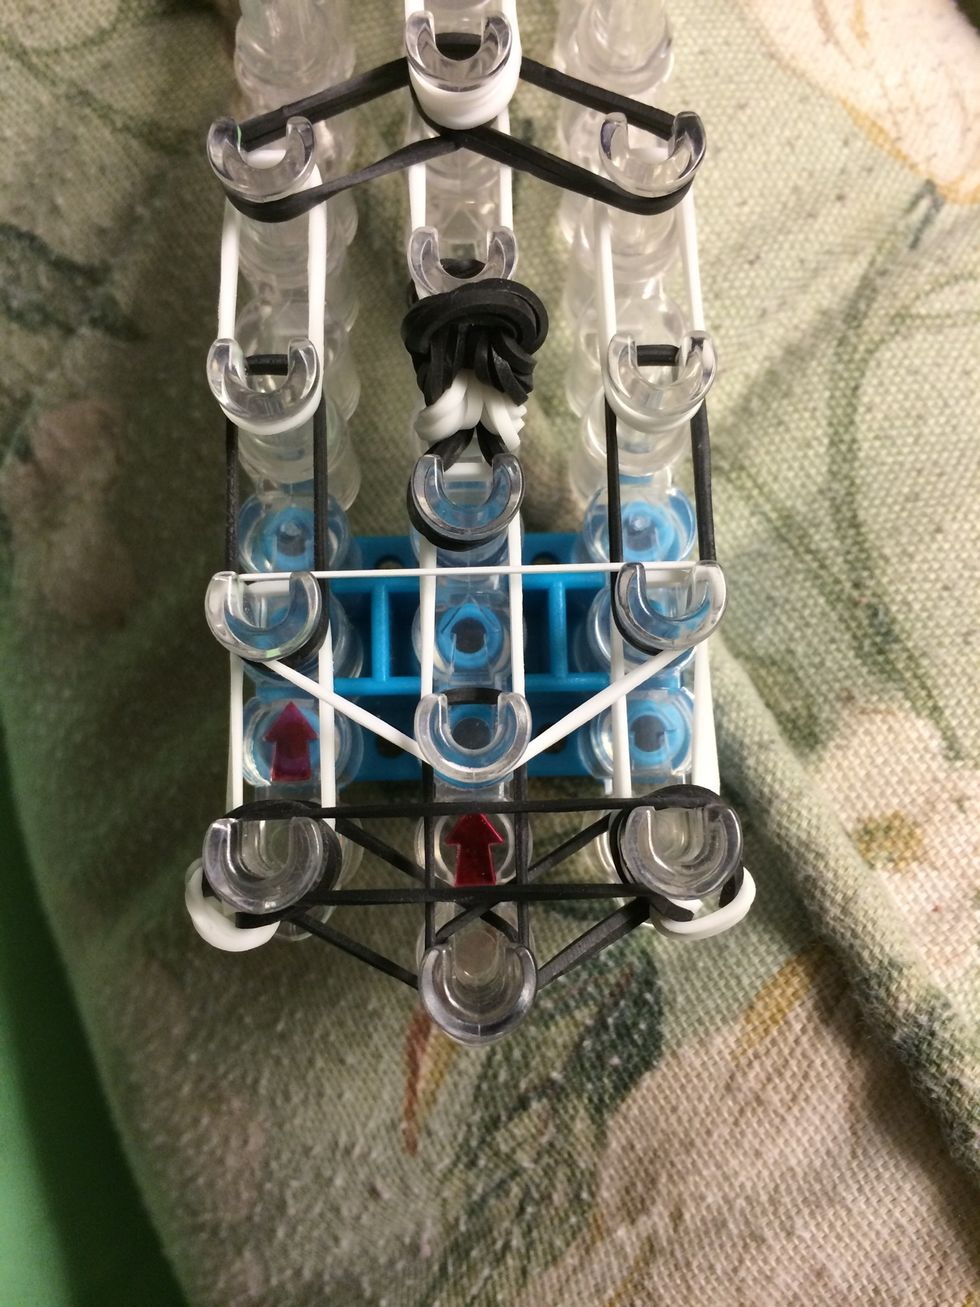
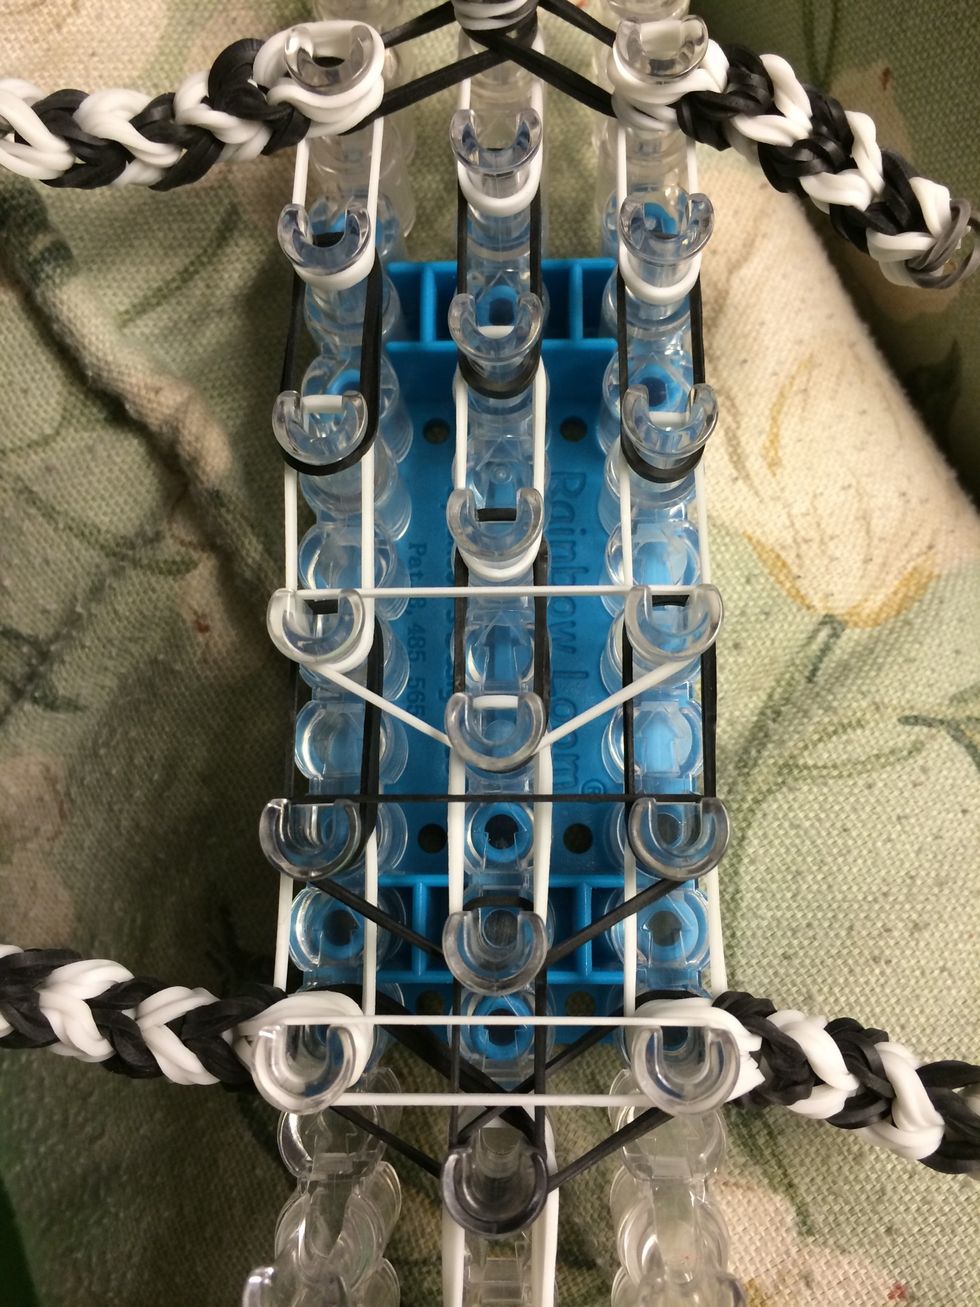
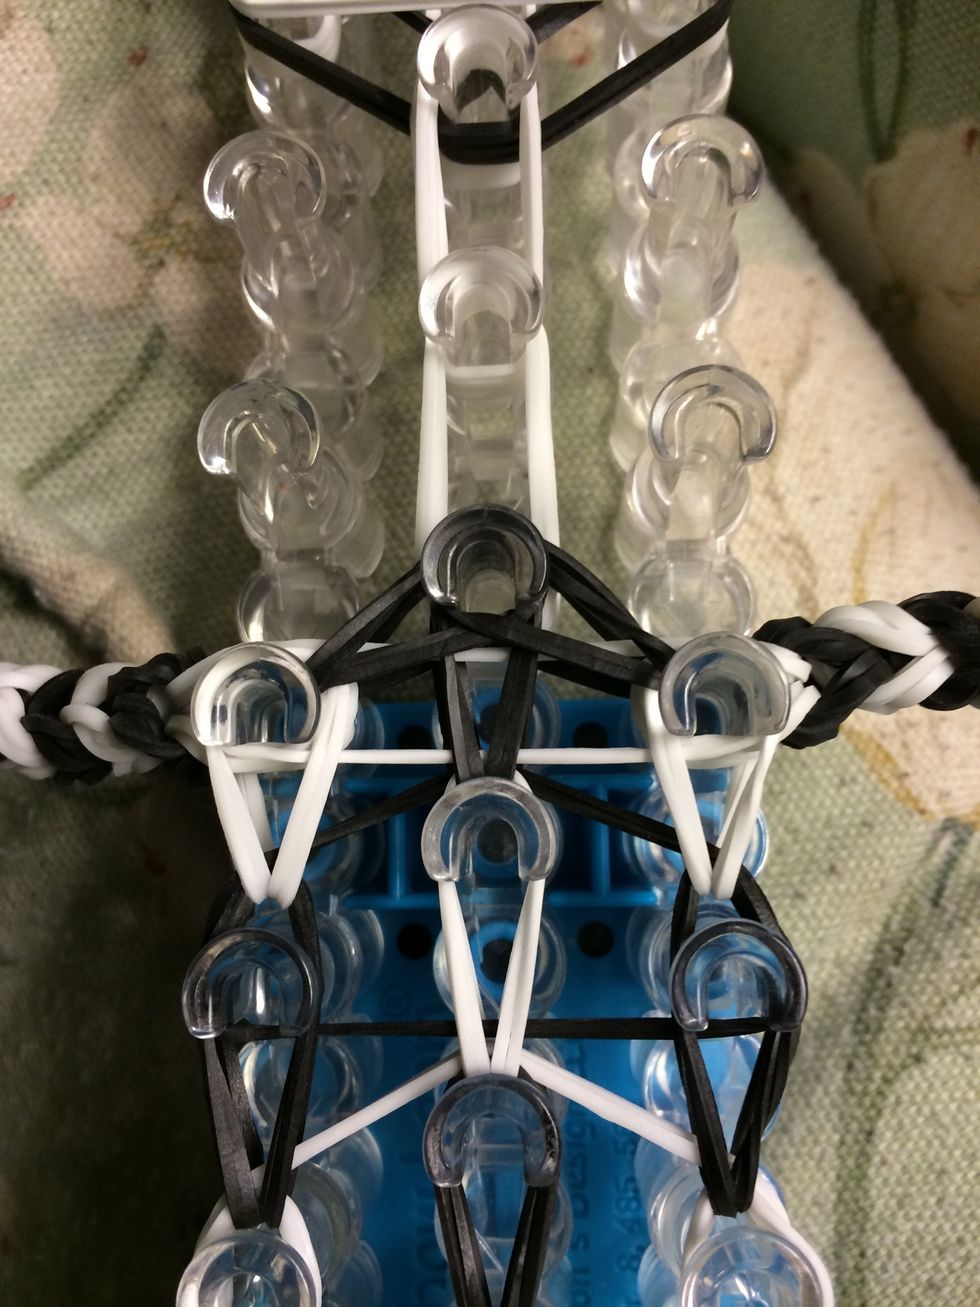
Place 2 black bands from the center to the right and left.
Place 2 black bands up the middle.
Place a row of white bands across the black. Each set will have 2 white bands.
Place 2 black bands on the left and right.
Grab your nose
Place it in the middle
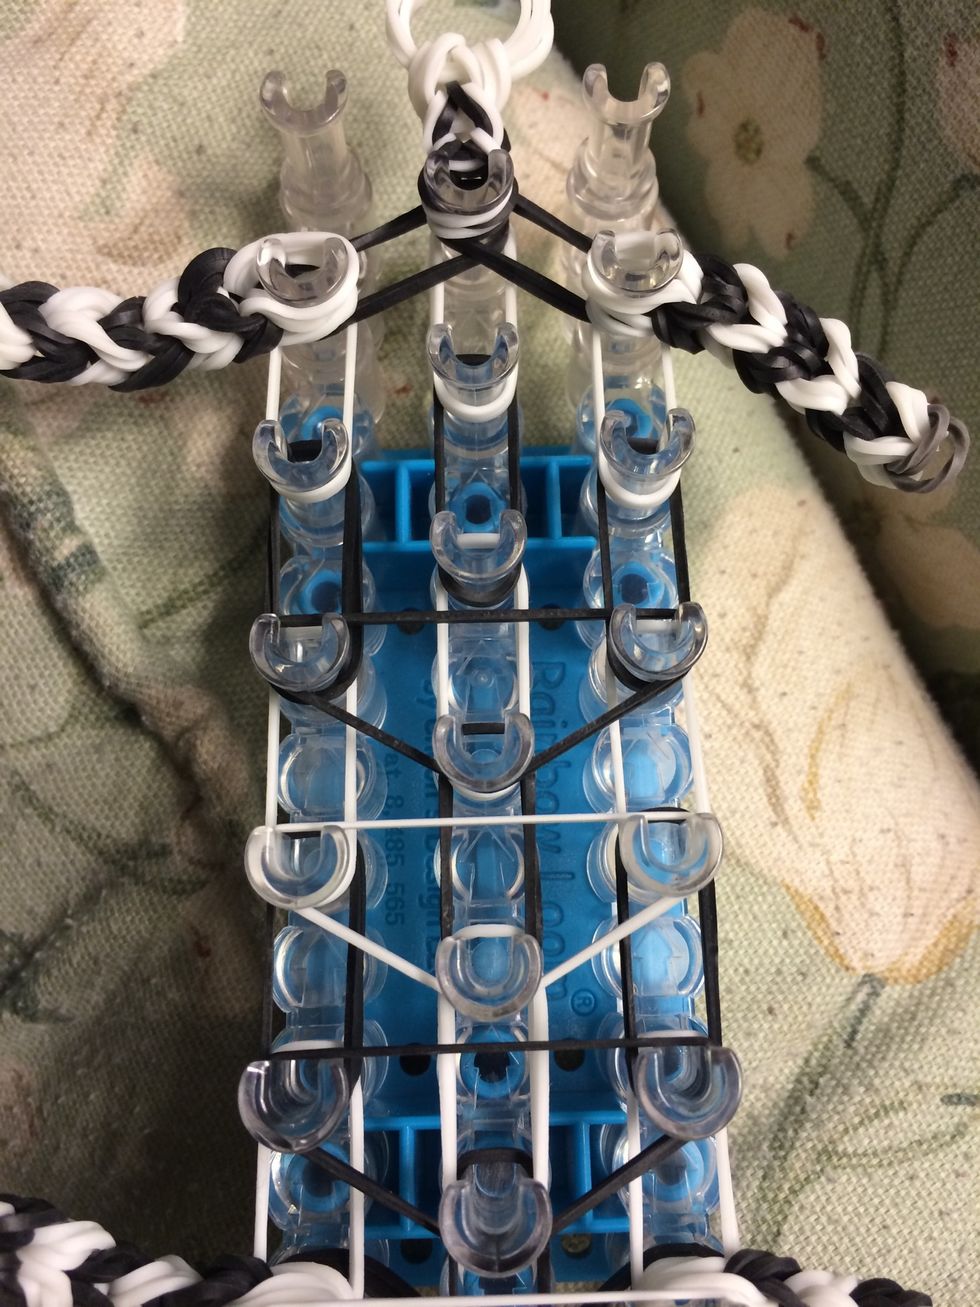
Place a set of 3 white bands on the next row.
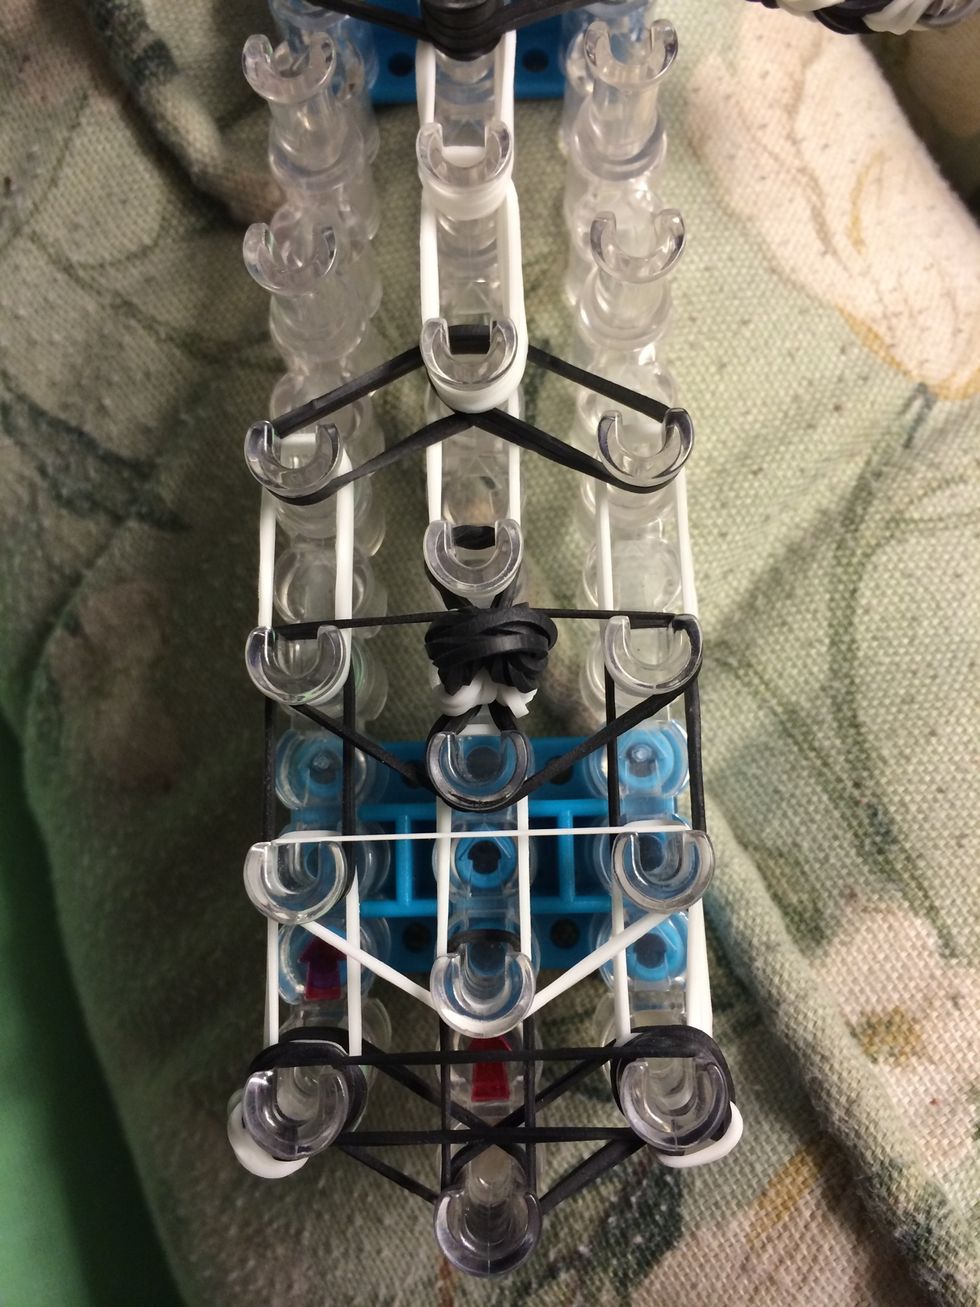
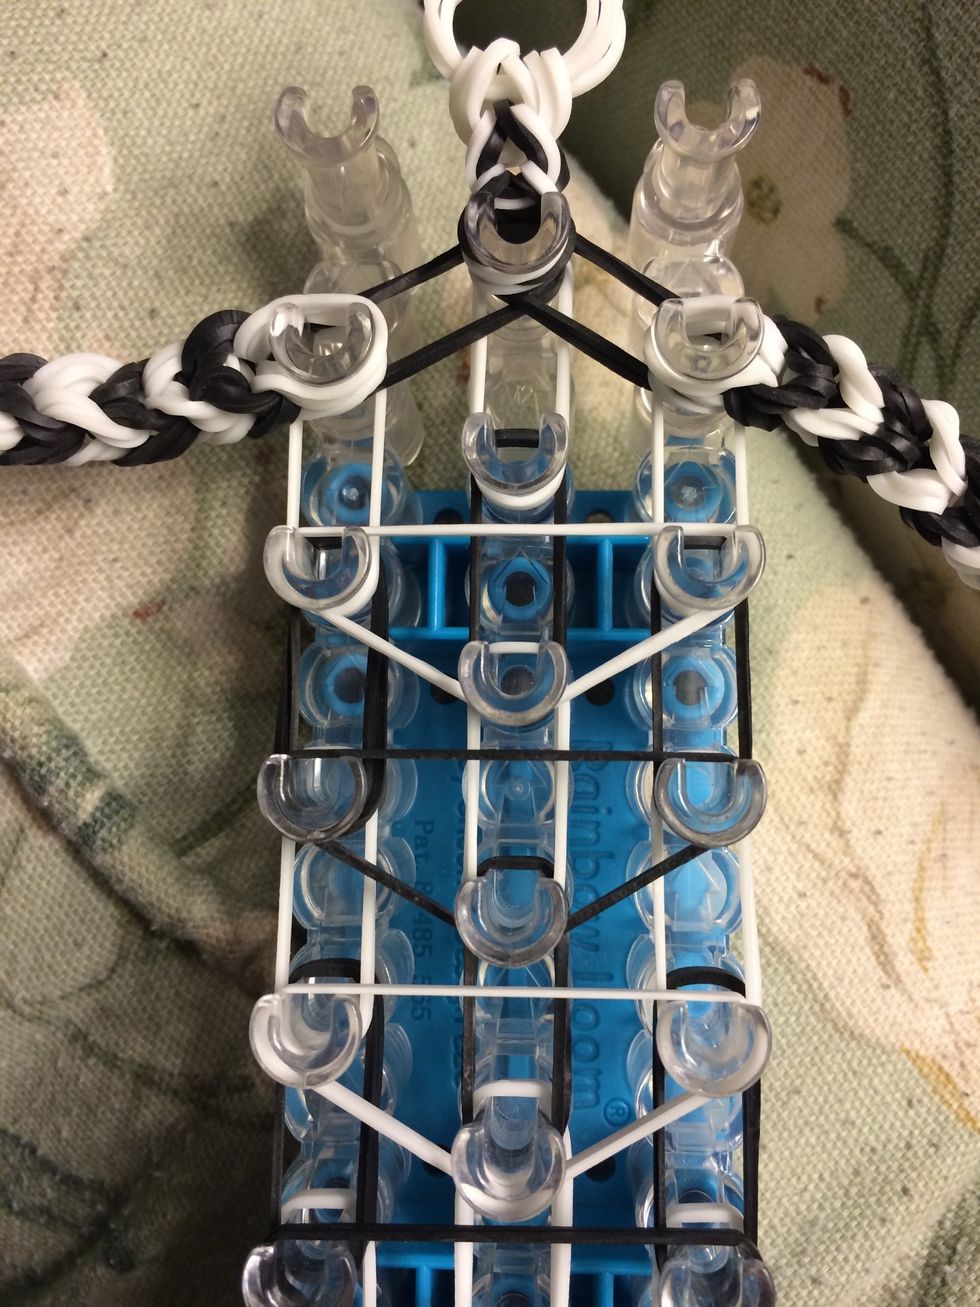
Place 2 black bands from the left to the center and from the right to the center. Let's go ahead and put on the ears before we move to the body
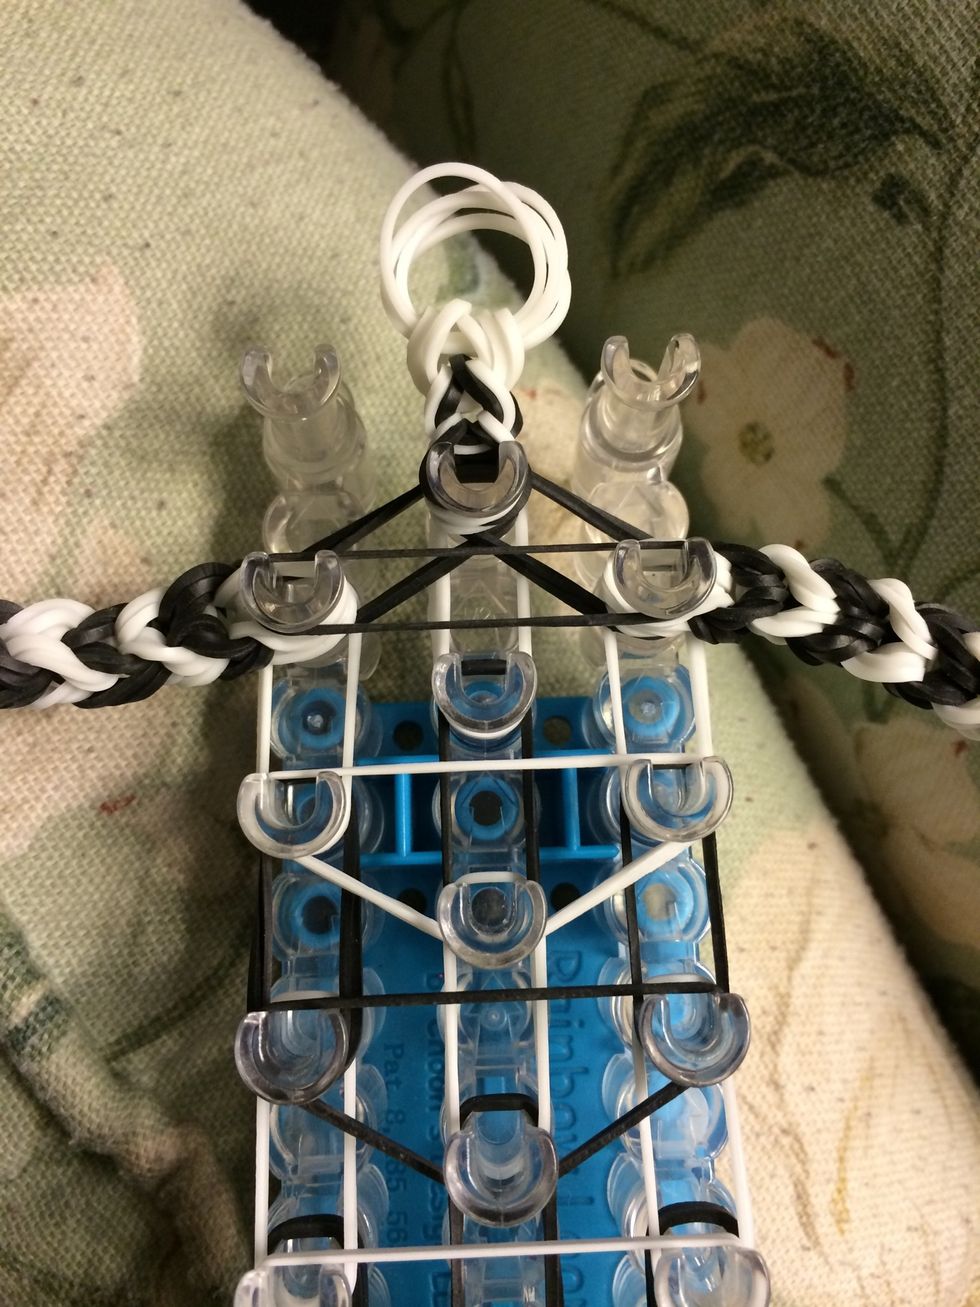
Go to the top of the head and place 1 ear here.
Go to the other side and place the other ear. Let's move on two the body.
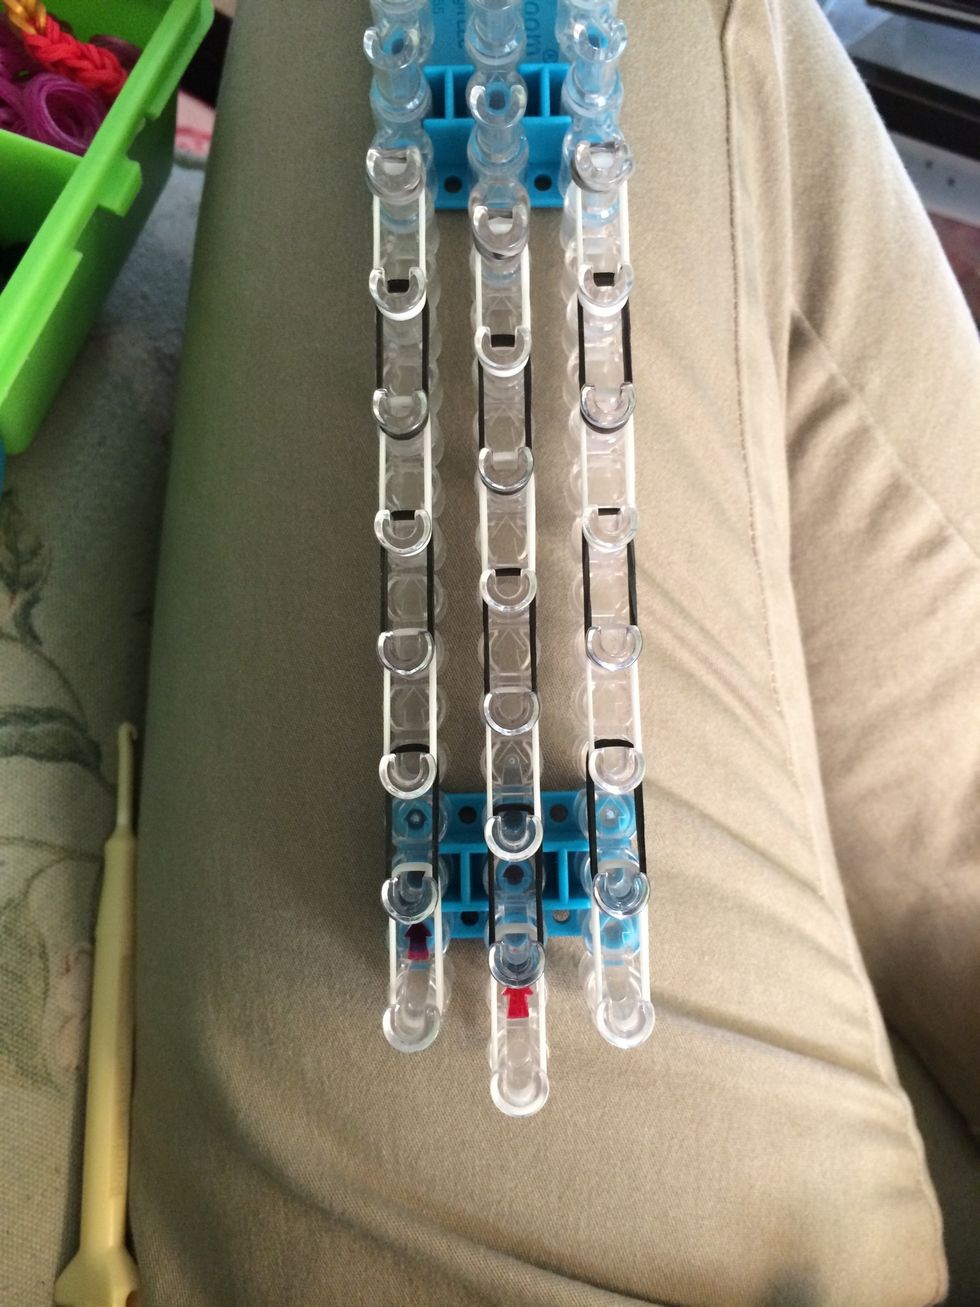
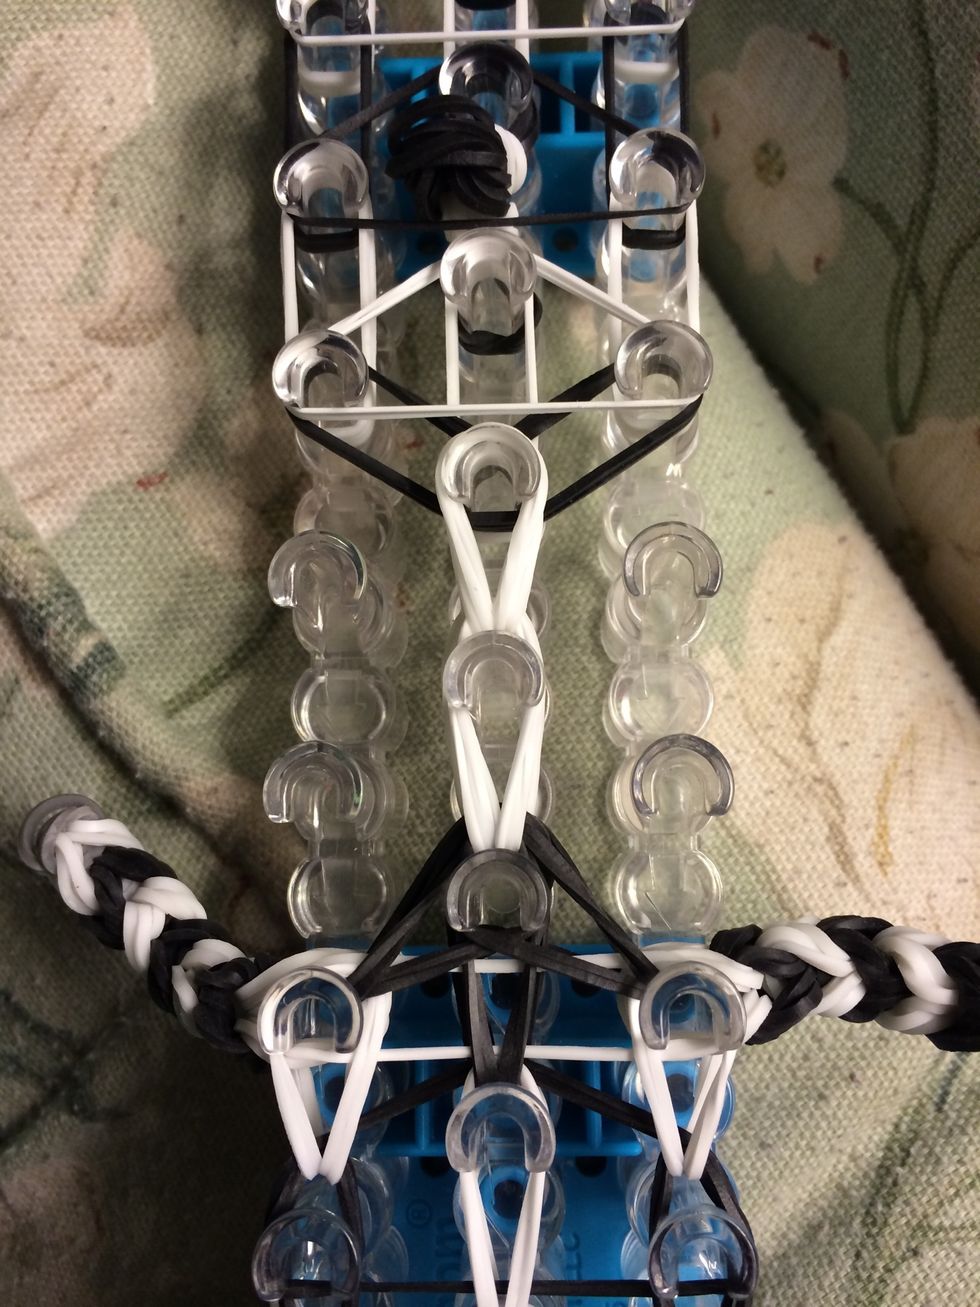
Here is the body layout
Place 4 white bands in the middle
Place 4 more white bands
Place 2 black bands to the left and 2 to the right. We will be using 2 bands on each placement

Place 2 black bands down the middle
Place a set of 2 white bands on the next row. That is 6 bands total
Do a row of black
And then a row of white
And then another row of black
Do the last row of white
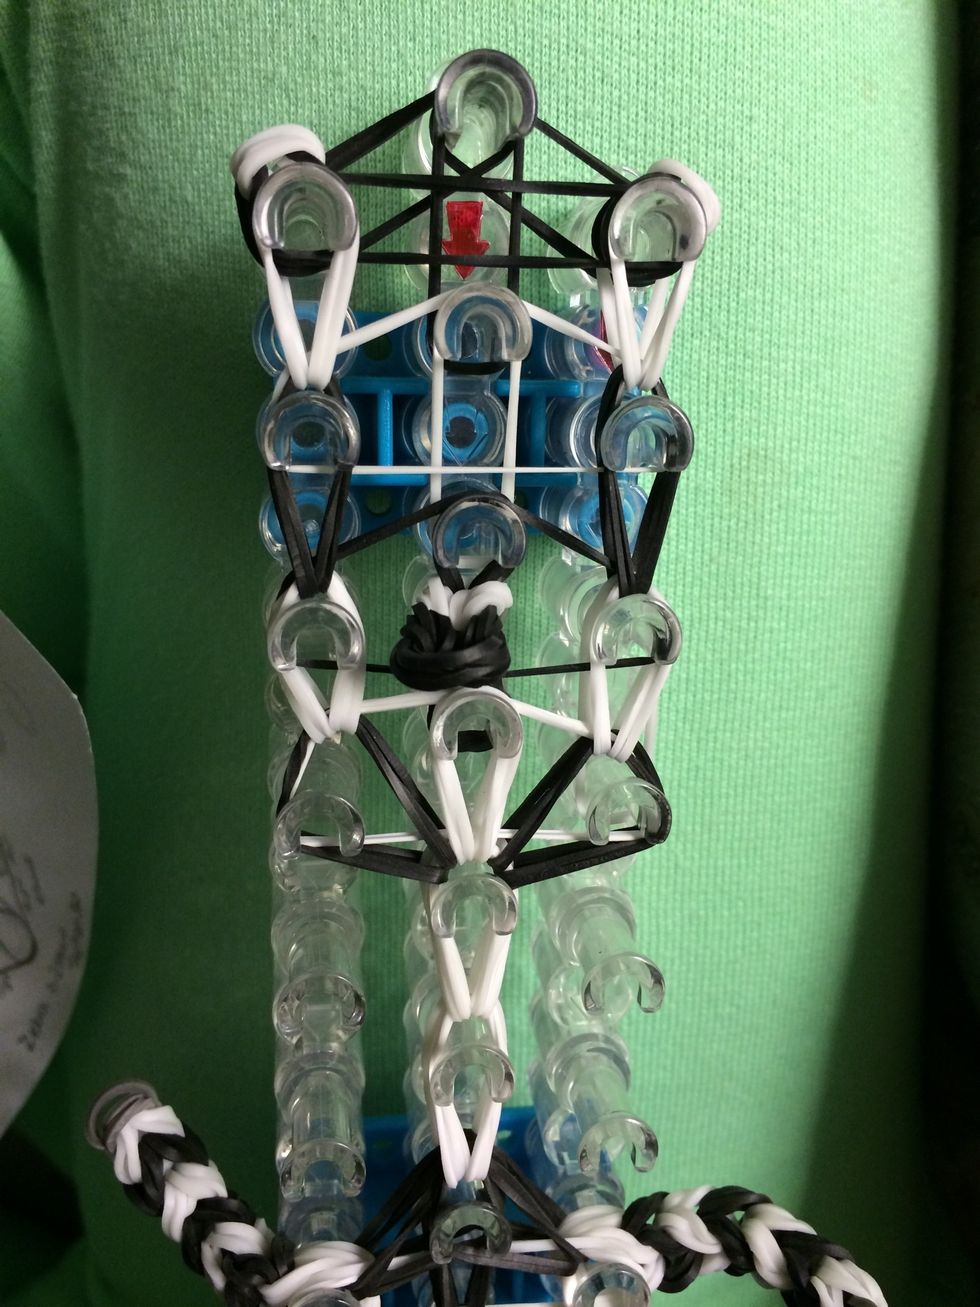
Place 2 black bands from the left to the center and from the right to the center
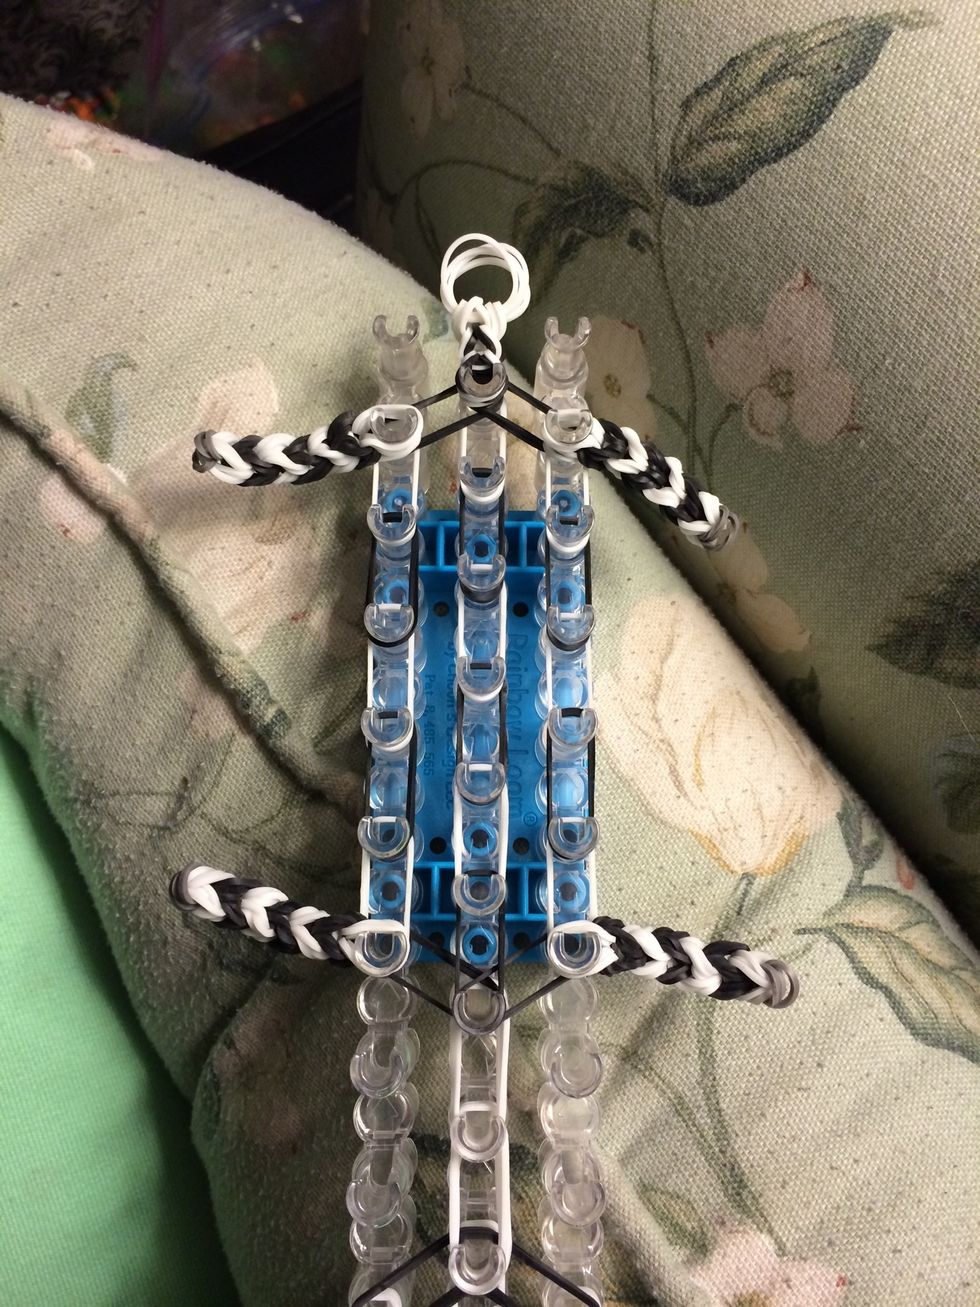
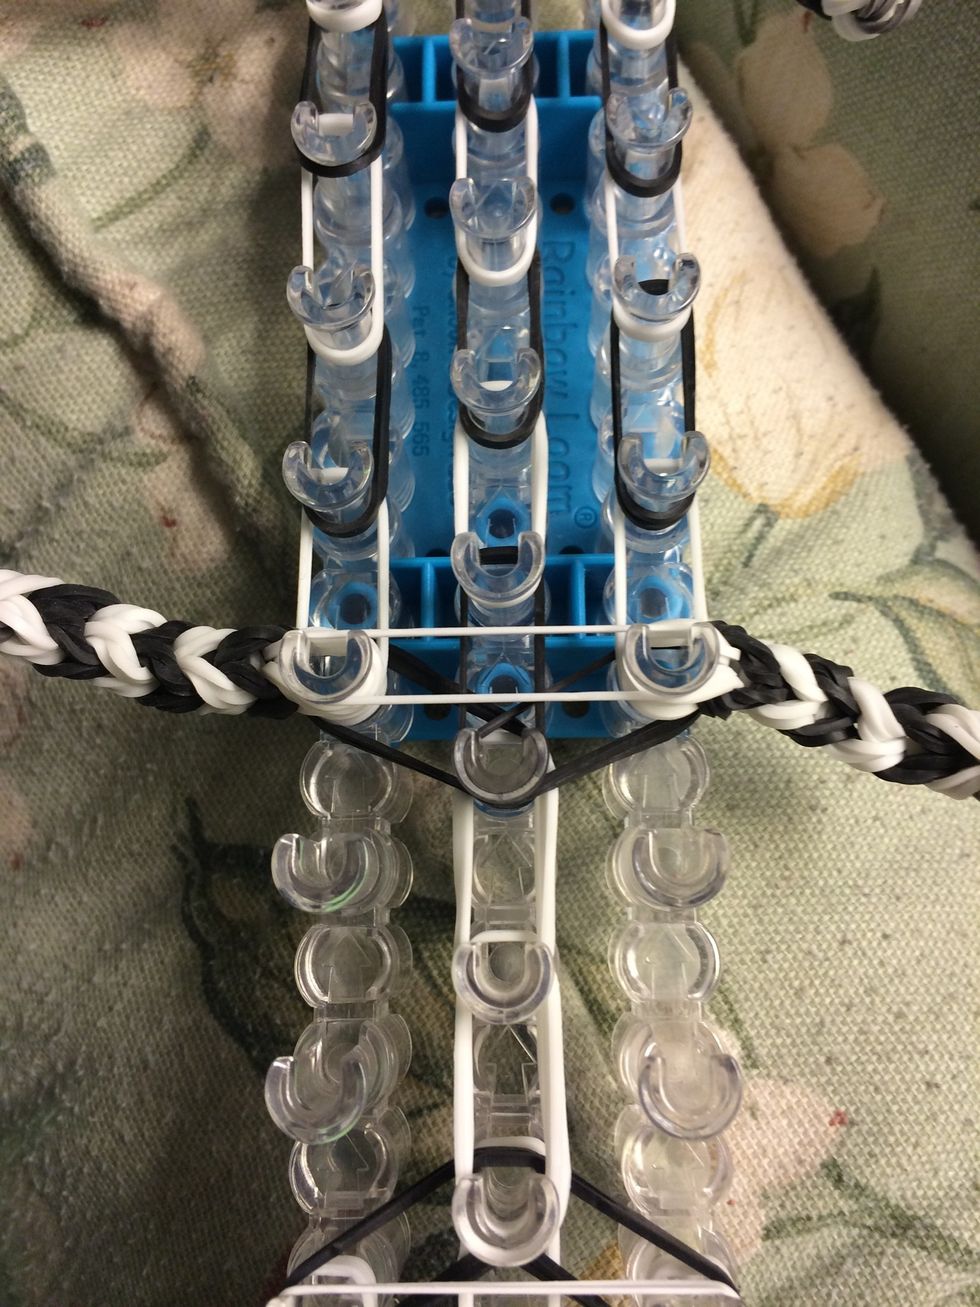
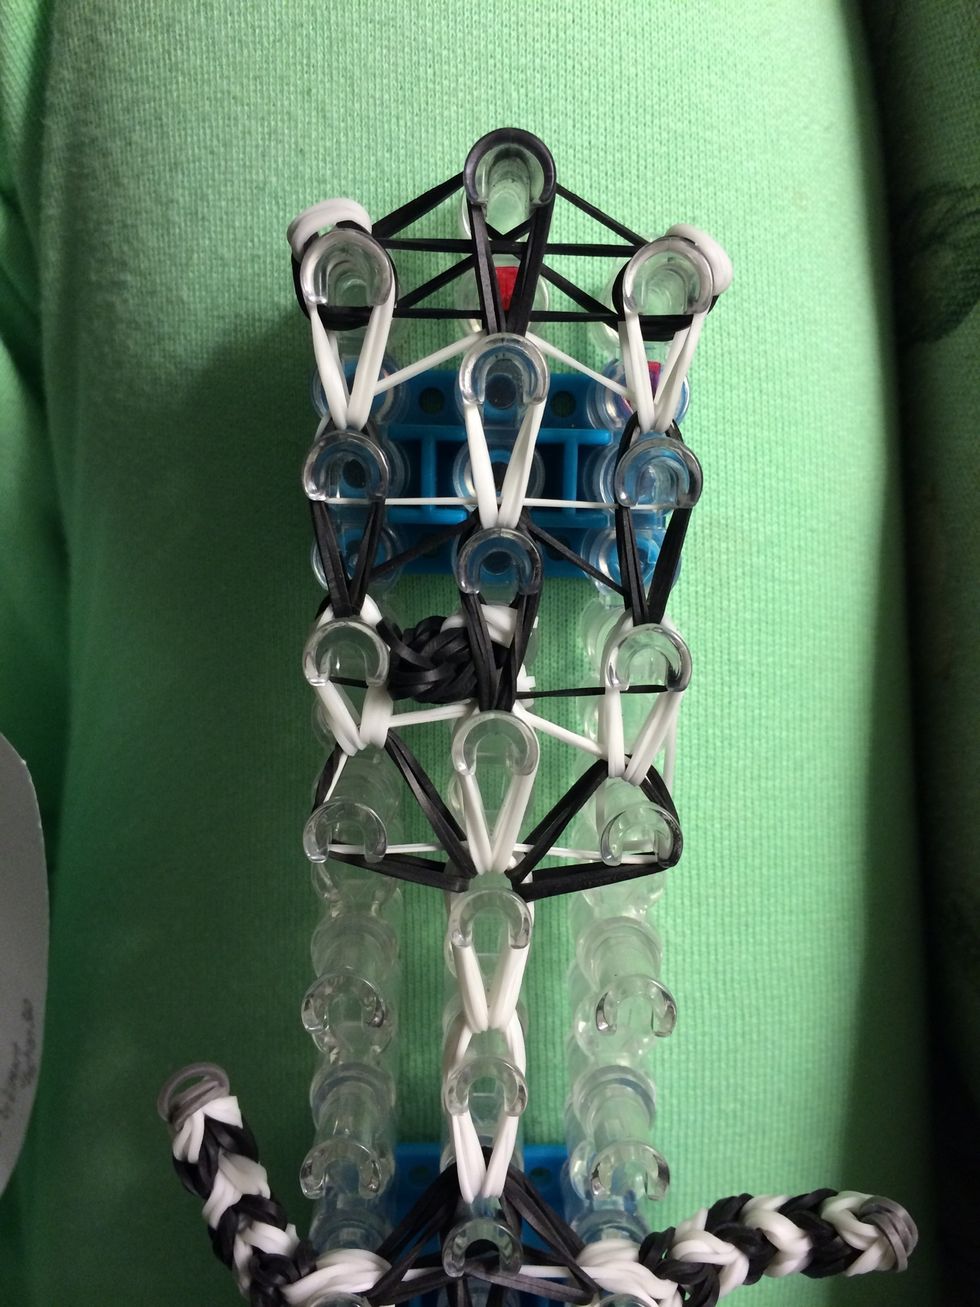
Here is what the body should look like
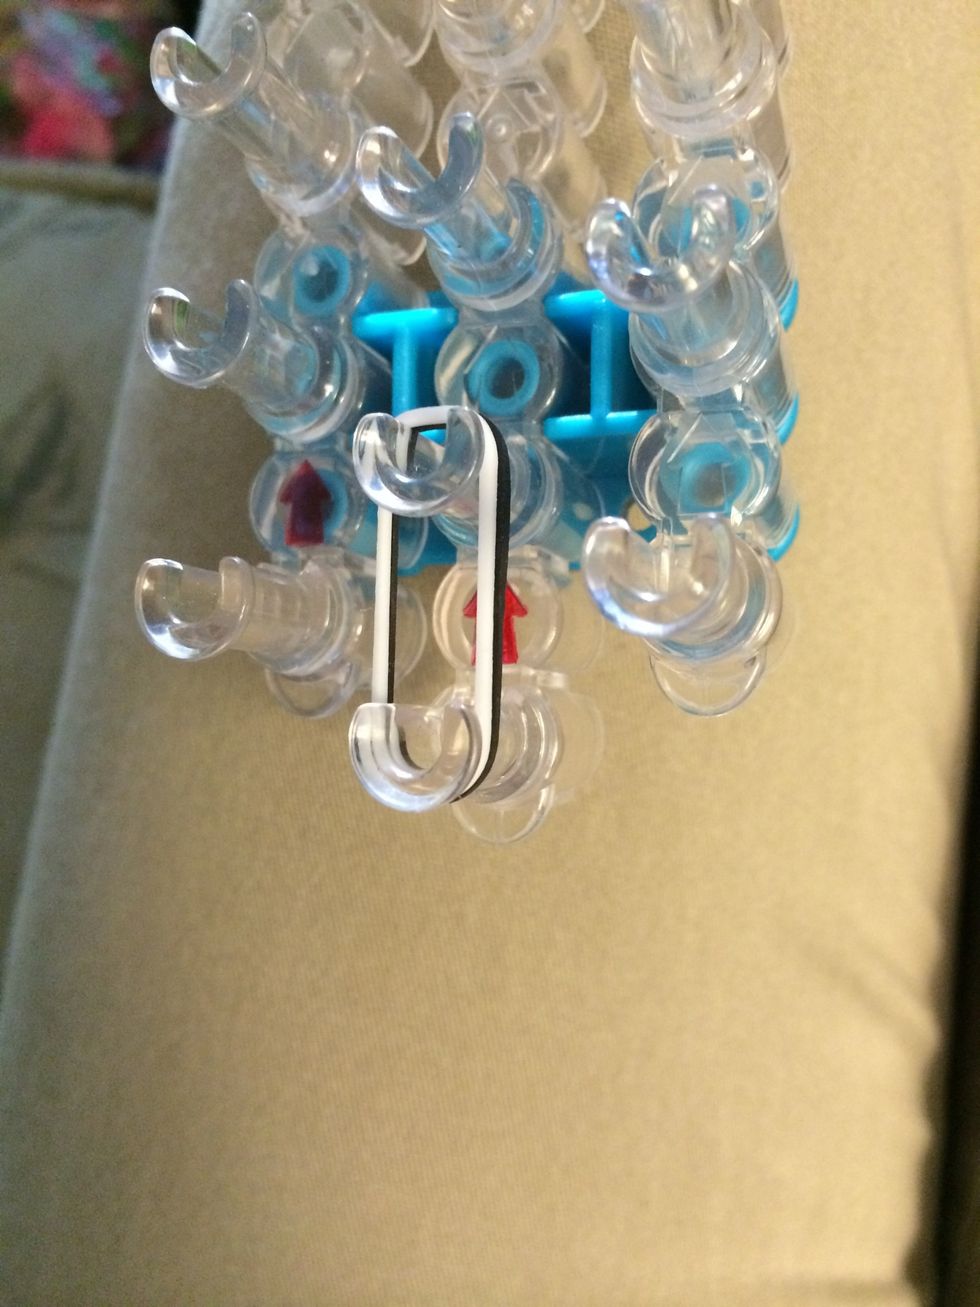
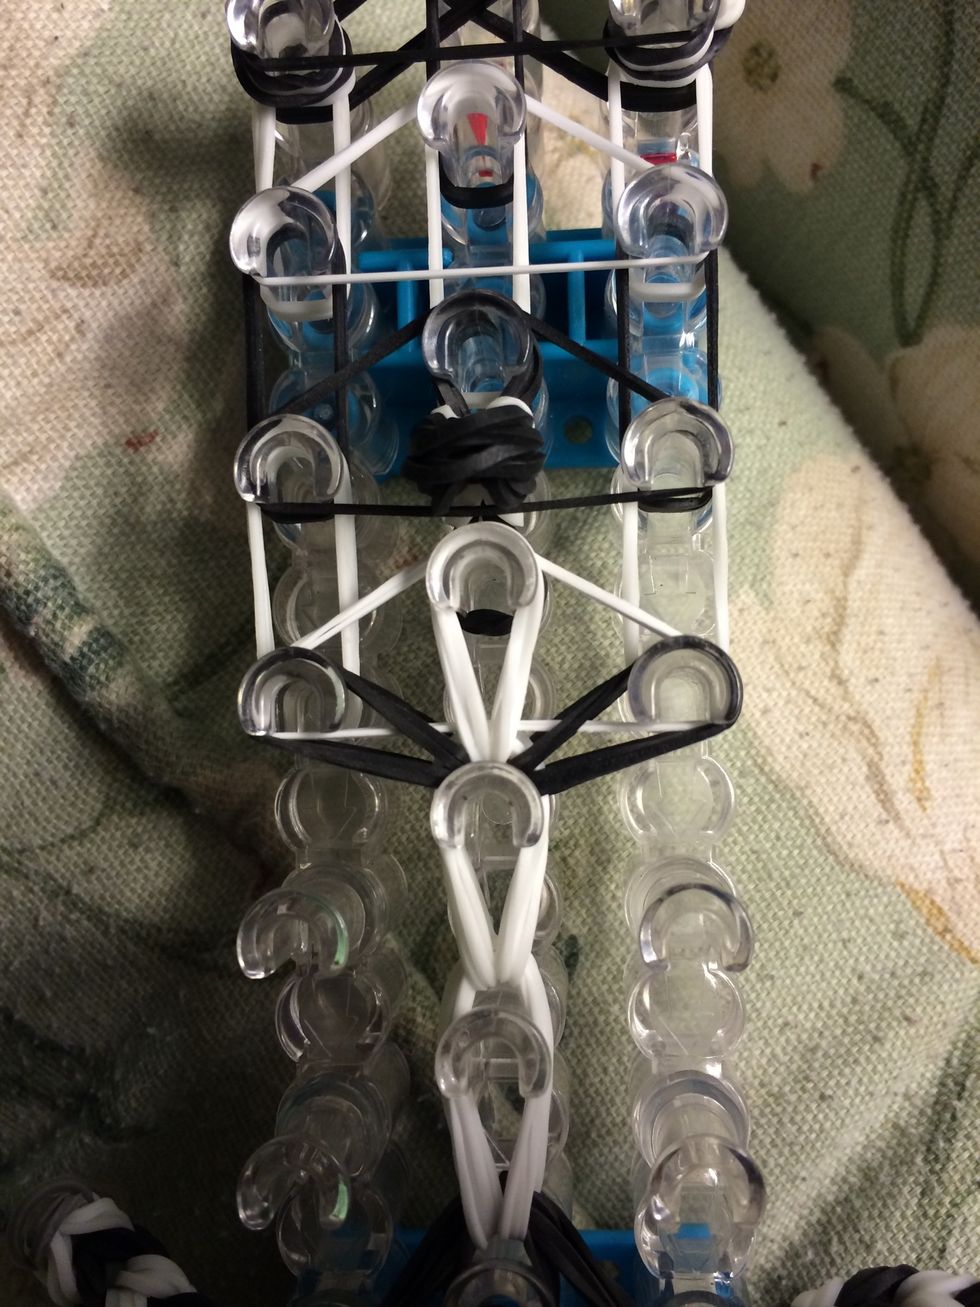
Grab your tail and put it on the very last peg in the center
Grab one leg and put it here
Put another leg on the other side
Go up near the neck and shoulder and put one here
And put the last leg on the other side
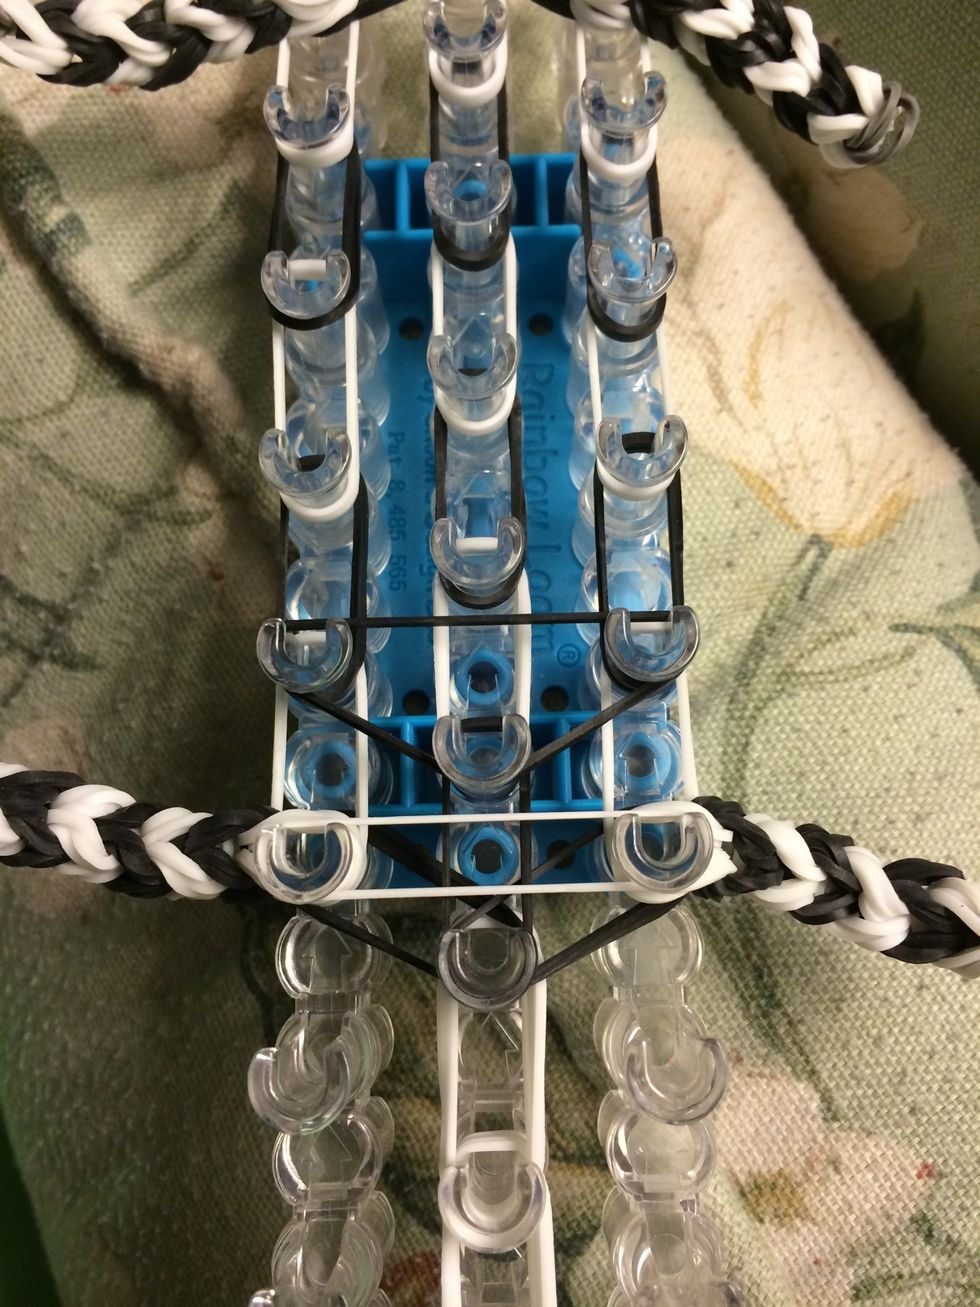
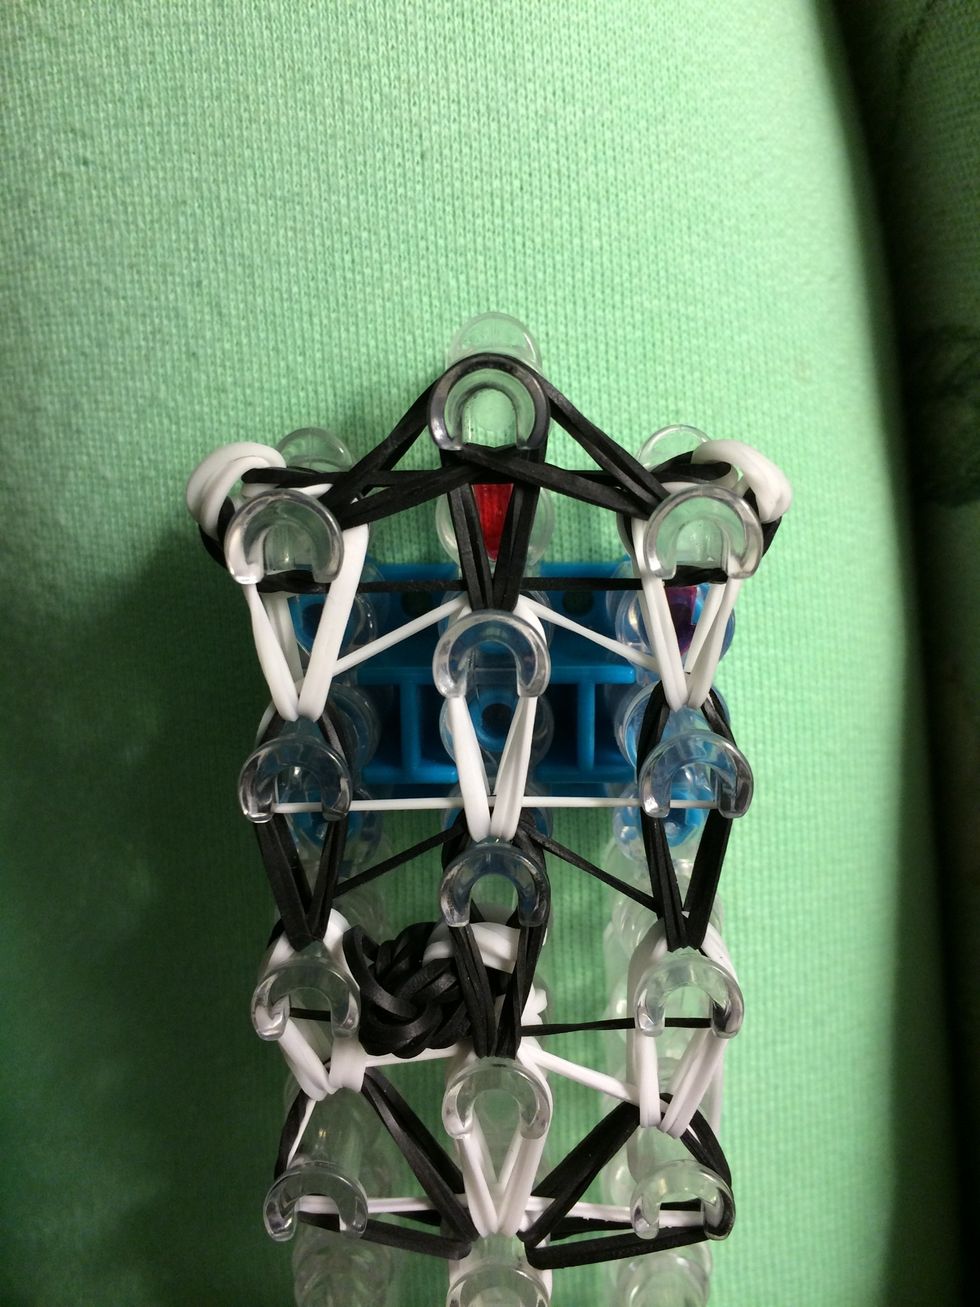
With the legs and tail attached all we have left to place is the capping bands
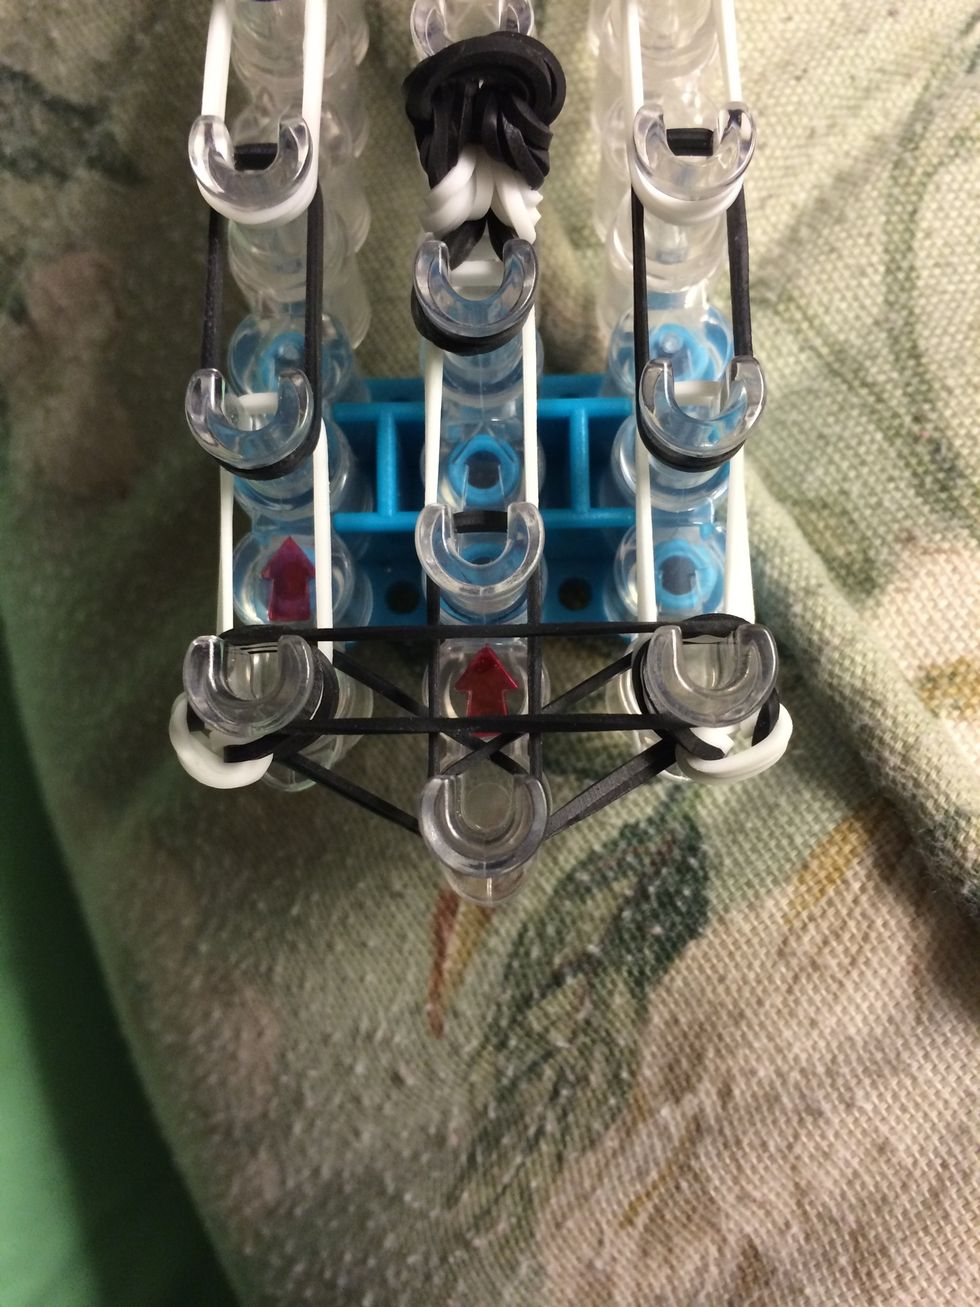
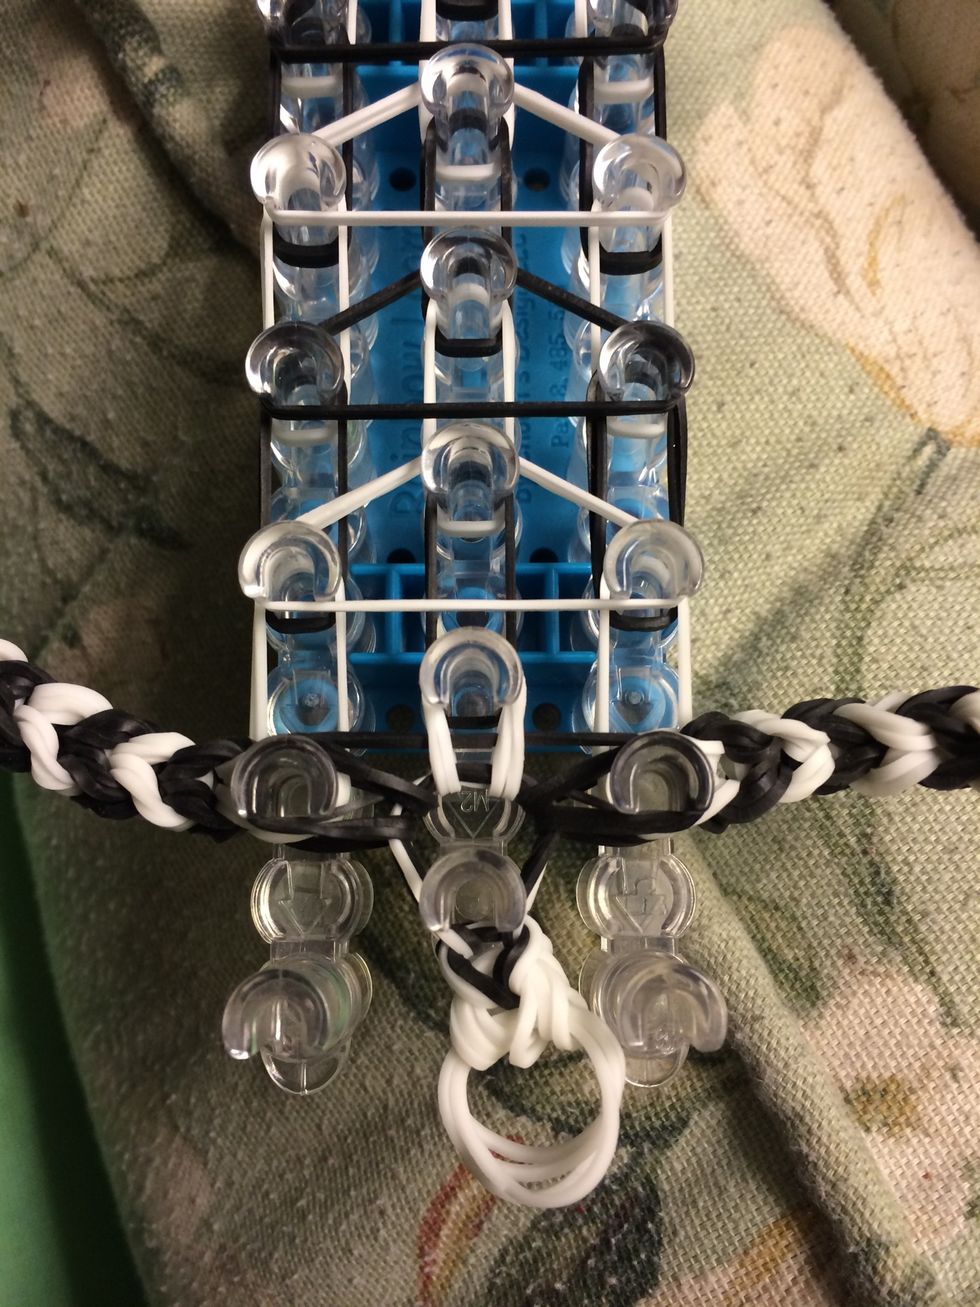
Place when black band across these two pegs
Take one white band and make an upside down triangle
Take one black band and make another upside down triangle

Take one white band doubled and make the last upside down triangle on the face
Take one white band and place it across the legs
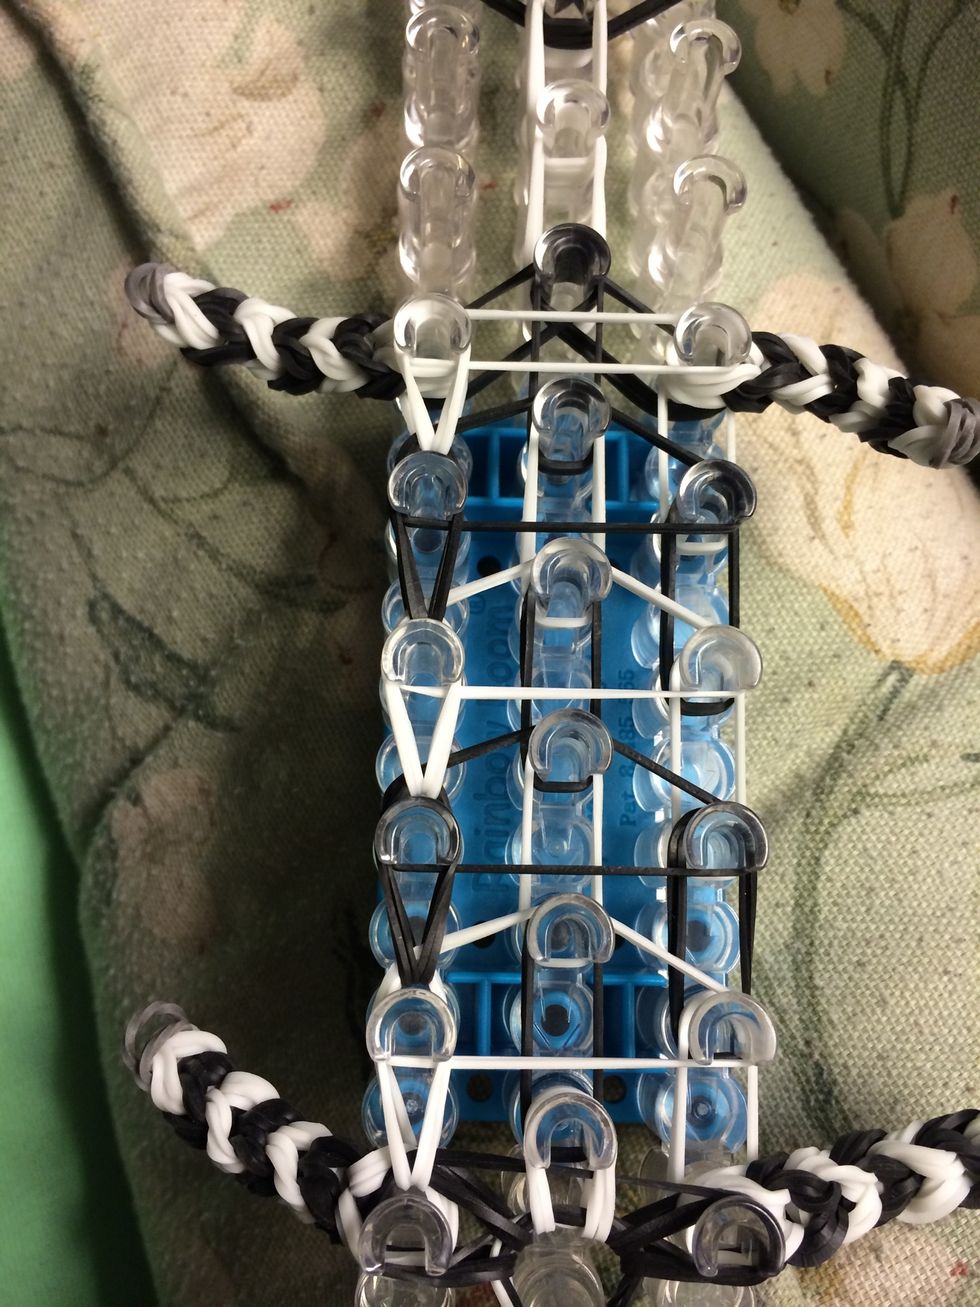
Take two black bands and make an upside down triangle
Take two white bandss and make another upside down triangle
Take two black bands and make another upside down triangle
Grab two more white bands and make another upside down triangle
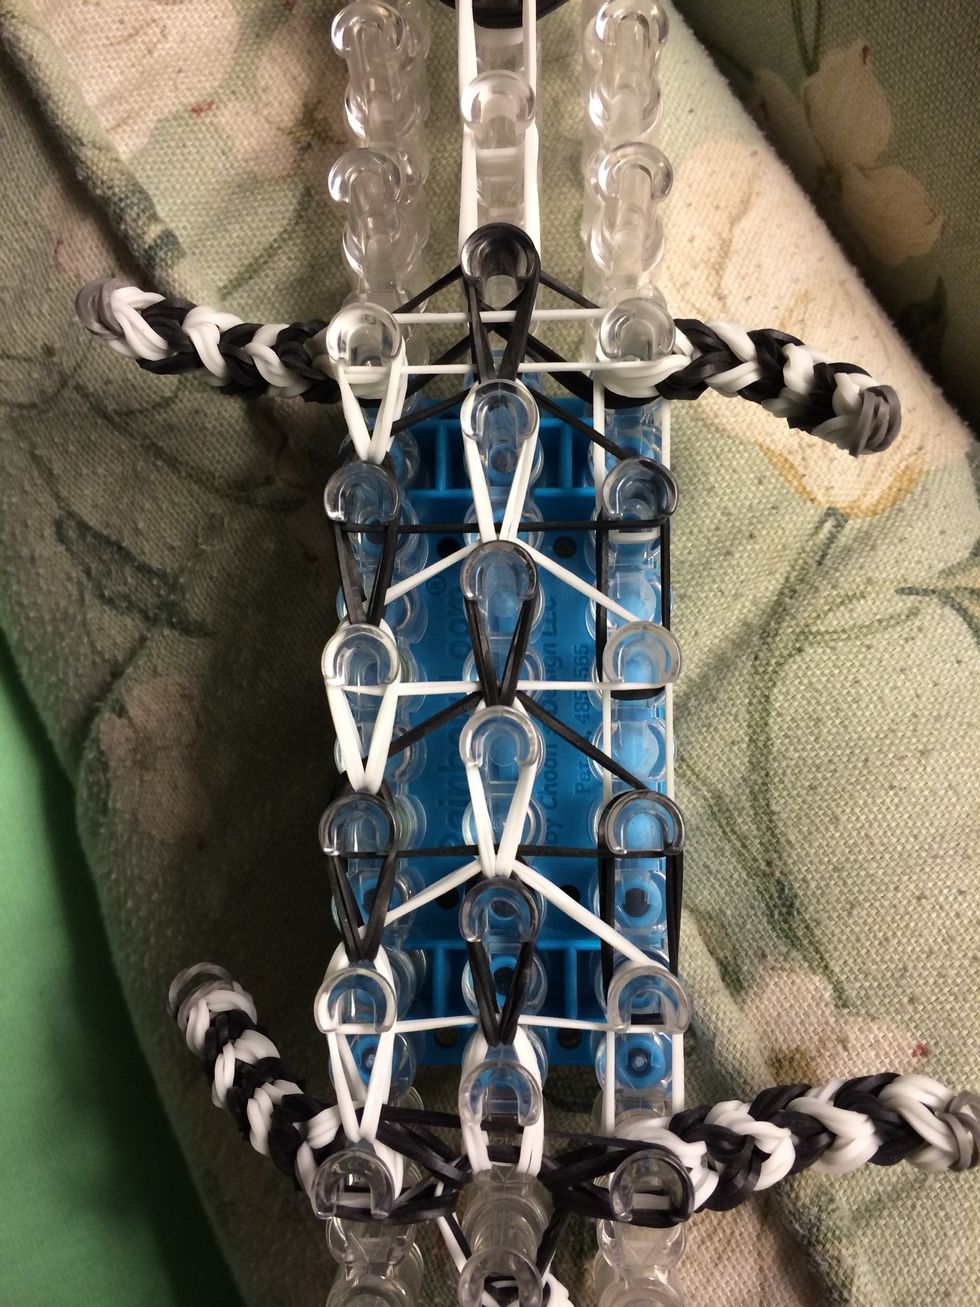
Grab one of black band and place it across the legs this will be the last capping band
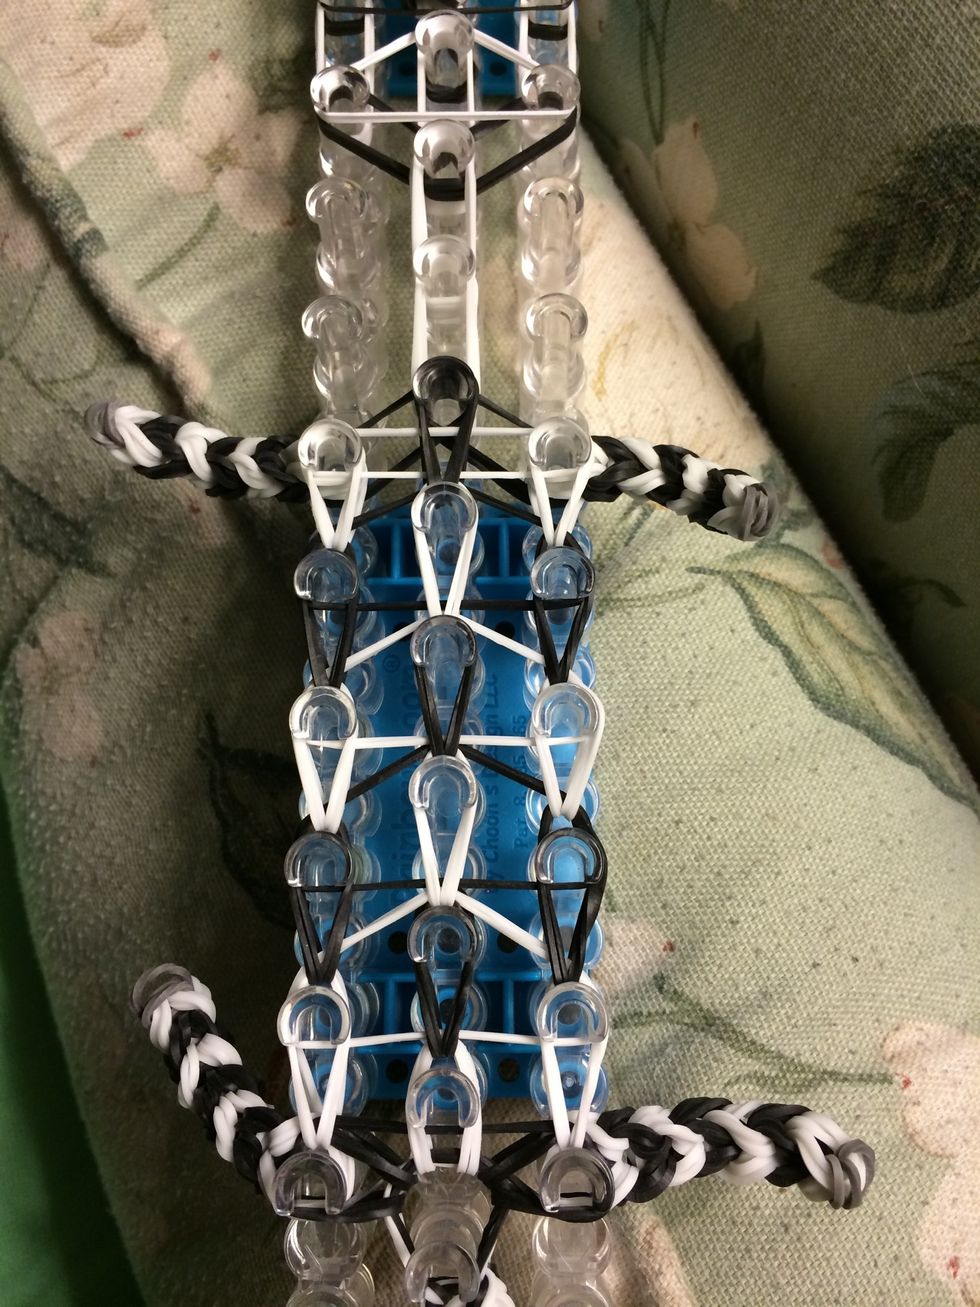
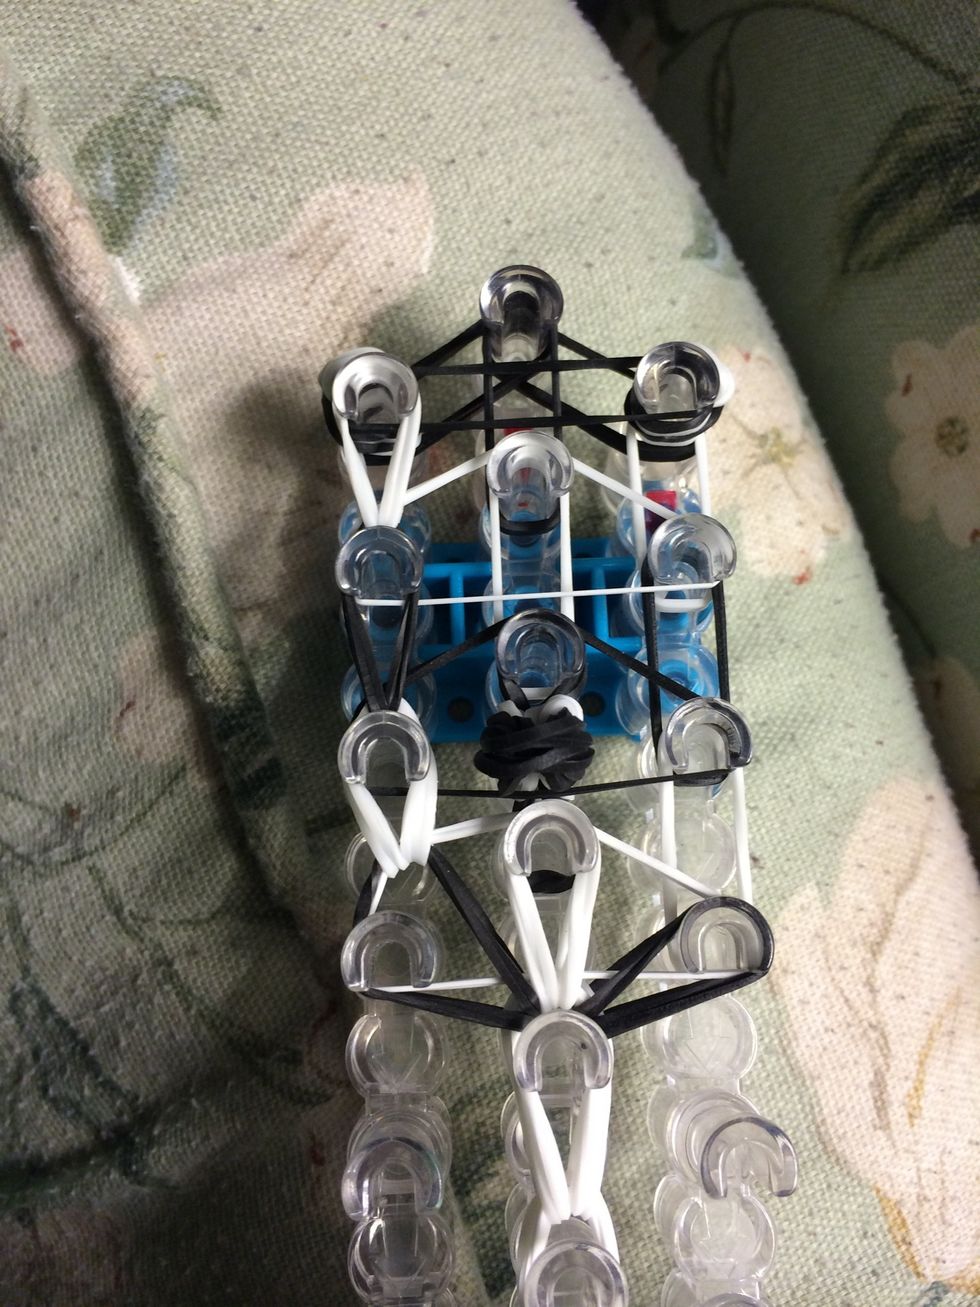
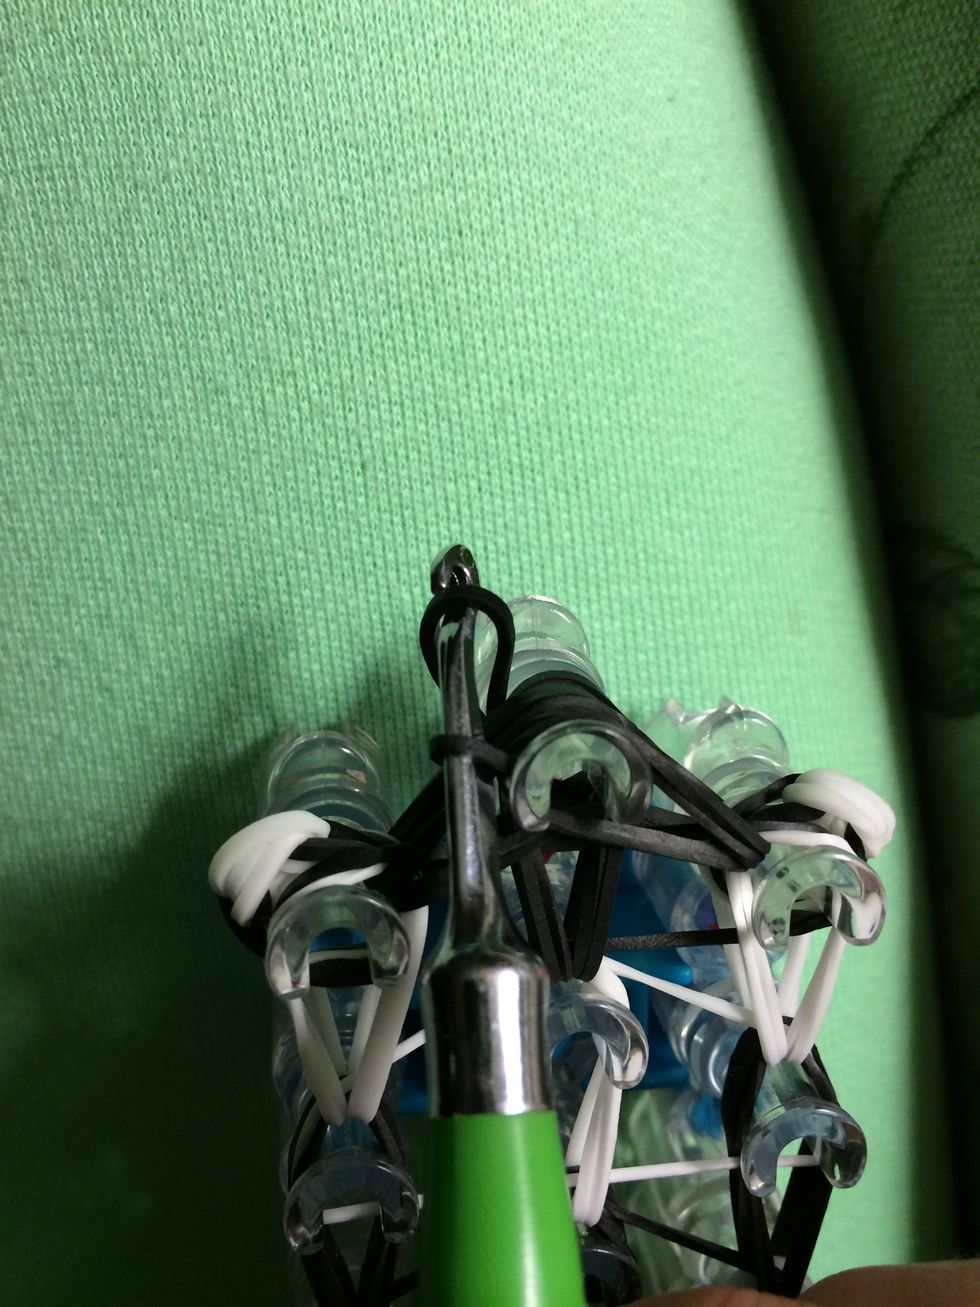
Let's turn our loom around and start looping. I am not going to every step of the looping. It is pretty start forward just like a triple single.
Reach into the peg of the tail and grab the black bands and white bands. Loop them forward.
Loop up the left side
Loop up the middle
Loop up the right side
Loop the last two black bands of the body.
Loop up the neck. Be careful,since we have 4 bands in each set it is ok to loop 2 bands at a time so you don't break your hook.
Loop the three bands from the next
Loop up the left side
Loop up the right side
Loop up the middle. It's okay to go over the nose
Loop the last two sets of black bands to close off the head.
Grab one last black band and make a slipknot.
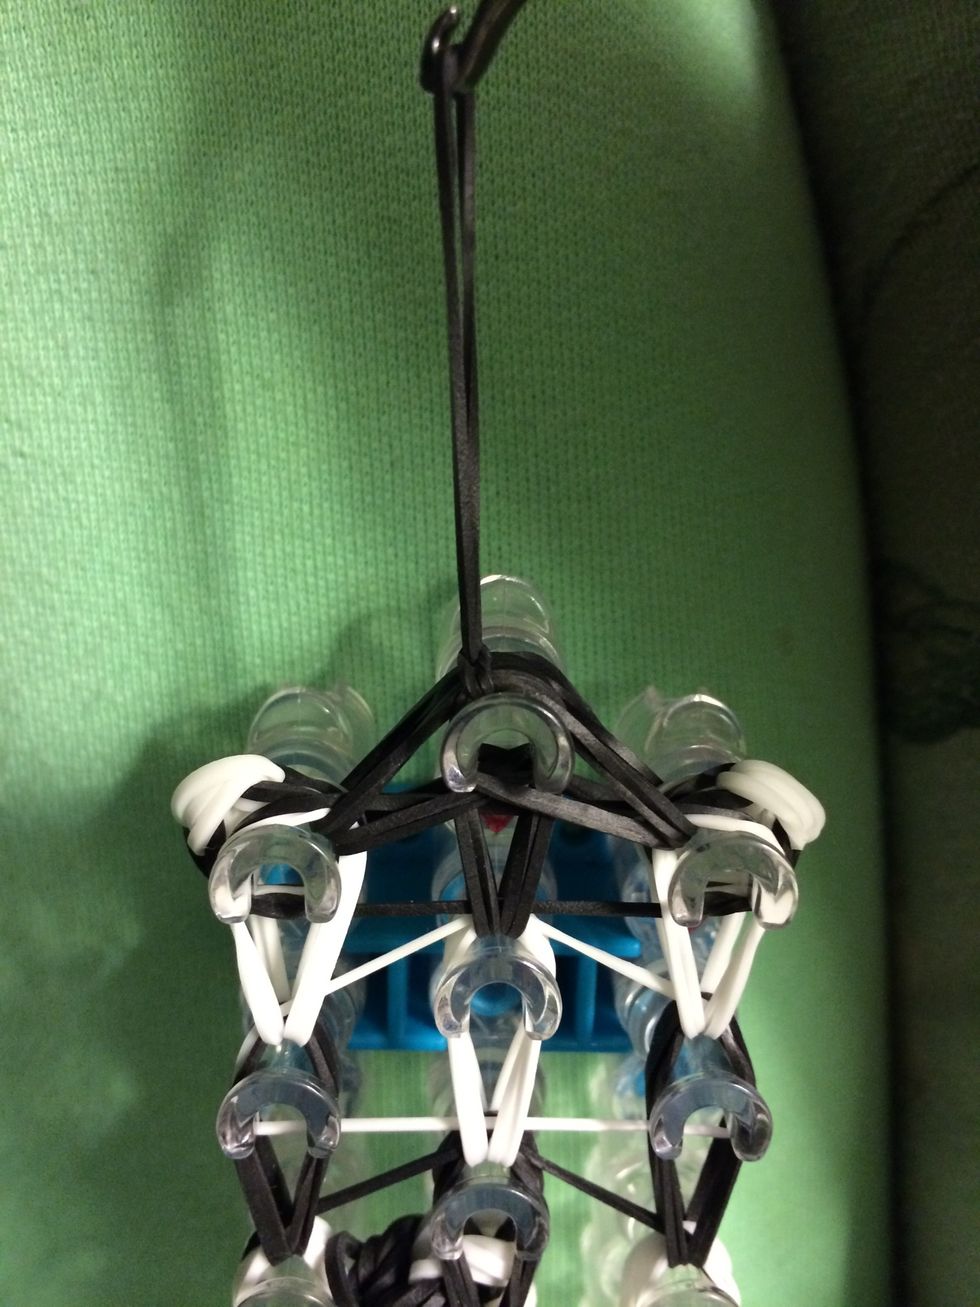
Pull it snug. Now it's time to take out zebra off the loom. Be careful when you do this and take your time.
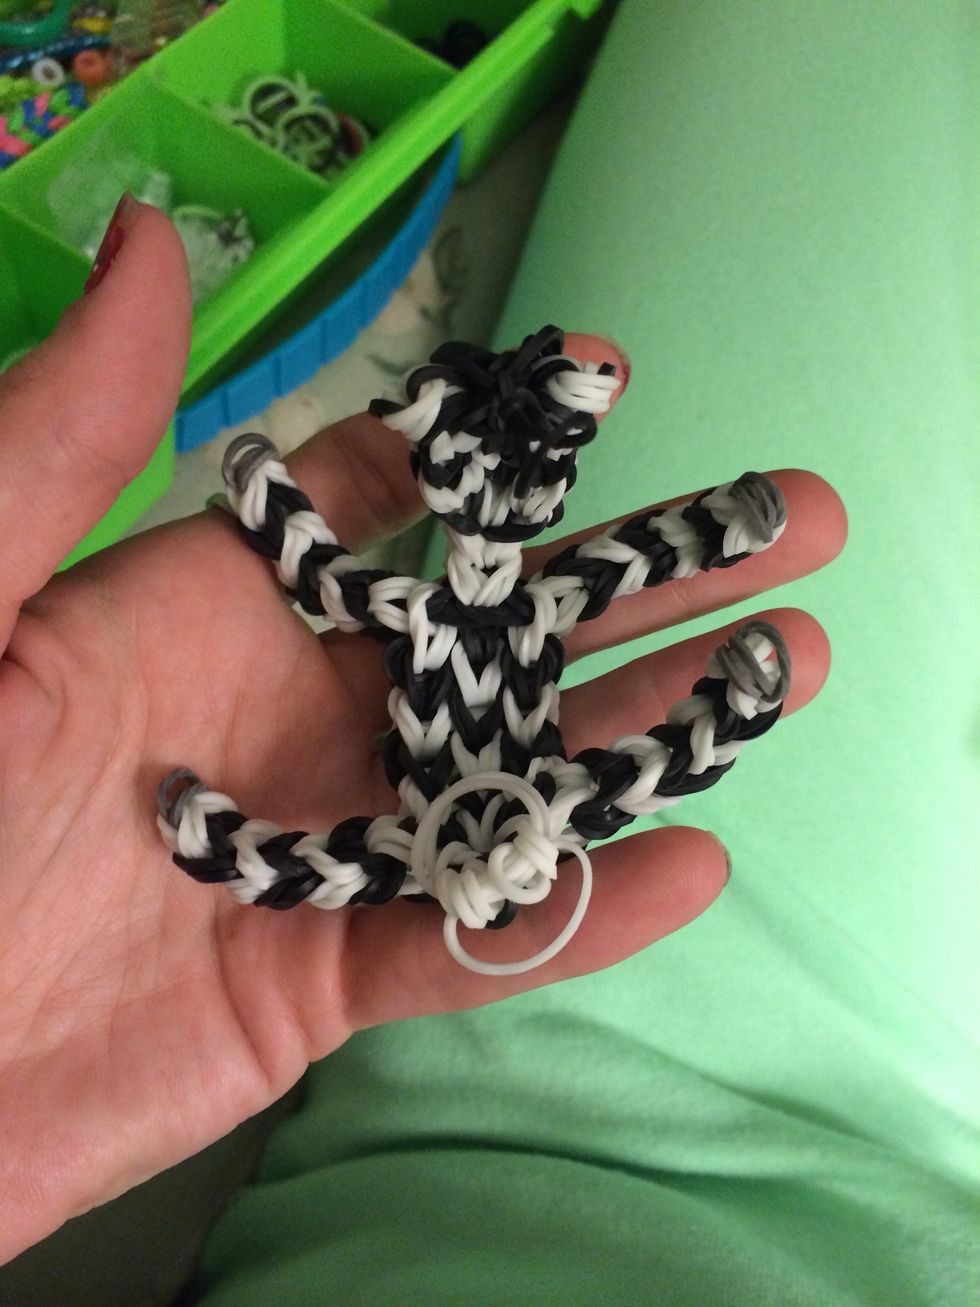
He will look like this when you take him off. Stretch him out a little bit.
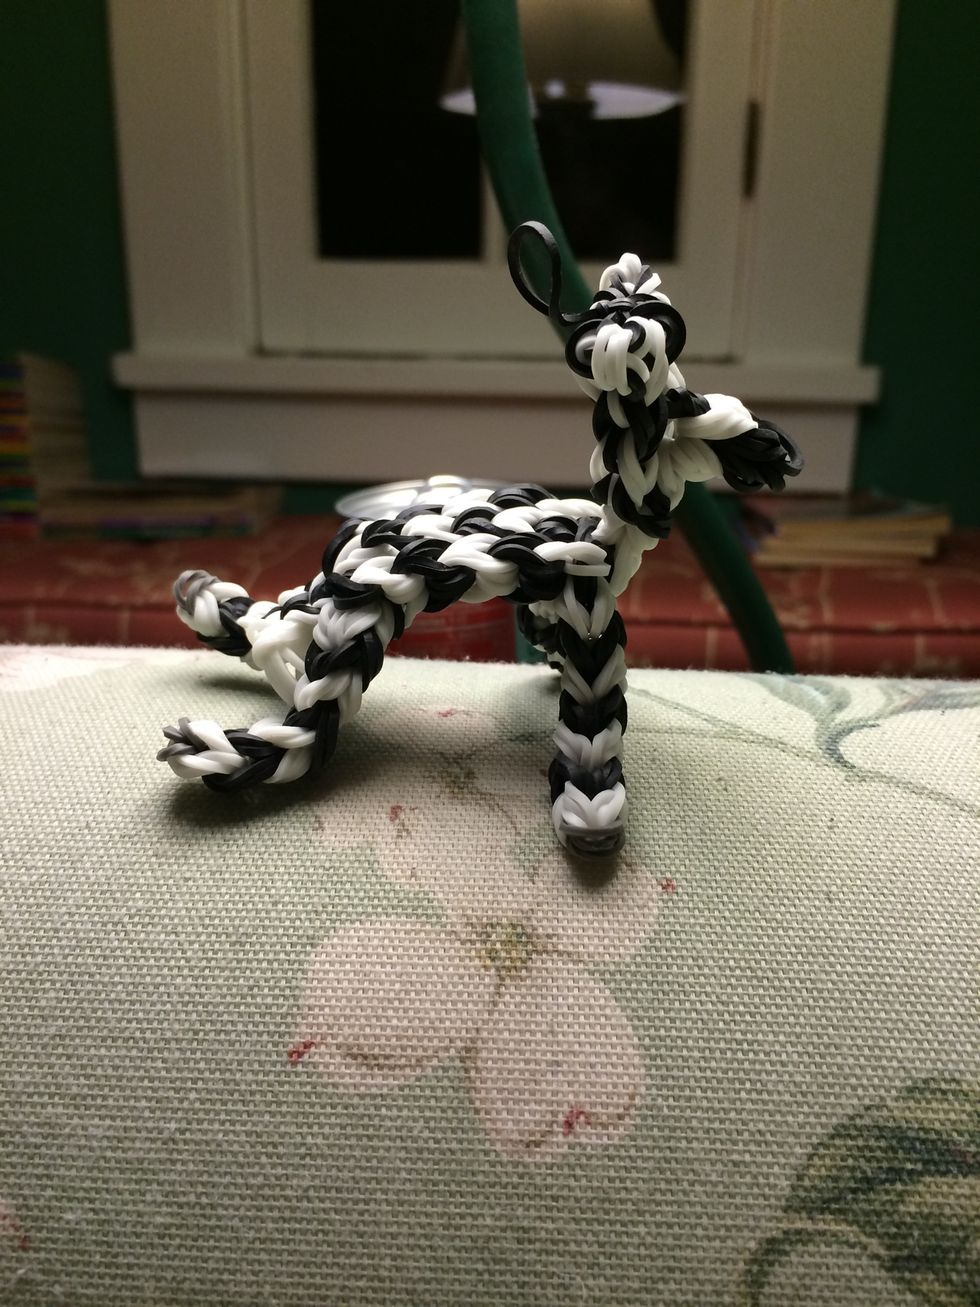
Here is a side view of your finished zebra.
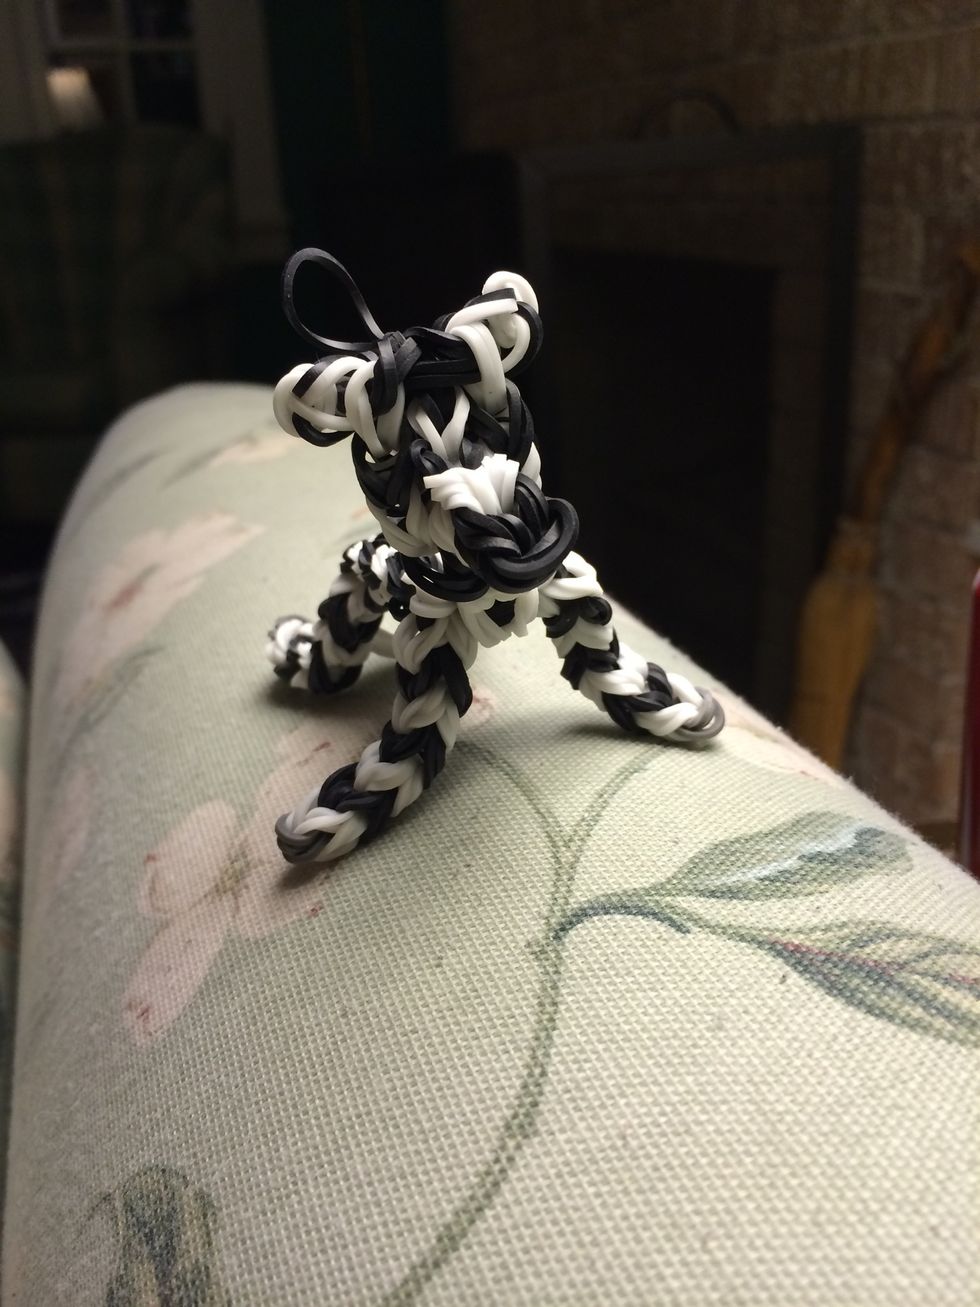
And here is a front view.
I hope you all stuck with me through this guide and made yourself a cute little zebra. Thank you for asking me to make this guide for you 😃 it was a lot of fun. See you again soon!!!