The Conversation (0)
Sign Up

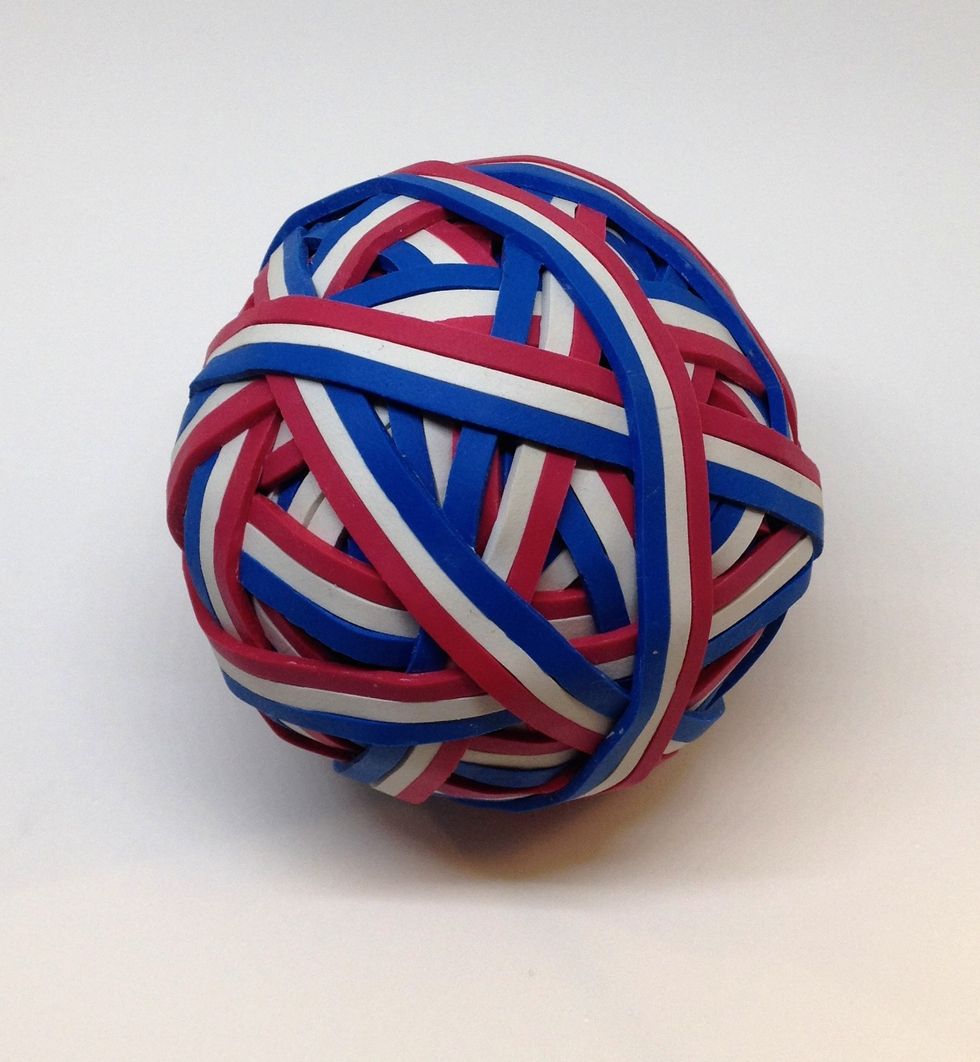
First you need to select a ball. Choose one that fits comfortably in your hand and is hollow and soft. These Spalding balls have some nice designs, but there are many similar ones out there.
These rubber bands are ideal as they are narrow and come in nice colours. I got these on eBay. They are about 9cms (3.5") long un-stretched.
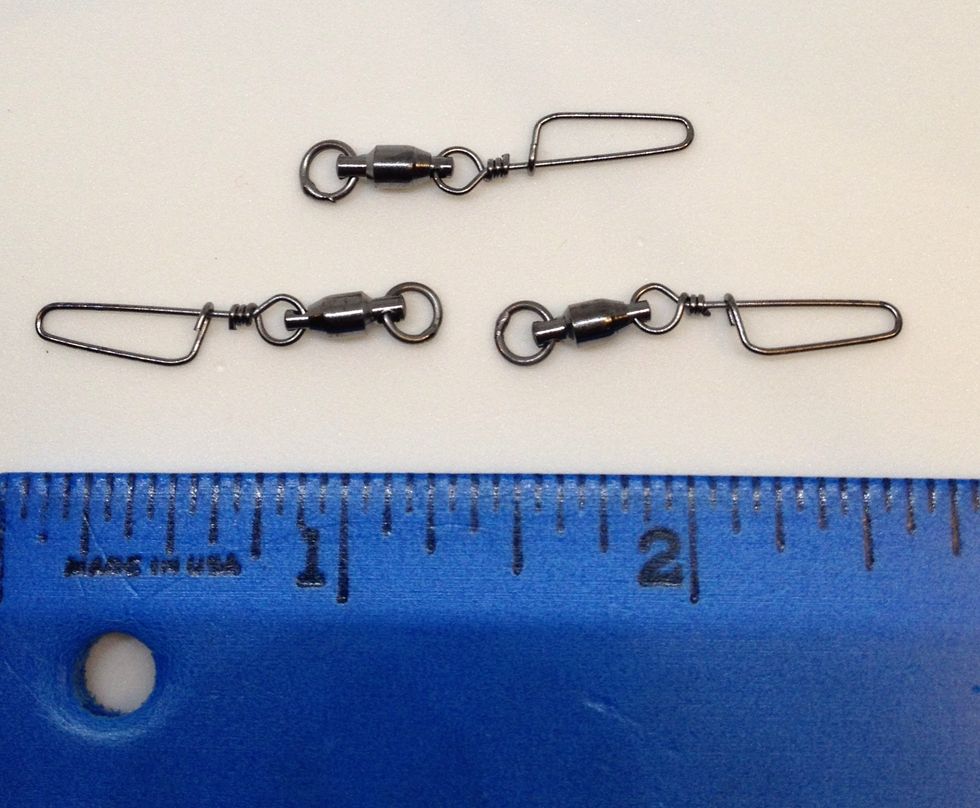
Try and find a ball bearing fishing swivel size 1 with a coastlock snap. The snap is placed inside the ball. These are cheap and available in fishing shops or on eBay. Normal swivels should work too.
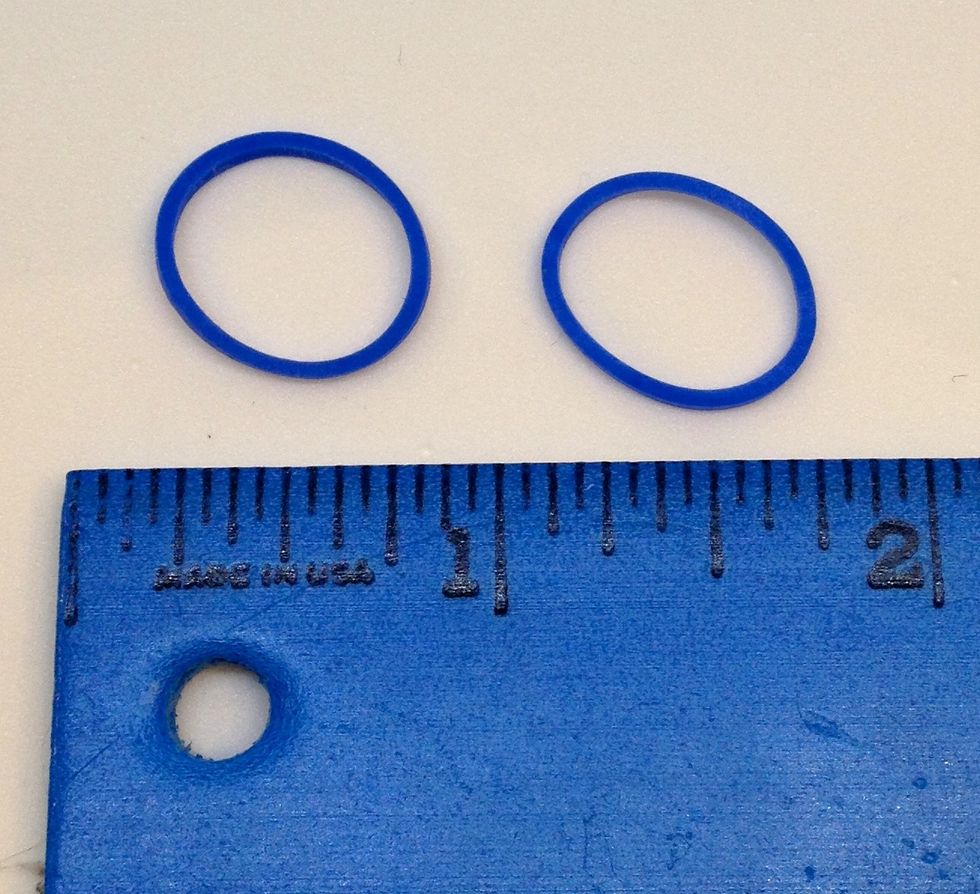
Originally I used the Klappar Plockas (IKEA), but I've changed to the small rubber bands made popular by the Loom bands. These are used to keep things in shape, prevent tangles and also look nice.

These are the tools I use. A metal letter opener (top), a piece of wire that I've bent by hand and a (very sharp) craft knife. These are all used in the next 3 steps.
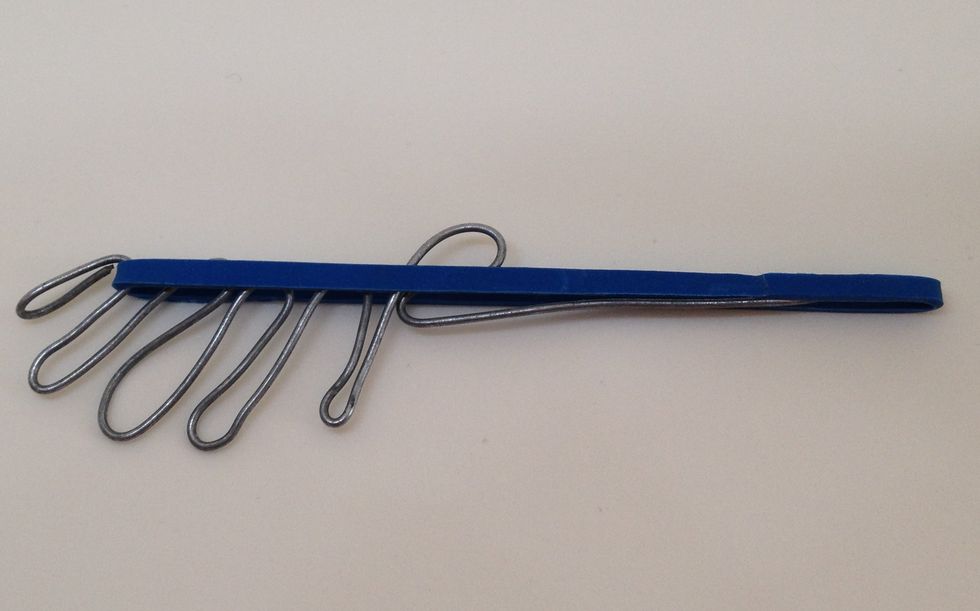
The wire tool needs to be bent into a shape that allows you to place a slightly stretched rubber band and keep it in position. This is used to insert the first band through the eye of the swivel.
Use the wire tool to carefully push the first rubber band through the eye of the swivel. Remove the wire tool and pull about 1 cm through the eye with your fingers.

Loop the other end of the rubber band through and tighten into a neat knot. Try to remove any twists before you tighten the knot.
Warning: Kids should be supervised for the next few steps. Cut a small hole into the ball with the craft knife. Don't worry if the cut is too large as we will glue it shut later.
Push the end of the swivel with the snap through the cut. Use the letter opener (or screwdriver) to help. It's important to get the whole snap into the ball (up to the red line in the picture).

Only the ring that joins the snap to the ball bearing casing should be outside the ball (as pictured). The ring can be 50-75% embedded into the ball.
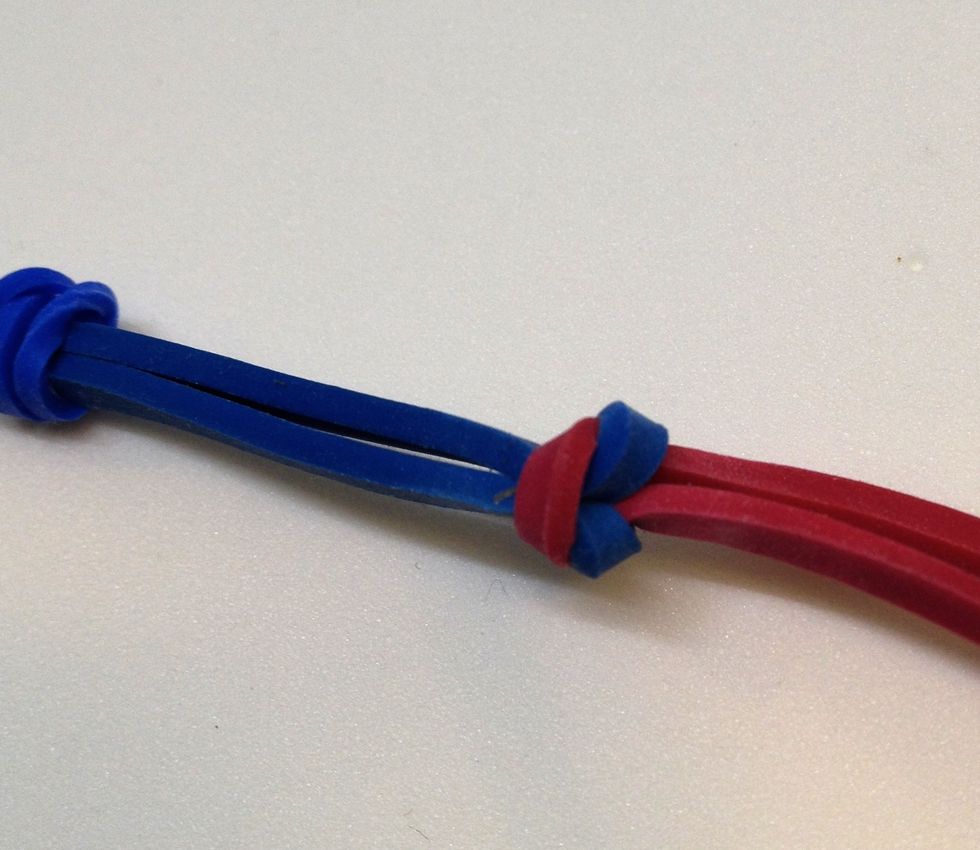
Put 2 small bands on each large rubber band before you join them. You need about 10 large bands (and 20 small ones). This will vary with your height and personal preference.
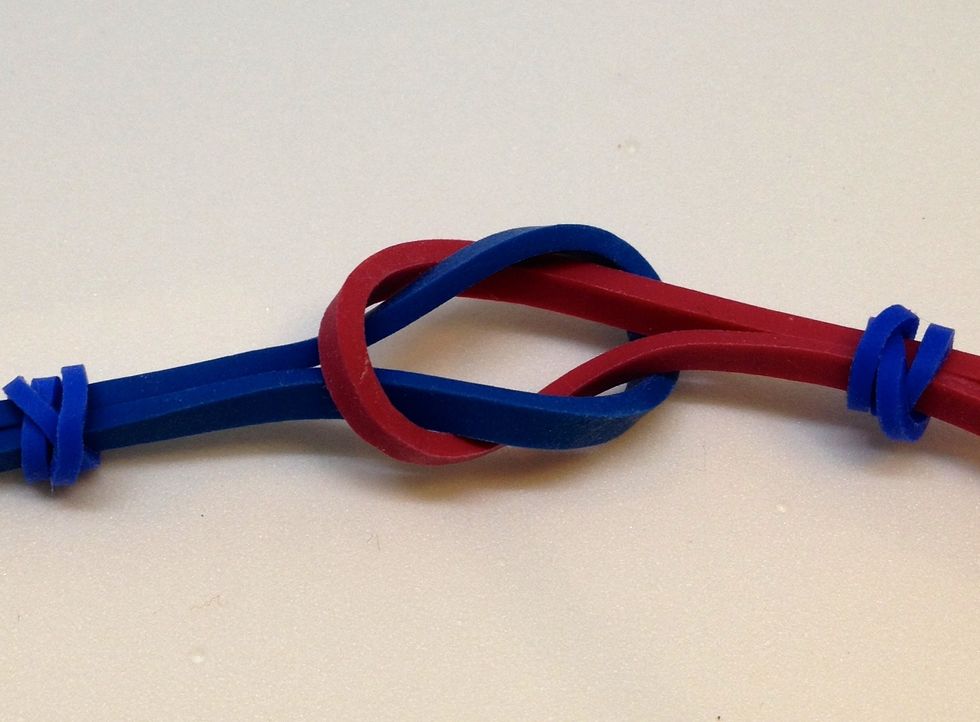
Join the rubber bands using the simple loop shown here. Try and make the knot as small as possible. It looks neater and is less likely to tangle (see next step).
With a bit of adjustment you can get it just right so that there are no twists in the rubber bands between the joins. It also reduces the potential knots and improves the playability.
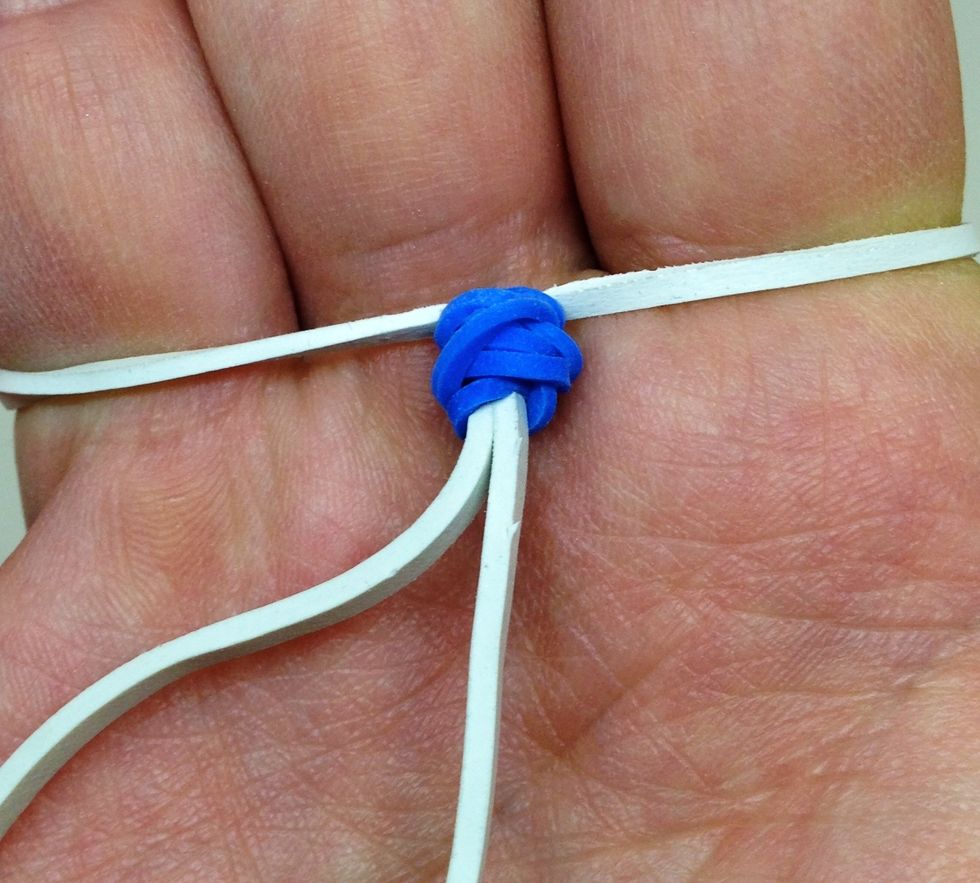
The last band goes on your hand and you can use 2 small rubber bands or even a bead to ensure a firm fit. The other end attaches to the swivel and you are done!
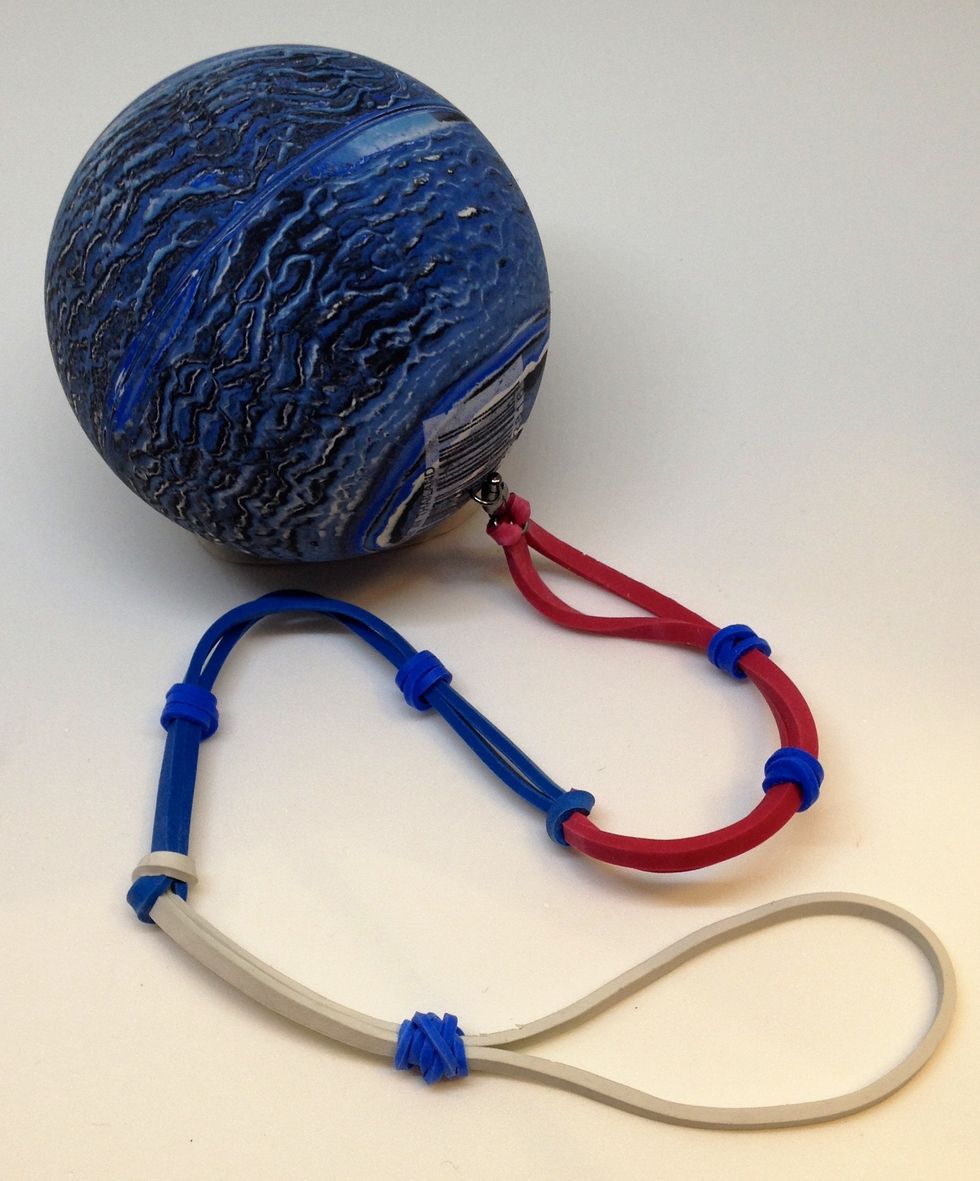
Here's a version with only 3 bands (so it fits in the picture). The length is totally up to you, but a good guide is from your shoulder to your ankles.
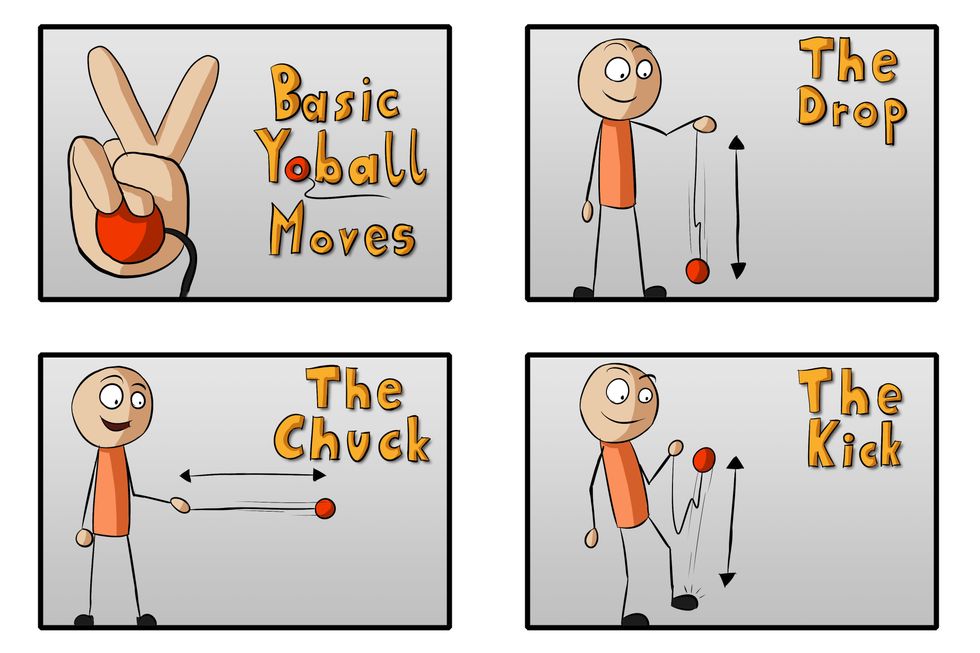
The 3 basic moves are illustrated here. They are fairly easy to master and compared to the traditional Yo-Yo it's much less frustrating. Invent your own games and moves - there are no rules!
Thanks for your interest. For more info check out yoballs.com, our Facebook page (the.yoball) and YouTube channel (goyoball). Our Kickstarter project is also launching in July 2014! --Gary