The Conversation (0)
Sign Up

Begin by creating a template in order to mark where you will cut on the cup. Make sure there is an odd number of marks evenly spaced.
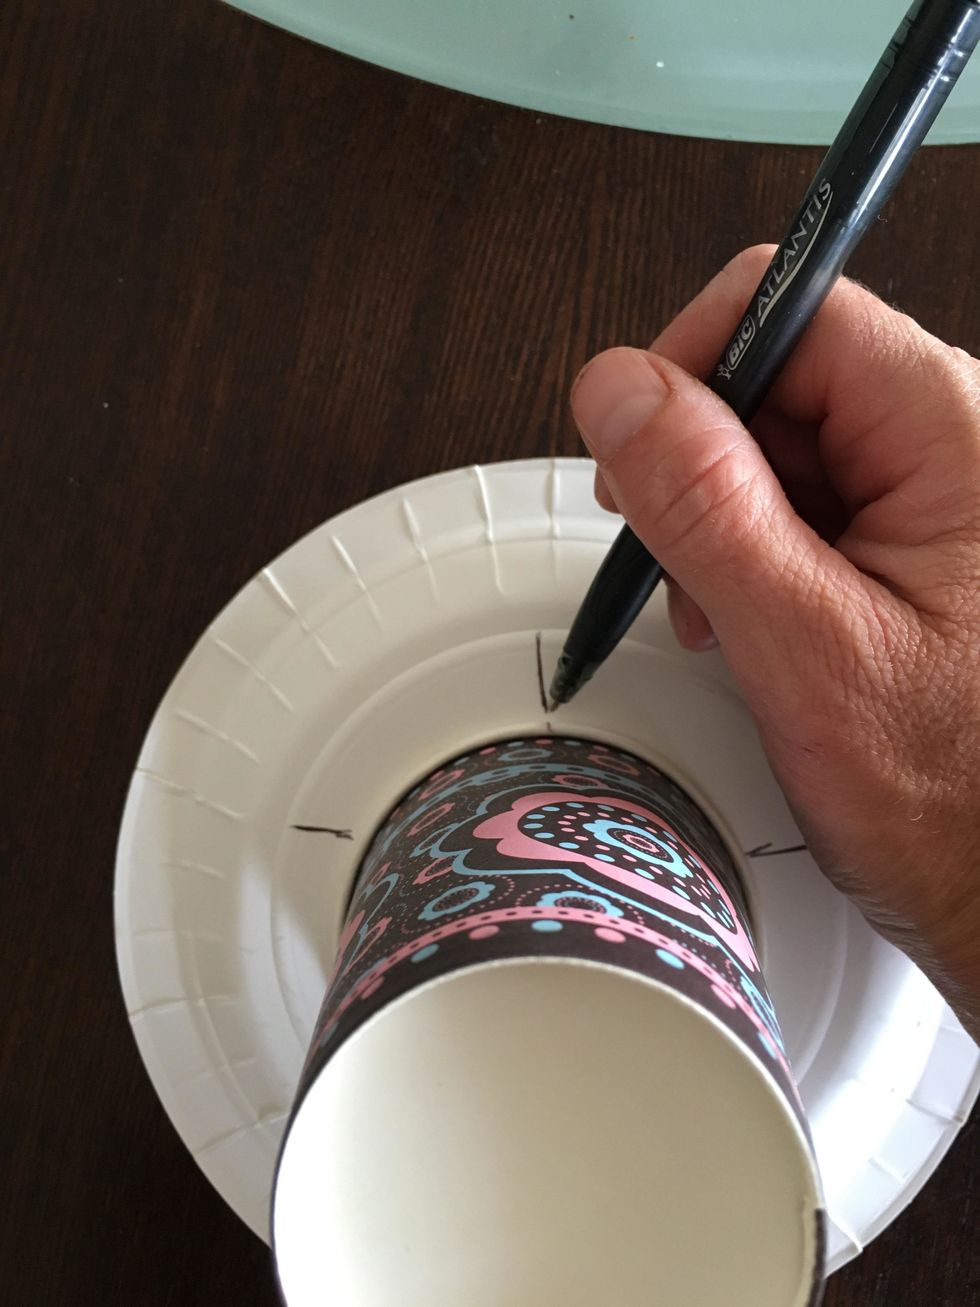
Set the cup on the template and mark the lines on the cup.
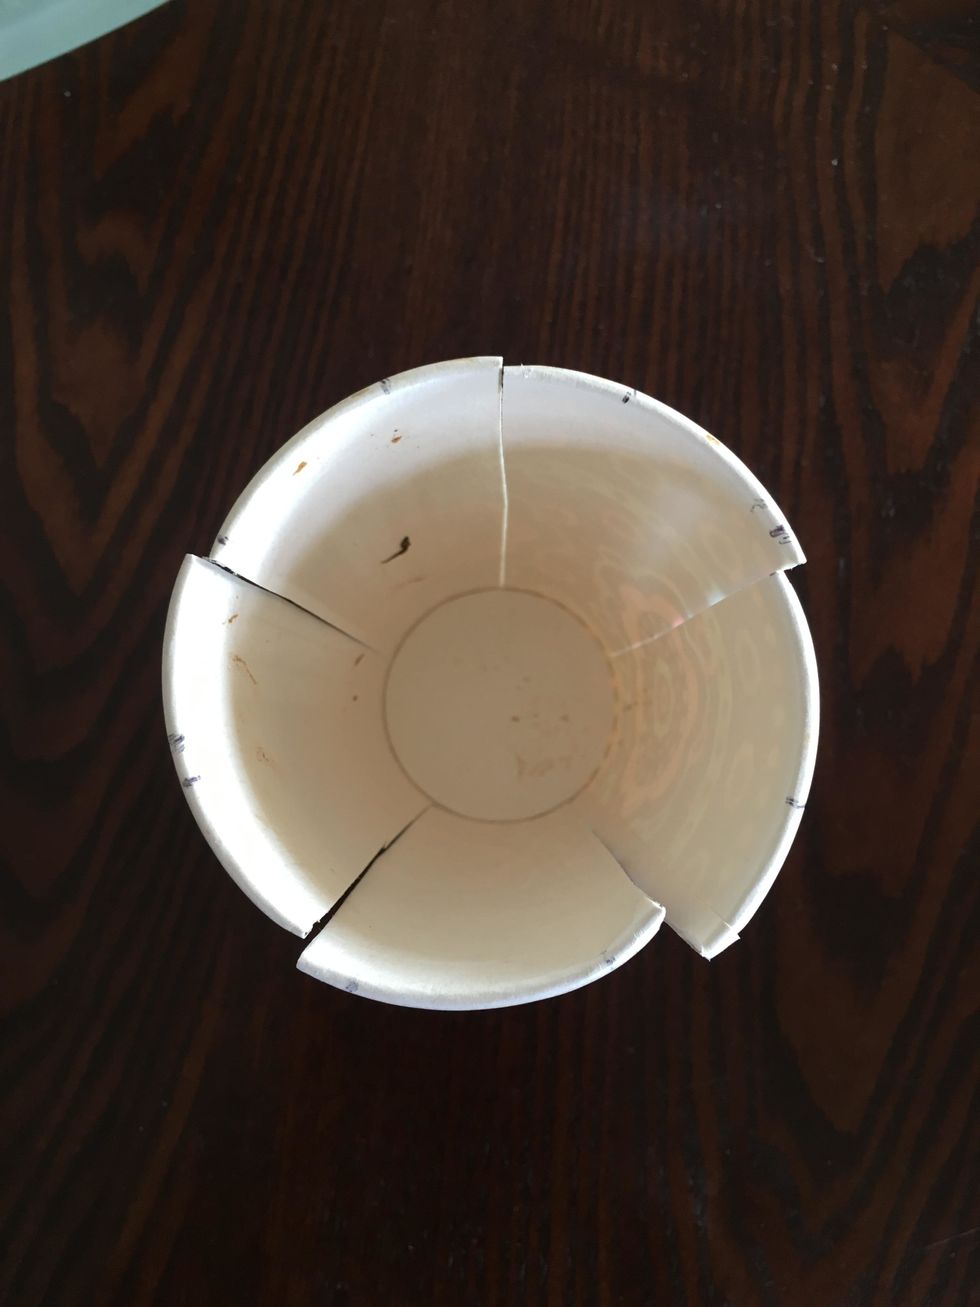
Use your scissors to cut a straight lines starting at your mark you just made on the cup. When you are done you should have an odd number of sections.
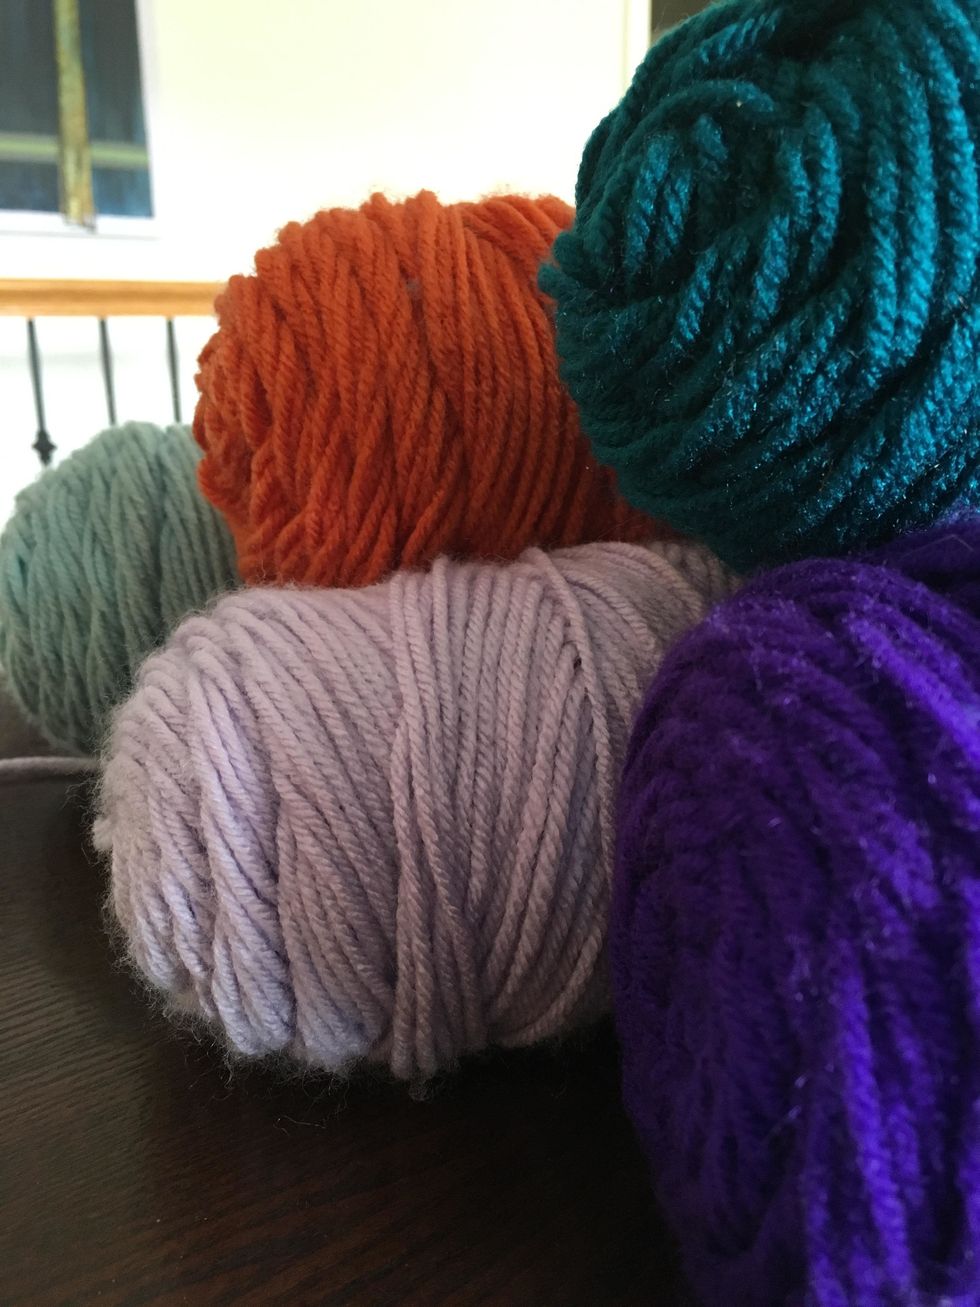
Now comes the fun part. Pick out the colors you would like to use. You may use one color or as many as you like. Cut off the desired length.
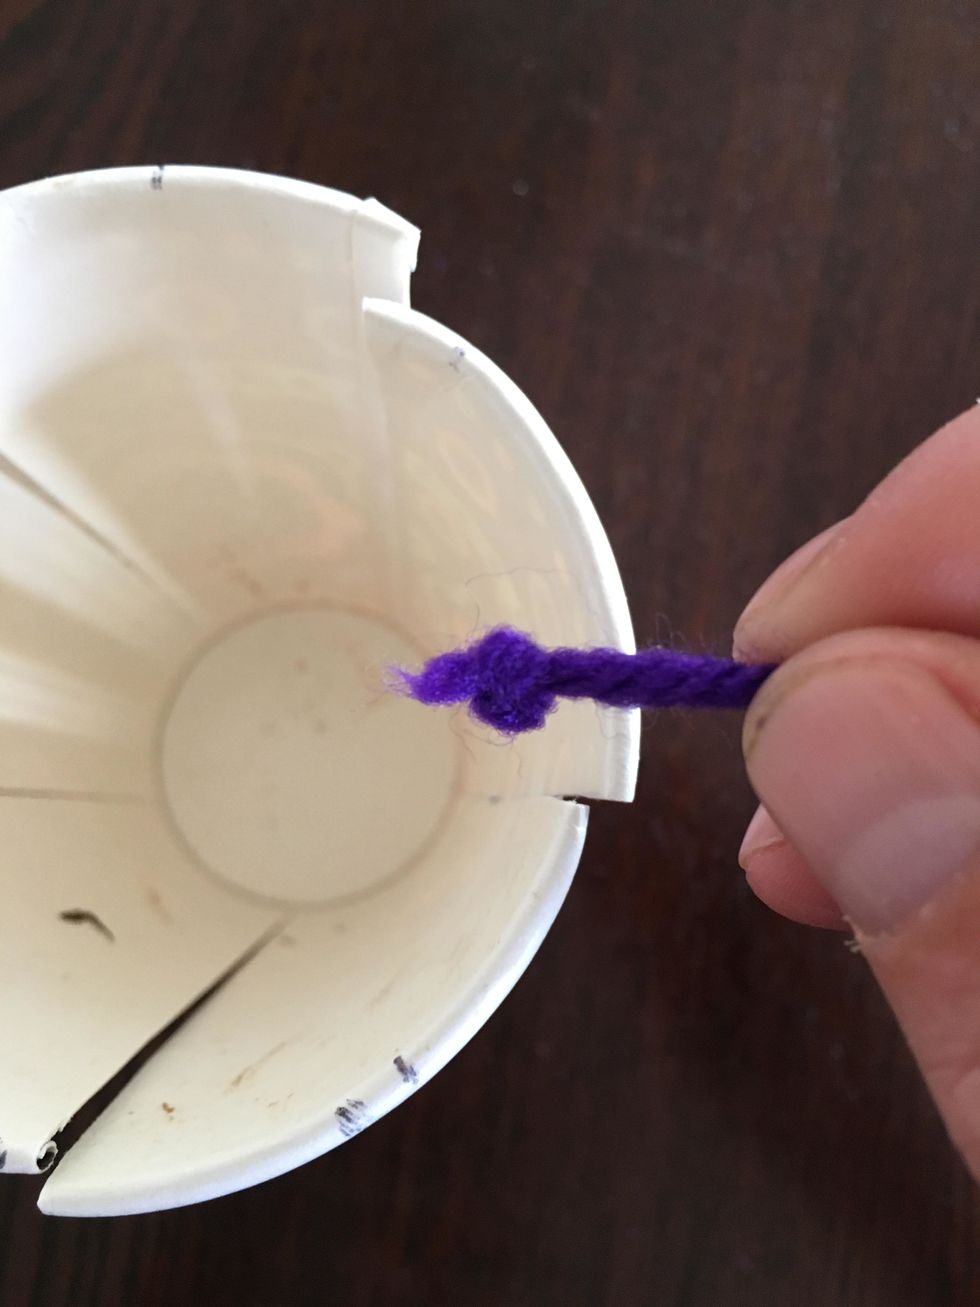
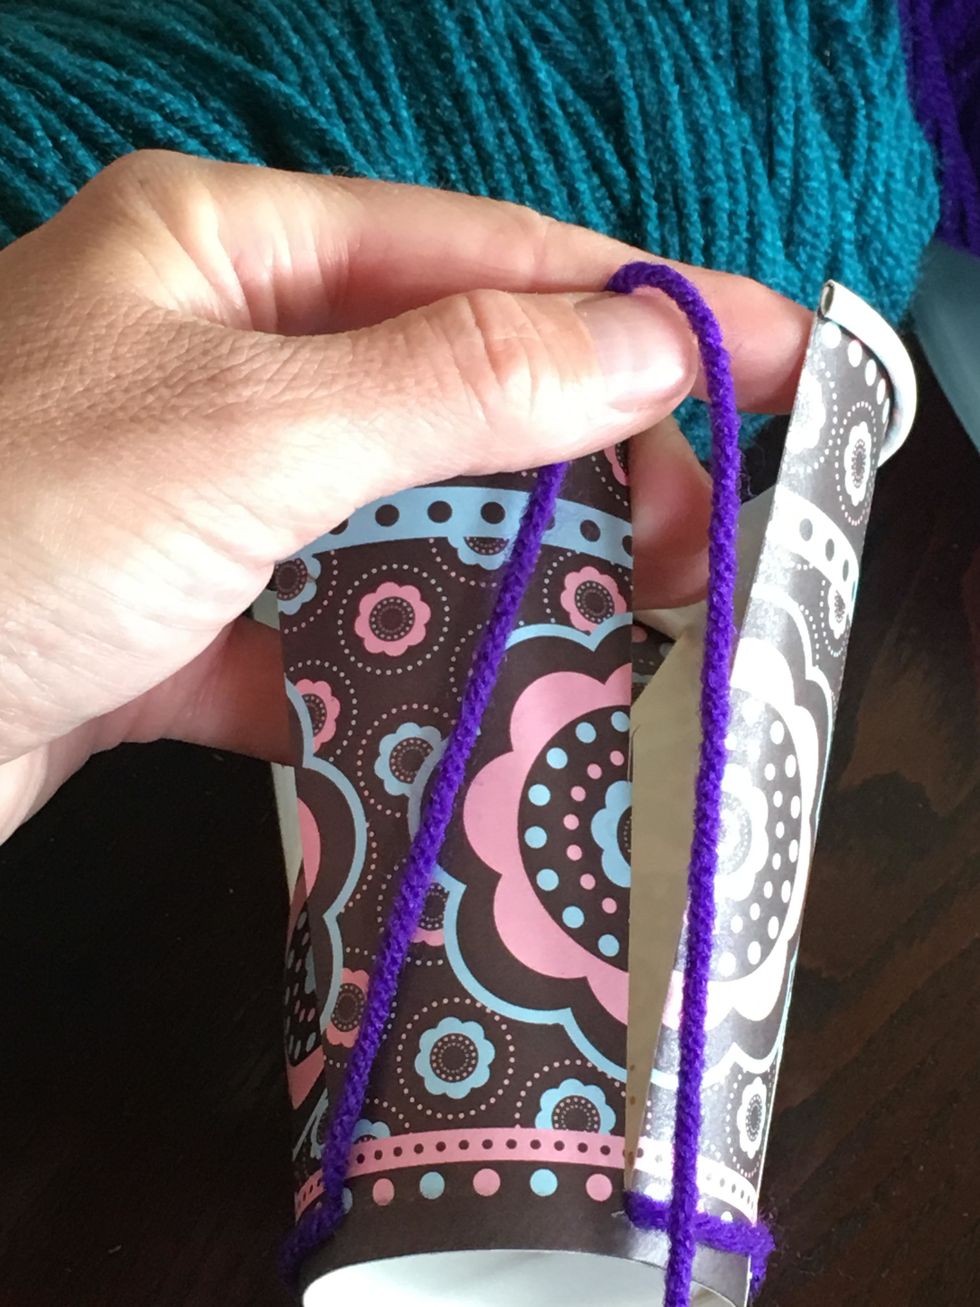
Begin by tying a knot at the end of the yarn. This will hold the weft in place on the cup. Place the knot on the inside of the cup and push all the way to the bottom.

Begin the weaving by following an over under pattern around the cup. Do not pull the yarn to tight.
When you return to the beginning continue the pattern until you want to change colors.
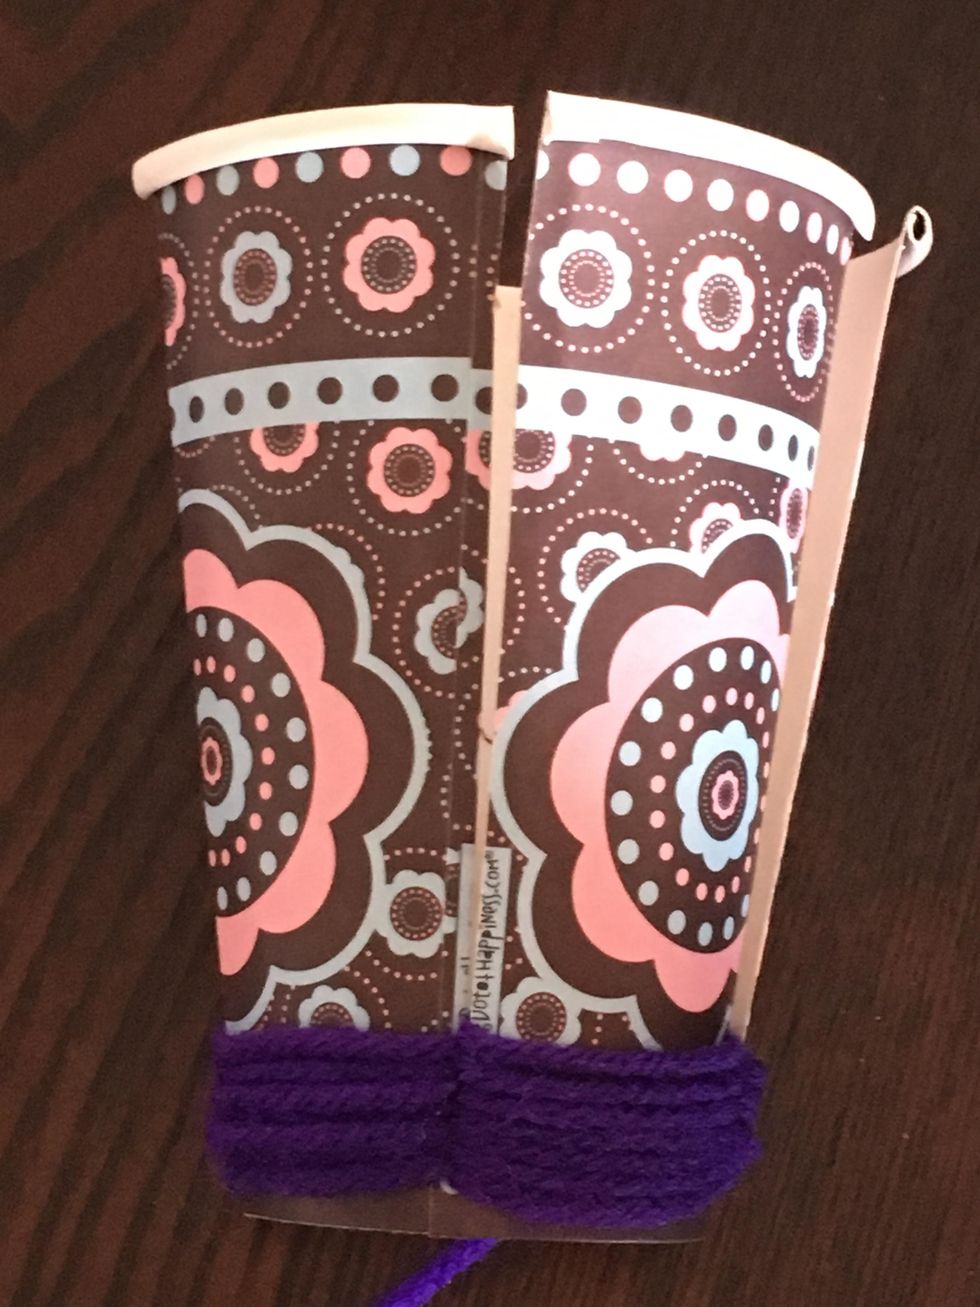
You should have yarn on every section on the cup.
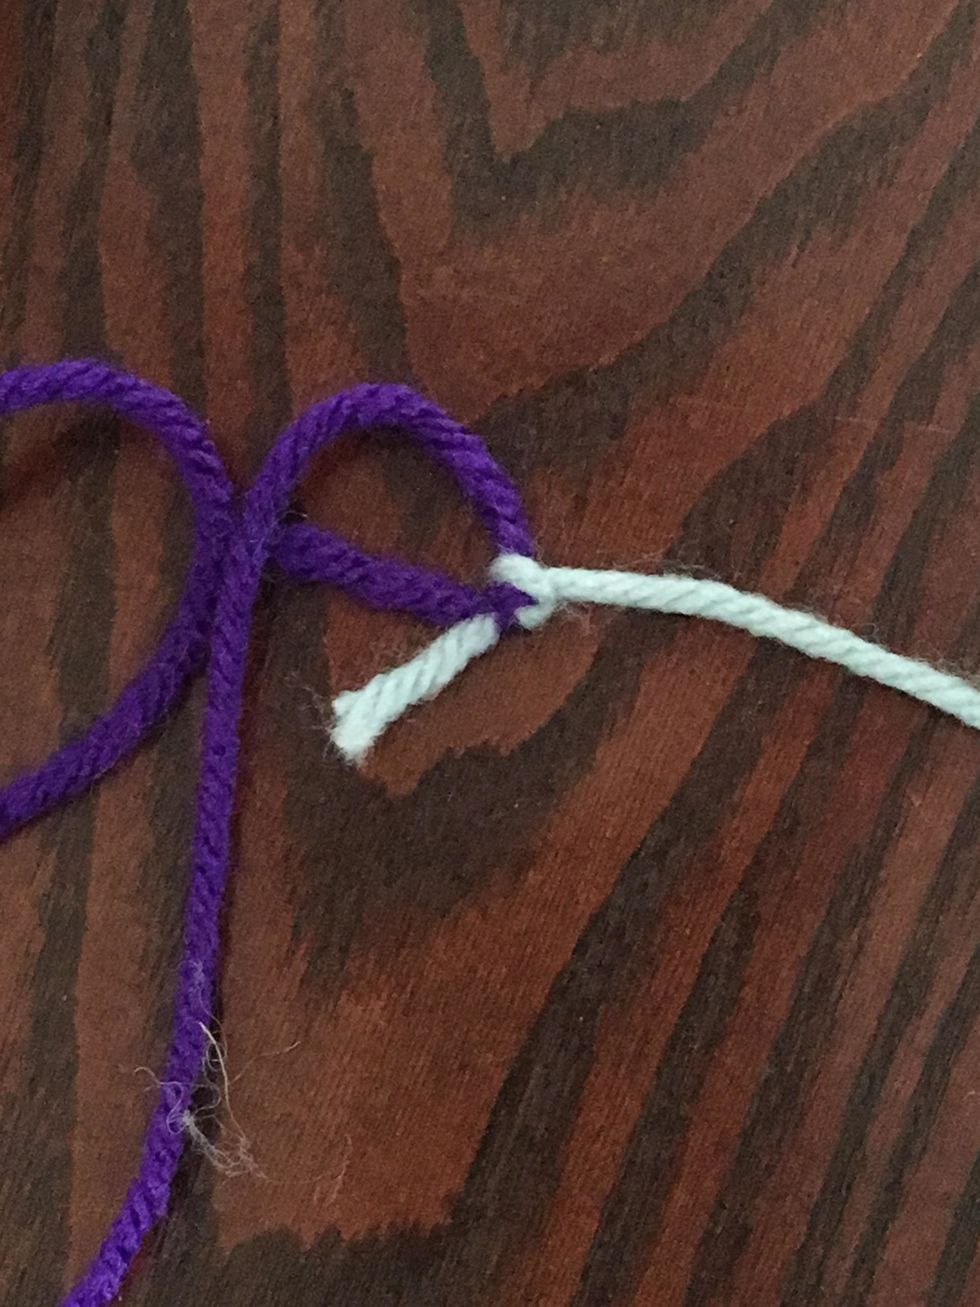
When adding a new color tie the two together and cut off any extra yarn. Continue the weaving process just like before.

Keep going!
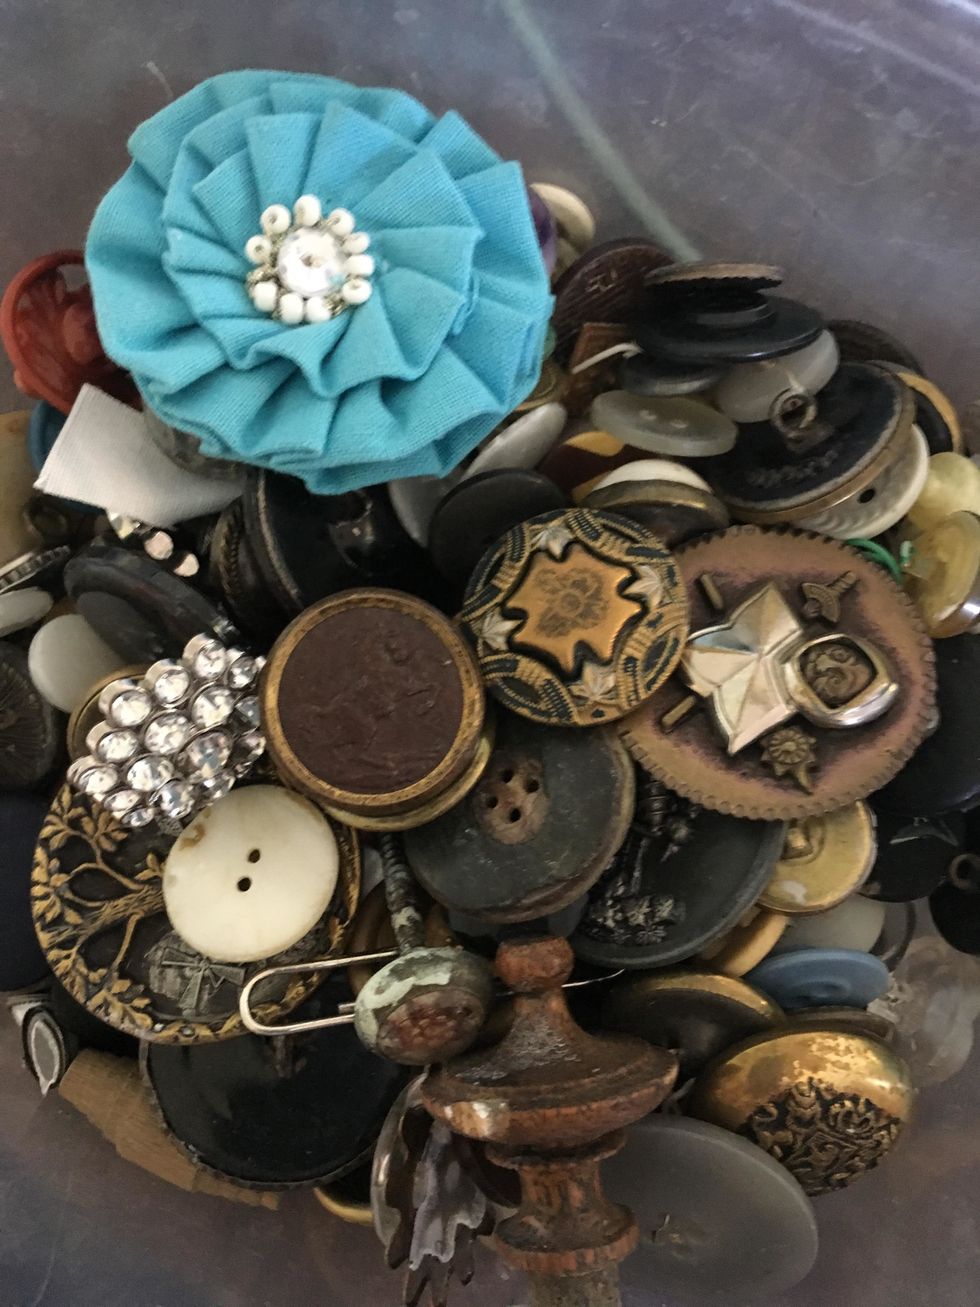
For more interest you can add buttons or anything that has a loop the yarn can string through.

String the yarn through the button and continue weaving.
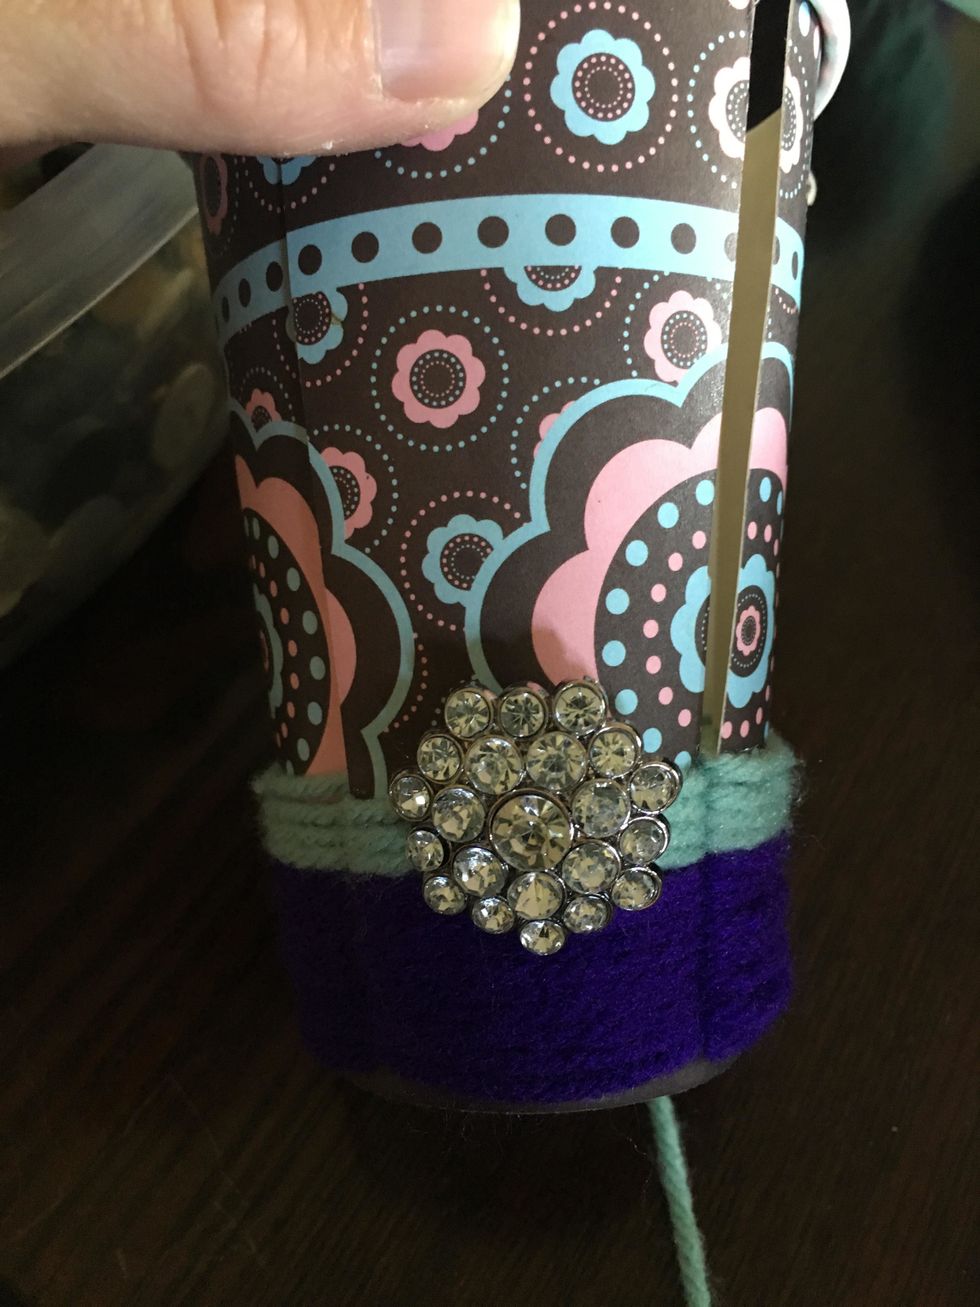
Line the button up where you would like it and continue weaving. You may have to hold the button in place a few times around until the weft become tight.
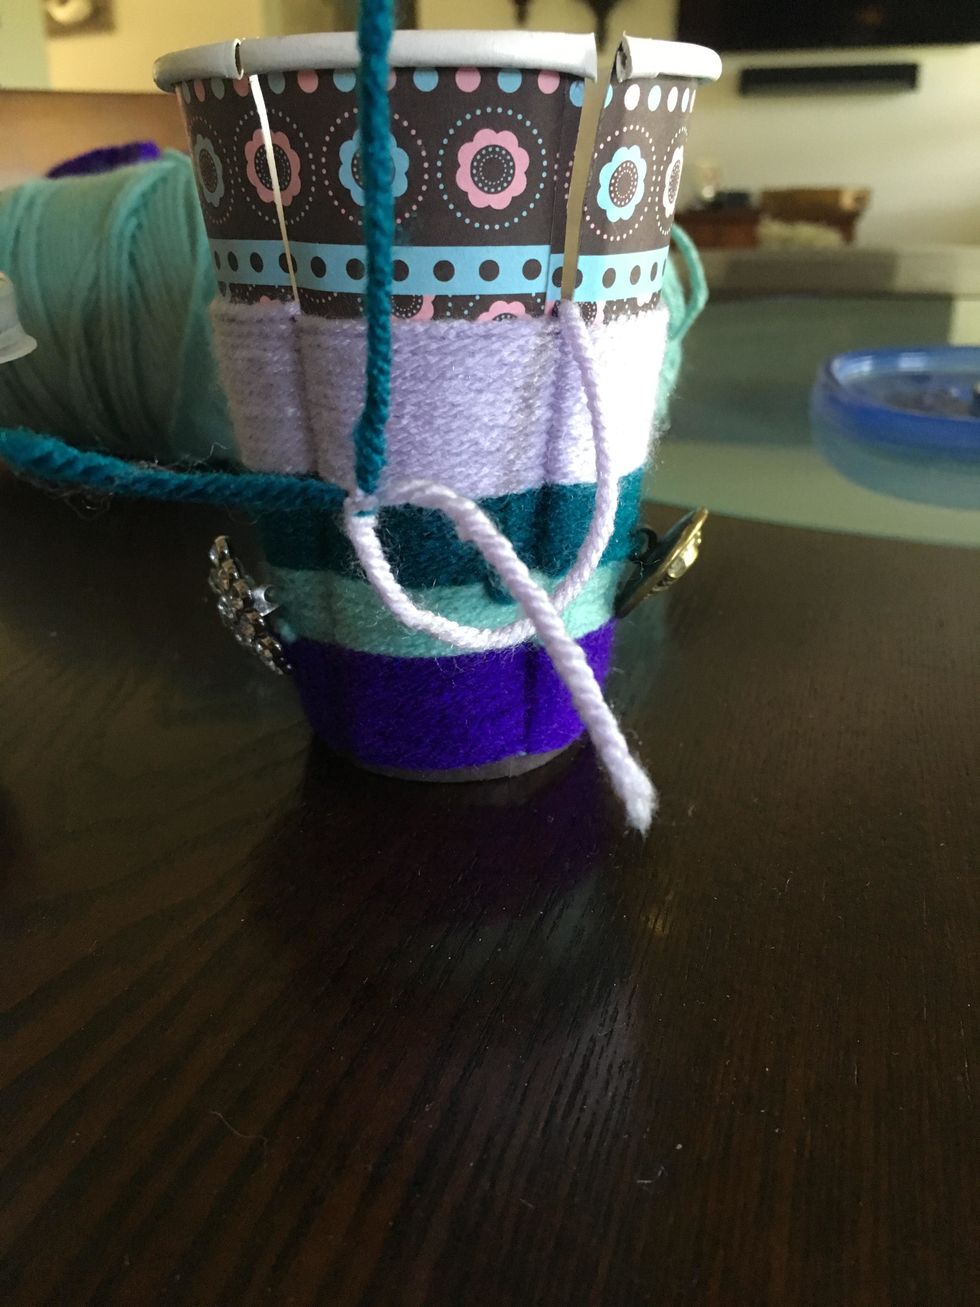
Adding another color to create more interest.
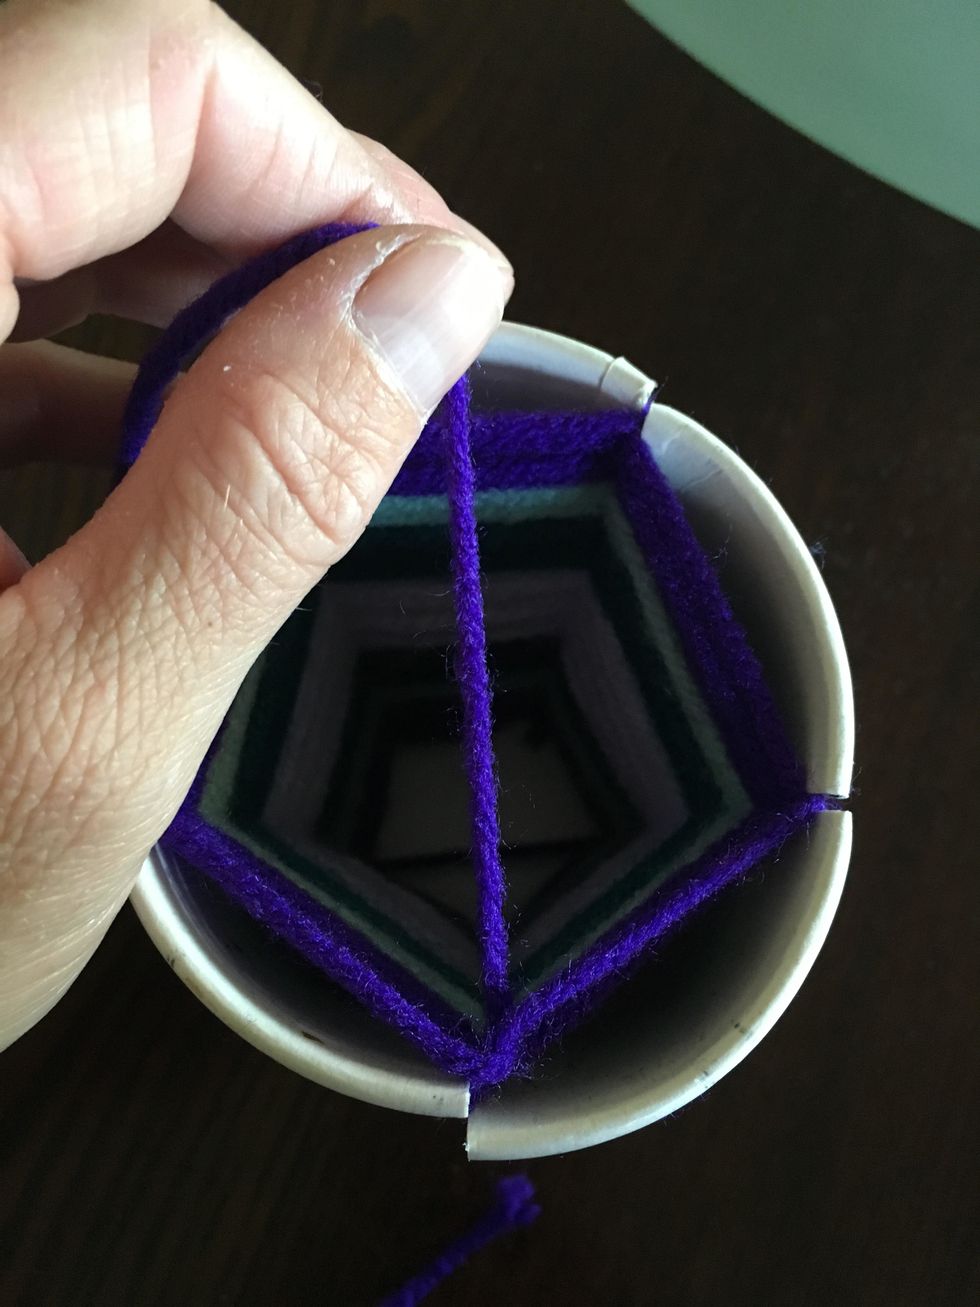
Once you reach the top tie a knot. Make sure the knot is near the edge of the cup. Cut off any extra yarn. Tuck the knot into the weaving so you cannot see it.
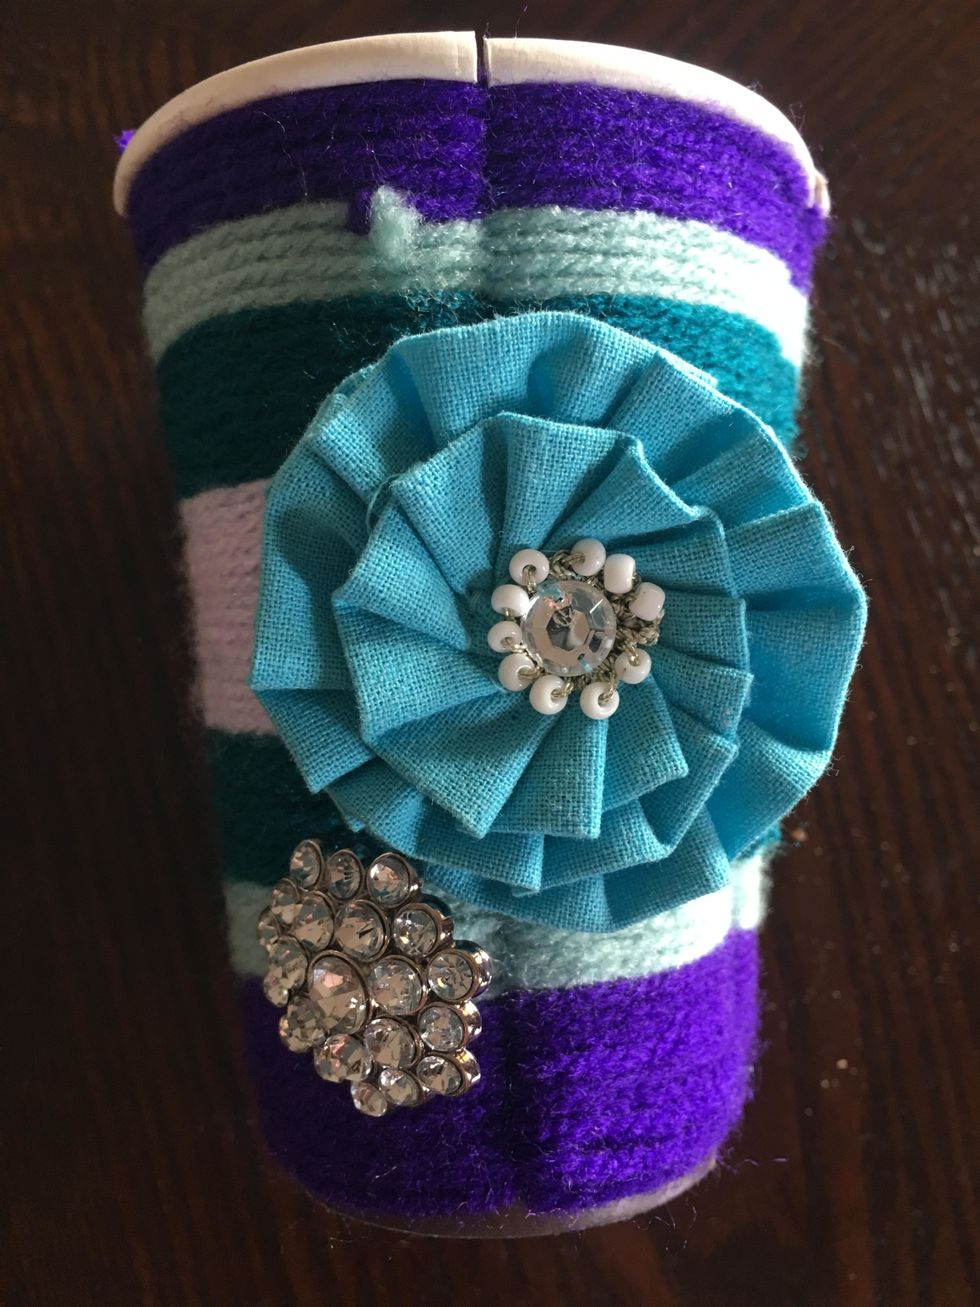
You now have a decorative weaved cup. This activity is both functional and fun. The possibilities are endless and can be adapted. The more you practice the easier it will become.