The Conversation (0)
Sign Up
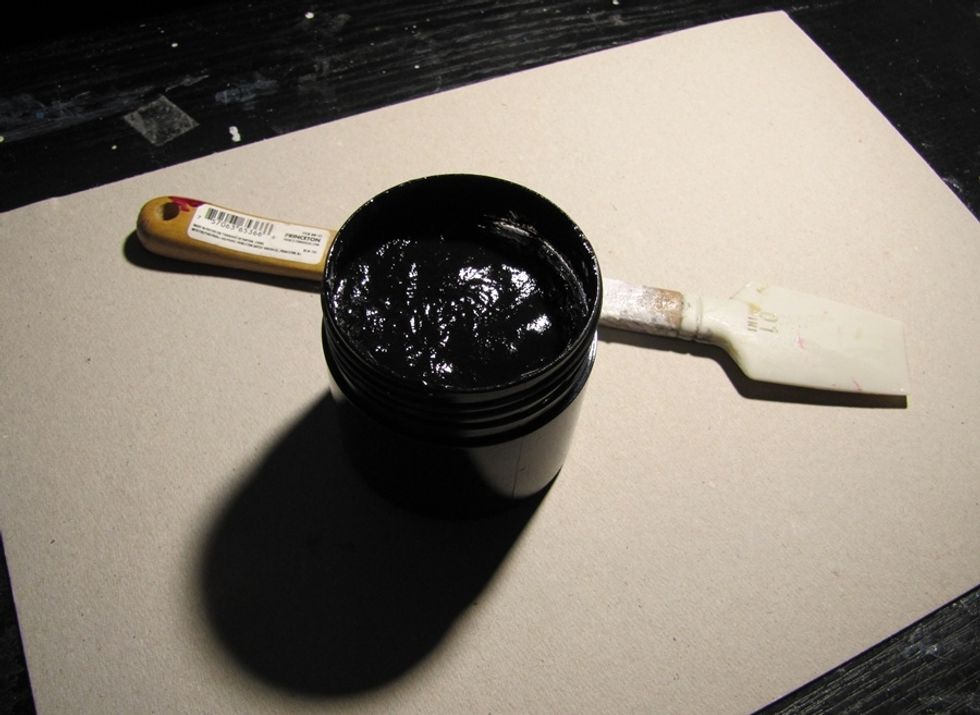
Cover the paper with black gesso. One or two layers.
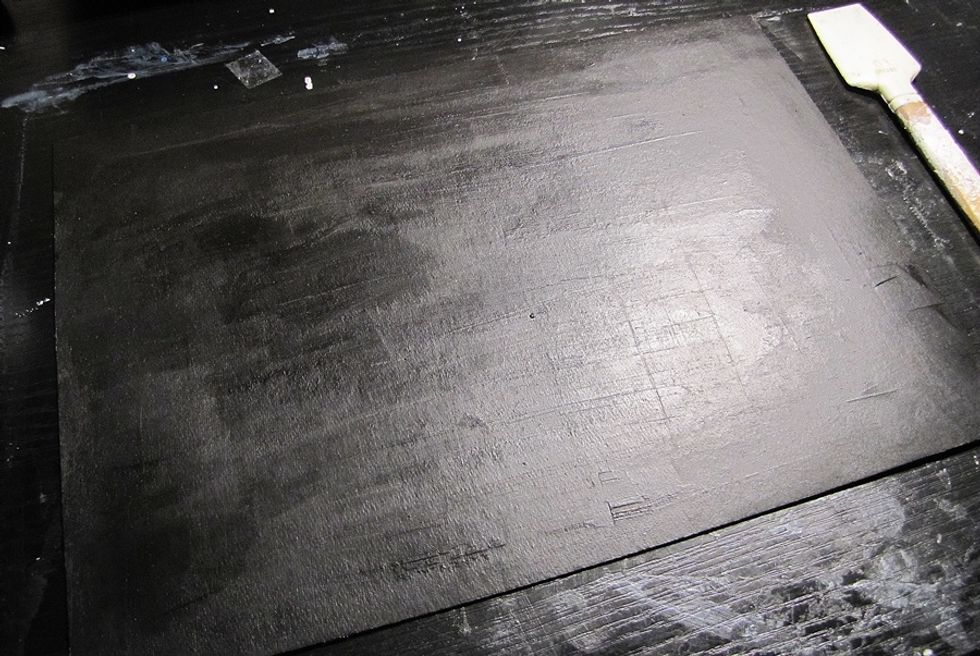
Let it dry.
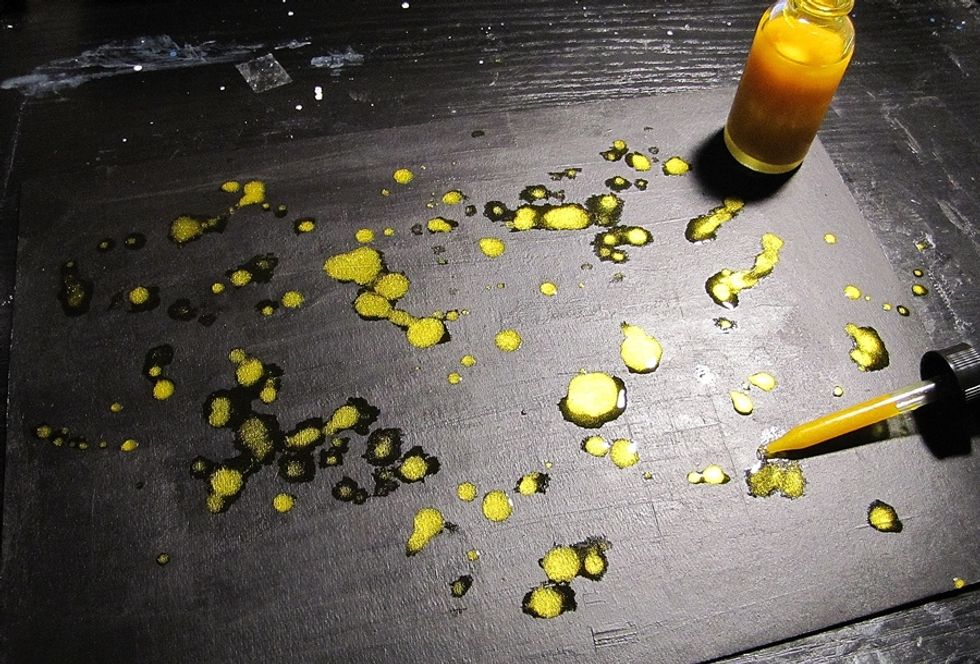
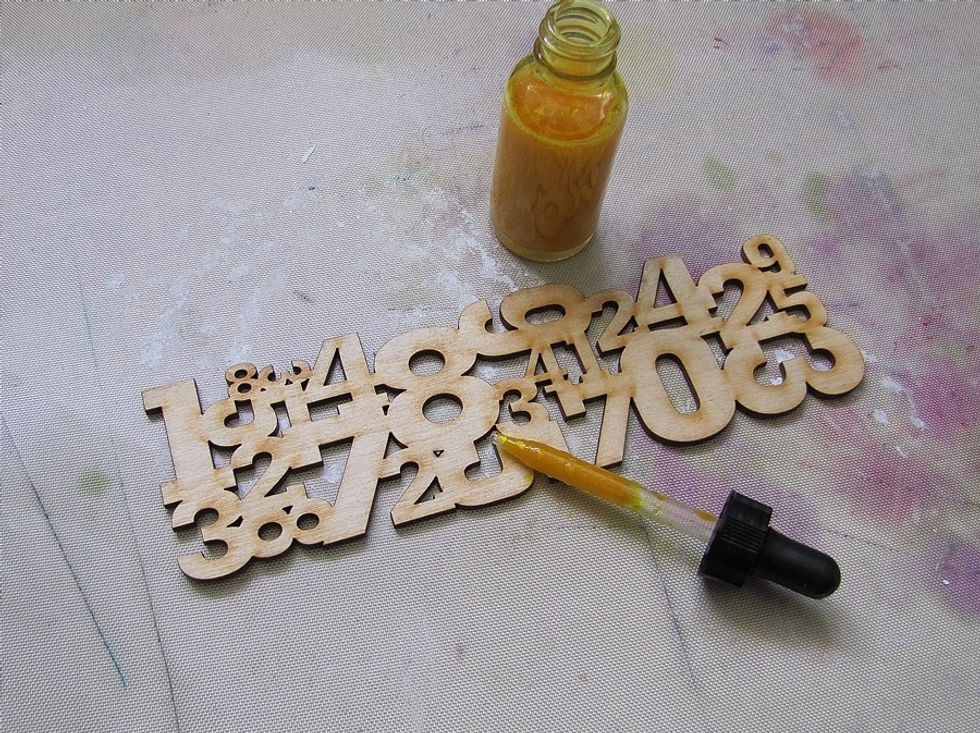
Apply some MINX drops. I use Allure.
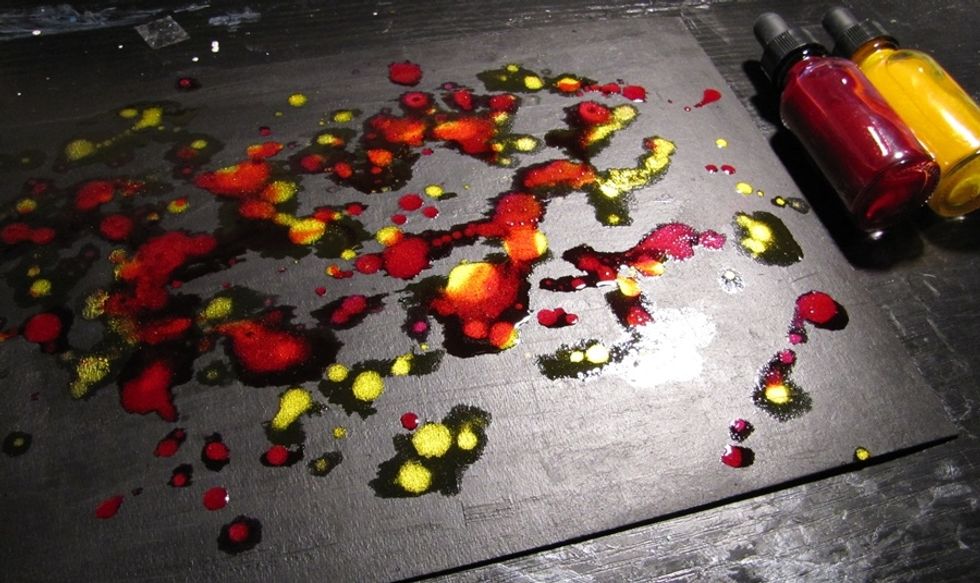
And Indulgence. Let it dry.

Prepare stencil UNIVERSE and Sorbet - LINEN.
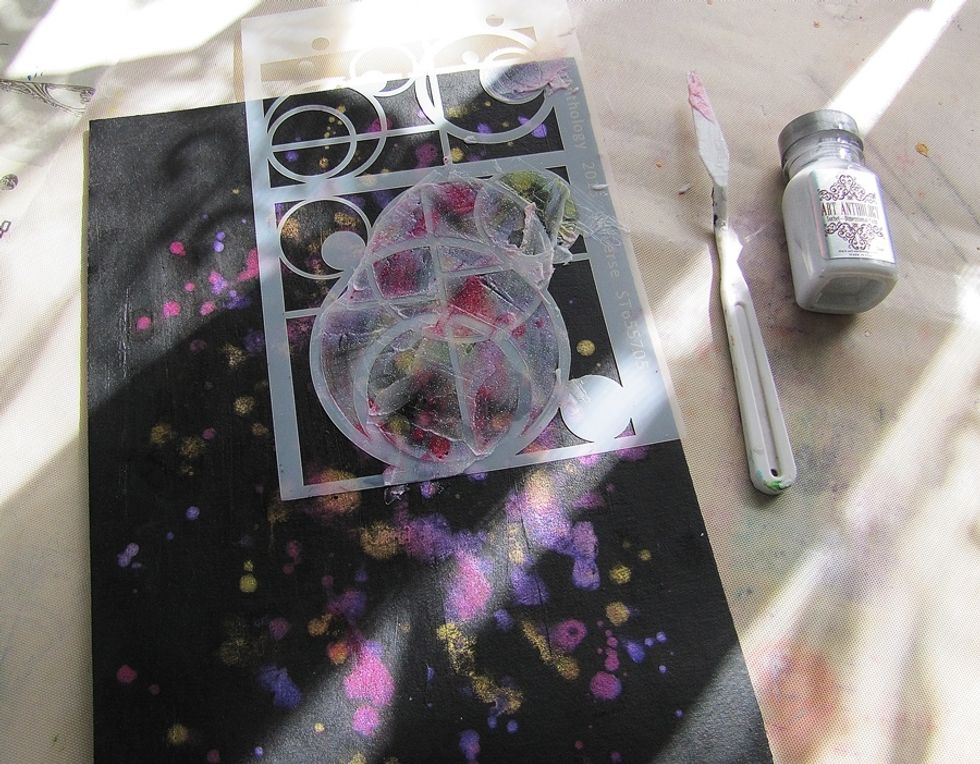
Create some texture. As you can see, I decided to add also some Majestic MINX, so it's more violet.
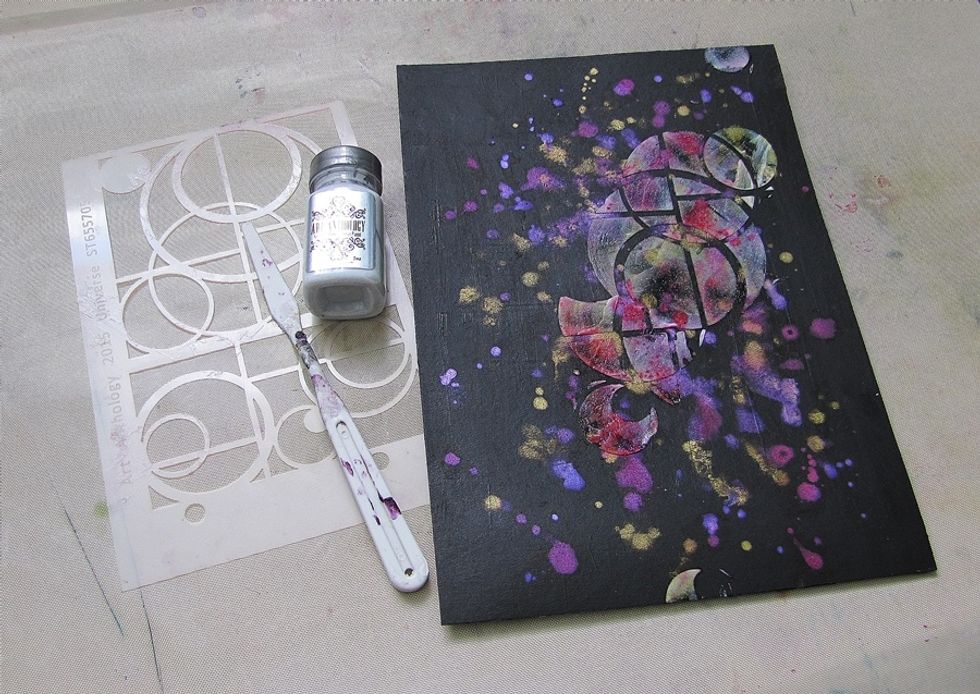
Let it dry.
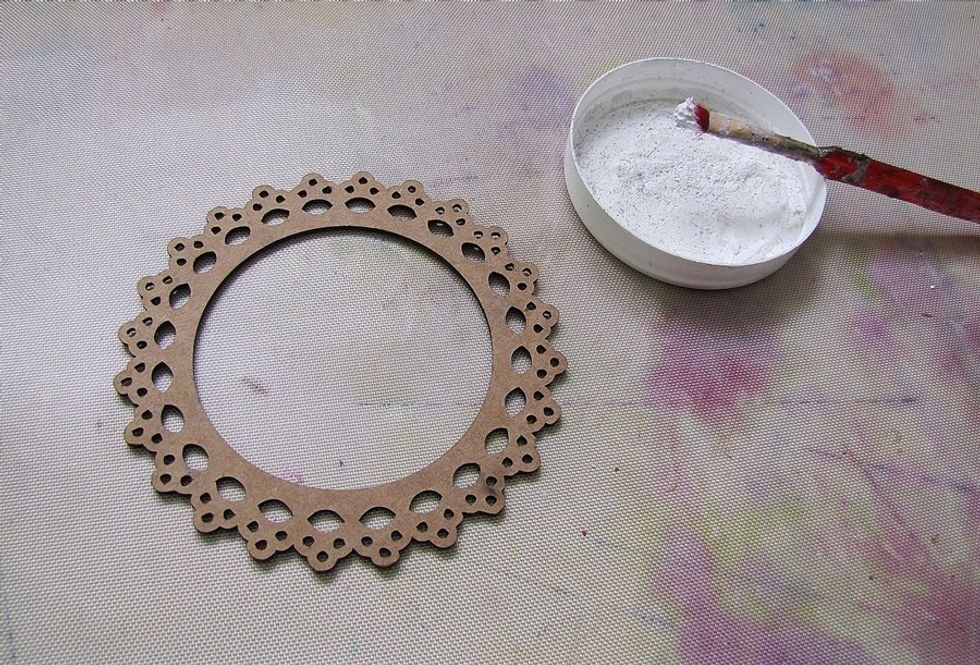
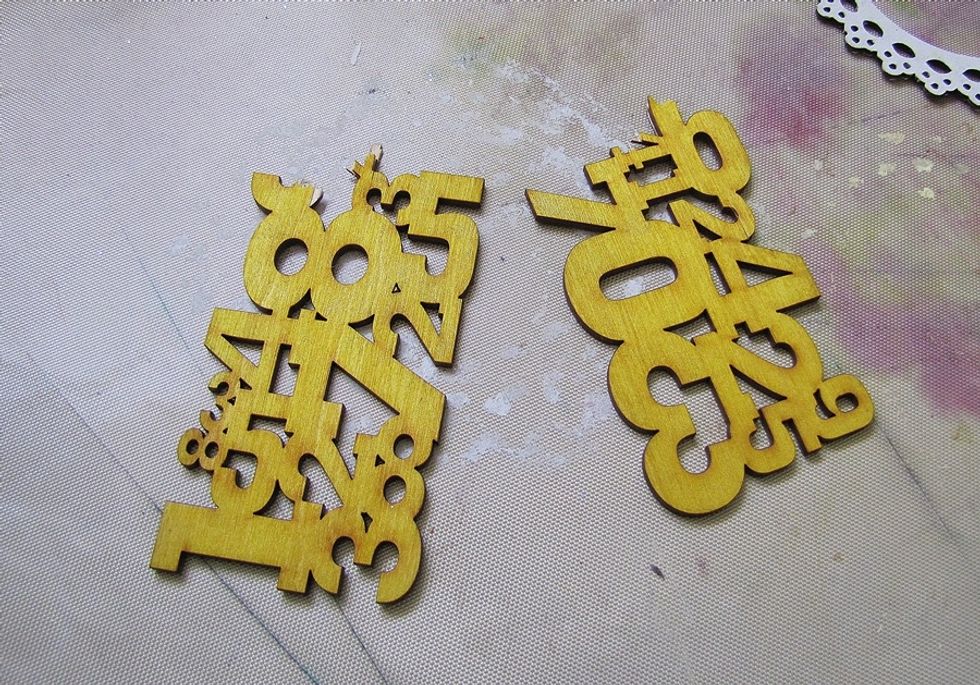
Meanwhile, paint the frame with gesso. This beautiful frame is from Melissa Frances.
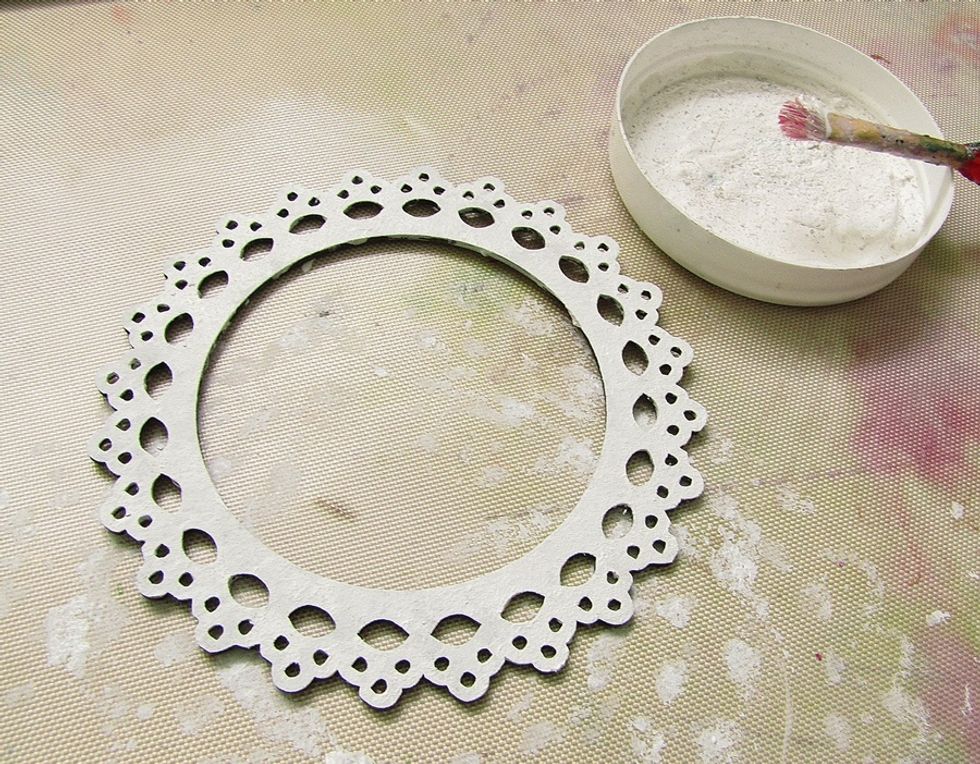
Let it dry.
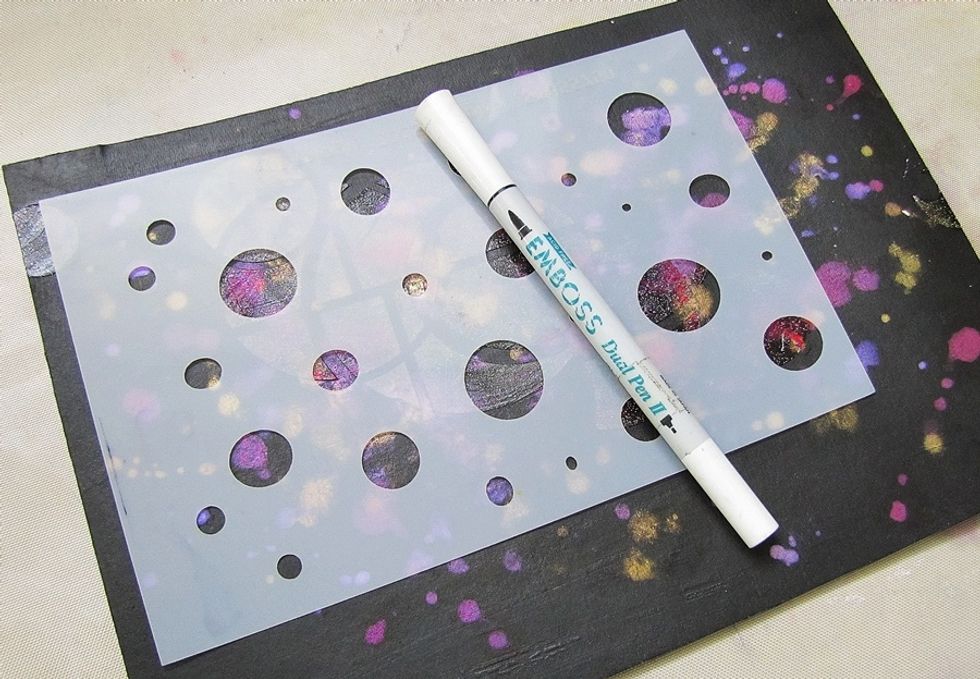
Use embossing pen with the stencil, create some circles.
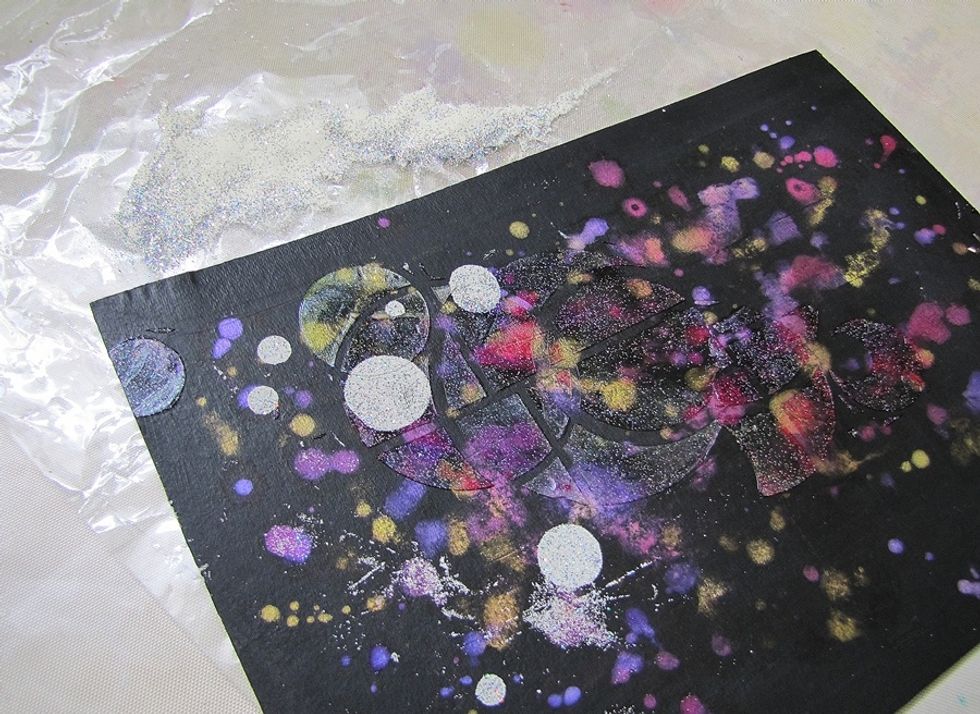
Sprinkle the circles with embossing powder and heat it.
I deciced to break it. It will look better on the page.
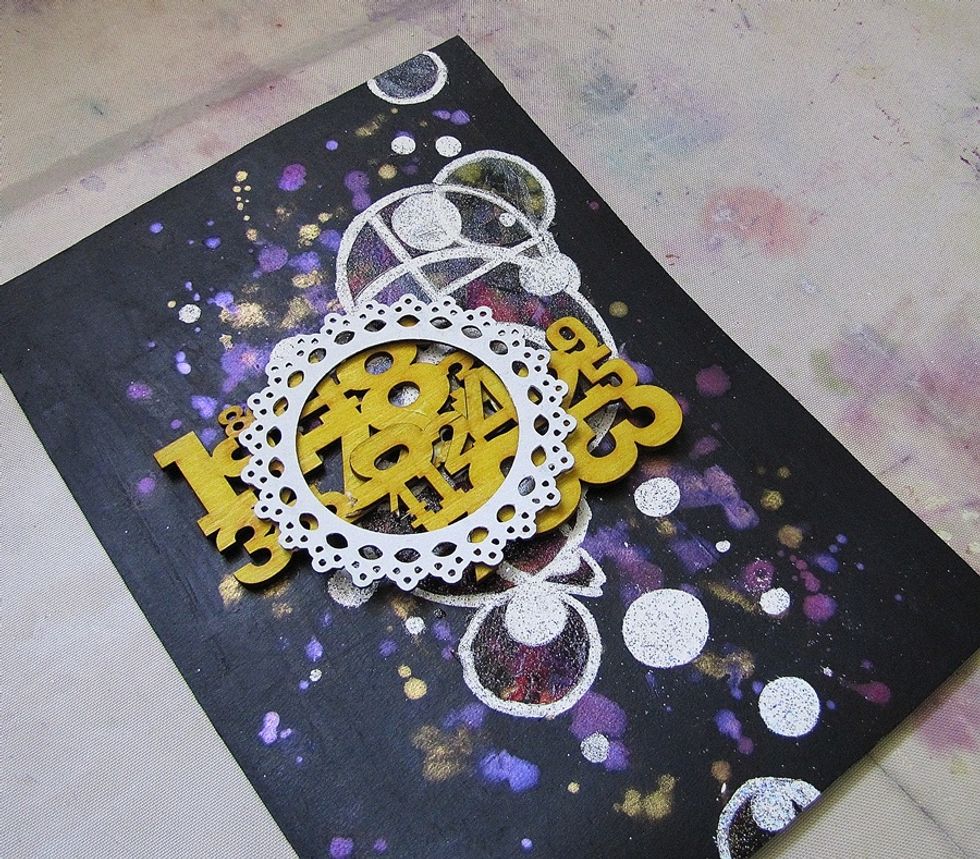
Put it on the page, to see the composition. I decided to add more embossing around the circle, to make the texture more visible.
Paint the title with Majestic. Again cuts from Melissa Frances.
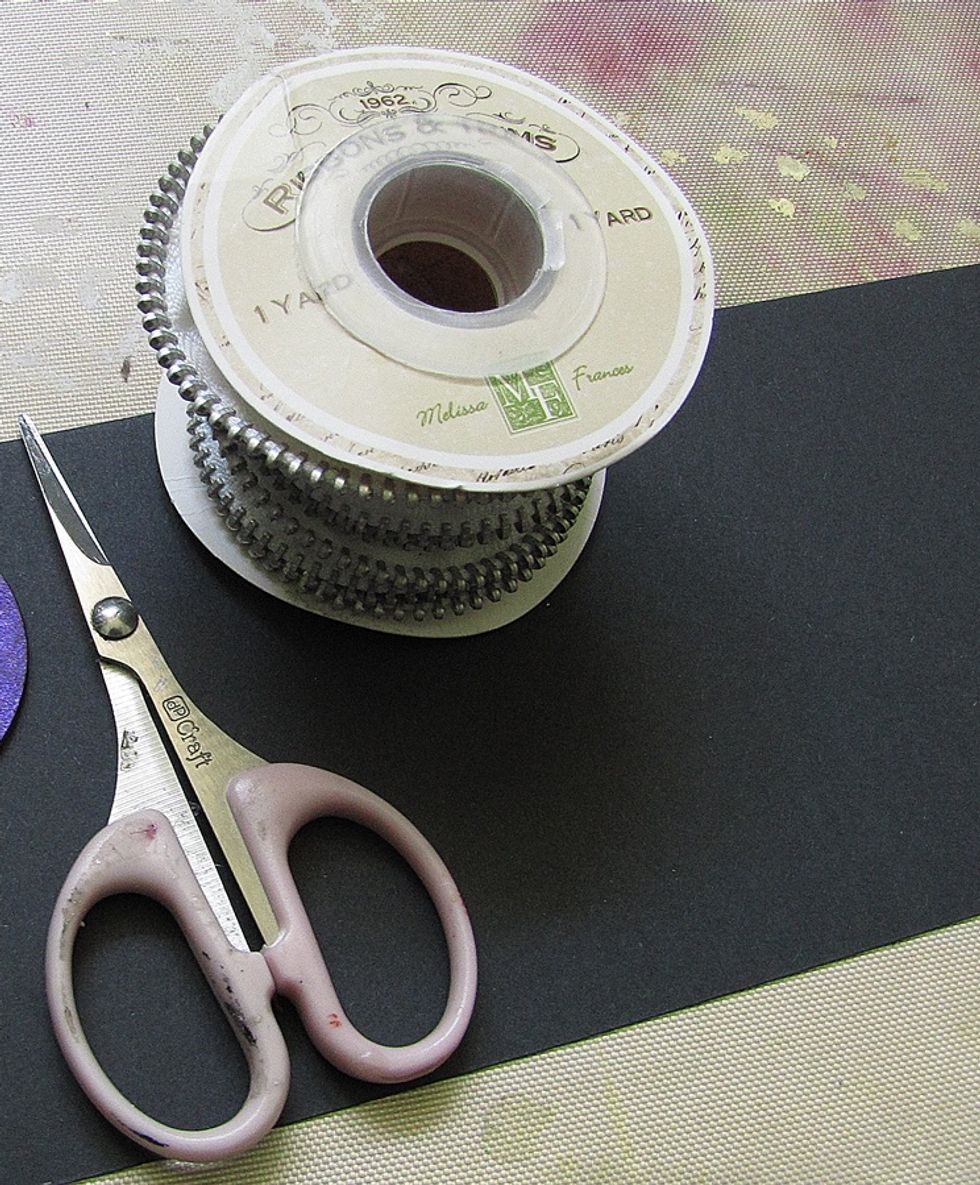
Cut a piece of the Melissa Frances zip trim.
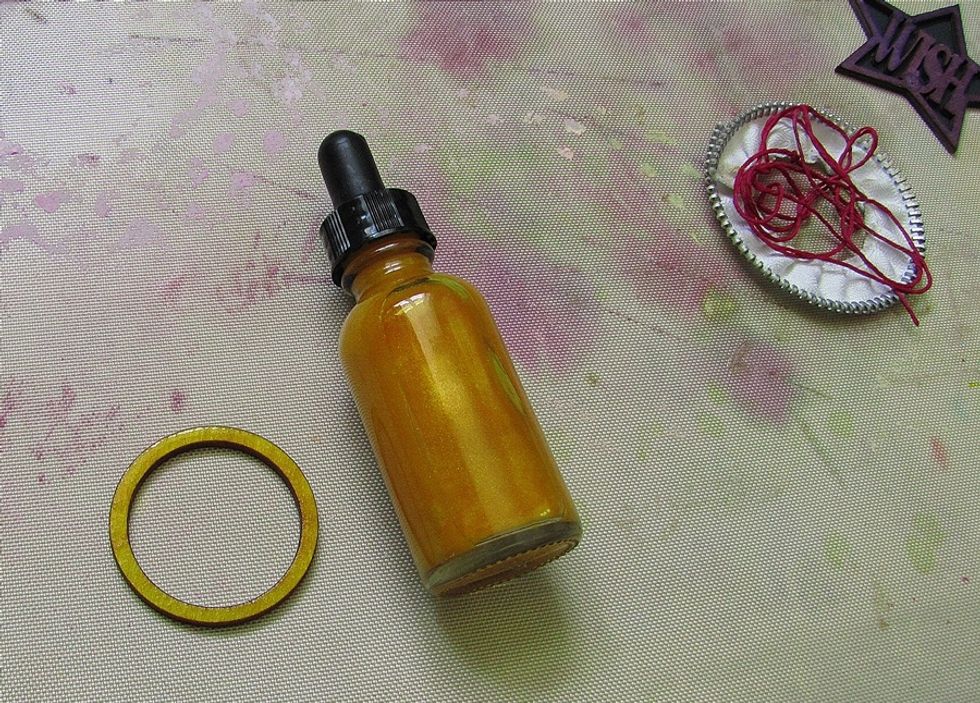
Paint wooden circle with Allure.
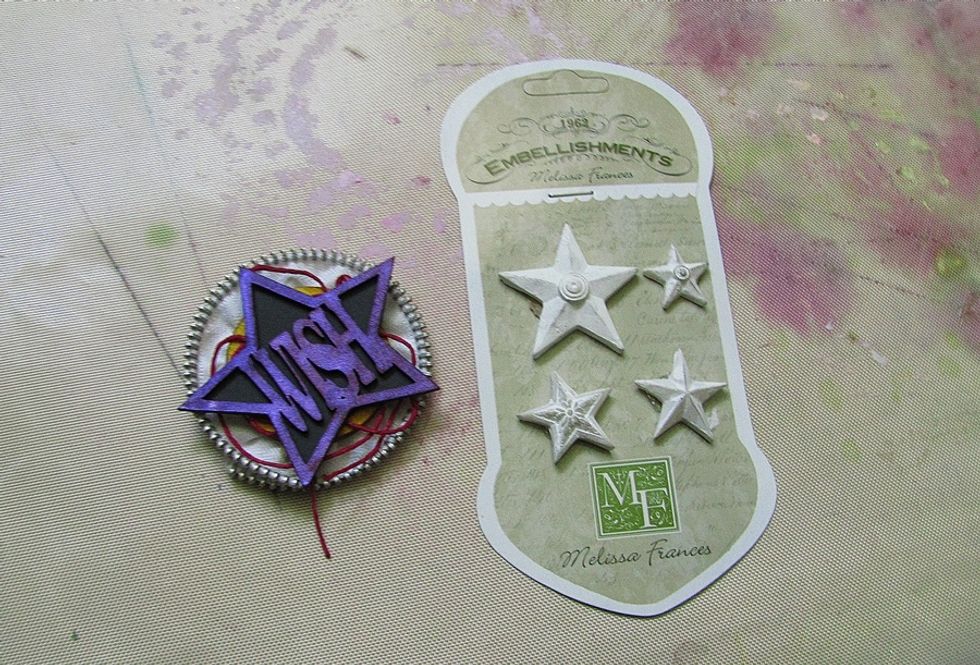
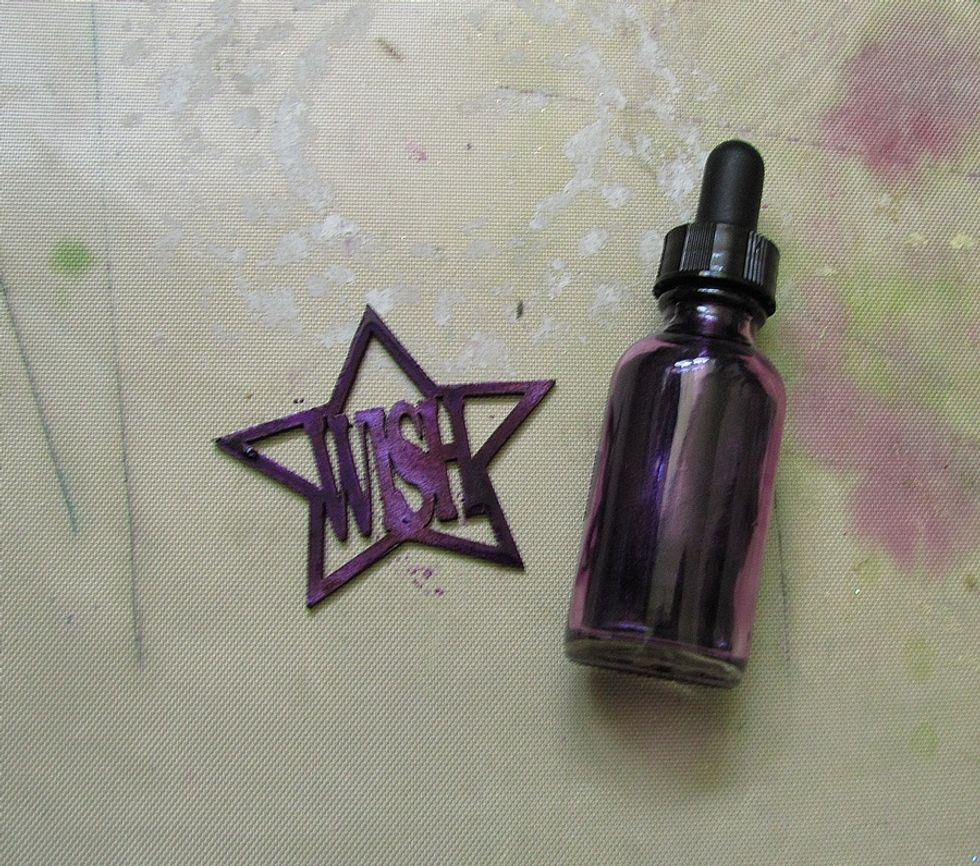
Glue it all together. I add a black background for the title and the twine behind the elements. Prepare MF Resin Stars.

Put the photo into the frame.
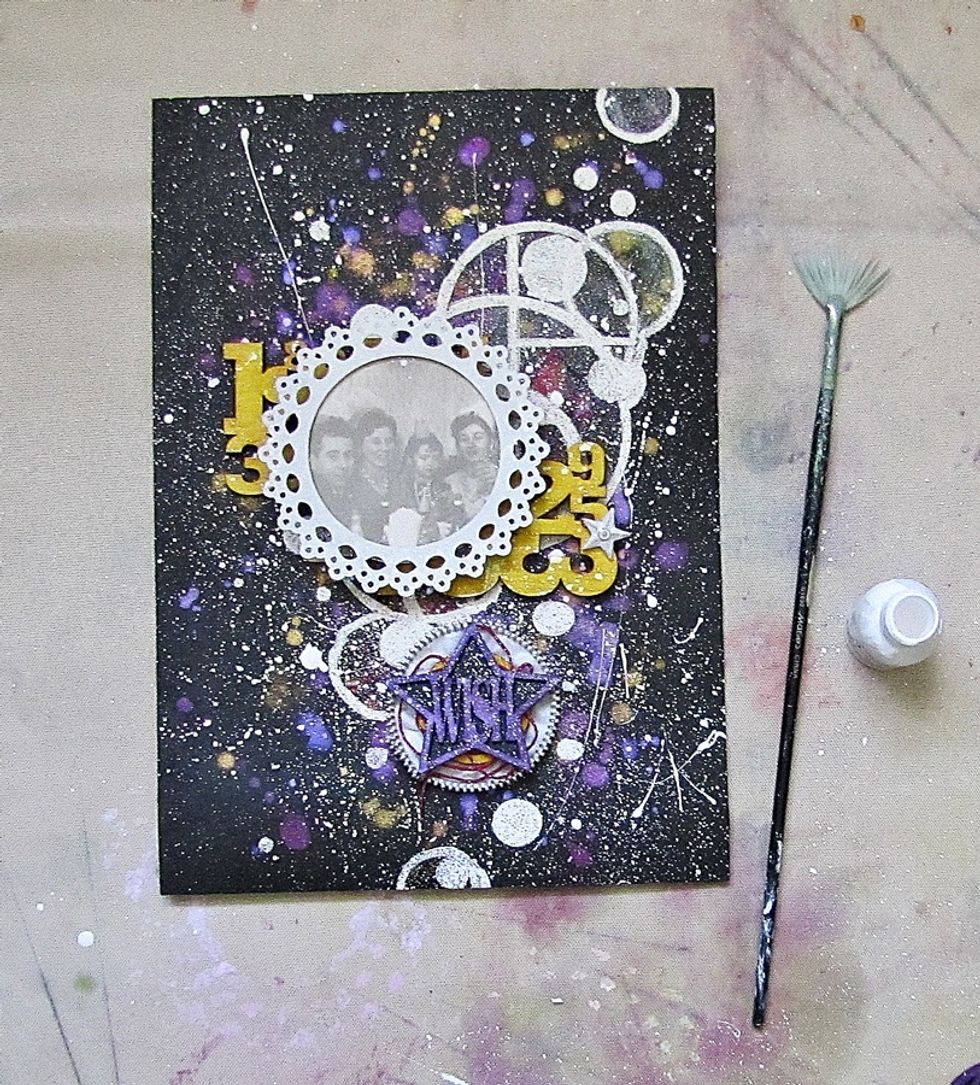
Glue it all together and add some more white splashes with watered gesso or splash ink.
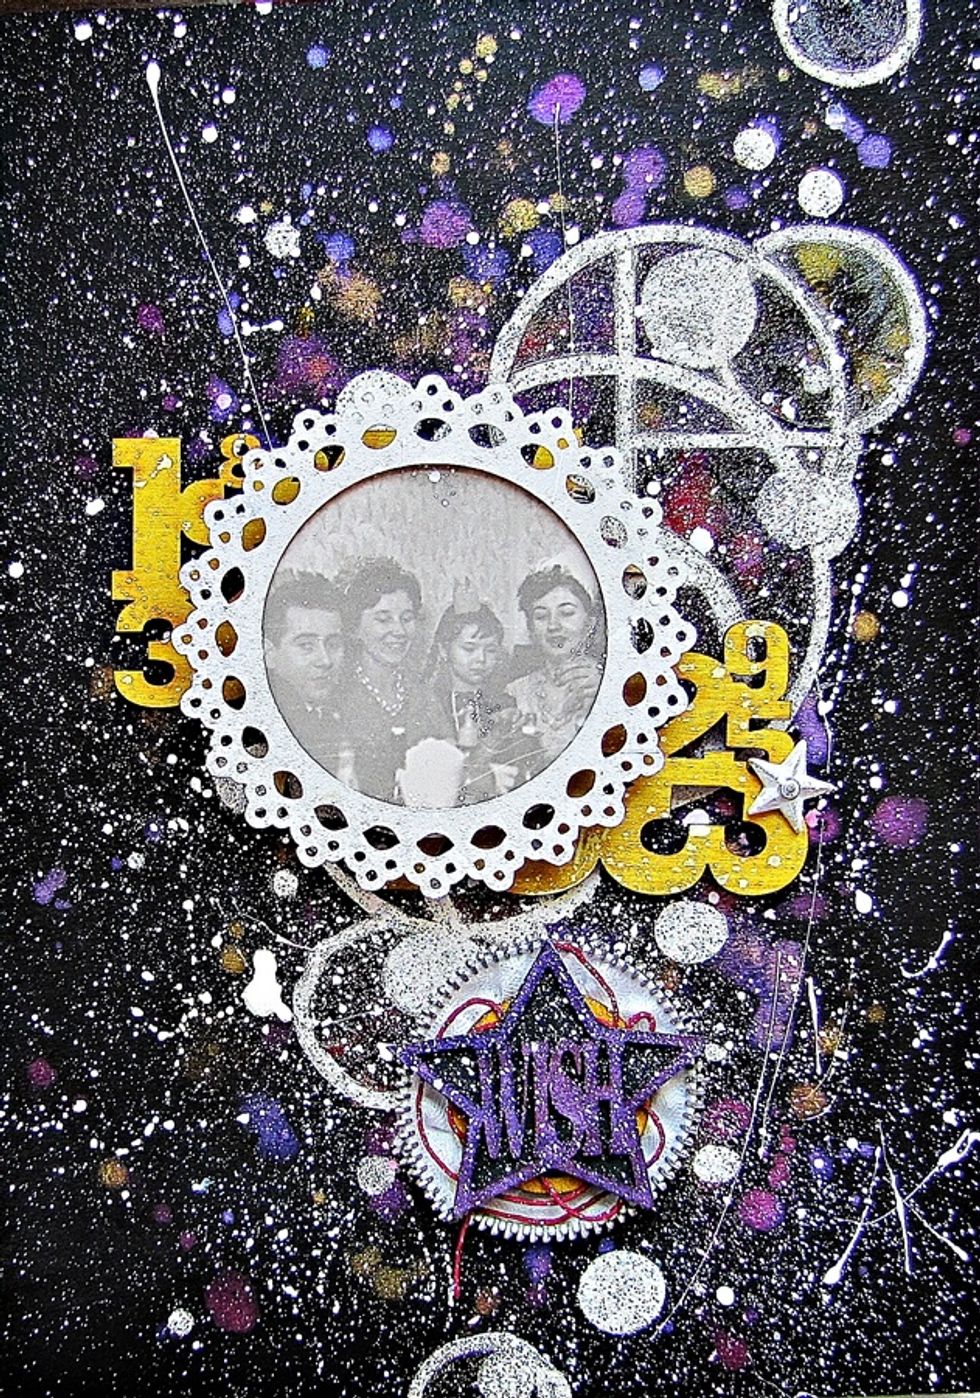
It's finished. :) Thank you for stopping by. See more details on the Art Anthology blog. Marta De