The Conversation (0)
Sign Up
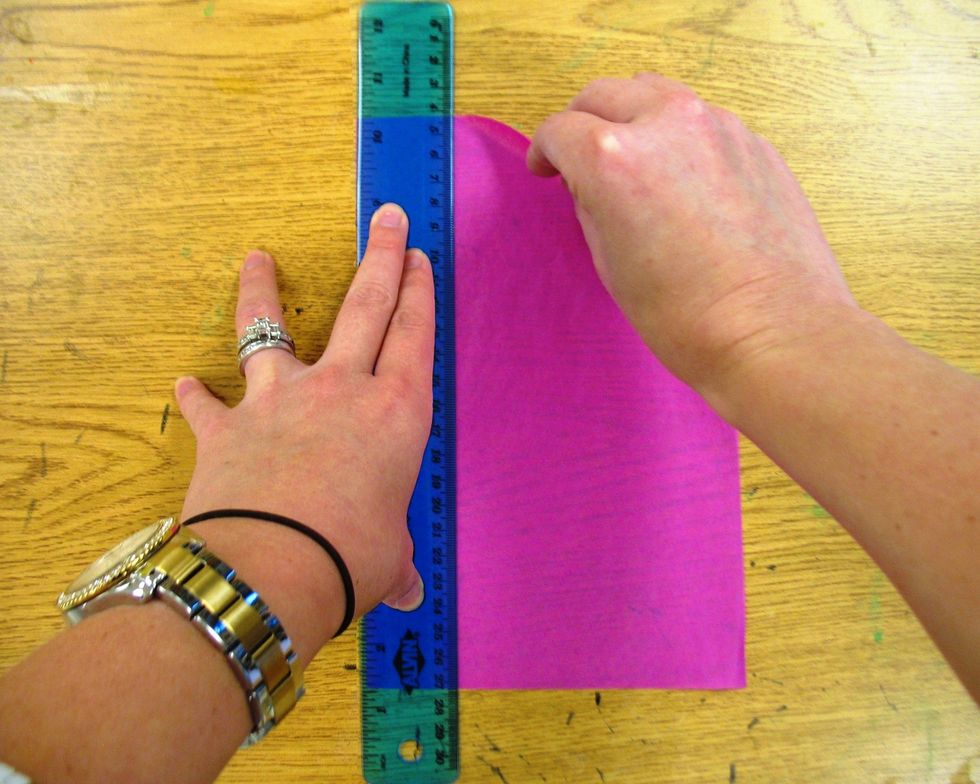
Turn tissue paper and ruler vertically. Place ruler on tissue paper. Hold ruler in place with your non-dominant hand. Tear downward along the ruler edge with dominant hand.

Continue with previous step until you have three or four smaller tissue pieces. Repeat on the two other colors of tissue paper.
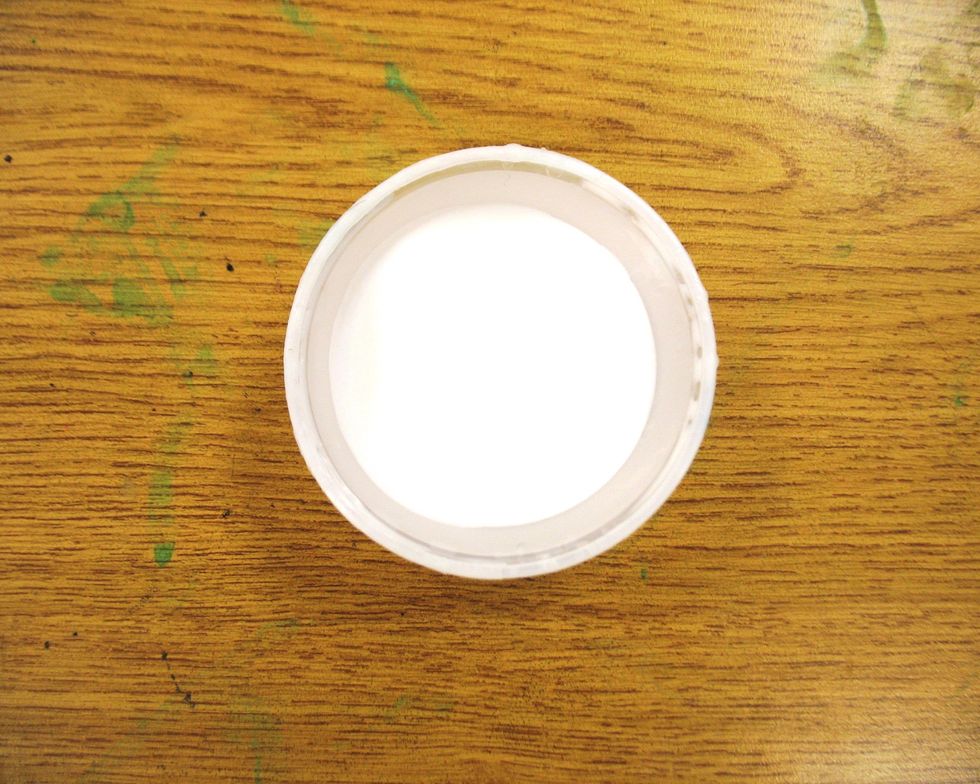
Pour glue straight from the bottle into a plastic cup and mix in a little water to make it easily spreadable with a paintbrush.
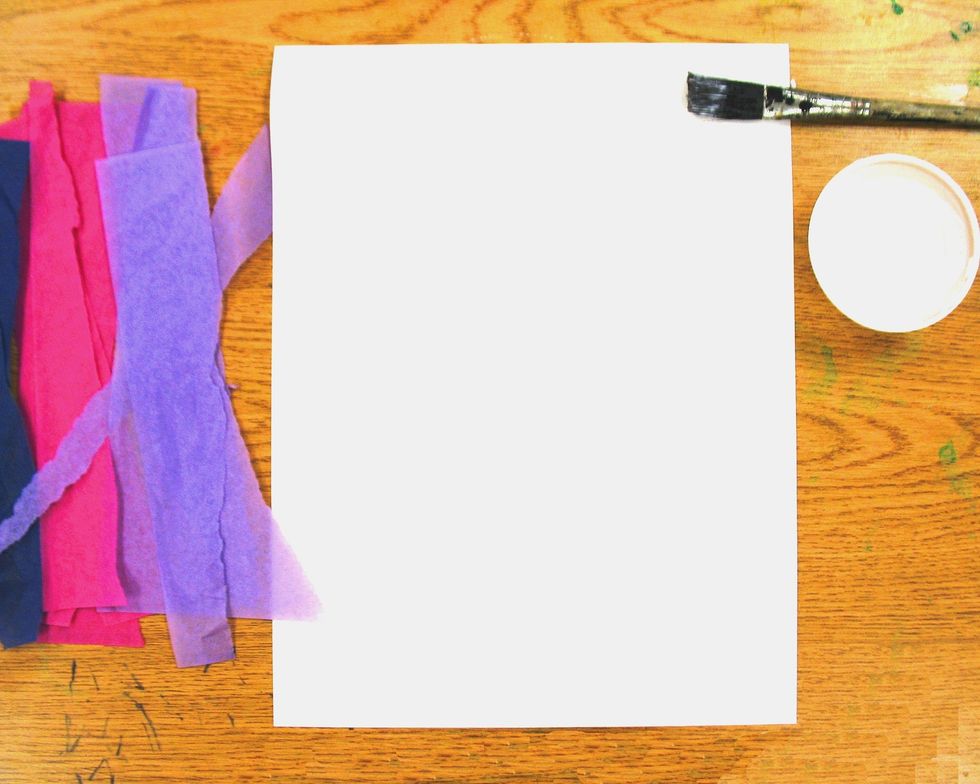
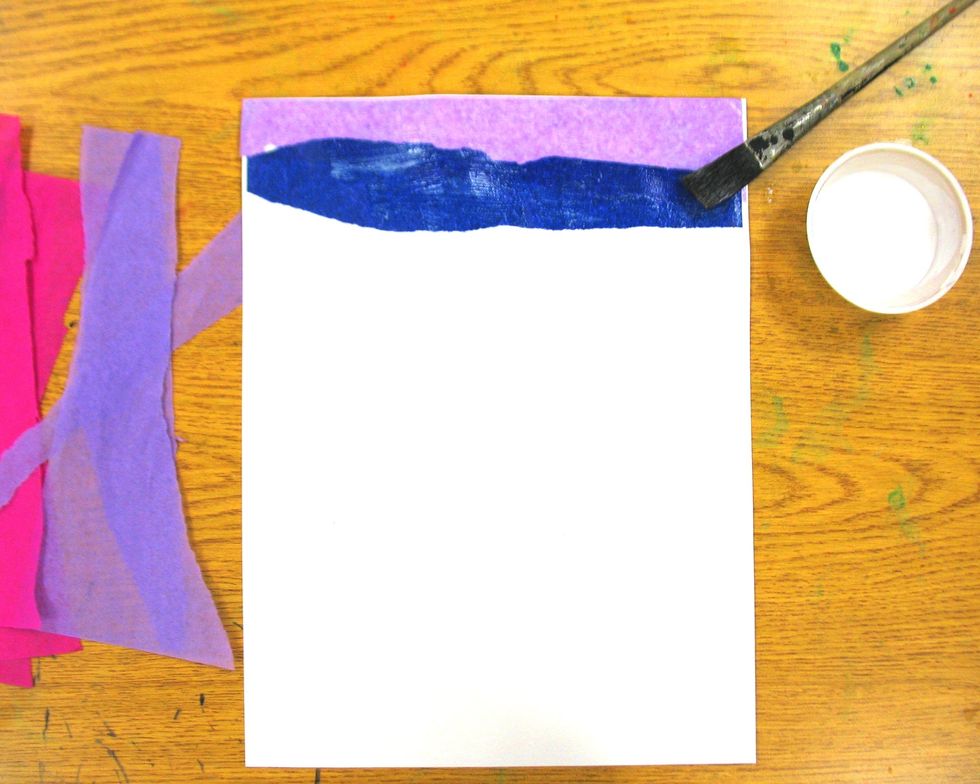
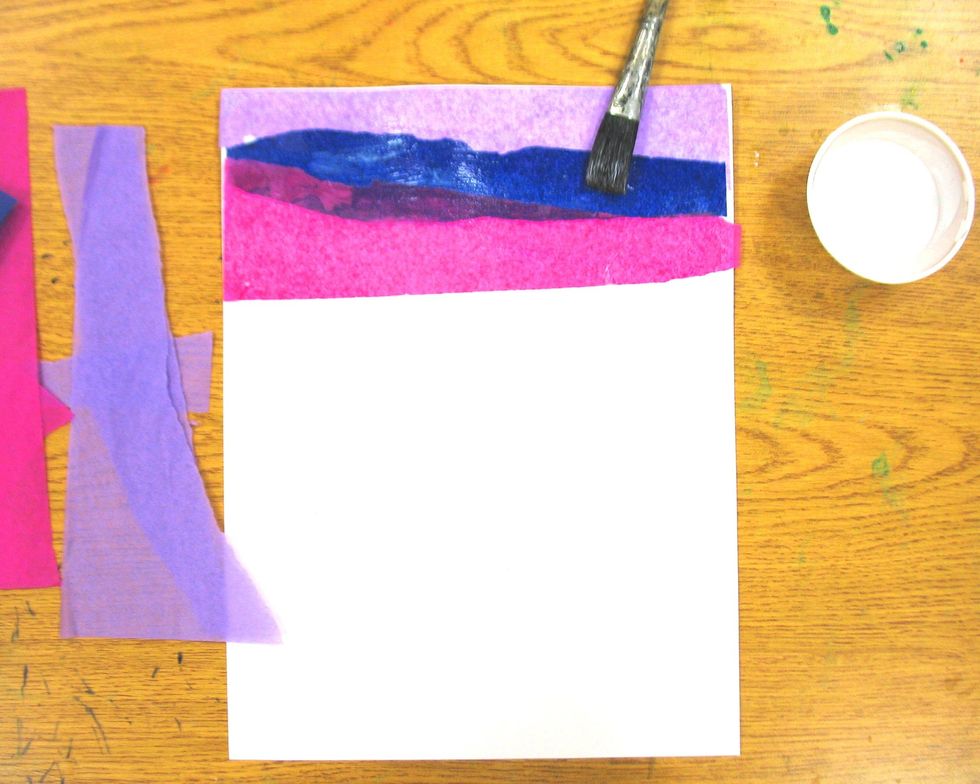
Make sure your name is on the back of the 8x10 piece of paper and flip to the front. Turn paper vertically. Use paintbrush to spread glue horizontally across the top of the paper.

Place your first color of tissue paper horizontally on top of the glue. Make sure all edges are glued thoroughly. If needed, spread glue over the top of the tissue paper to smooth any bubbles.
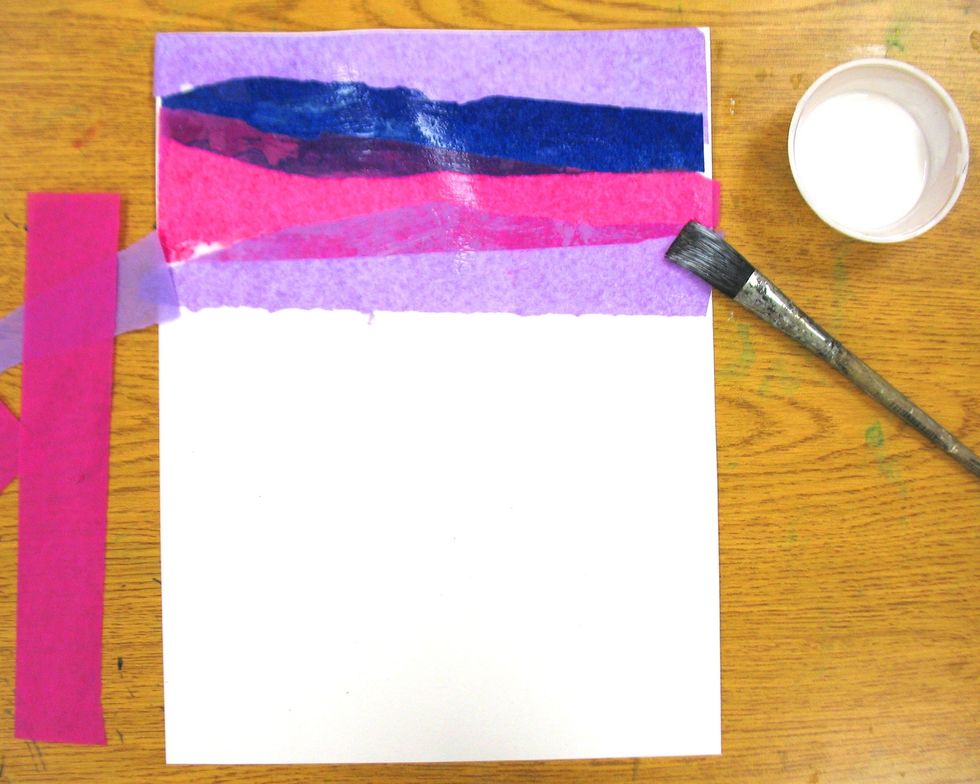
Spread more glue horizontally below your first strip and overlap the next color of tissue paper slightly over the bottom edge of the first strip. Make sure edges are glued and bubbles are smoothed.
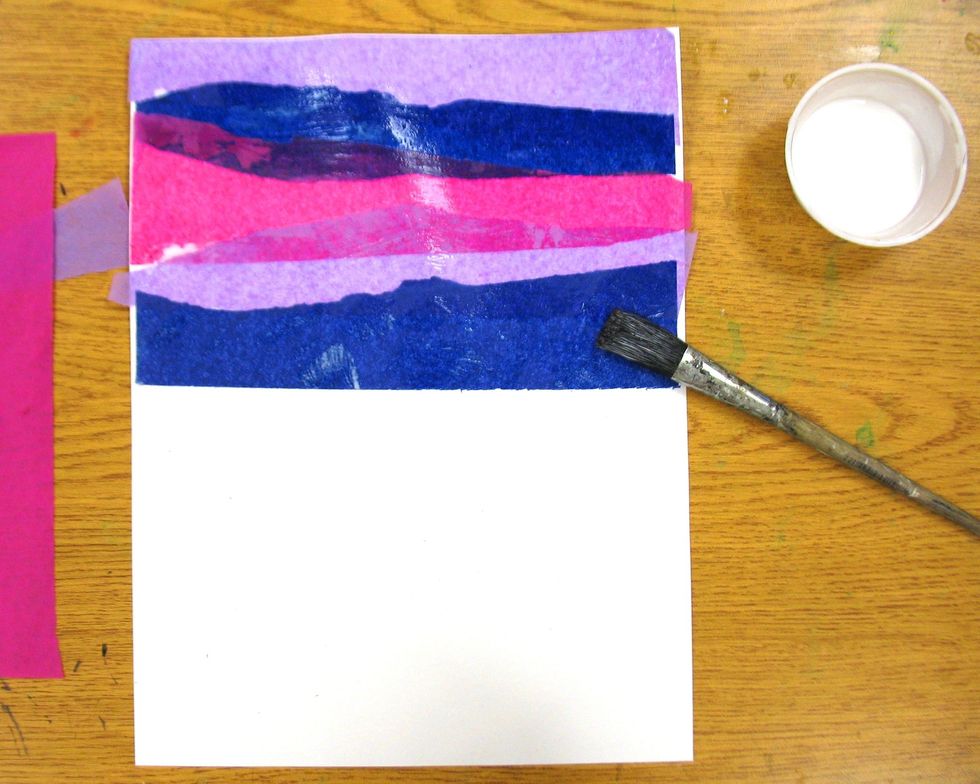
Repeat step 6 using your third color of tissue paper.
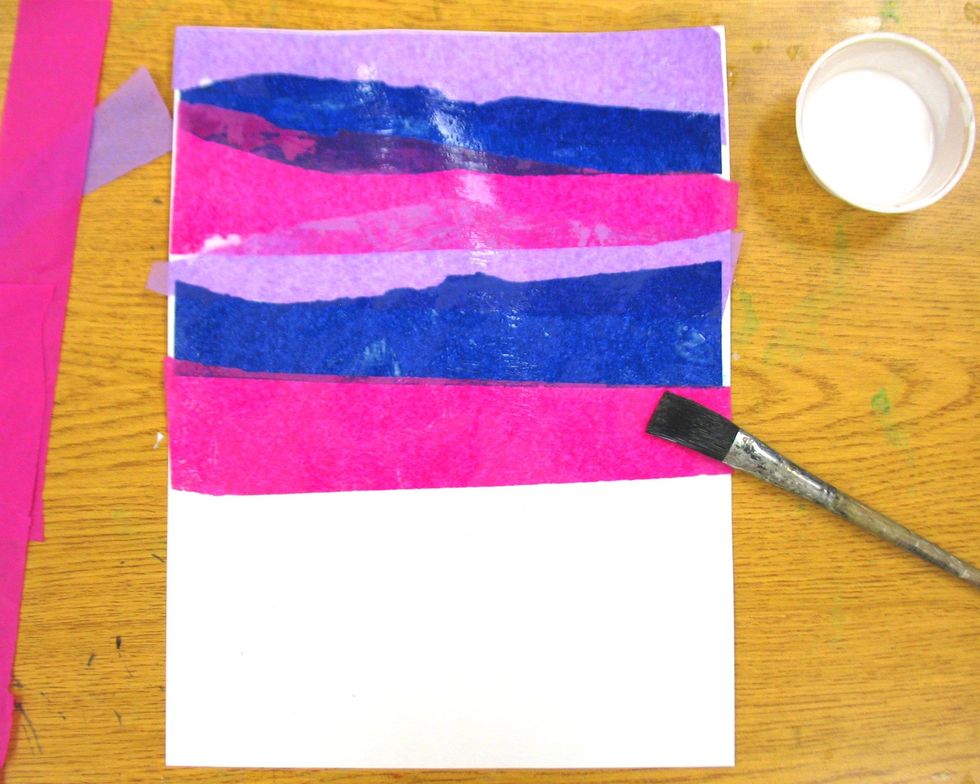
Repeat step 6 using your first color of tissue paper.
Repeat step 6 using your second color of tissue paper.
Repeat step 6 using your third color of tissue paper.
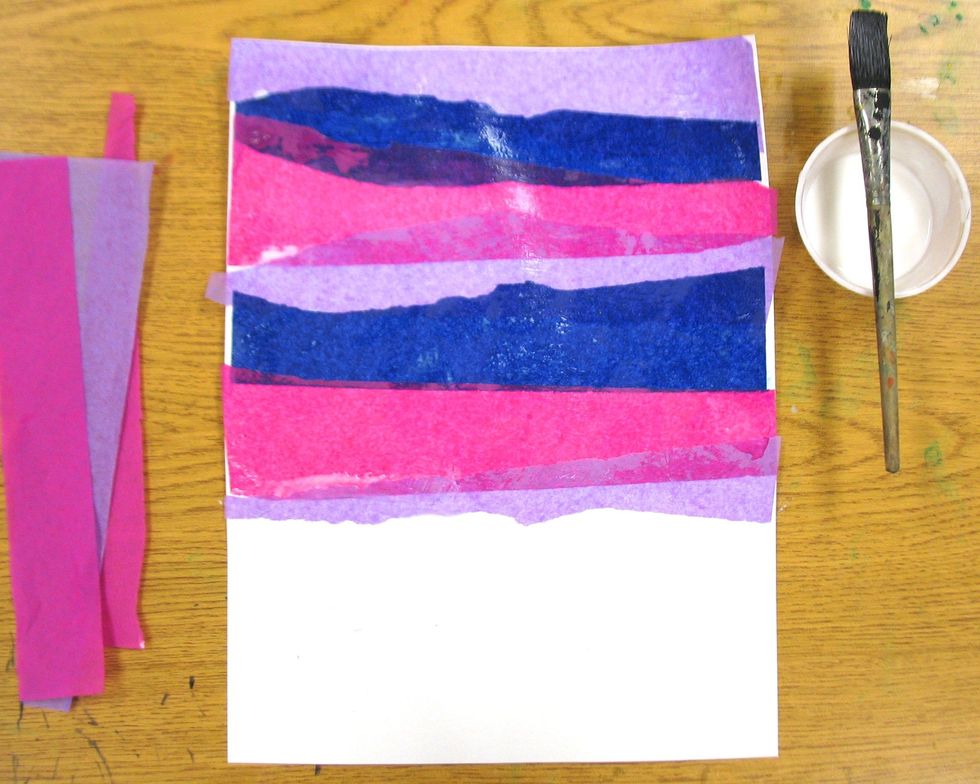
Add one final strip of tissue paper that is the same color as the first. Try to find a piece that has a somewhat jagged edge. At this point, about 1/3 of the paper should be white.