The Conversation (0)
Sign Up
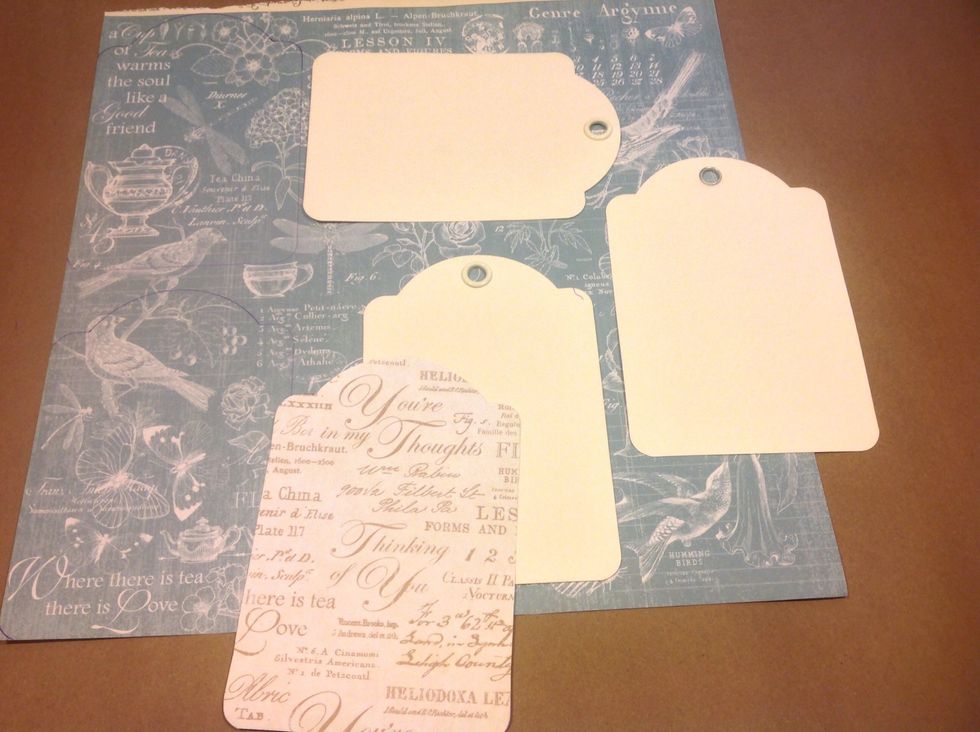
I'm starting out with graphic 45 staples ivory tags. I'm tracing them onto the Botanical Tea paper.
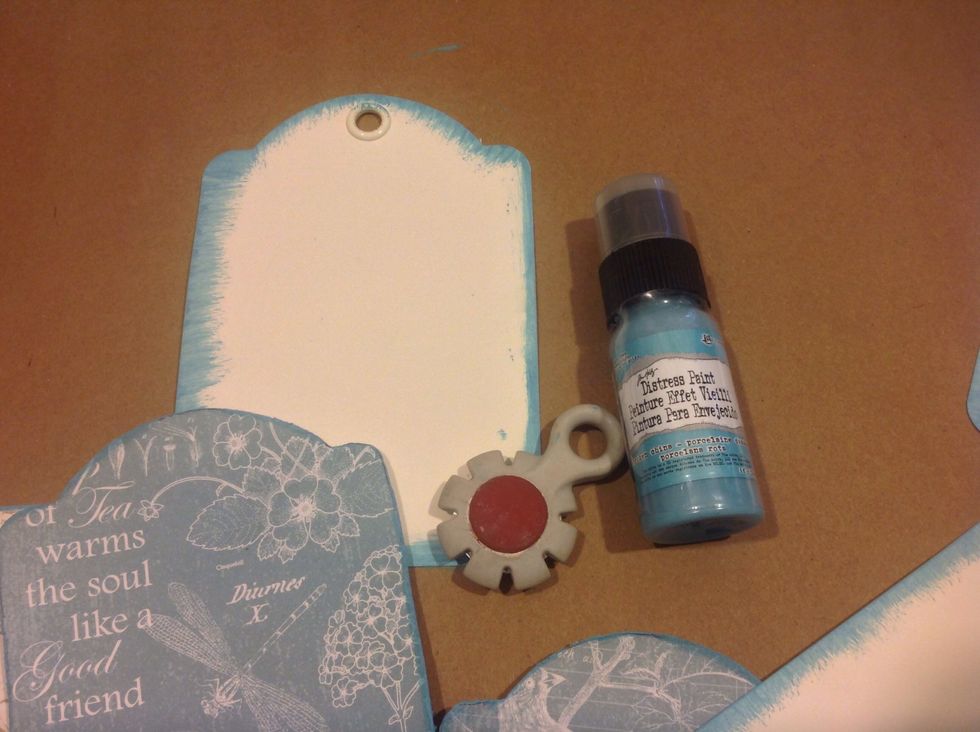
Before adhering the paper I'm edging the tags with distress paint. Broken china paint matches so sweet with this paper. Also distress edges with distressing tool.
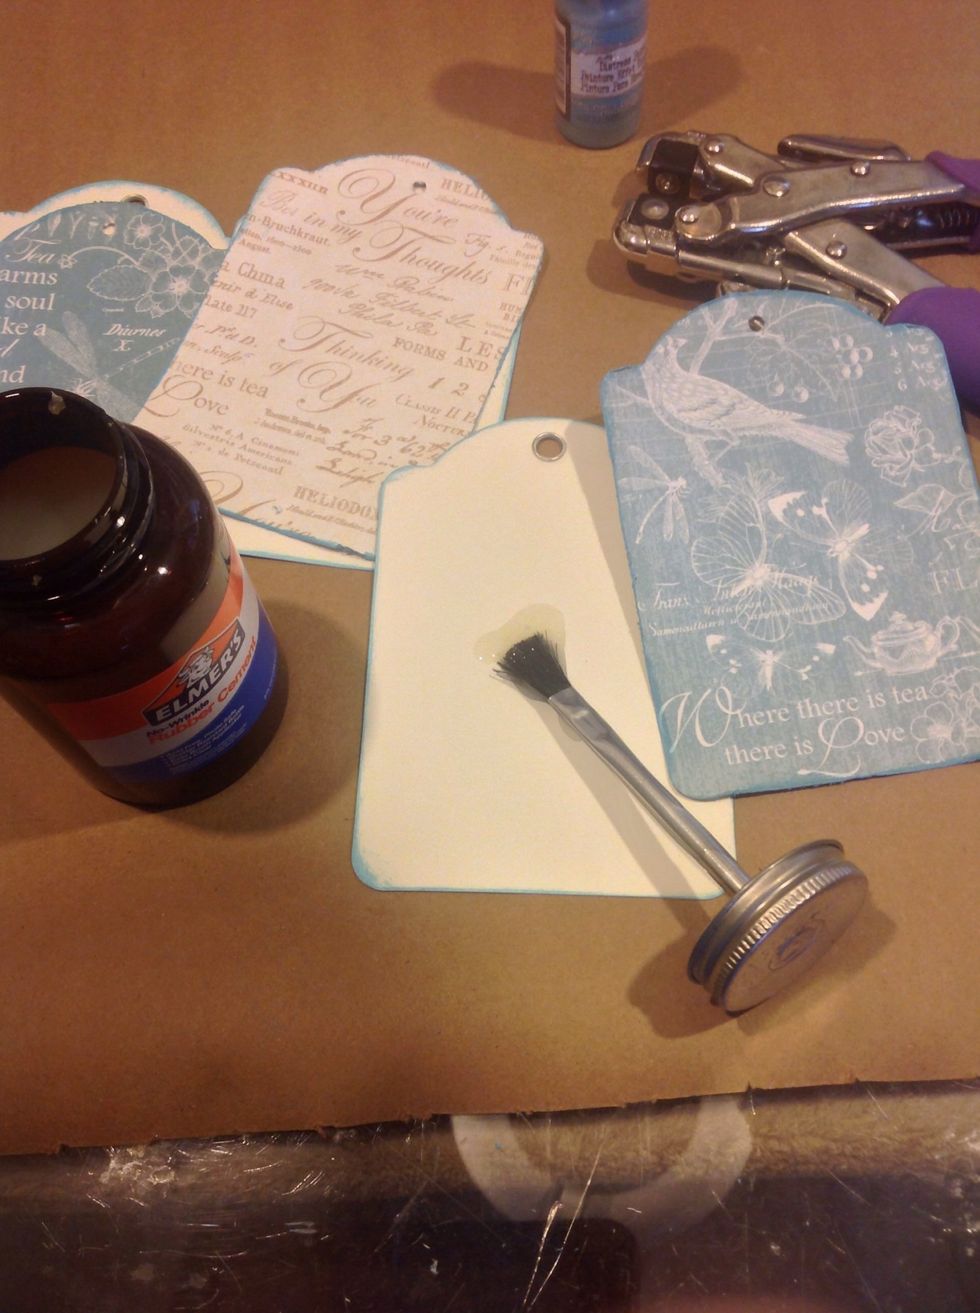
I'm using rubber cement to adhere the paper.
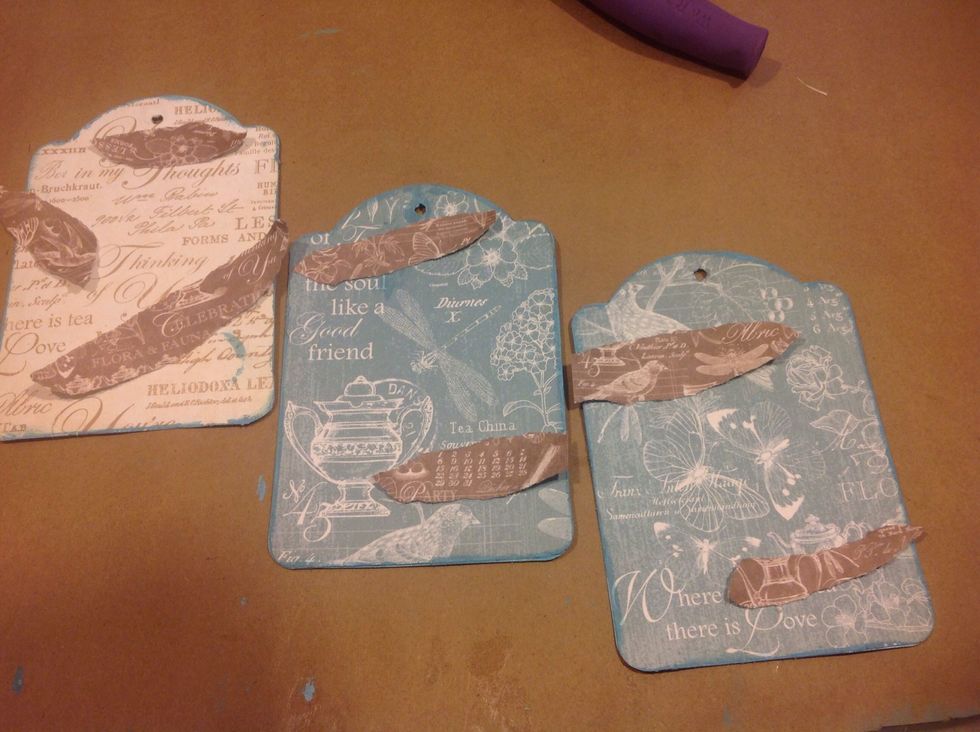
For interest and layers I tore some contrasting paper to add randomly.
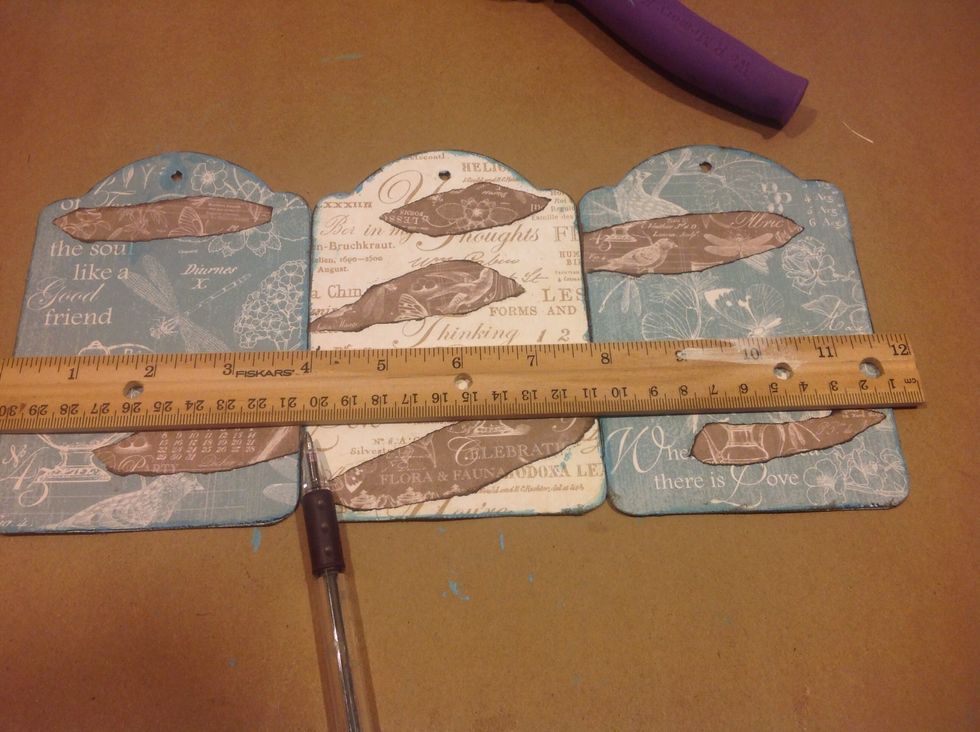
After your papers are adhered make even marks to pierce your holes. That way you can tie them together with some thread or use jump rings.
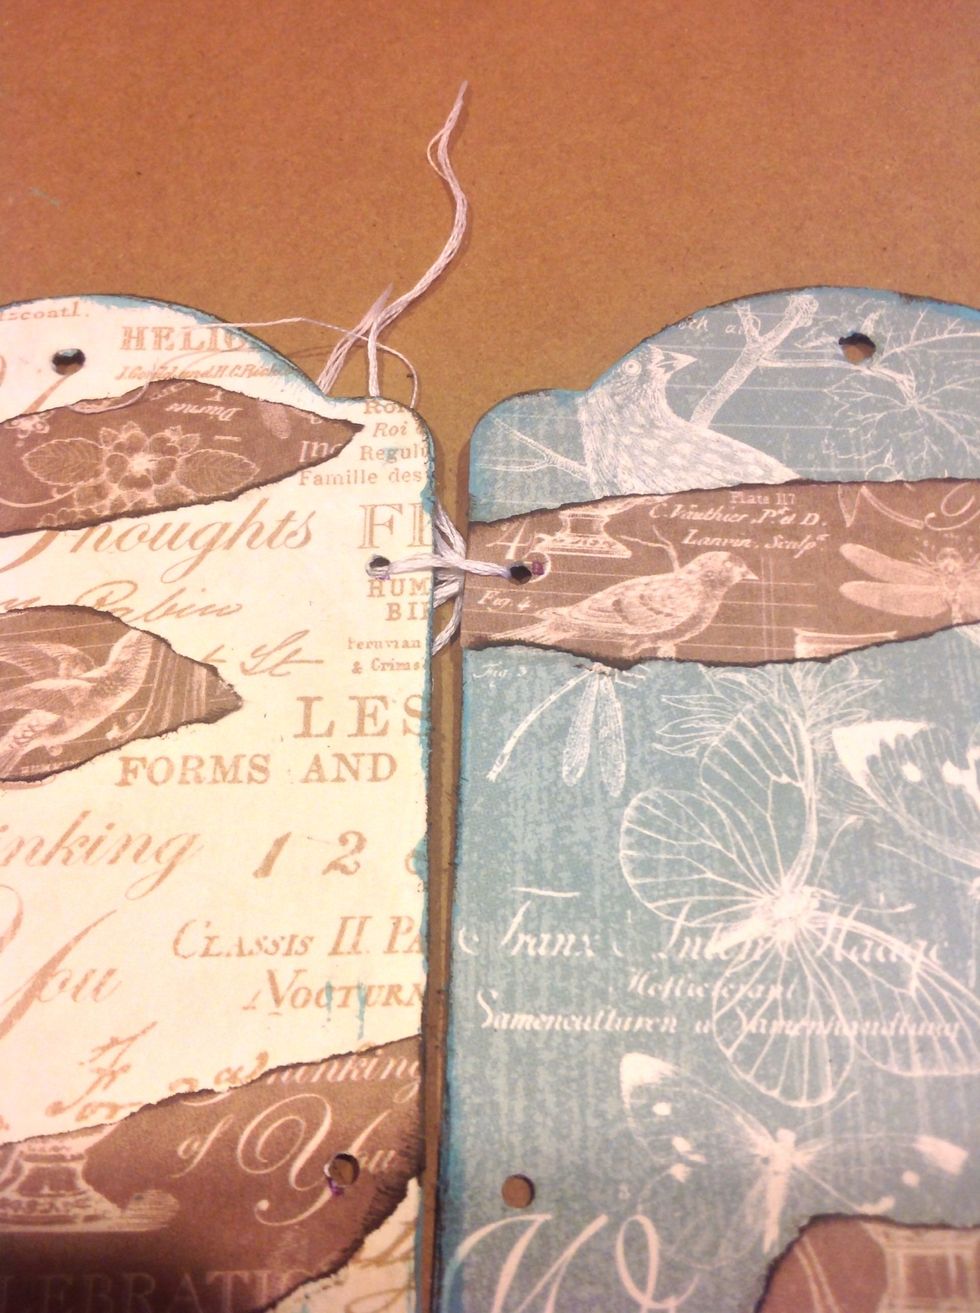
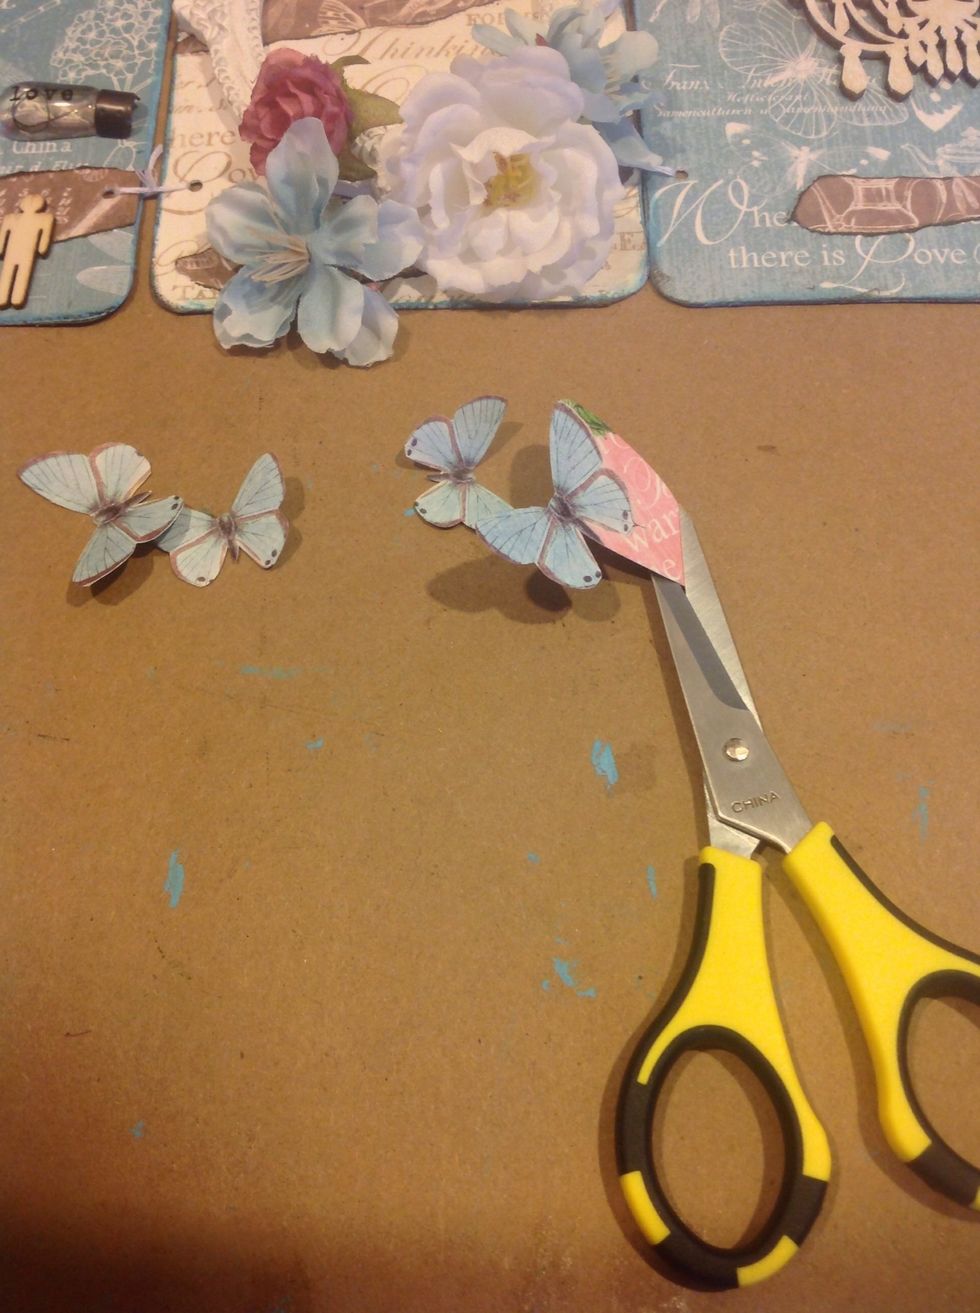
I fussy cut different elements from the papers. Botanical Tea is so beautiful.
I also pulled from other collections. Some Secret Garden, Ladies Diary, A Place In Time.

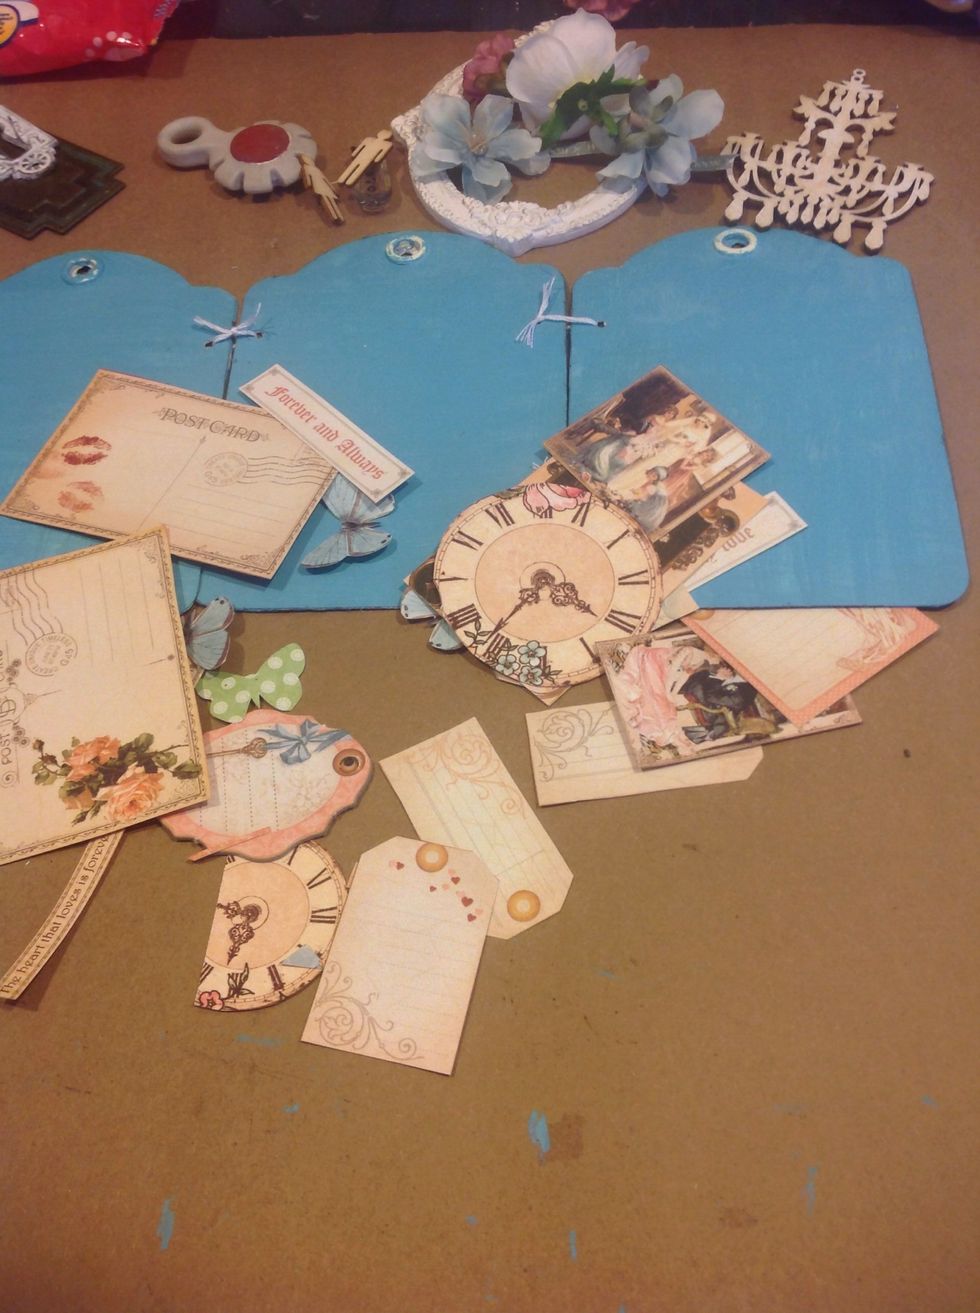
For the back I wanted to add lots of pockets for pictures and notes and wedding memorabilia. So im cutting my papers in various lengths then inking the edges. Use a paper punch to add a pretty edge.

Start adhering your layers down only adding adhesive to sides and bottom. That way you can tuck tags and other pieces inside.
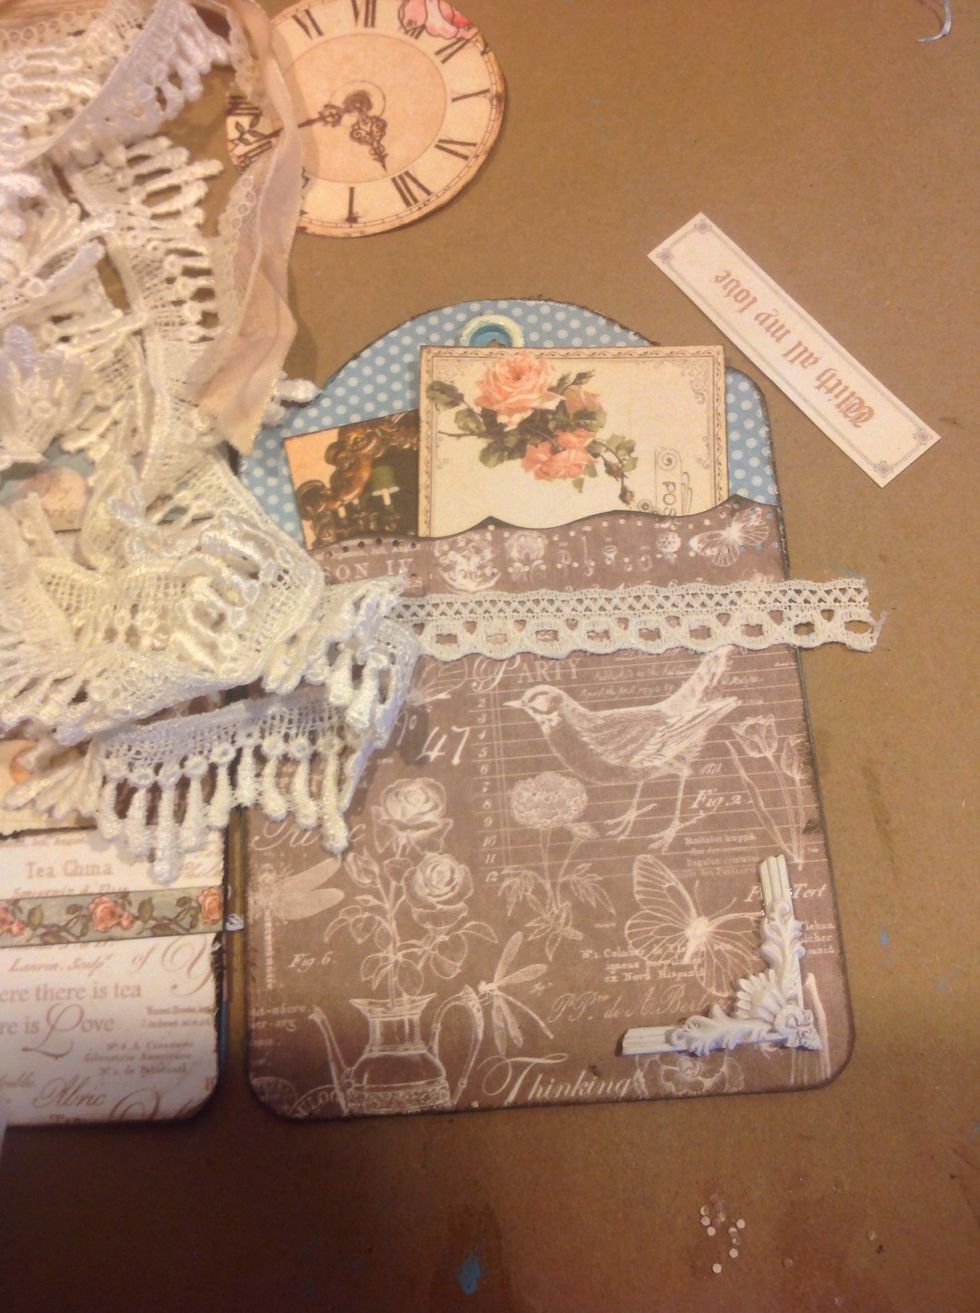
I used some laces to add a vintage feel.

Voila. Plenty of places for notes and memories.

For the front I decorated using Graphic 45 keyholes and other pieces from my stash. I used a large resin frame in the center so a wedding photo could be added.
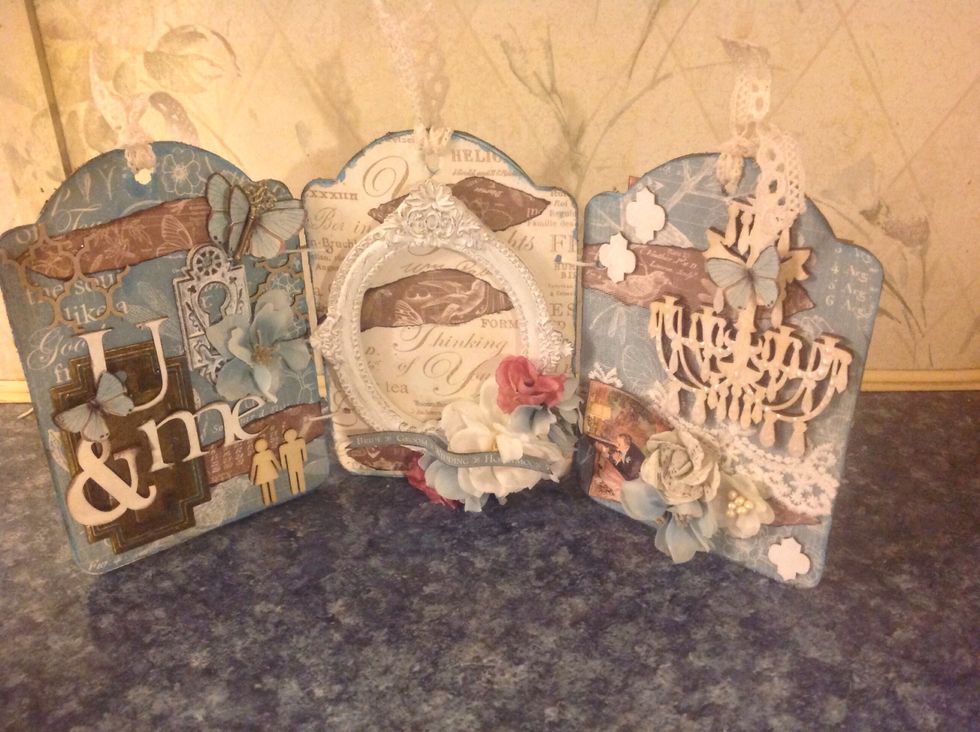
And there is the finished project.
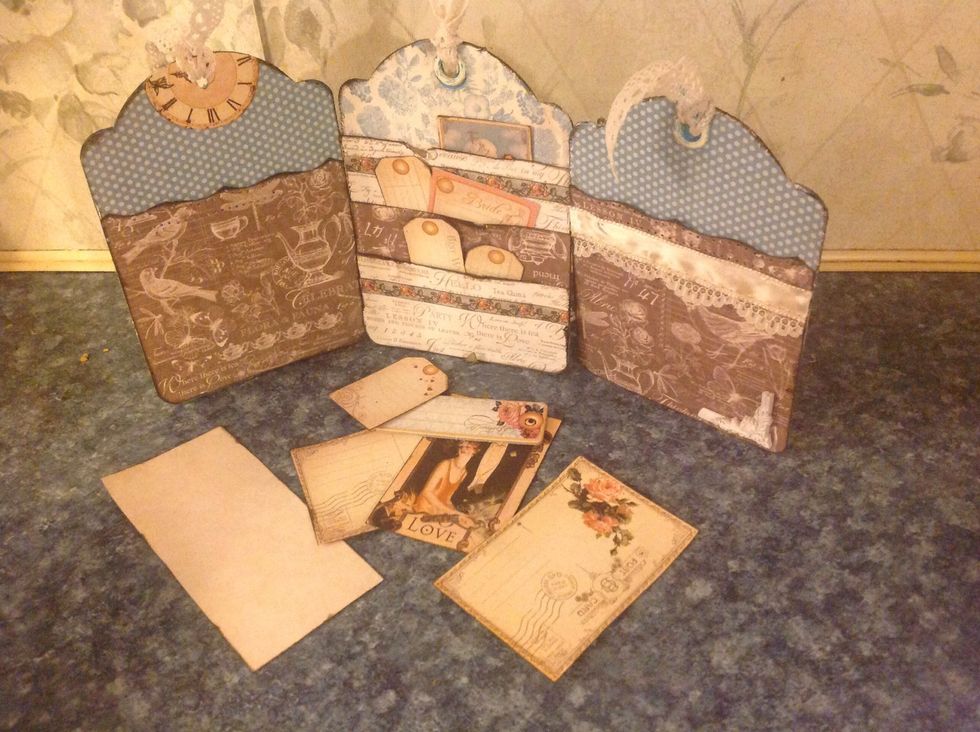
And the back :) hope you enjoyed it. Hugs.