The Conversation (0)
Sign Up

Supplies
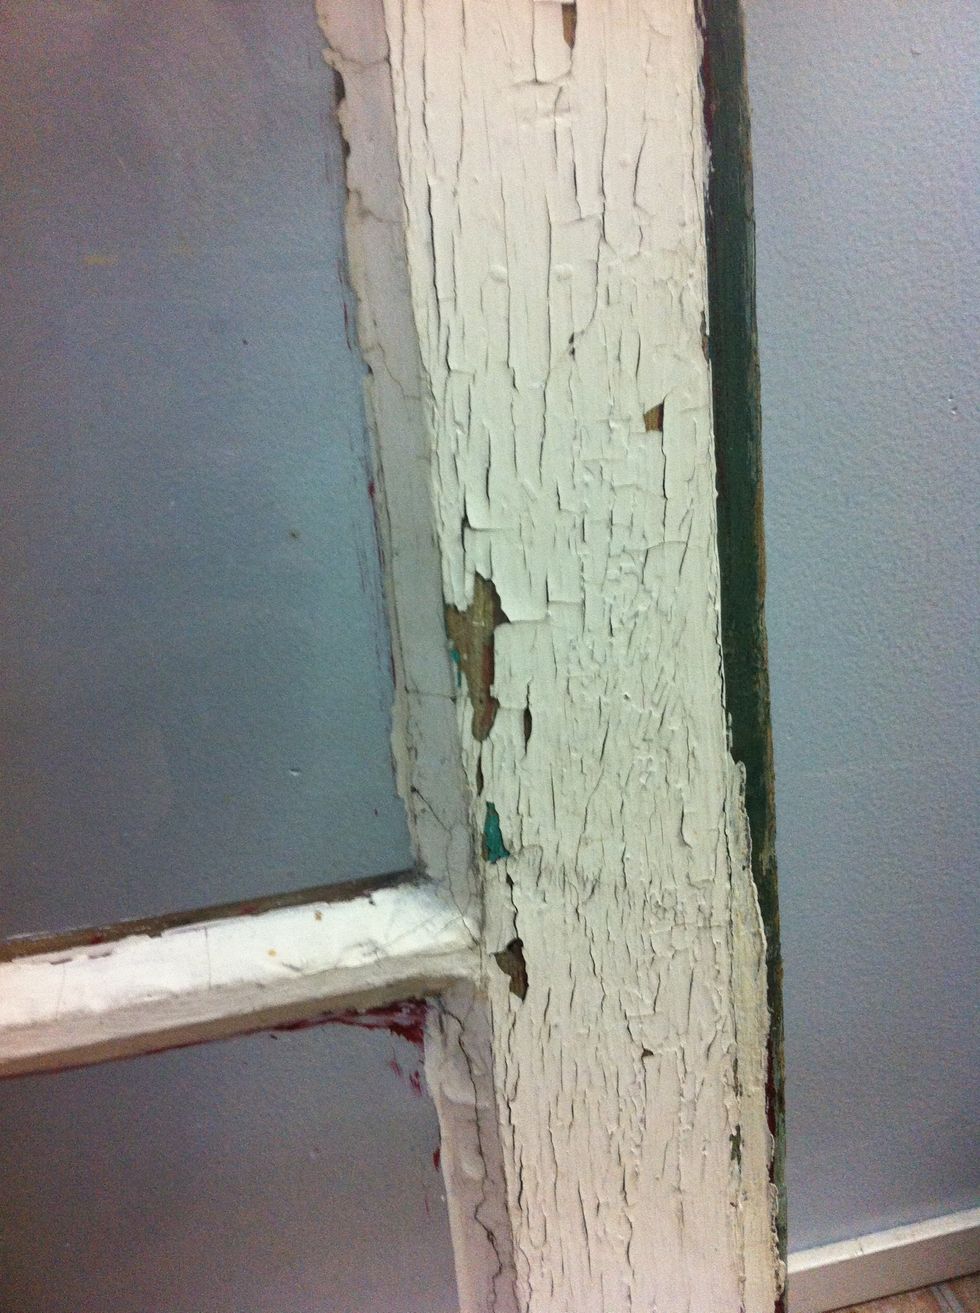
The Real Deal (I have a collection of old window frames, and many other items).
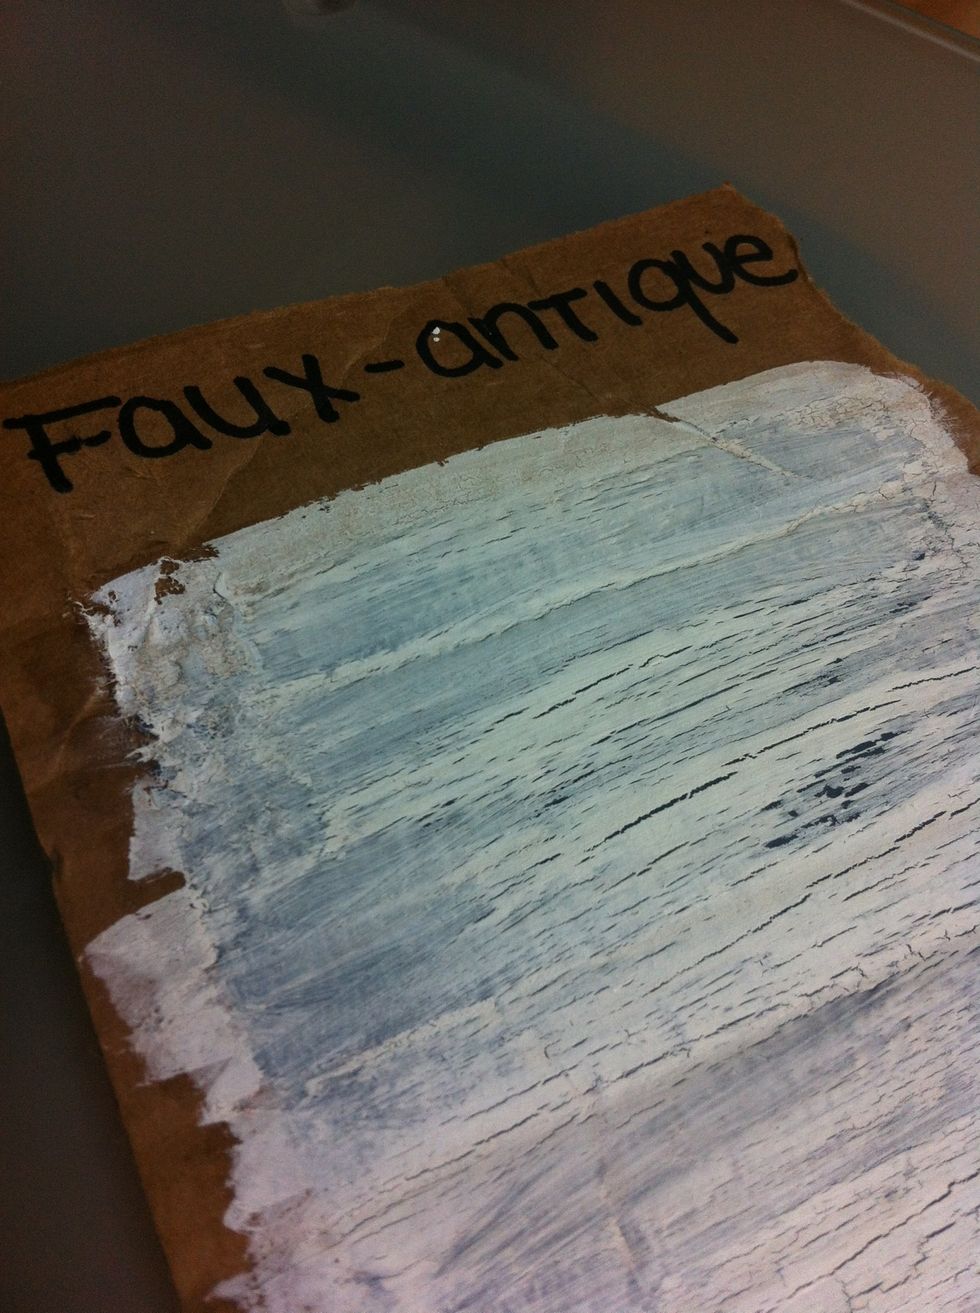
Faux-finish. Here is the "weathered" look we are creating with this method.
Now, if you aren't blessed with a table or space to make a mess like I am - Lay down some newspaper, plastic, cardboard, etc. Please Note: I am just using cardboard to demonstrate this technique (:
Paint your piece! Frame, table, board, whatever it may be. I recommend using a light colour for this. Let dry entirely. (If you want natural base to show like wood through the cracks, skip this step).
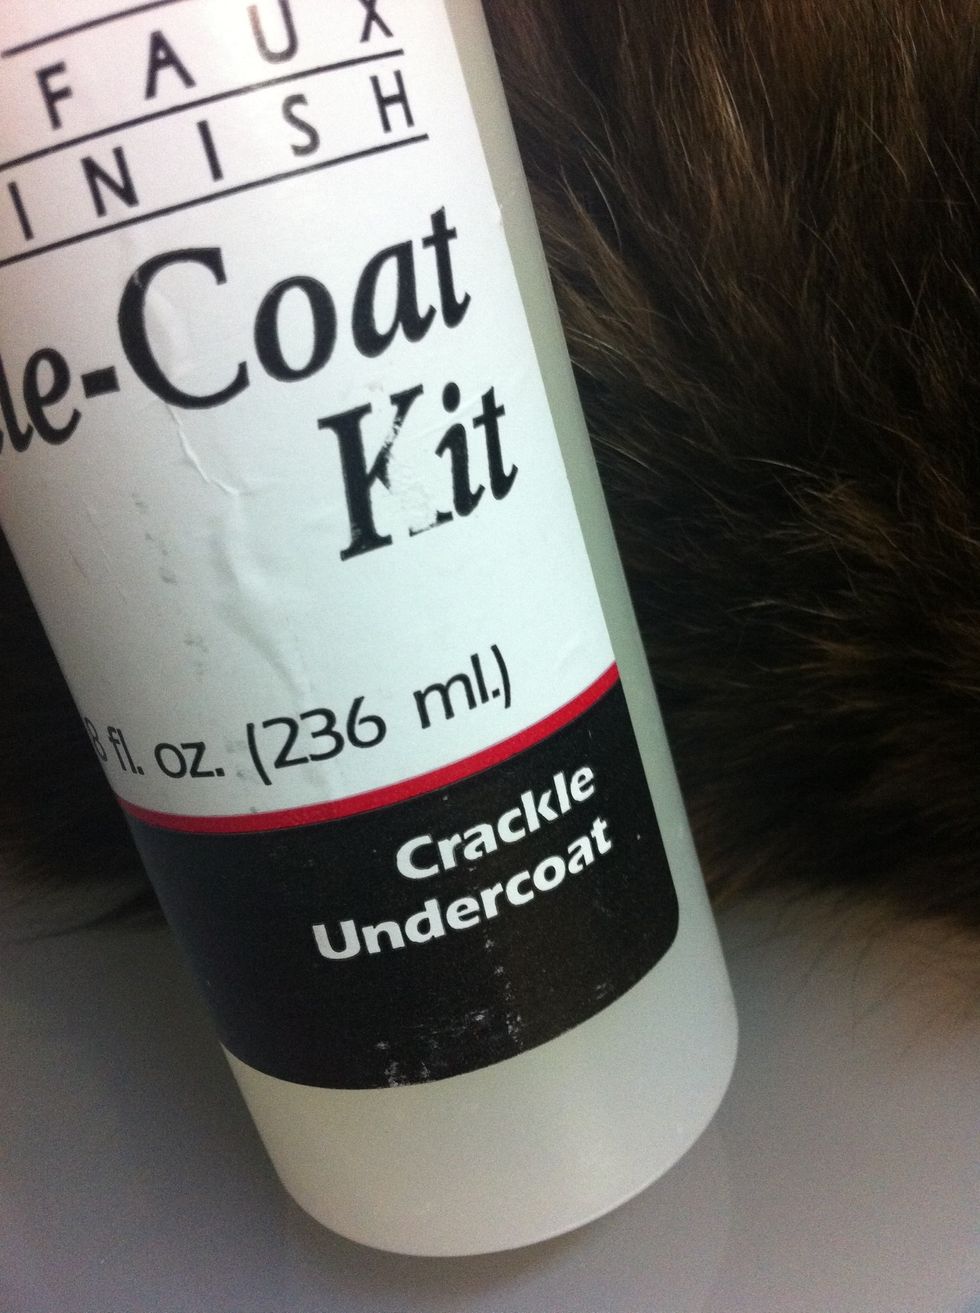
Now take your Undercoat, lay on its side and roll. This is to mix, don't shake. This may take a little bit. The specific product I am using is by Plaid, was originally part of a kit.
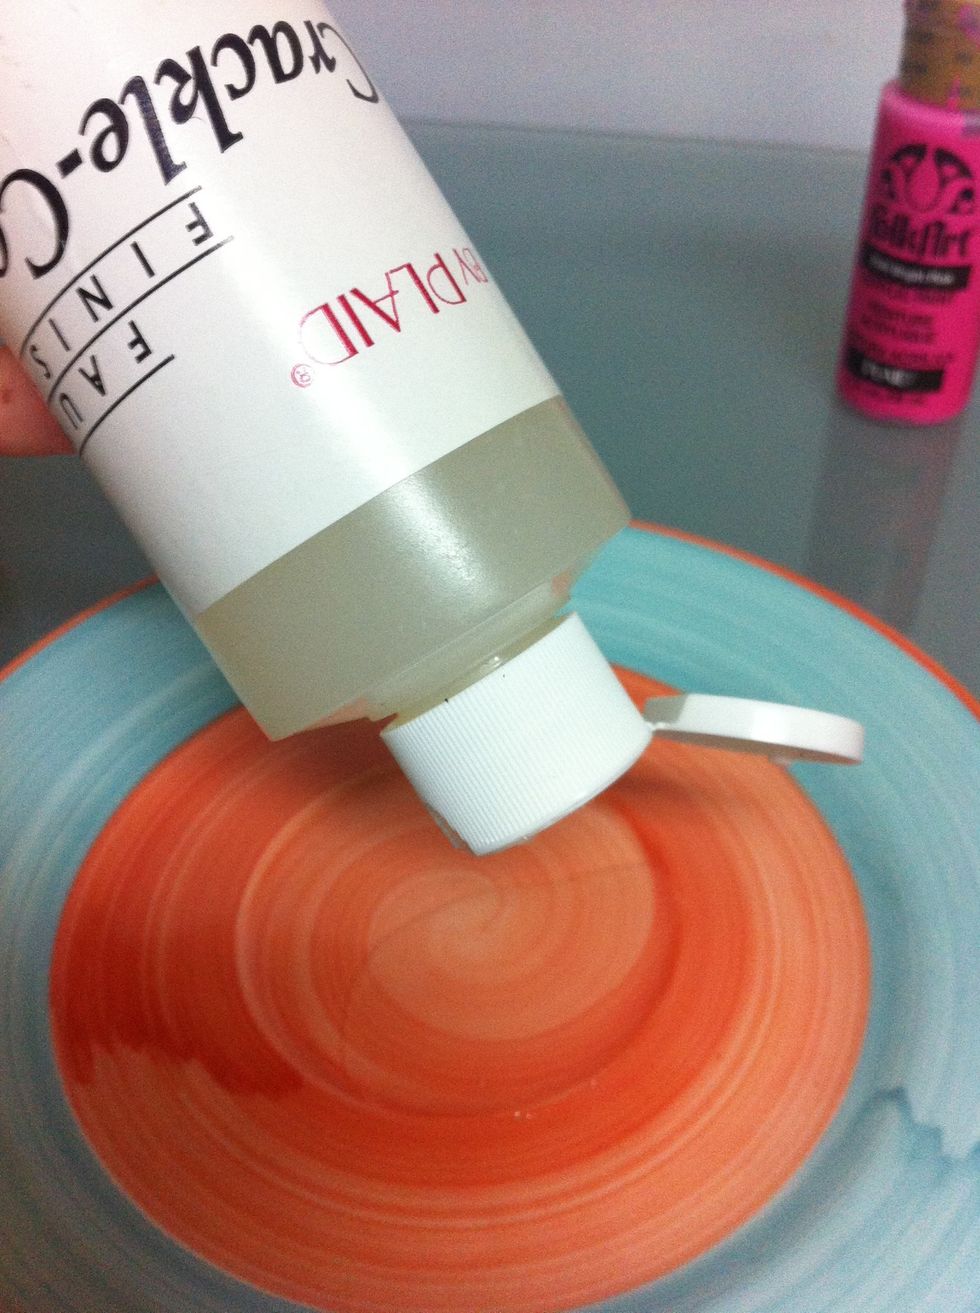
Put Undercoat onto your dish and grab your sponge brush! (I actually use Tupperware lids normally).
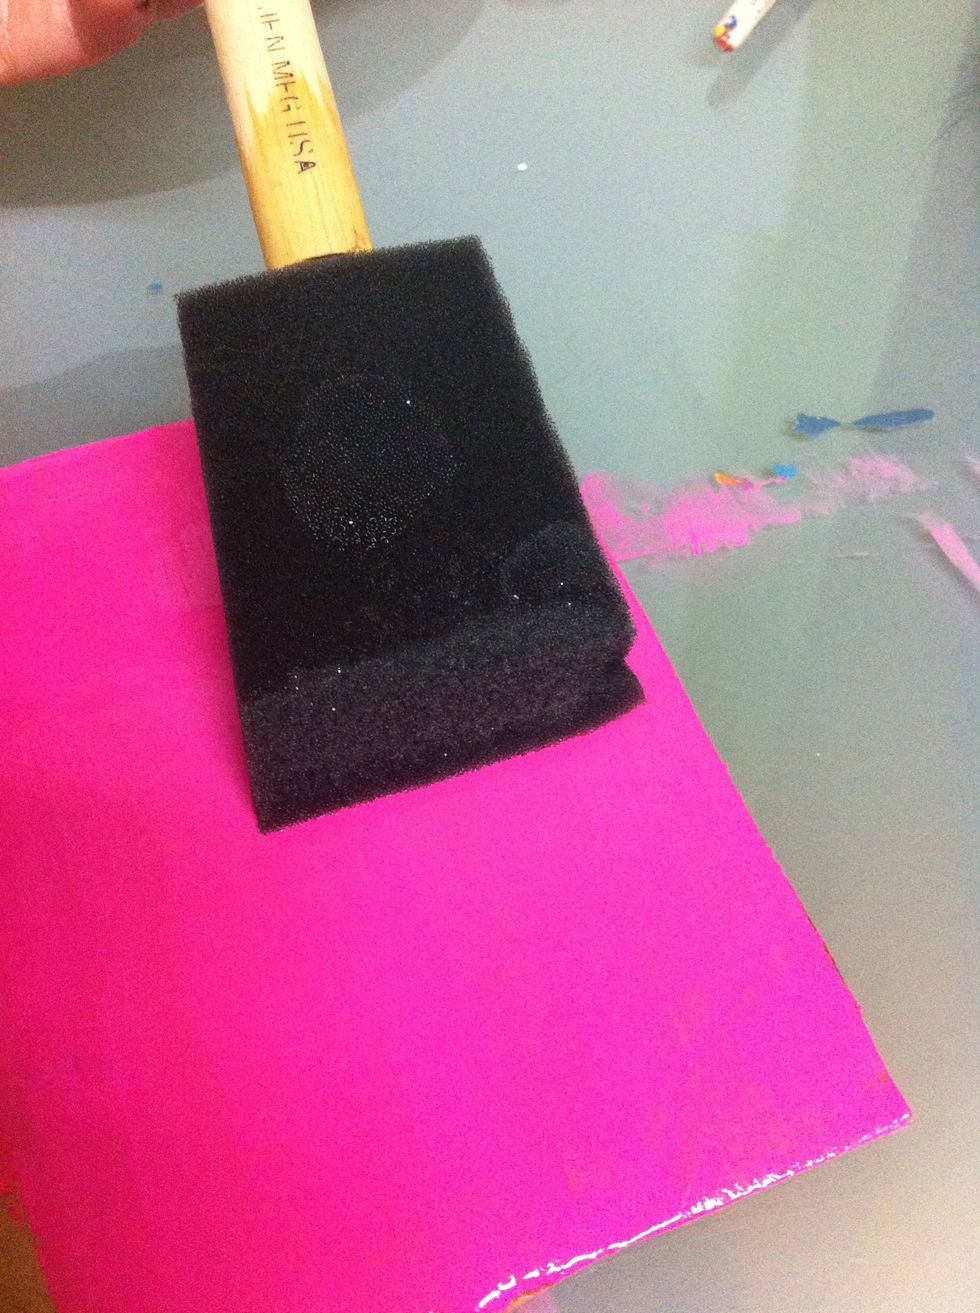
Brush on a coat! This will take about 30 minutes or so to dry. Once dry look project over, apply a second coat on dull spots, some materials soak up the Undercoat more than others.
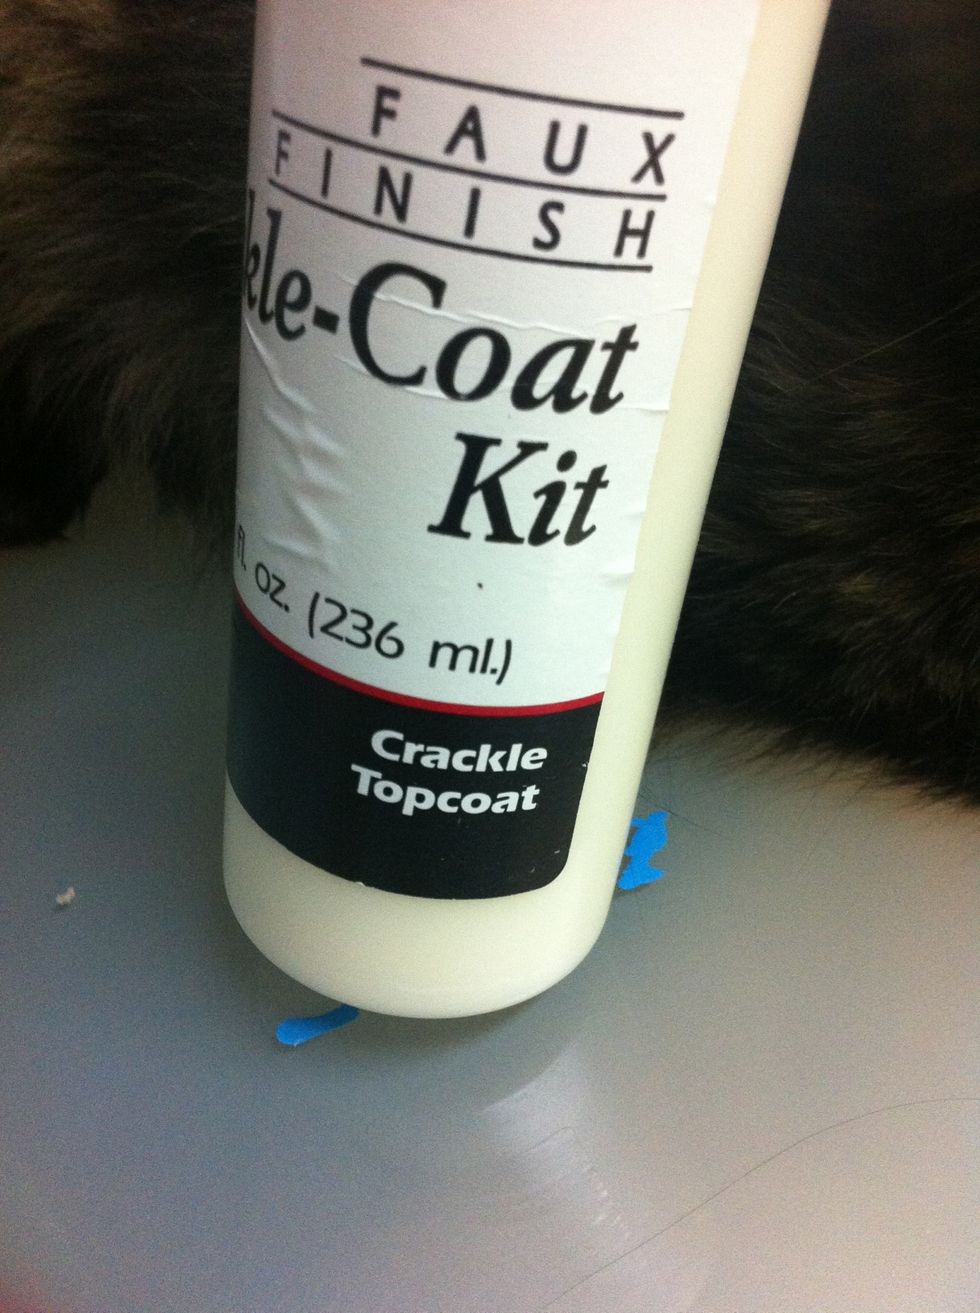
Time for Topcoat! Lay on side, rolly roll mix and put on your dish. Now grab a sponge brush...

Brush on one coat and let dry, probably overnight or a few hours at least. In this step you can experiment - depending on what you're using, how applied, it will create a different effect.
Play around, experiment. You can get long, short, thick, wide... all sorts of cracks :p

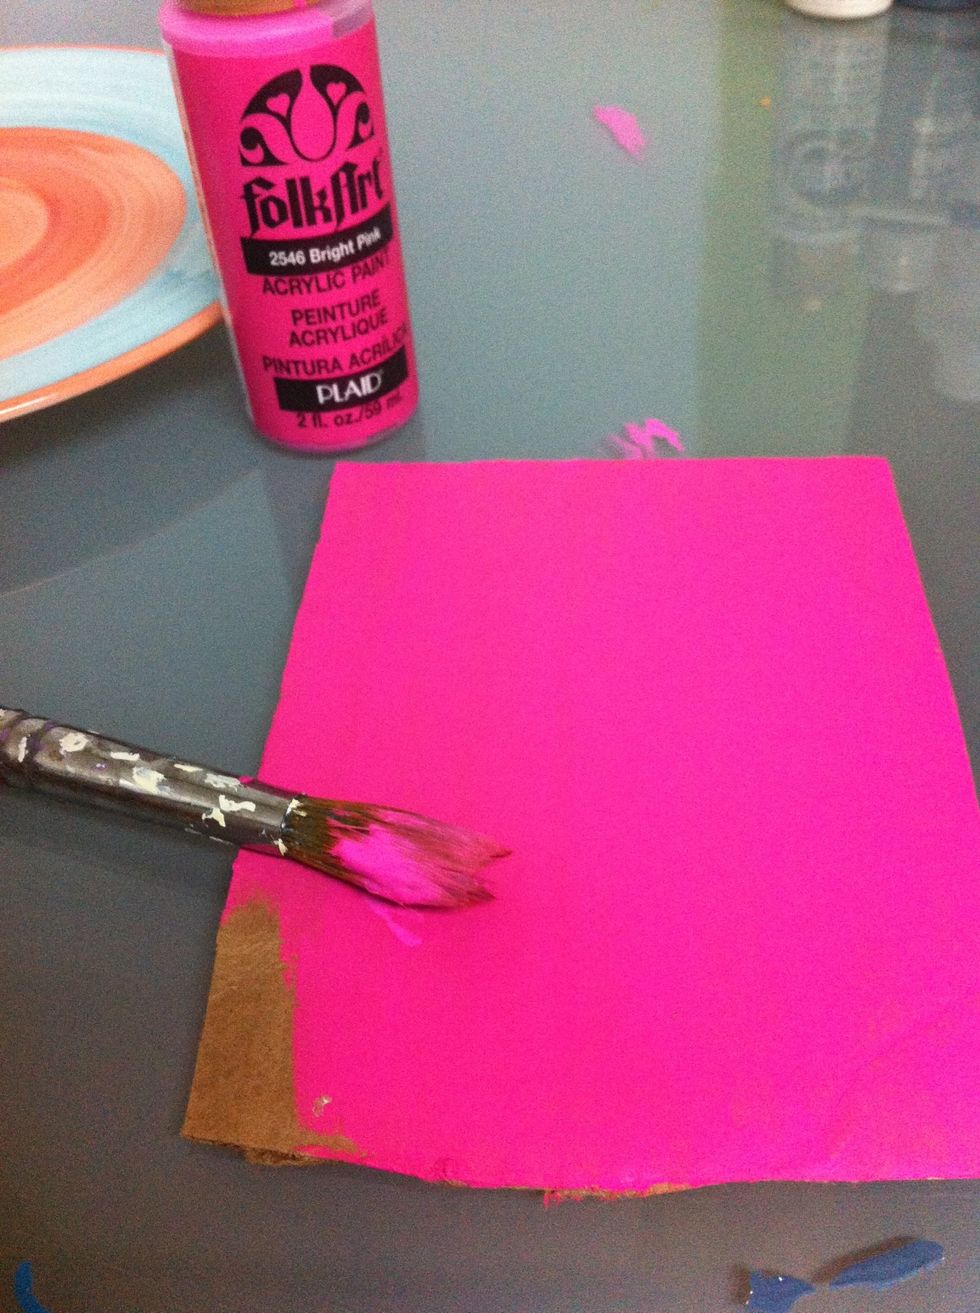
And paint on the last layer of paint, in a new colour (or first layer if you skipped the base paint!) and wait to dry.

The final result. (the pink/silver not completely dried and the colours don't work well together).
Alternatively, You can also use an "antiquing" medium to dab or rub into the cracks, which takes practice because you want it inside and not out (or a brown acrylic mixed with water).
For a legit colour pallet I recommend: off white, cream yellow, mint green, deep red. (Picture is white on a navy-blueish grey) You can purchase a range of kits from craft shops. Happy Exploring!