The Conversation (0)
Sign Up
To see the full picture and see the buttons im talking about click on any picture in the guide!
First you want to download iWatermark free and open it.
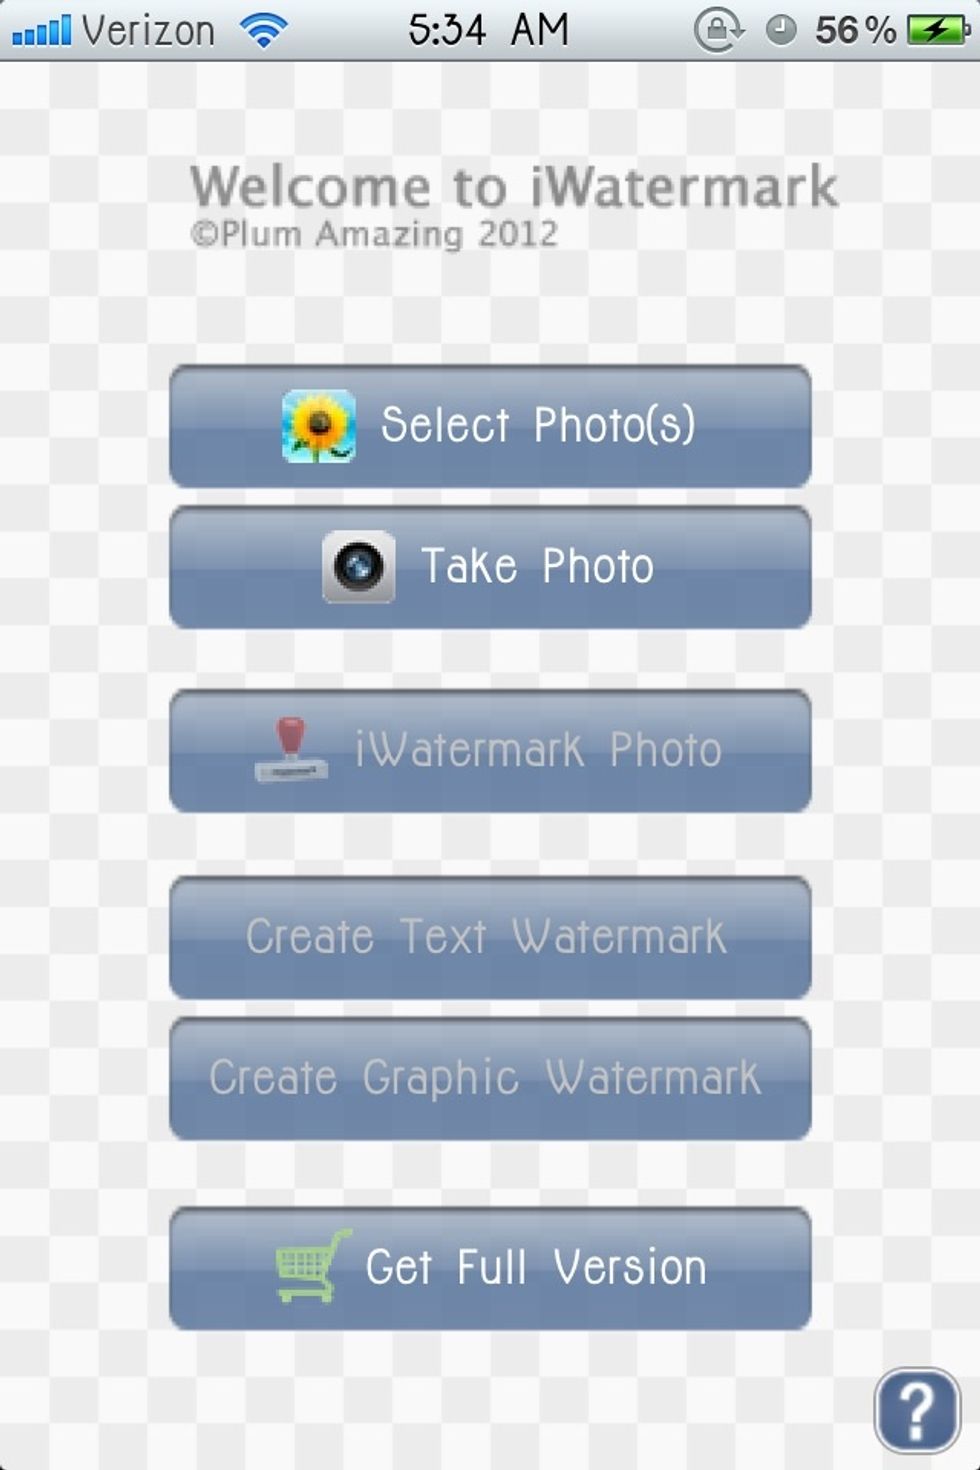
Now once it's open click select photo(s).
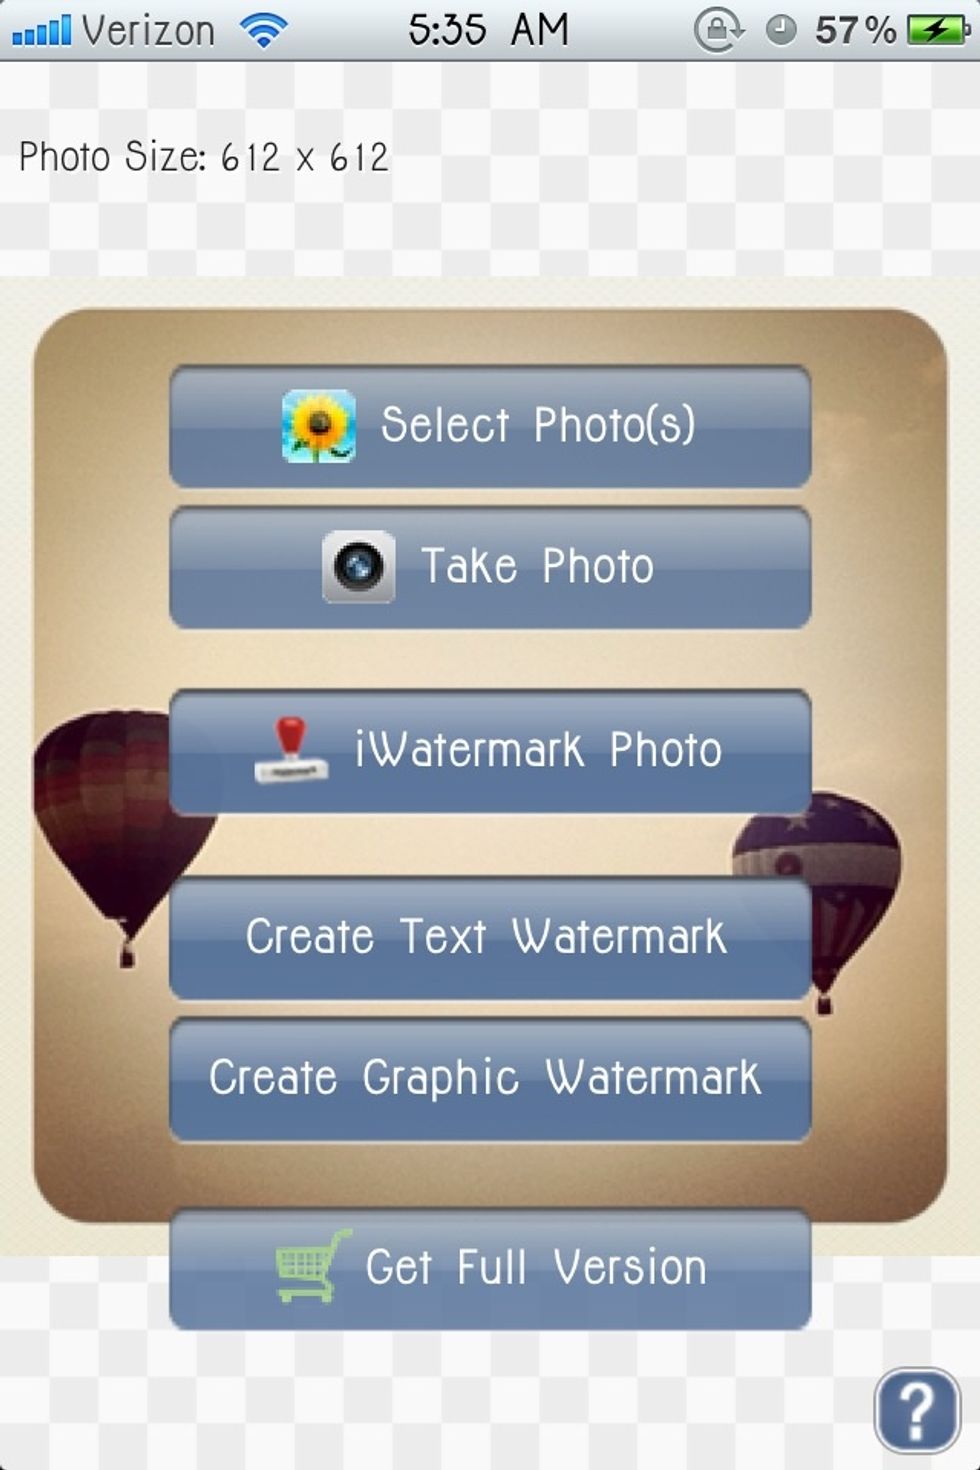
After you have selected you photo, click create watermark. I'm going to use a text watermark.

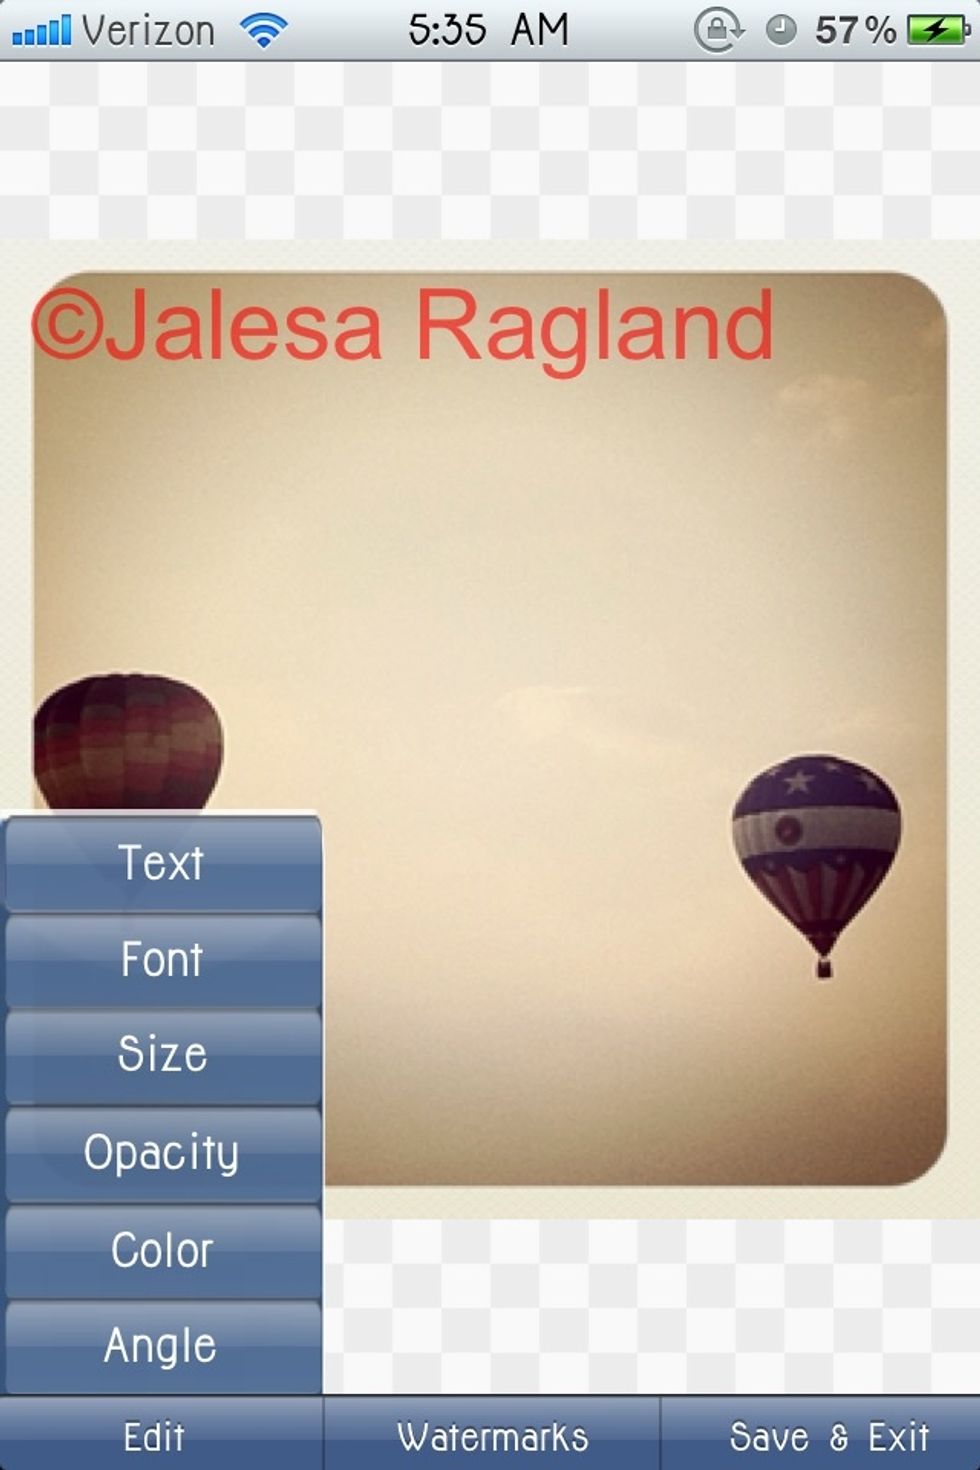
Next you want to click edit and then Text.
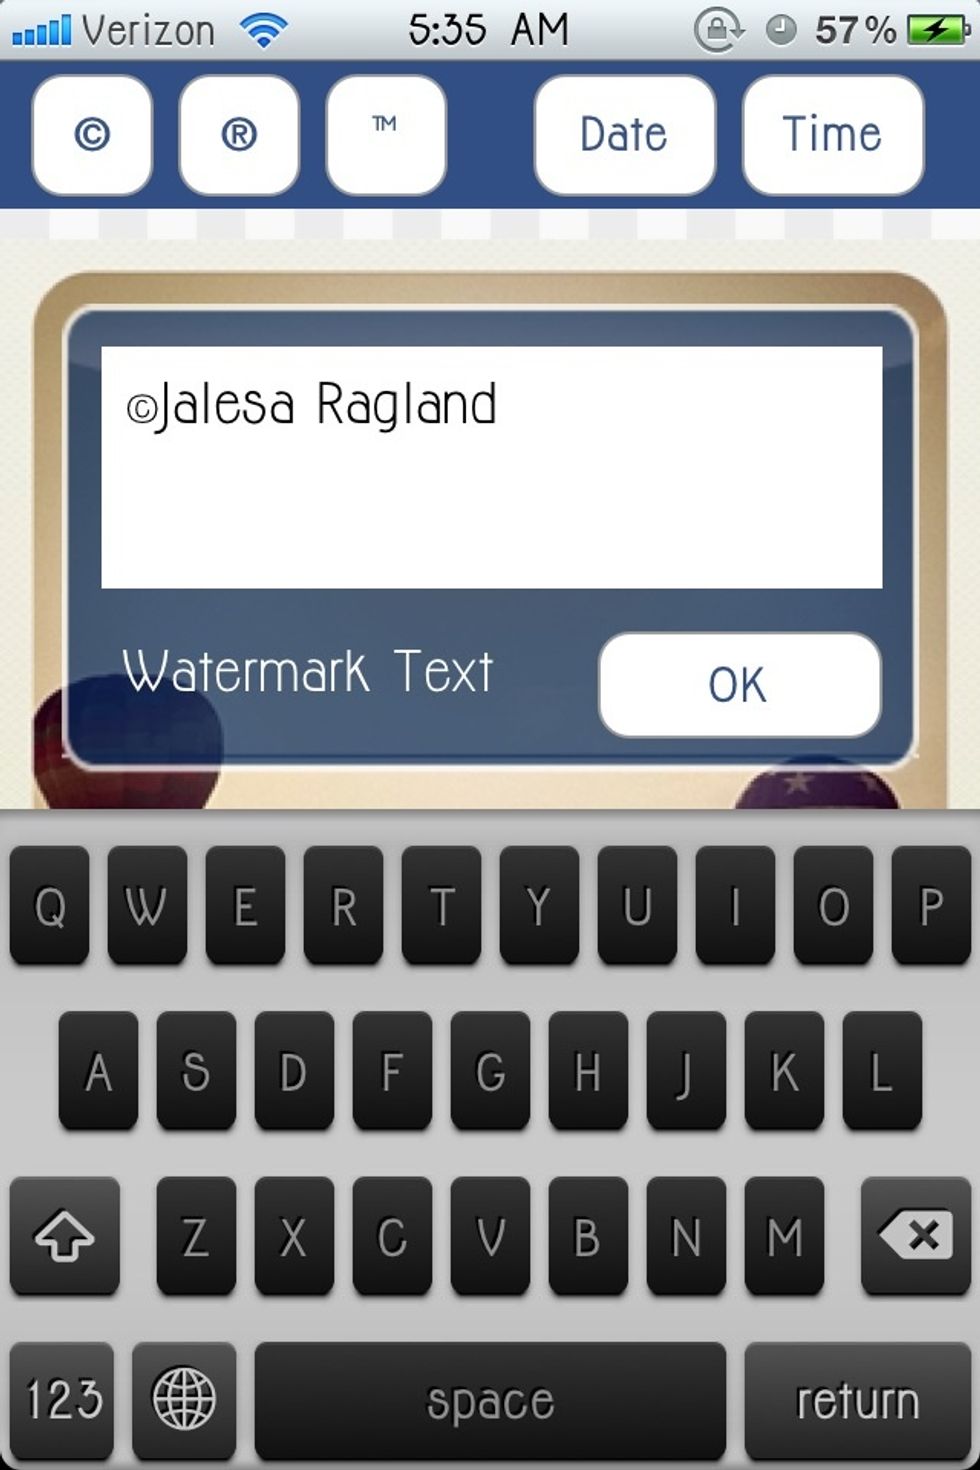
Type whatever you want your watermark to say.
Next you can change the color so click edit and then color.
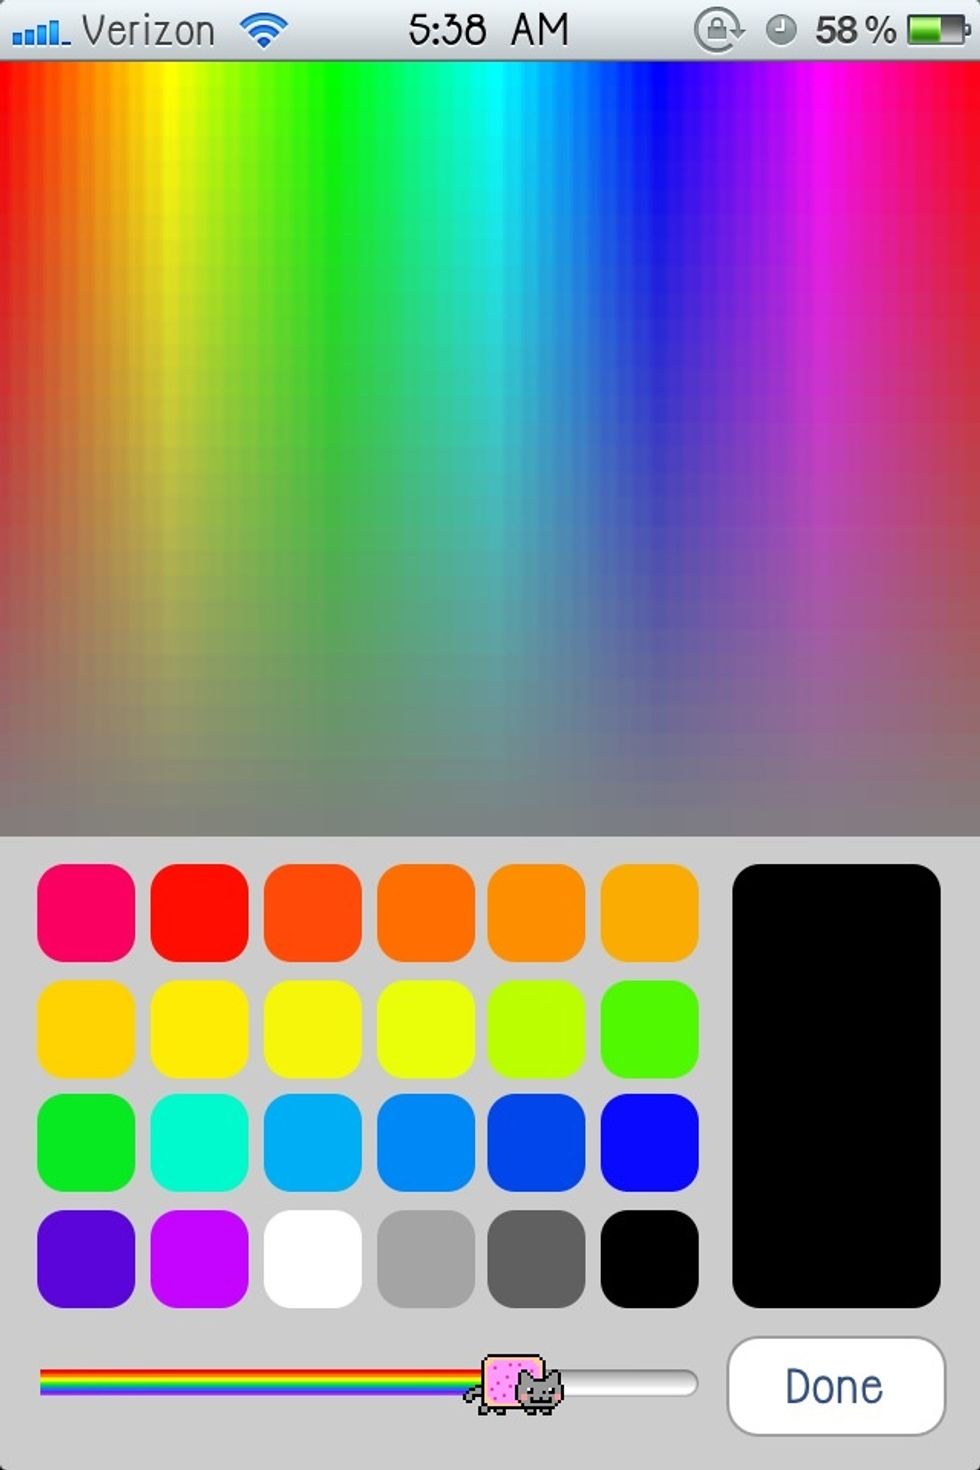
I chose black but you can pick whatever works best with the picture.
Now let's change the font. Click edit and then font.
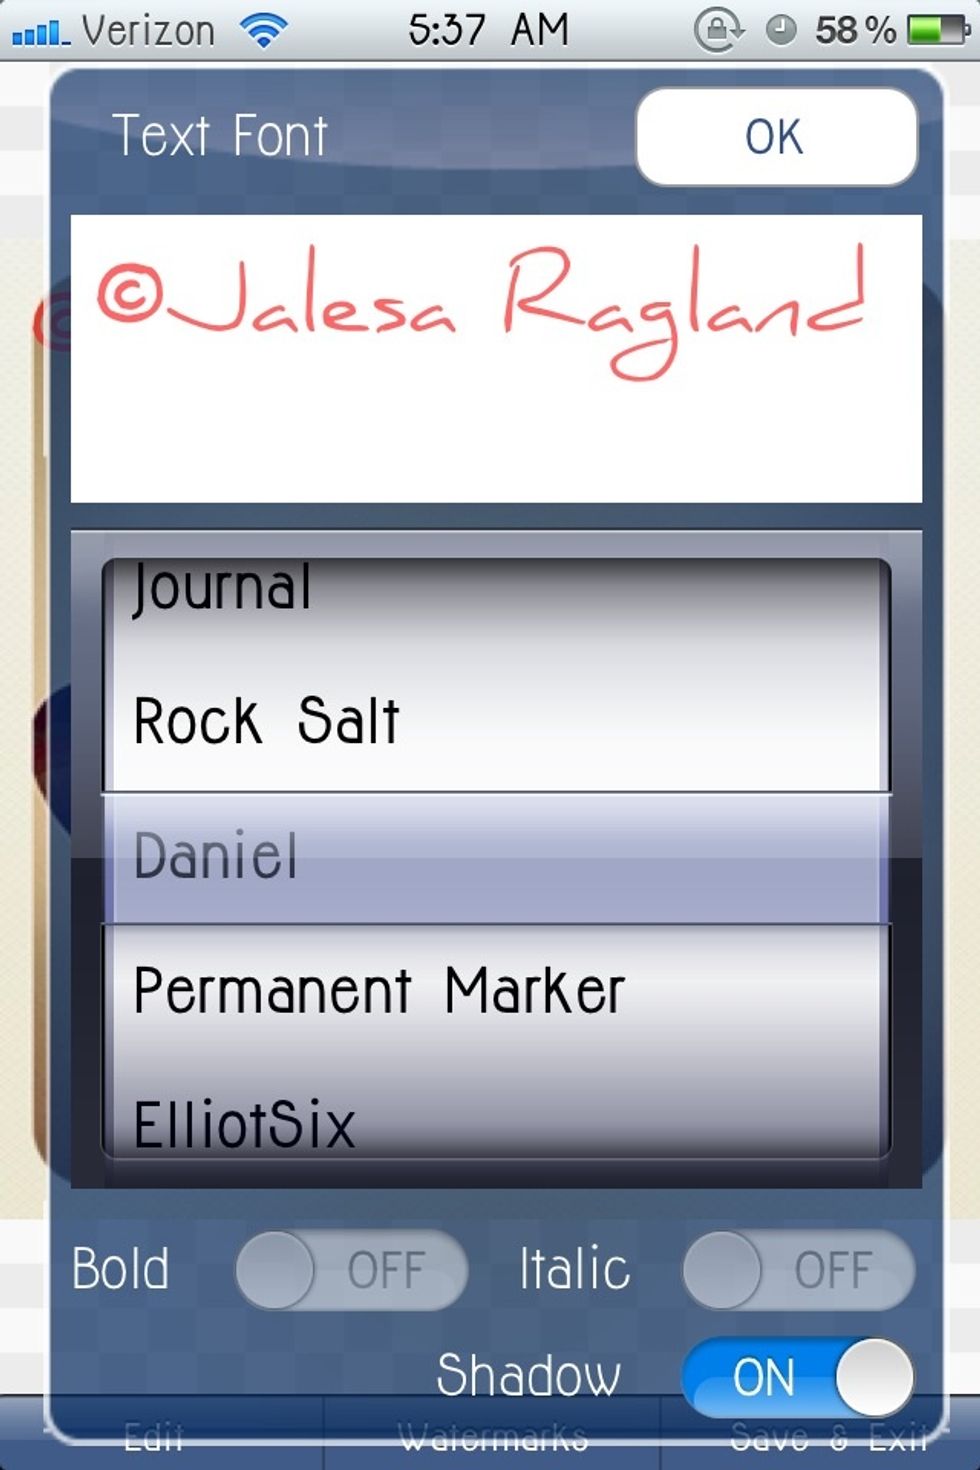
I chose Daniel but there are a ton of different fonts to choose from.

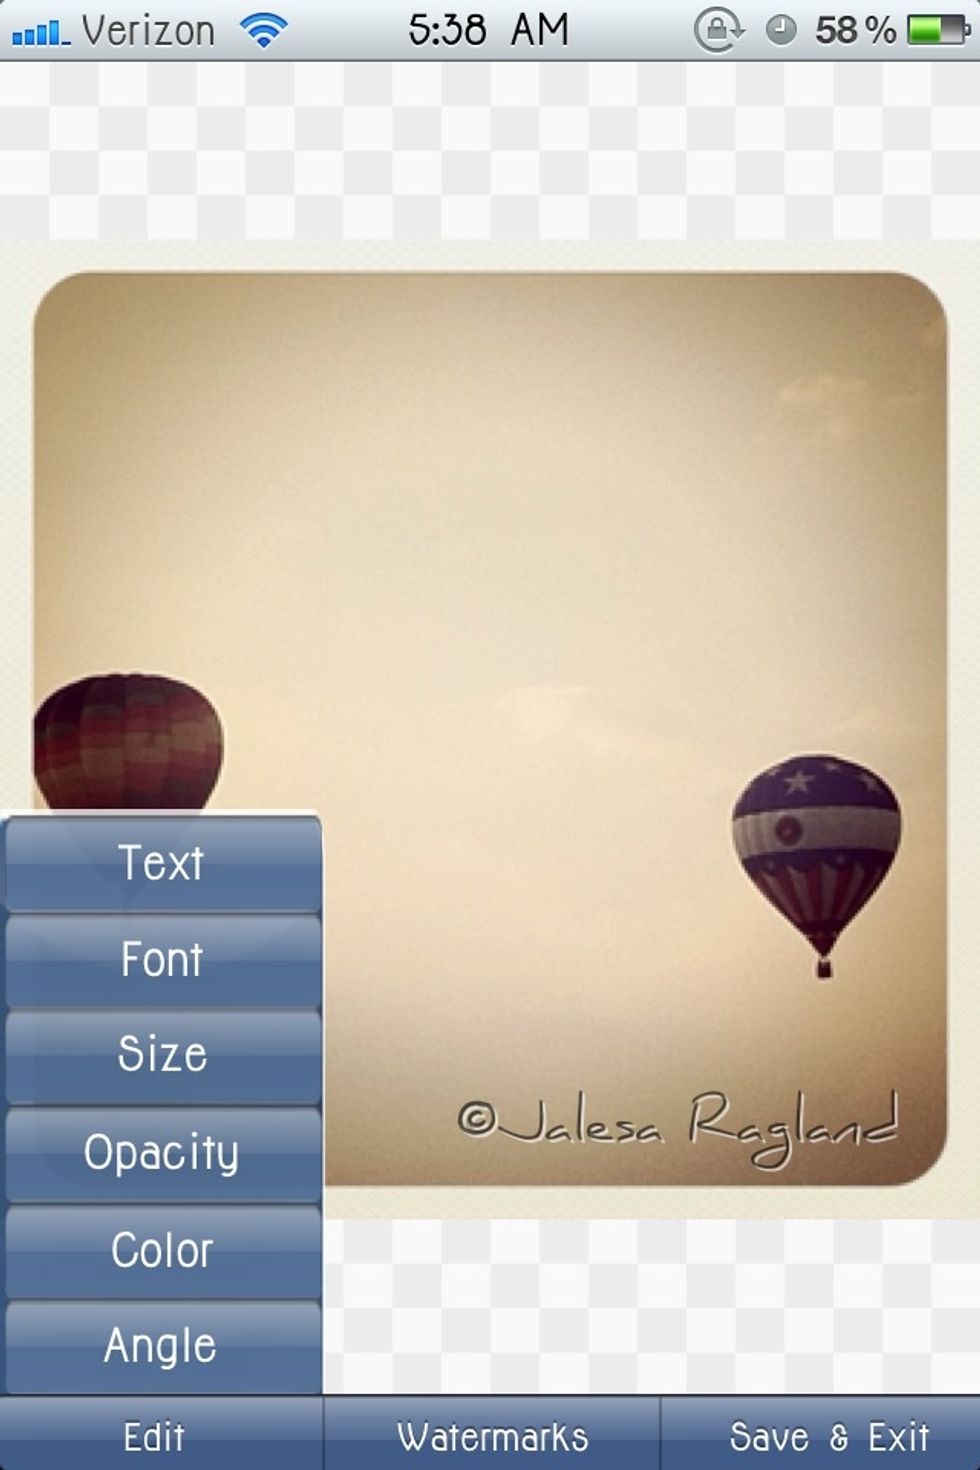
If you click edit again there are a few more options. I clicked size and changed the size of the font.
Some of the other options you can change the occupancy which can make it bold or almost transparent. This can be useful. You can also move the watermark around on the photo by clicking and dragging.

Next you want to click save and name your watermark.

It will bring you back to the main screen. Now click iWatermark photo.
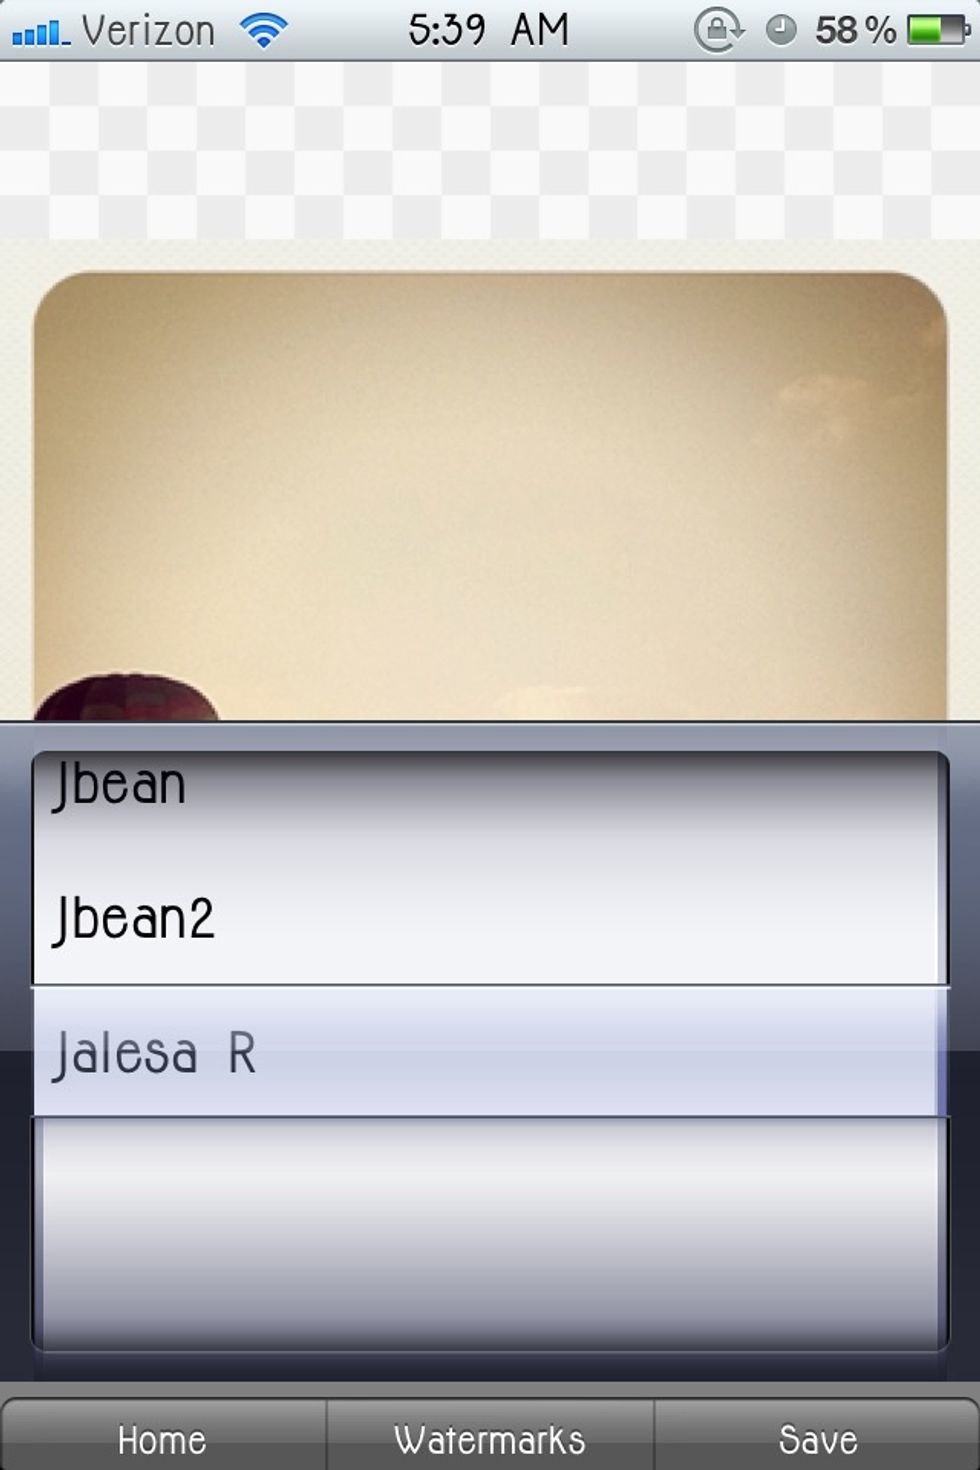
Select the watermark you just created.
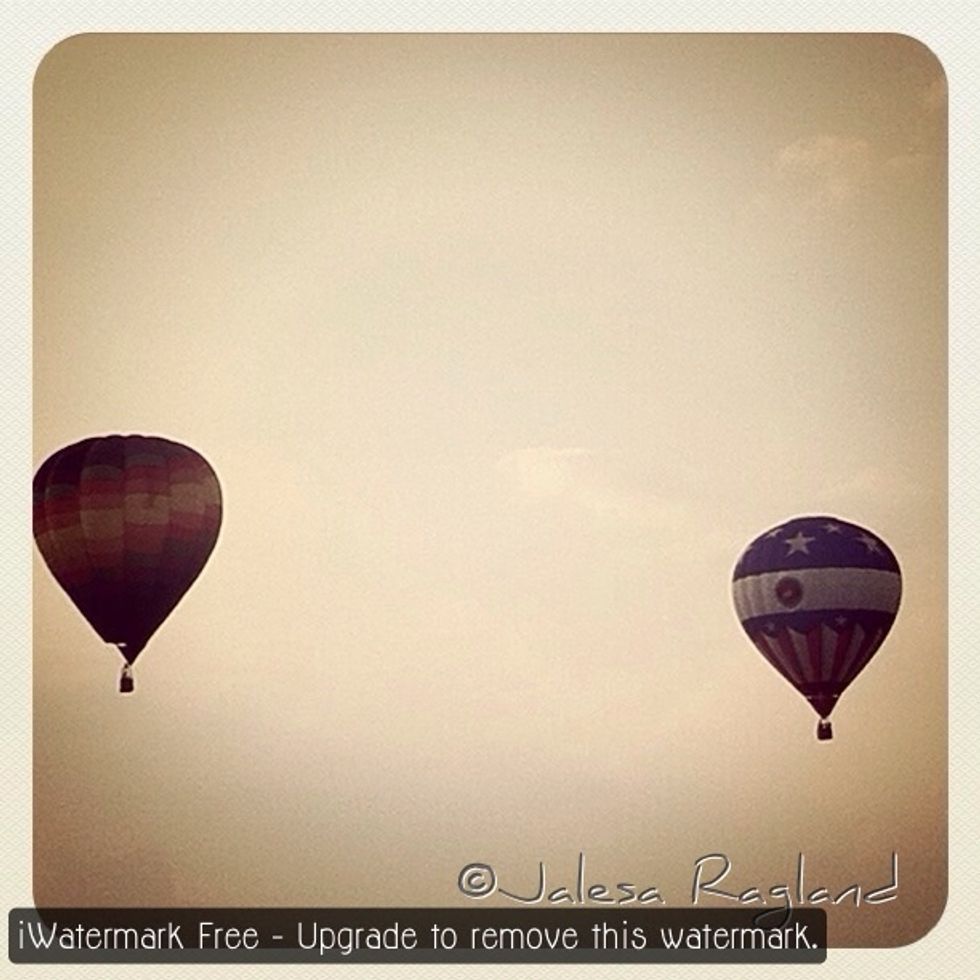
And it will place the watermark on the photo.
Now I'll show you how to get rid of the "buy the paid version" sign.

Download Adobe Photoshop Express. It's free!
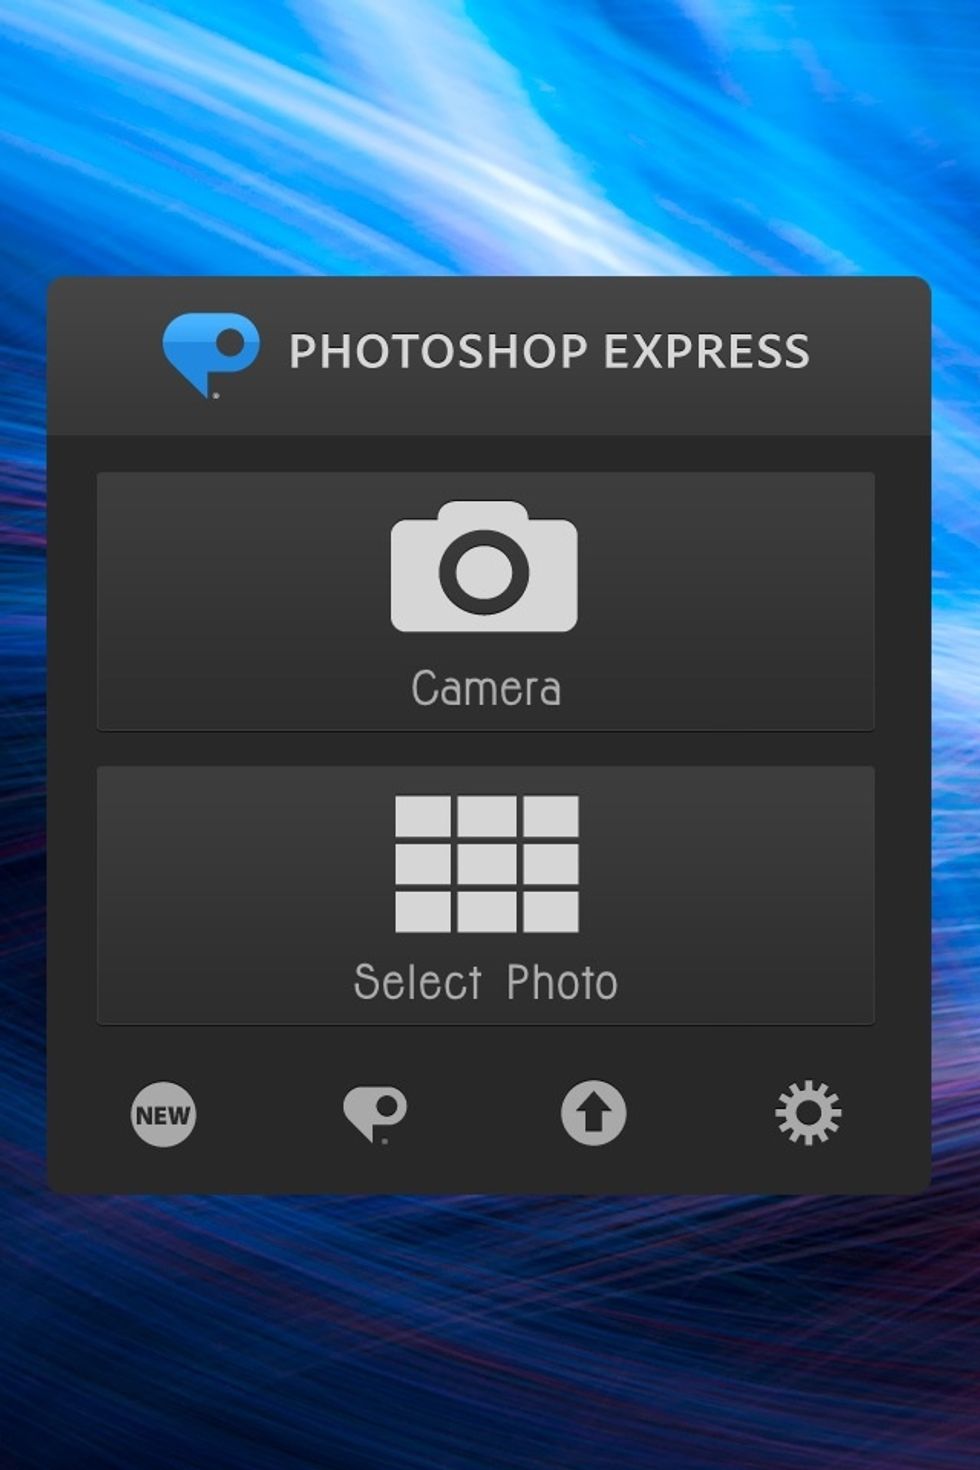
Click select photo.

Find the photo with the watermark.

Click the pencil at the bottom of the page.

Click the top left square with a line threw it. This is crop.
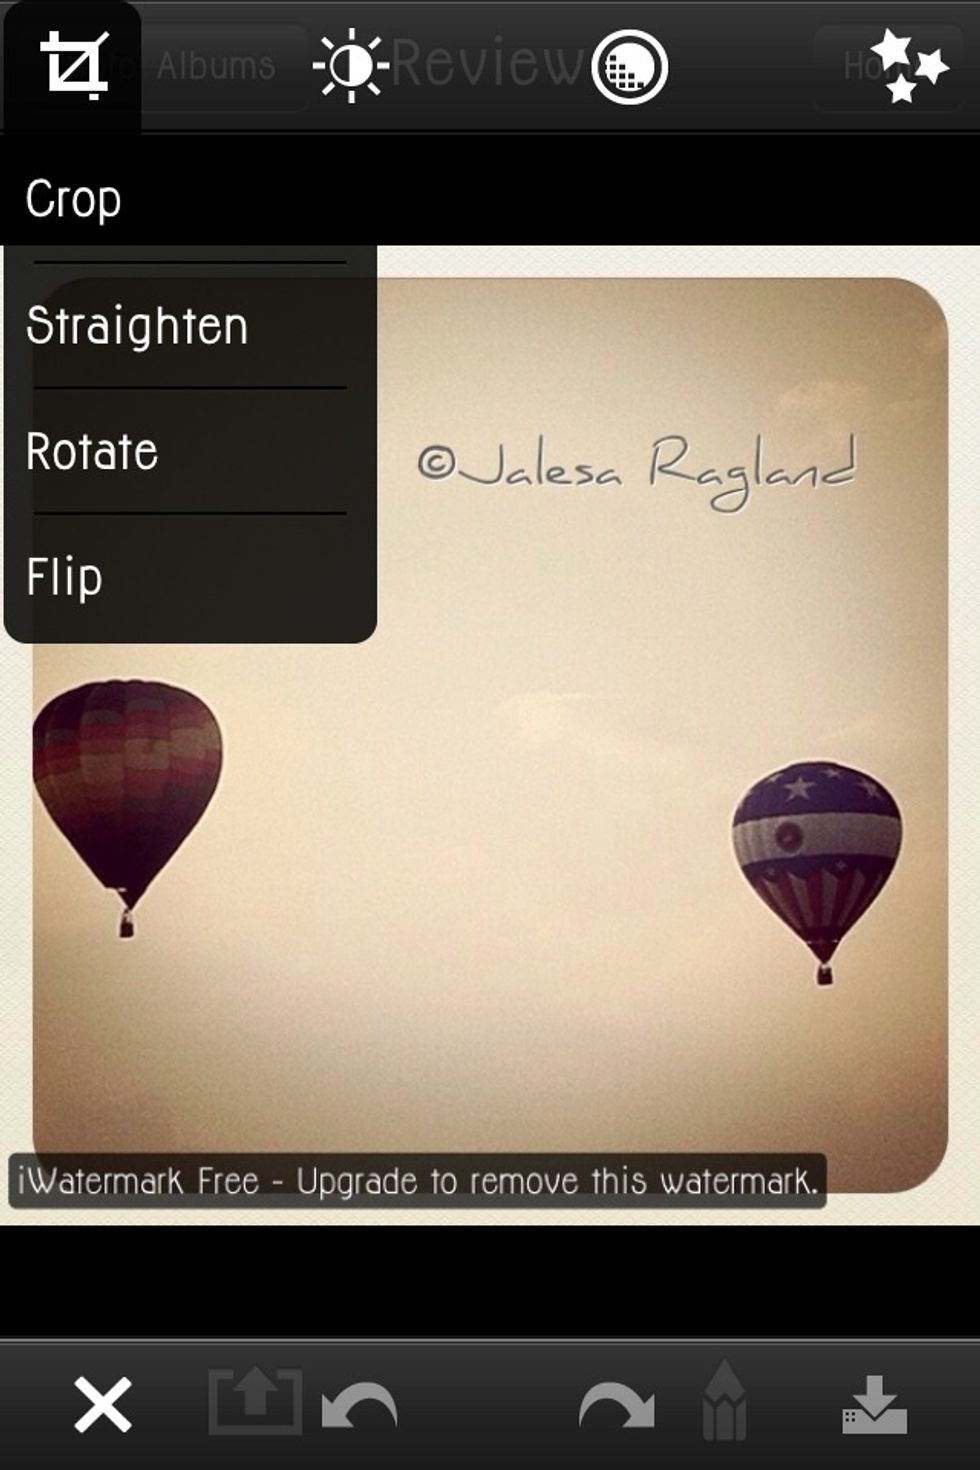
Select crop.

Place the lines just above the sign.

Now the sign is gone. Click save at the bottom right and your done!
This picture is shaped weird and I did that with a different app but normally it would look just fine after removing the sign. Thanks for looking at my guide! If you have questions just ask! <3