The Conversation (0)
Sign Up
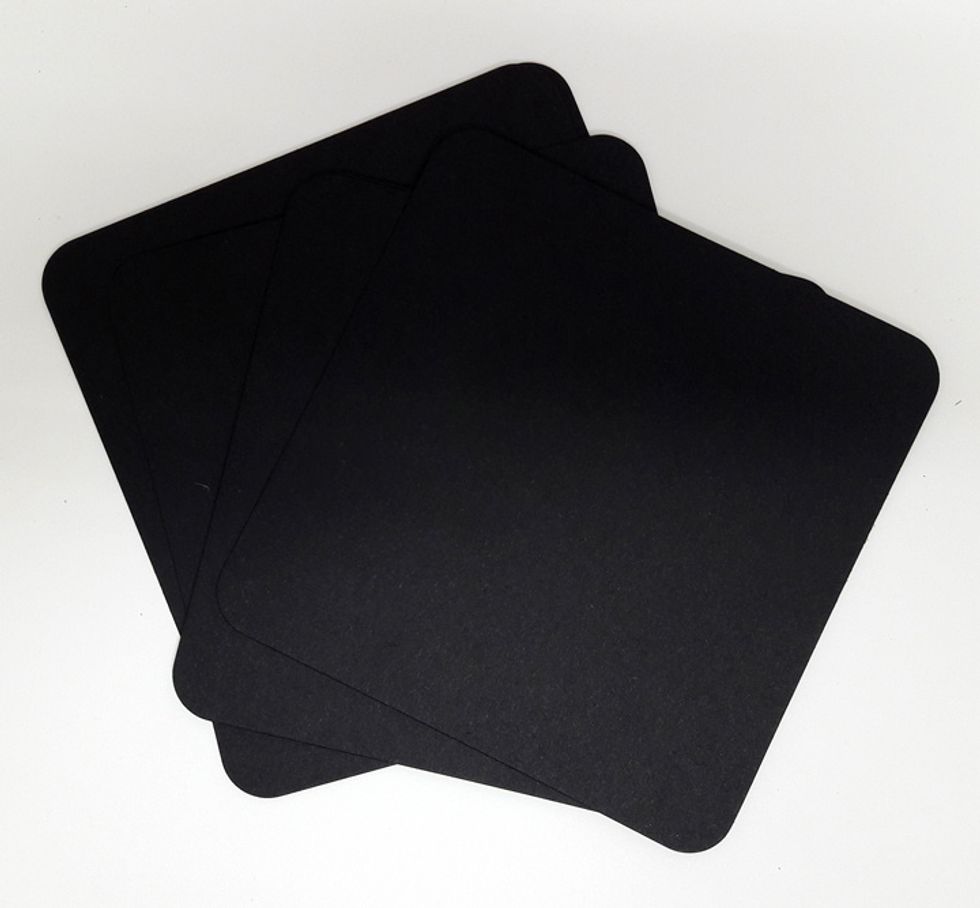
Use 5 4.5"x4.5" black cardstock. I used the photo mats from the Mixed Media Box by Graphic 45.
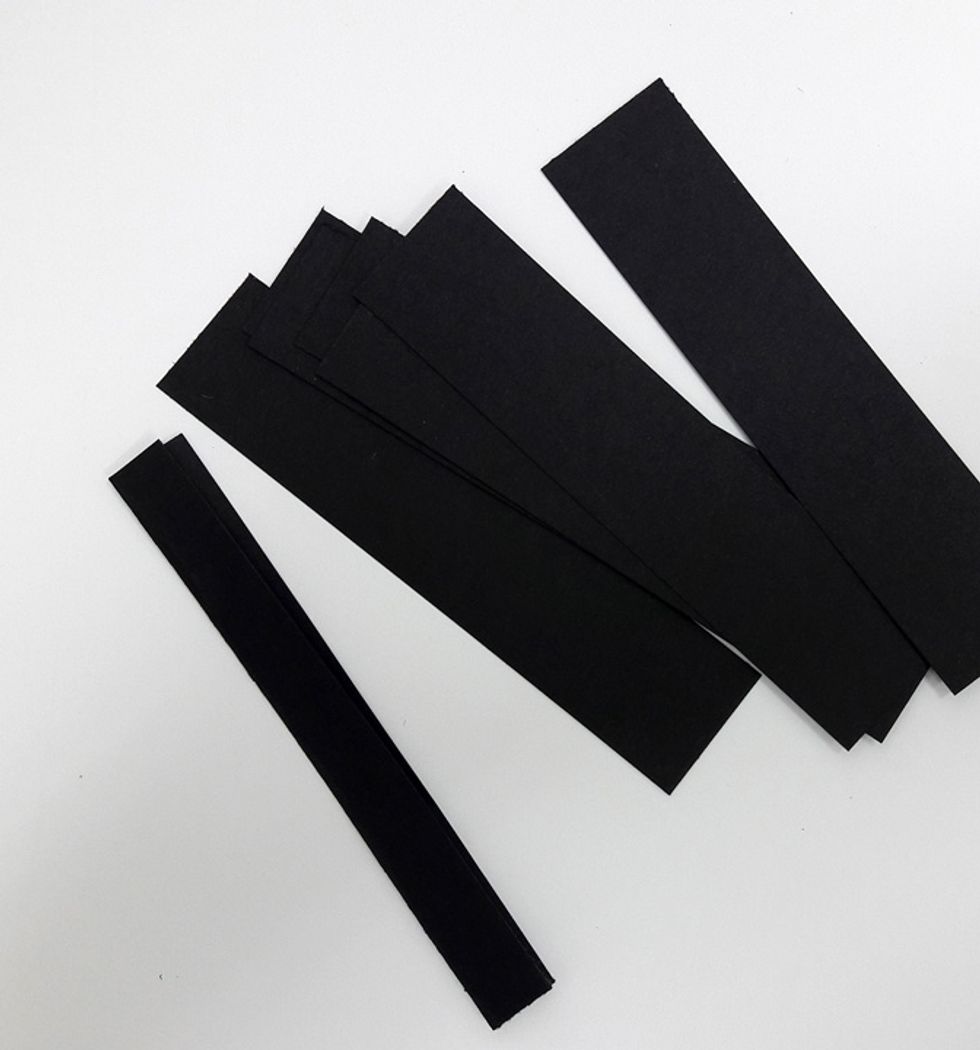
Cut 5 strips from black cardstock measures 1"x4.5". Fold in half.
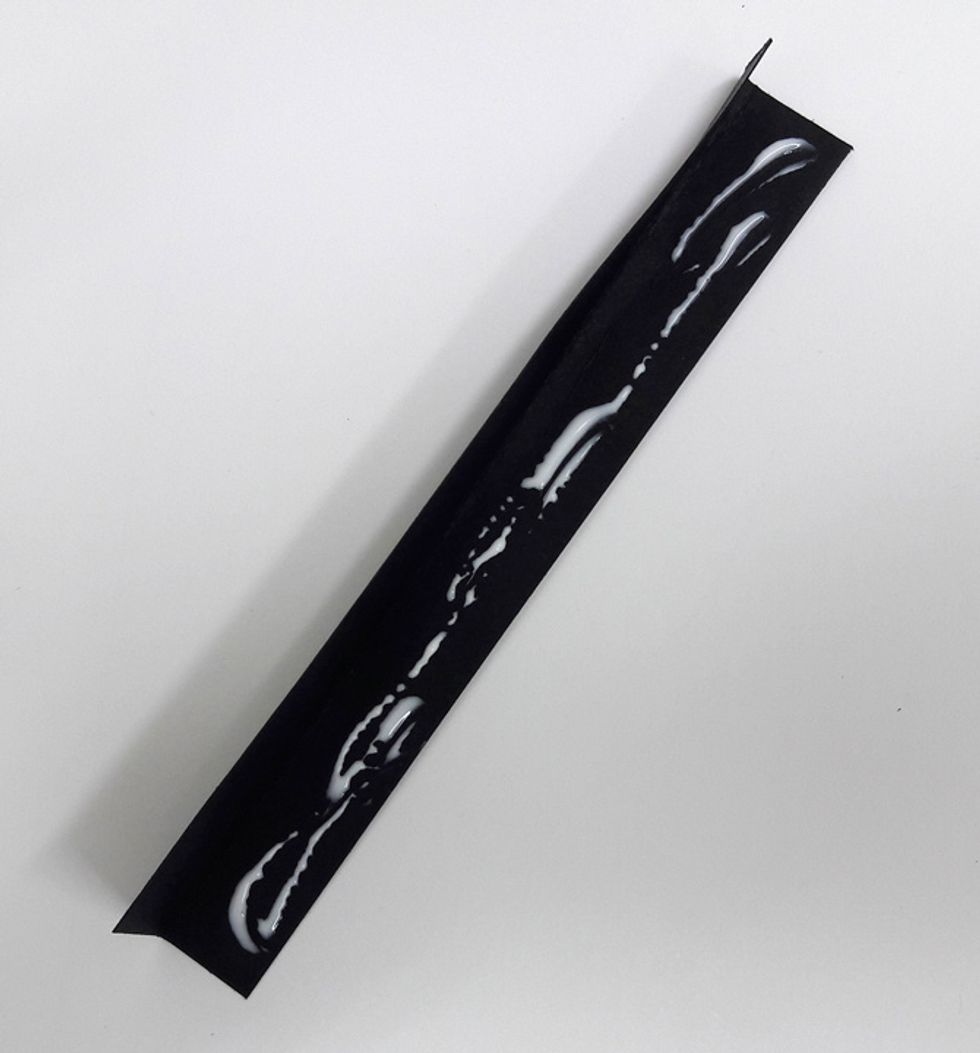
Apply glue to inside of strip and glue sides together.
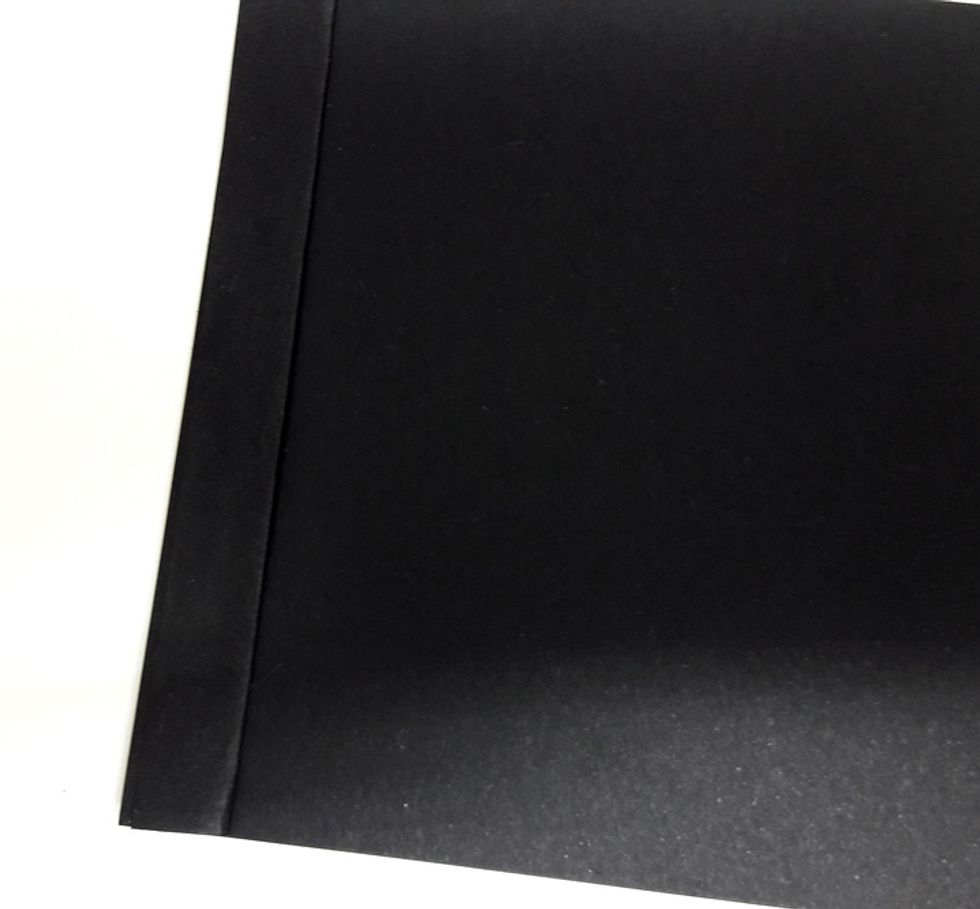
Attach strip to left side of page. Align to left edge. Repeat with all pages.
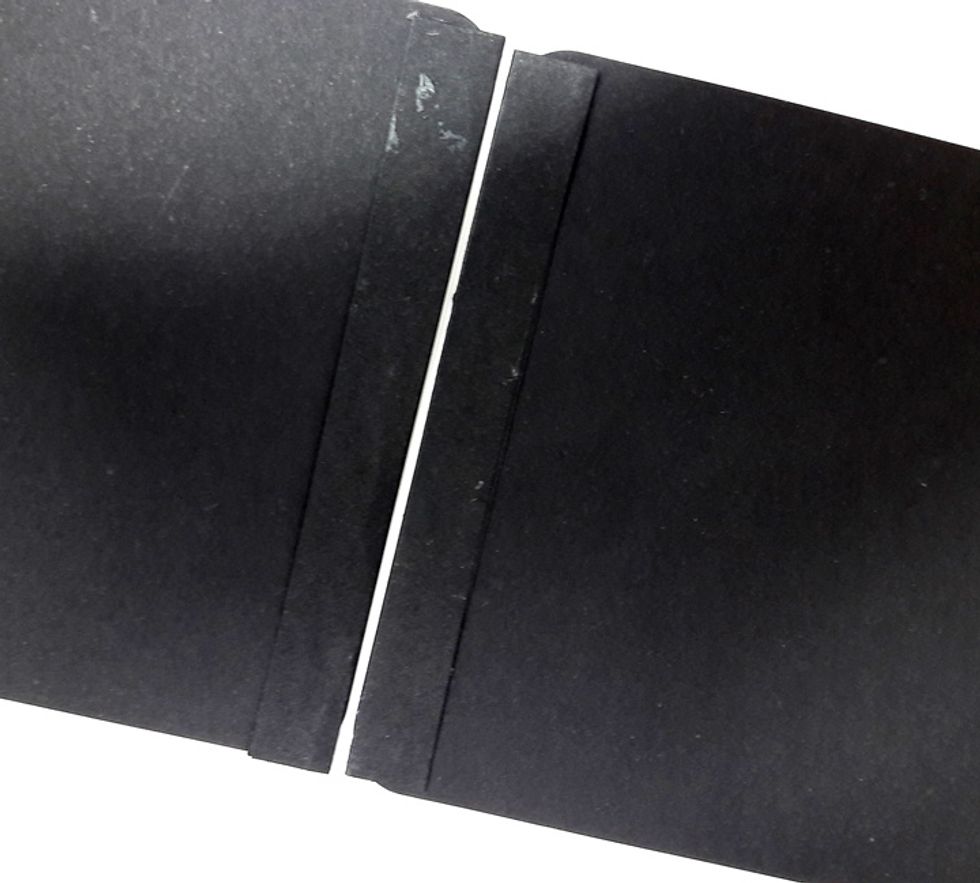
Place two pages opposite each other. Strips should be opposite each other. Leave a space of 1/8".
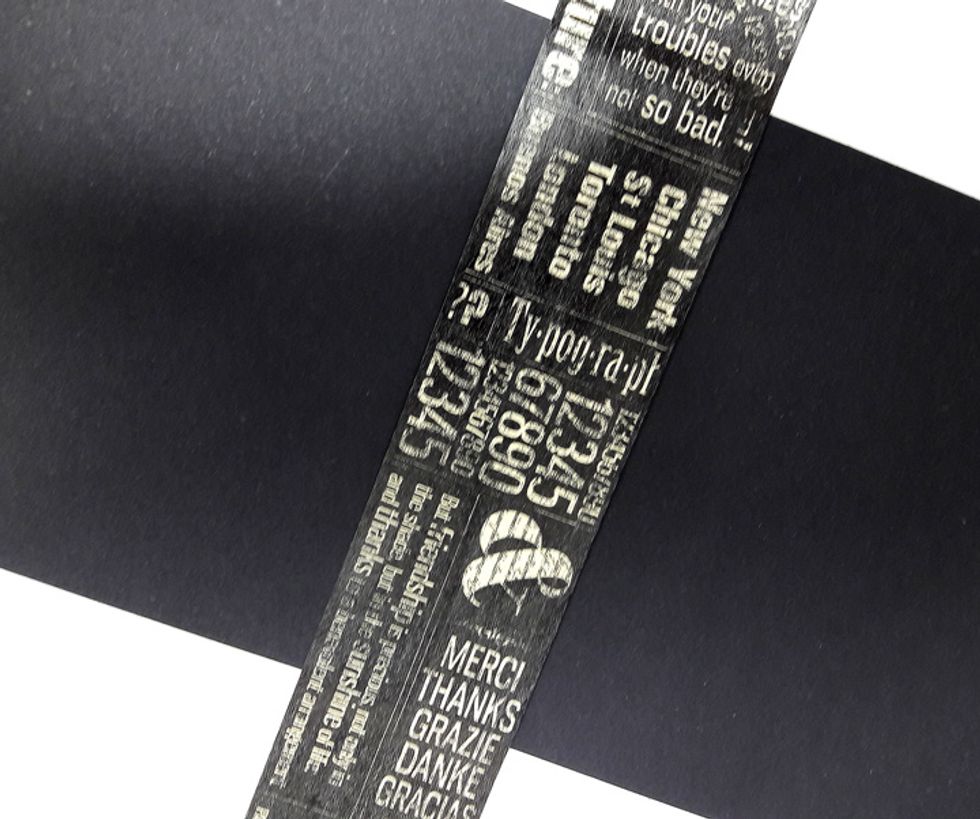
Attach washi tape to both pages.
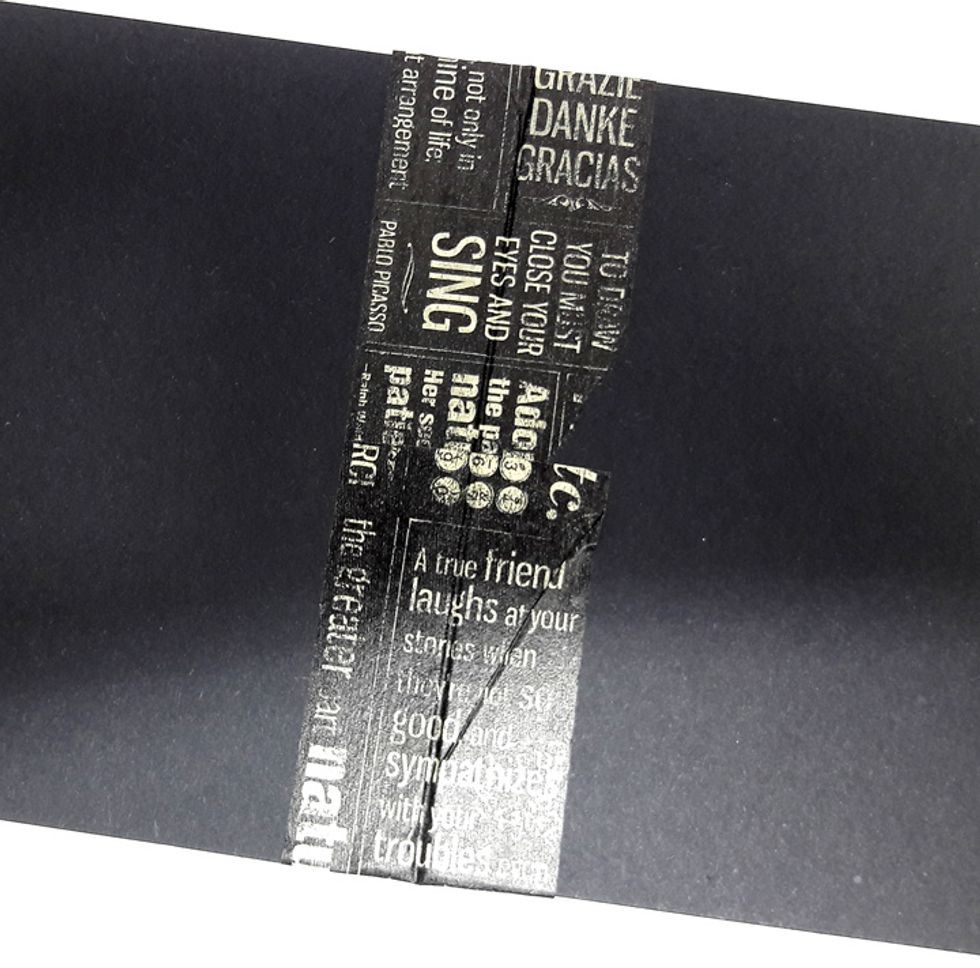
Fold excess washi tape on other side. Fold spread.
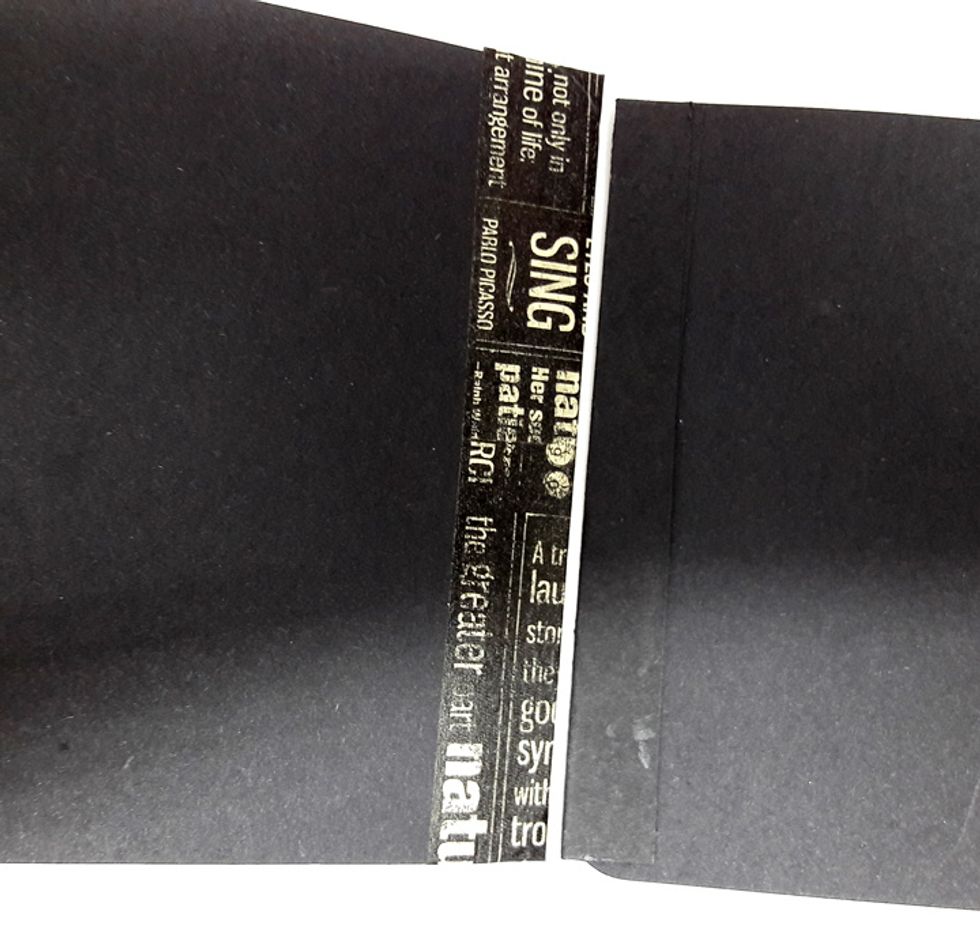
Align another page with strip facing the left. Attach page to bound pages with washi tape. Repeat process with other pages.
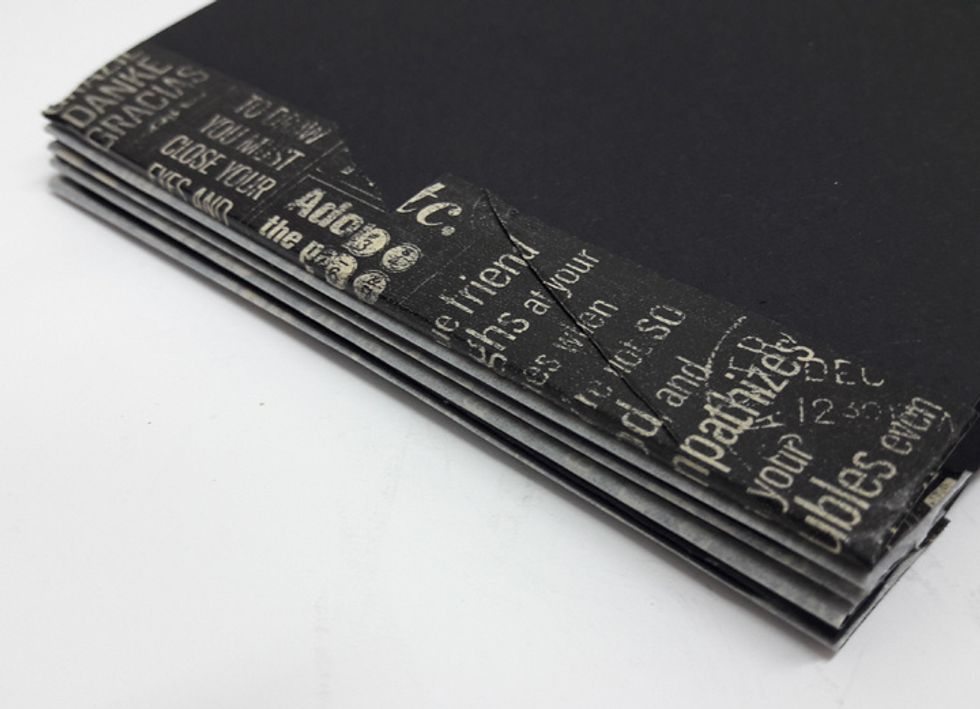
This is how it looks when all pages are bound together.
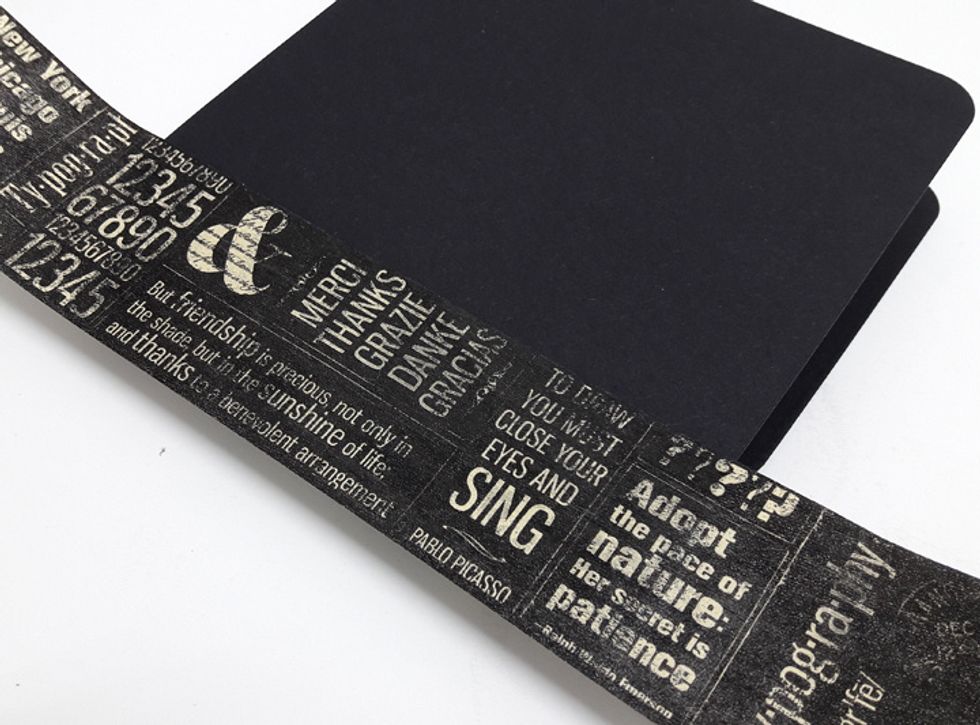
Attach half width of washi tape to front of mini album.
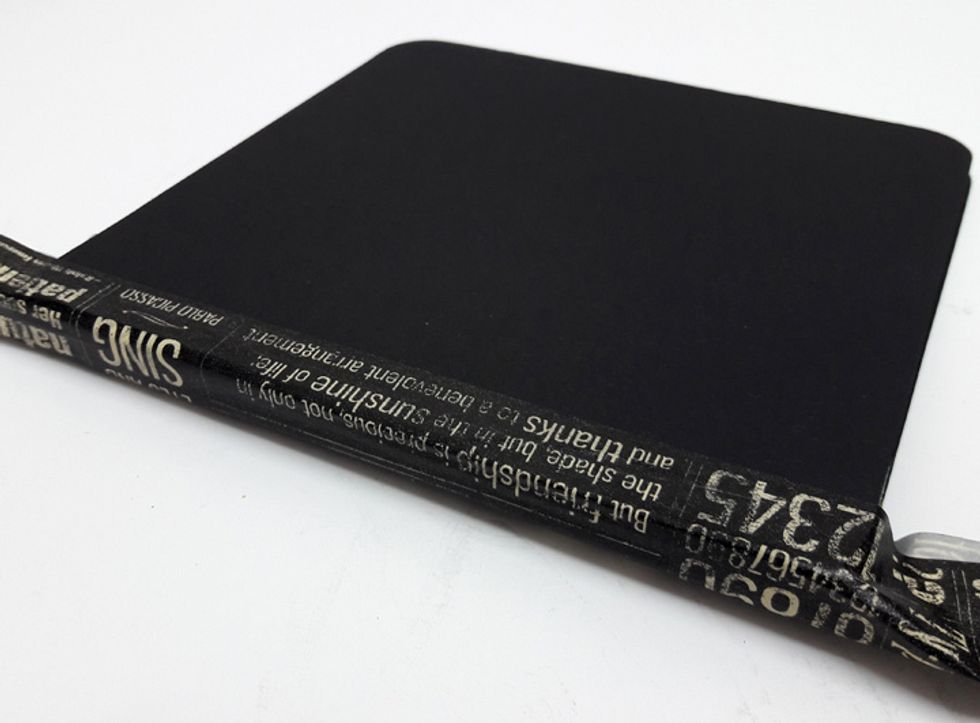
Attach washi tape on spine and back cover. If the mini album is too thick you can use two pieces of washi tape.
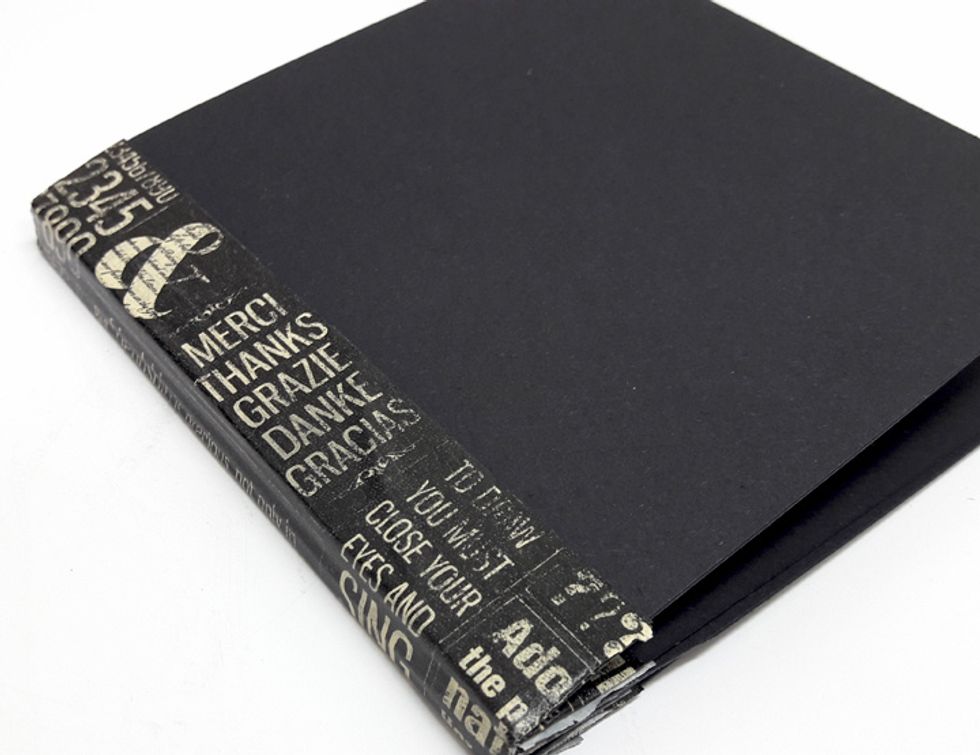
The mini album is ready. Now add papers, embellishments to pages and cover.