The Conversation (0)
Sign Up
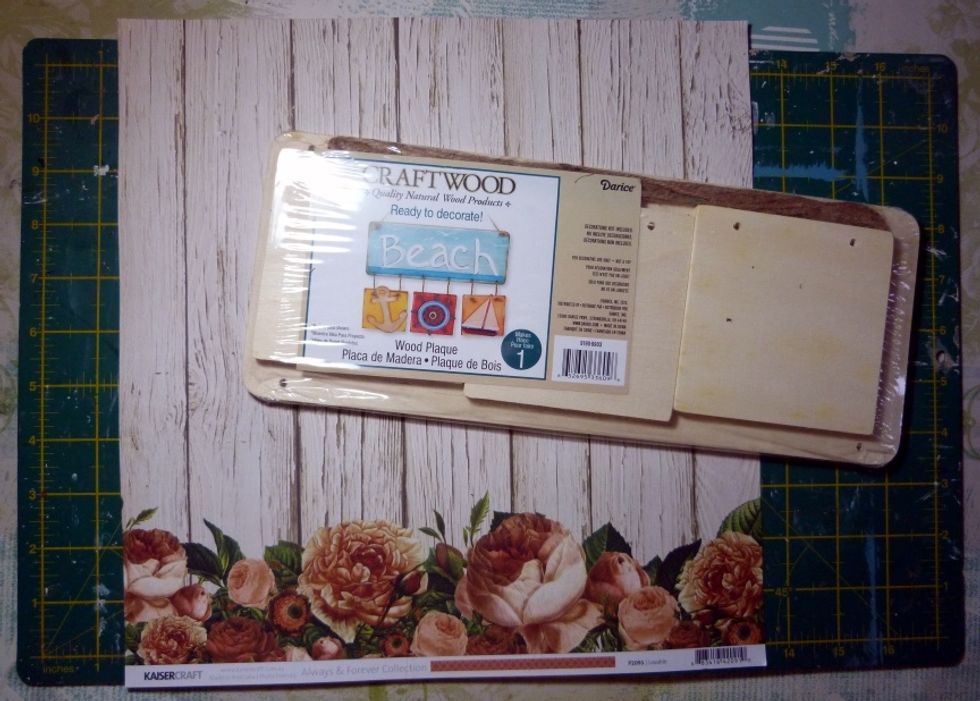
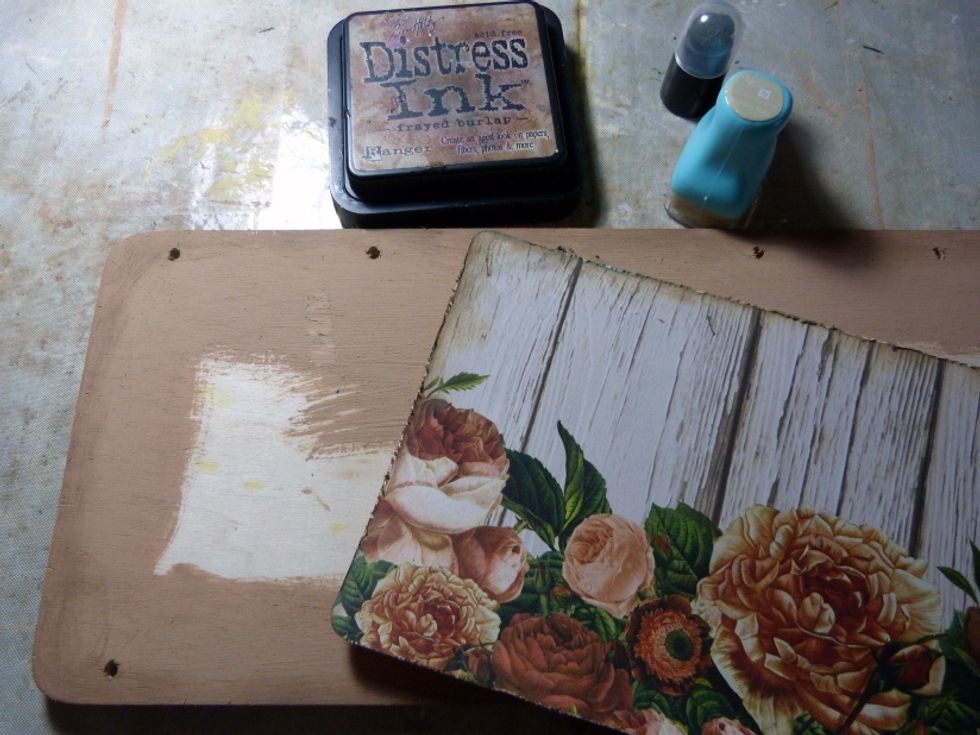
This is the paper I chose to cover my wood Plaque - Lovable. I cut & used the bottom of the paper with the florals for the large plaque.

Take the wood plaques and paint with a chalk finish paint.
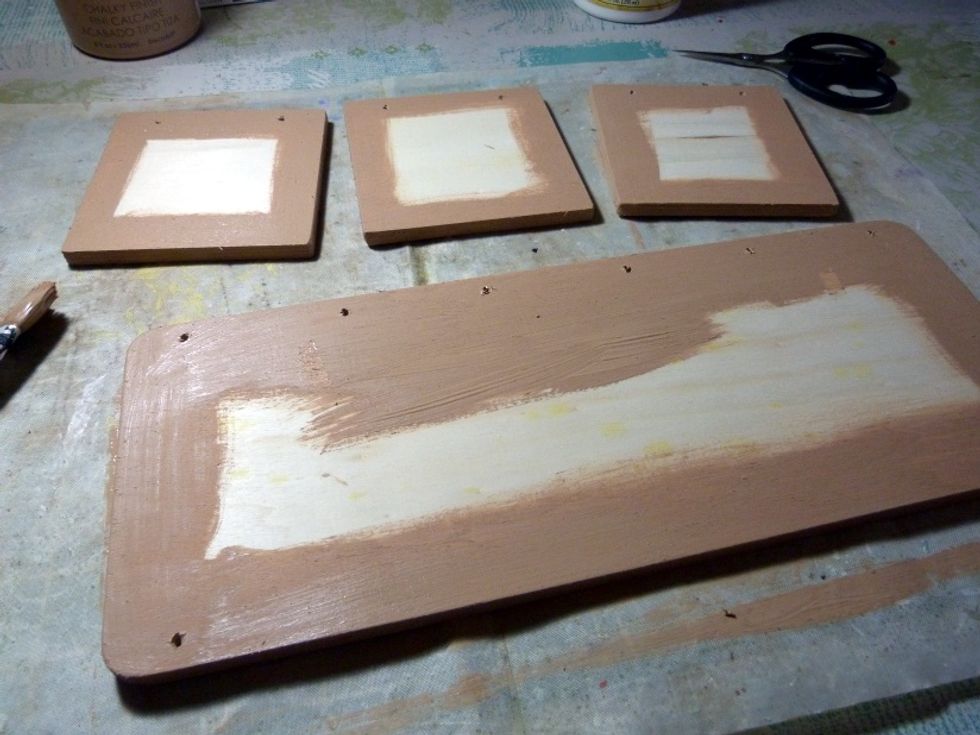
Completely cover on one side and just edges on the other side. It's going to be covered with paper, so save your paint!

When dry I spray the backs of my plaques with a spray and shine sealer. This gives protection, keeps it clean and gives the back a nice finished look.
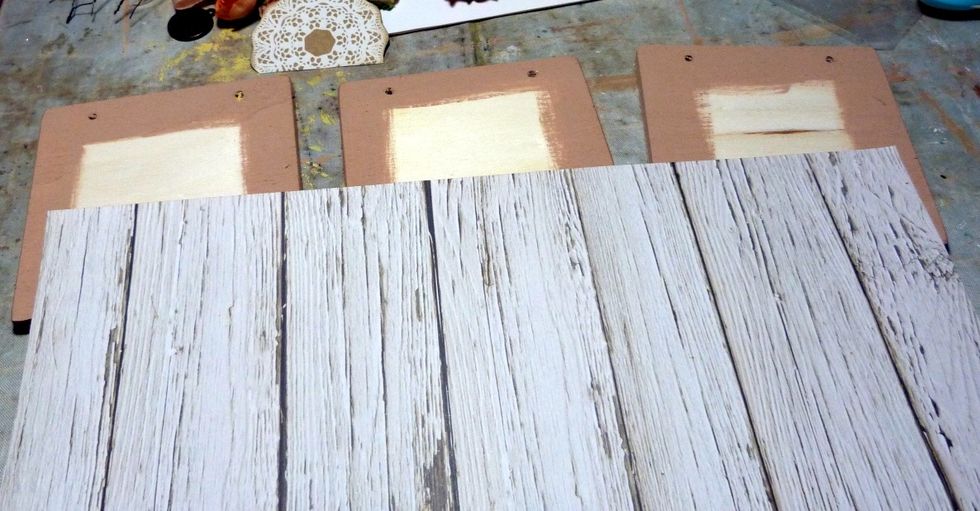
I used the remainder of the 'Lovable' paper to cut to size for the 3 small plaques.

Round all the corners with a corner punch.
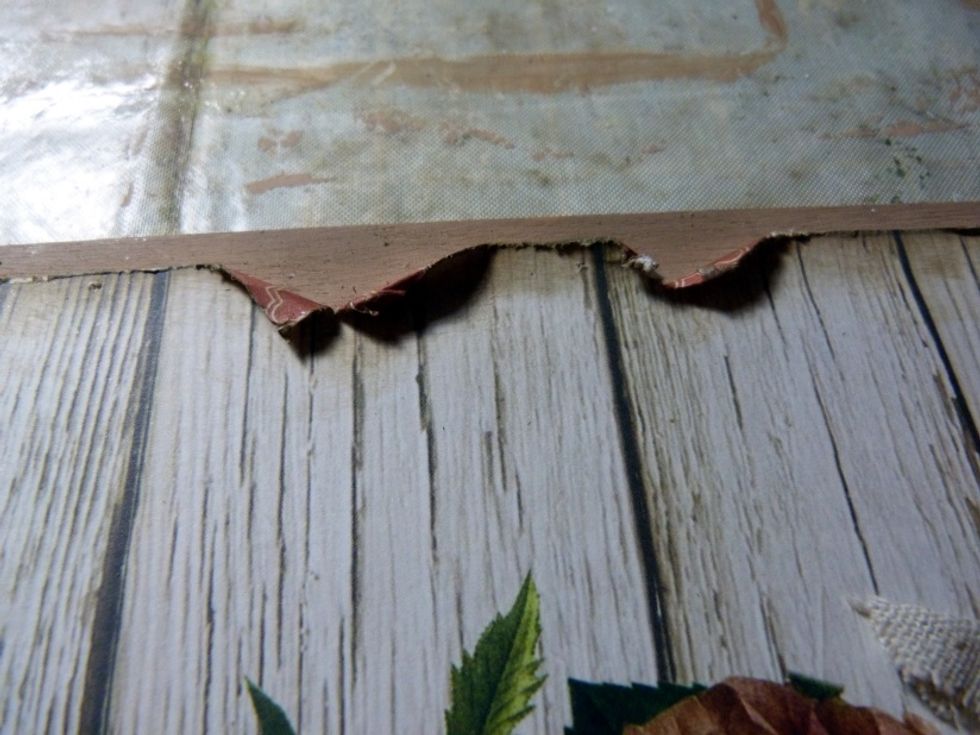
Distress all edges heavily.
Ink all edges, first with the Prima Chalk ink & then the very edge with Distress Ink. Glue all papers to plaques.
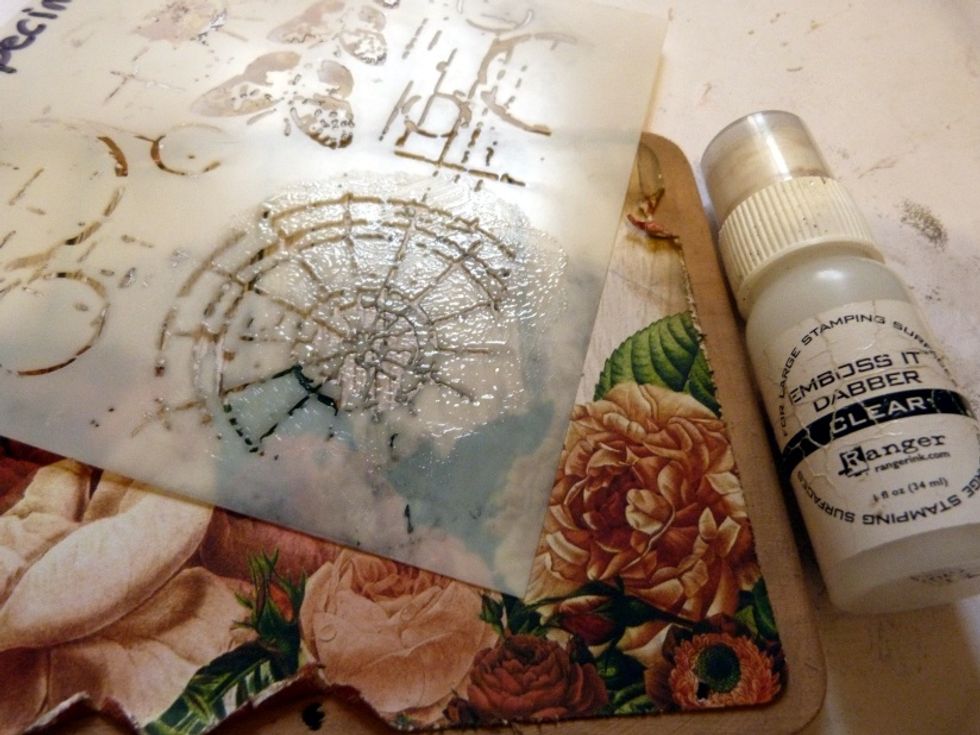
Use Emboss It Dabber through a stencil on left & right hand side of large plaque.
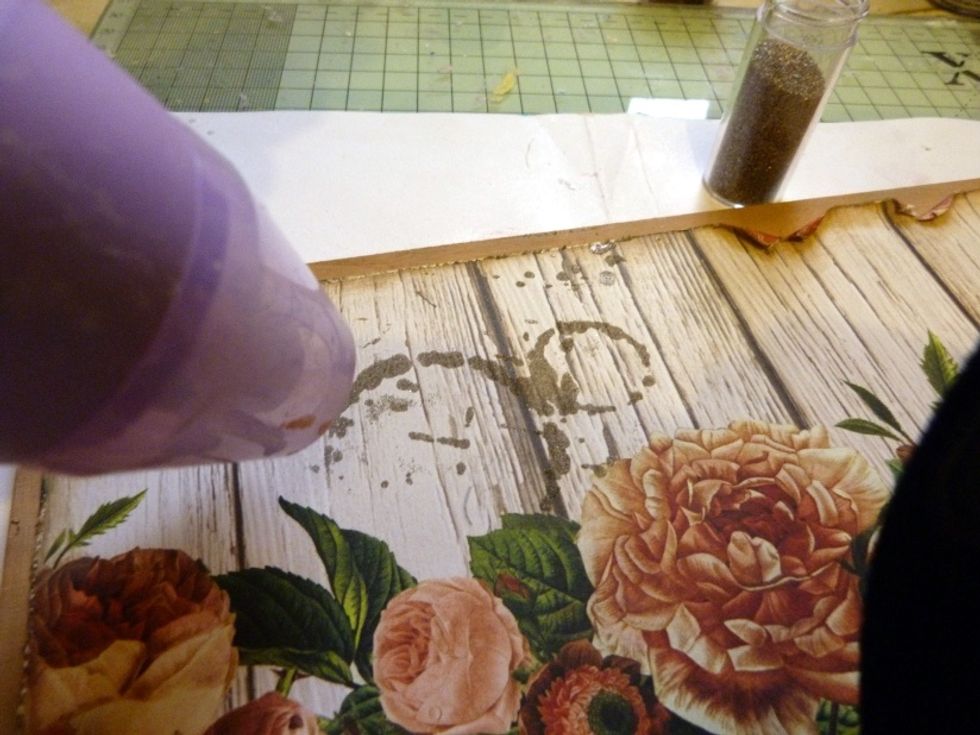
Cover with Wow embossing powder, heat with heat gun to set dropping in some Frantage antique gold embossing enamel whilst heating.
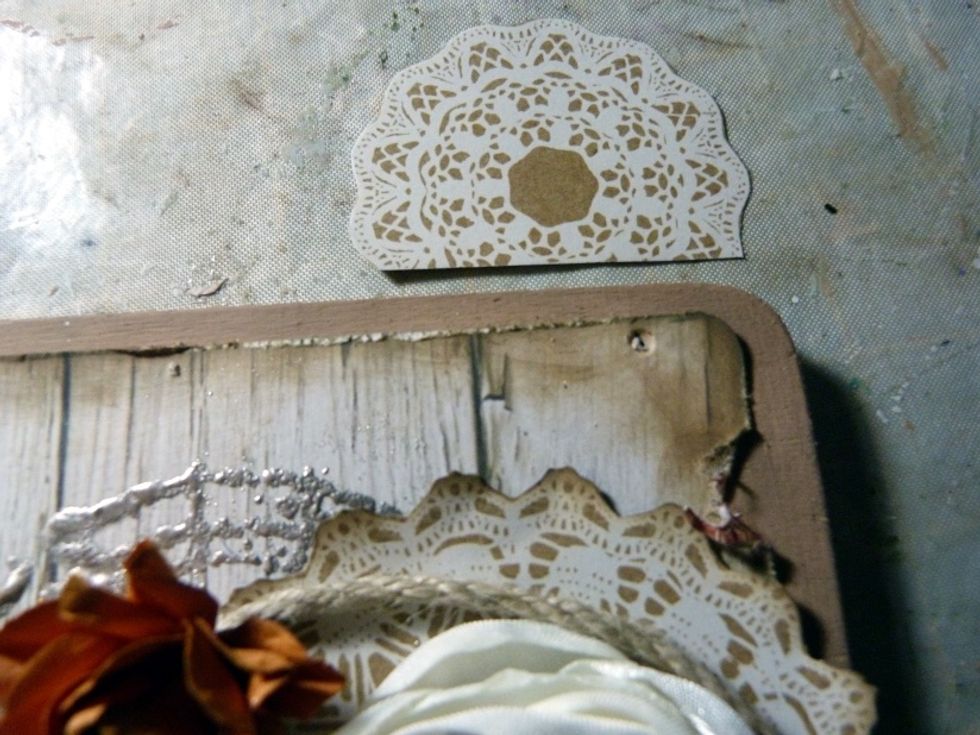
Cut some doilies out of paper 'Romance'. Distress & ink edges.
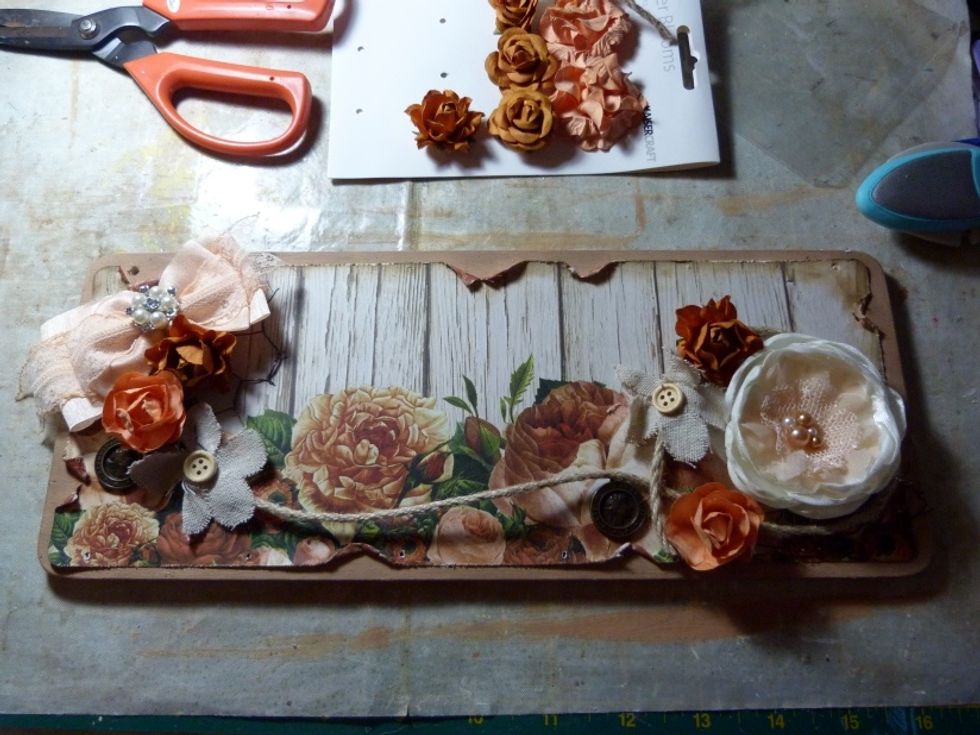
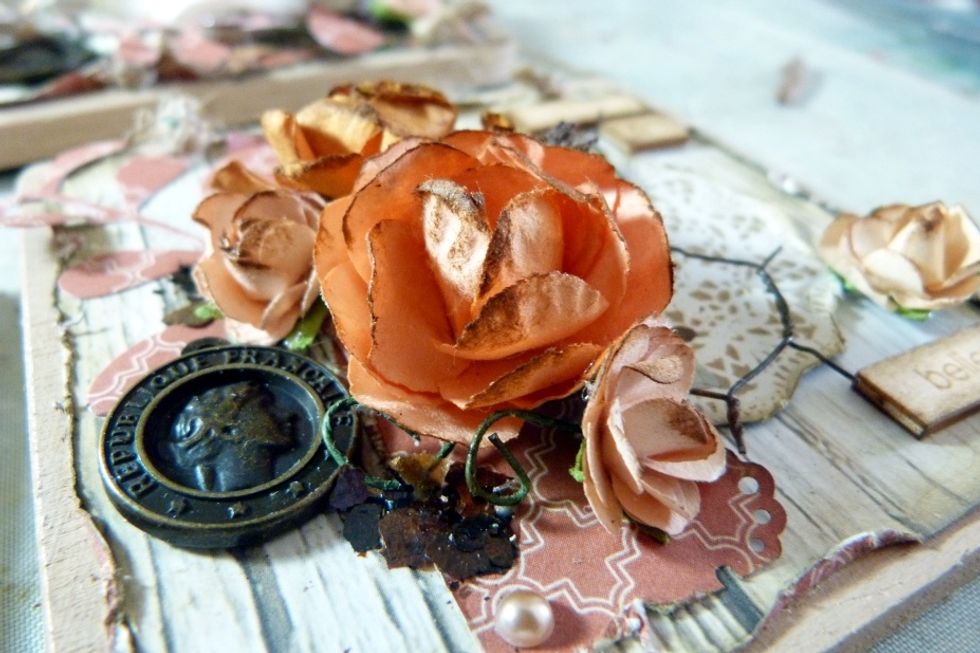
Layer up the doily with the rope circle & the big flower on the right side. Add smaller flowers & metal embellishment. I changed my mind with the left hand side after taking this photo!

Glue chain along the bottom. Ink edges of alpha tiles & glue on. Use some glue/gel medium in places around cluster and drop the mica flake onto it.
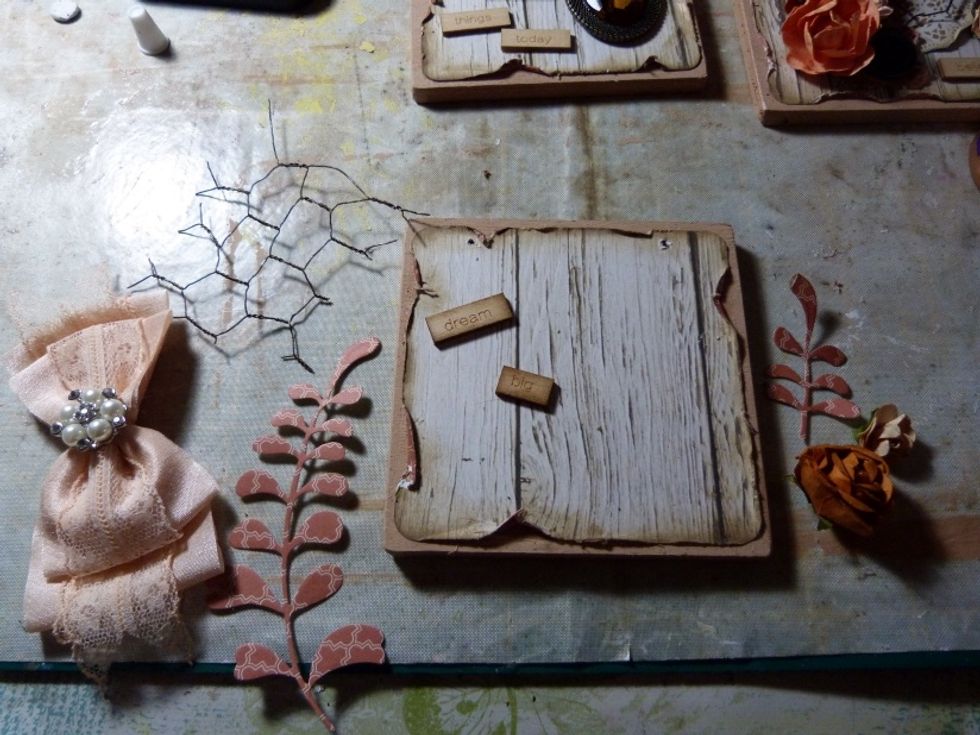
Small plaque 1. Layer up the chicken wire, big bow and leaves. Ink word tiles. Glue on.
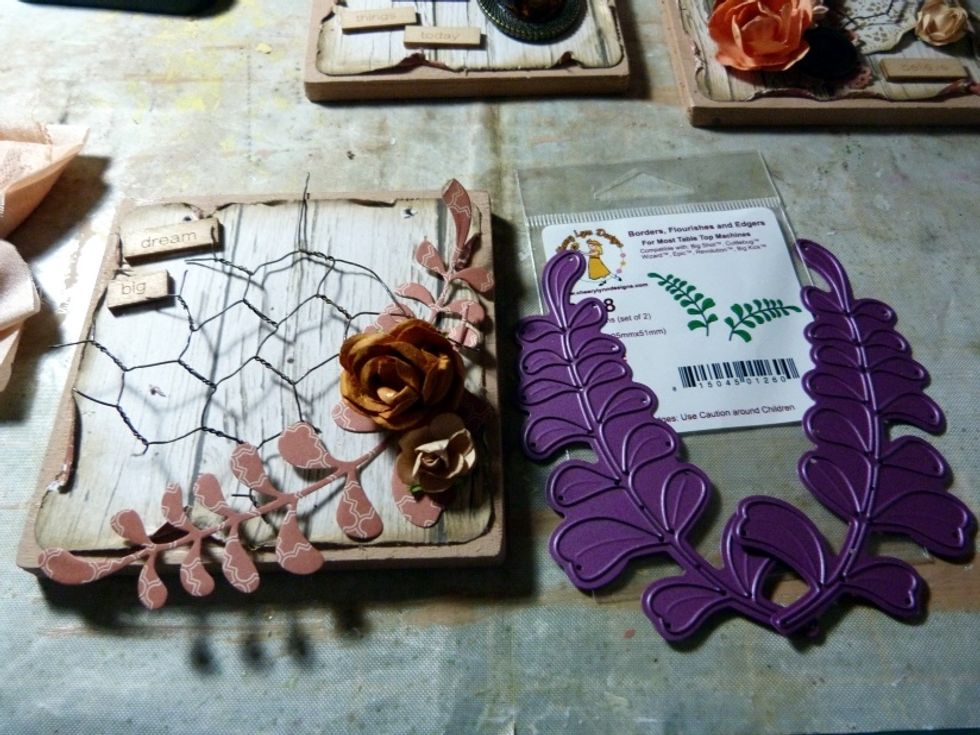
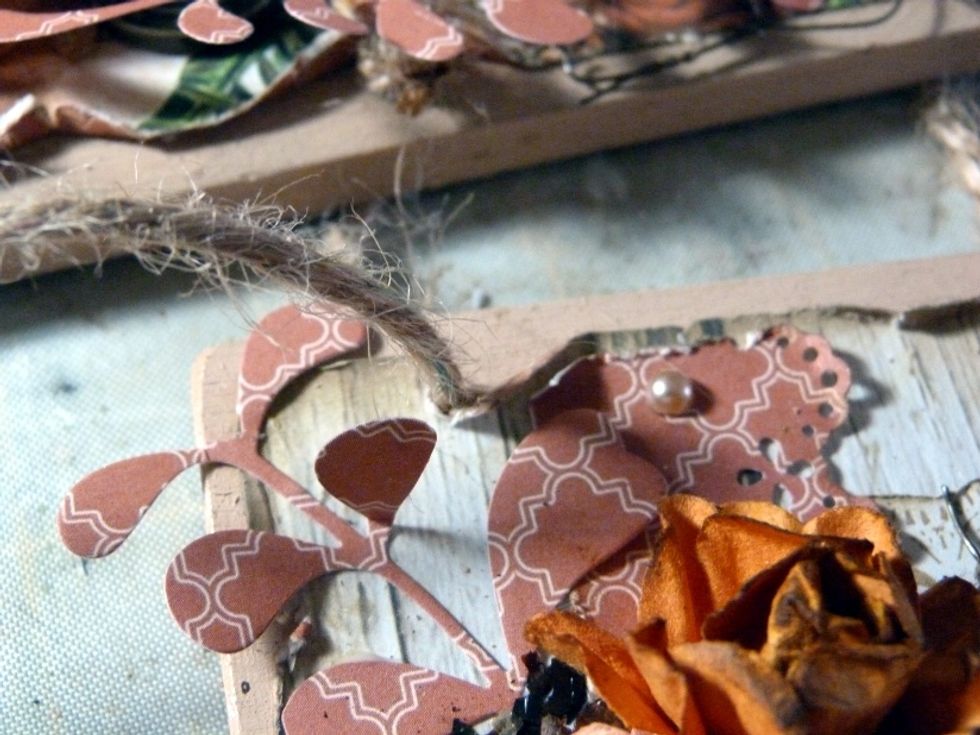
Add flowers. This is the die I used for the leaves. Use the reverse side of the 'Lovable' paper for these.
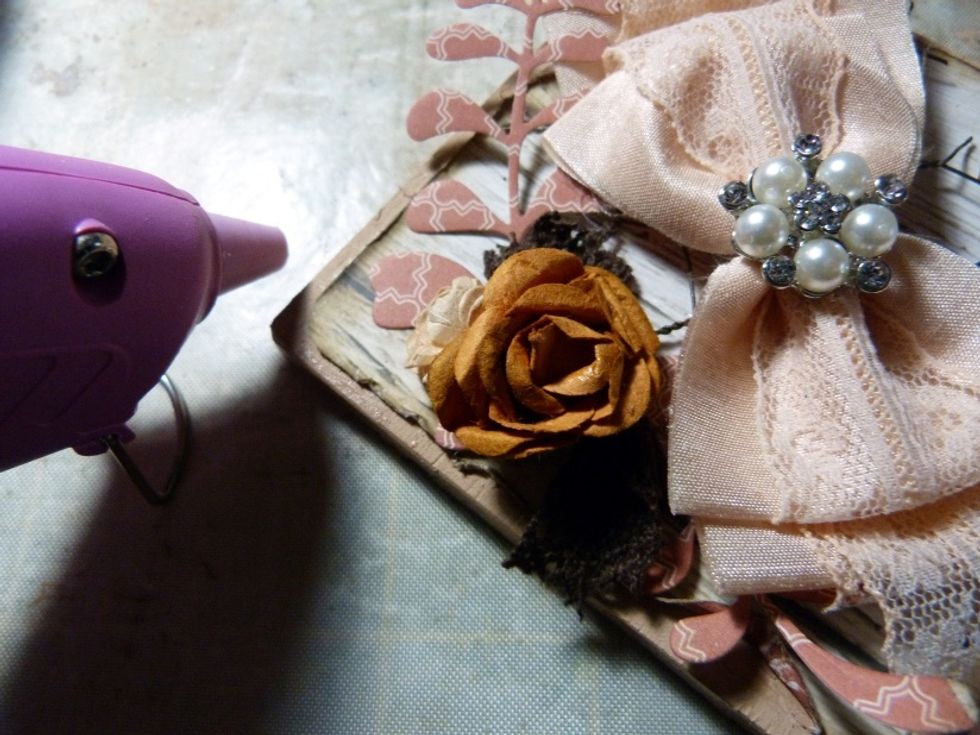
Add small pieces of the brown lace trim twisted into the flower cluster.
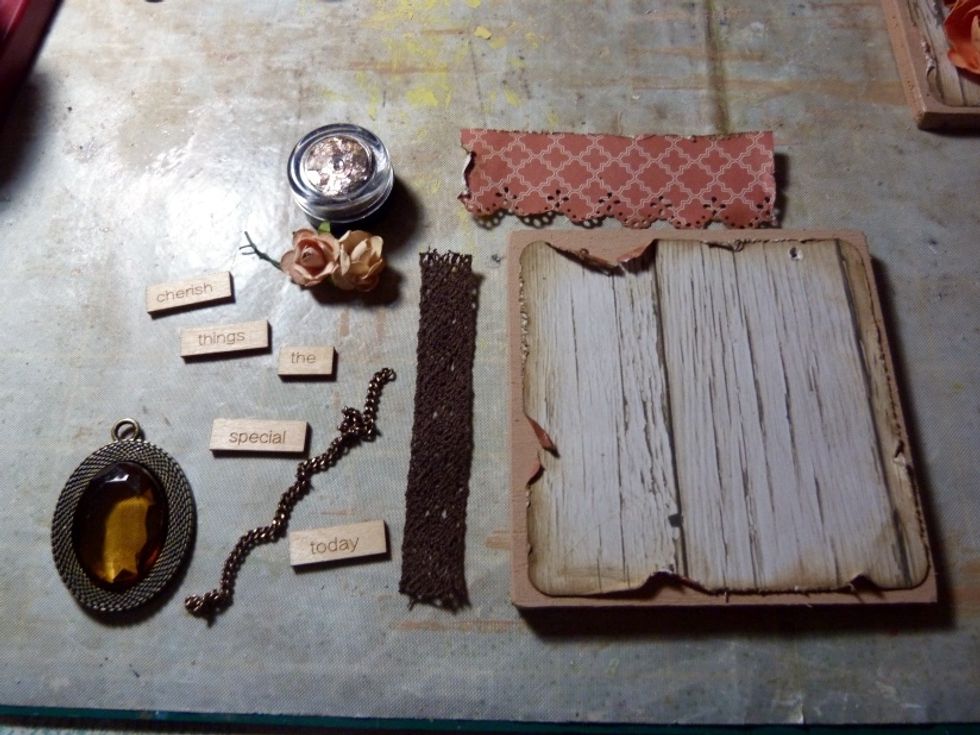
Plaque 2. Layer up a punched strip & lace and flowers. Add a piece of chain to the jewel. Ink word tiles. Glue on.
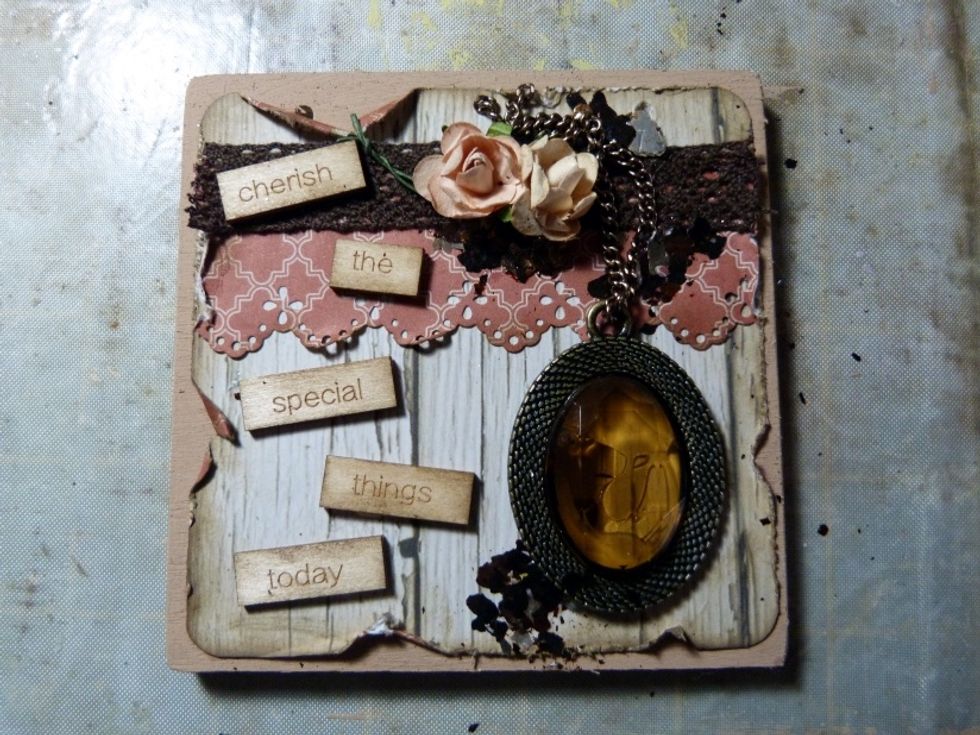
Add some mica flakes to cluster with glue.
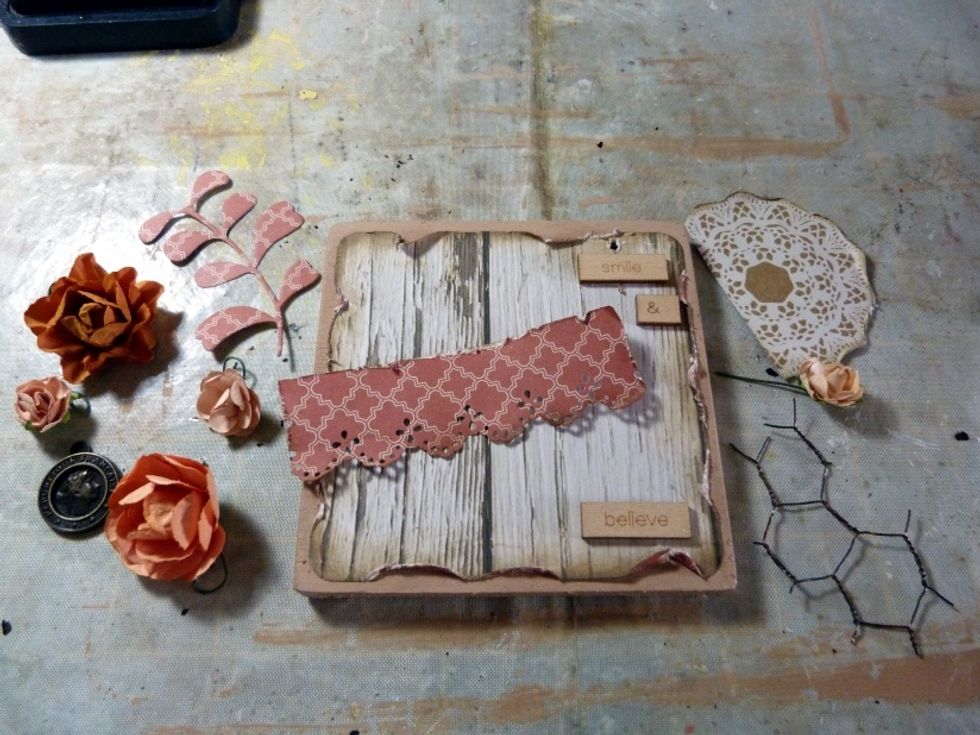
Plaque 3. Layer up punched border strip with chicken wire, doily, die cut leaf & flowers. Ink word tiles. Glue on. Add twists of the brown lace trim to cluster. Add mica flakes with glue.
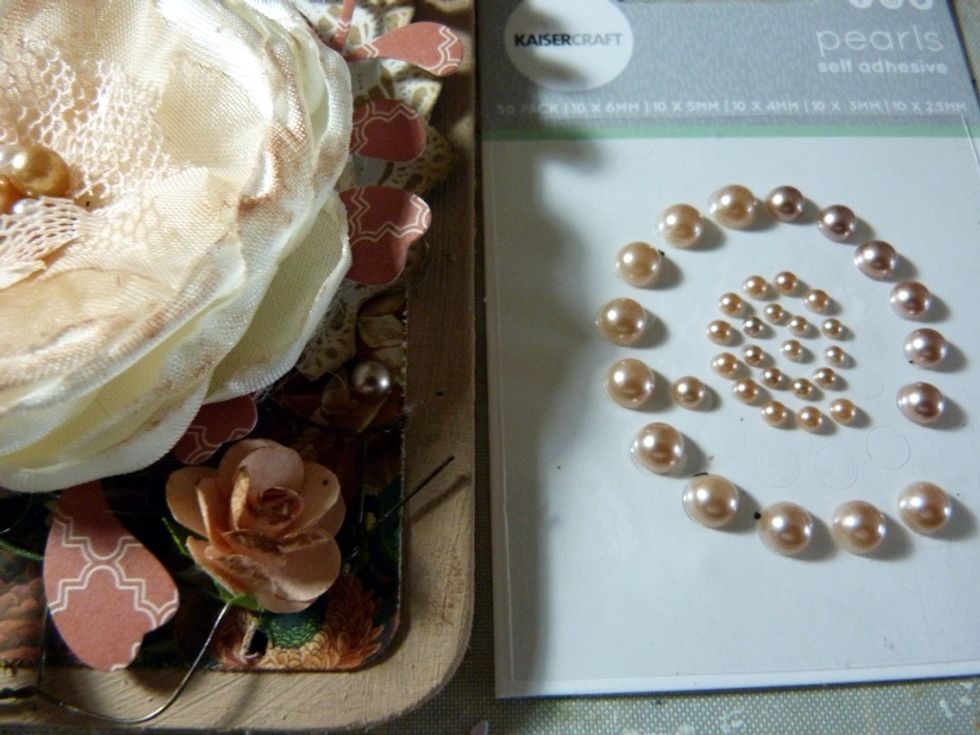
On all 4 plaques add pearls.
Lastly using a ink blending tool just brush over the tops of the flowers with some Distress Ink Vintage Photo.
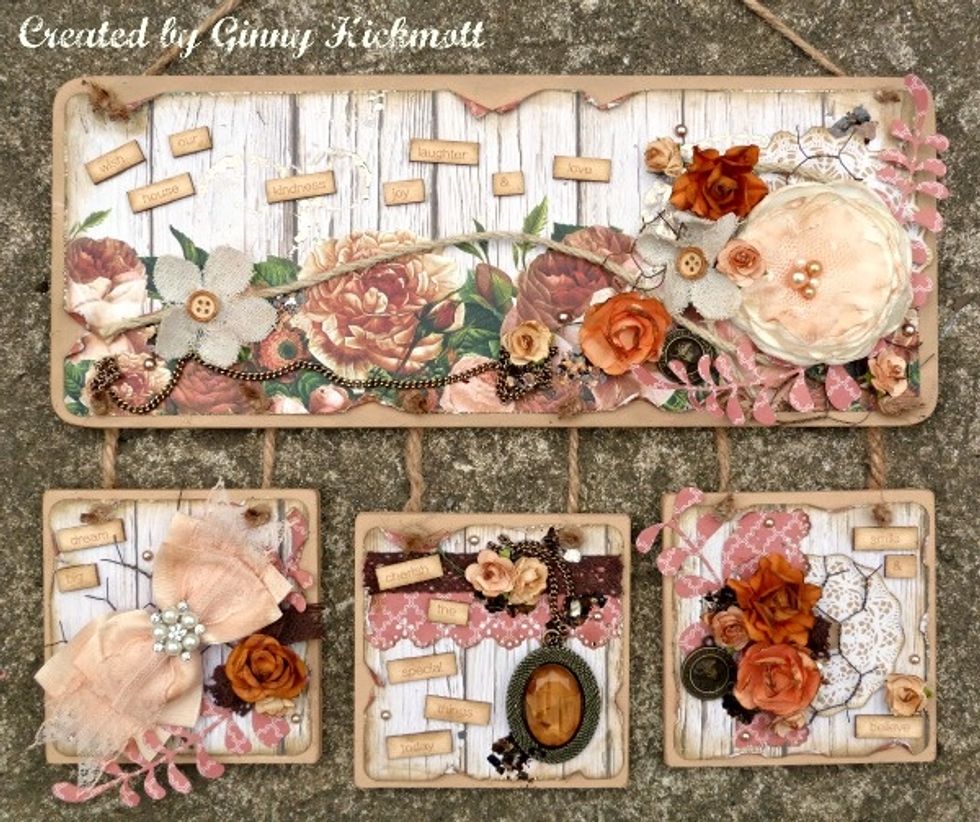
The finished result! Hope you enjoyed looking at this Snapguide. Don't forget to please visit Swirlydoos at http://swirlydoos.com and my blog http://shabbypapers.blogspot.co.uk/