The Conversation (0)
Sign Up
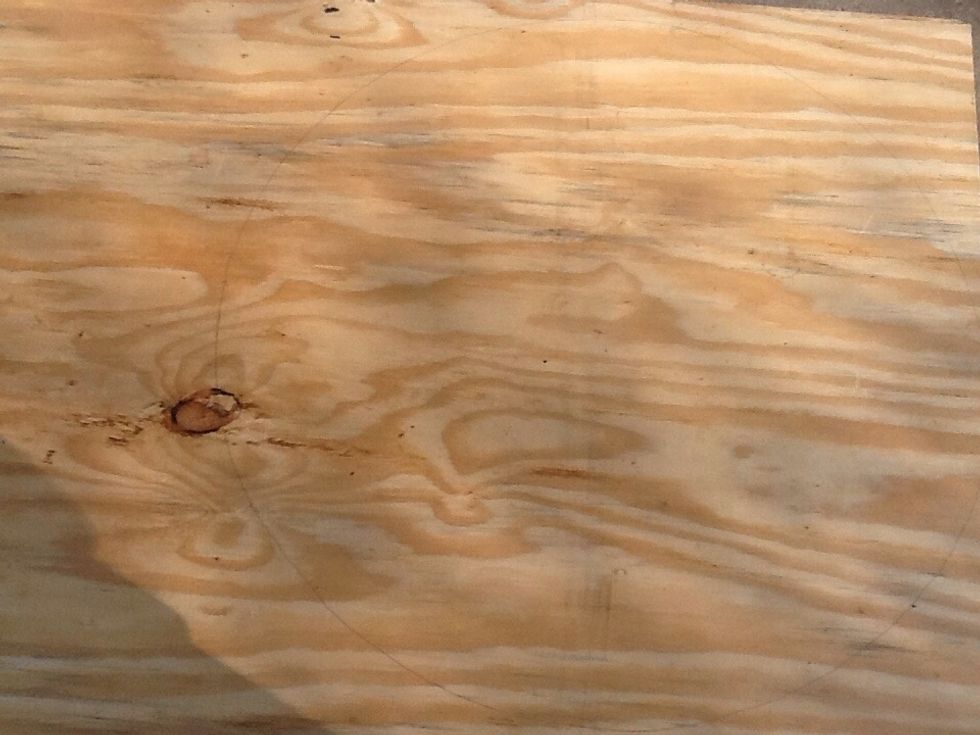
Take your plywood and trace out a one foot radius circle, I recommend using a compass for this step.
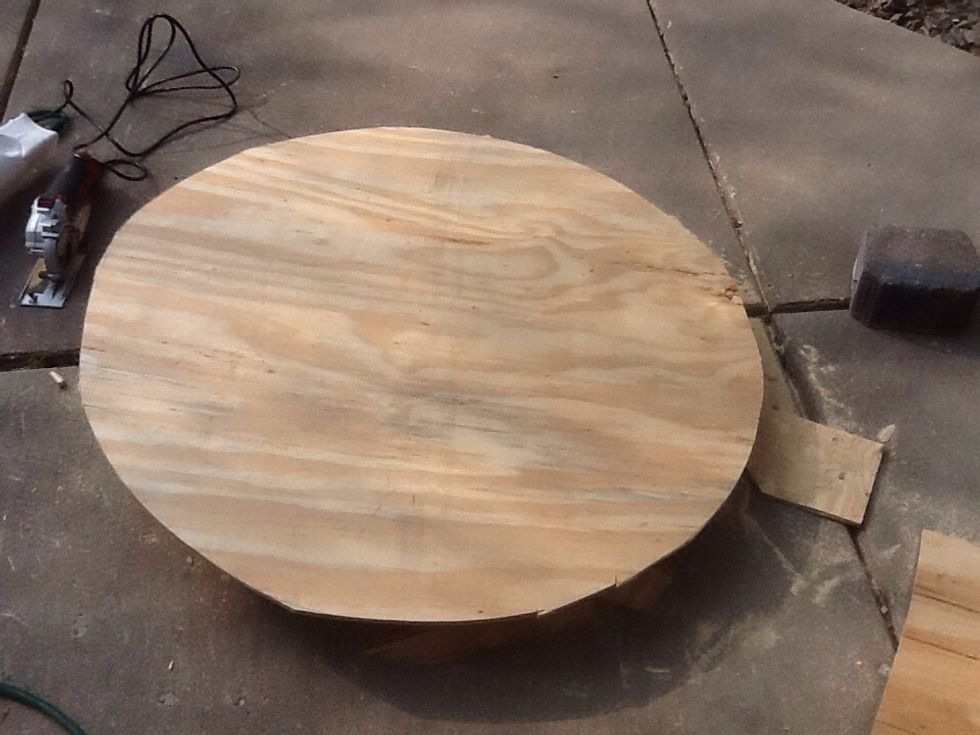
Next, I recommend using a jigsaw to cut out the pre traced circle, remember to always wear gloves and goggles while operating machinery.

Next, trace out a 8 inch diameter concentric circle using the same compass method, remember measure twice cut once.
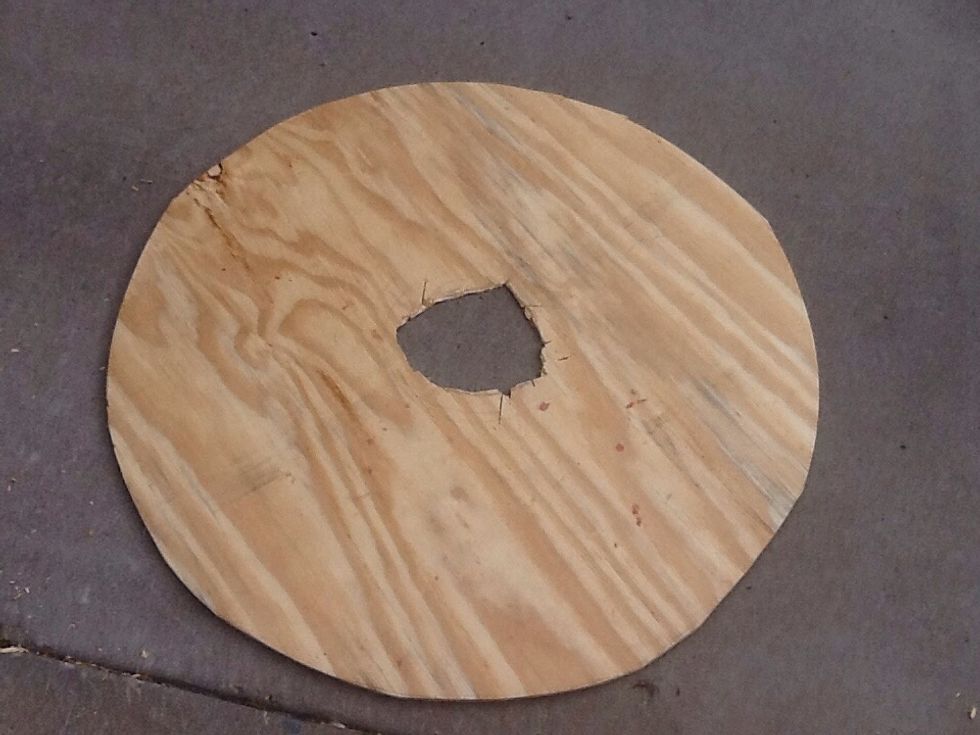
Place the jigsaw blade in to the pre-drilled hole in the center of the tracing and carefully cut with the outline
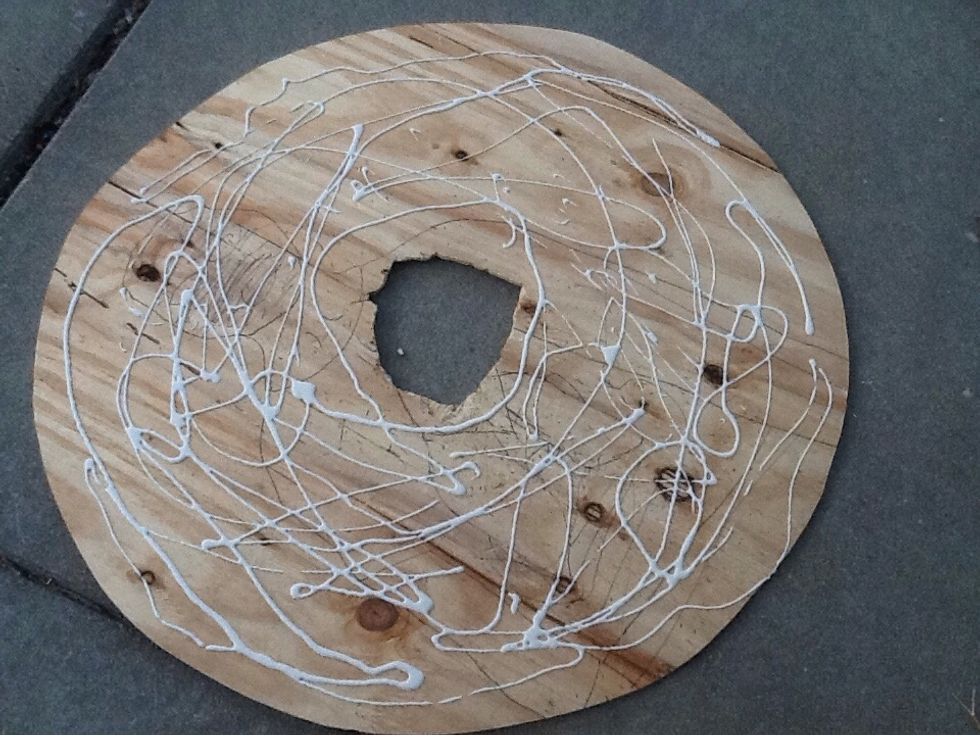
Next liberally apply wood glue across the surface. Choose the side of the shield that looks the worst, look for knots, or knicks.
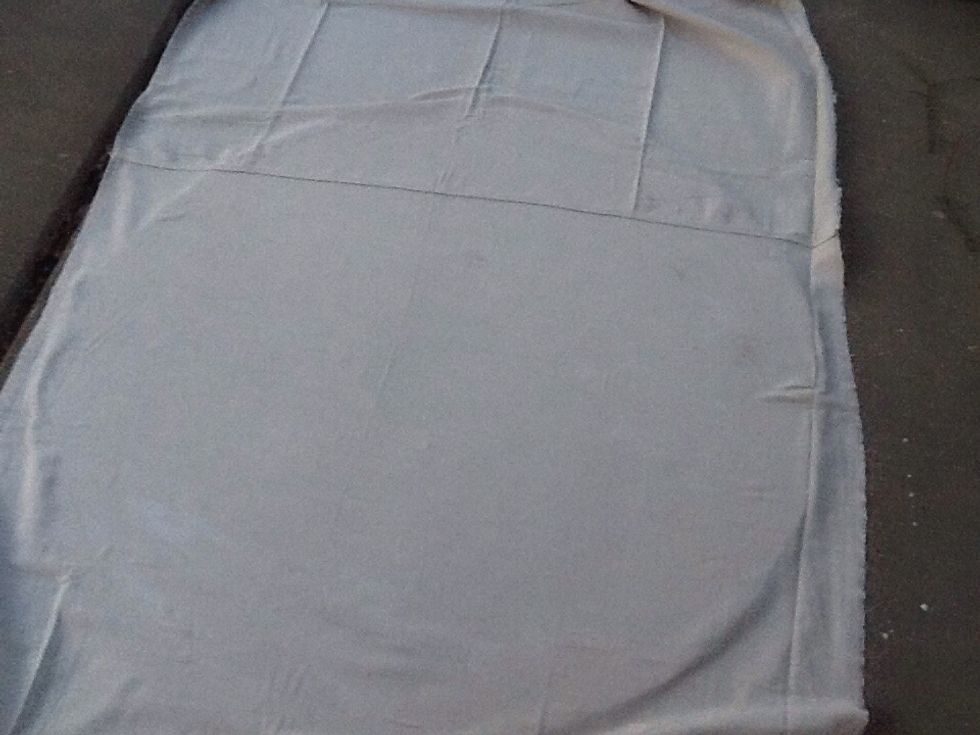
Now evenly place the white sheet over the wood-glue side of the shield. Smooth out all the bubbles and creases.

Once the glue has dried, flip it so the cloth side is on the ground. Take the extra material and srew or staple it to the other side of the shield, the none cloth side.
Next determine the centerline of the shield. Now place the dowel on this line, evenly so that equal material is placed on each side of the shield.
You may want to sand the far end of the dowel so that it sits semi flat on the shield. Now carefully, as to not damage the dowel, insert two screws in each end of the dowel, symmetrically.
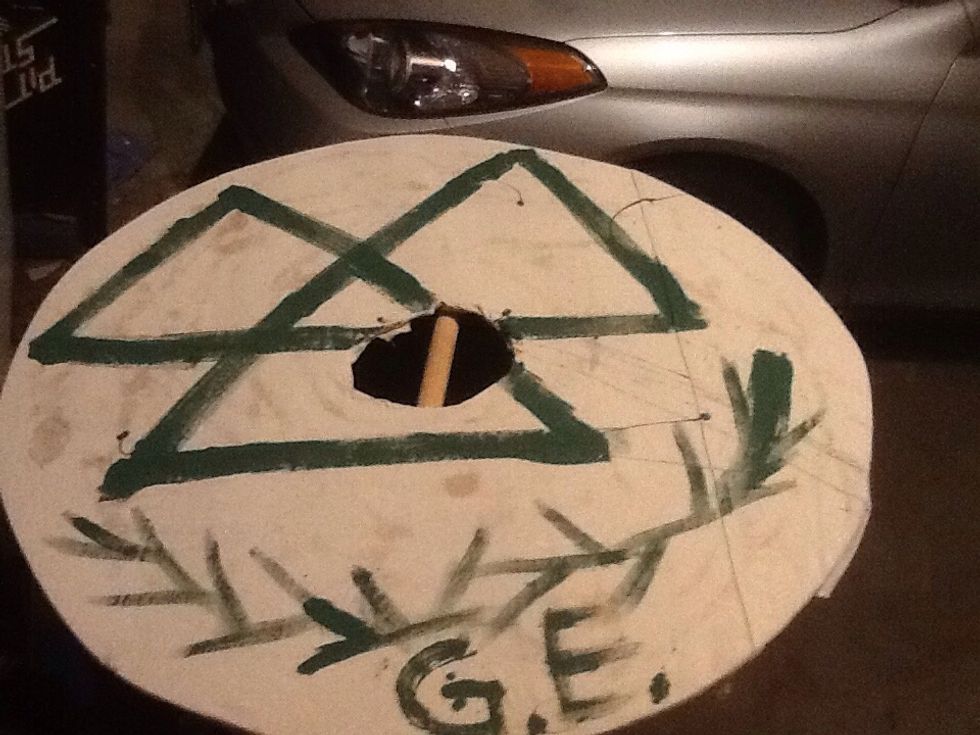
paint what ever design you would like on the front of the shield. I choose the valknut because it represents Odin, the all-father.
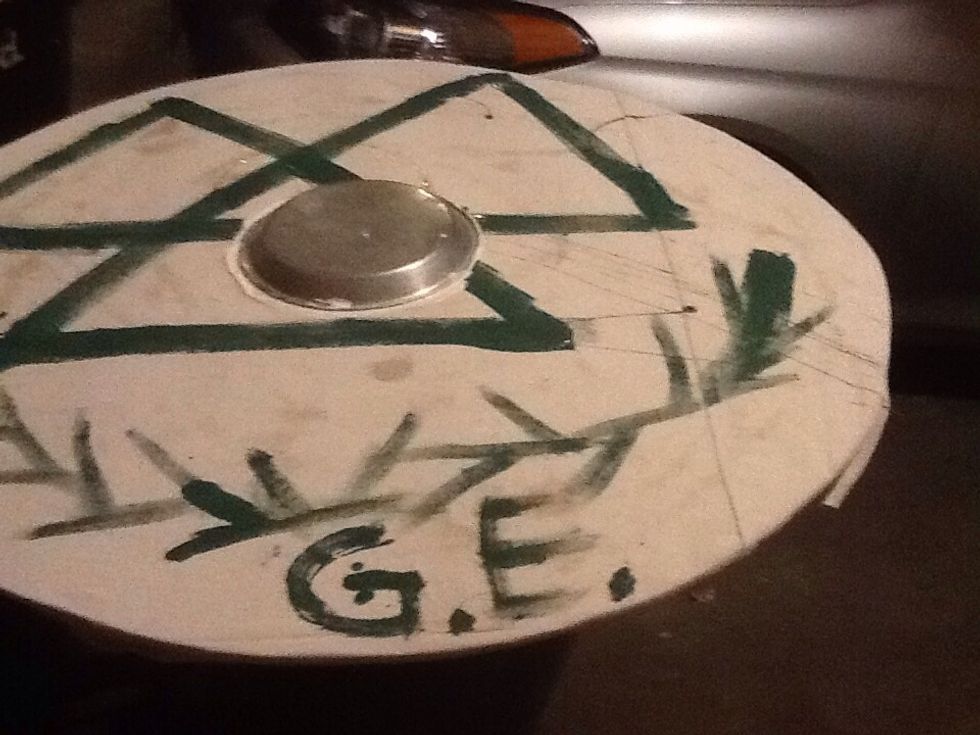
Apply the extra wood glue to the pie tin and place it concentricly over the hole.
credits to: UGATEAM https://m.youtube.com/watch?v=Xqhgu717c_4
madium technical understanding required ages 14+