The Conversation (0)
Sign Up
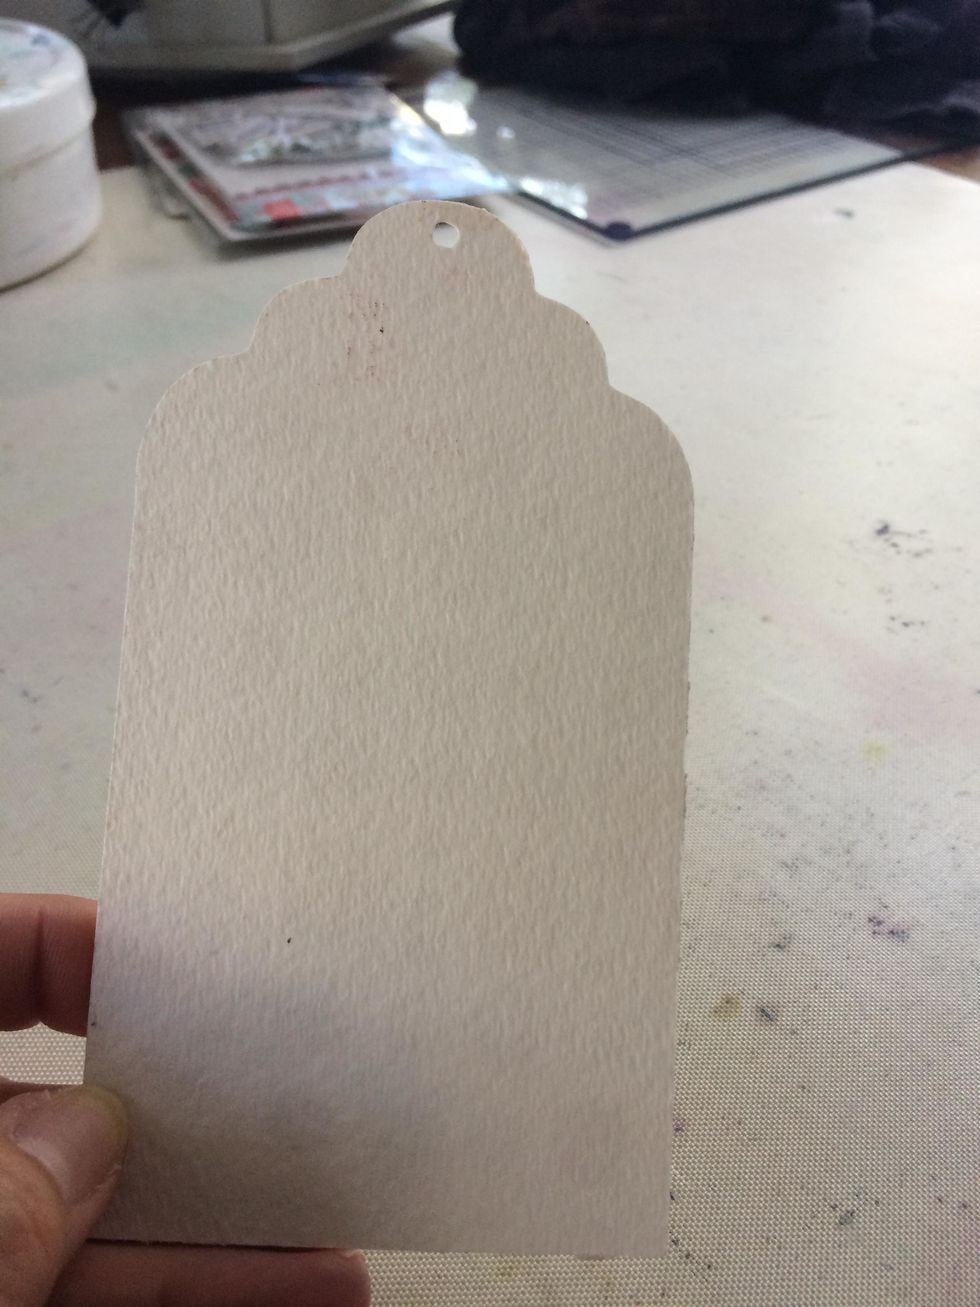
For the first step I began with a tag made of watercolor paper. I like to use Watercolor paper because it absorbs the product so much better than paper that had a gloss finish.

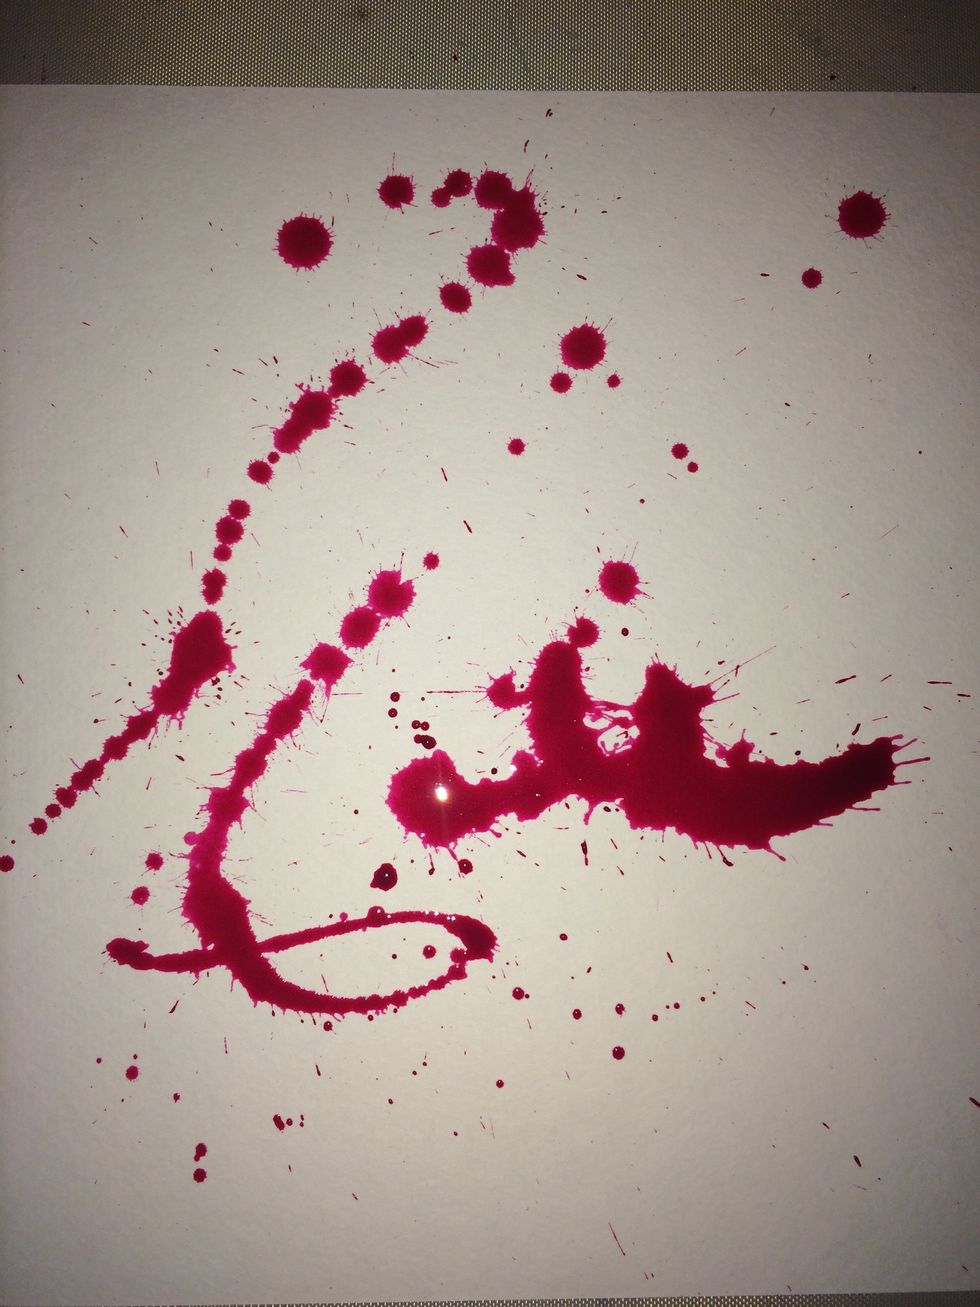
I saturated the tag with the hot pink Minx, Enchanted and the turquoise Minx, Panache. I let them blend together. I did use a heat tool to dry the ink.
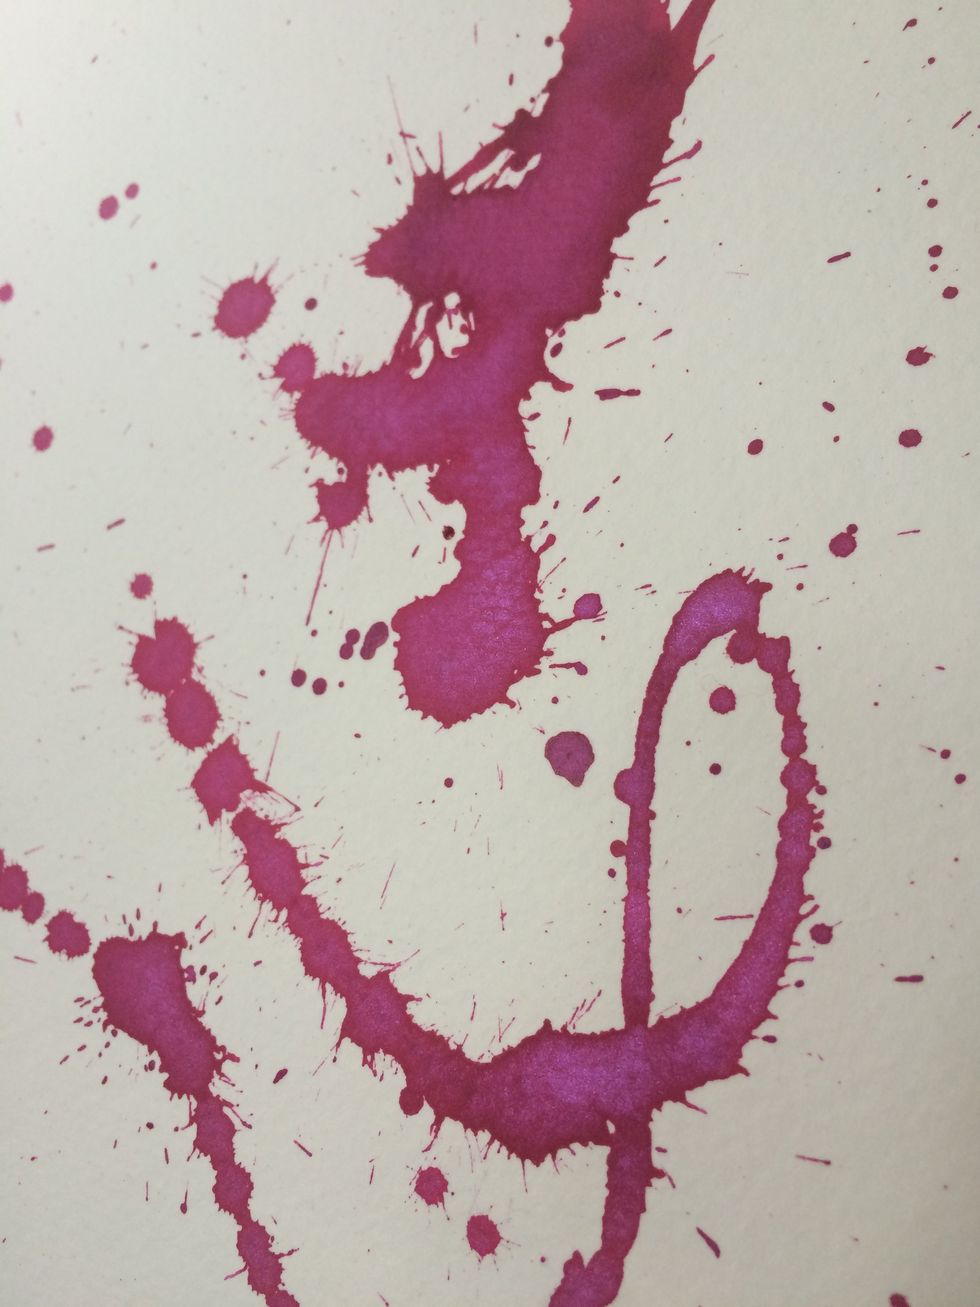
Then I took my 11x11 watercolor paper. After shaking the Minx really well, making sure that the shimmer is not stuck on the bottom of the bottle, I simply flung some color onto the paper.

I sat the sheet aside and let it dry.
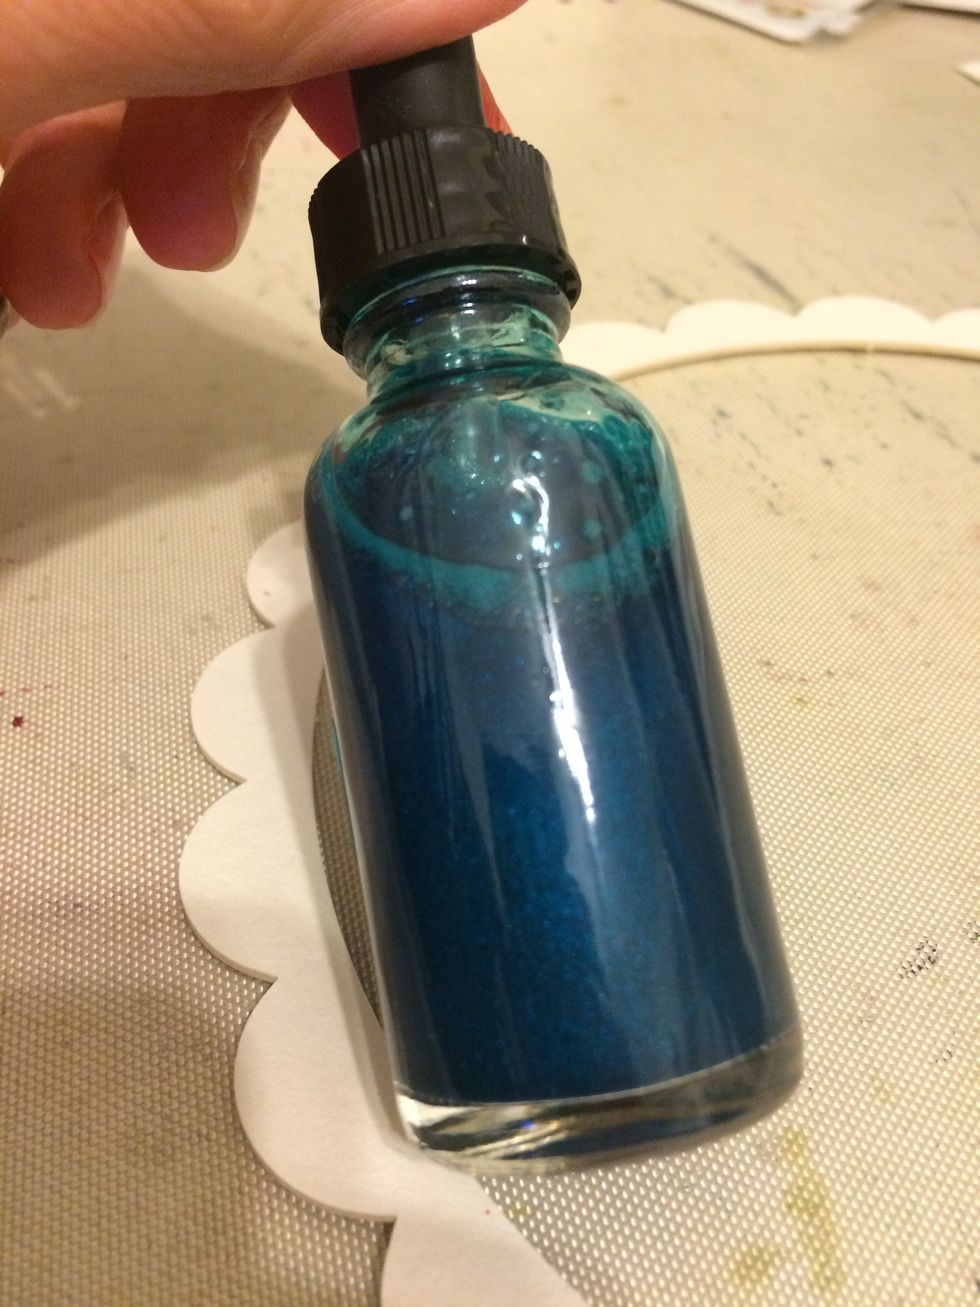
For my next step I will be using the Panache Minx.
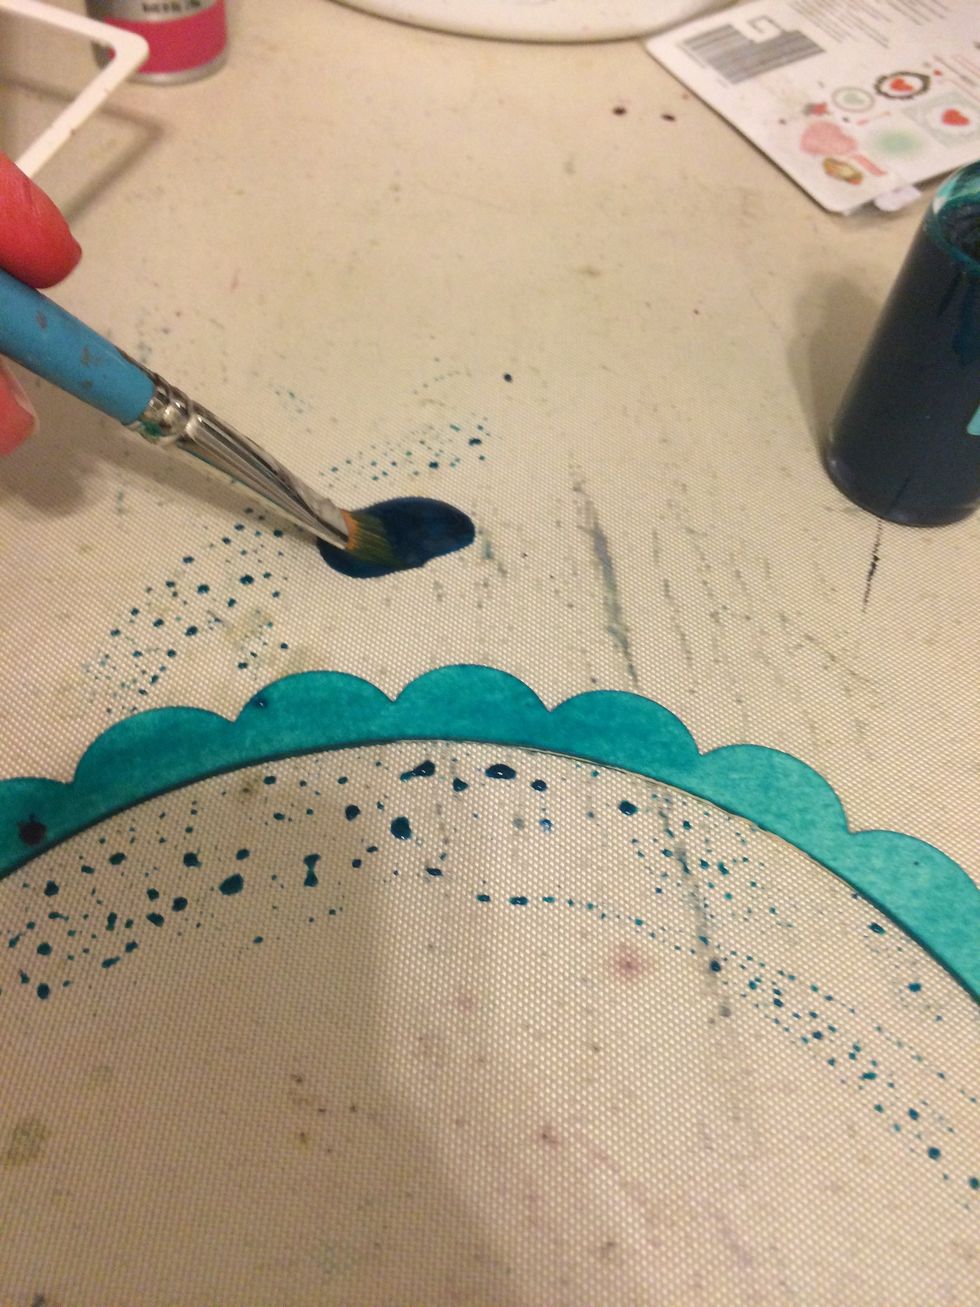
I wanted to use it to color this round scalloped circle embellishment. I just poured some of the Minx on my Art Anthology craft mat. And using a brush I applied it to the circle.
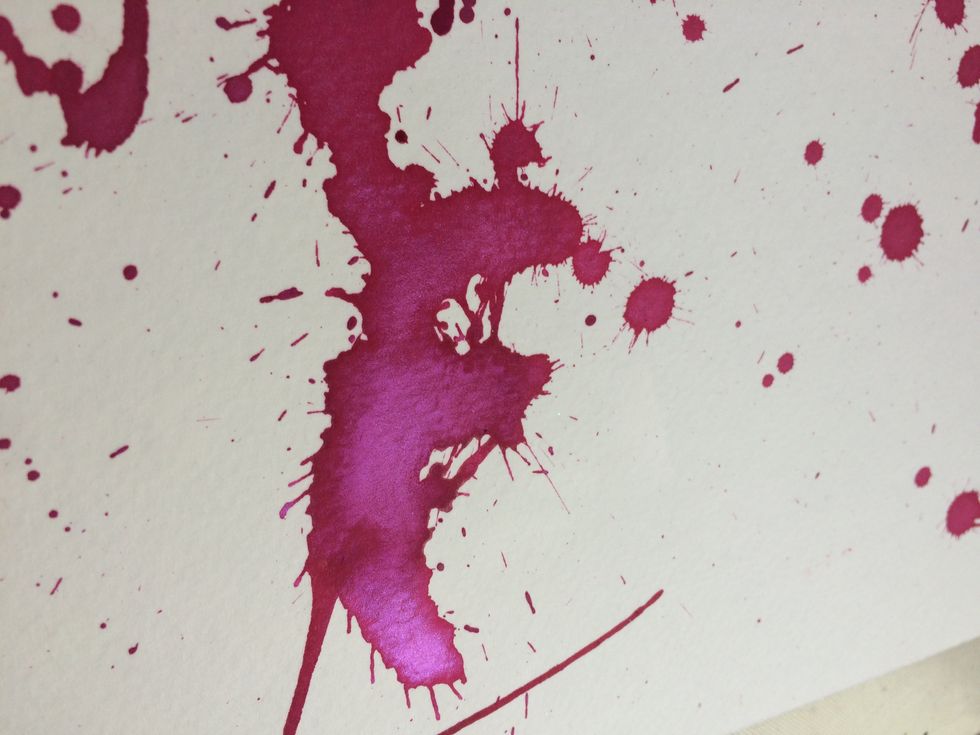
Here is a close-up of that the big splash of Enchanted looked like once it was dry.
Can you see the shimmer???

Once all my pieces where dry, it was time to put it all together.
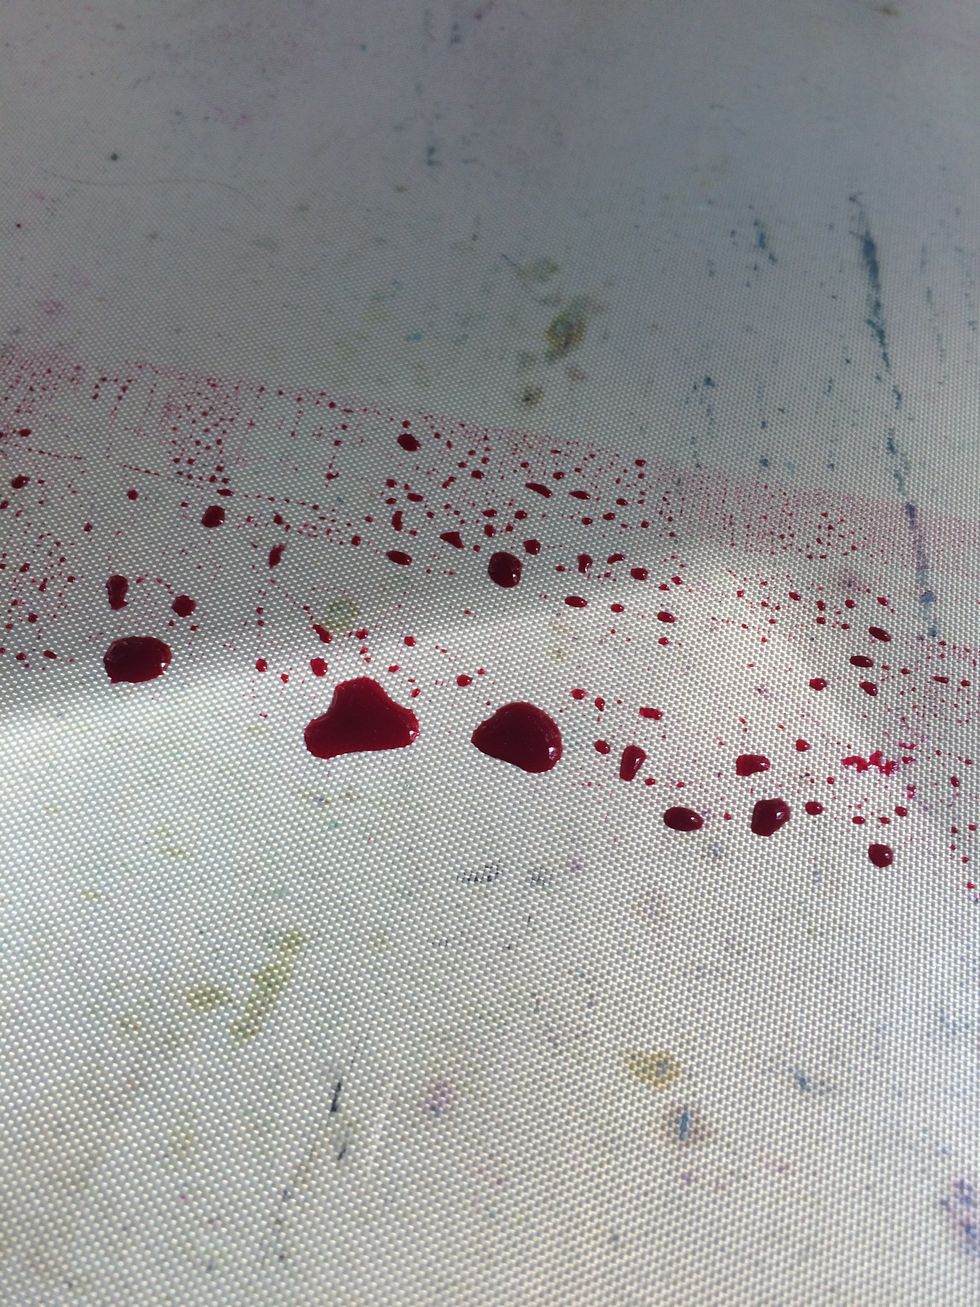
My next step is to pour some of the Enchanted onto the craft mat.
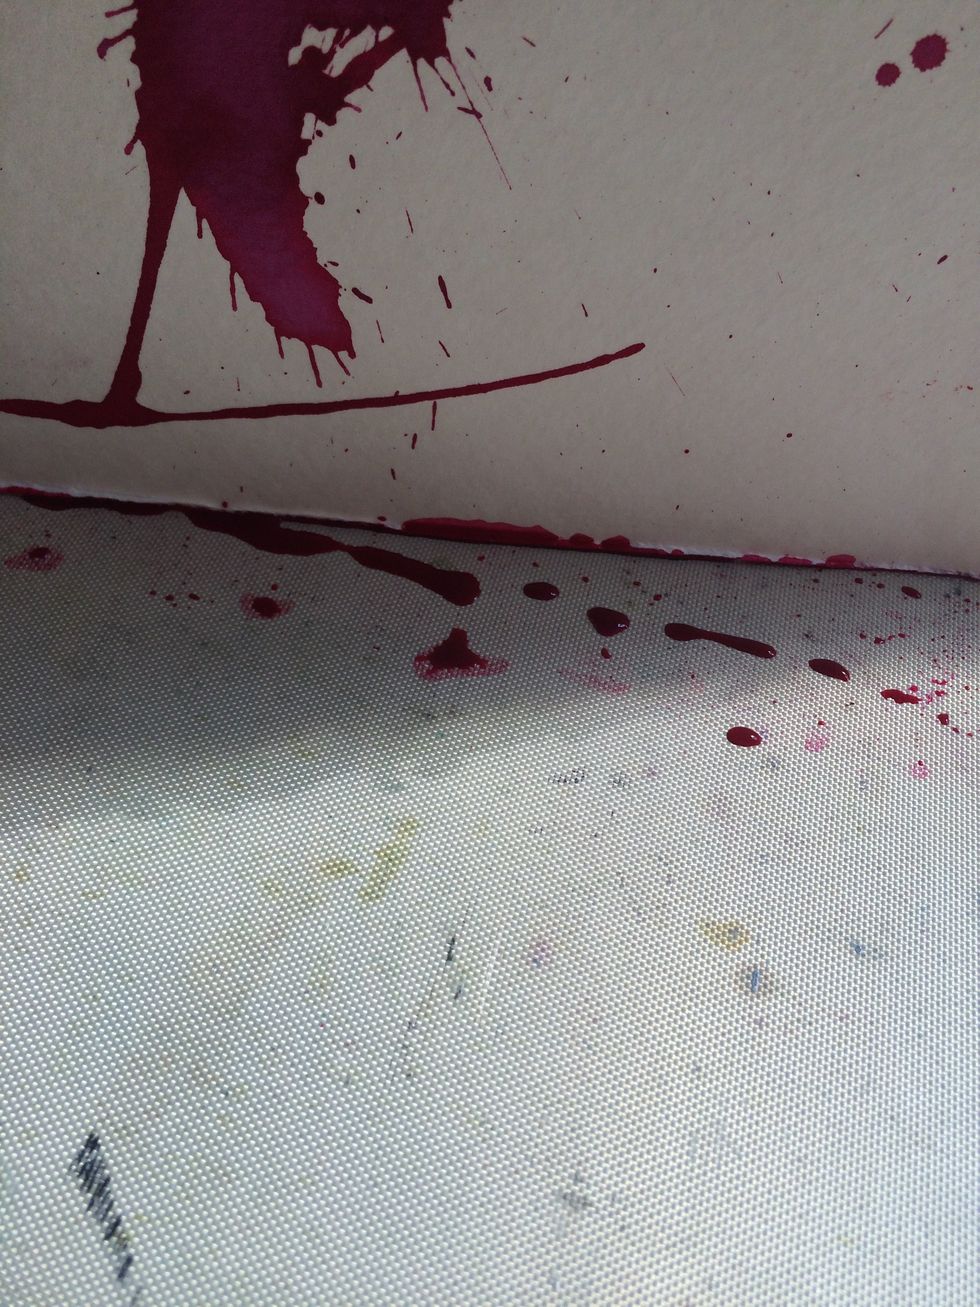
Then I ran all sides of my 11x11 watercolor paper over the ink on the mat.
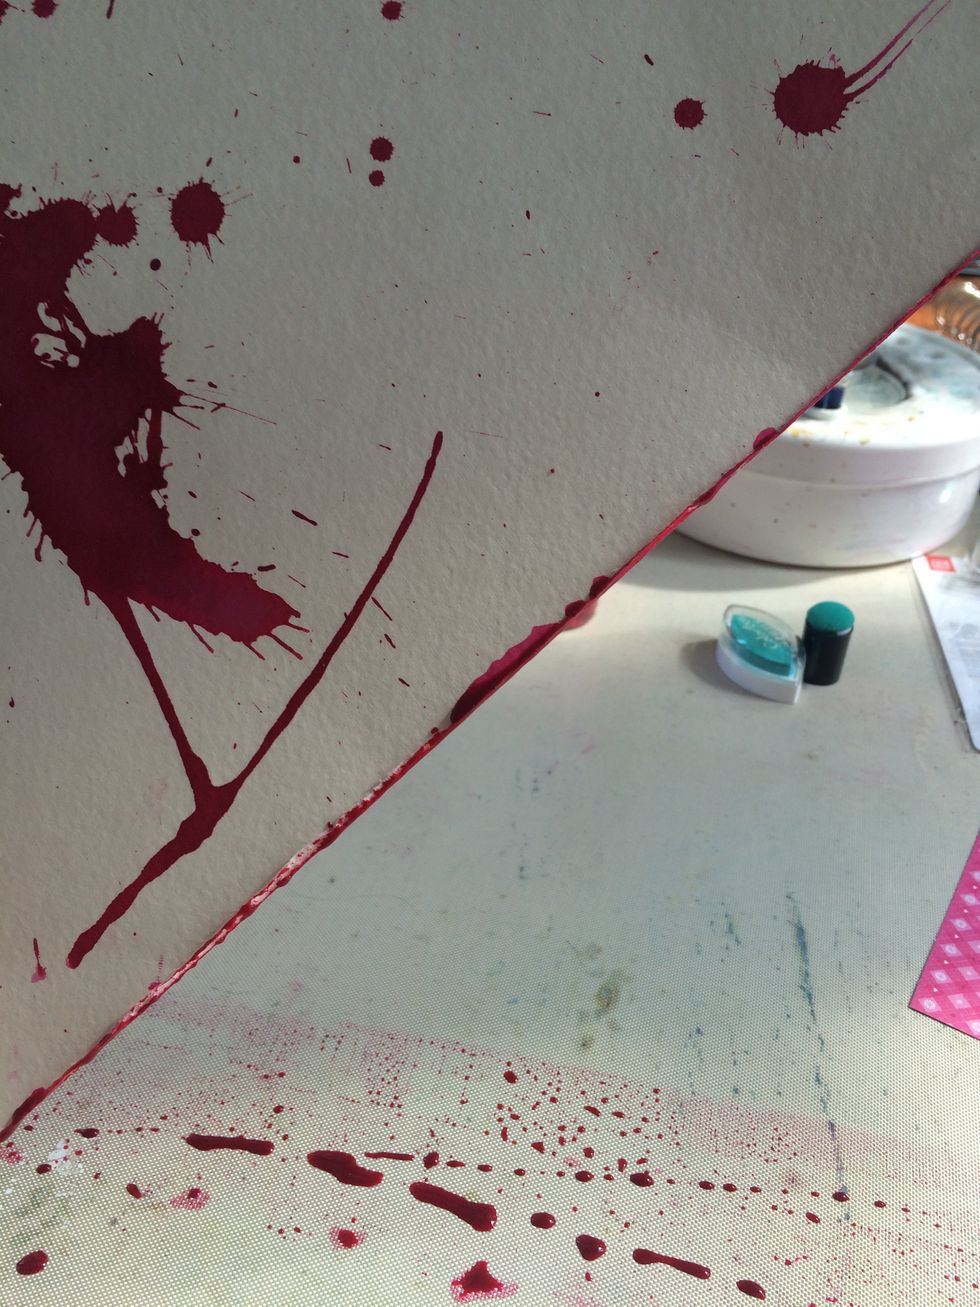
Can you see the edge
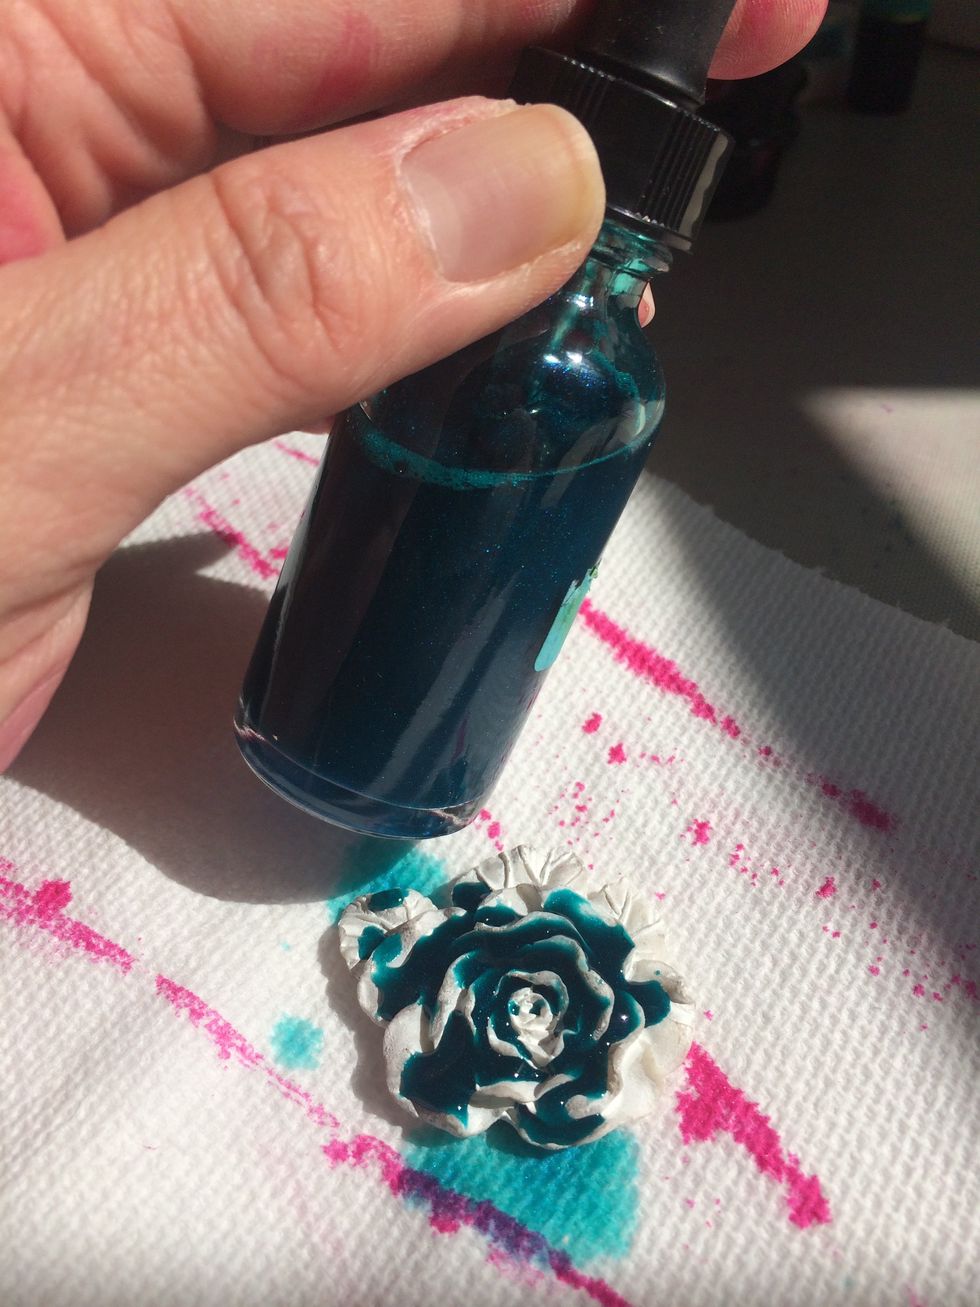
Then I took two Melissa Frances resin embelishments and added a few drops of Panache Minx.
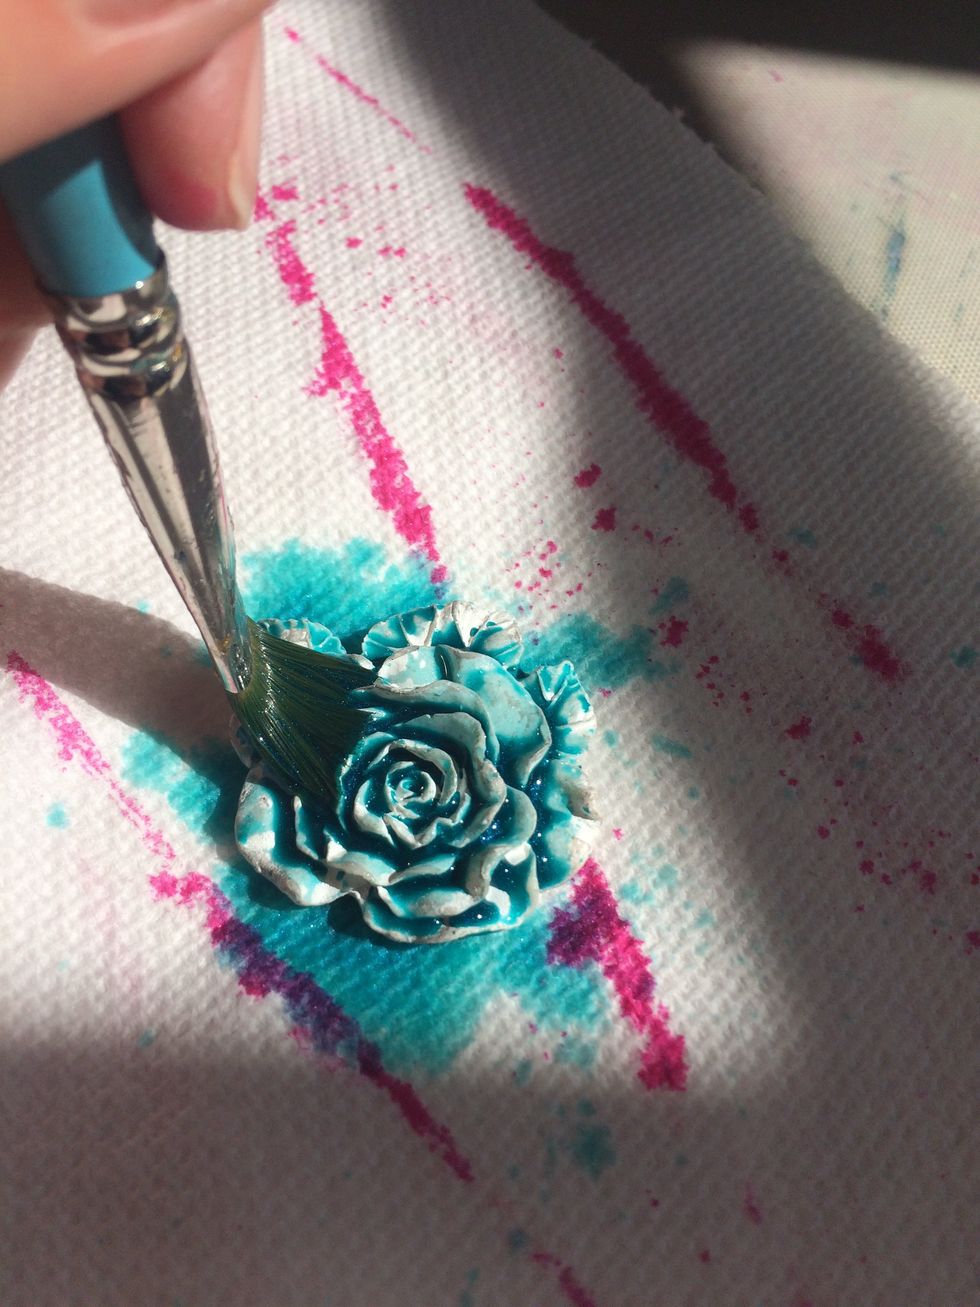
I did use a brush to move it around a little.
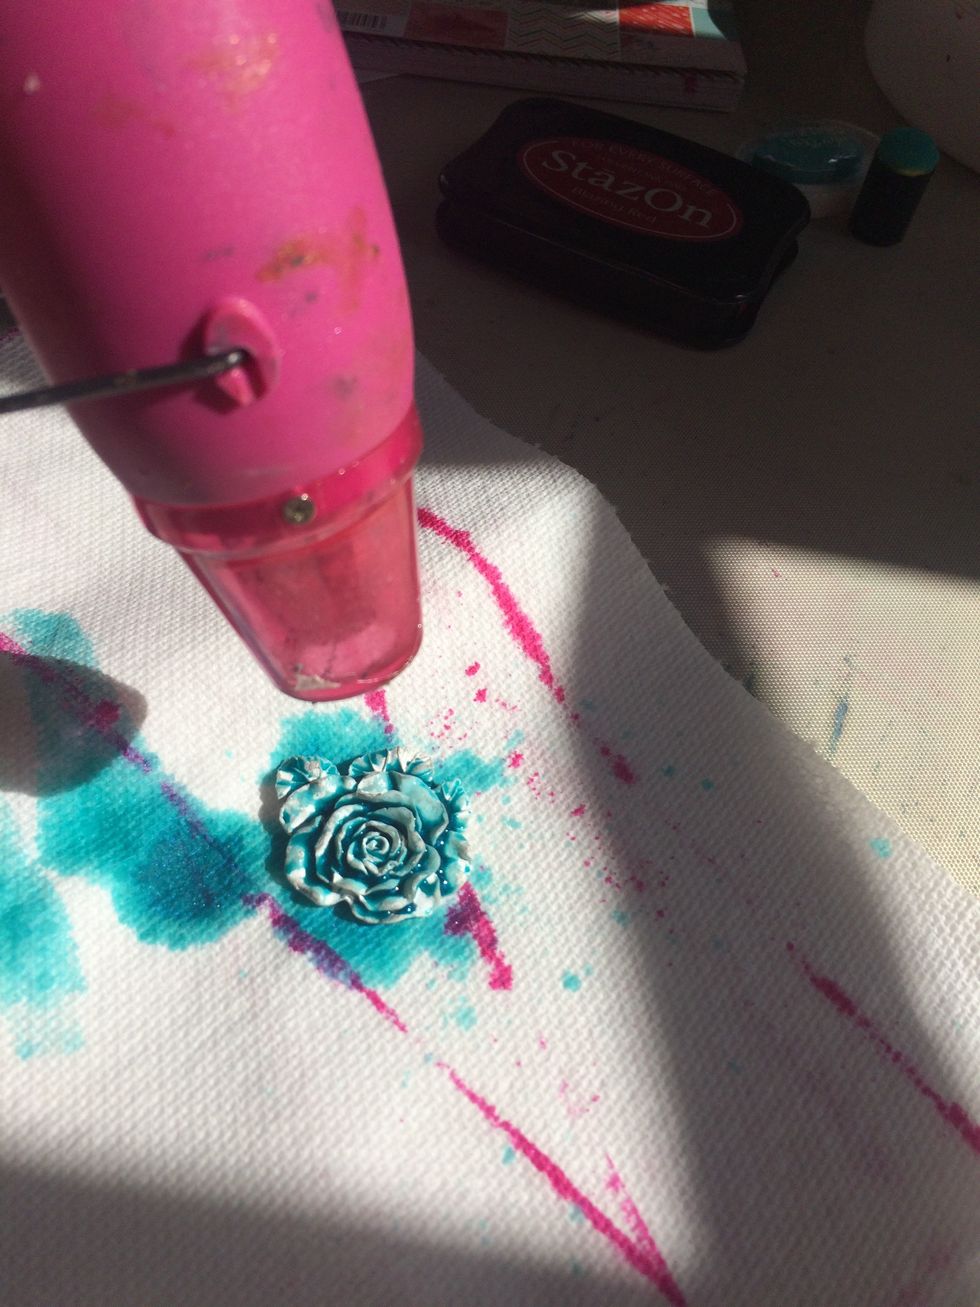
And then I used a heat tool to dry it all up.
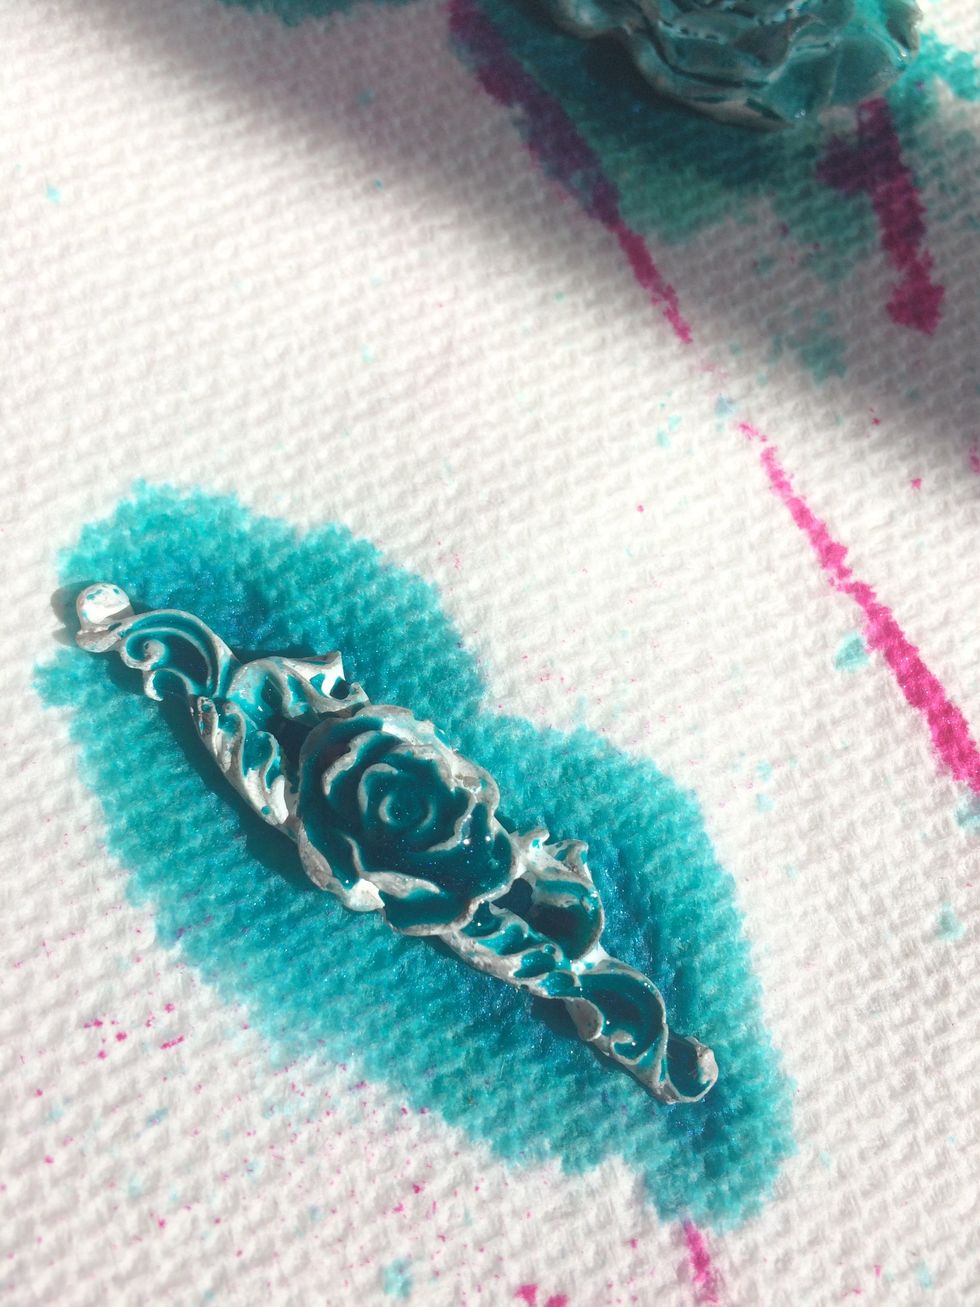
Here is the other embelsihment

And then I put all of the embellishments together and voila... here is the finished product!
XOXO, Roxanne Dondanville https://www.facebook.com/roxdondanville https://www.instagram.com/shabbyscrapn http://www.roxannedondanville.com