The Conversation (0)
Sign Up
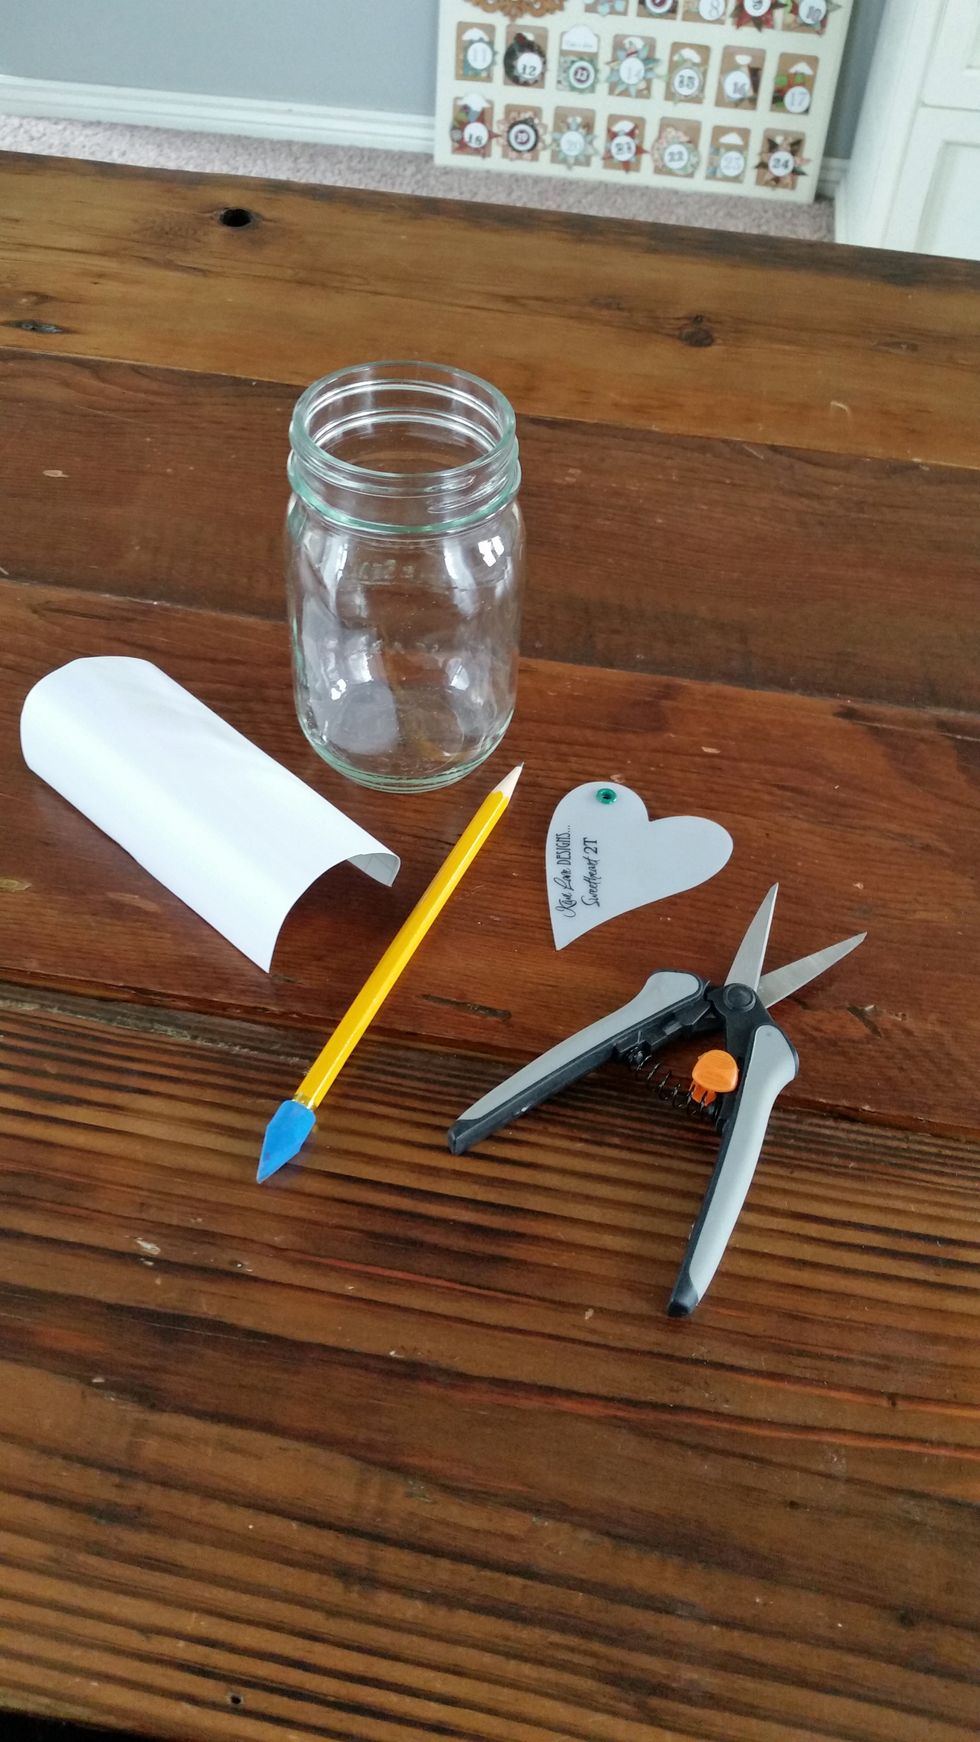
Find a clean mason jar to use for your project. Make sure it is clean from any residue so that it can be painted. I used a small jar but you can use any size you would like.
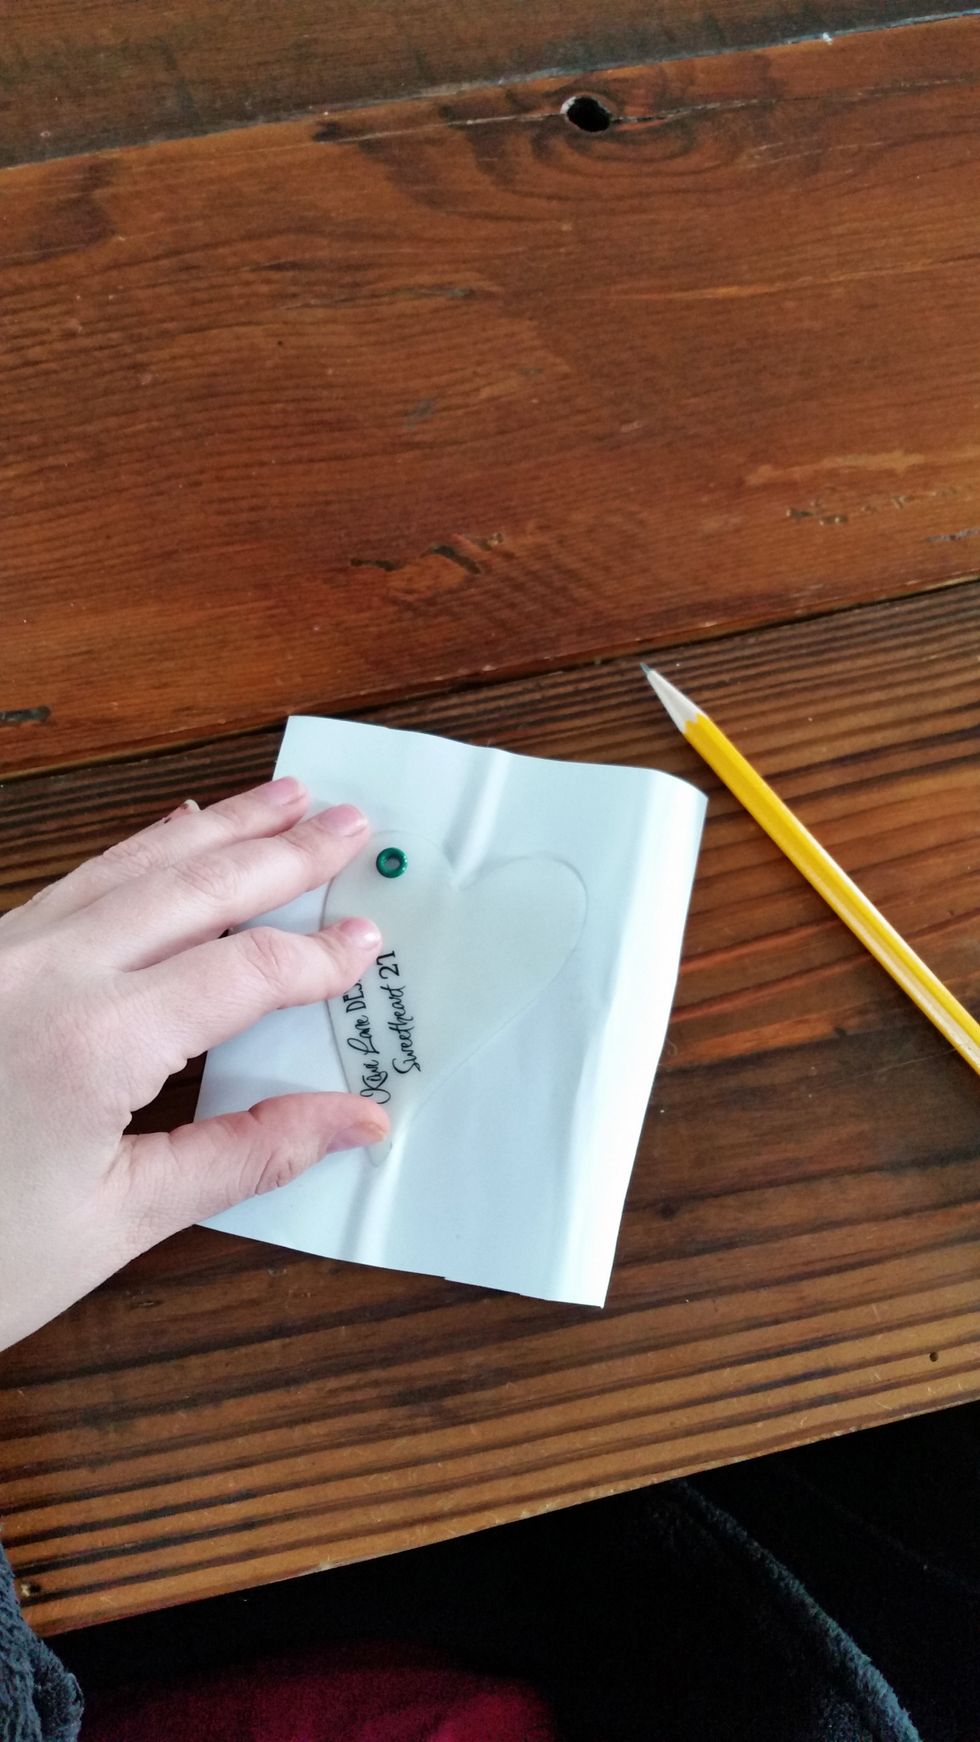
Select the Designer Template that you would like to use for the window and trace onto the vinyl using a pencil. I used the Tiny Sweetheart 2T Template for mine because it fit my theme and size of jar.
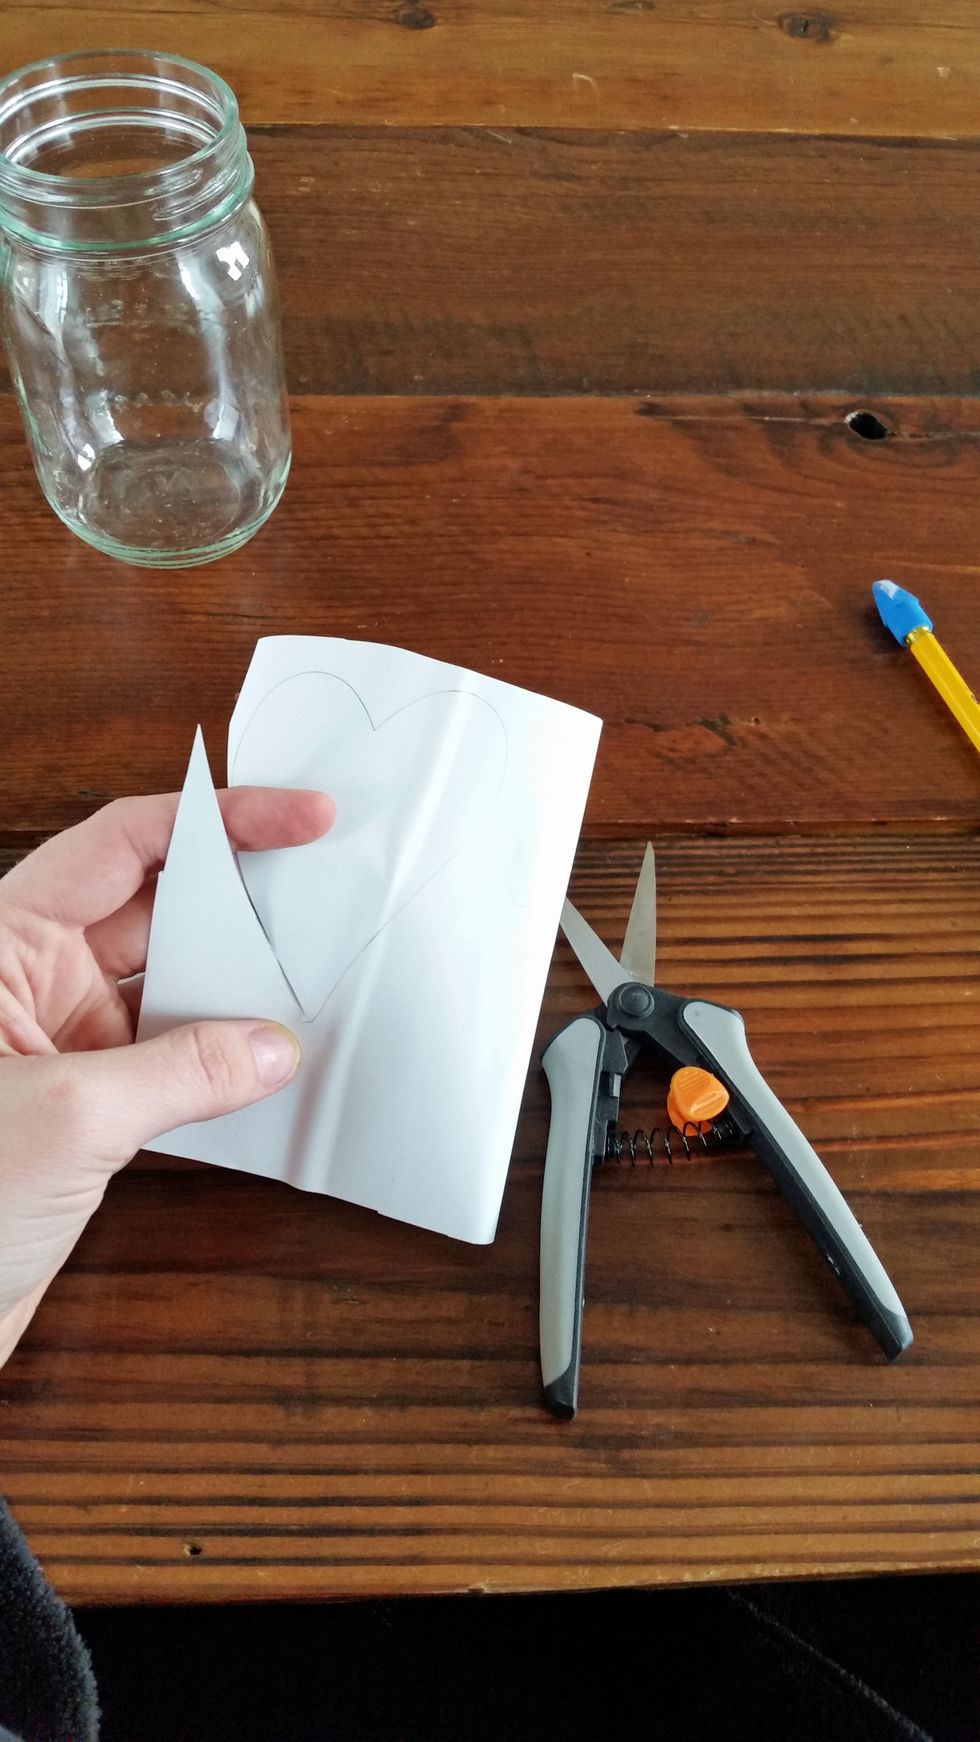
Once you have traced it then cut the shape out.
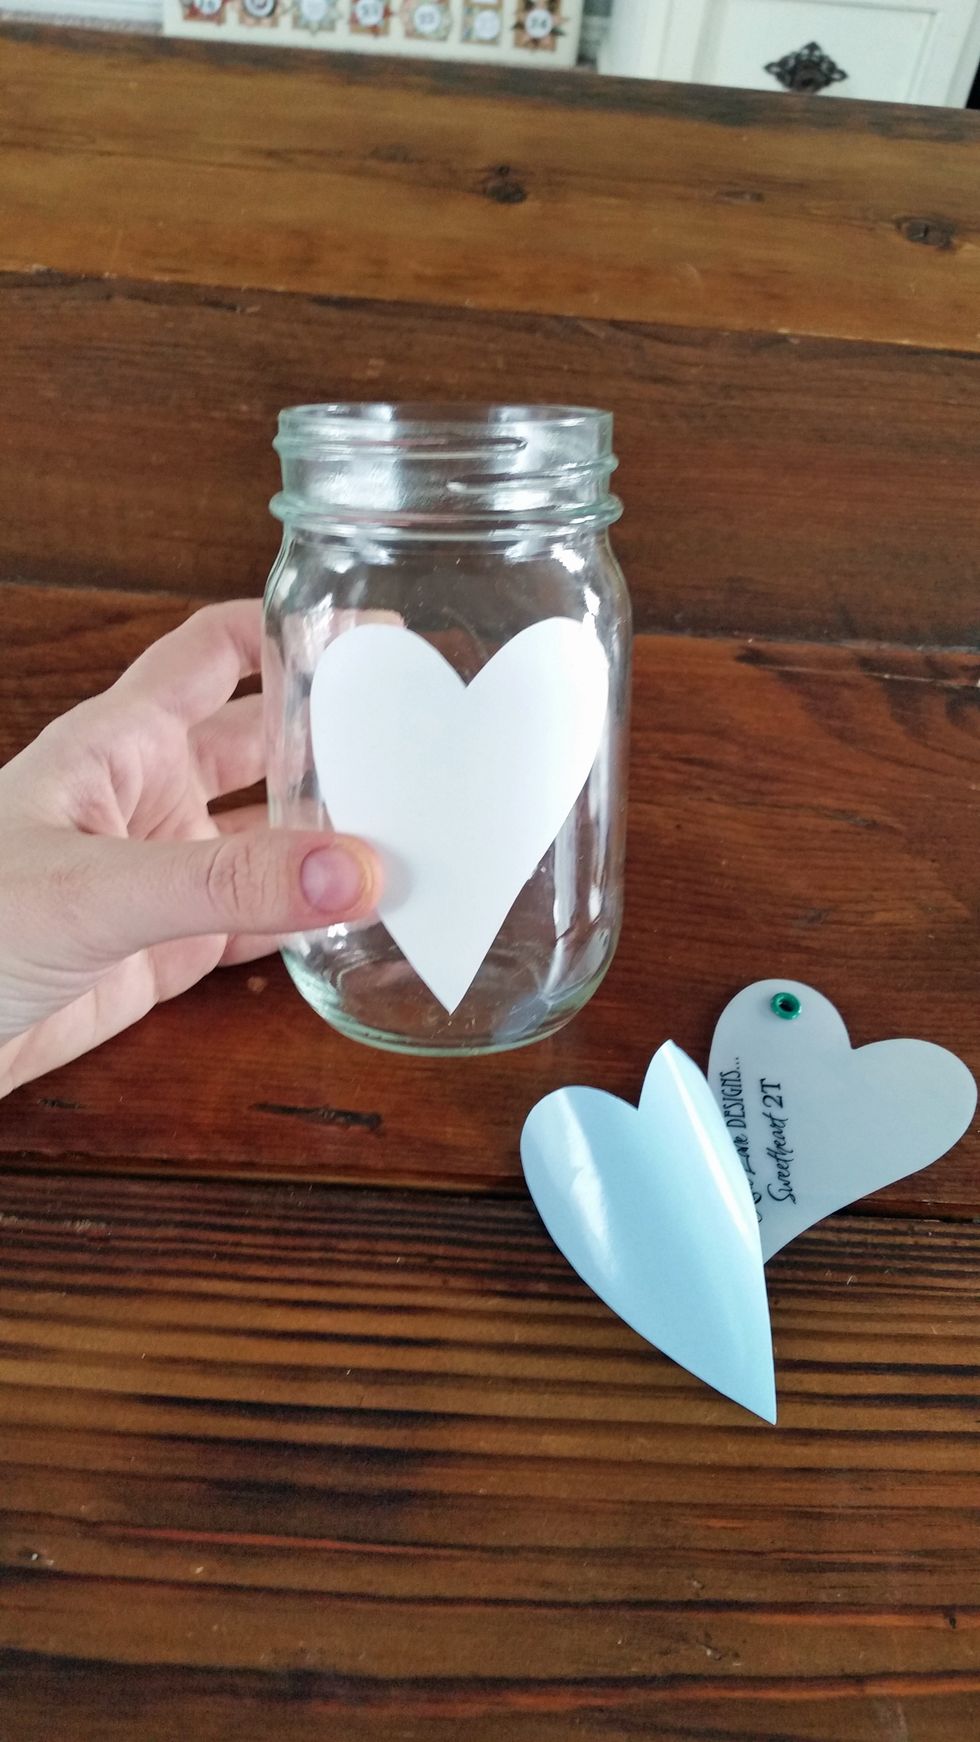
Adhere vinyl to clean jar.
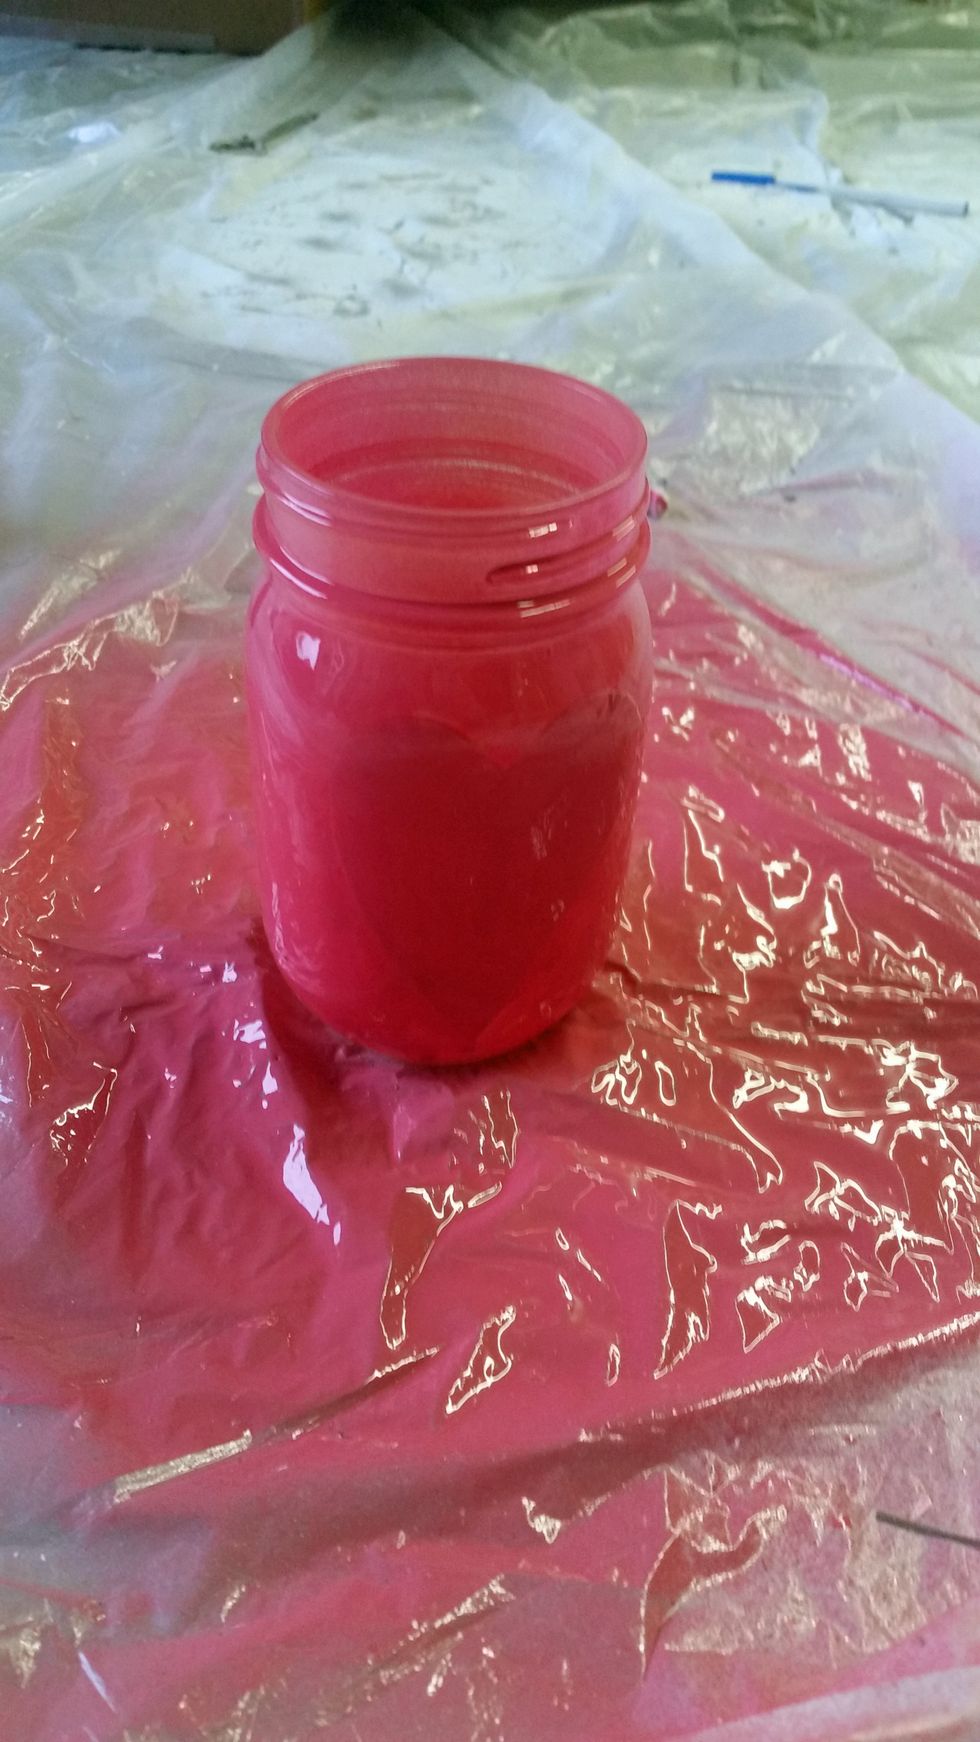
Spray paint the entire jar using your desired color. ( I found out that it is best to spray paint it upside down so you don't get over spray inside the jar)

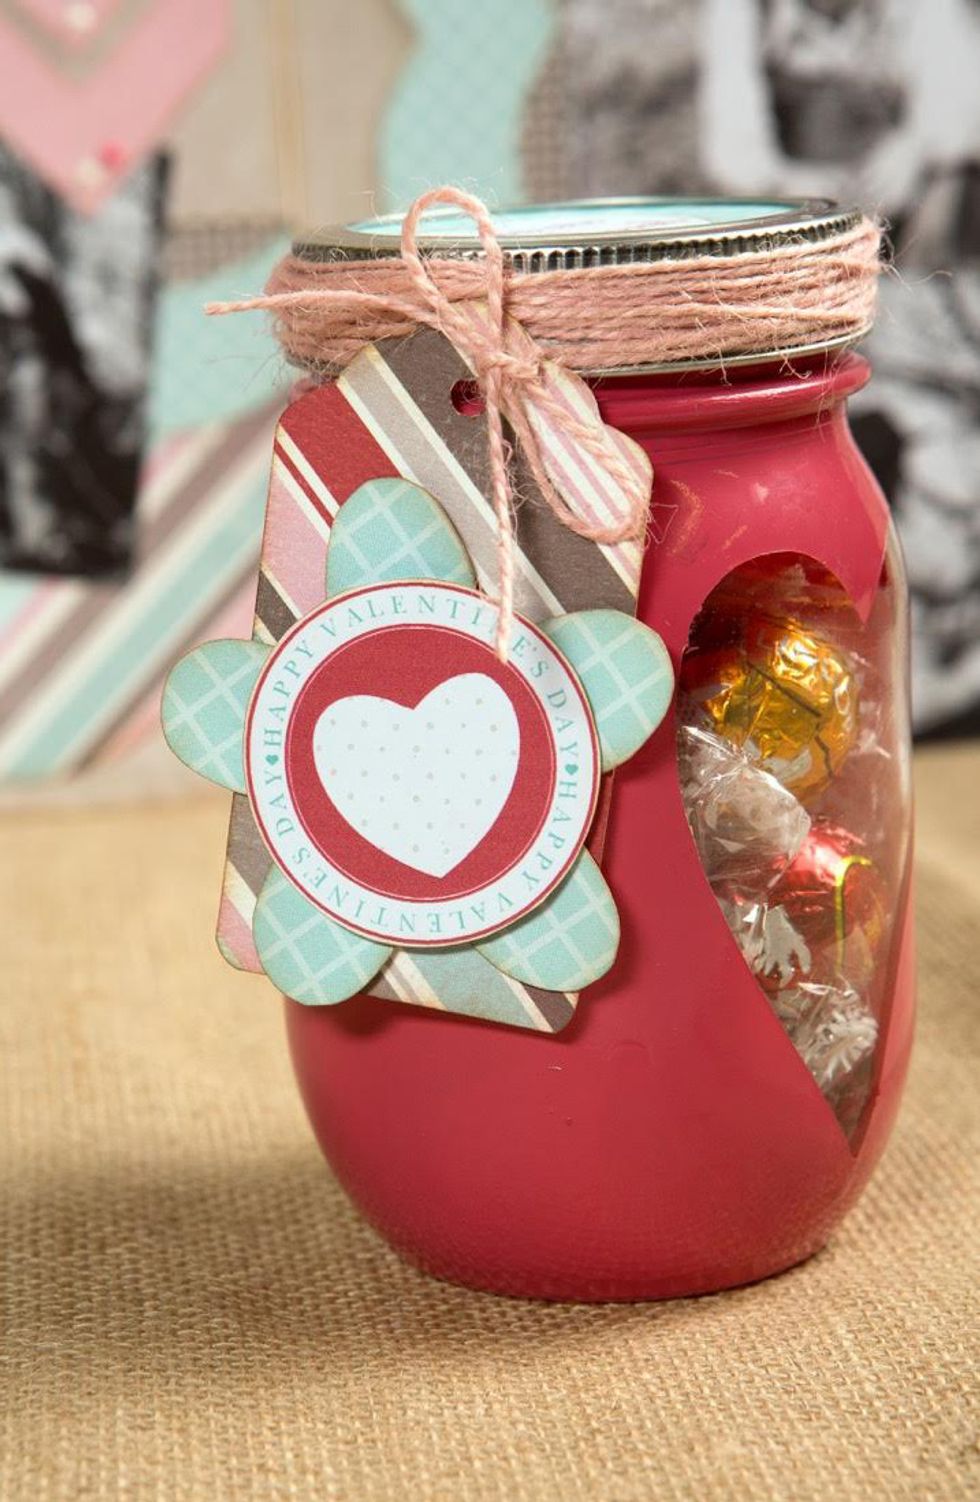
Once the paint is dry, peel the vinyl off of the jar to reveal the window.
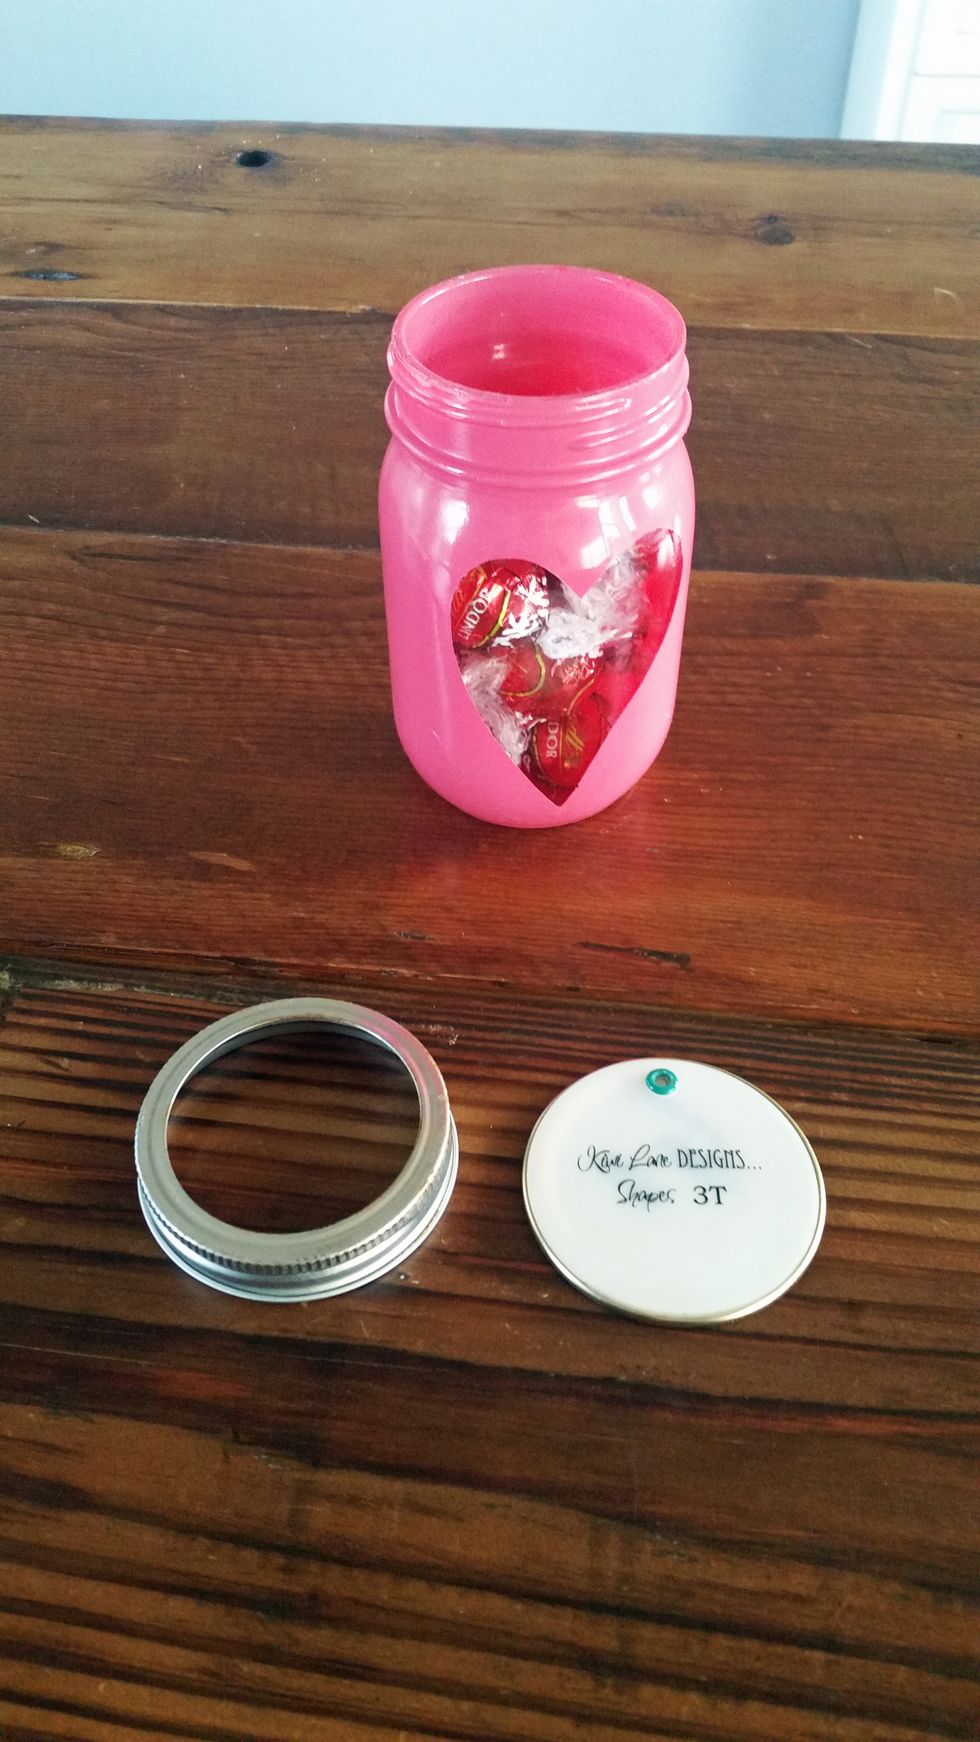
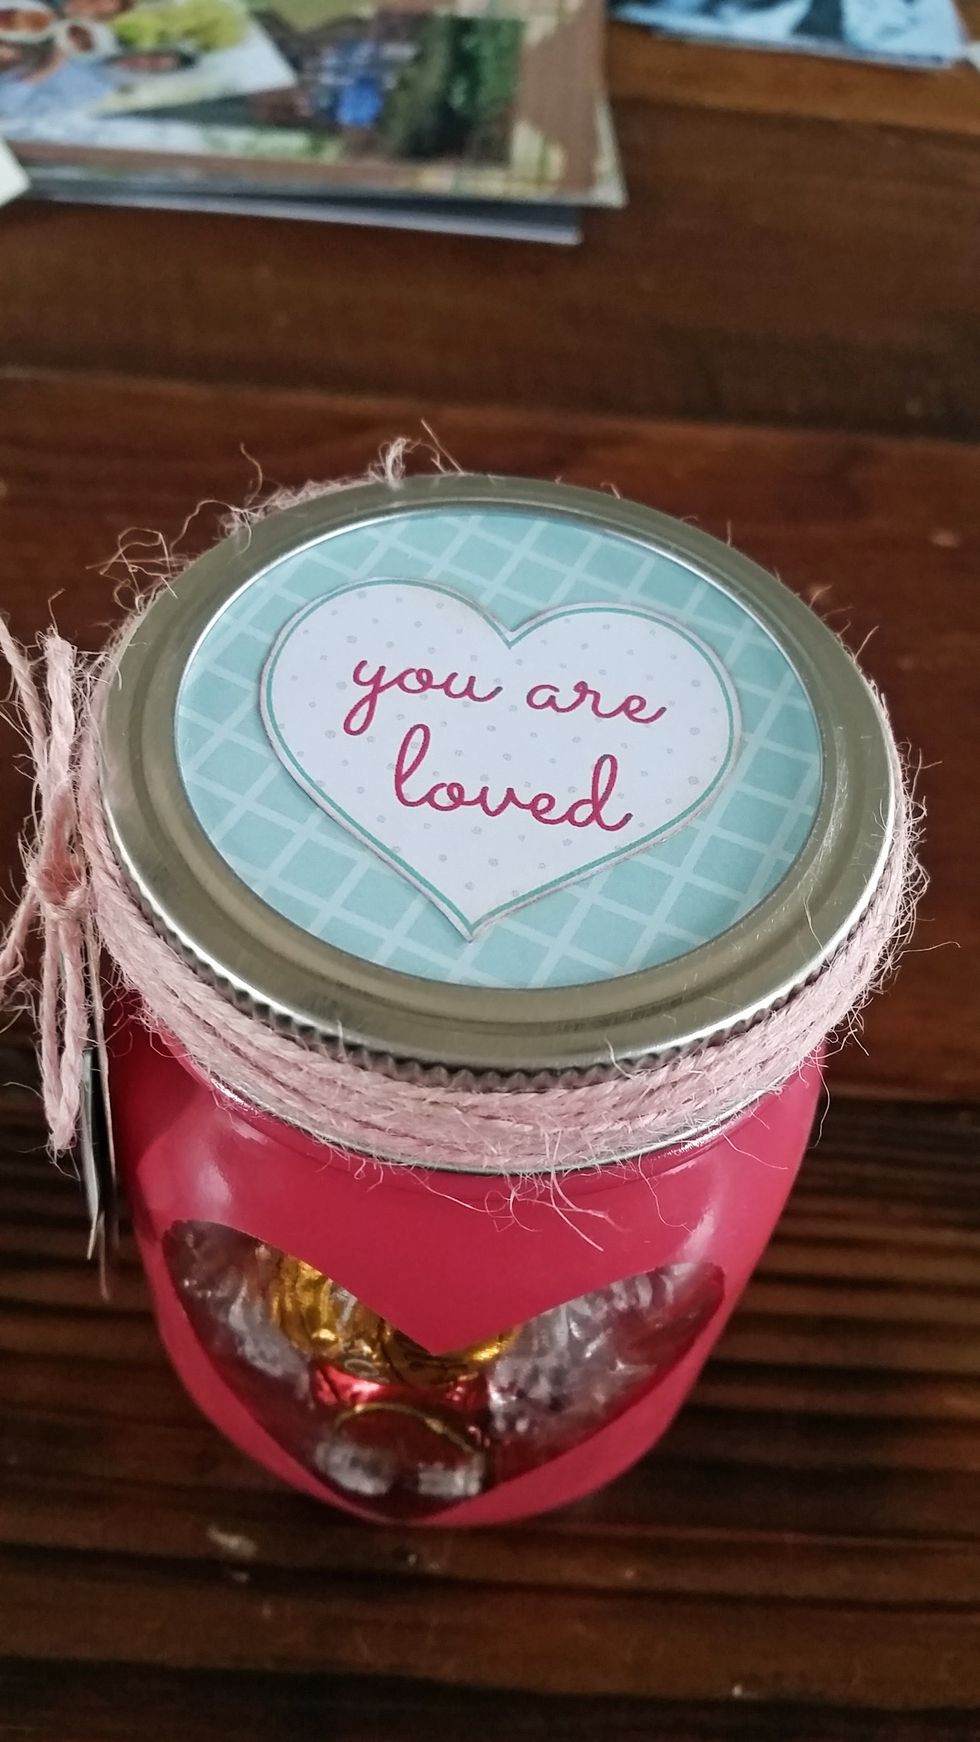
Find a circle Designer Template that matches the size of your lid. I used the Tiny Shapes 3T which fit perfectly on the small mason jar lid.
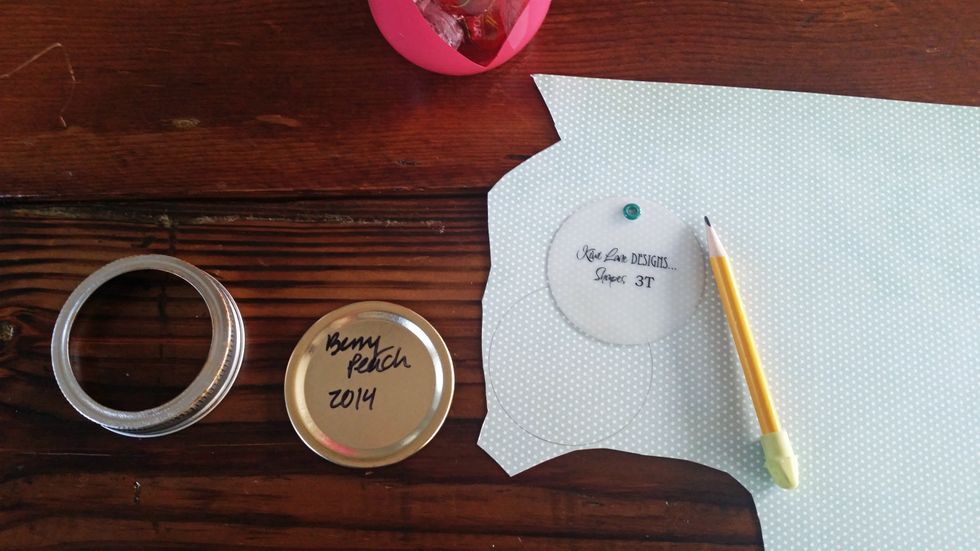
Trace the shape onto patterned paper and cut out.
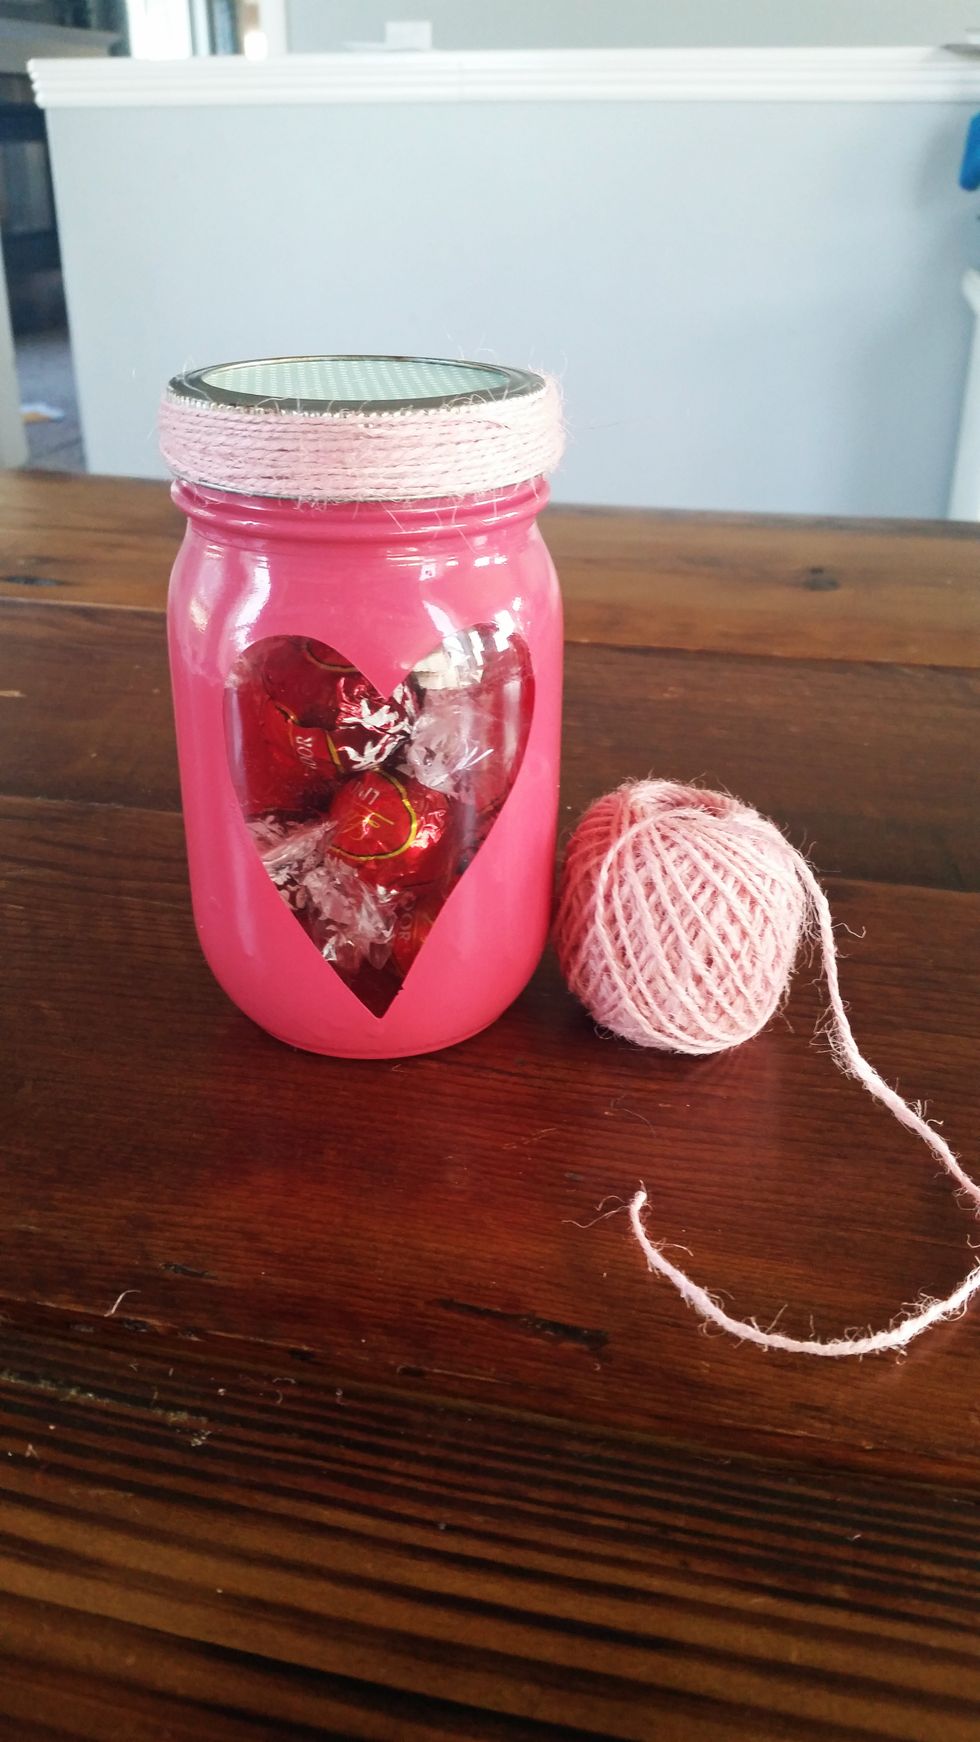
Fit the lid onto the jar and wrap the metal ring with twine or other ribbon.

I decided to add a tag to mine with a flower accent.
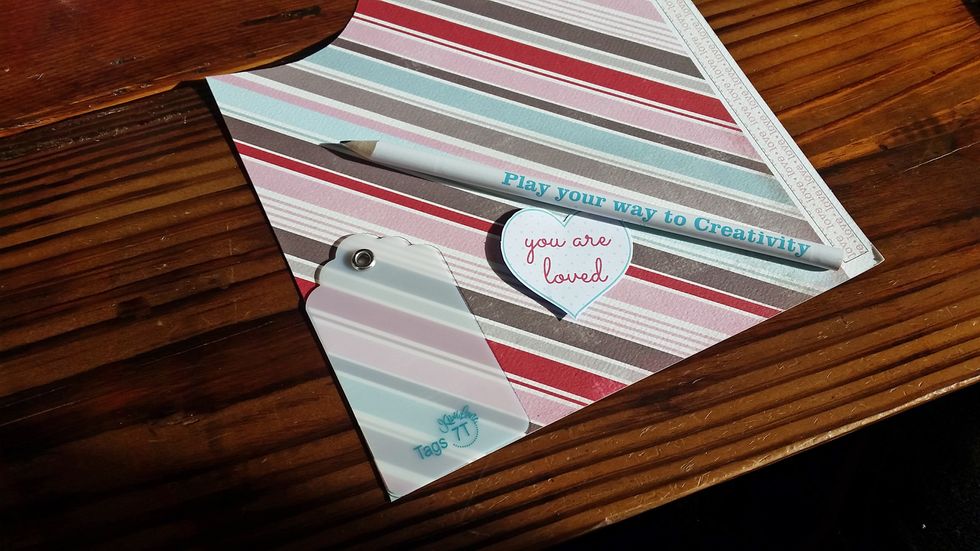
Trace each Designer Template onto patterned paper. Cut, then ink the edges if you want a nice finished look.
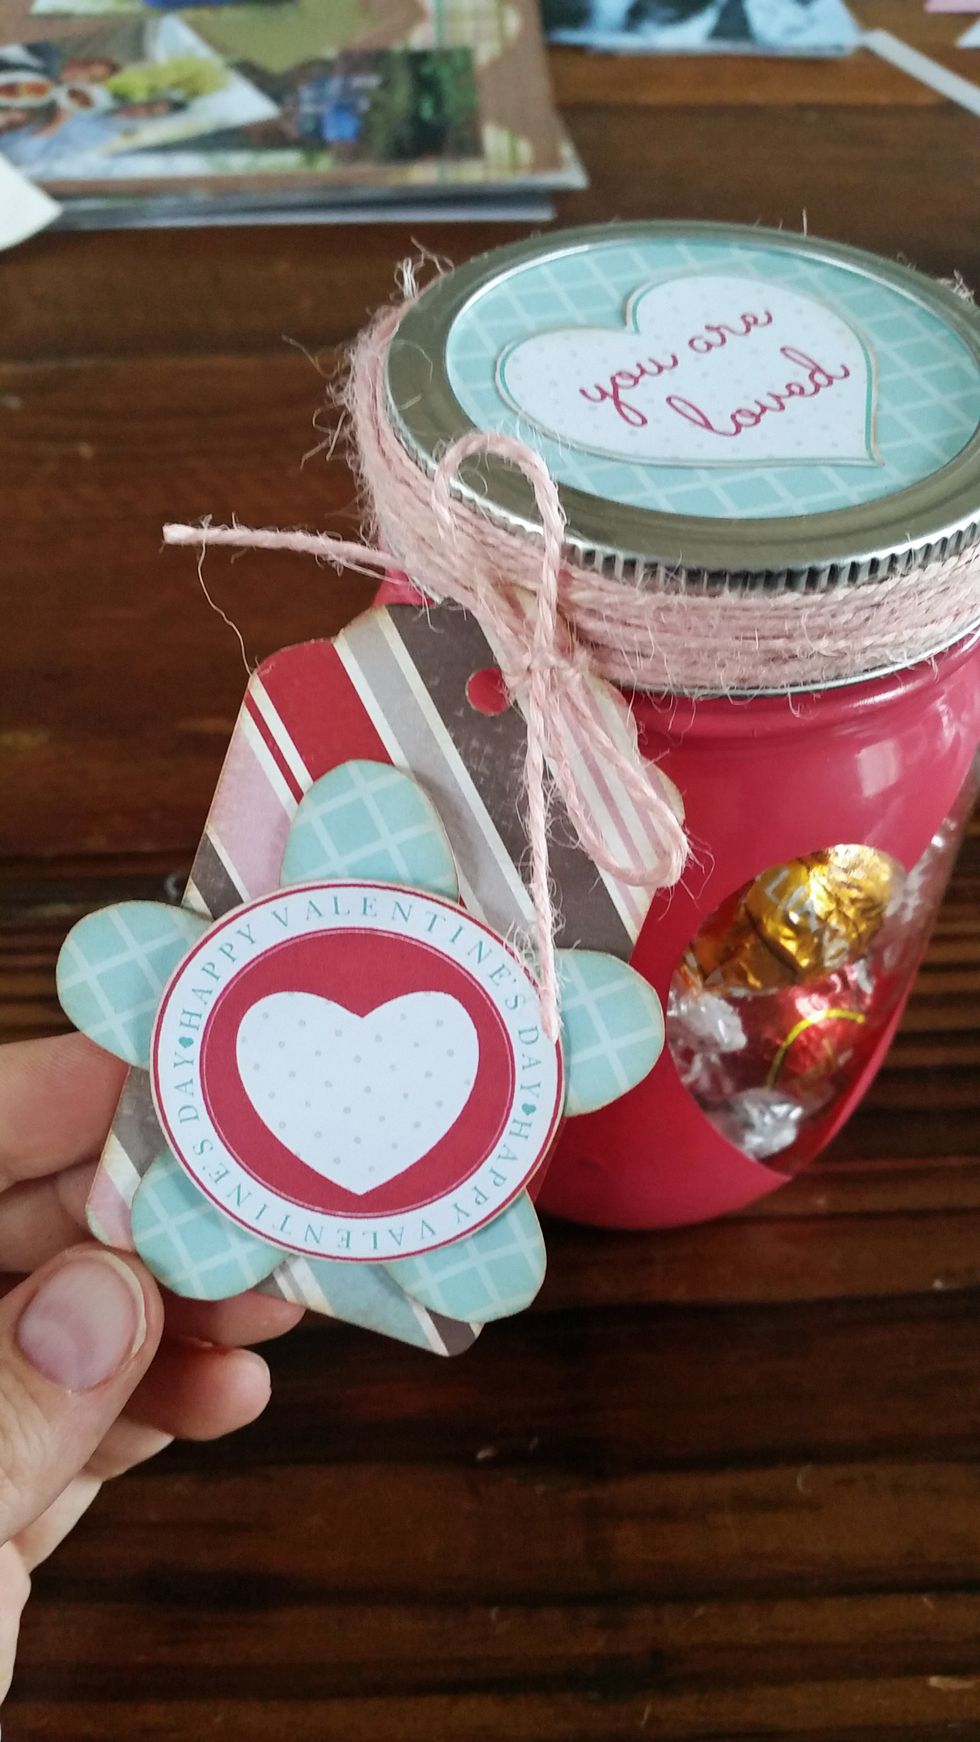
Once all of the pieces are cut and inked, put them together for a cute tag! I added some cute Kiwi Lane printable to mine for an added touch
You can visit the Kiwi Lane blog to download the FREE Valentin's printable tags that I used on this project. Happy Crafting! https://www.kiwilane.com/wp-content/uploads/2016/01/valentine_printable.pdf