The Conversation (0)
Sign Up
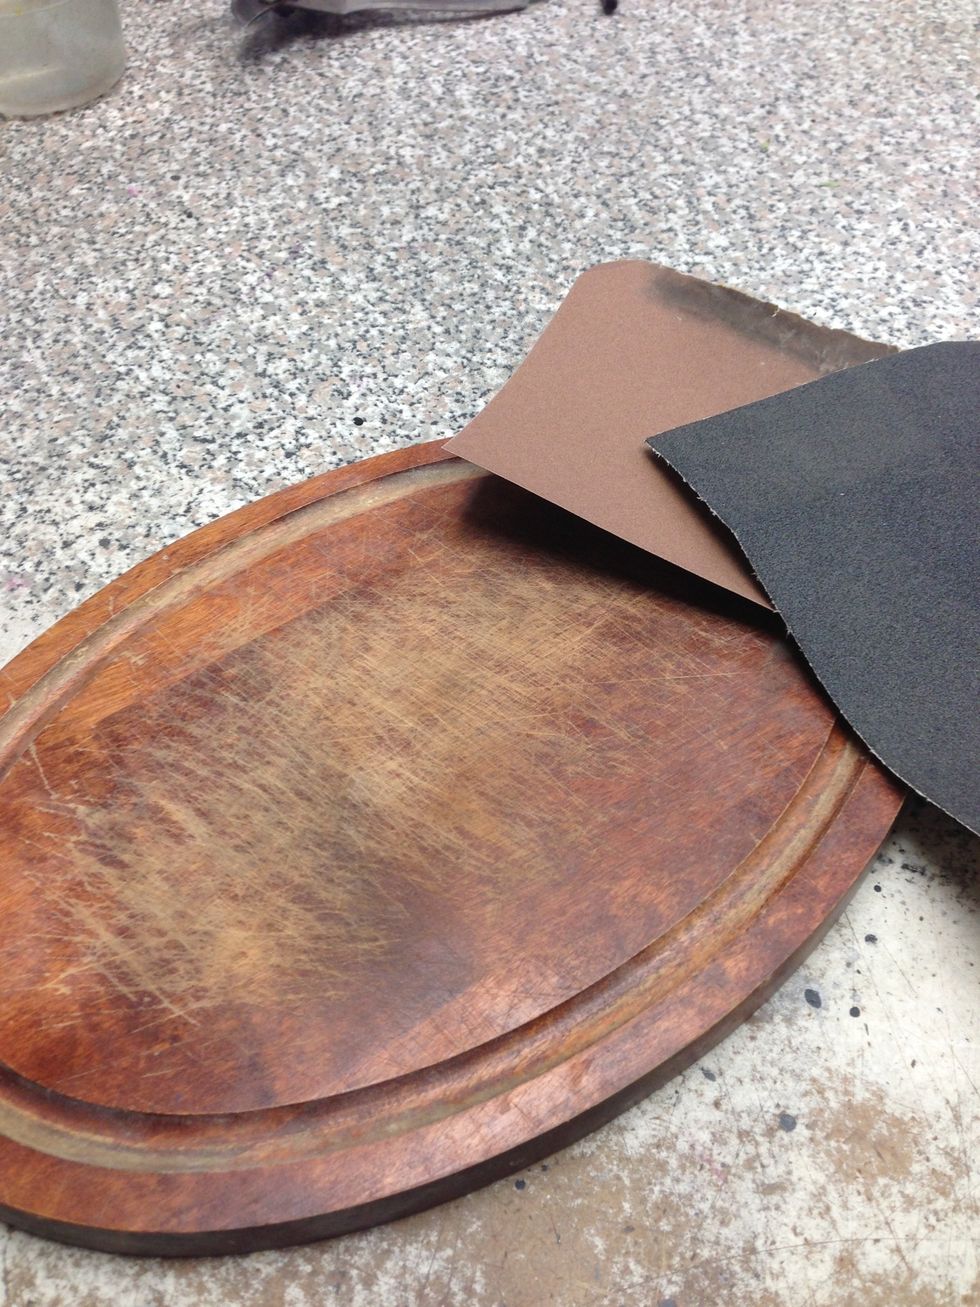
Prepare your flat side by sanding out to your appeal.

Bottle cap side. I chiseled out to the depth of the bottle cap. No need to be neat here as you will cover completely in caps.
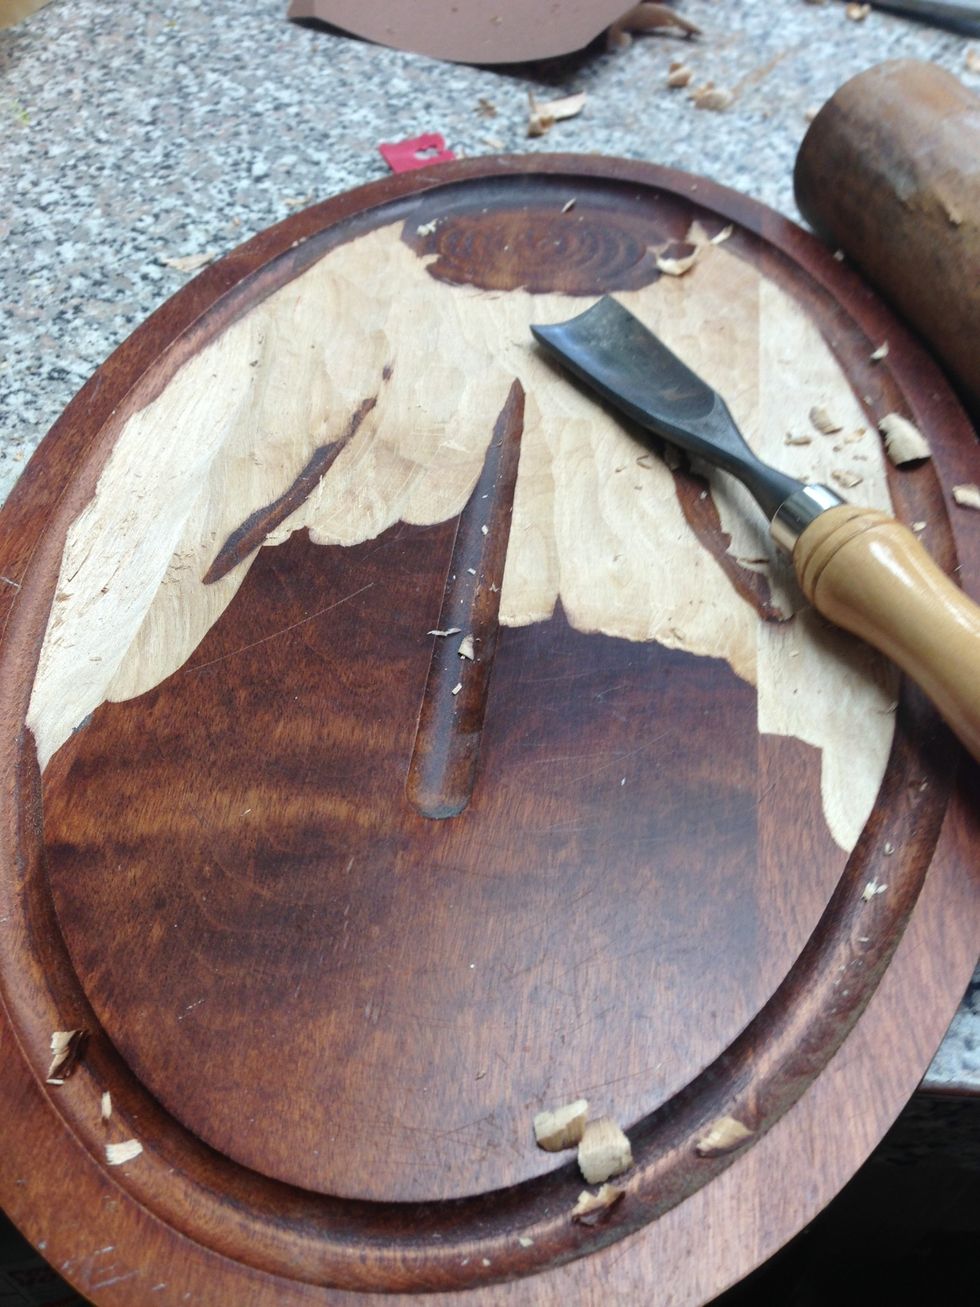
You may chose to grind out the depth with a power tool. I enjoy the work out a chisel and mallet gives me.
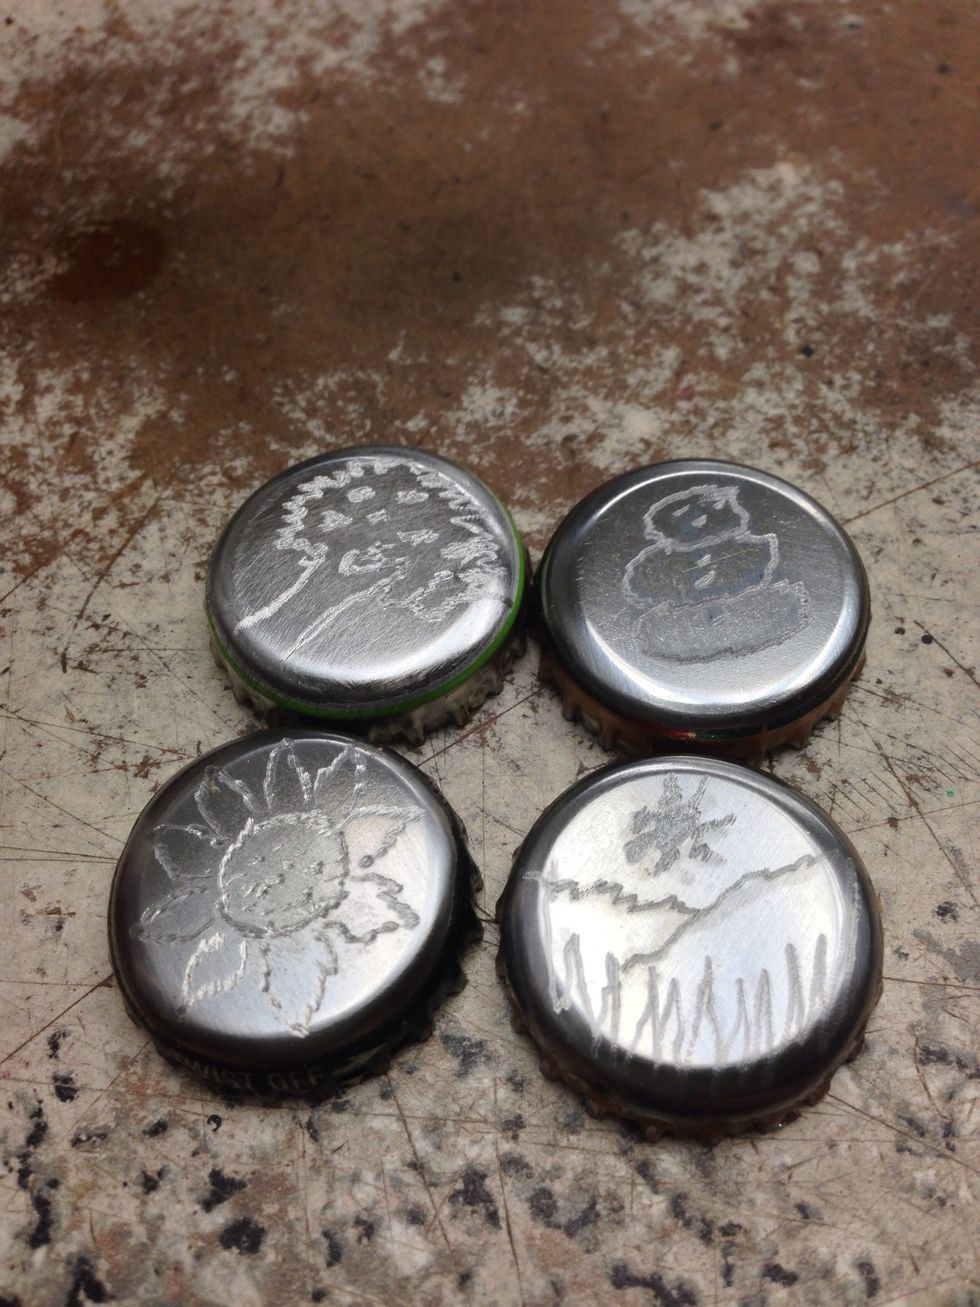
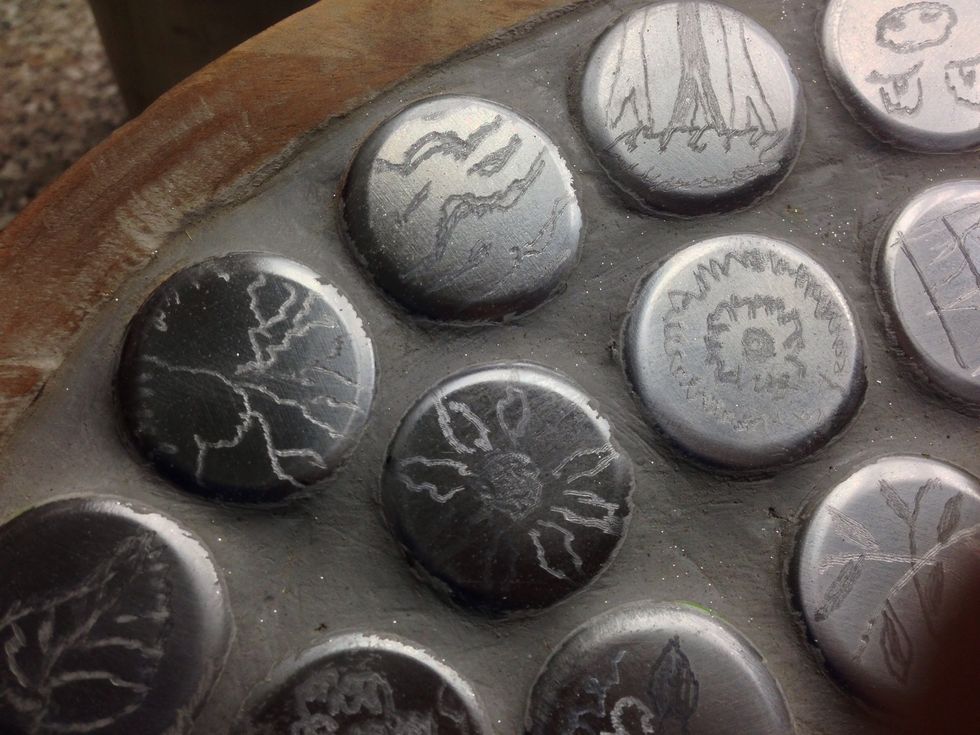
Bottle caps were sanded out and creative designs were engraved with a dremel
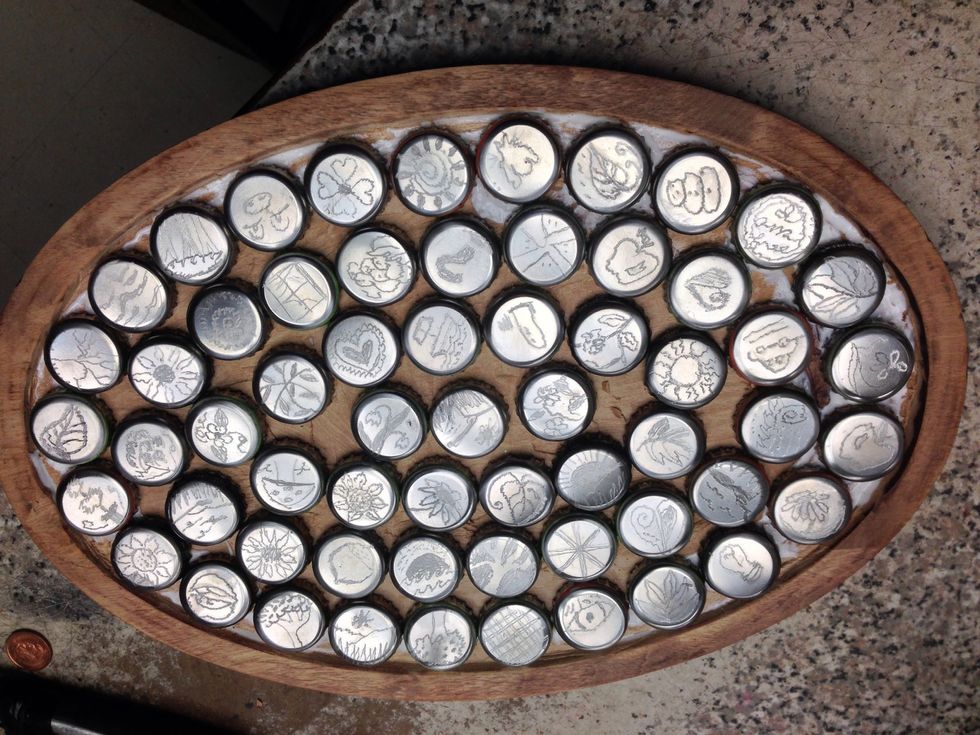
Place the caps to fill the area
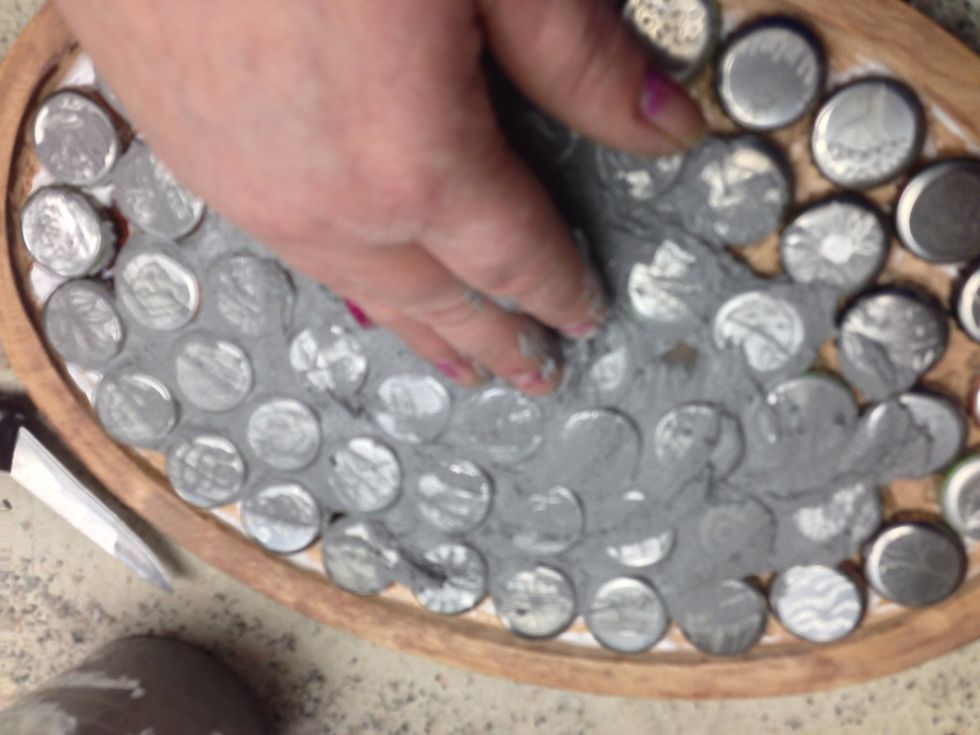
Mix your grout and apply. Be sure to get the grout in the little hidden areas.
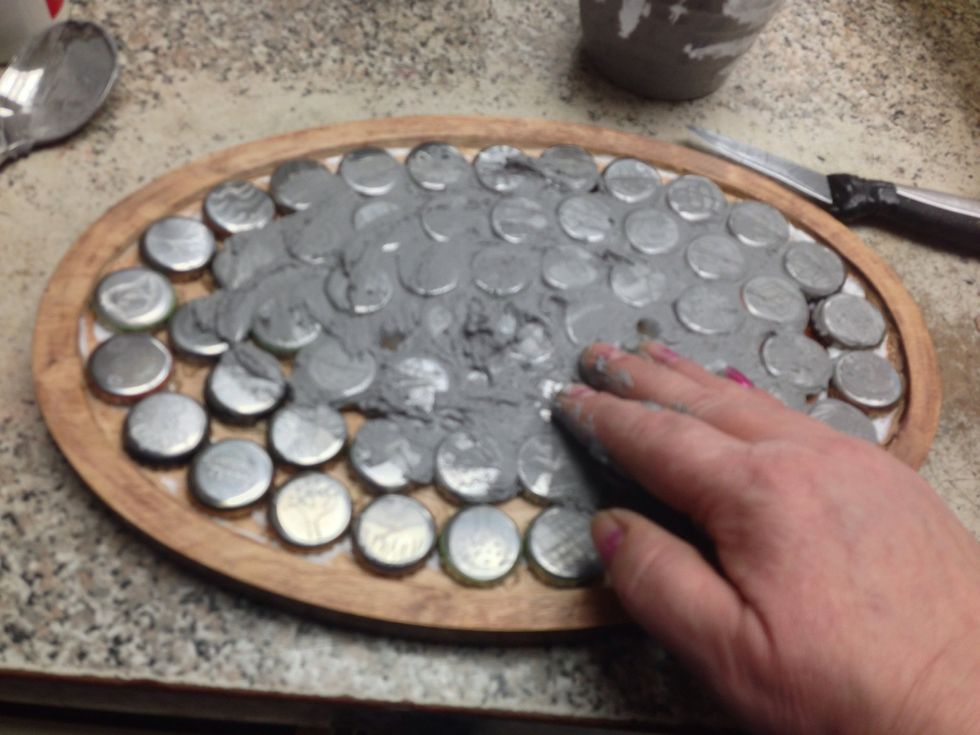
As always fingers well coated in mud. I worked the grout in a circular fashion.
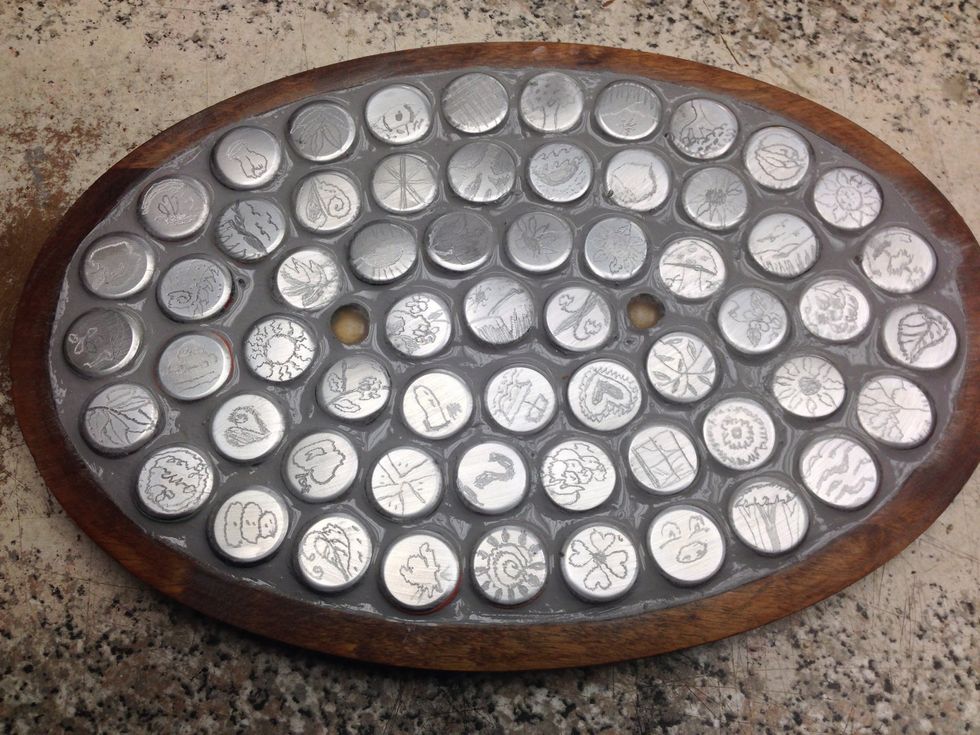
I did use a marble gems in a couple of areas. To fill in smaller spots. This clear gem will show through the wood tones.

After damp wipes to remove most of the raised grout. Time to let dry.

Drying time depends on the grout and the temps. After setting is Complete buff out the residues.