The Conversation (0)
Sign Up
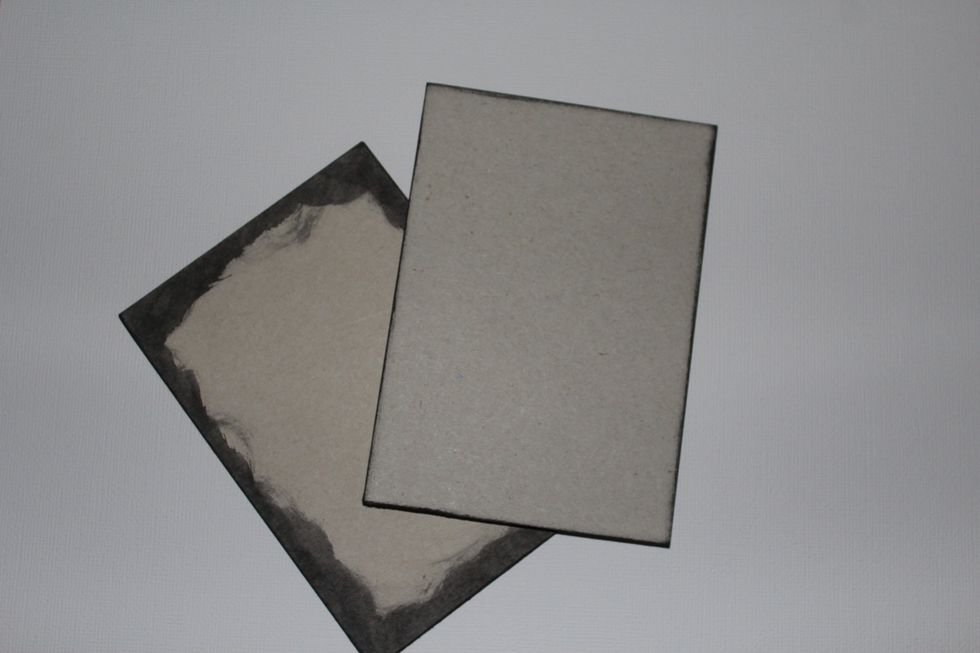
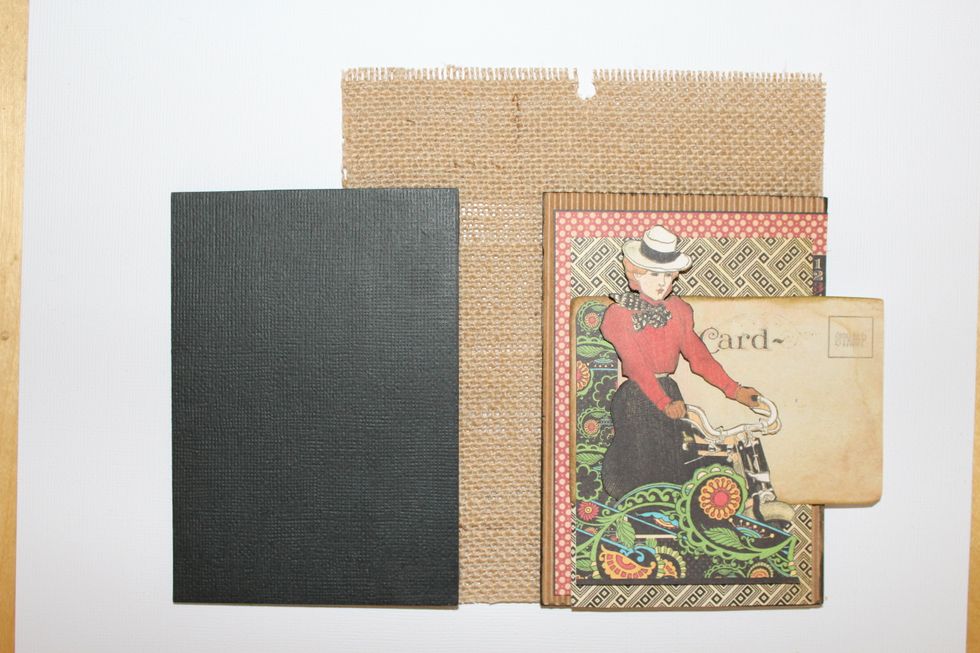
Ink all chipboard borders with Black Distress Ink
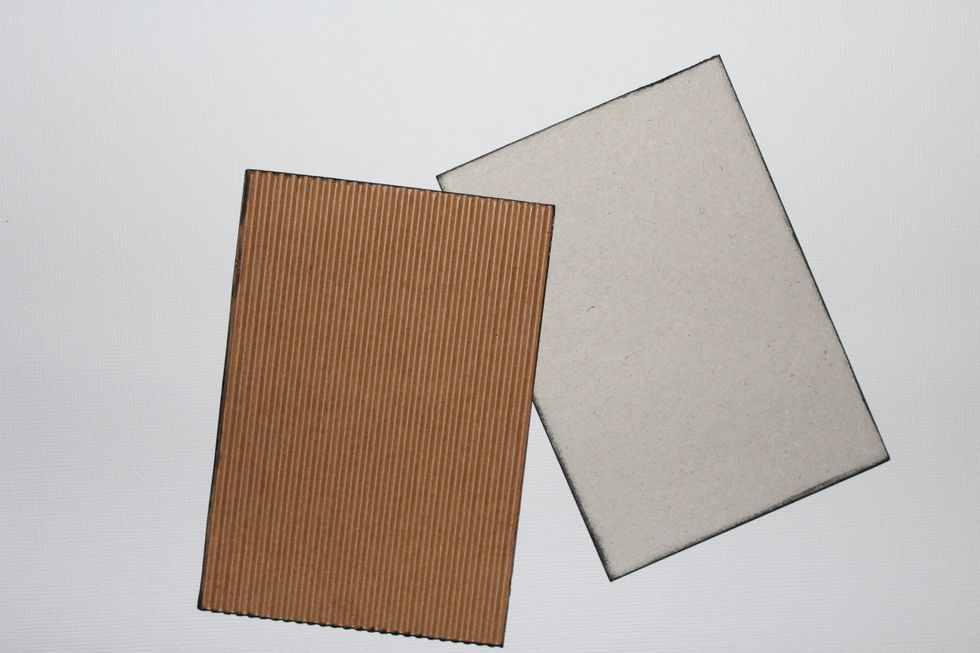
Cover 1 chipboard with corrugated cardstock previously inked borders. This is for the front cover
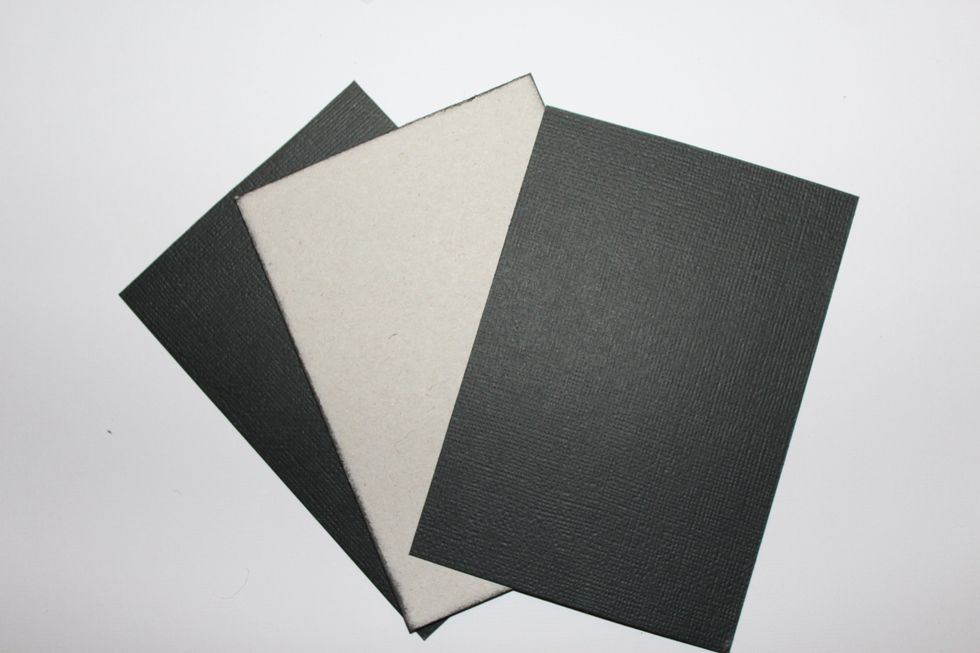
Cover the other chipboard sides with black cardstock. This will be the back cover.
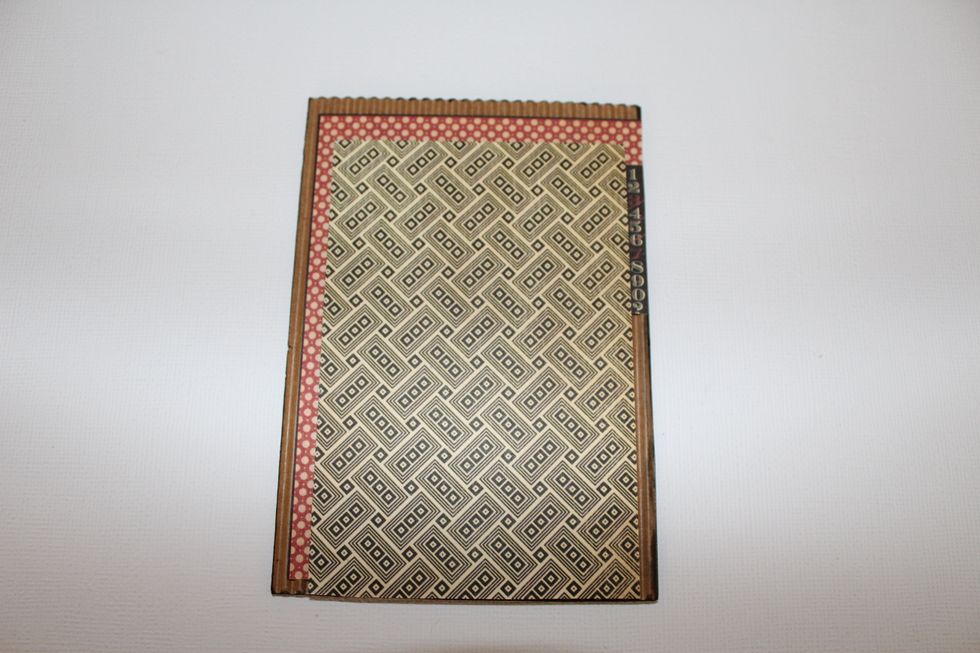
Attach one typography card to corrugated cardstock and attach with 3D foam adhesive the An Eerie Tale patterned paper
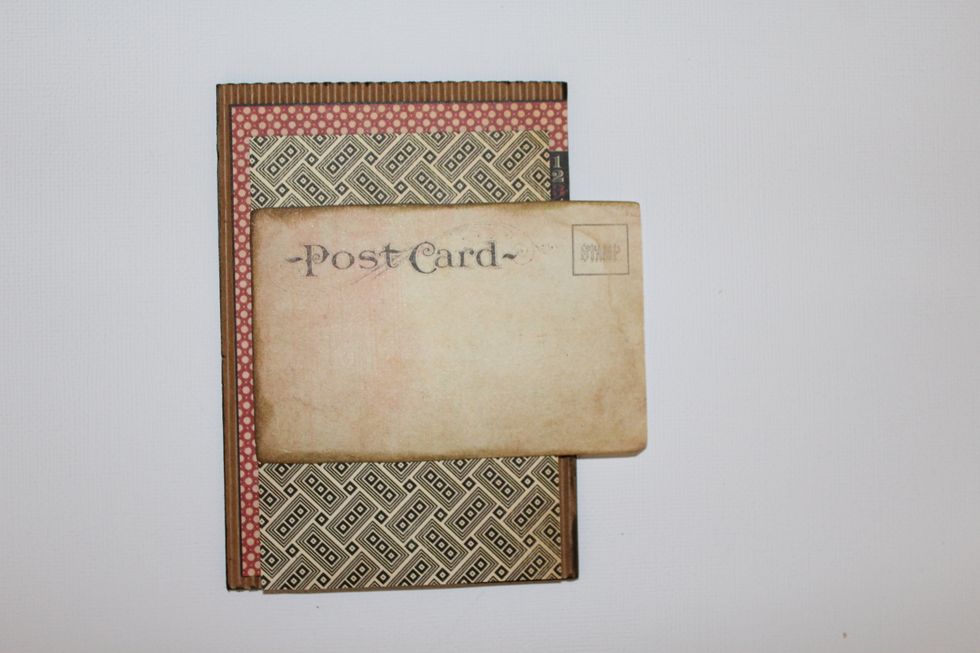
Add a Post Card paper horizontally and adjust the size
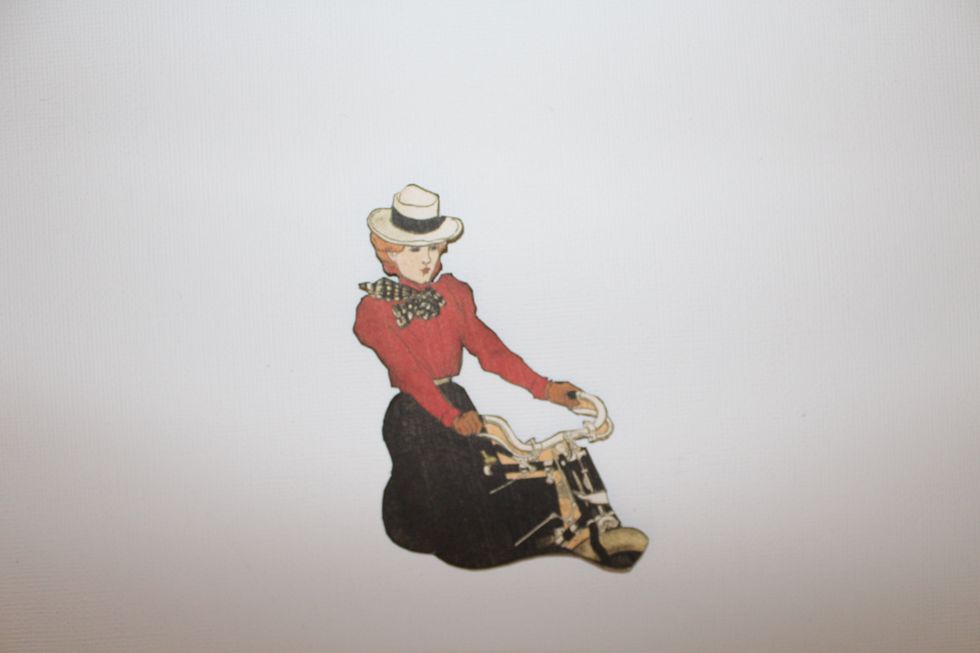
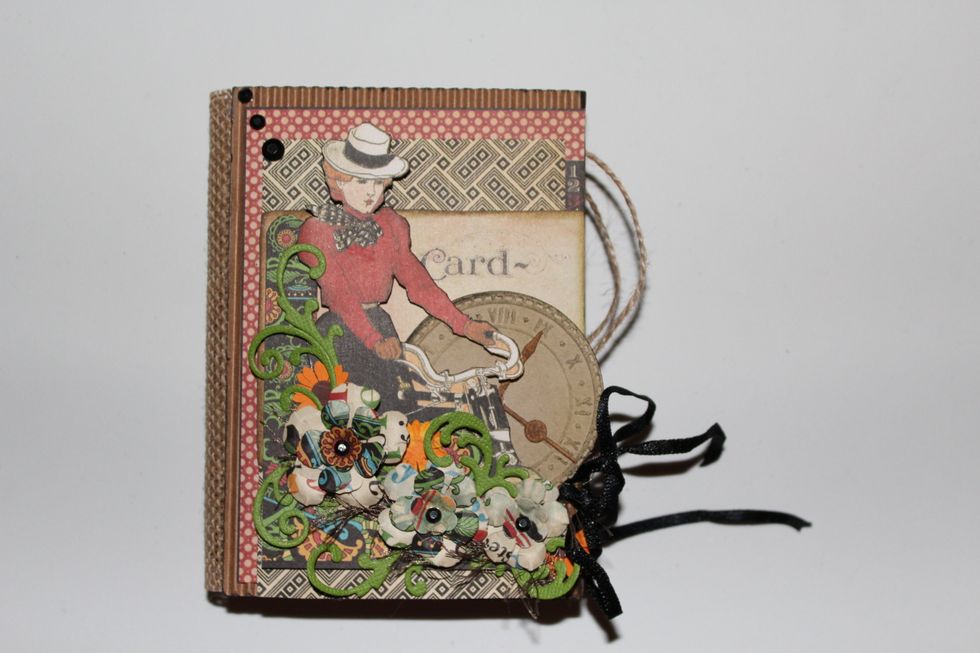
Select one of the Typography cards and cut out the central figure
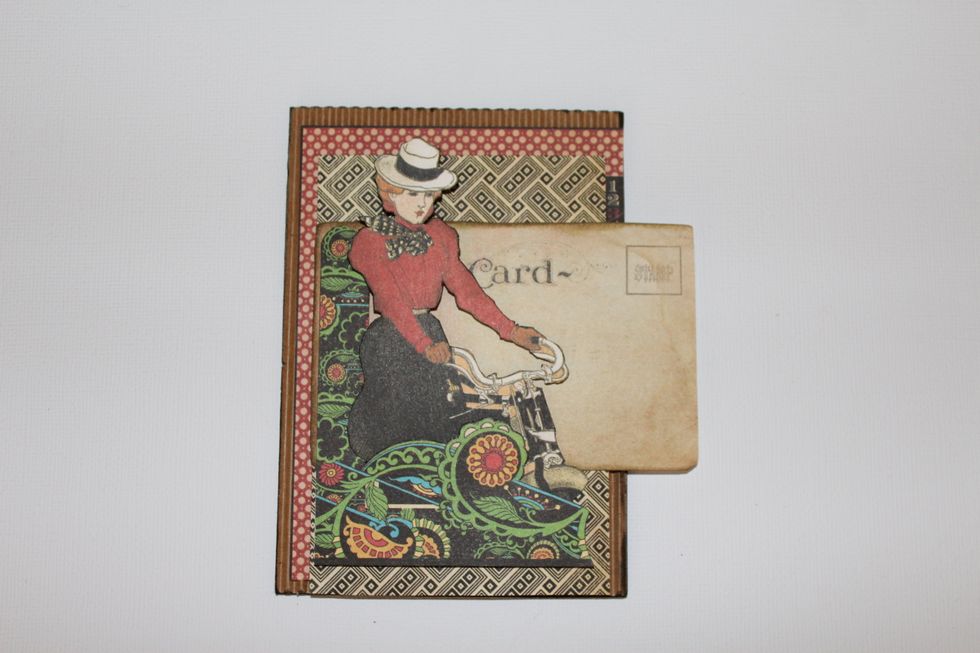
For add volume, attach with 3D foam adhesive the central figure to the cover. Add some decorative paper.
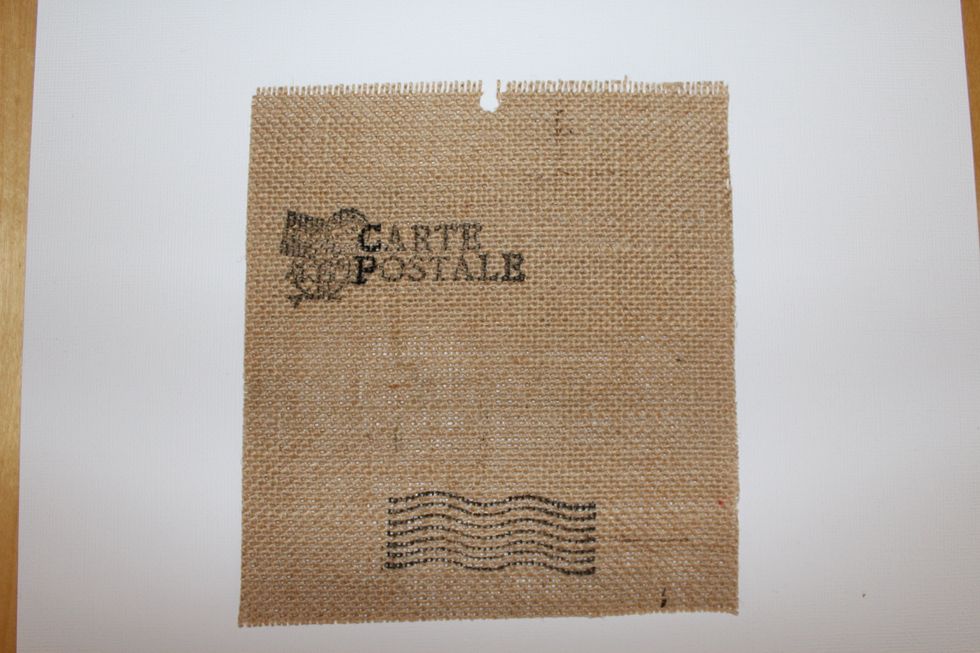
Decor the burlap with stamps
Adhere the front cover on the right side of burlap and the back cover to the left with 1" in between. The stamps are upside down.
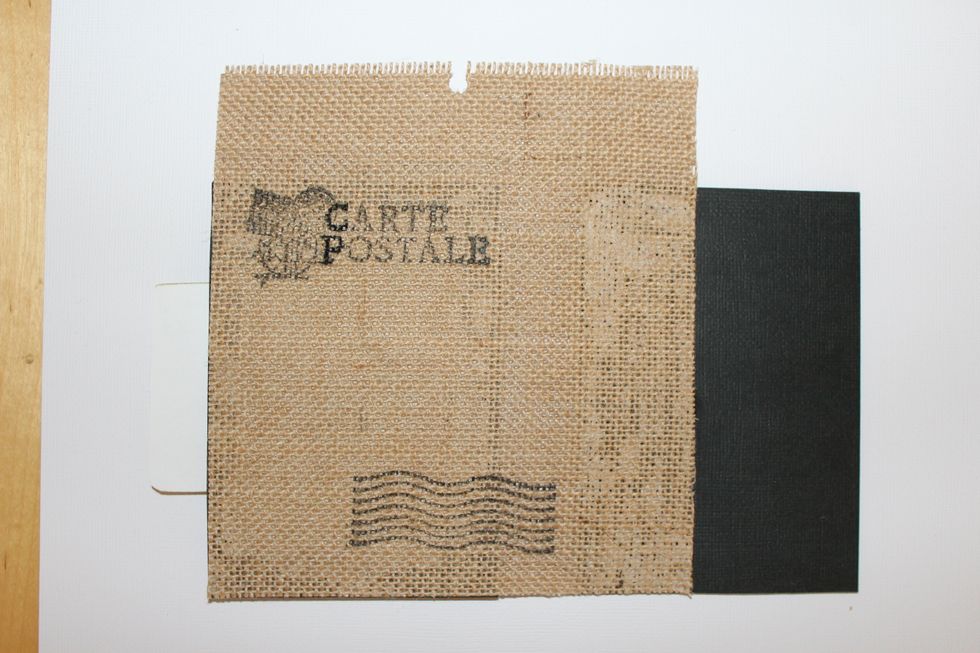
The inside look like this. Adjust the burlap size
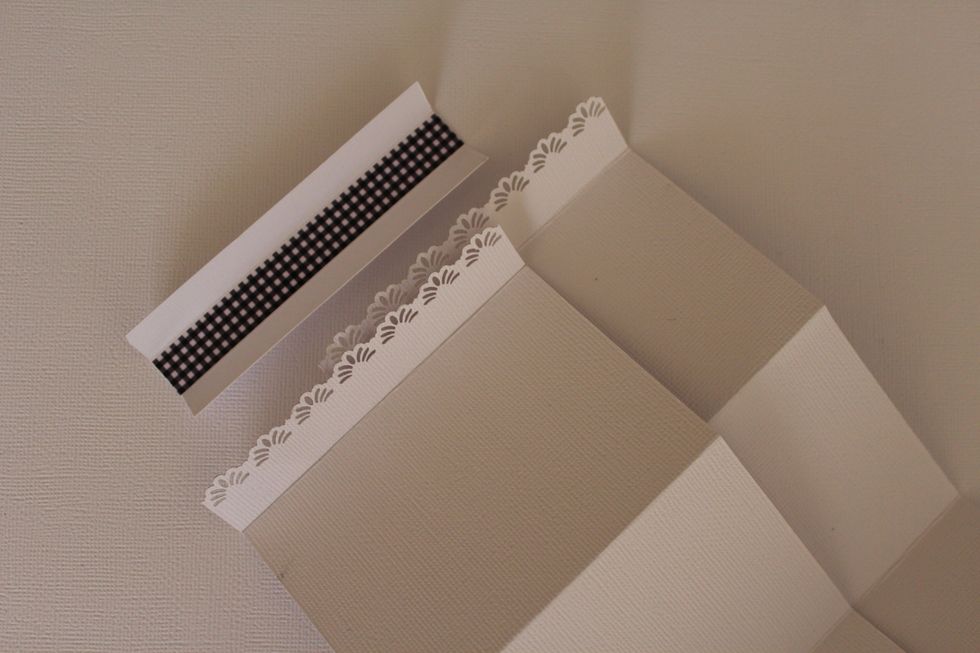
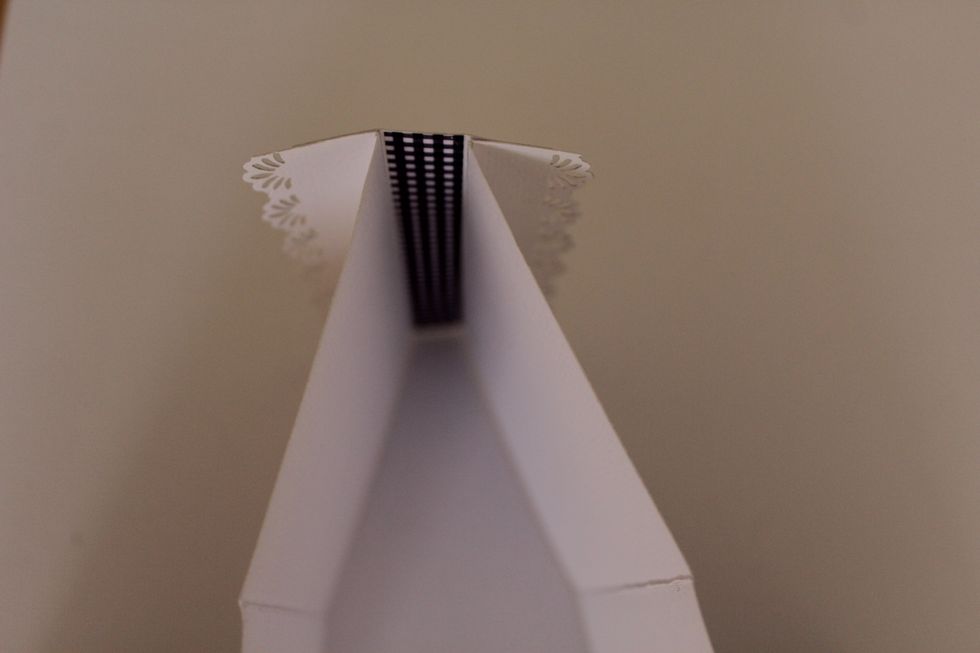
Score the 4" x 12" pieces at 2 3/4" - 5 1/2" - 8 1/4" and 11" to create an accordion. Decor the 1" side with a border punch. Score the 4" x 1 1/2" piece at 1/2" and 1" and decor with washi tape.
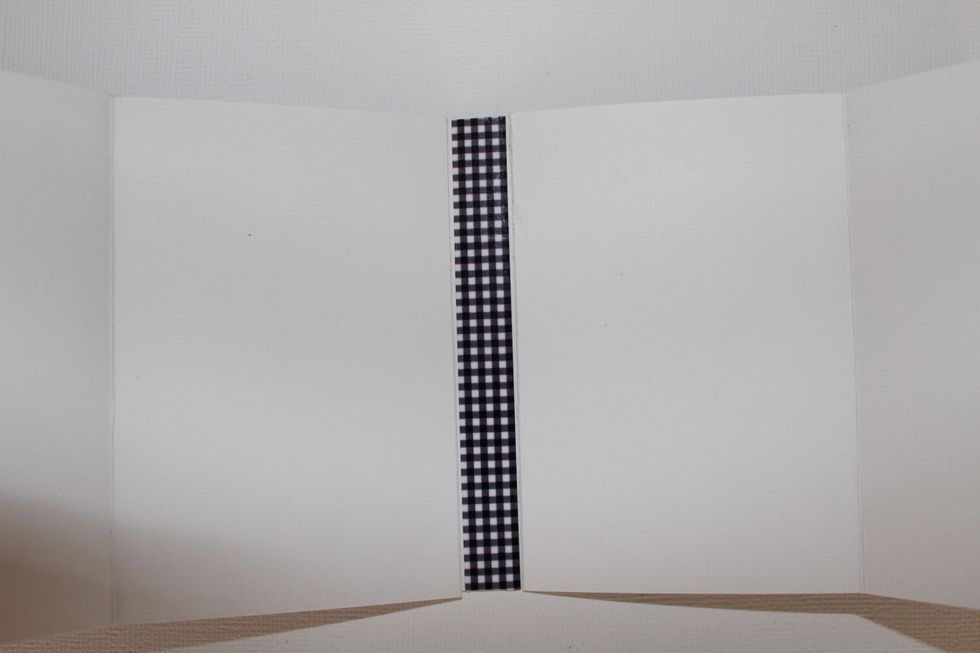
Join the three pieces. The 1" border punched upside down, one to the left, stick at the 1 1/2" piece in the left 1/2" flap. The same with other accordion, sticking the 1" border with the right flap.
The three pieces together look like this
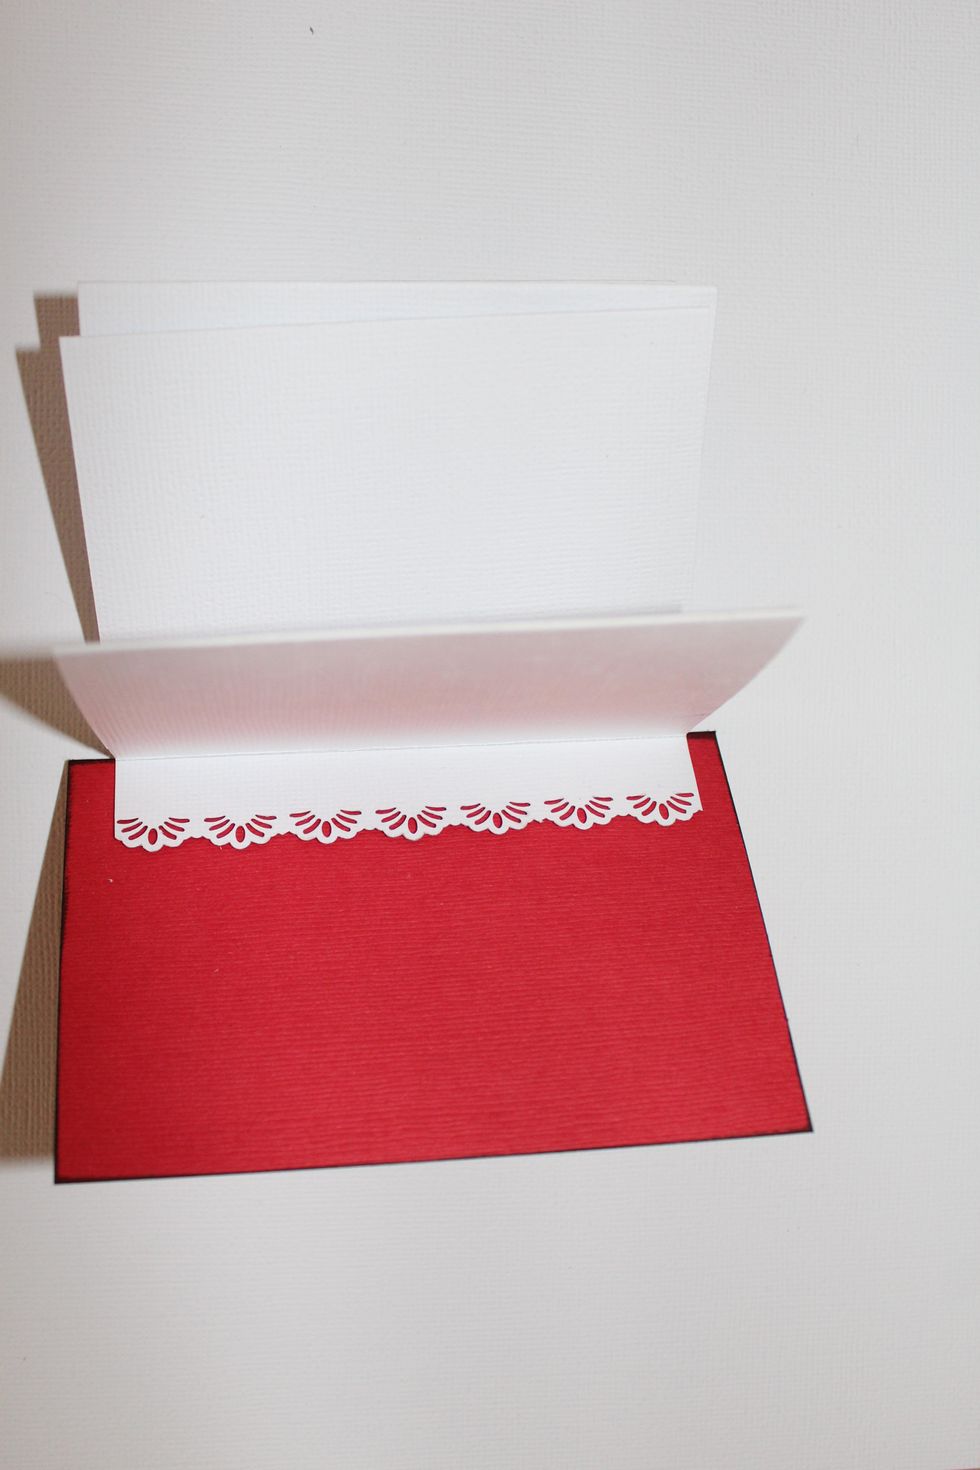
Join up the right flap with one red cardstock piece on the left side, allowing 1/4" at top and 1/4" at the bottom. Same process with the left flap on the right side of the other red cardstock
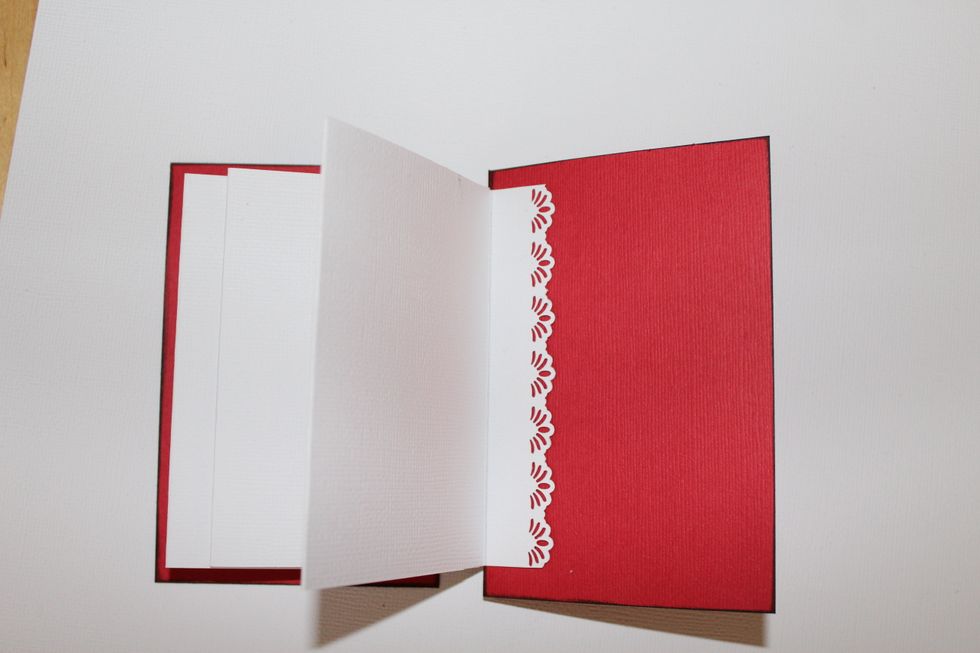
One accordion open to the right and one open to the left
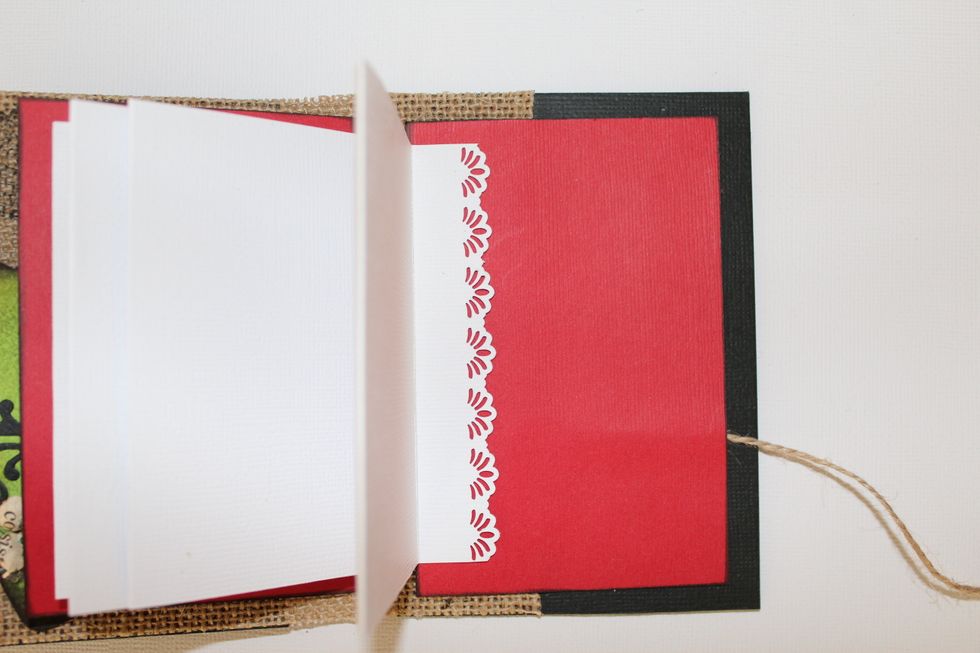
Adhere some twine or ribbon to the inside of the back cover, then, join the right red cover.
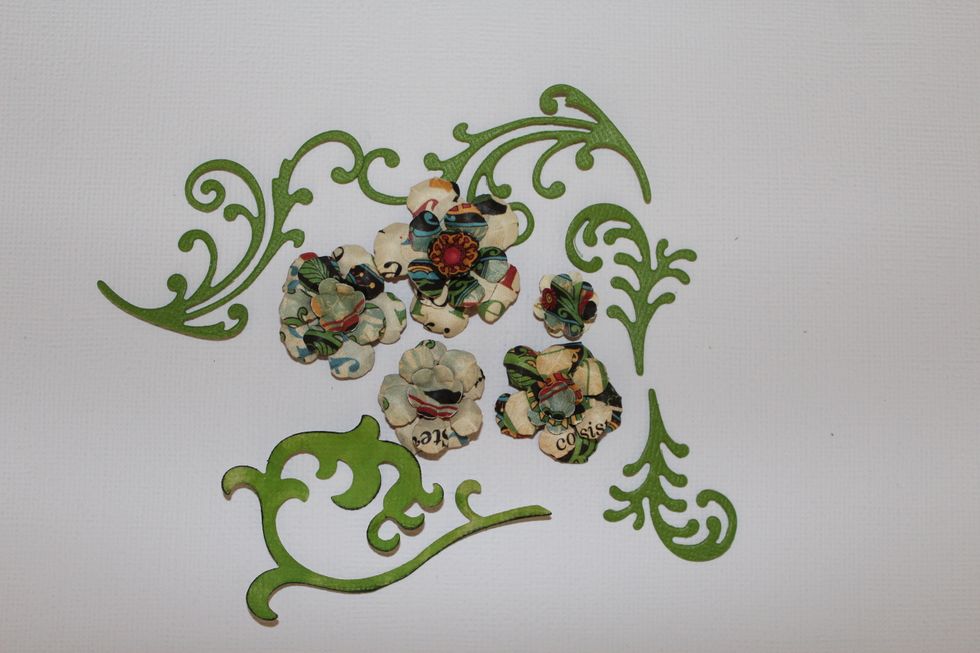
Make embellishments ( Flowers, swirls) and cut letters
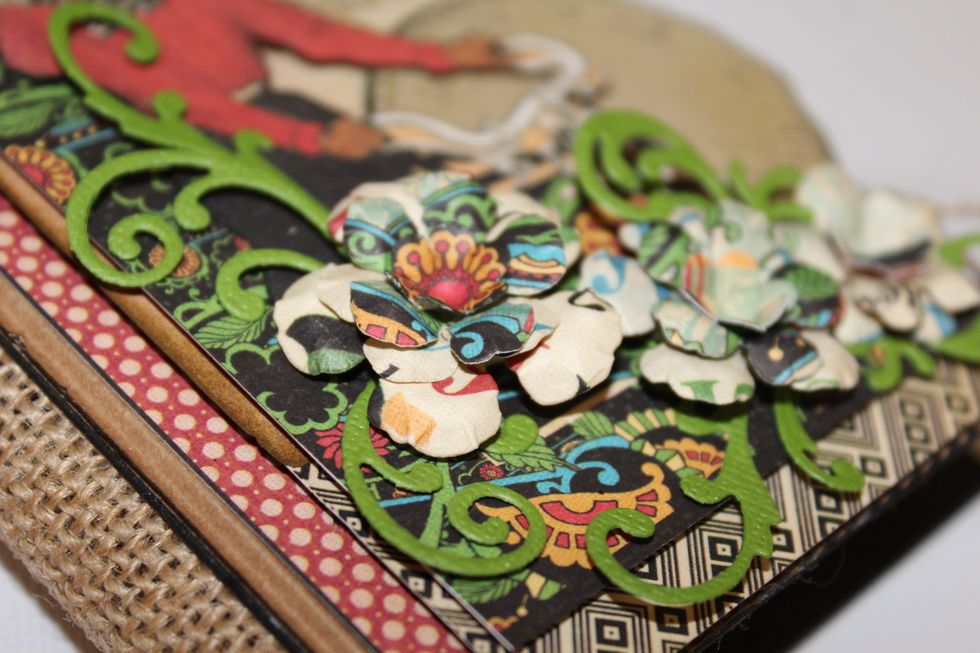
Add some twine or ribbon for close and decorative elements to the front cover
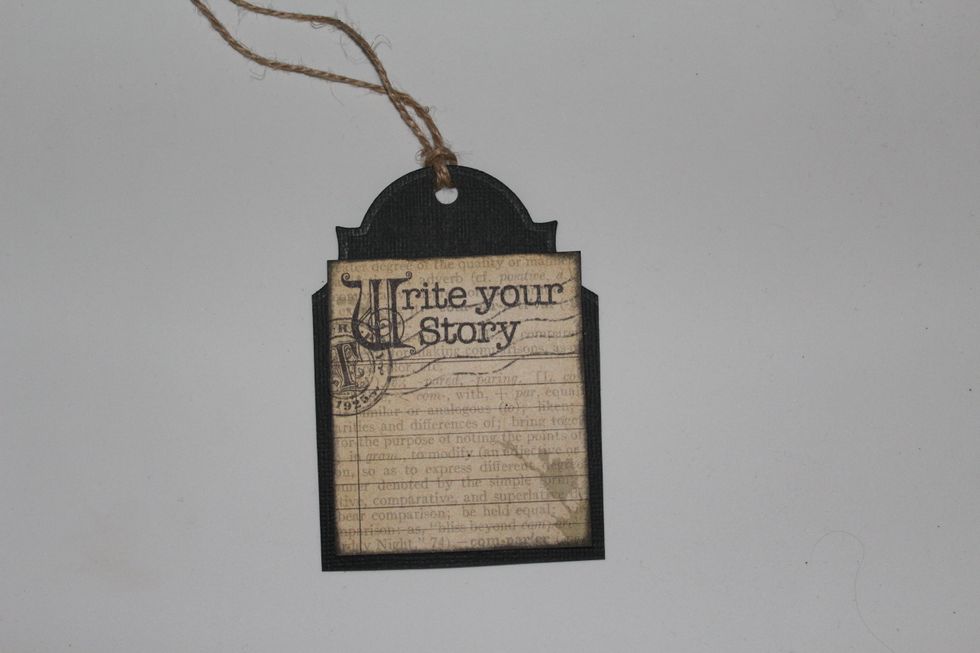
Decor the black tag with a Typography card and other embellishments and join to the burlap with Glossy Accent just in the bottom and decor the mini notebook guide too.

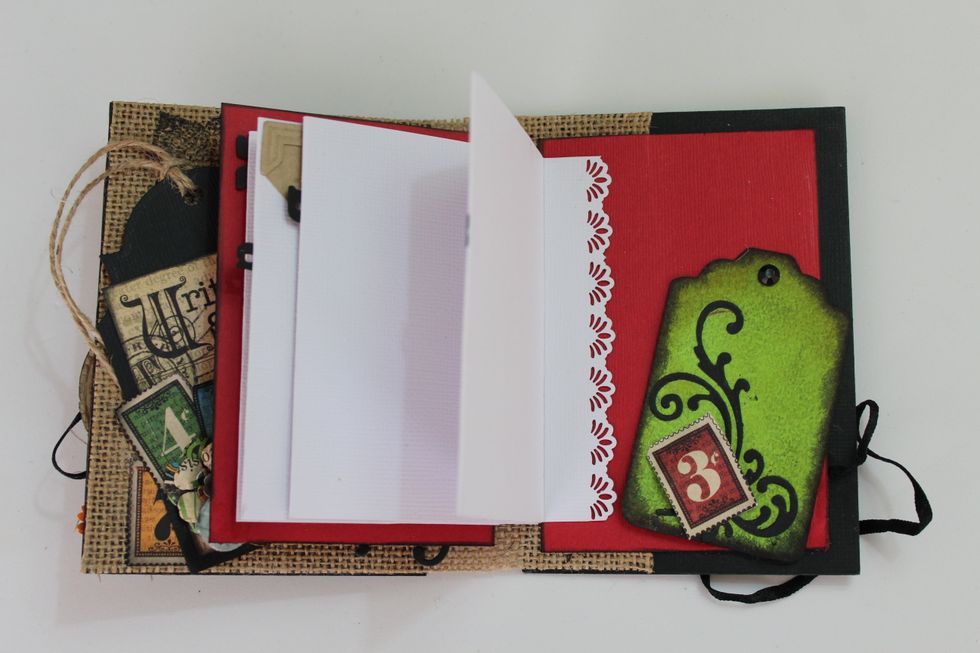
Decor the green tag and attach to the back side of the guide.
The travel Guide.