The Conversation (0)
Sign Up
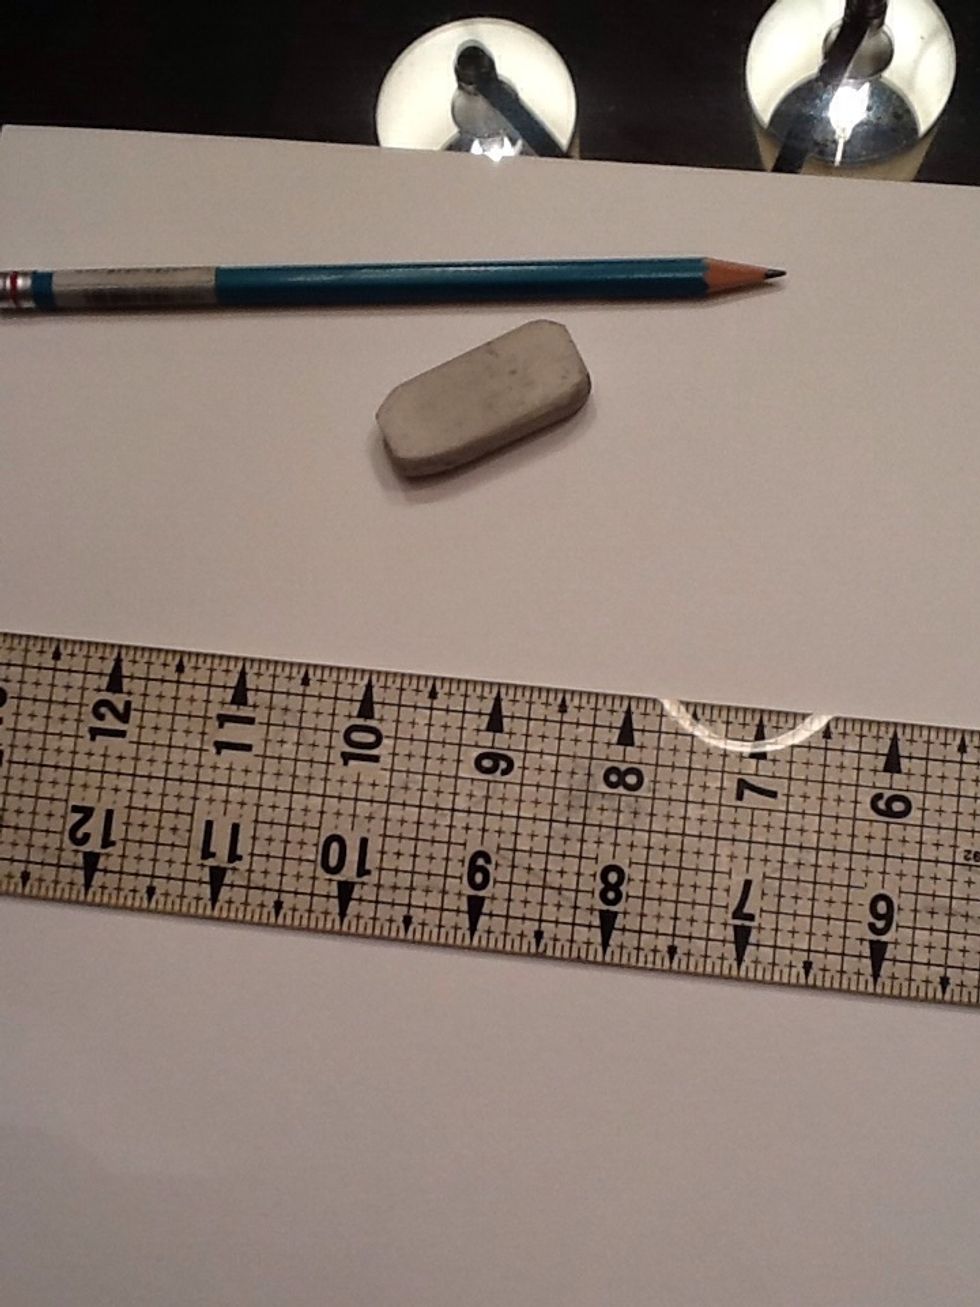
Supplies: always use a ruler and you lightest drawing pencil.
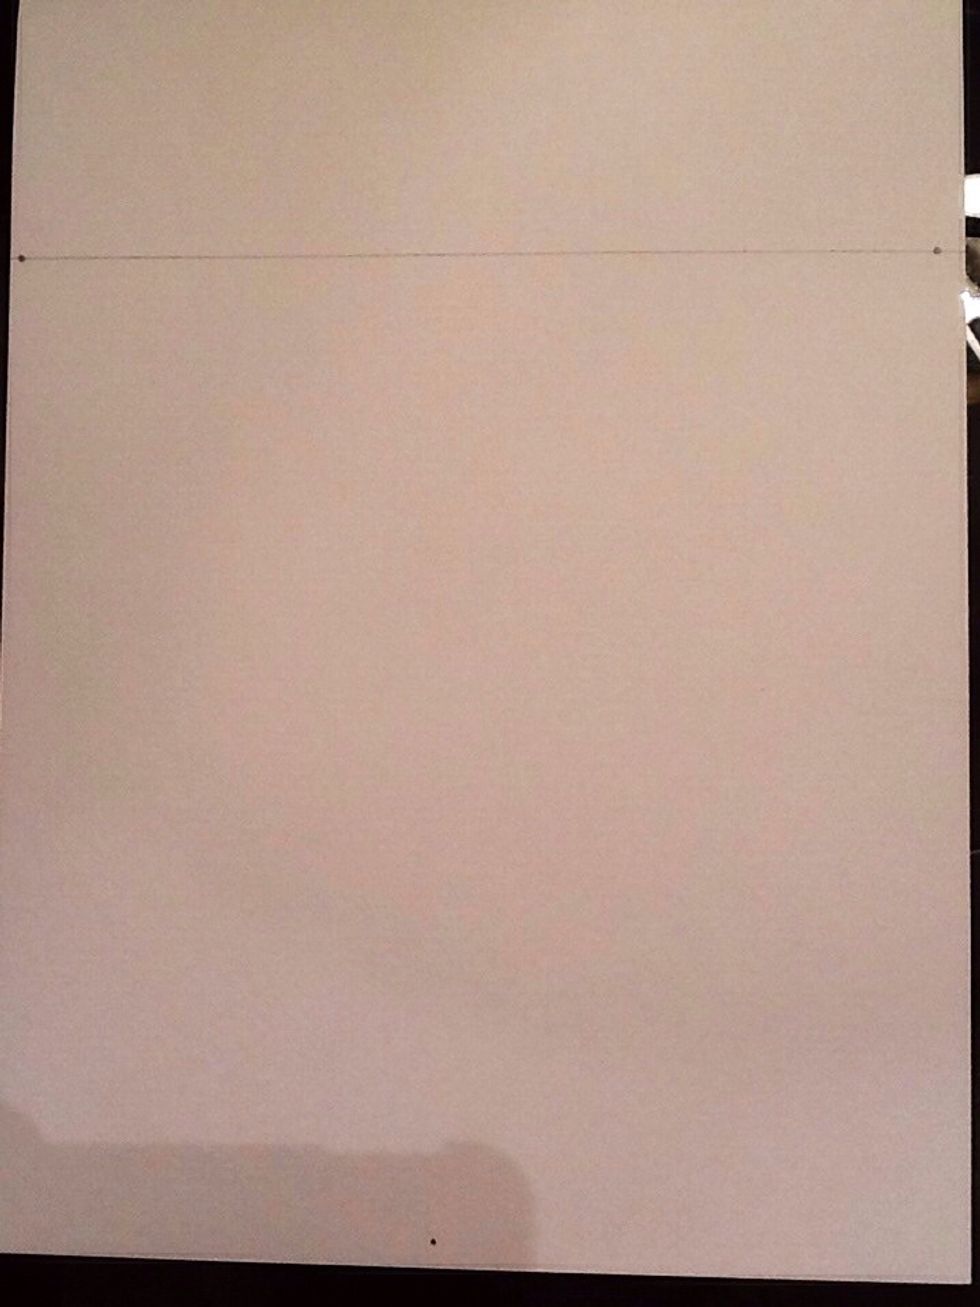
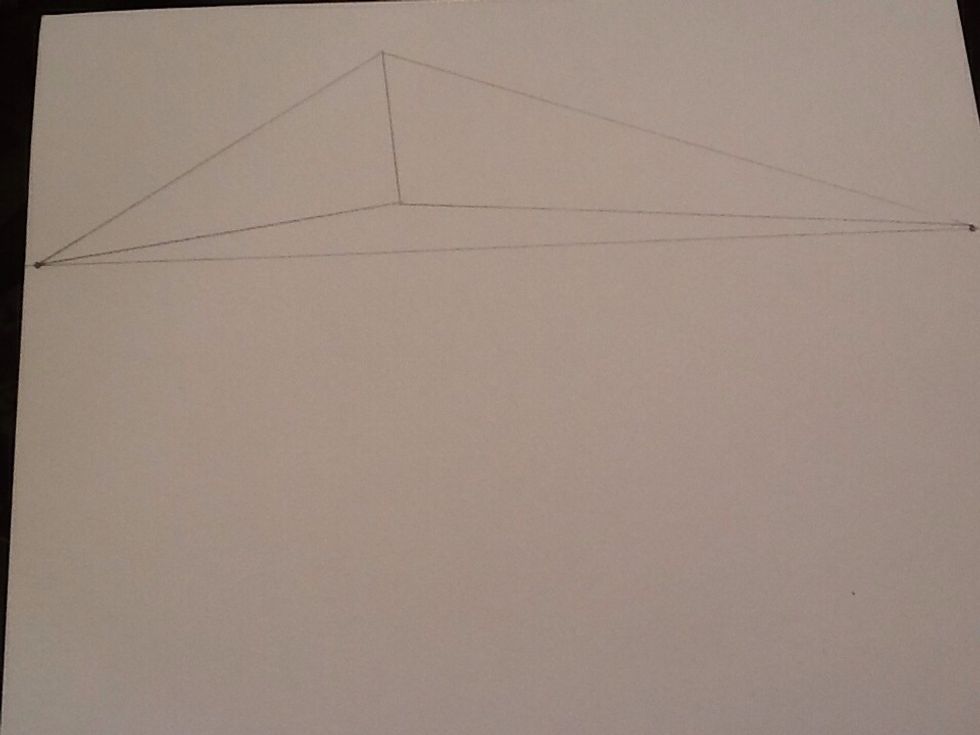
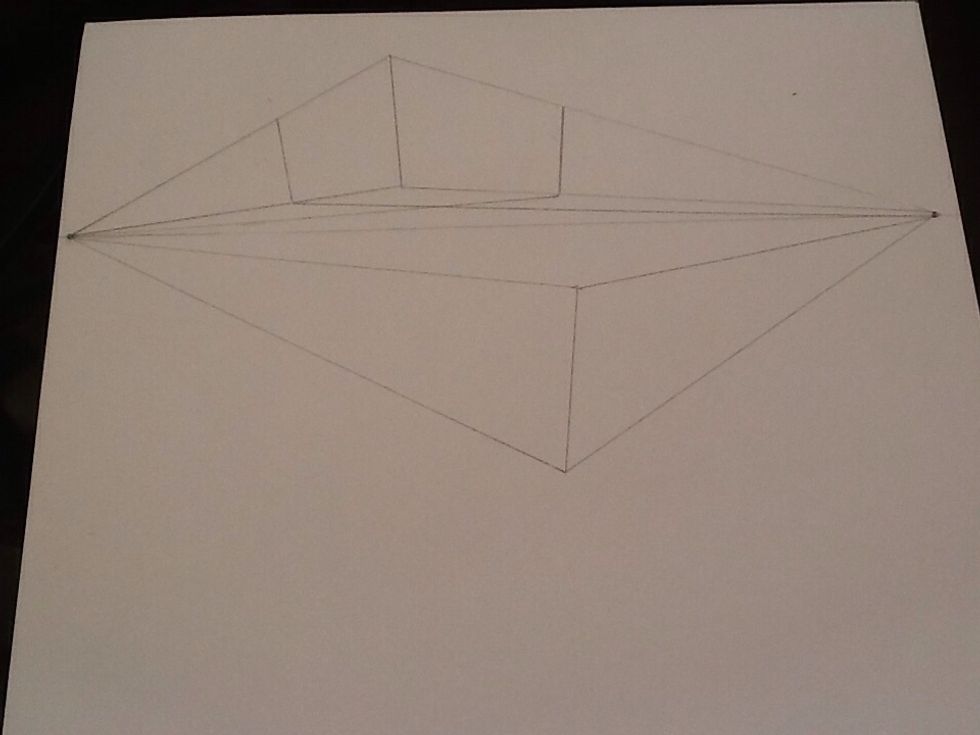
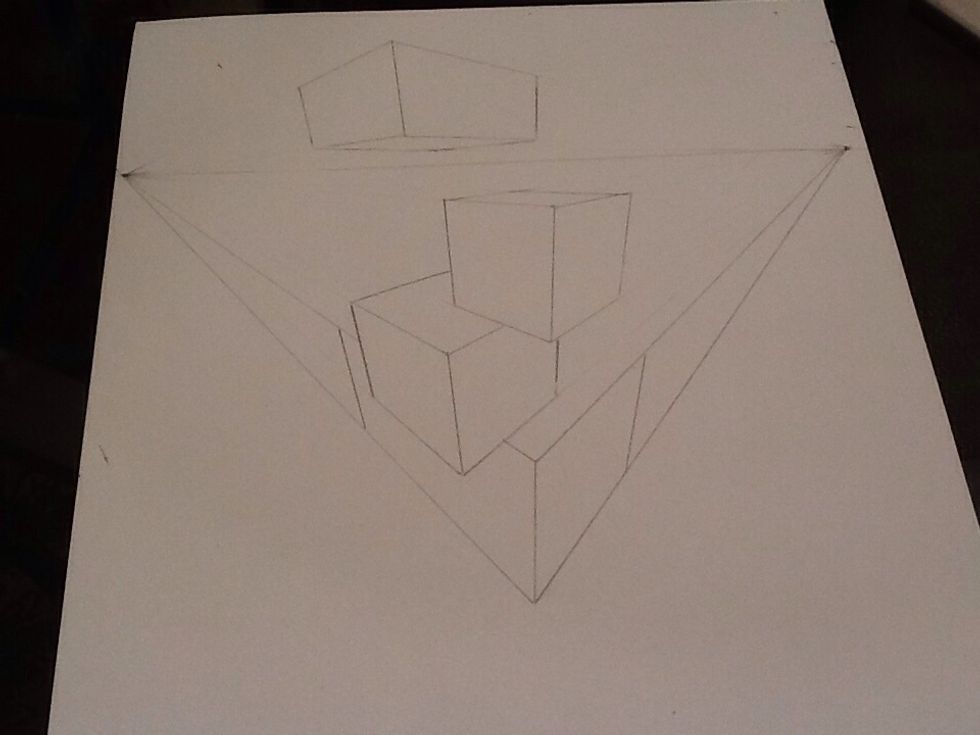
Draw your horizon line a couple of inches from the top or bottom of the paper with 2 vanishing points at each end. Draw your 3rd vanishing point at the opposite end of the page.
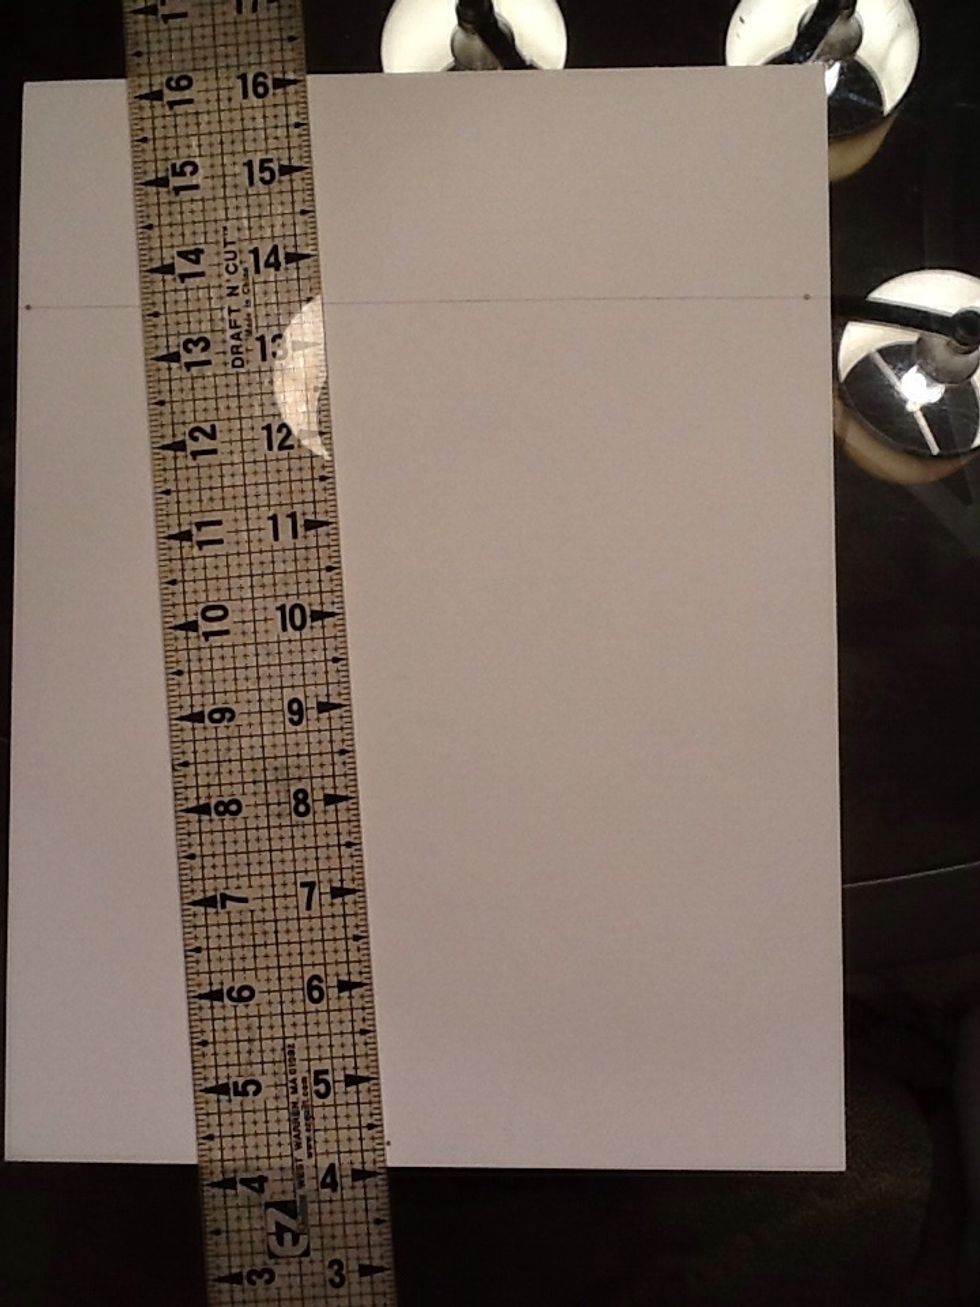
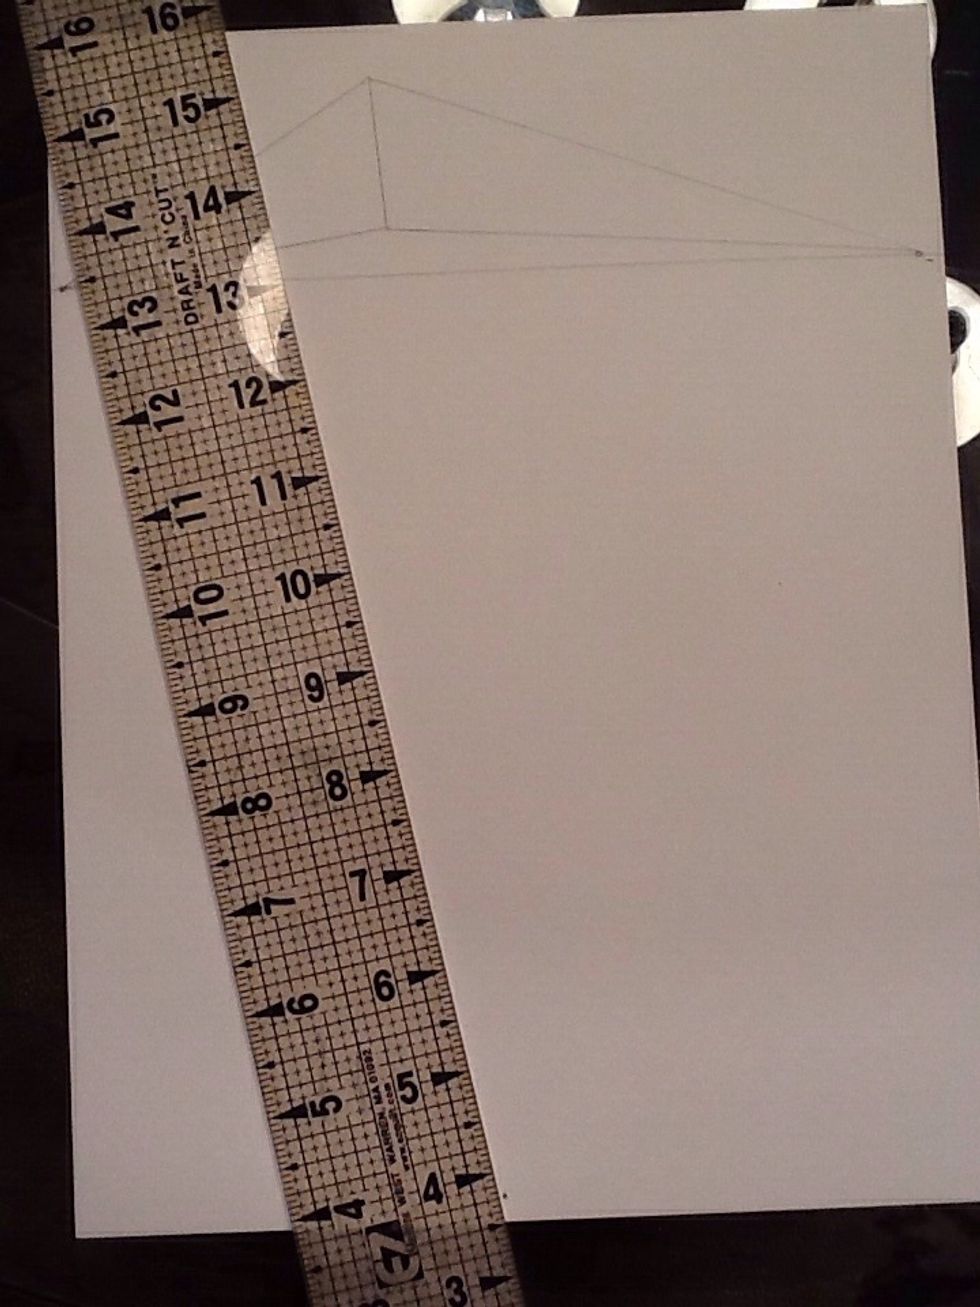
Line your ruler up with the 3rd vanishing point to draw the center line for your box.
Draw the center line however big you want your box to be. It is above the horizon line so you will see the bottom of the box.
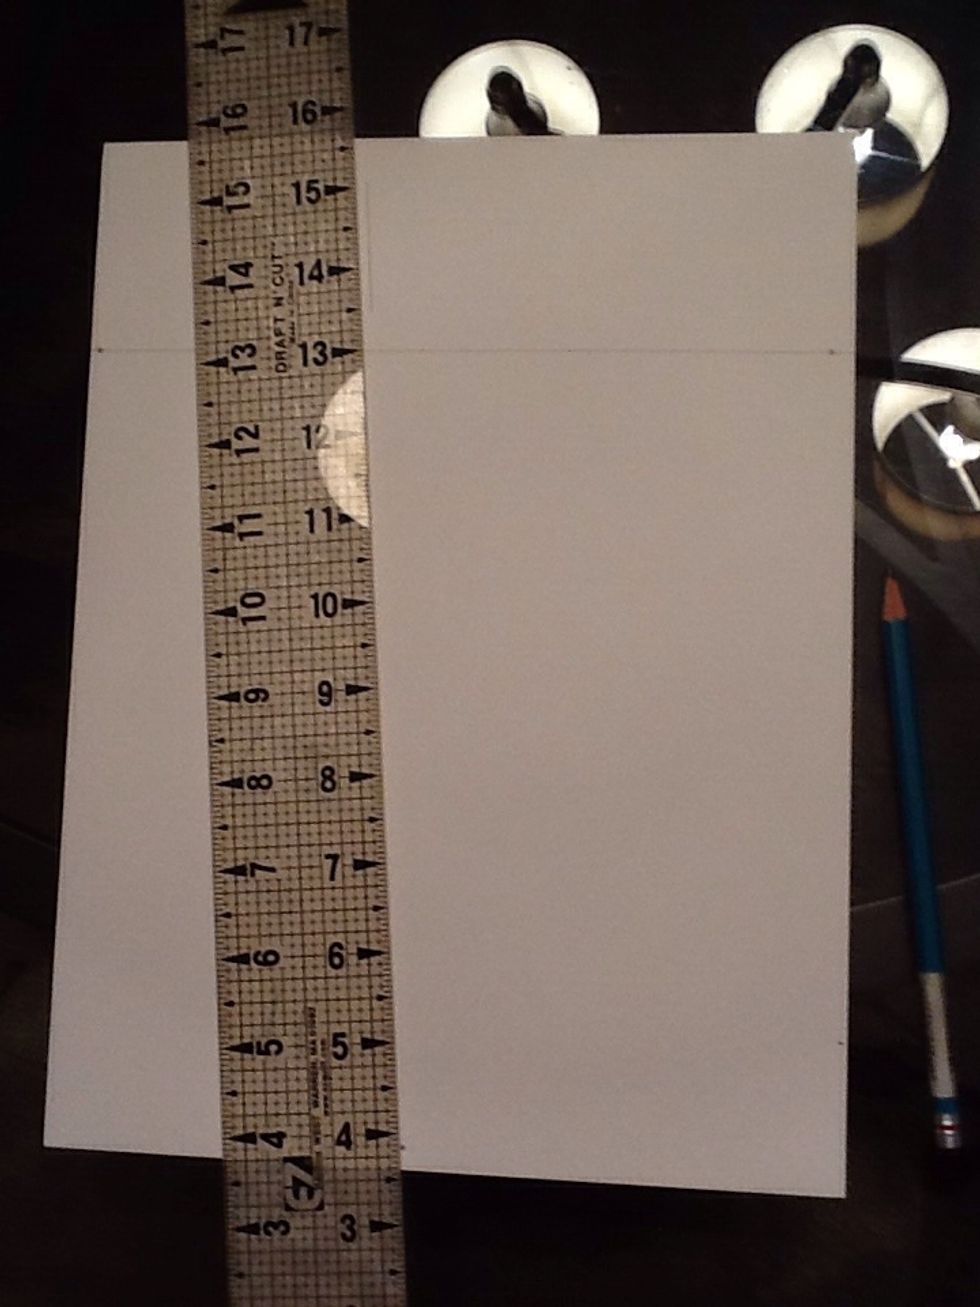
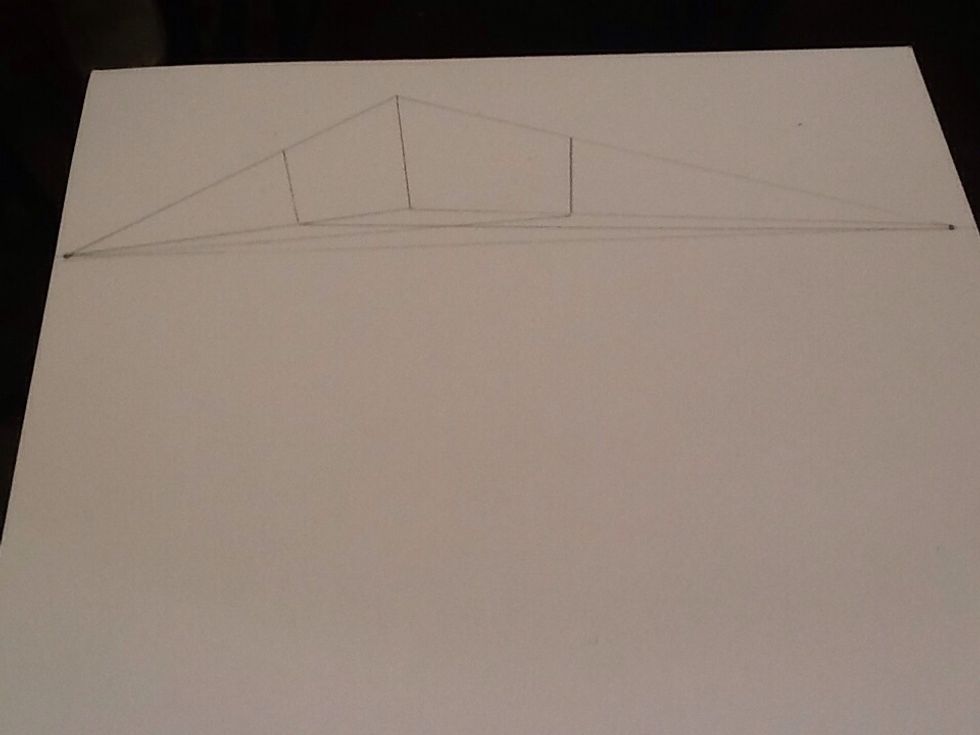
Connect the top and bottom of your line to both vanishing points.
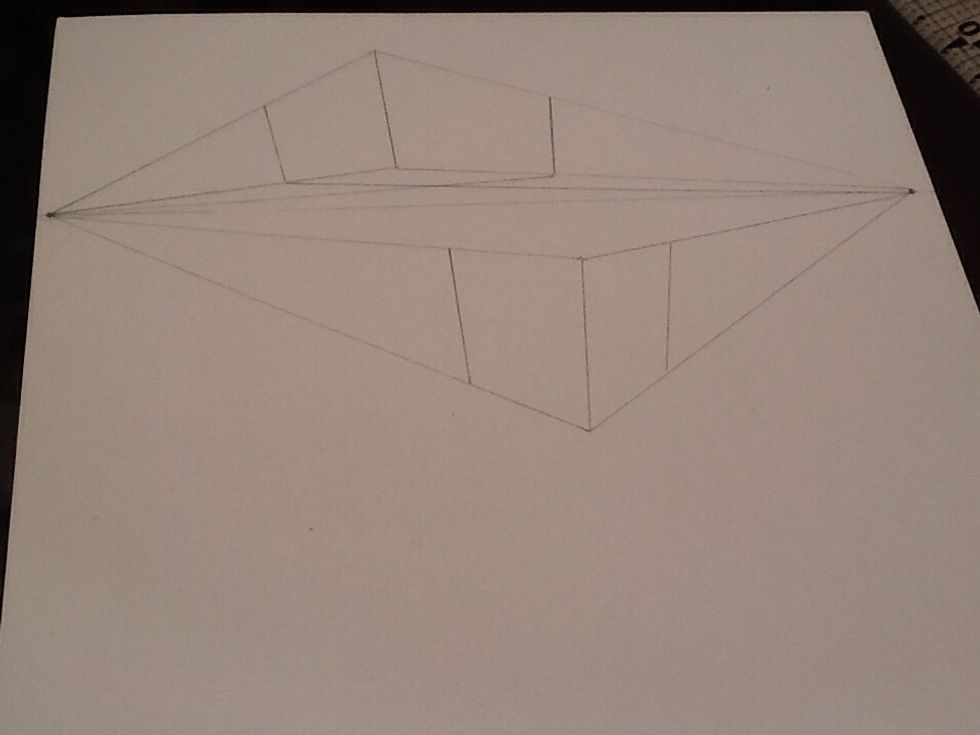
To make the sides of your box, line your ruler up with the 3rd vanishing point and draw a line on both sides of your original line. This is where you decide how wide your box is.
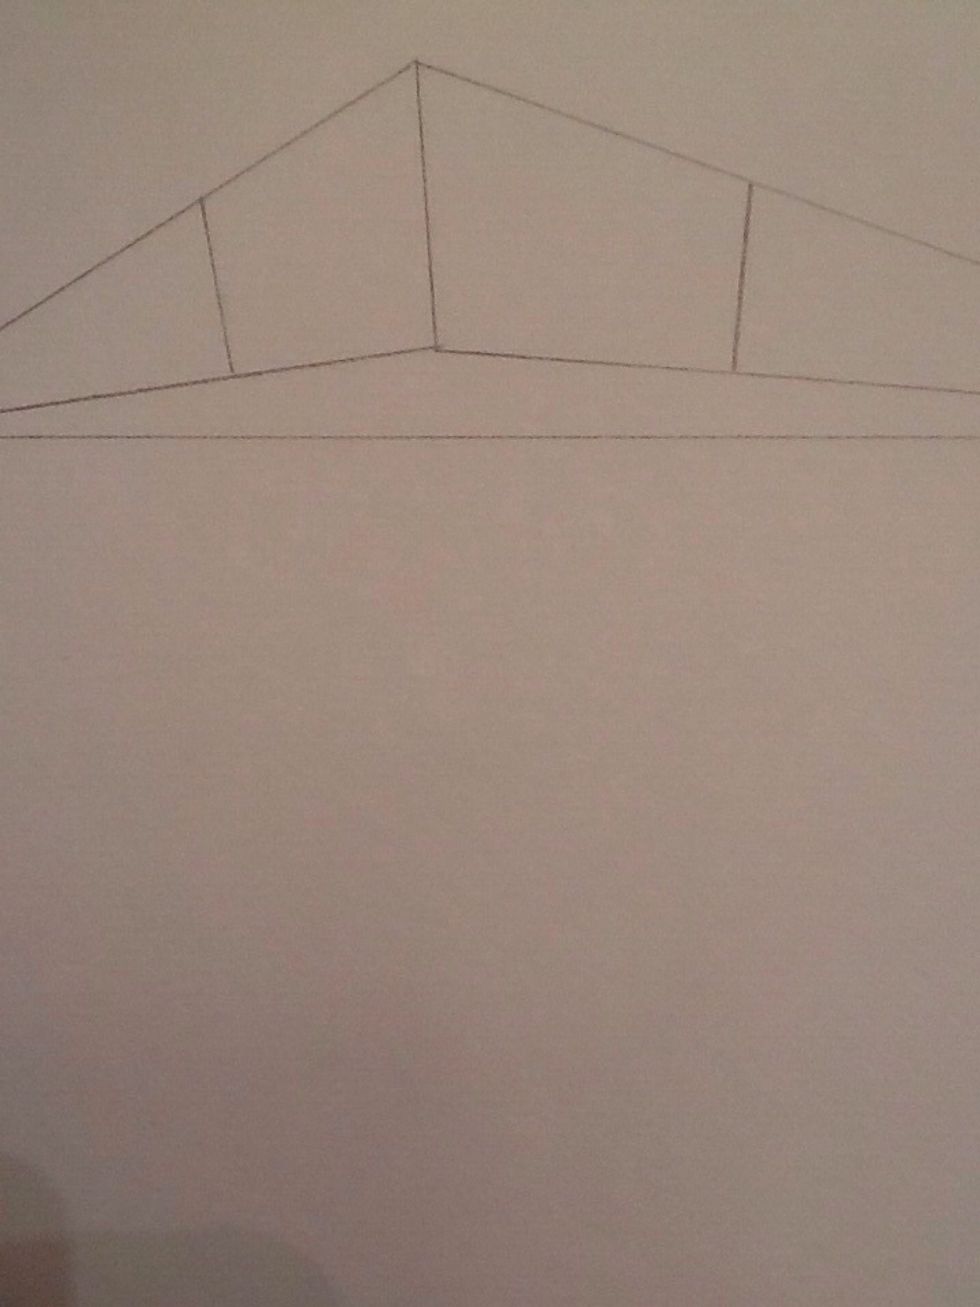
This is what it should look like.
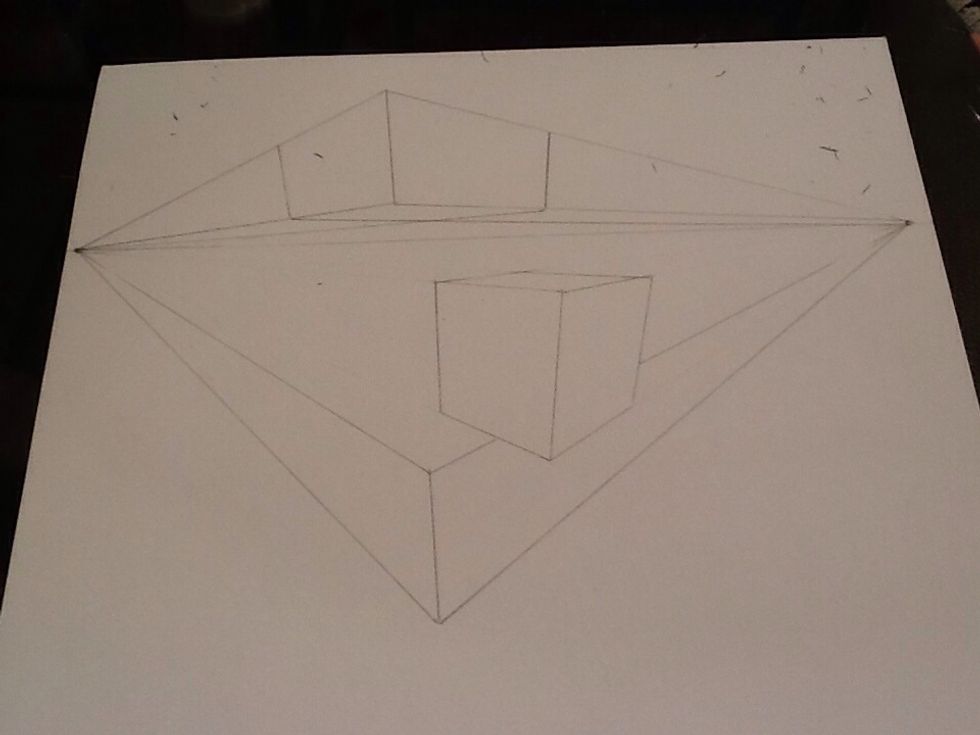
You make the bottom the same way you do in 2 point. You connect the lines you just drew with the opposite vanishing points.

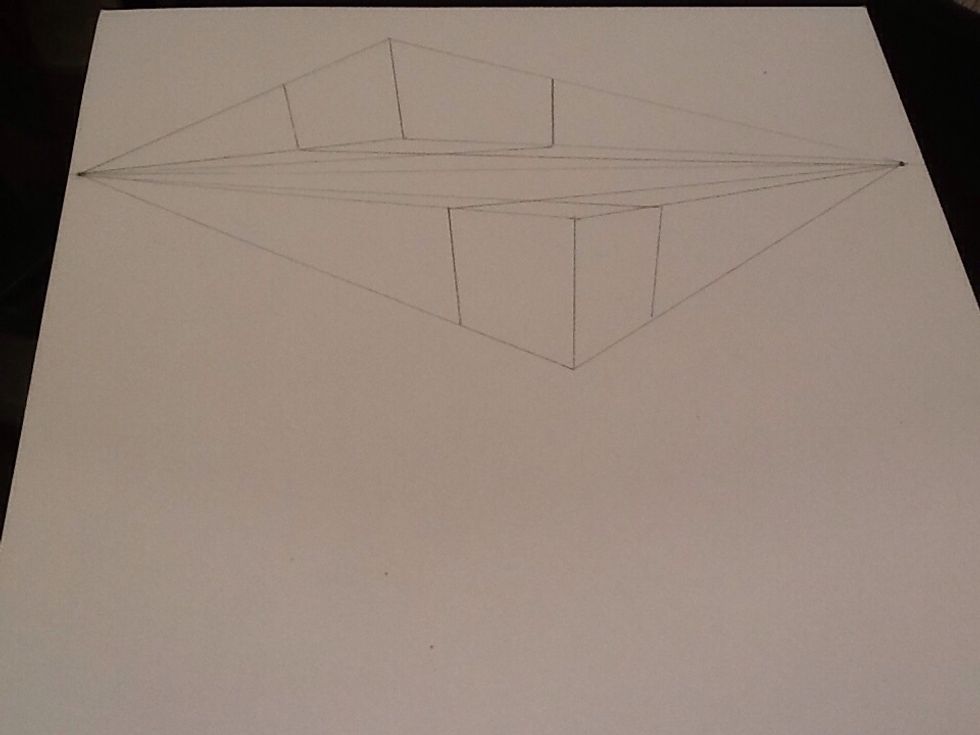
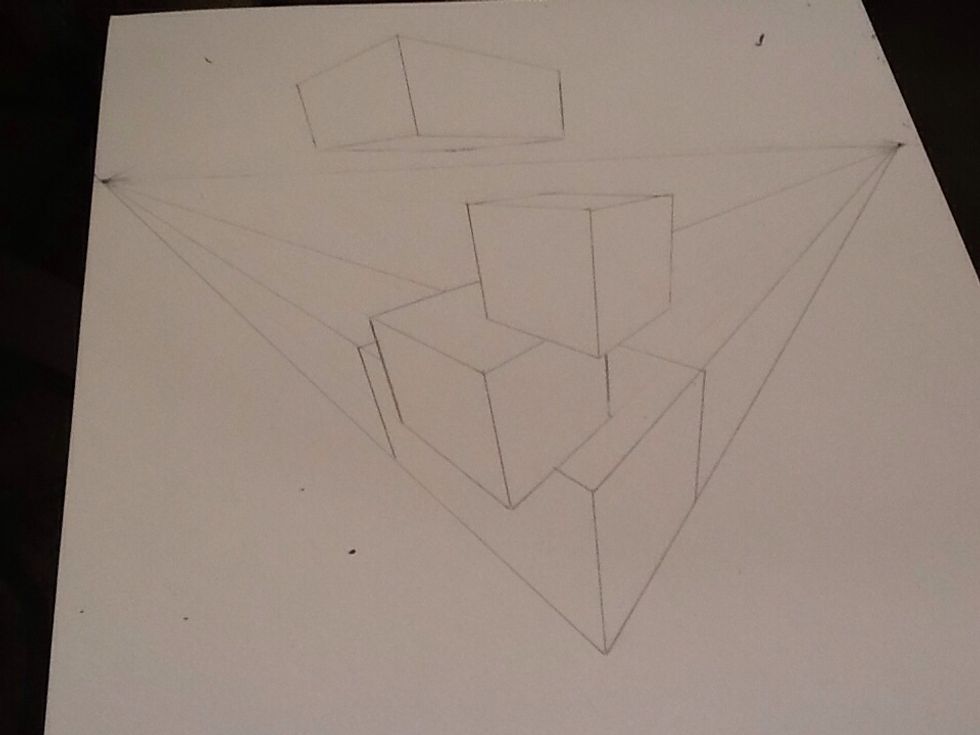
Every box you draw starts with a line connected to the 3rd vanishing. Since this will be below the vanishing, you will see the top of the box.
Repeat the same process.
When you draw the sides, make sure you are lining you ruler up with the 3rd vanishing point.
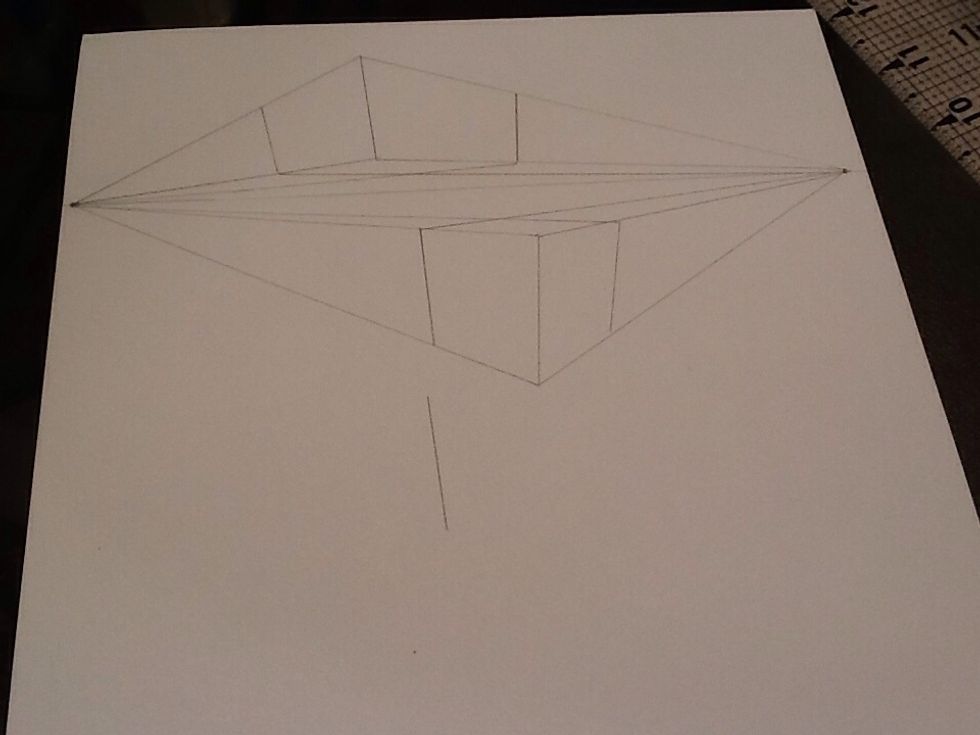
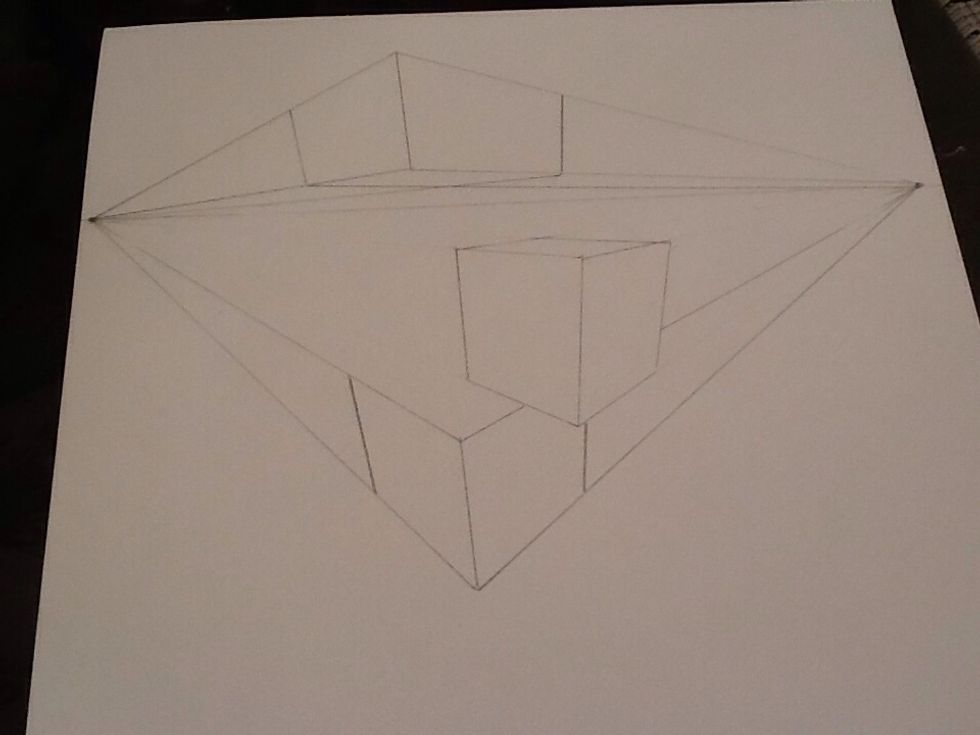
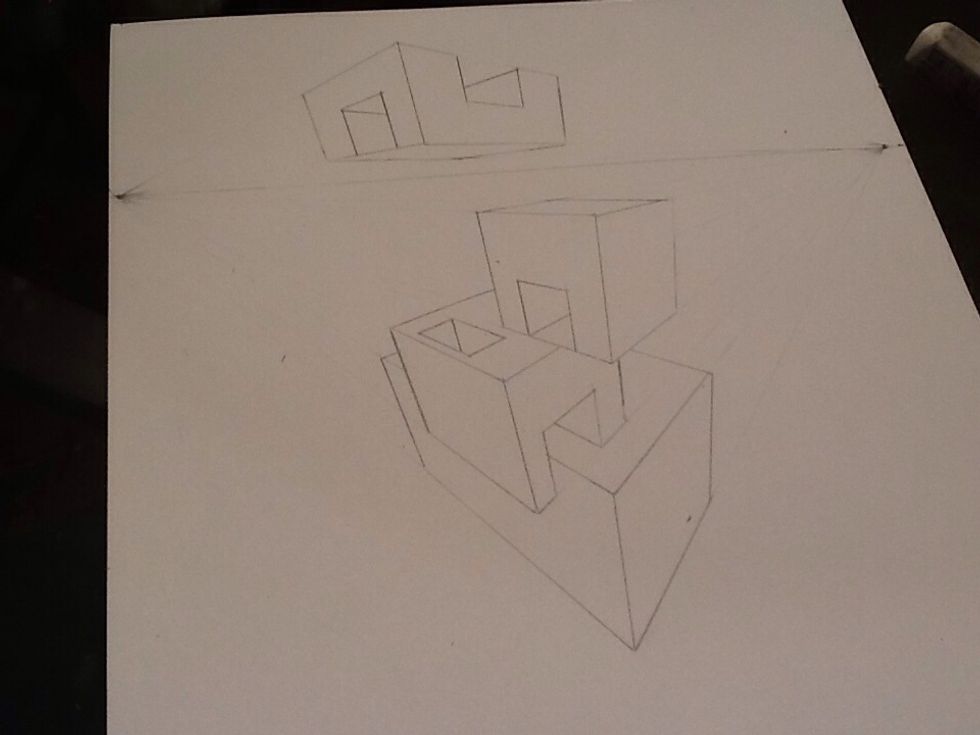
To make your boxes look stacked, line your ruler up with the vanishing points but do not draw threw the previous box. All the extra lines will get confusing.
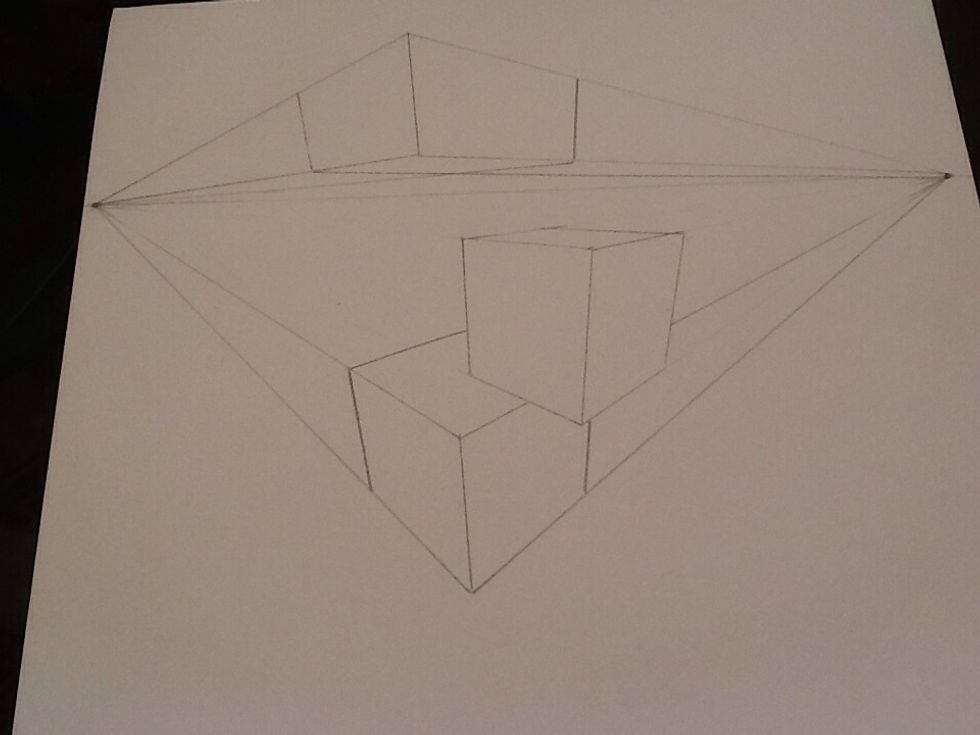
When you are stacking boxes DO NOT draw through other boxes.
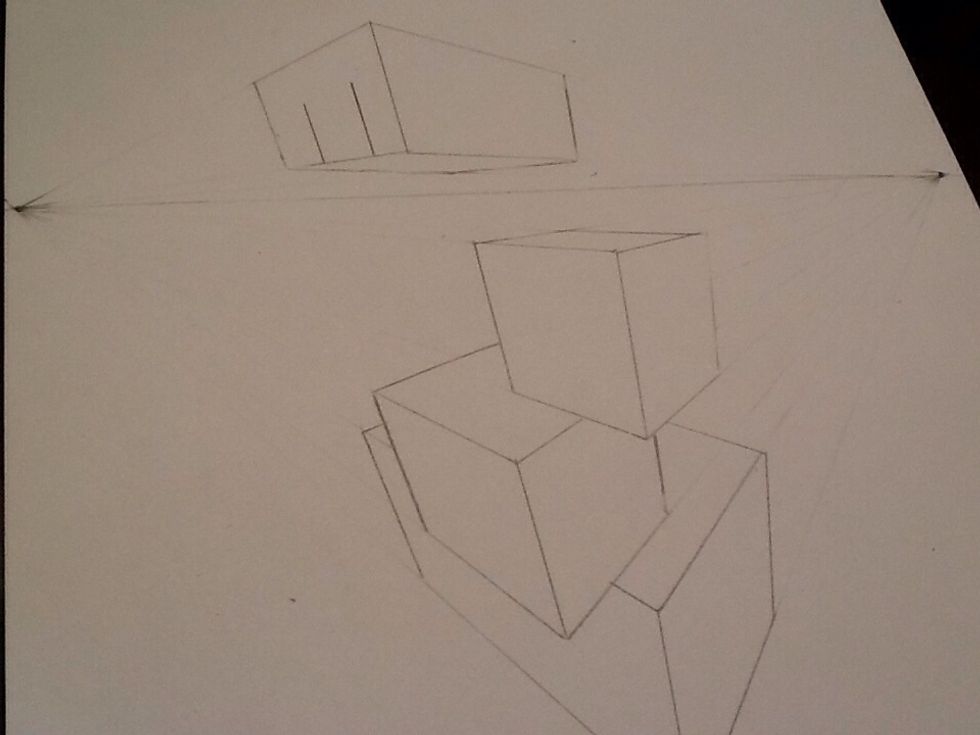
To add openings, Line up the sides of your opening withe the 3rd vanishing point.
Create the top by lining it up with the vanishing point on the same side as the box. ( if the opening is on the right side of the box, line your ruler up with the vanishing point on the right).
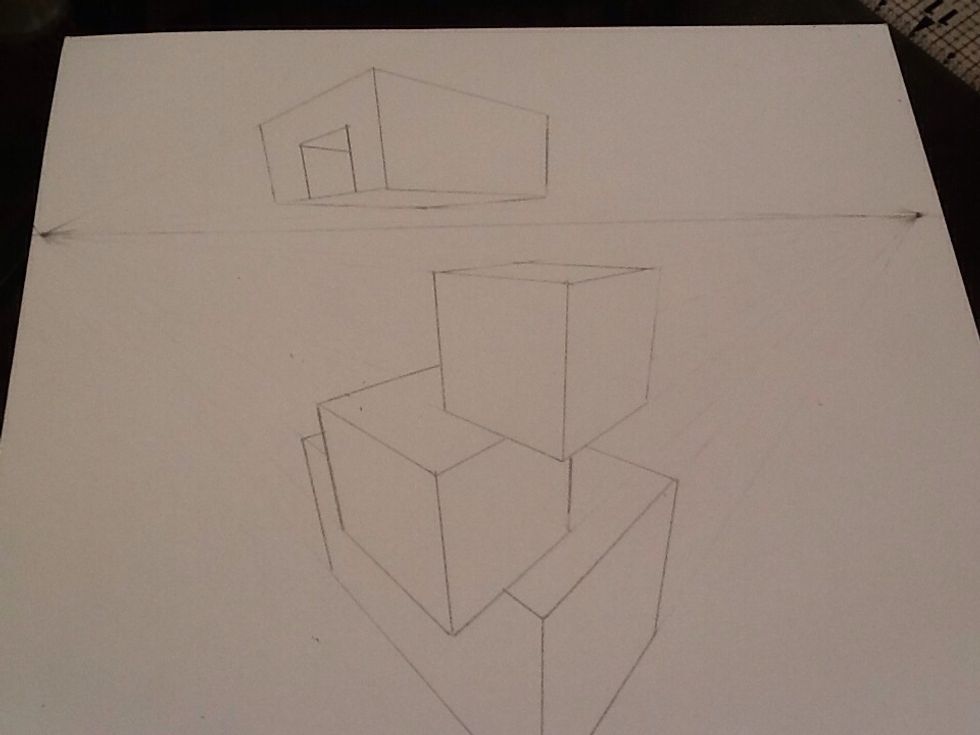
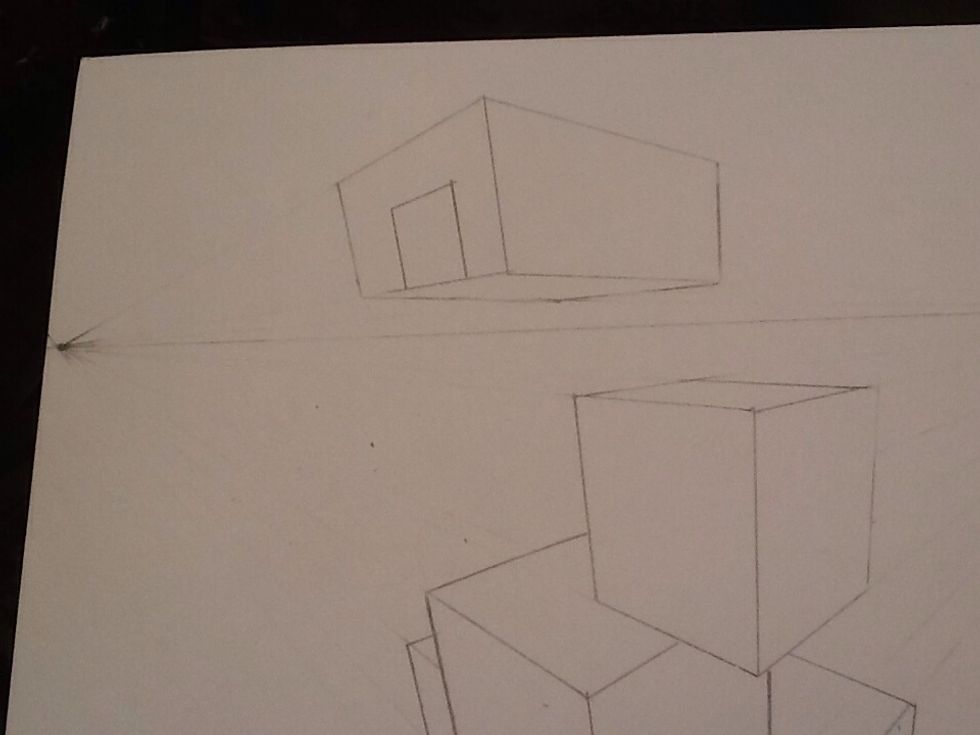
To make it look open, connect the corner to the opposite vanishing point.
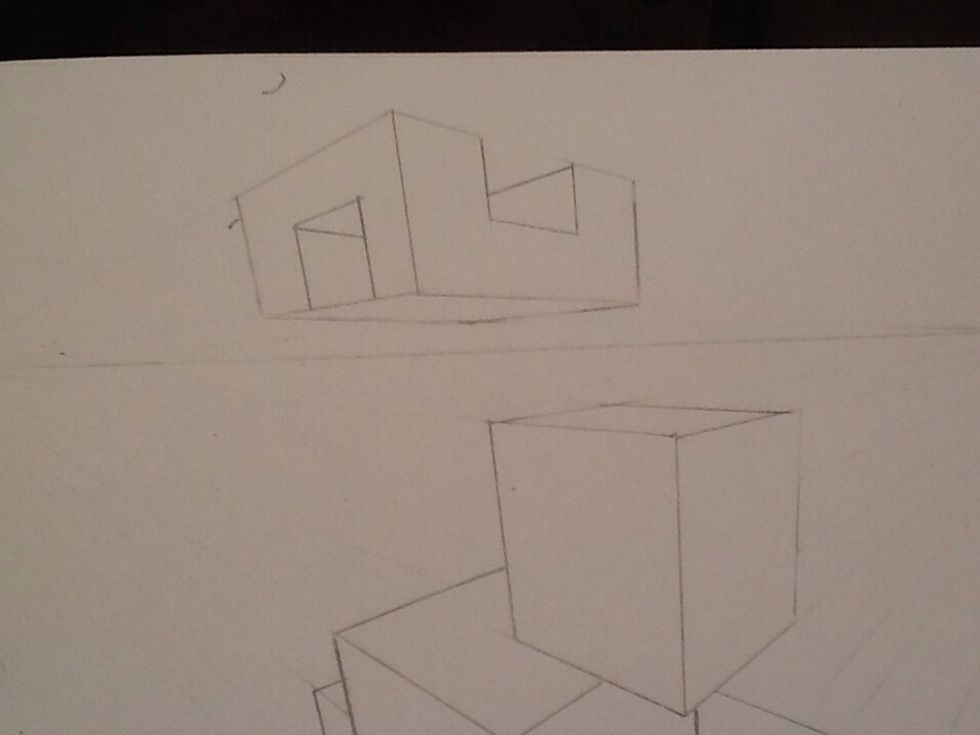
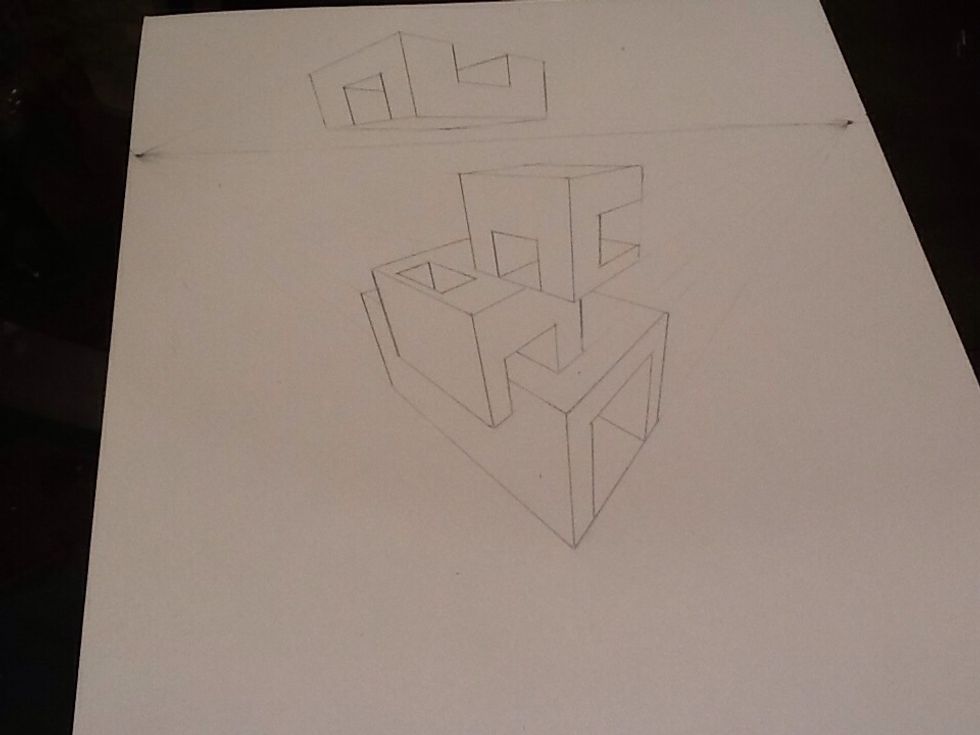
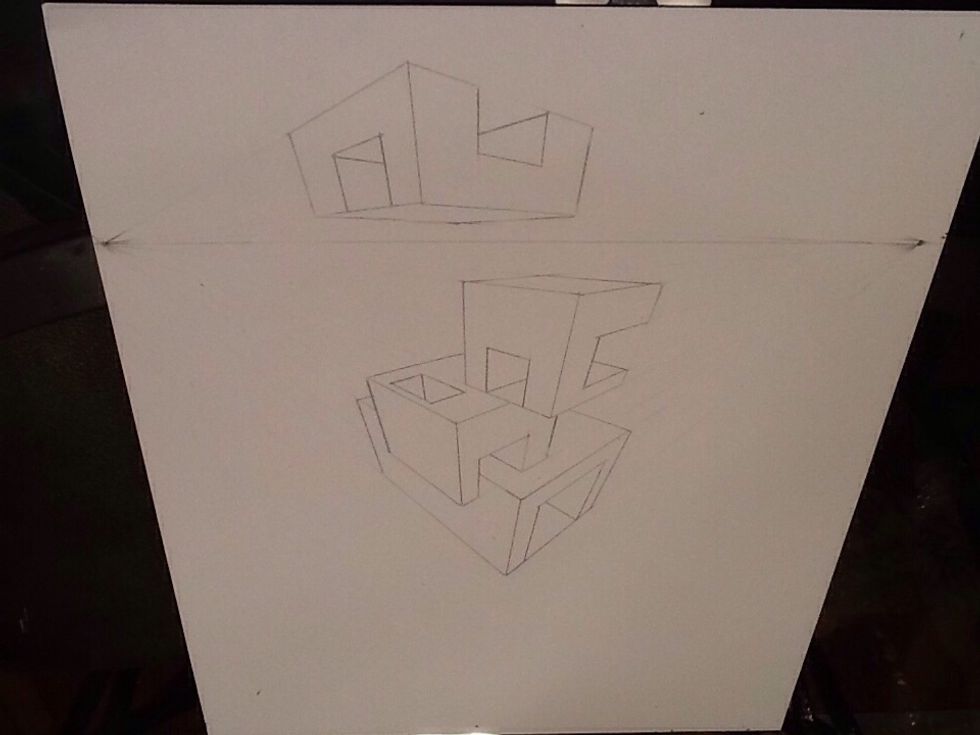
Create several different types of openings using the same process.
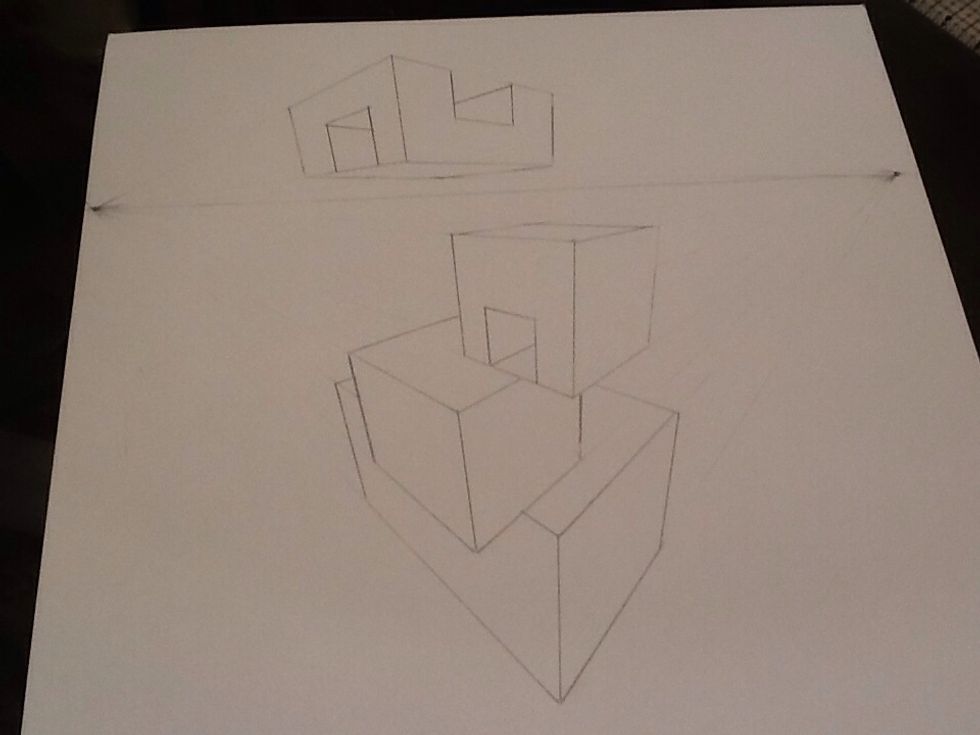
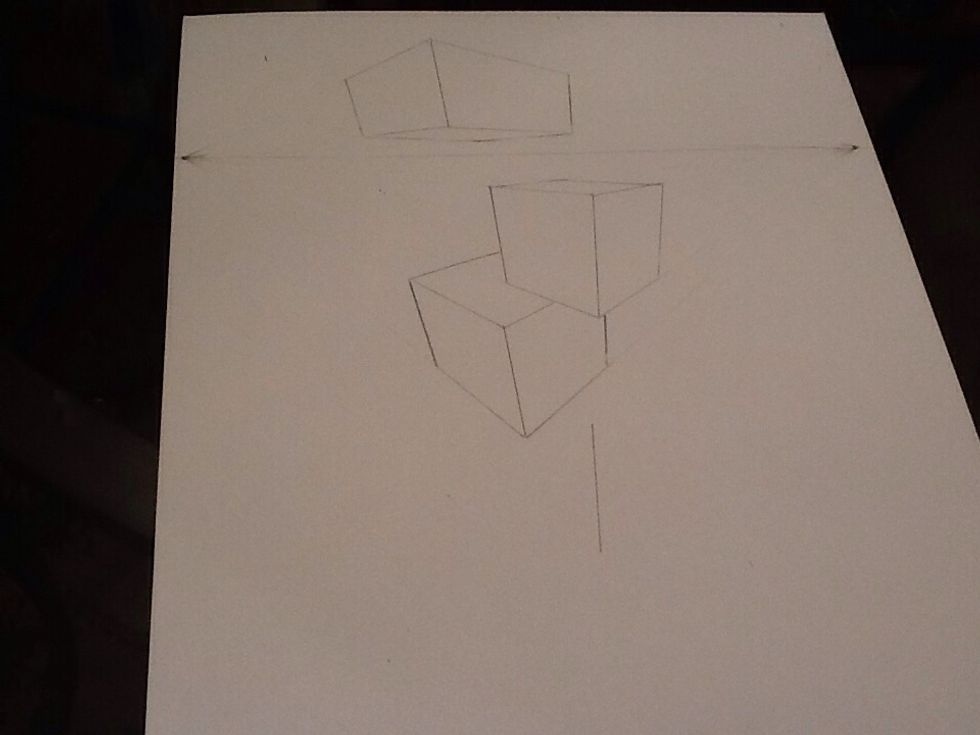
To make an opening on top of a box, draw lines to both vanishing points on your horizon line.
Draw a line down to the 3rd vanishing points from the back corner of your opening.
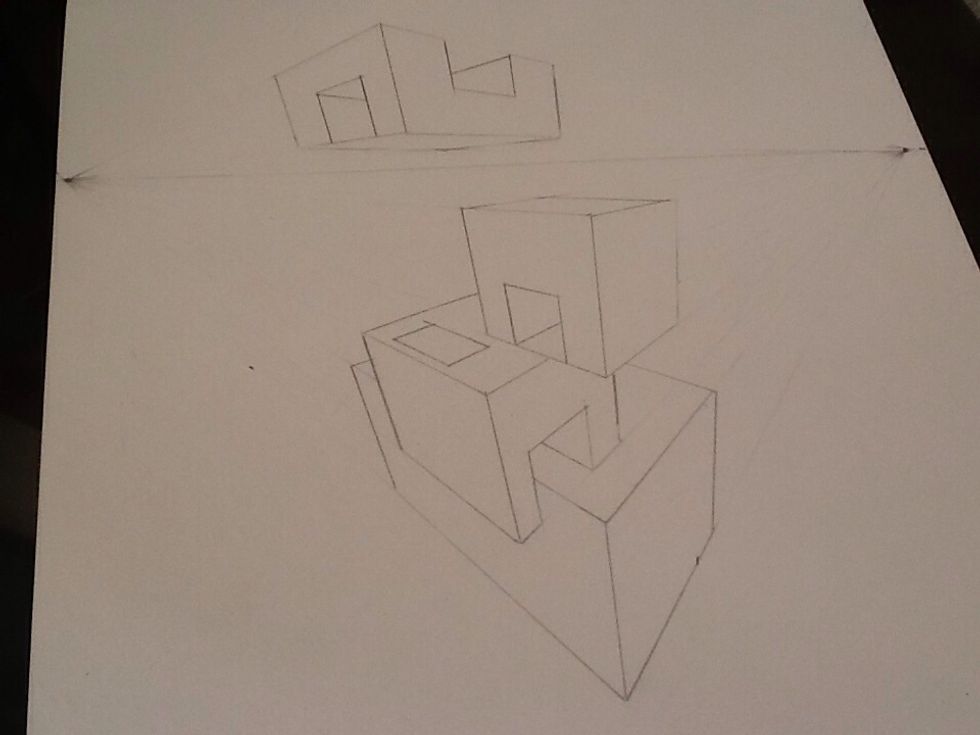
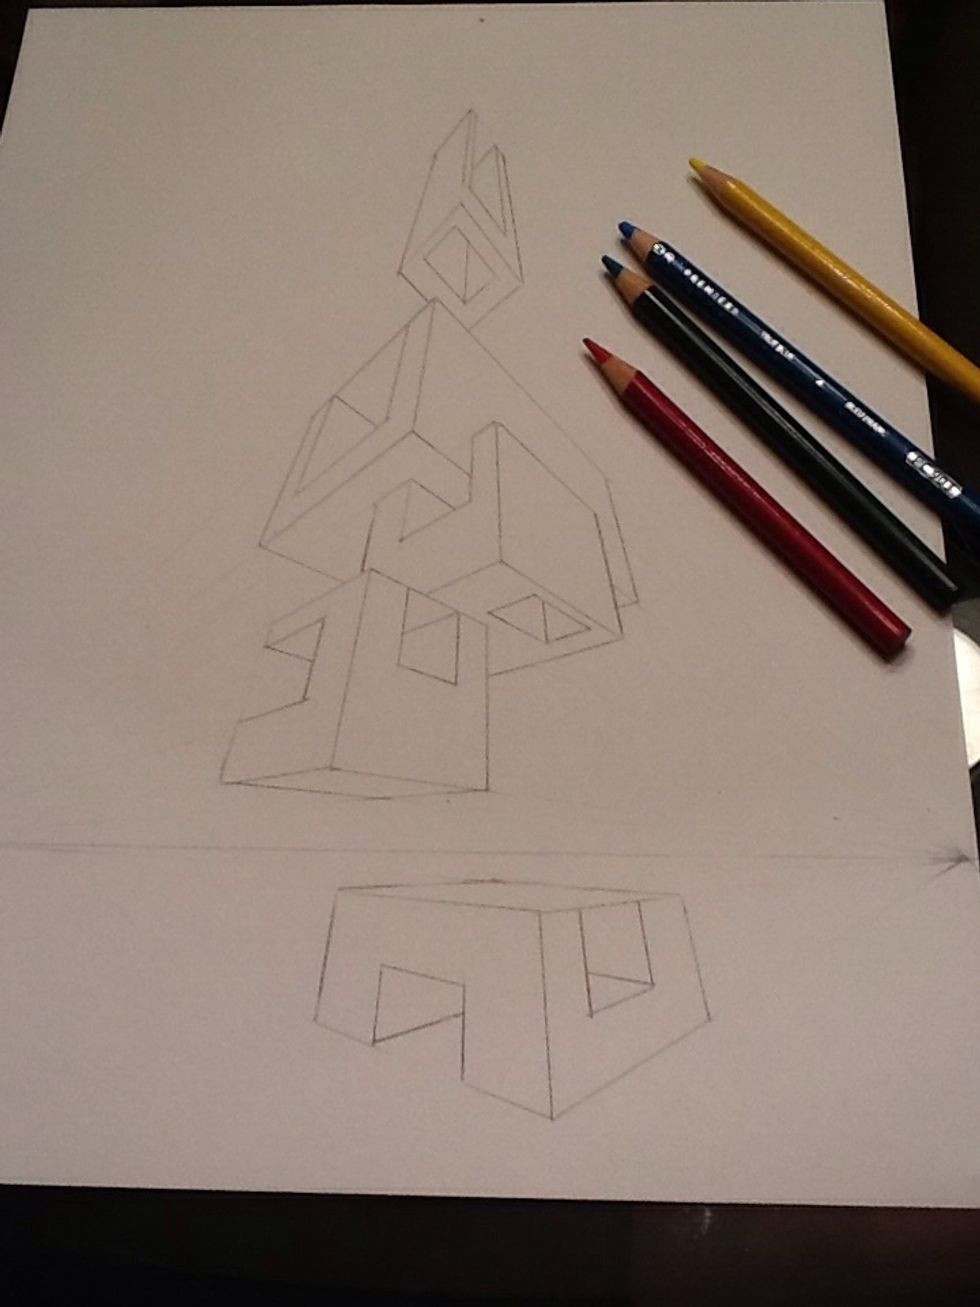
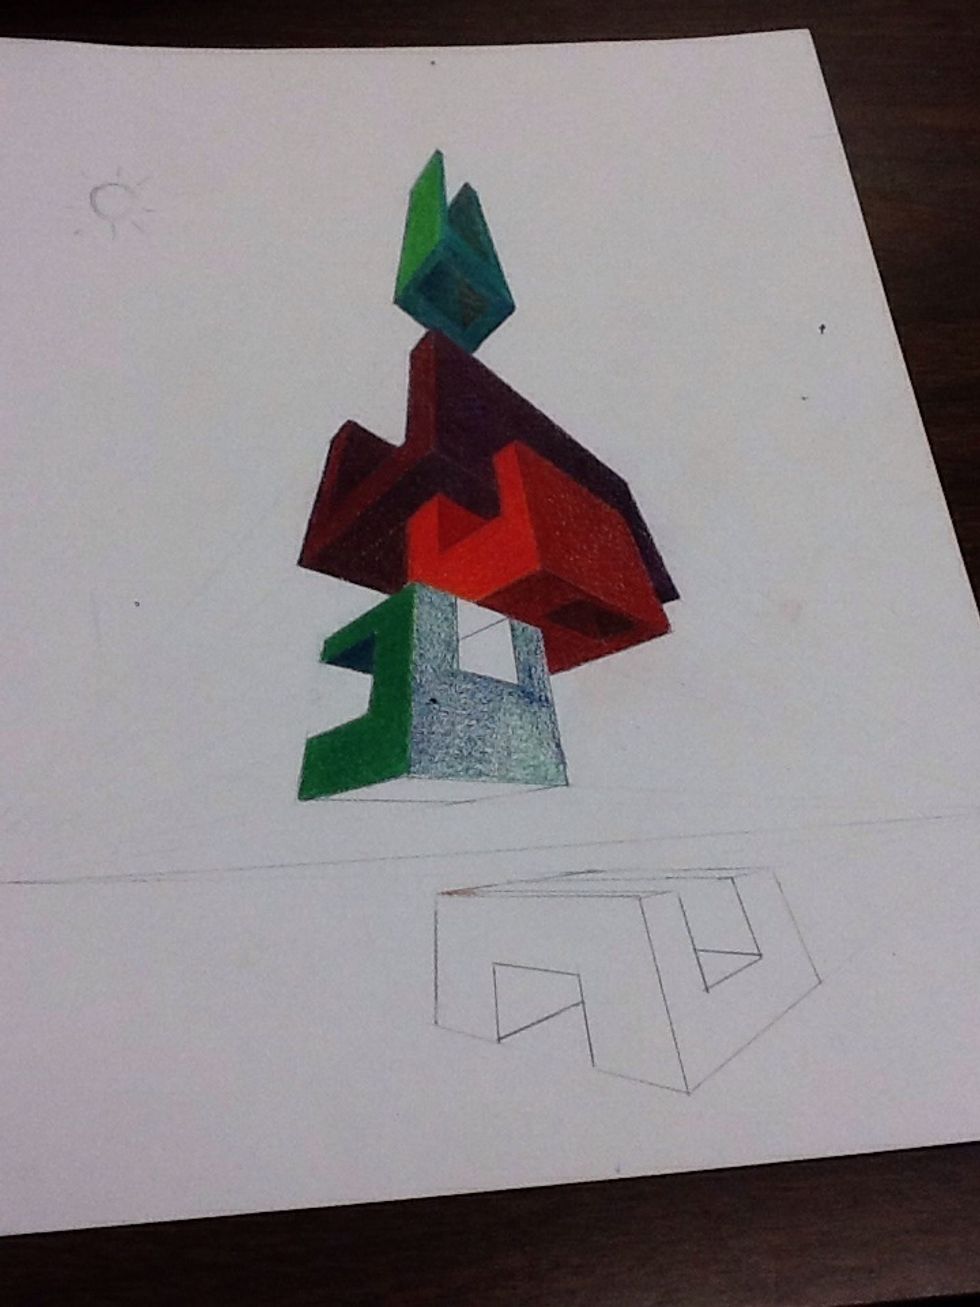
I turned my paper upside down to see what it looks like from worms eye view and decided to finish it that way.
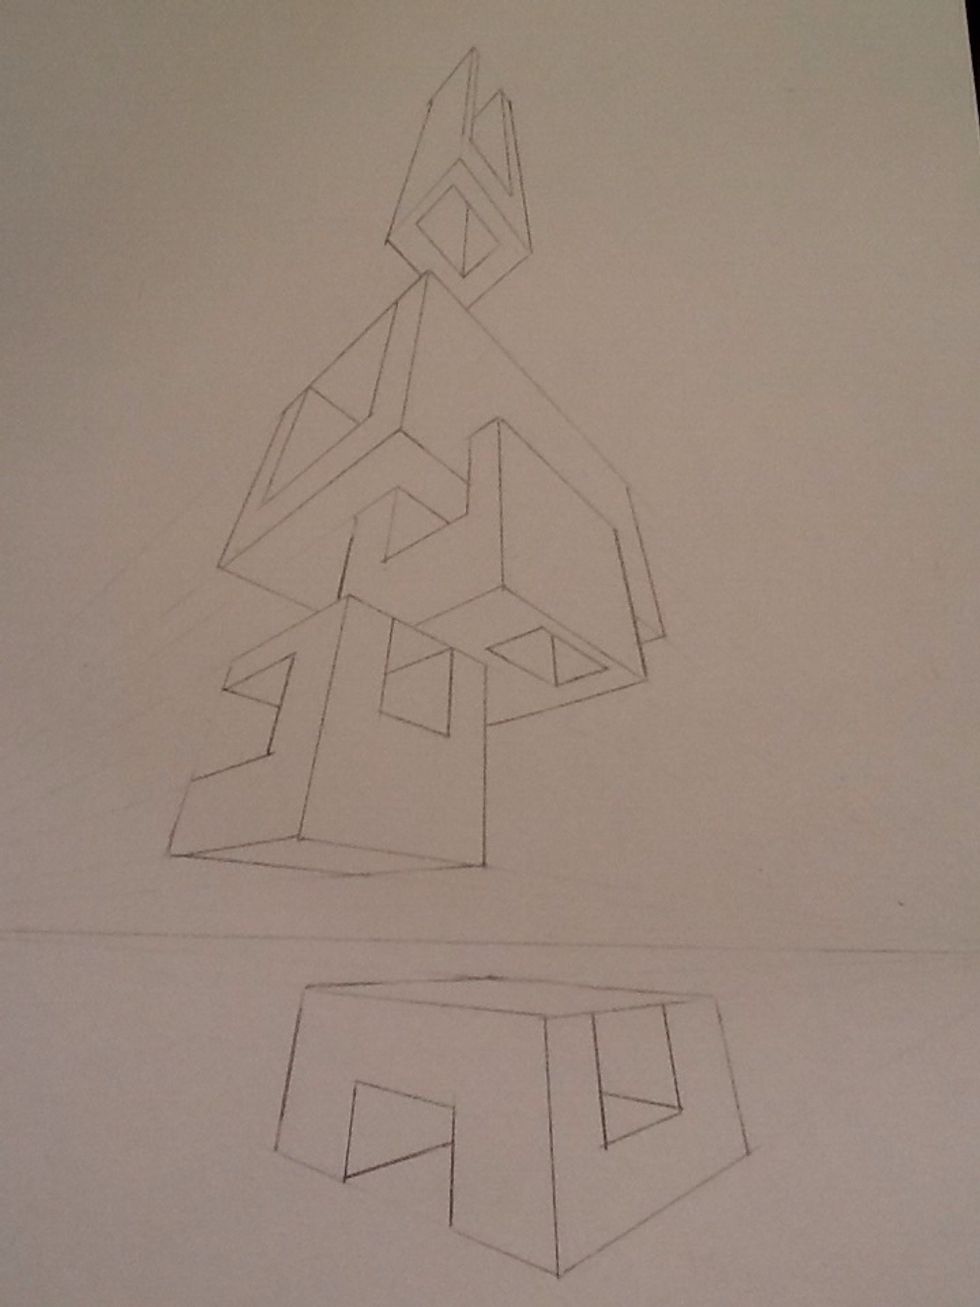
It needed another building!
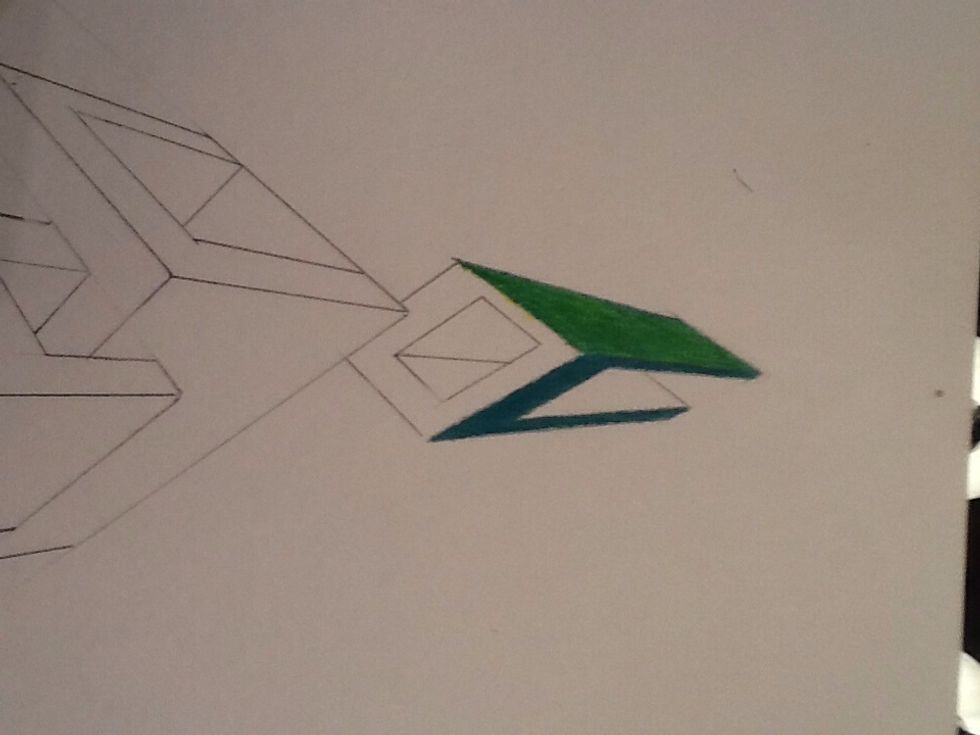
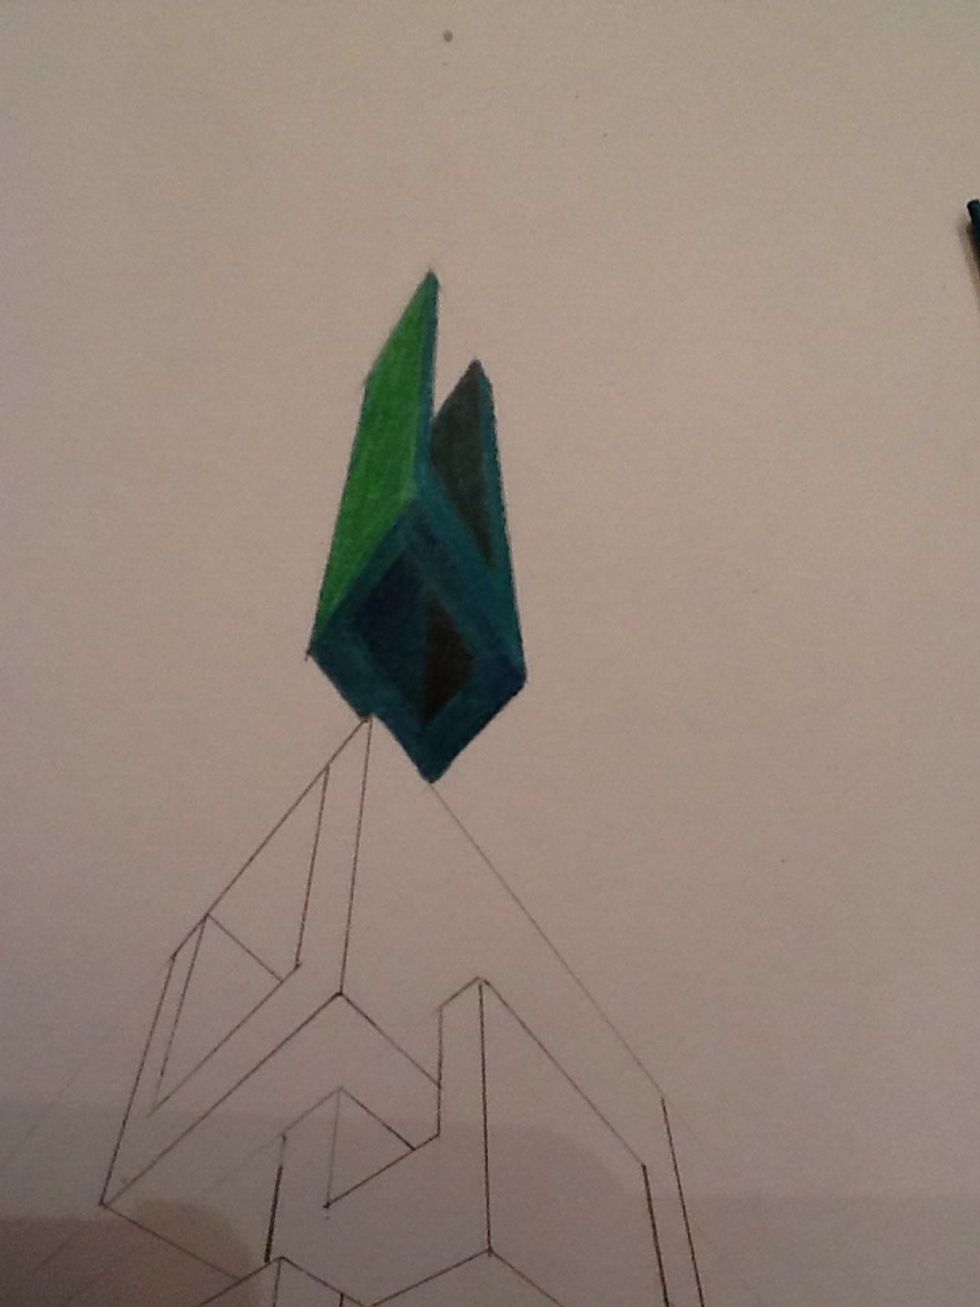
Time to begin coloring. Choose your color scheme- I used a split complementary scheme with green, red-violet, and red-orange. I am starting with a green box so I pulled out analogous colors.
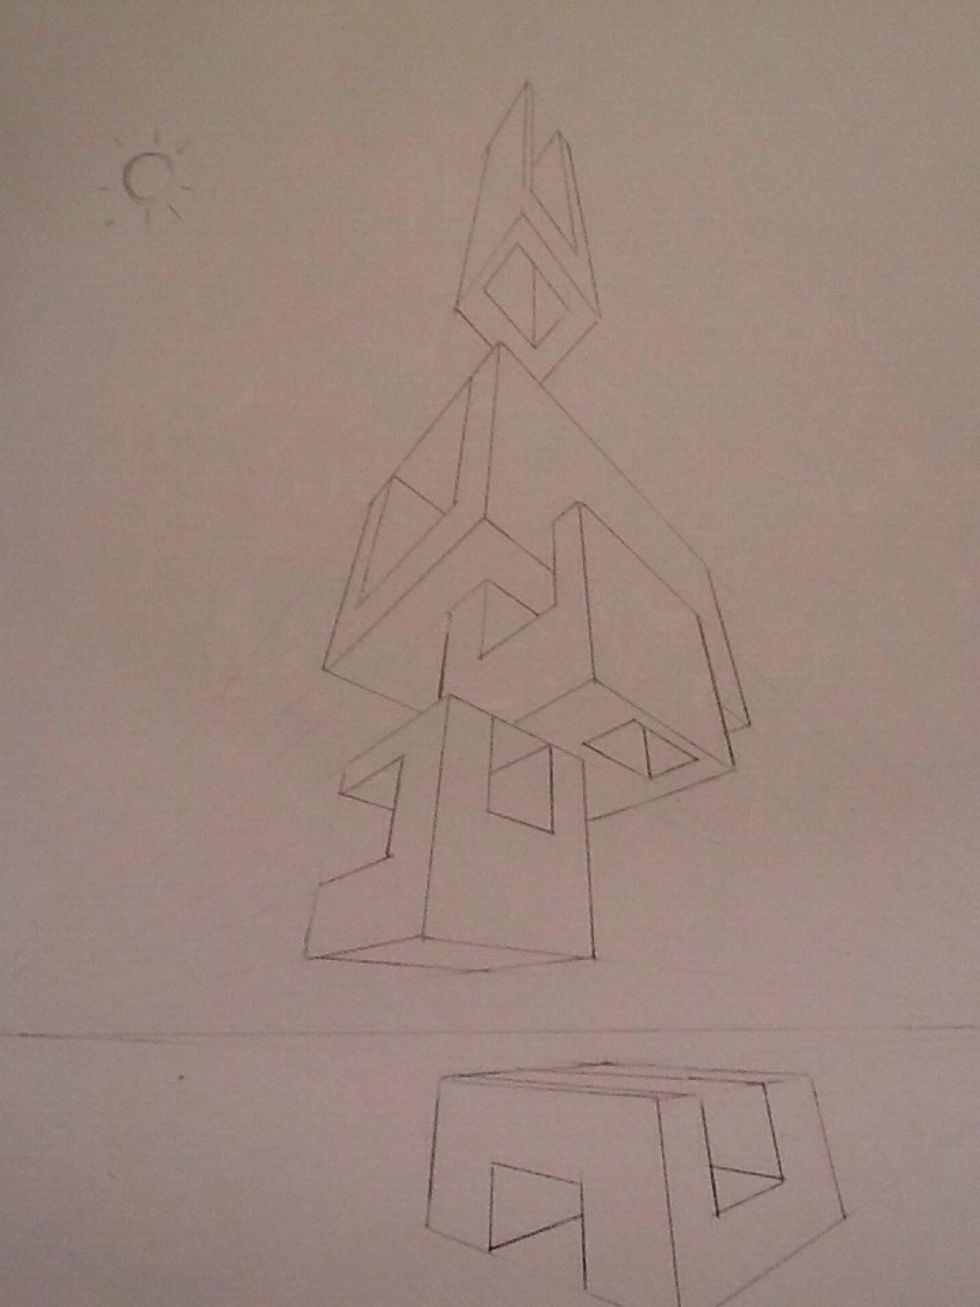
Choose your light source. It should be the same for the entire composition.
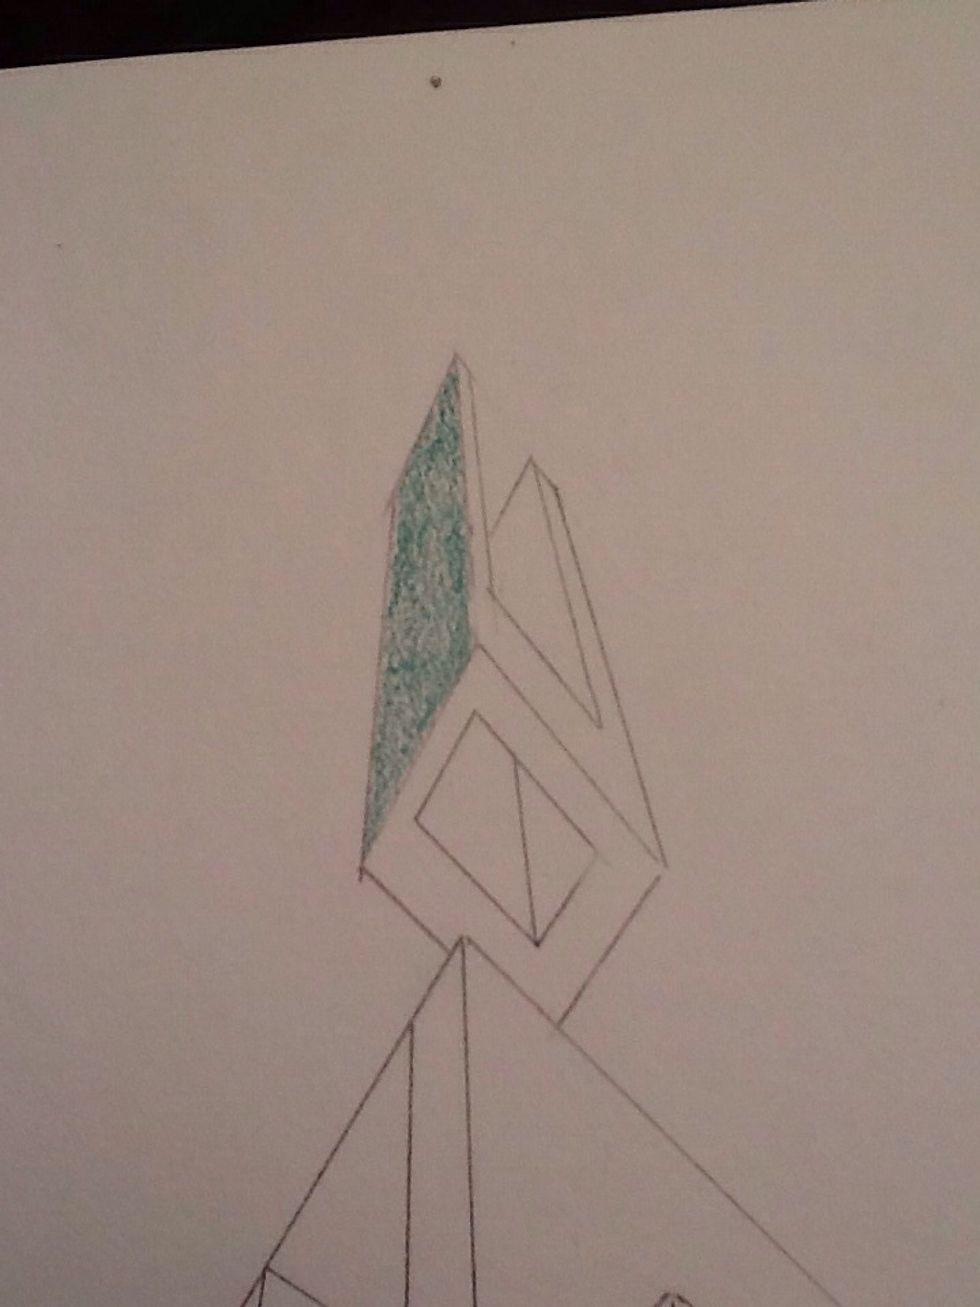
Start with your base color; here it is green
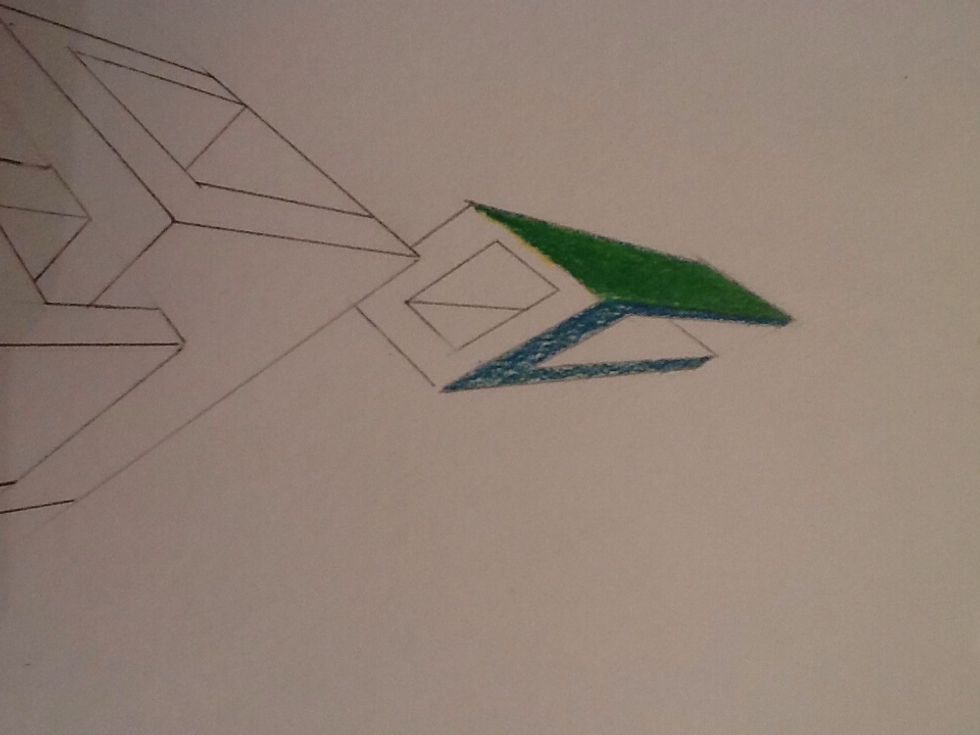
I added yellow to make it lighter then went back over it with green. On the next side, I did the same thing except to make it darker I used blue.
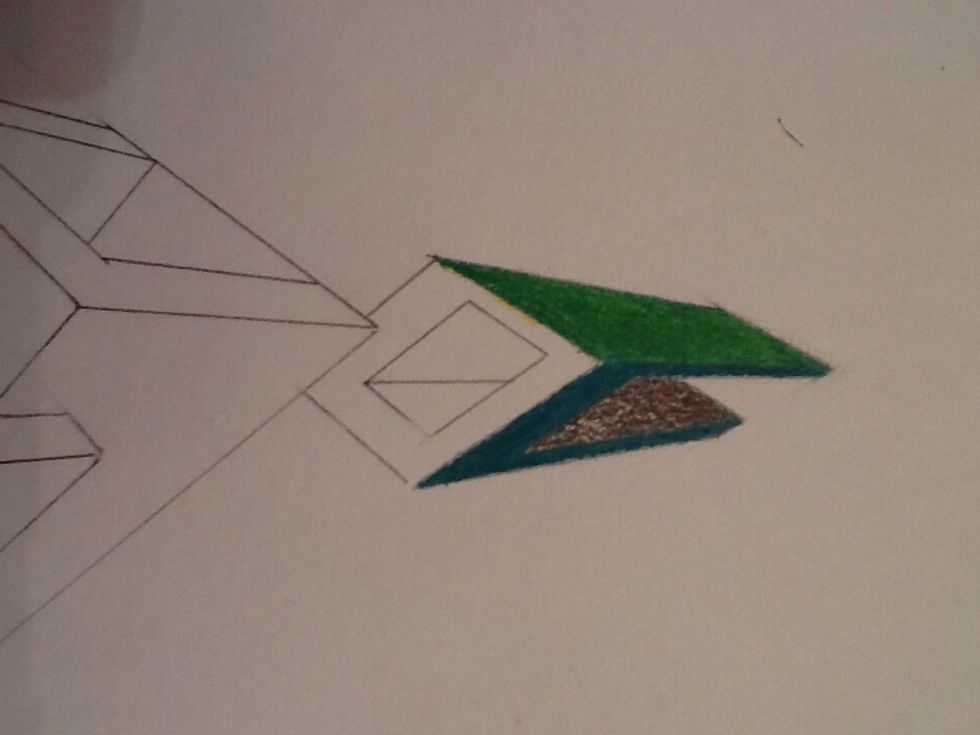
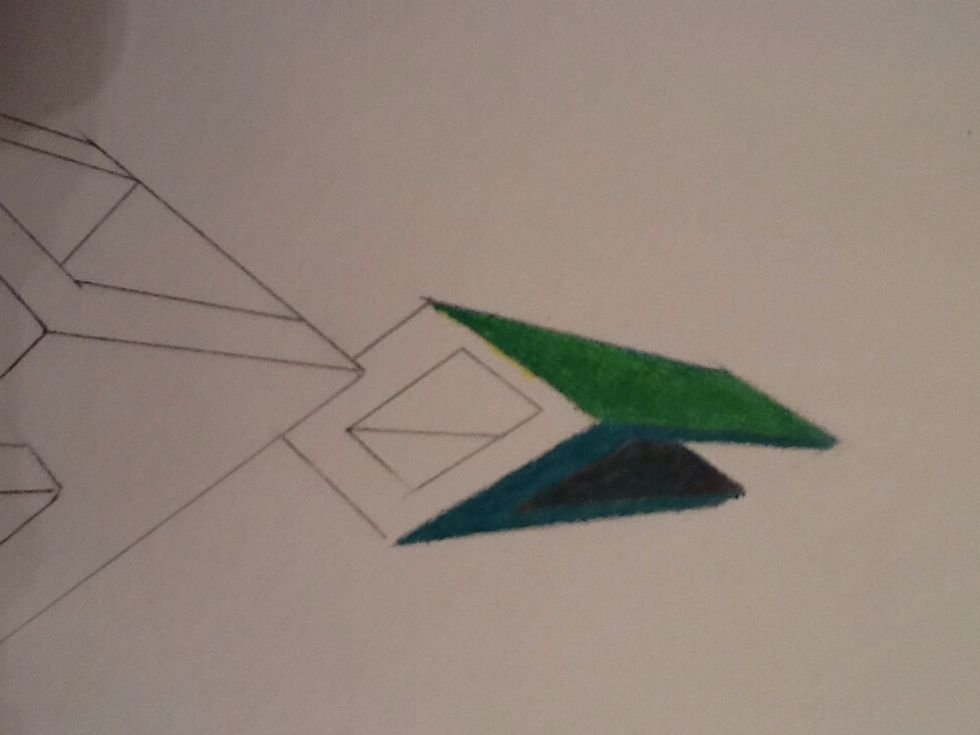
I used red (green's complement) to make the next section darker. Each side should look like a different value of green.
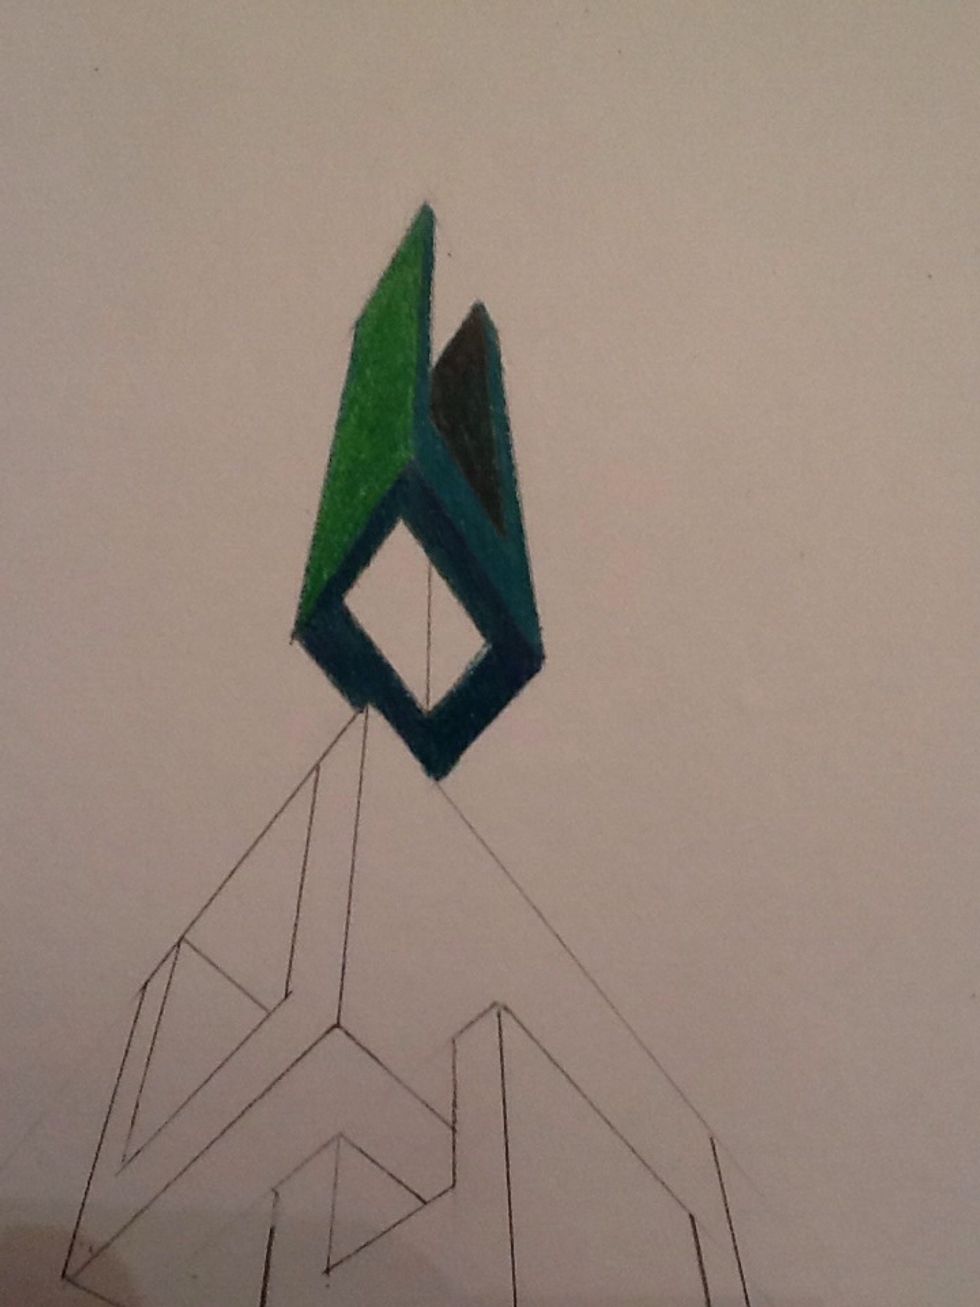
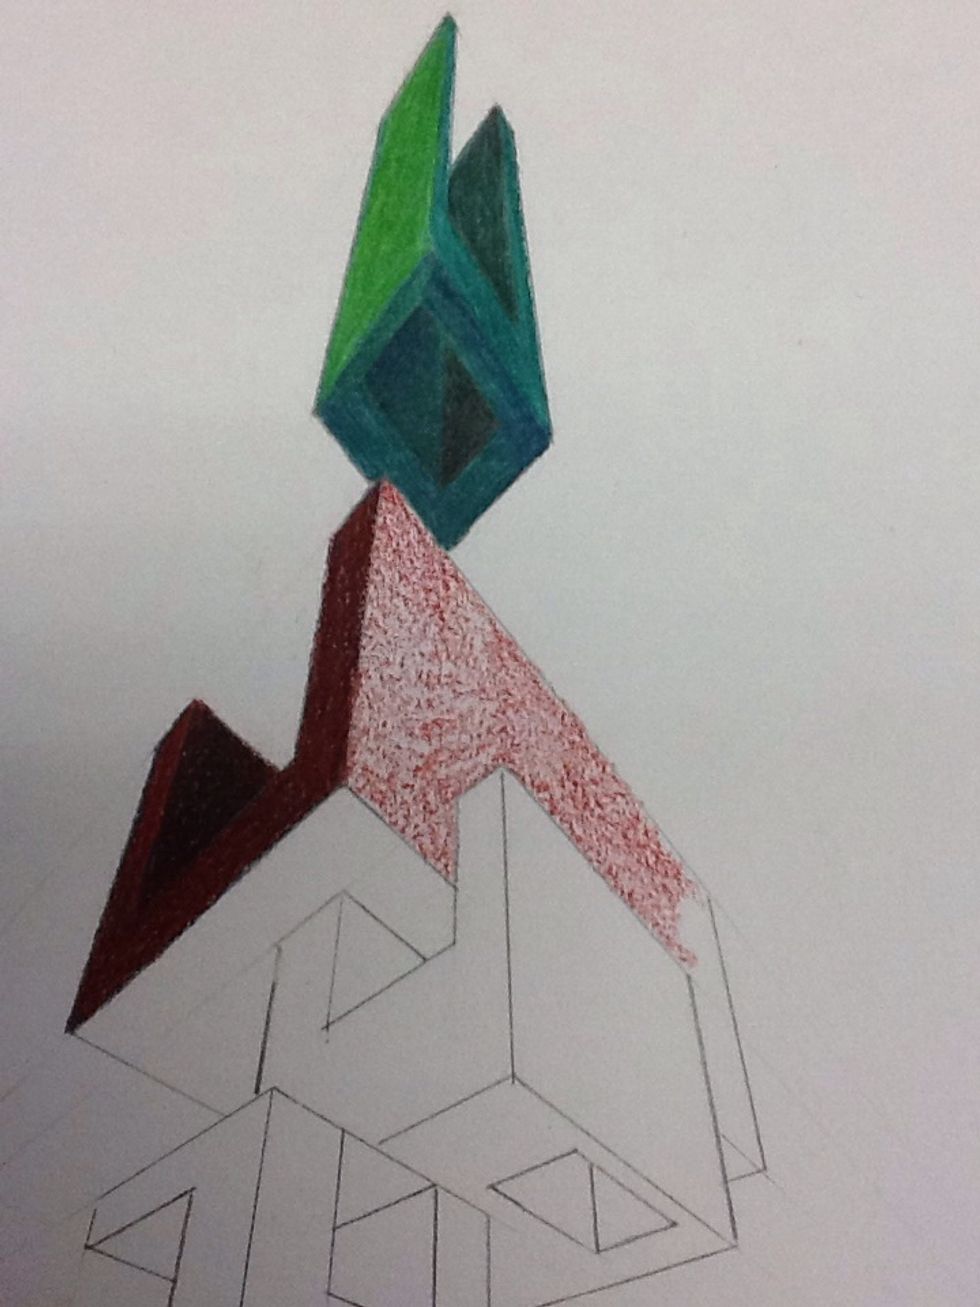
I continued the same process for my red-violet box. Use lighter analogous colors to lighten it and darker analogous colors and the complement to darken it.
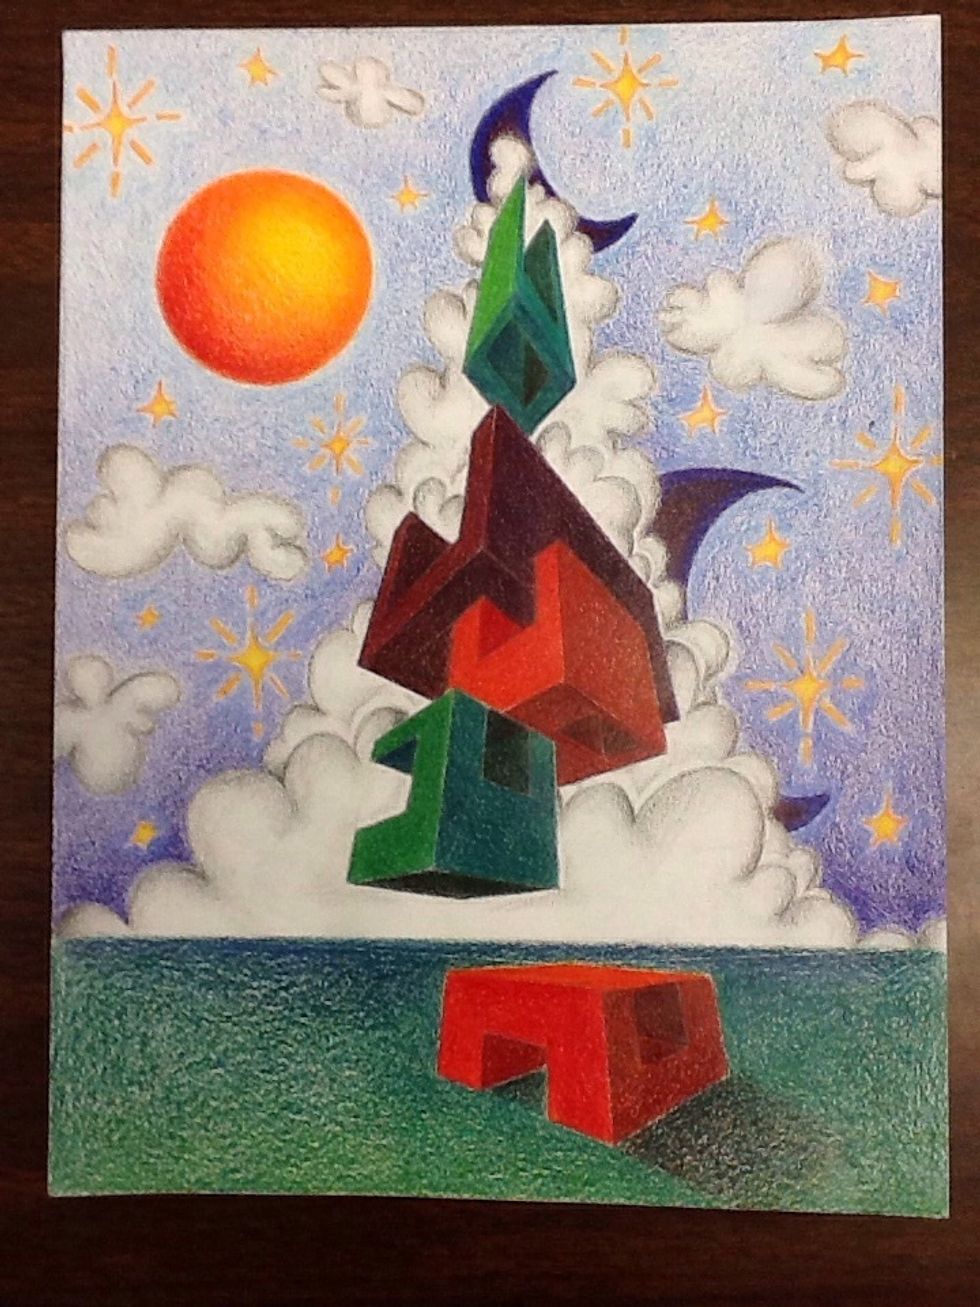
I finished by adding a futuristic background.