The Conversation (0)
Sign Up

Head to tackk.com. Register if you want, but you don't have to if you don't need this forever. Click the triangle to the right of the word tackk at the top of the screen to open a video tutorial.
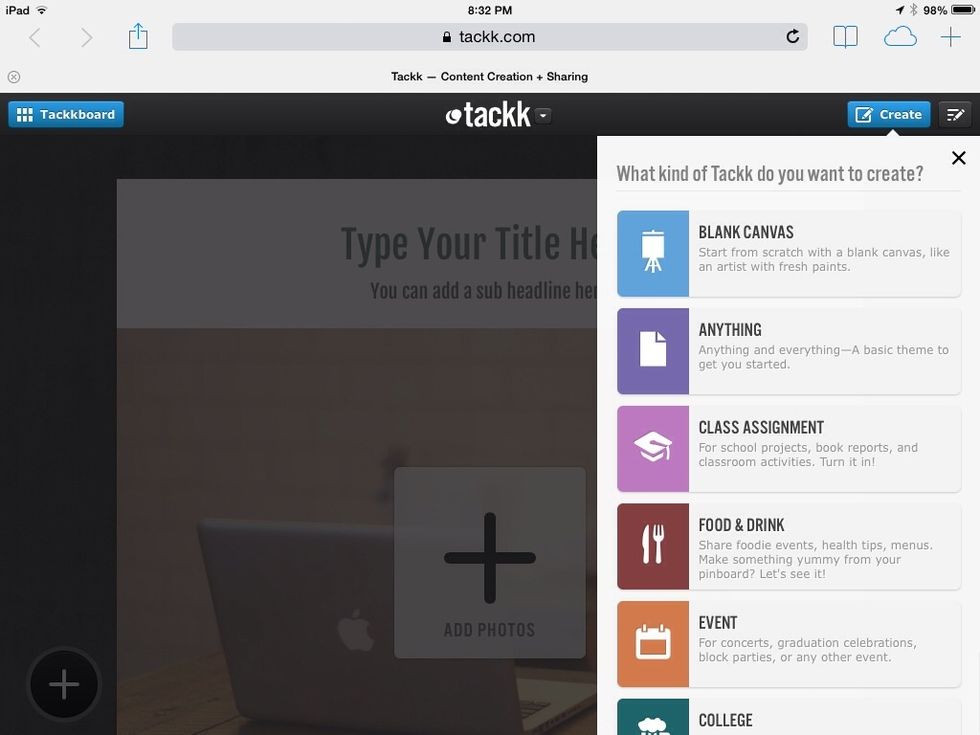
Hit the Create button at top right to reveal options for your project.
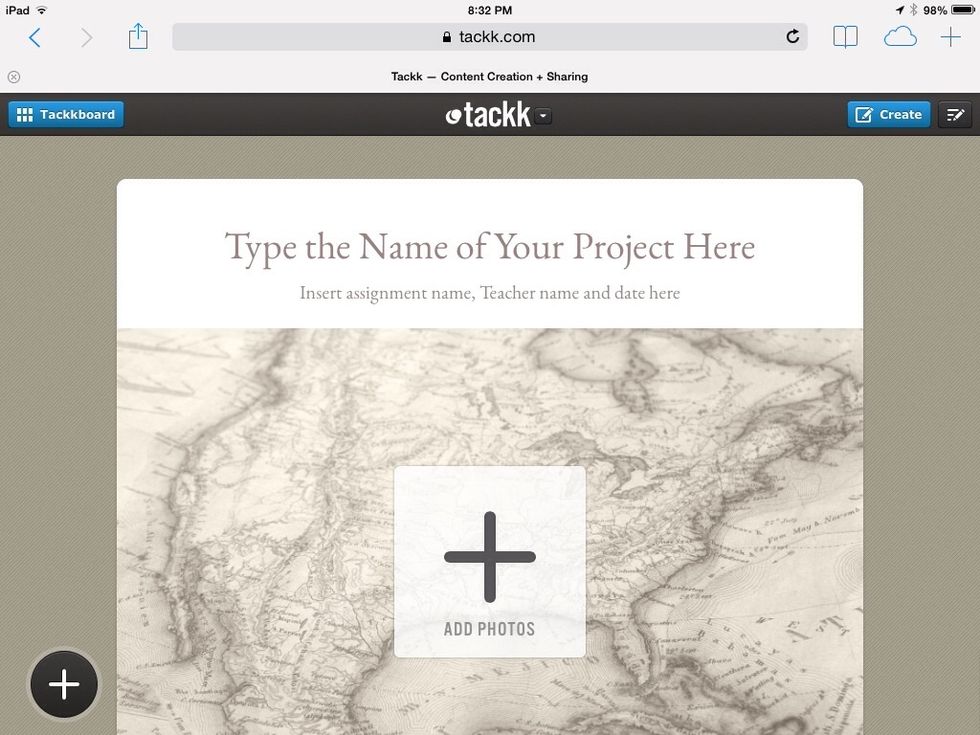
For example, this is what it looks like when you choose Class Assignment. There are lots of spaces to add text, including more when you scroll down on this screen.
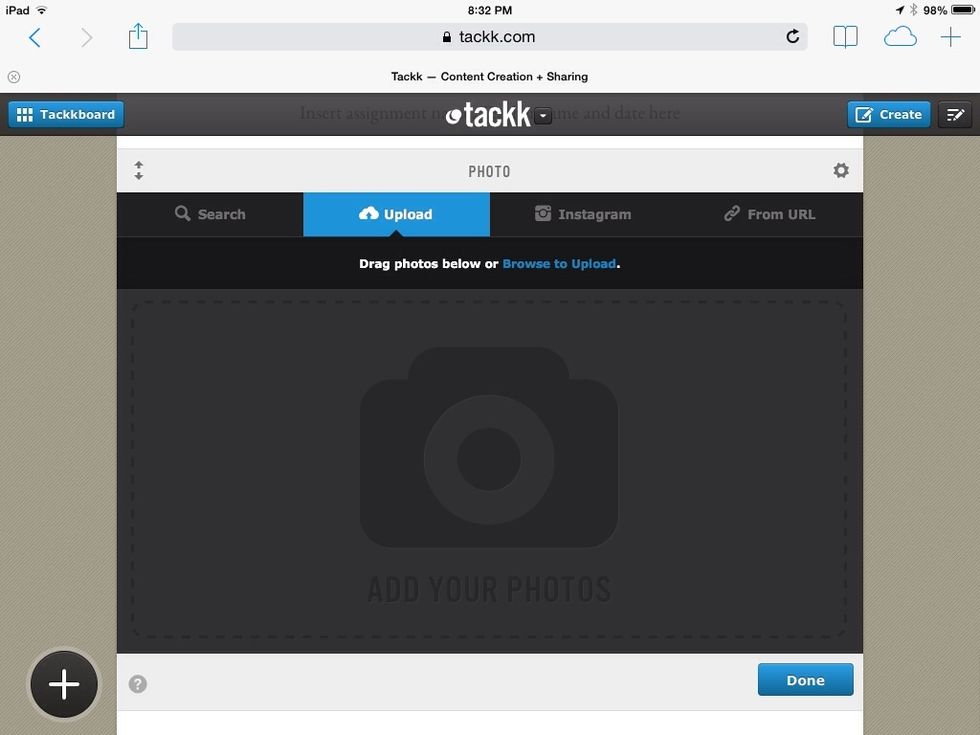
You have several great options for adding photos, including right from your camera roll.
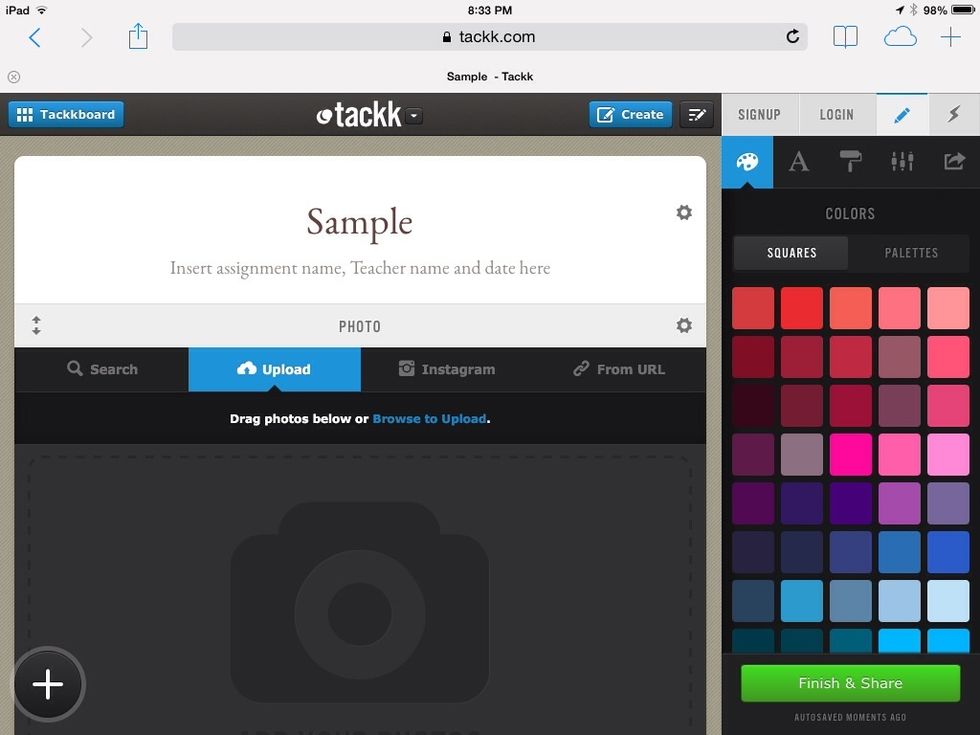
Click the palette on the side to edit your project's colors.
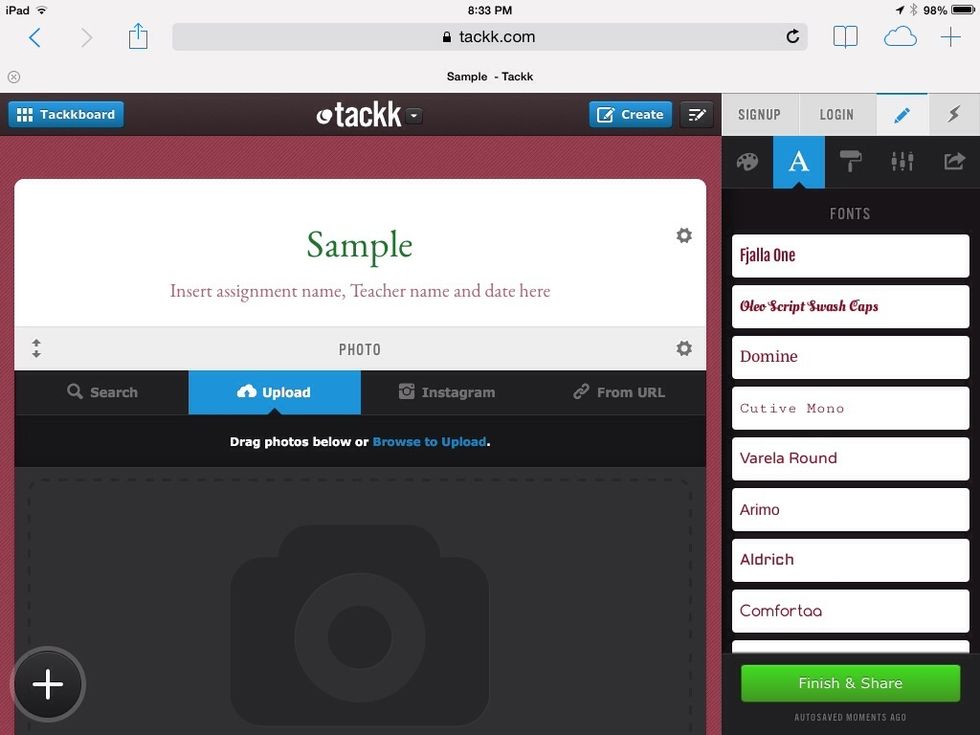
Click the letter A for font options.
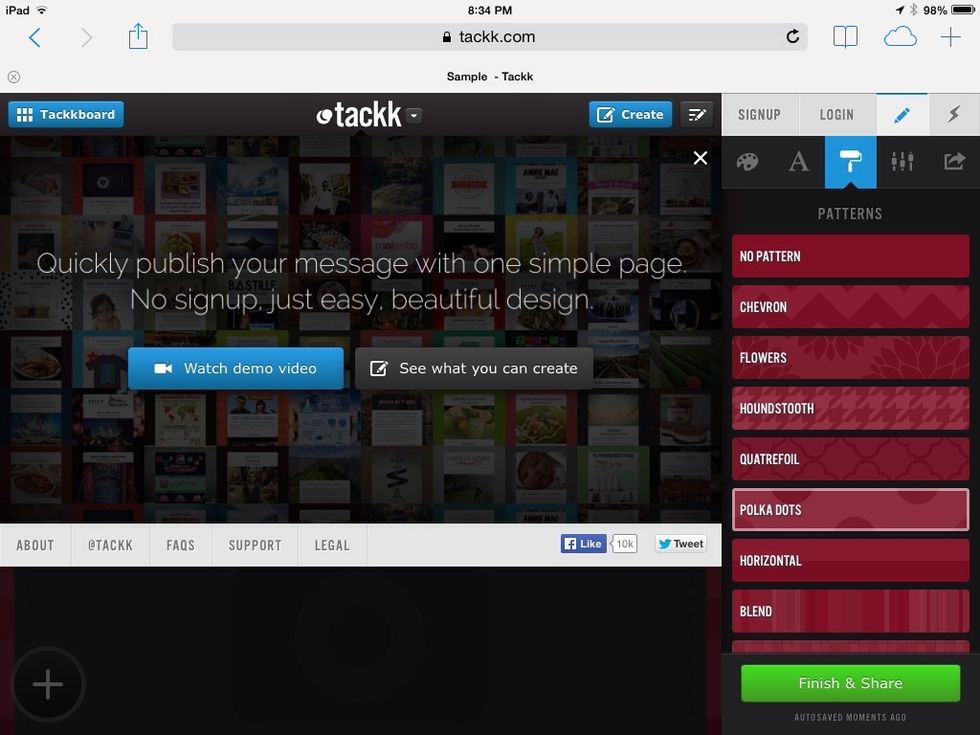
The paint roller shows your options for background patterns.
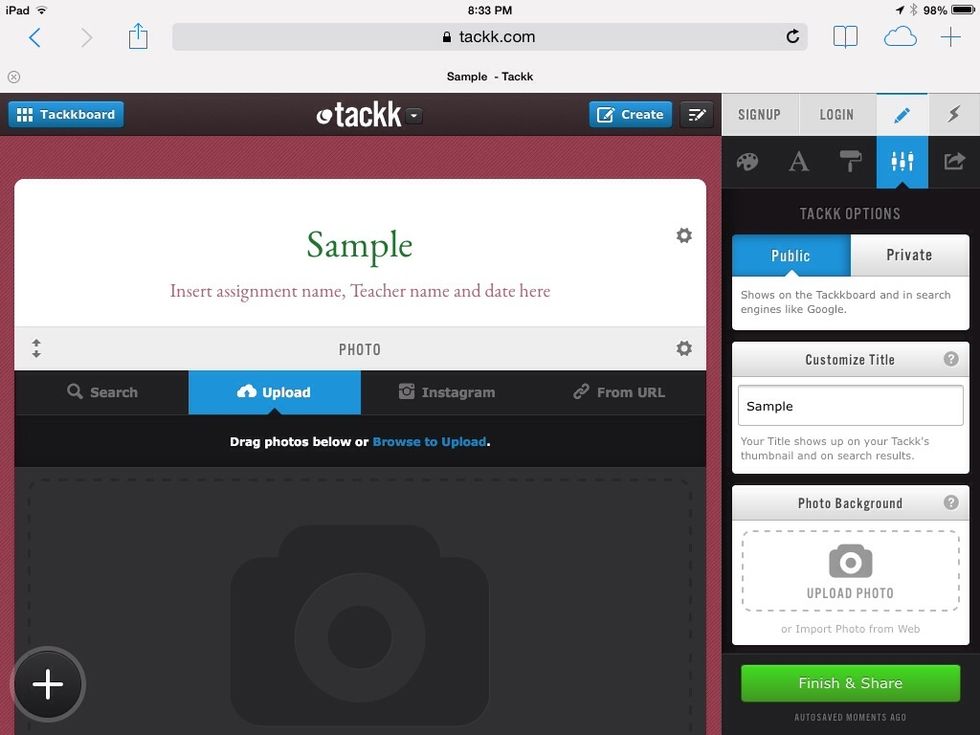
Here are more great setting options.
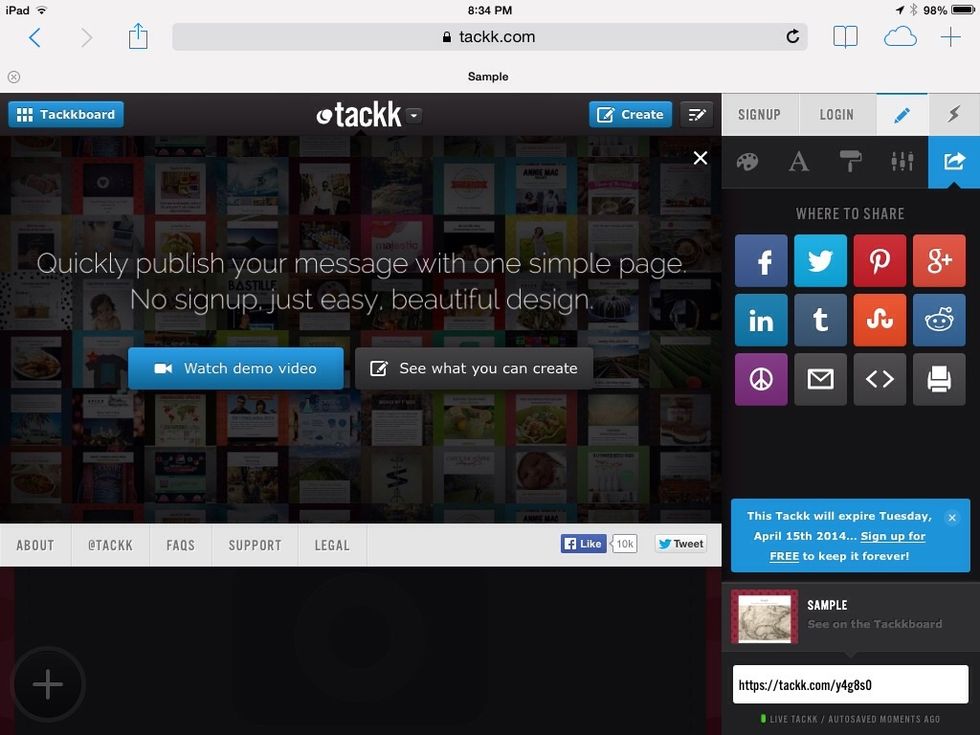
Many awesome sharing options are revealed at right.
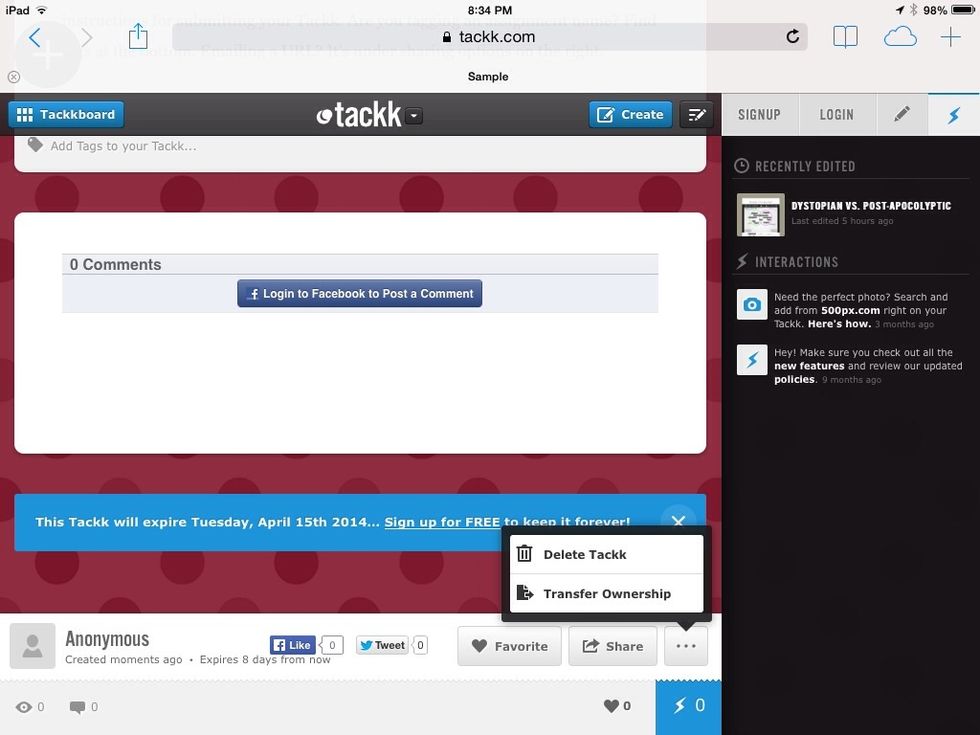
Options for deleting the project are at the bottom of the page.
Remember, create an account to save your projects...but if you just need something temporarily, this is a quick and easy tool. You can always screenshot before they expire.
These should embed nicely into your existing blogs and webpages. What a great tool for student projects!