The Conversation (0)
Sign Up
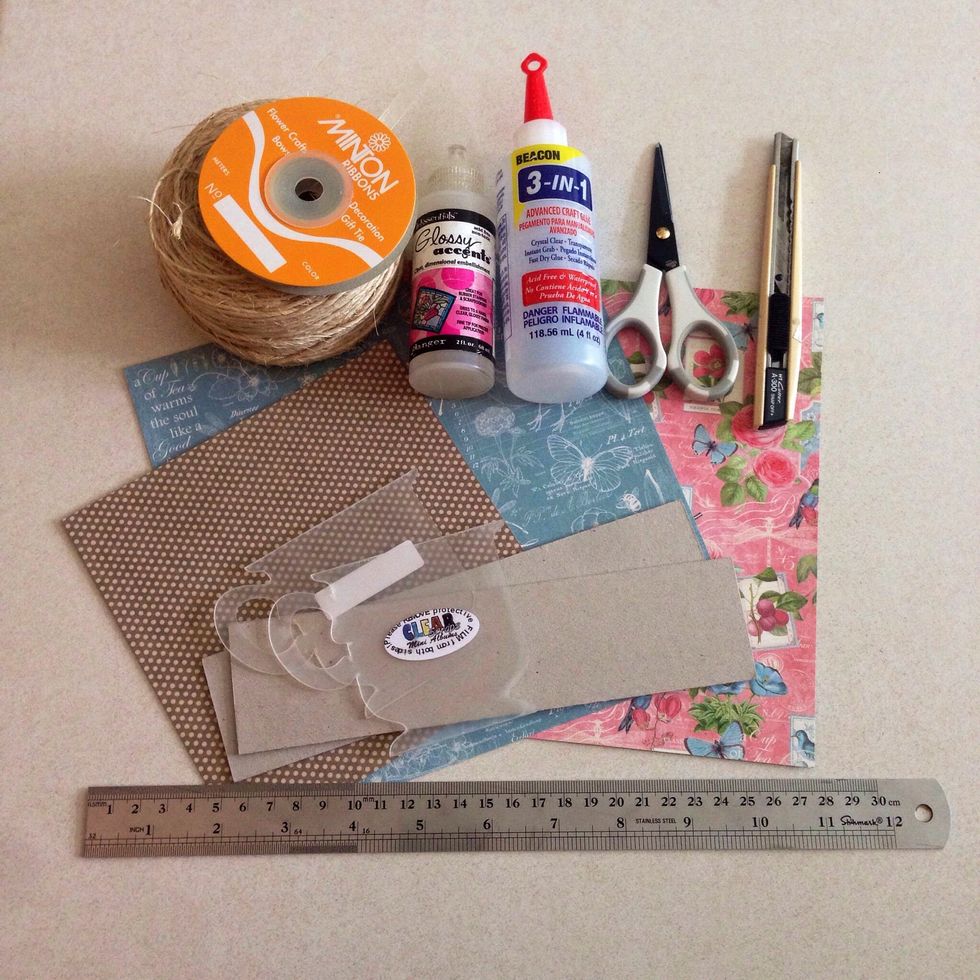
Select your favorite pattern papers and gather your supplies as follows... Supply list at top right hand corner of this guide...
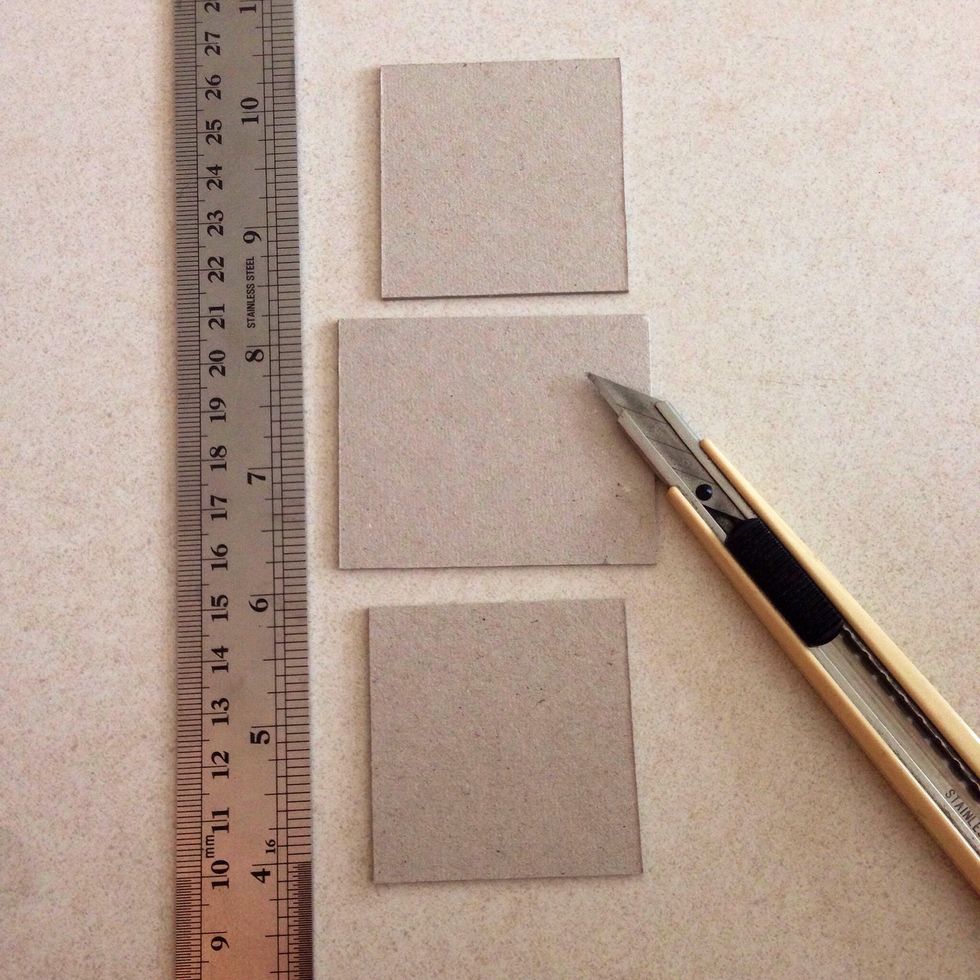
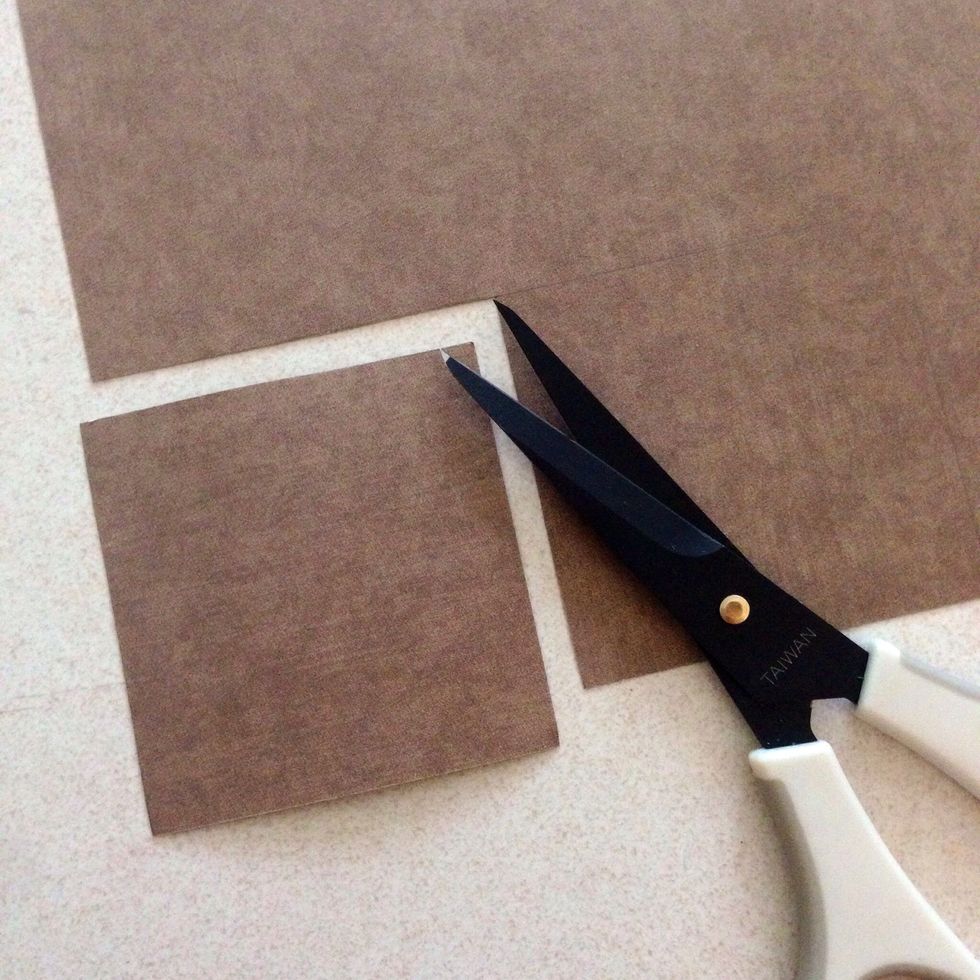
Cut 3 pieces chipboard into the following dimensions: 1 piece of 2.5" x 2" and 2 pieces of 2" x 2"...
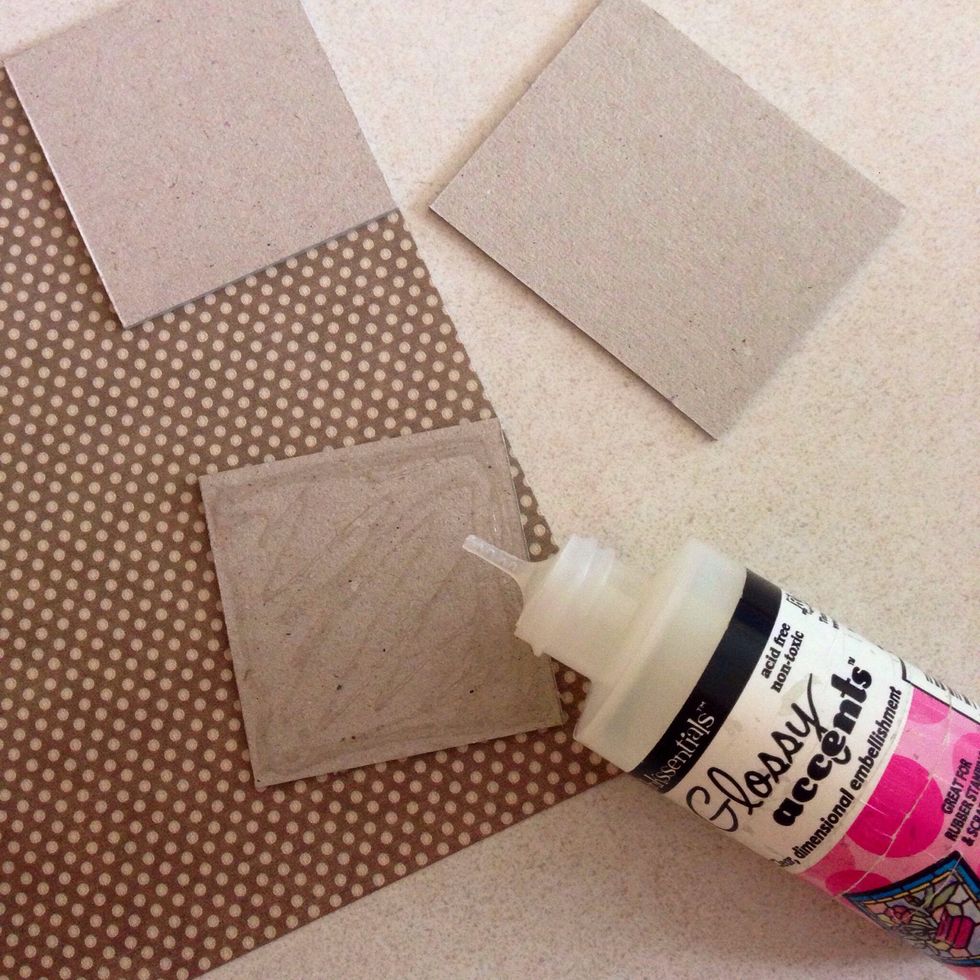
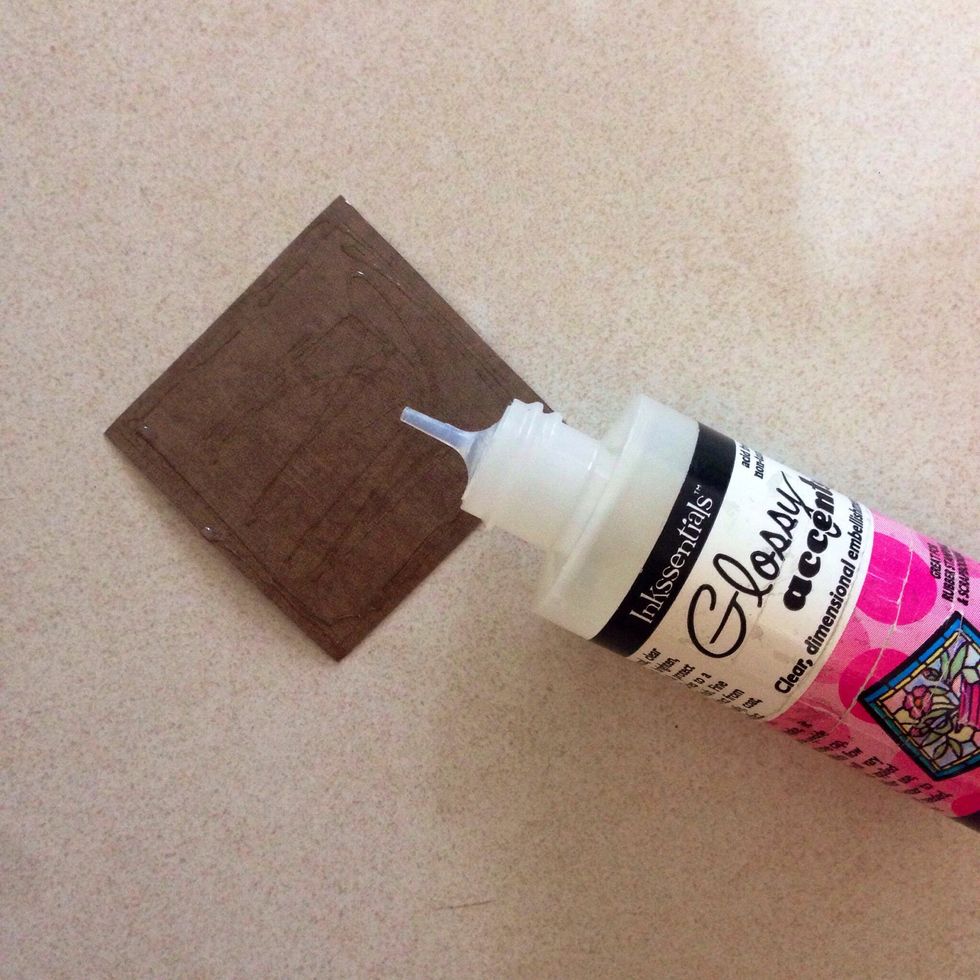
Apply glue or glossy accent onto one surface of the chipboard...
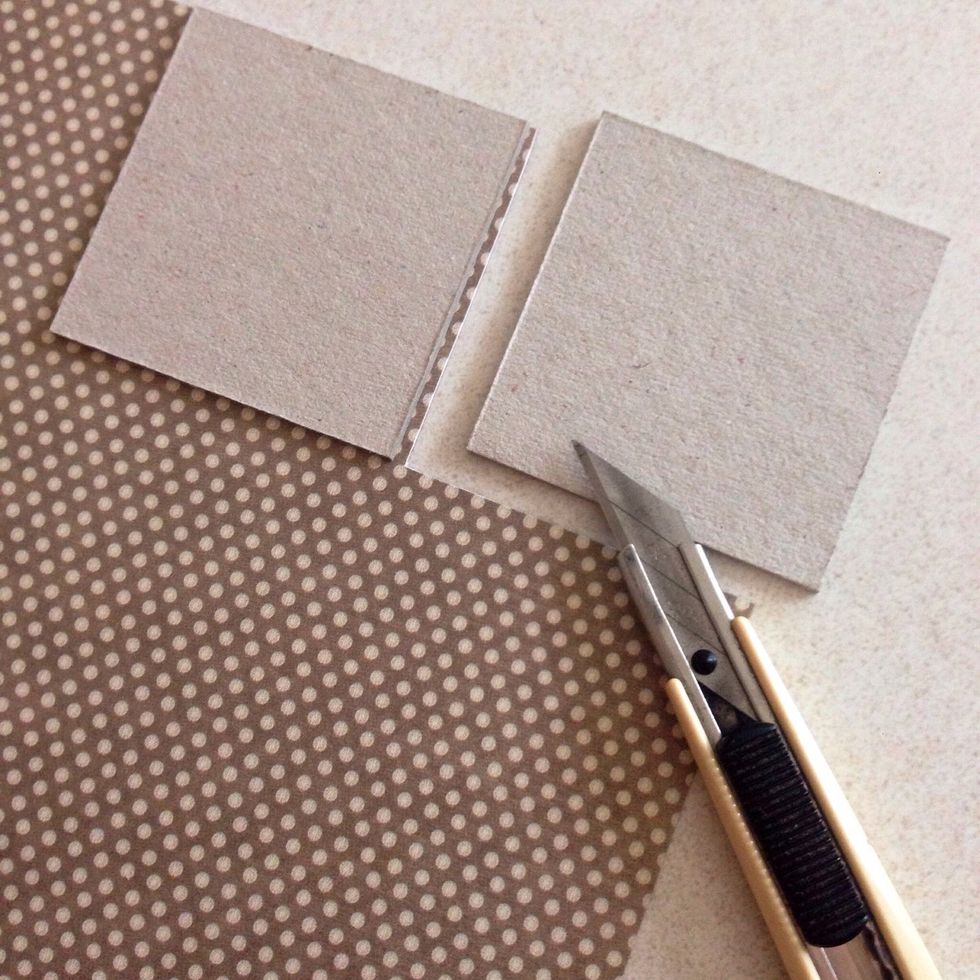
Glue it down onto a piece of pattern paper of your choice (on the wrong side)... Once glued down, trim the pattern paper accordingly to the chipboard size...

Repeat for the other remaining chipboards and this is what you will get... This will be the insides of the holder...
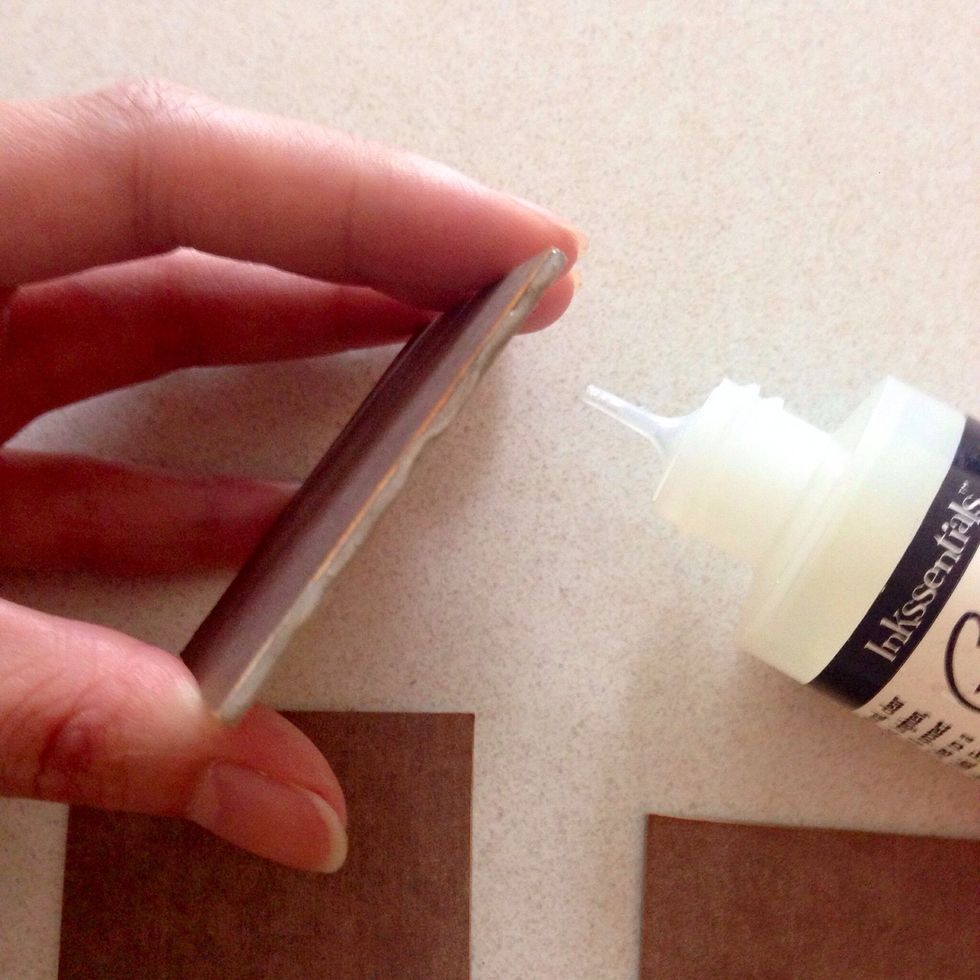
Taking one of the 2" x 2" chipboard, apply glue or glossy accent onto the edge of the chipboard as shown...
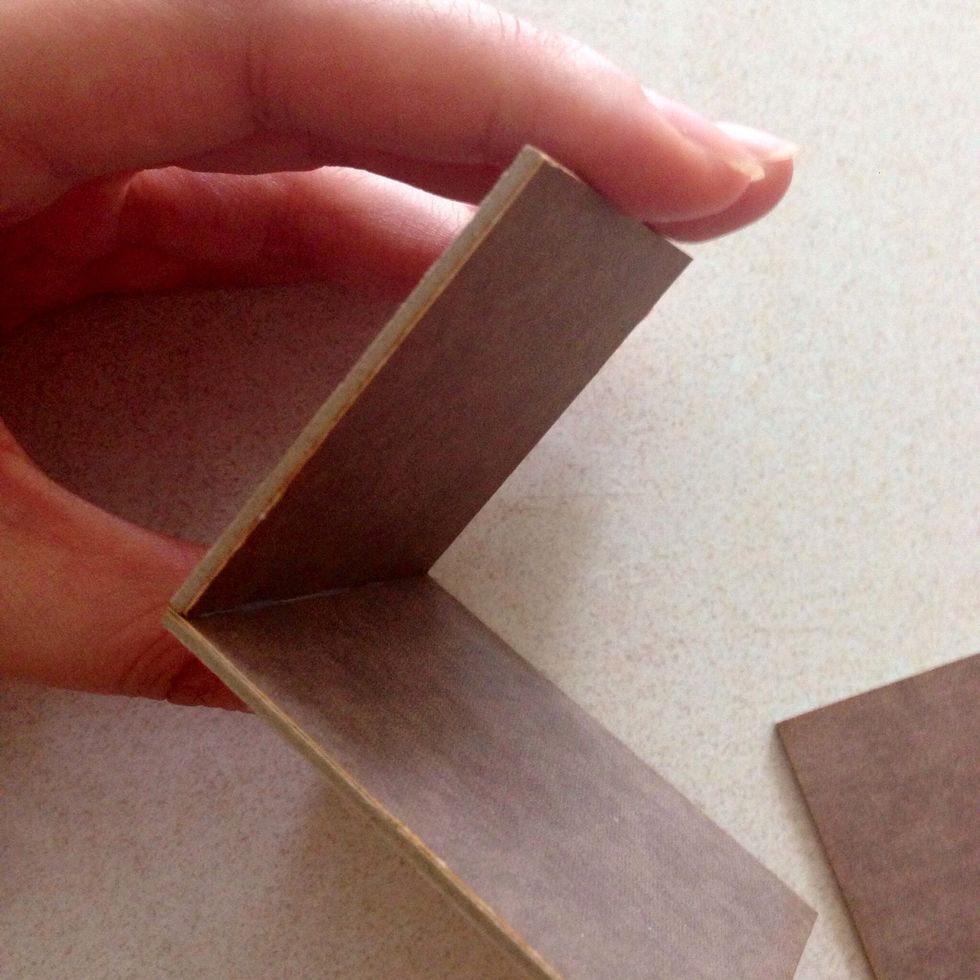
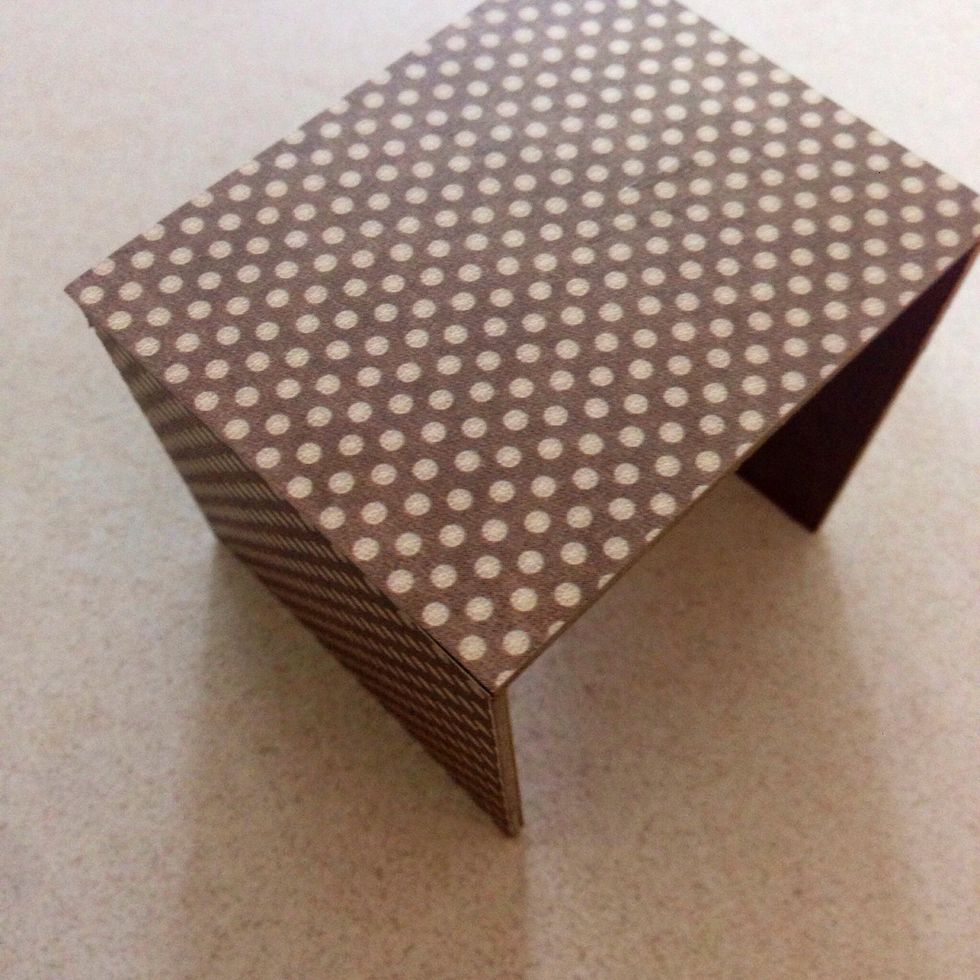
Press and glue it down at 90 degree angle on top of the 2.5" x 2" chipboard (on the 2" side)...
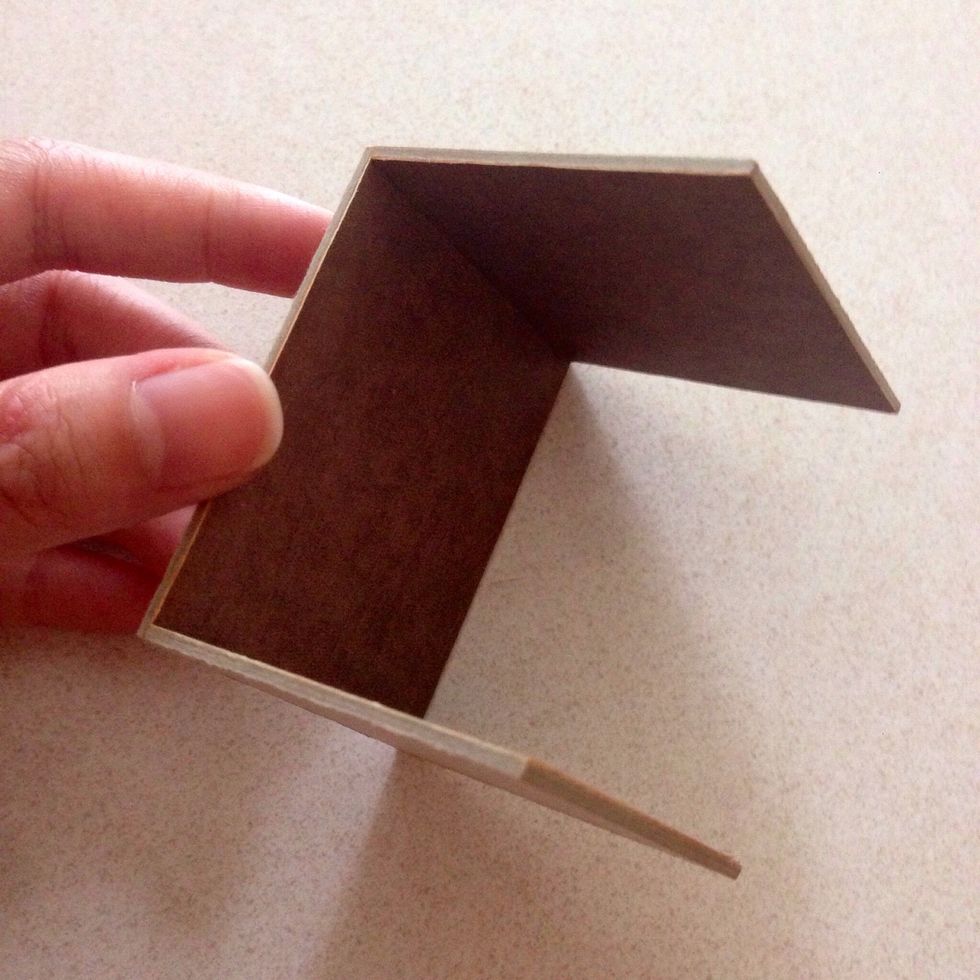
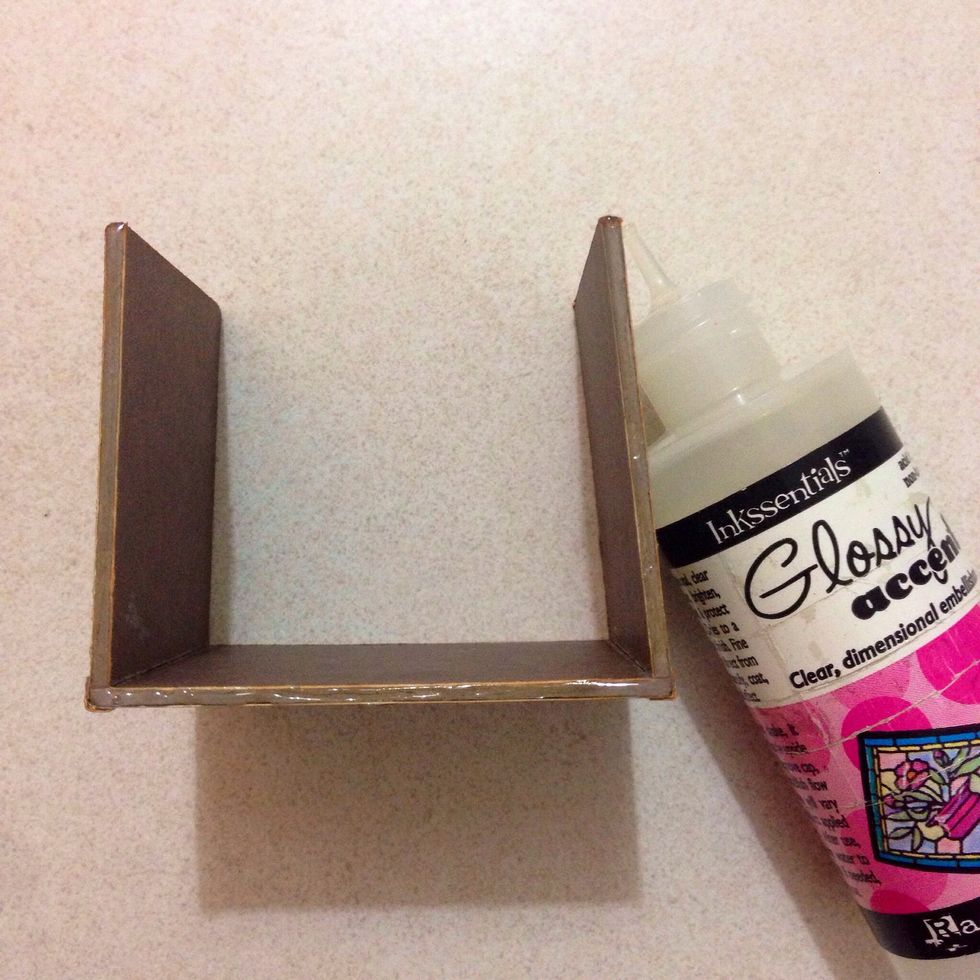
Repeat for the other 2" x 2" chipboard and you will get a "U" shaped assembled holder like this...
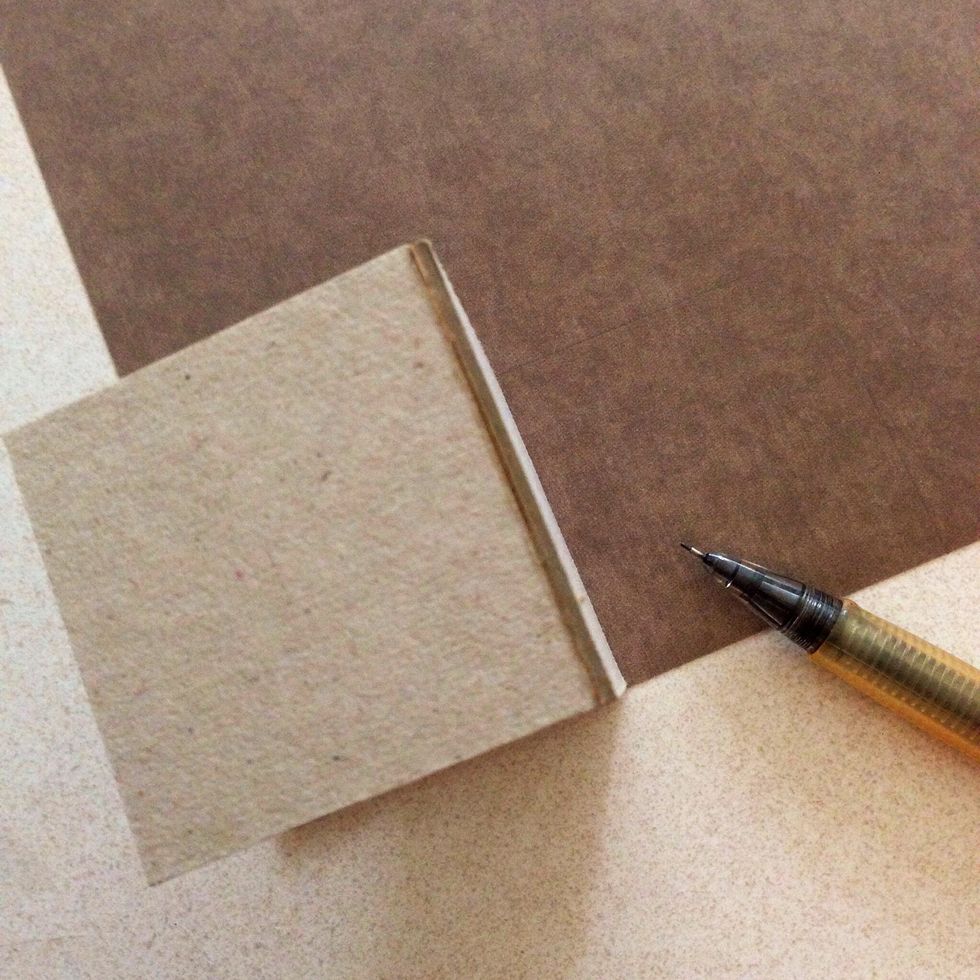
Trace one side of the chipboard holder onto a pattern paper of your choice...
Trim the traced pattern paper out using a precision scissors or any scissors of your choice...
Apply glue or glossy accent onto the wrong side of the pattern paper...
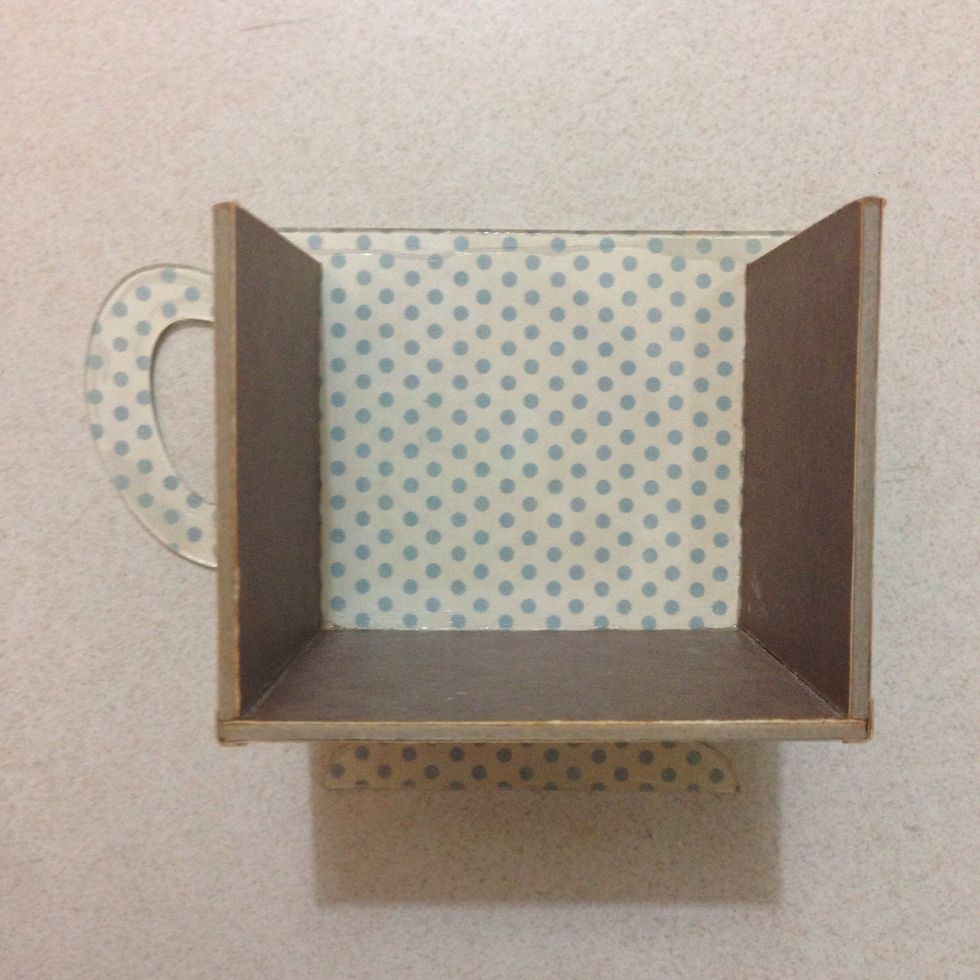
Glue the pattern paper onto the chipboard containers... Repeat the same for the rest of the surfaces and this is what you will get...
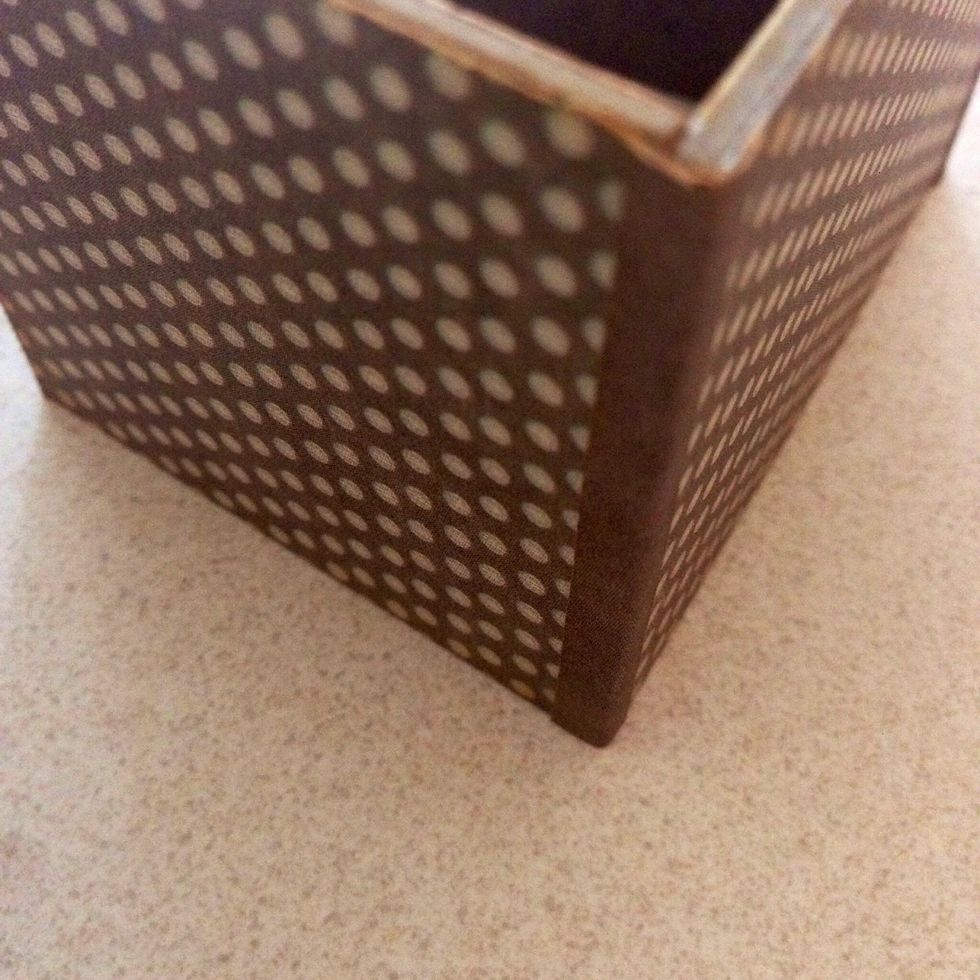
Optional: To conceal the gaps between the corners of the holder, glue a small strip of pattern paper over it...

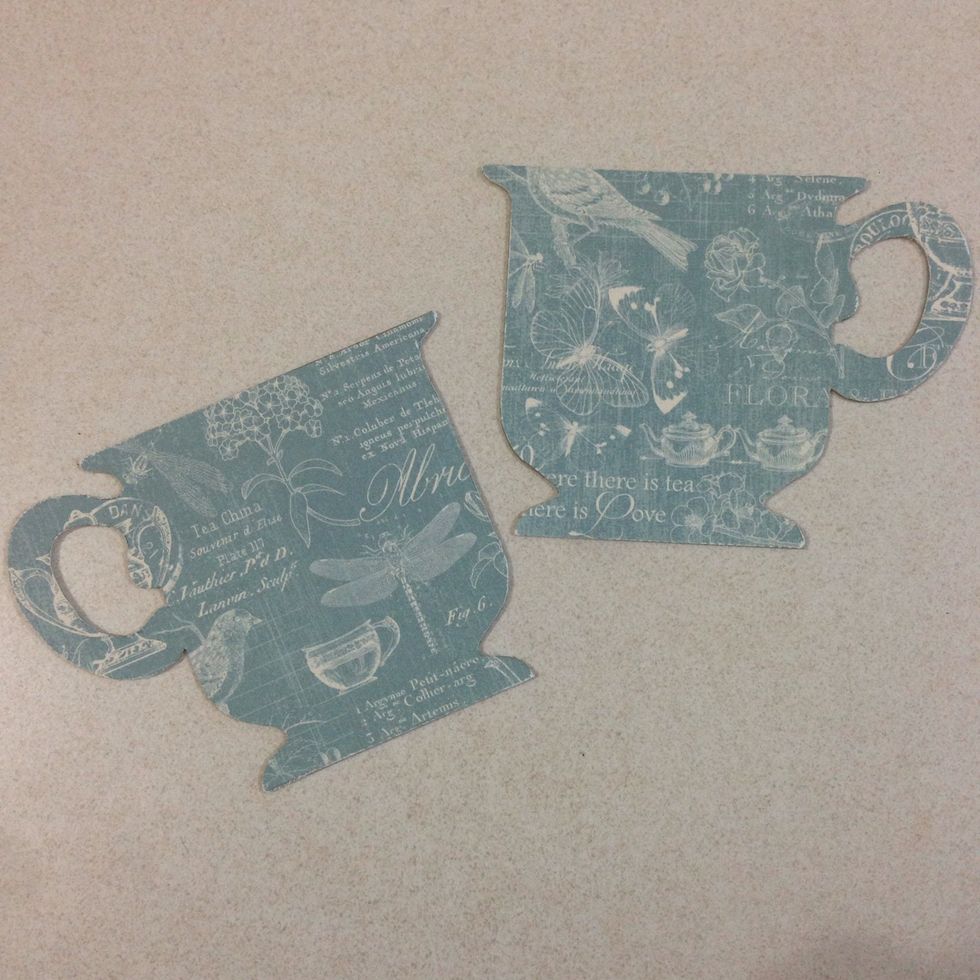
Trace the teacup shape onto a pattern paper of your choice as shown... Take note to trace them in opposite directions for both of the teacups...

Cut the shape out using a precision scissors... And this is what you will get...
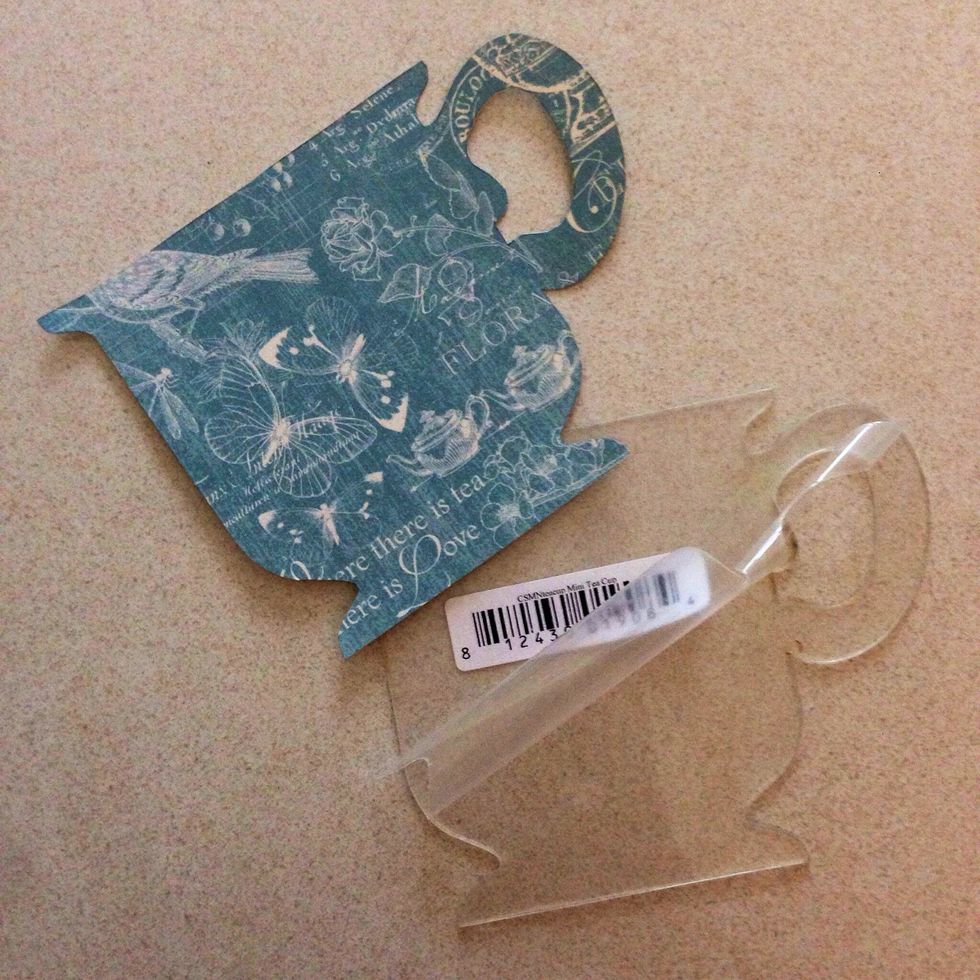
Remove the protection coat from the one side of the acrylic teacup...

Apply glossy accent around the teacup...
Glue the wrong side of the cut out pattern paper onto the acrylic teacups and this is what you will get for both teacups...
Apply glossy accent around one of the edges on the "U" shaped chipboard holder...
Position it well on the reverse side of the teacup (unglued plastic side) and glue it down...

Apply glossy accent over the other edge of the chipboard container and glue down the other teacup... Make sure they are both on the same level and orientation... This is what you will get...
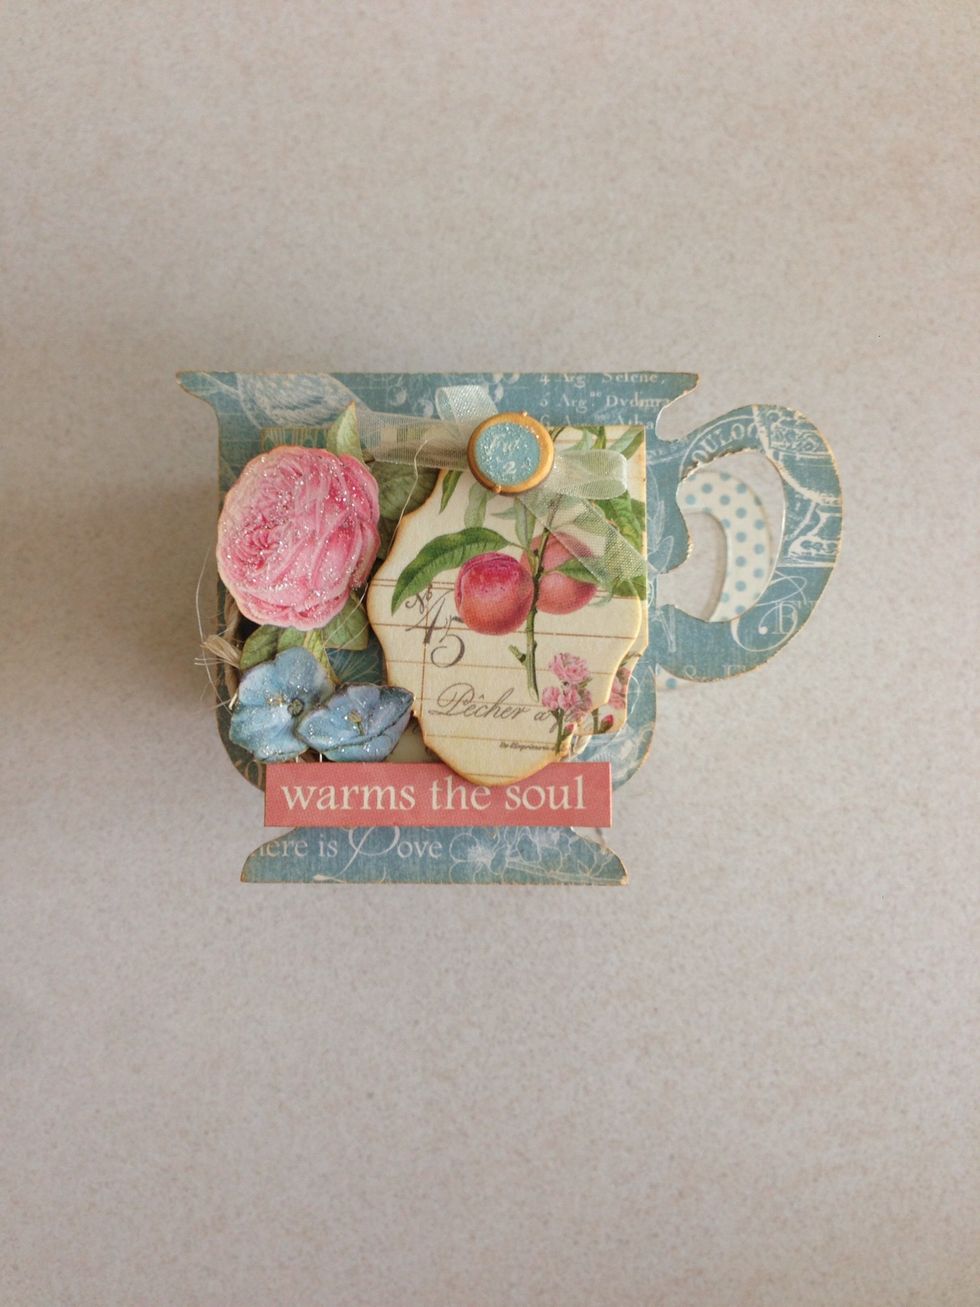
Once you are done, you can embellish your new teacup container using some twines, ribbons and other botanical tea chipboards and banners...
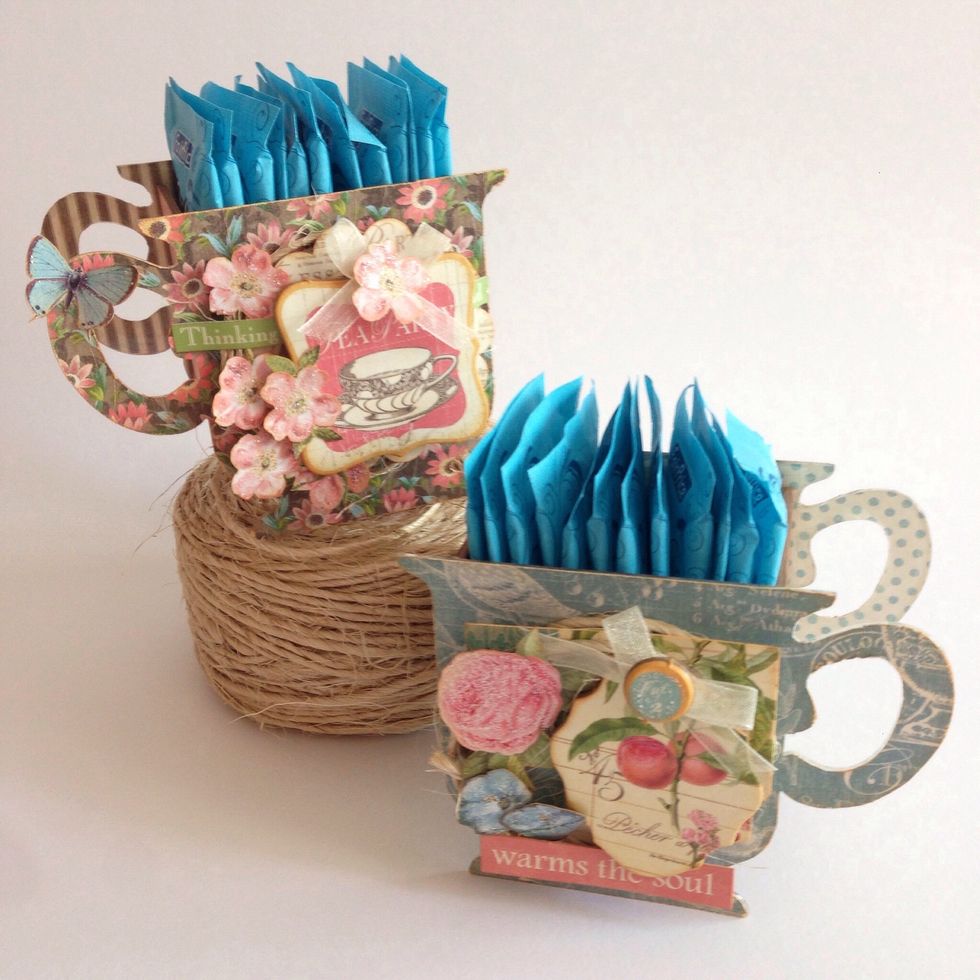
The teacup acrylic album contains 5 teacups which is enough to make 2 sugar containers... Over here is 2 containers with sugar sachets...
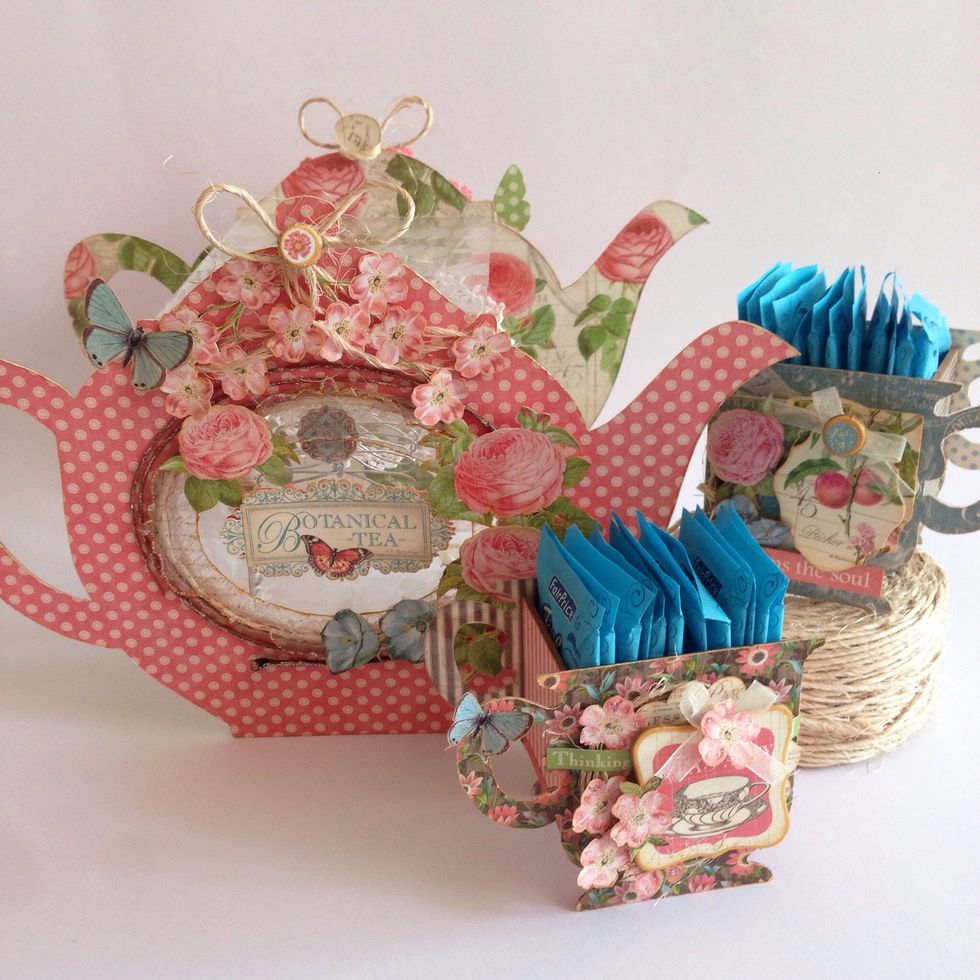
And they compliment very well with the teapot wardrobe... Ready for a perfect tea party...