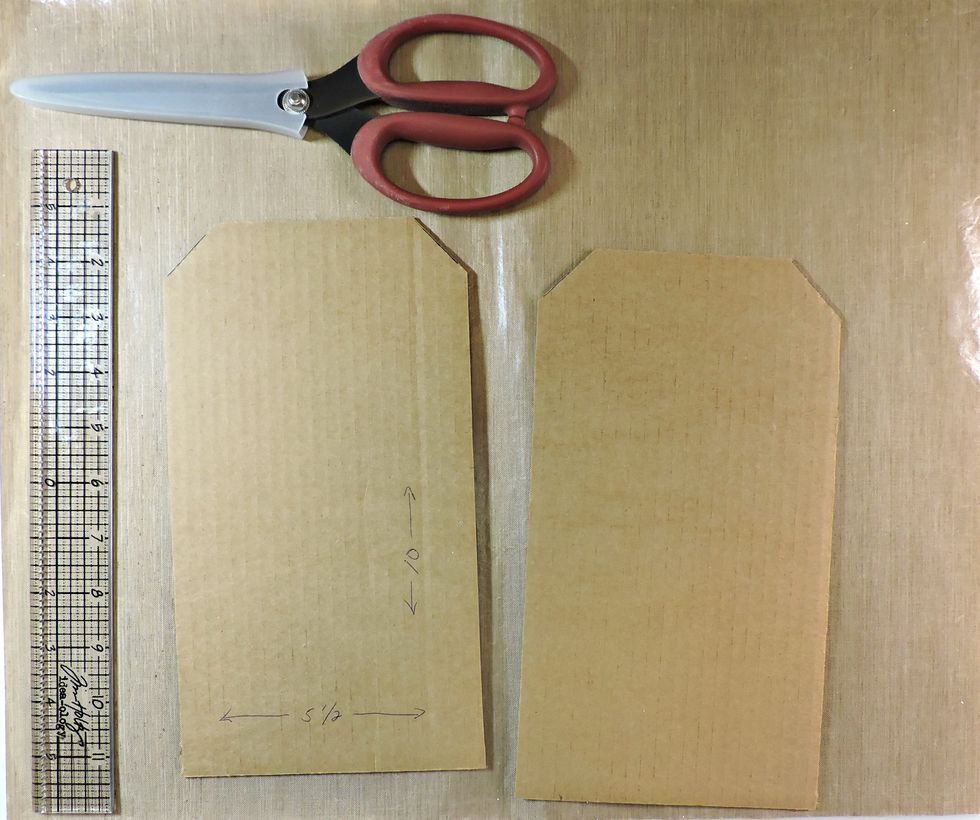
Cut 2 pieces and 5-1/2" x 10" from thick corrugated packaging. Trim the top corners diagonally as shown.
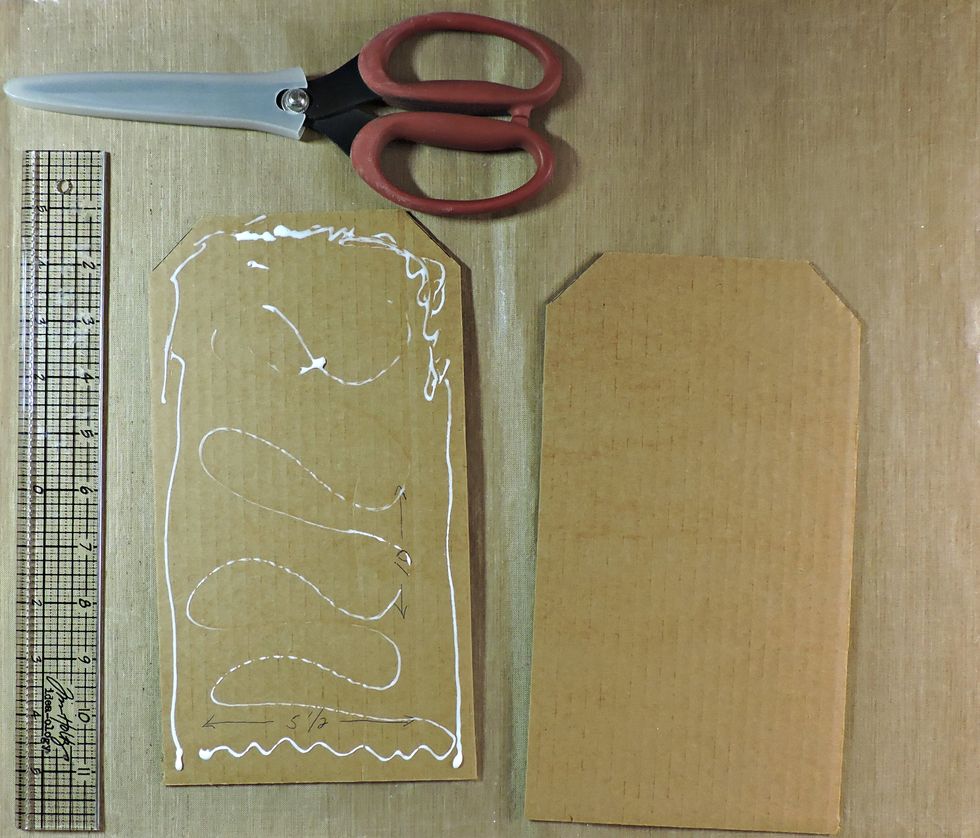
Glue the pieces together and allow the adhesive to set.
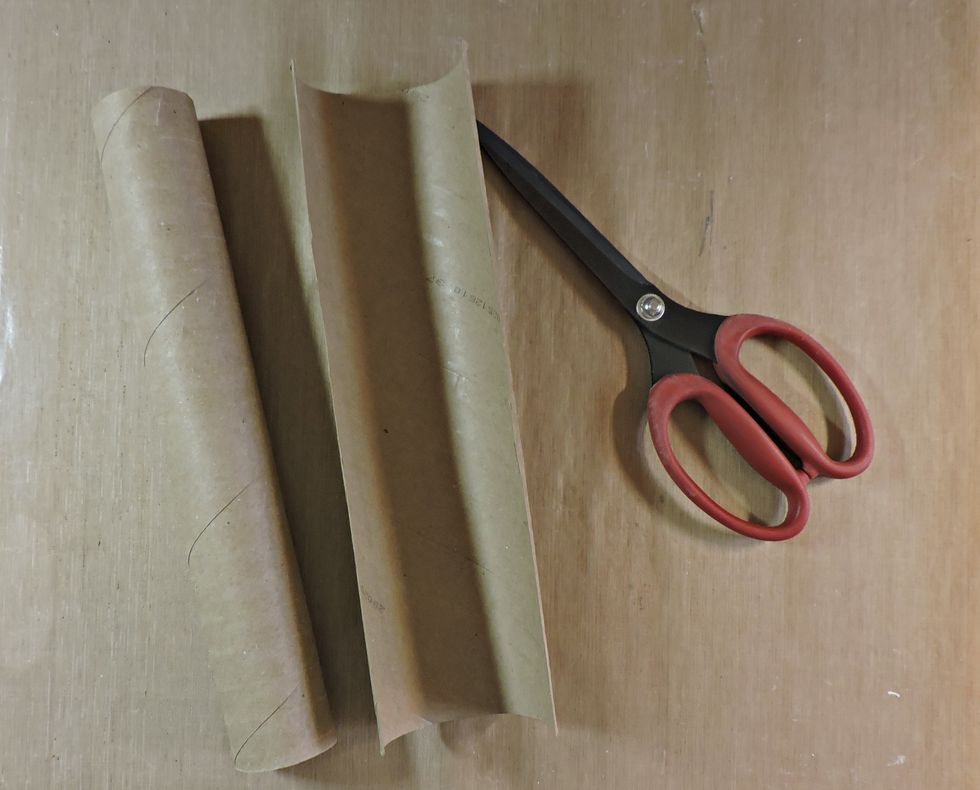
Cut 3 paper towel rolls in half.
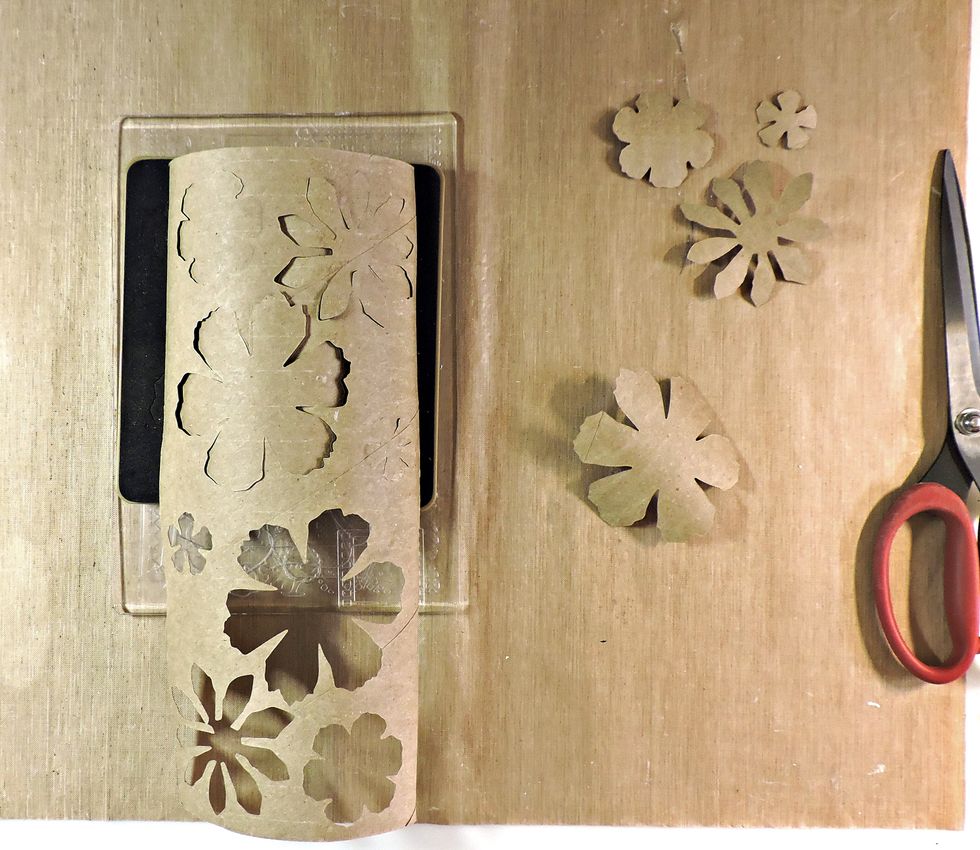
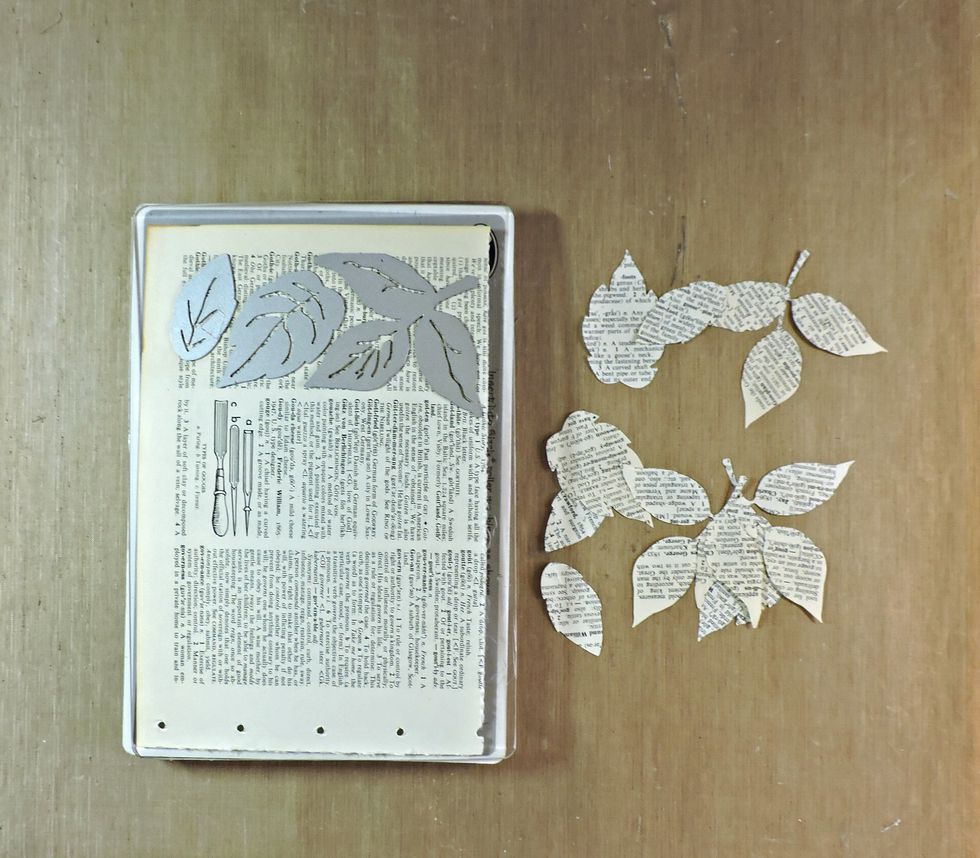
Using a steel rule die, cut your flower pieces. (You should be able to get two cuts per roll.)
Cut your leaves from the dictionary page placing the dies close together each time to get a maximum number of pieces.
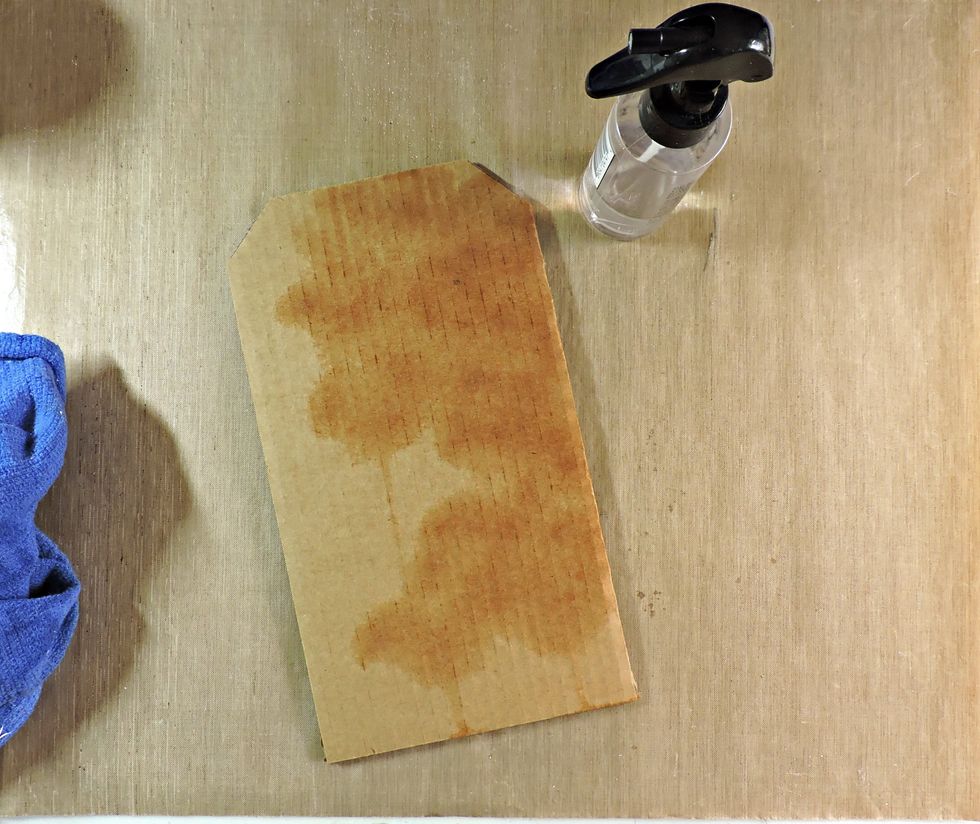
Spray the right side of the tag from the top to almost the bottom to loosen the glue underneath. Pat dry.
Remove the top layer as shown, exposing some of the ribs.
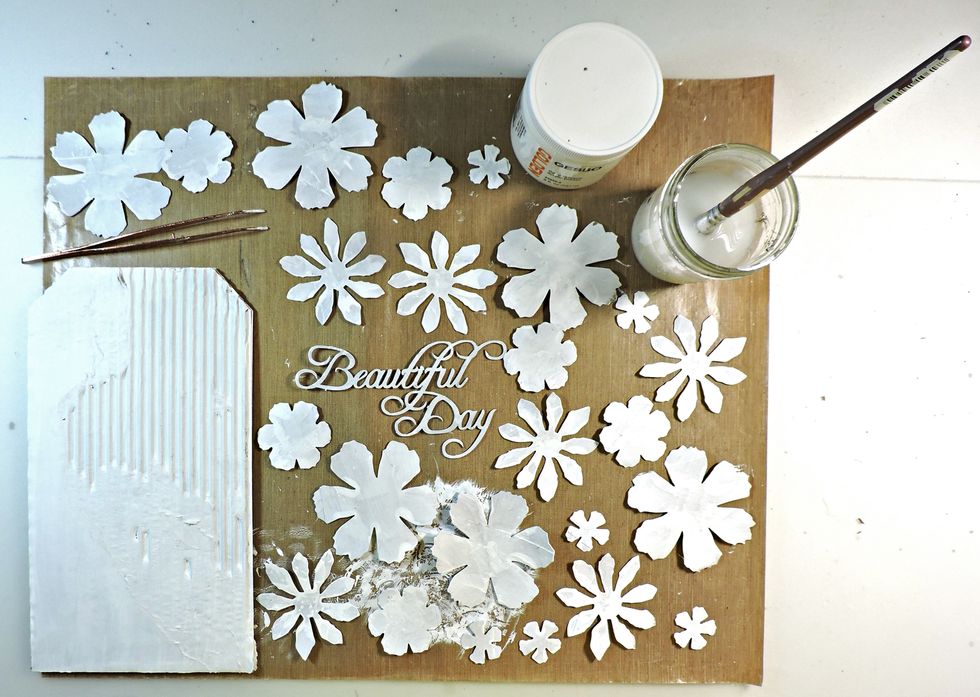
Coat both sides of the tag, flower pieces and chipboard title with gesso.
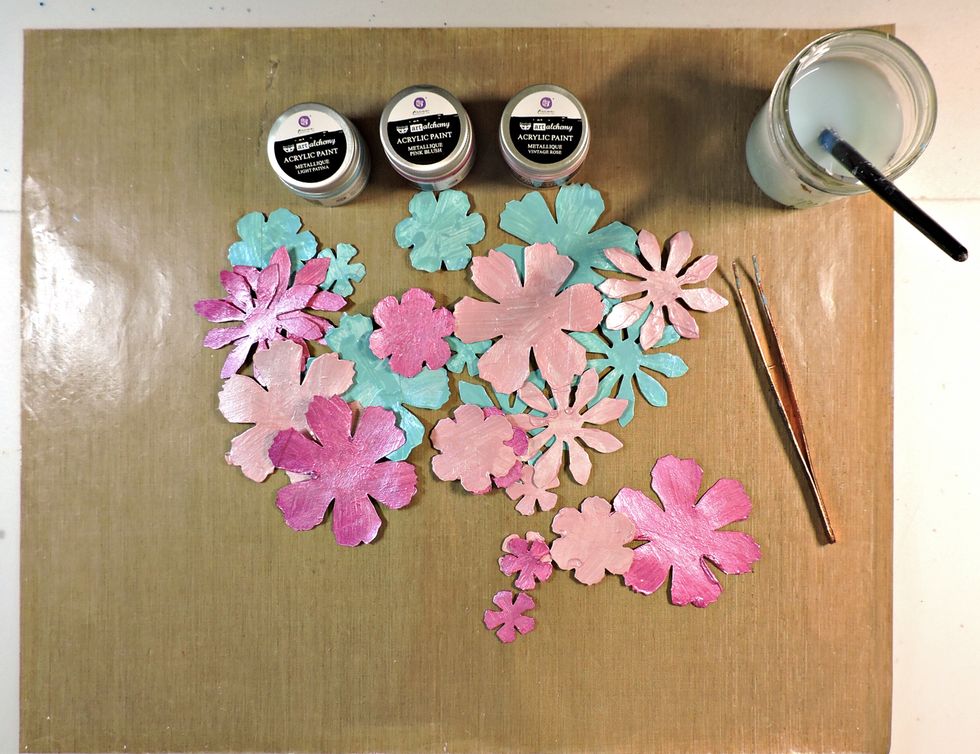
Coat both sides of the flower pieces and the top of the chipboard title with acrylic paint. Allow to air dry.
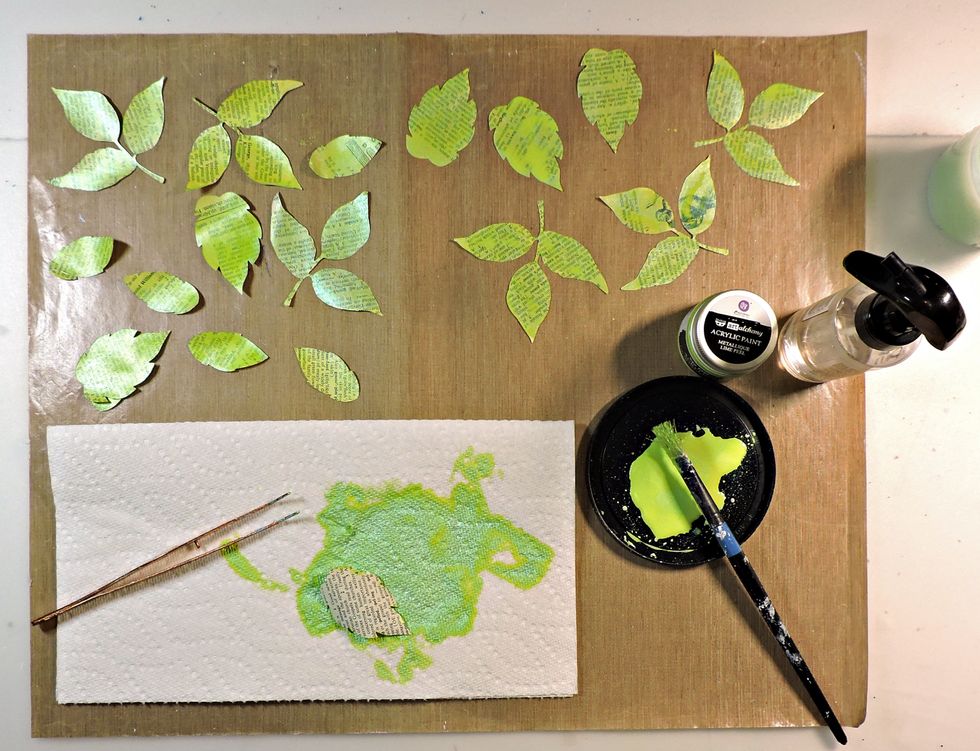
Coat both sides of the leaves with watered-down acrylic paint. Allow to air dry.
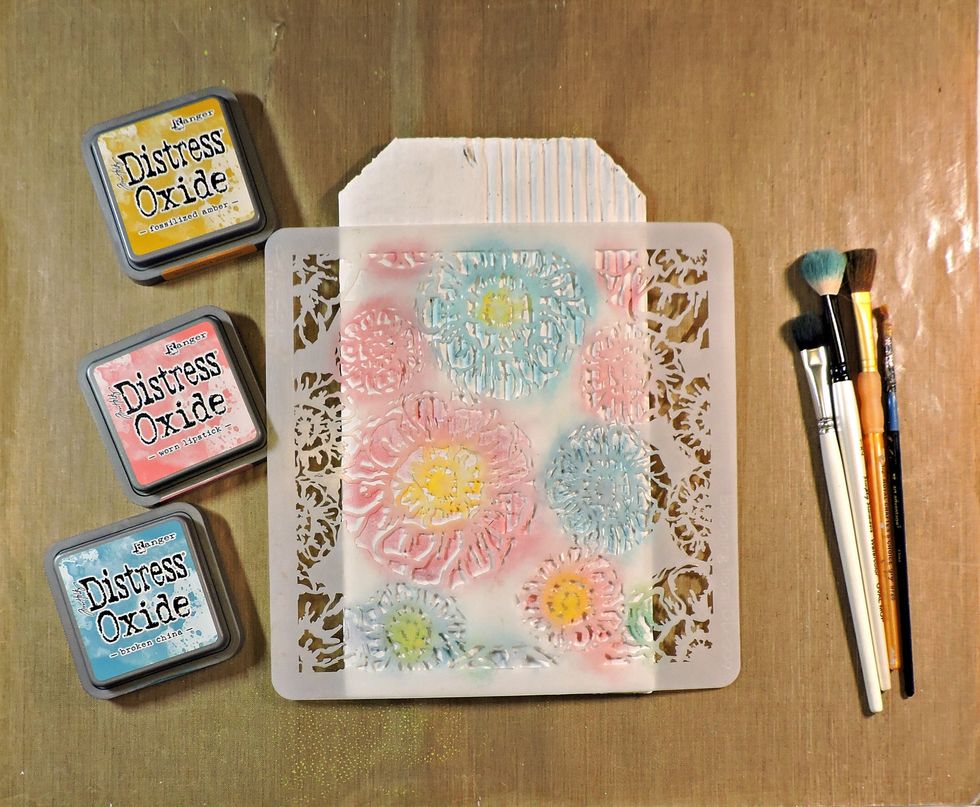
Using a stipple brush, apply the Oxide Distress Ink to the through a stencil.
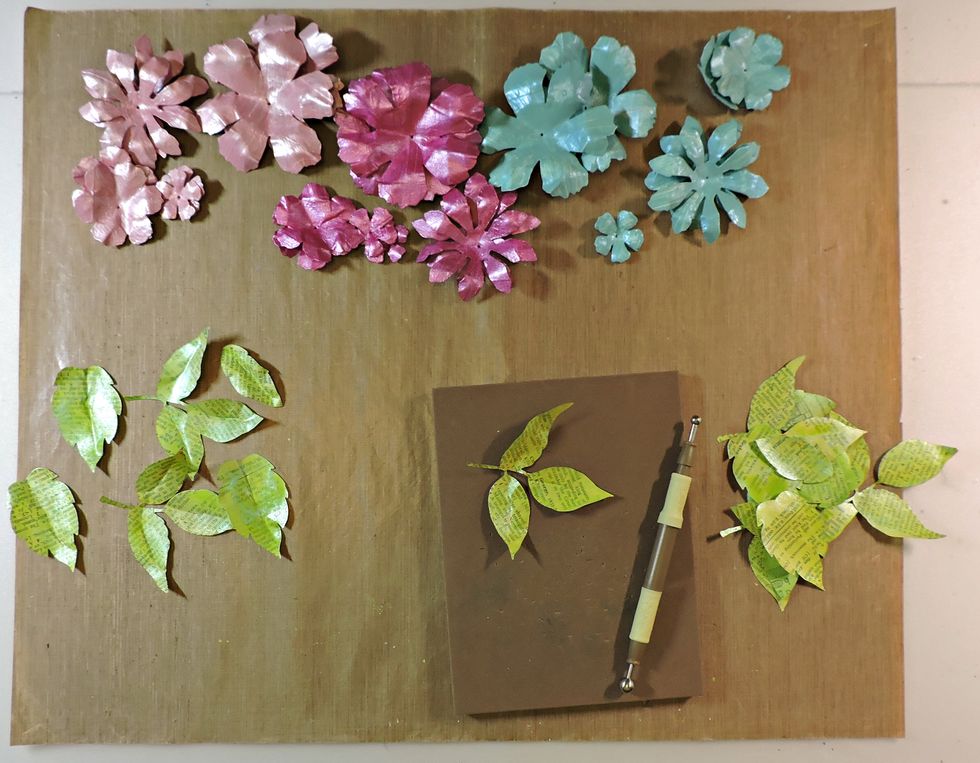
Shape your flowers by pressing down on the petals, then turning the pieces over and pressing down on the center. Poke a hole in the middle of each piece.
Shape the leaves by applying light pressure with your shaping tool.
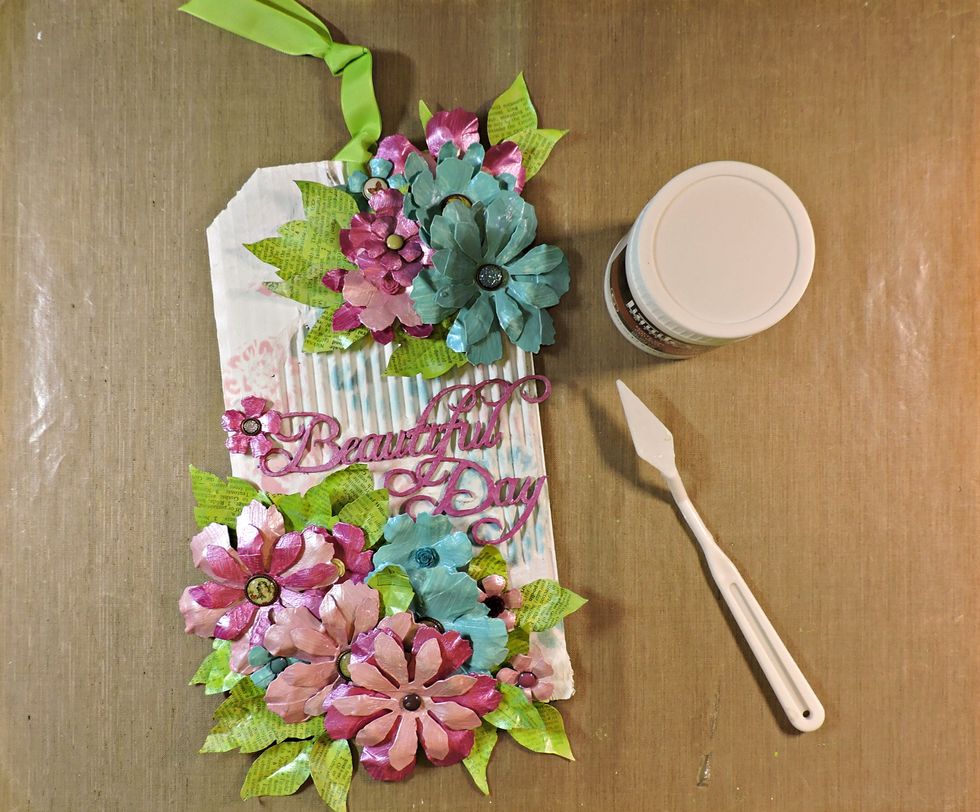
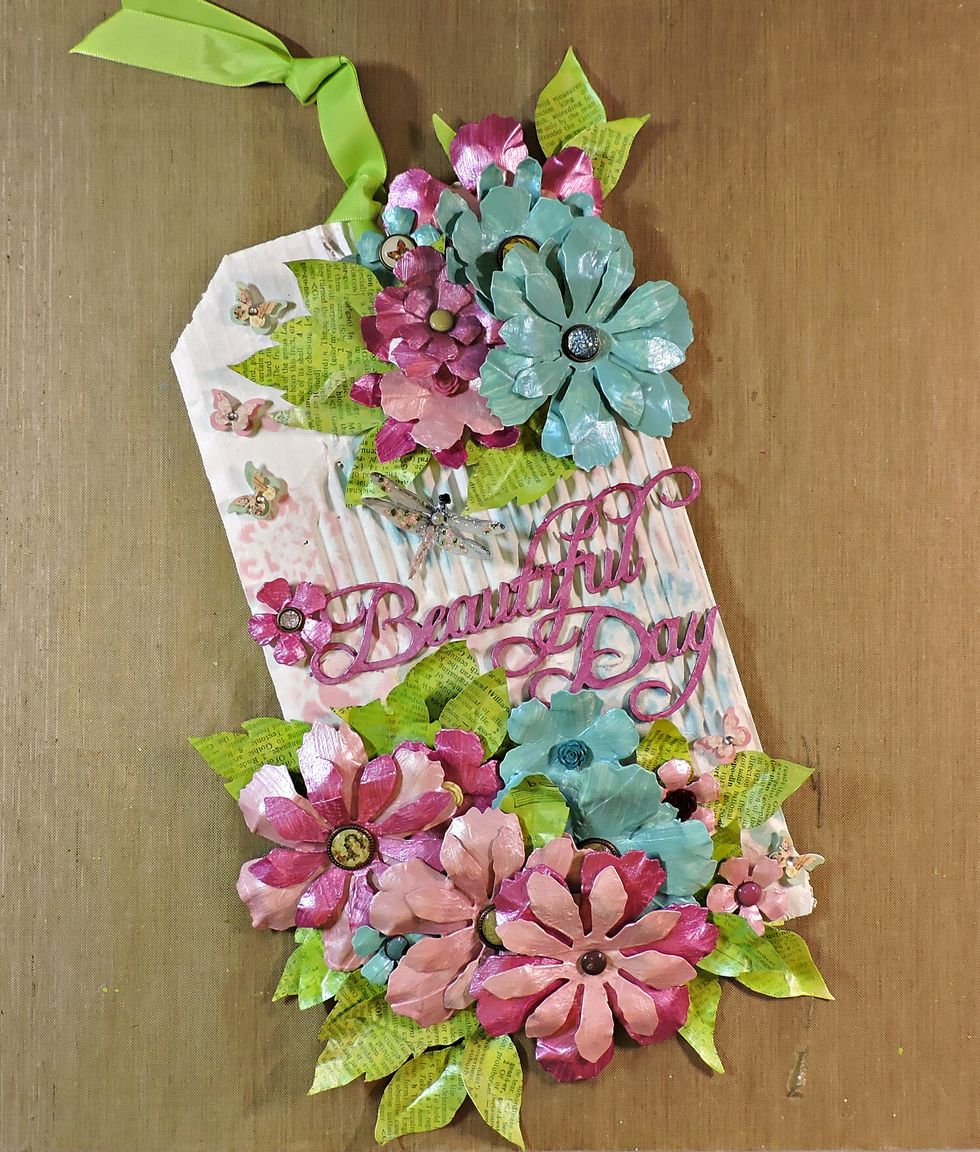
Assemble your flowers using brads in the centers. Using matte gel medium, adhere the flowers and leaves to the tag in layers. Poke a hole about 1/2" from the top and tie on your ribbon.
Finish by adding small butterflies to the empty spaces. (I've placed a more complete supply list on my blog.)