The Conversation (0)
Sign Up
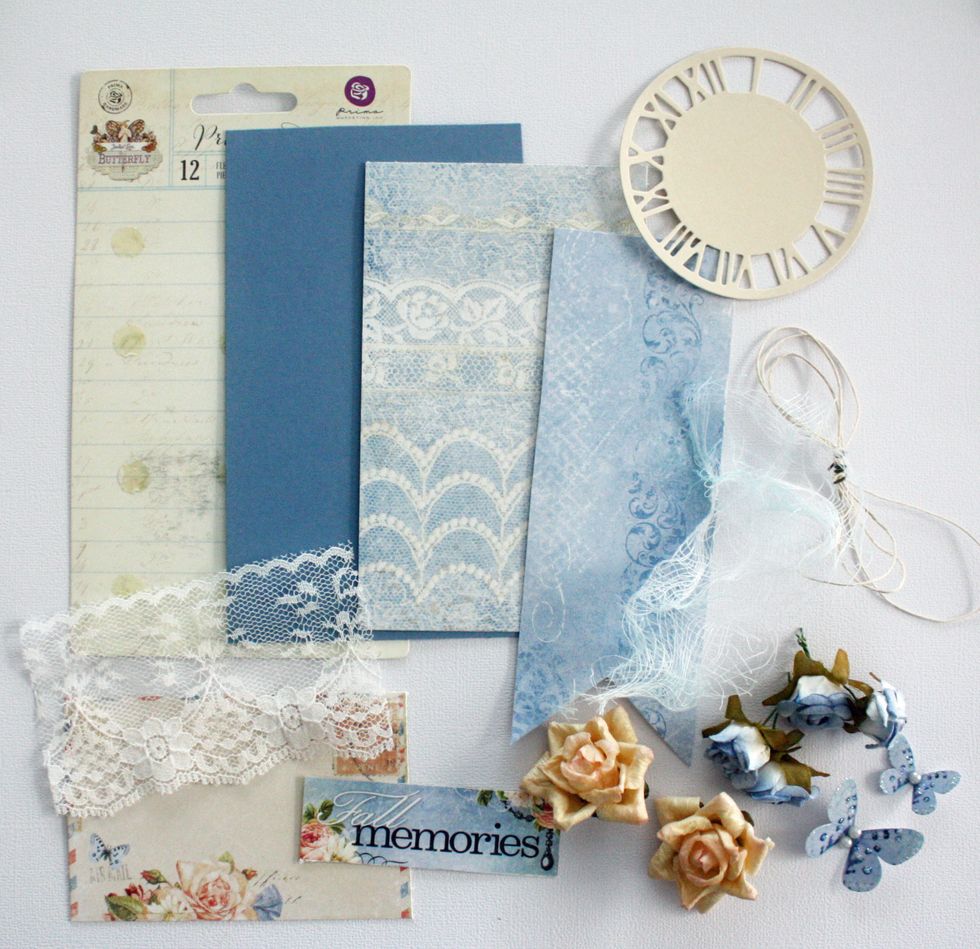
Gather Supplies. I used Prima Packaging as the base of my tag. Trim papers: Blue Cardstock 3.5x6, Blue Lace Paper 3.25x5.5, Banner 6x2.25, Blue Fern Studio Journaling Spot and Fall Memory Title
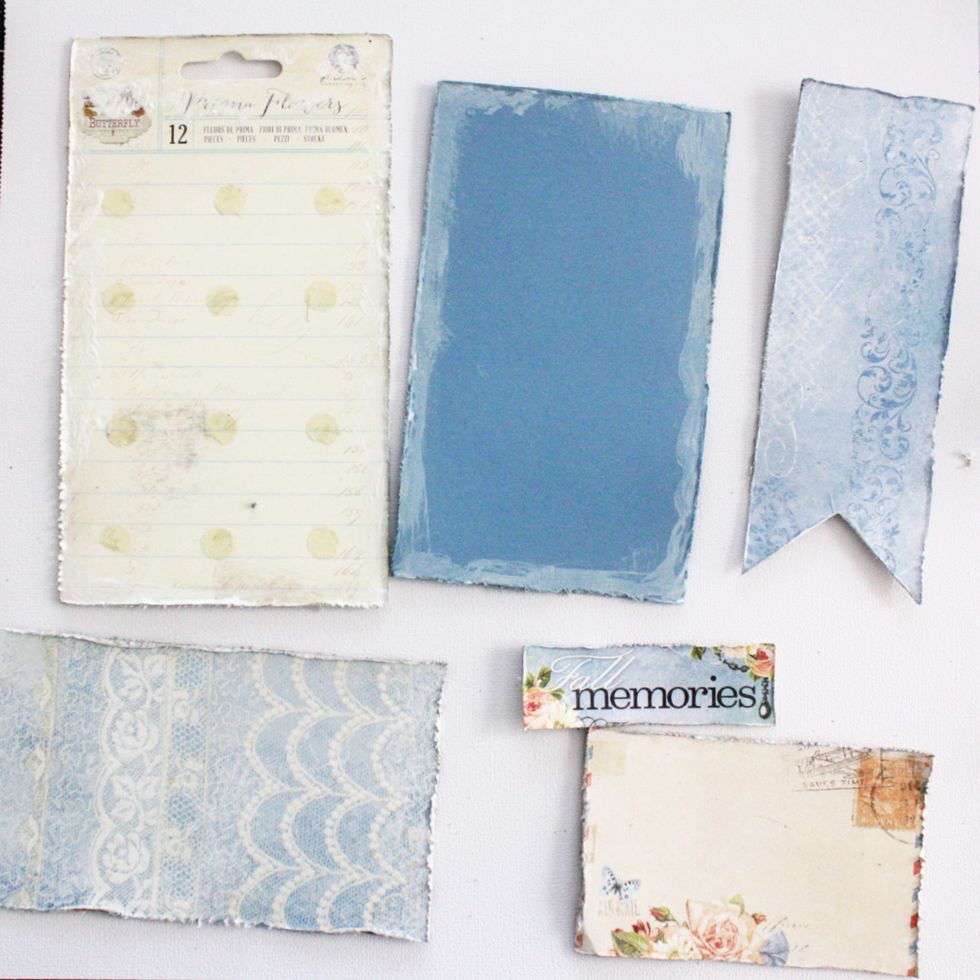
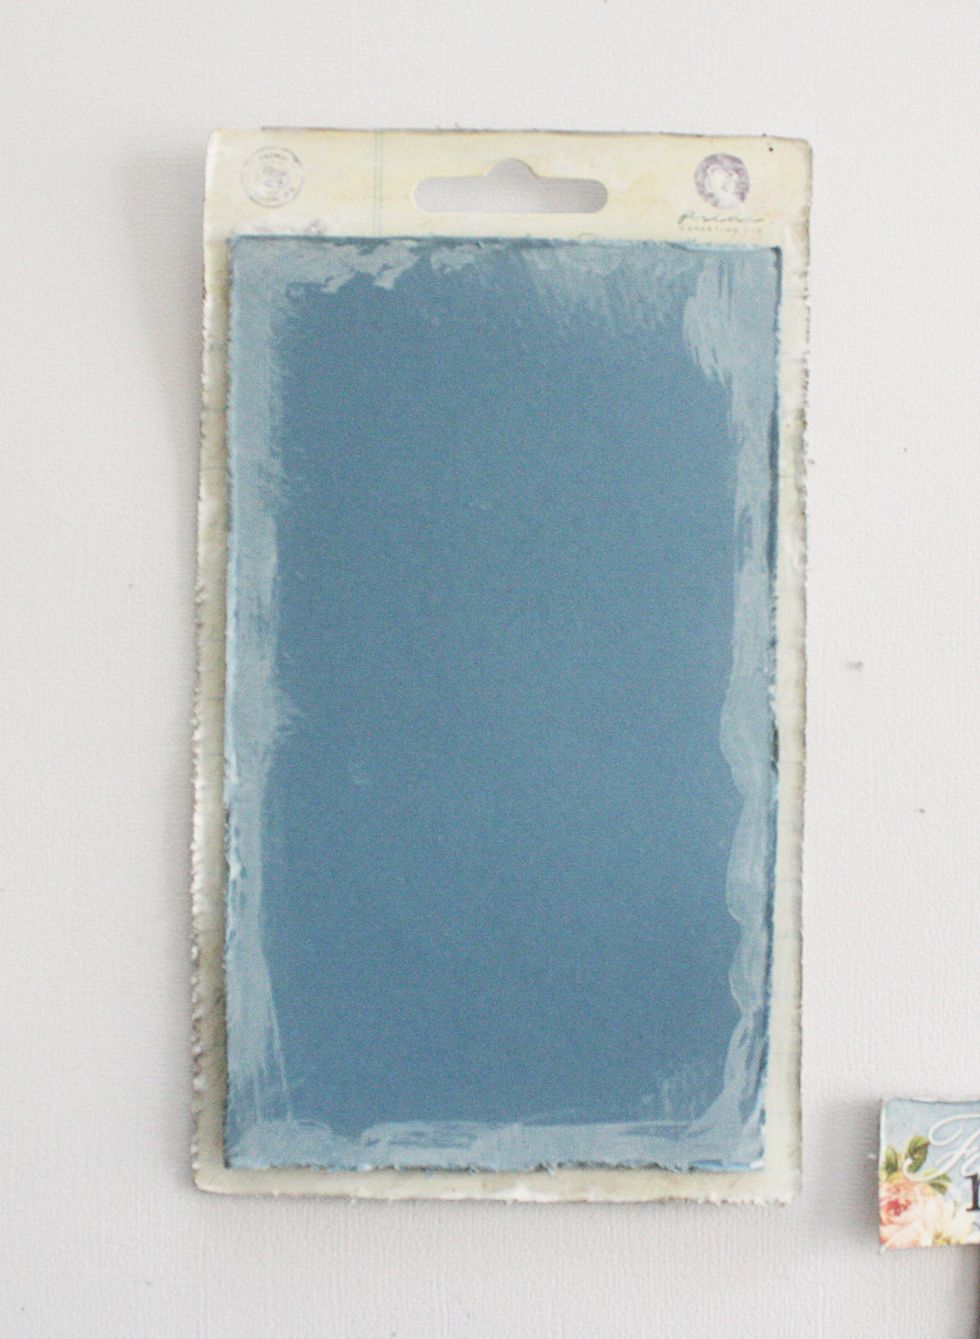
Distress edges of papers. I added some water downed Gesso to the Prima Tag and the blue cardstock
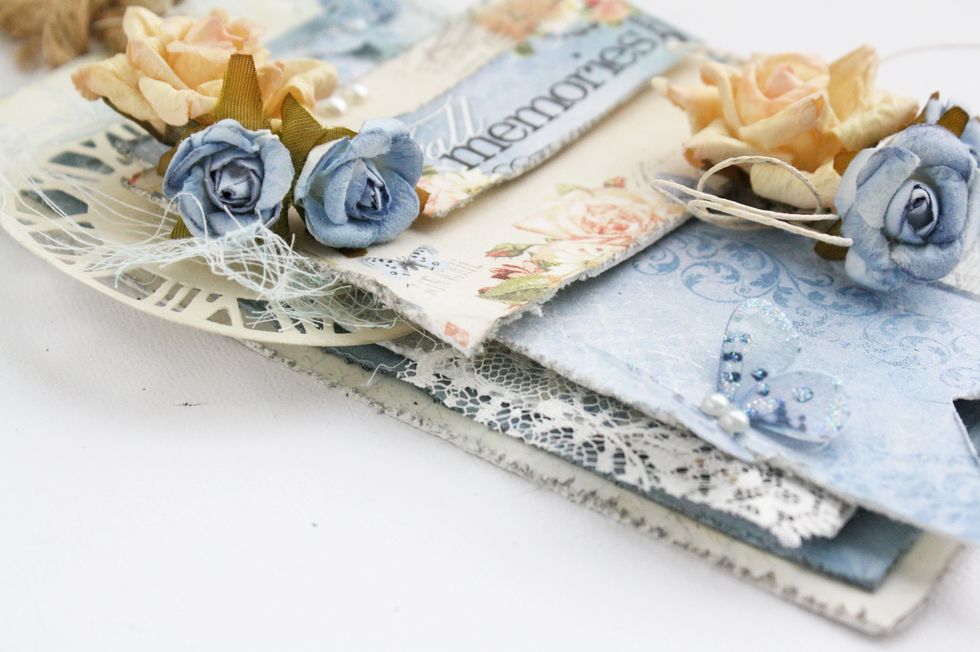
Layer Blue Cardstock on top of tag.

Layer the Blue Lace Paper on top of cardstock. For more dimension use pop dots.
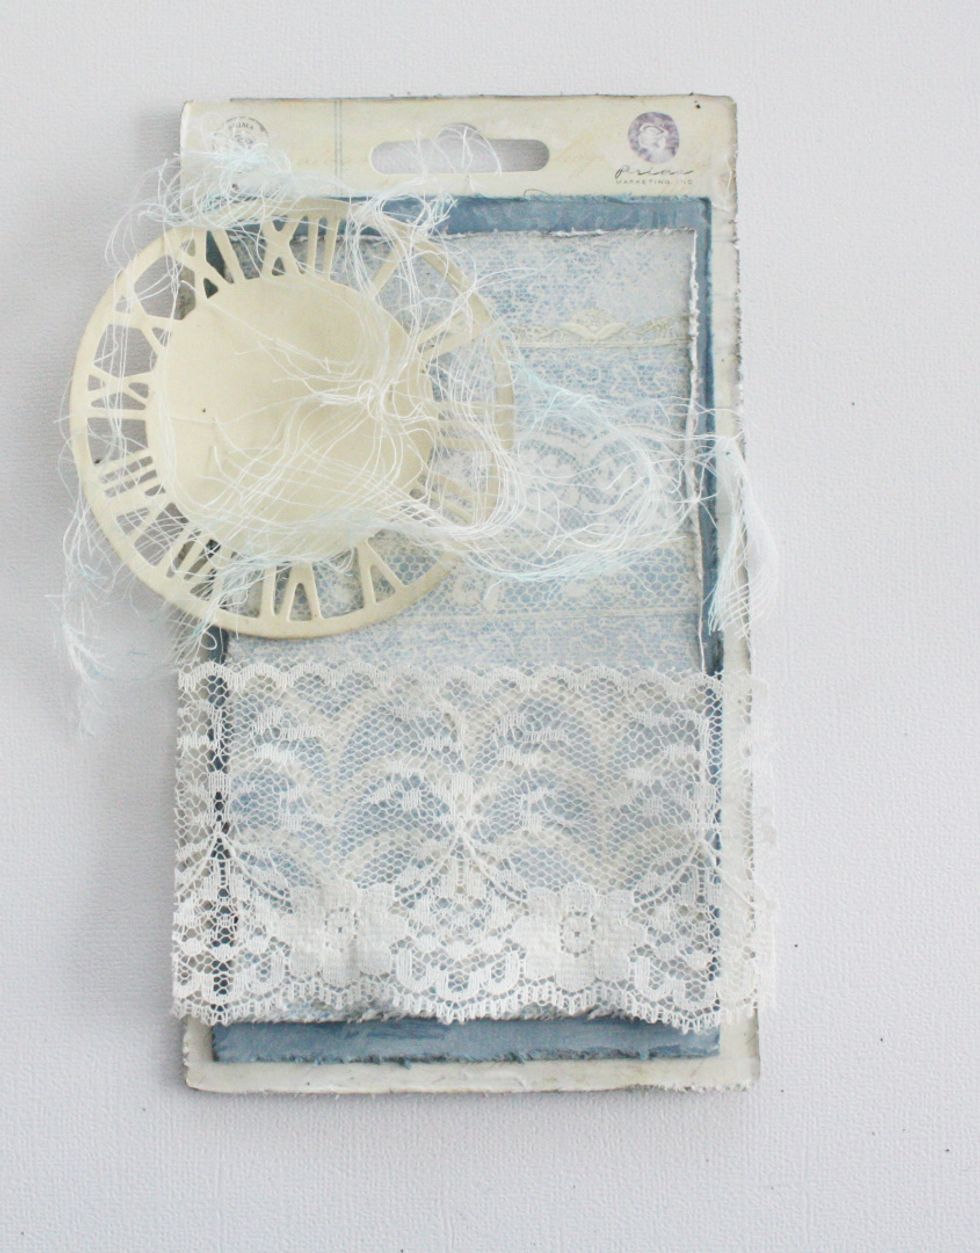
I used the Sept. Die of the Month addon for the clock. Using the mist that came in the Medium Addon I sprayed some cheesecloth. Added a piece of lace from my stash along the bottom of the lace paper.
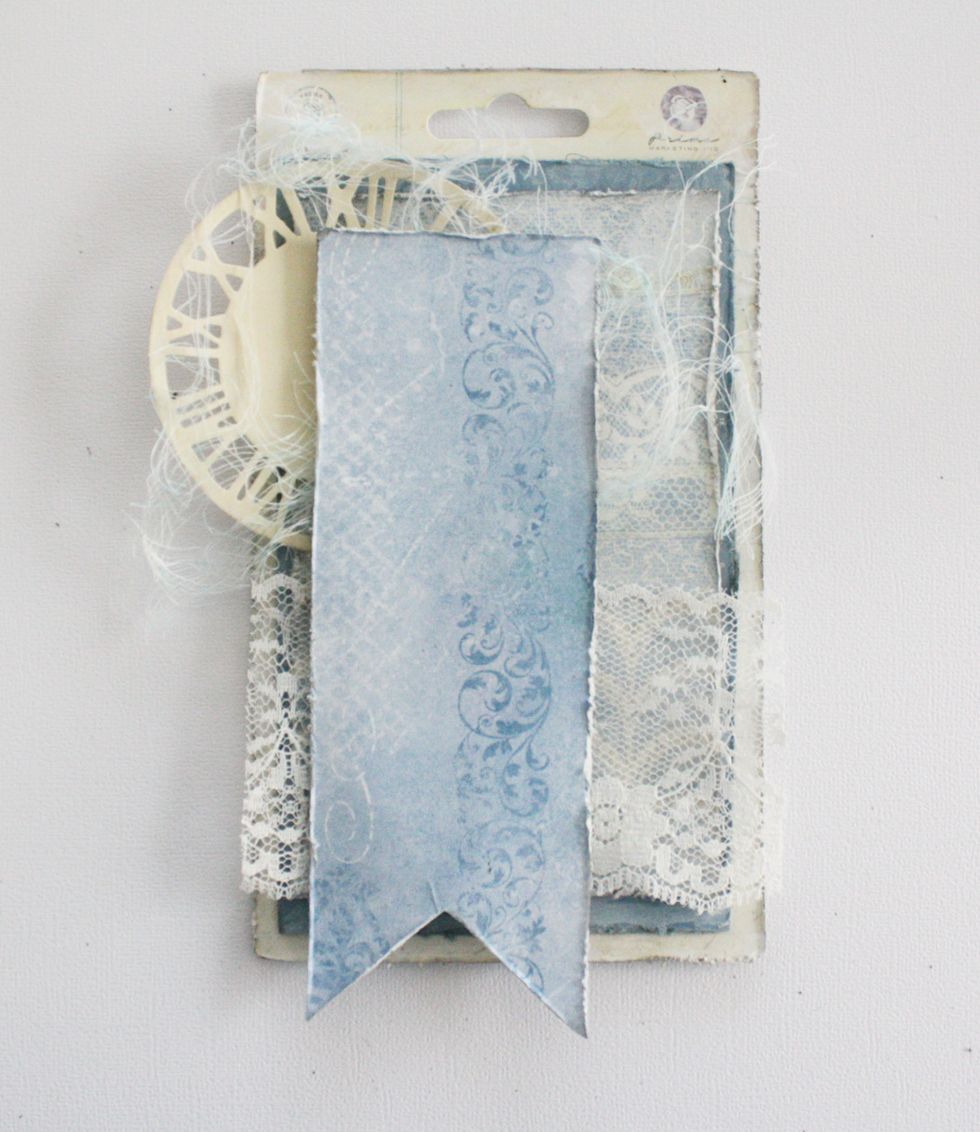
Place the banner along the left side aligned with the middle of the clock.
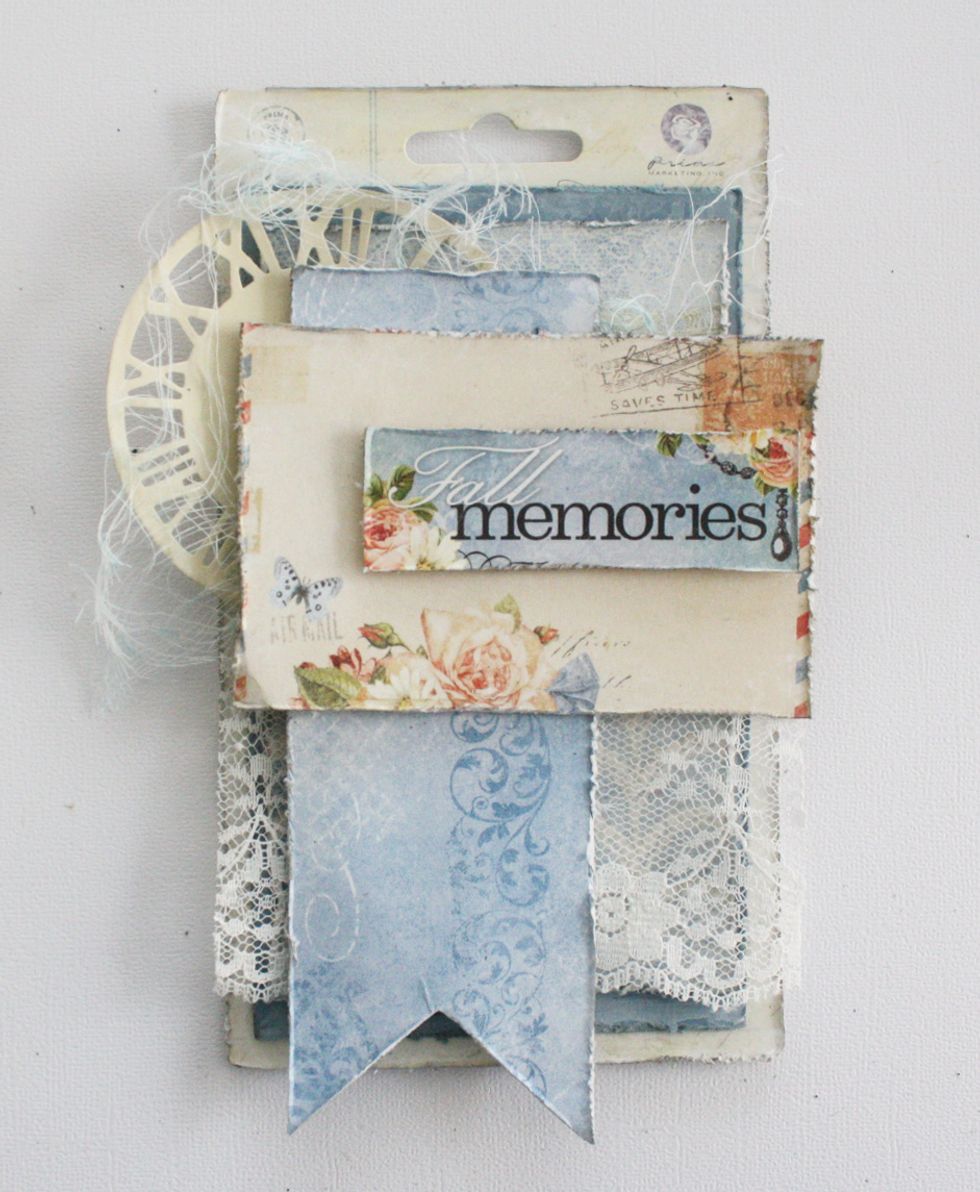
Now layer the journaling spot and title
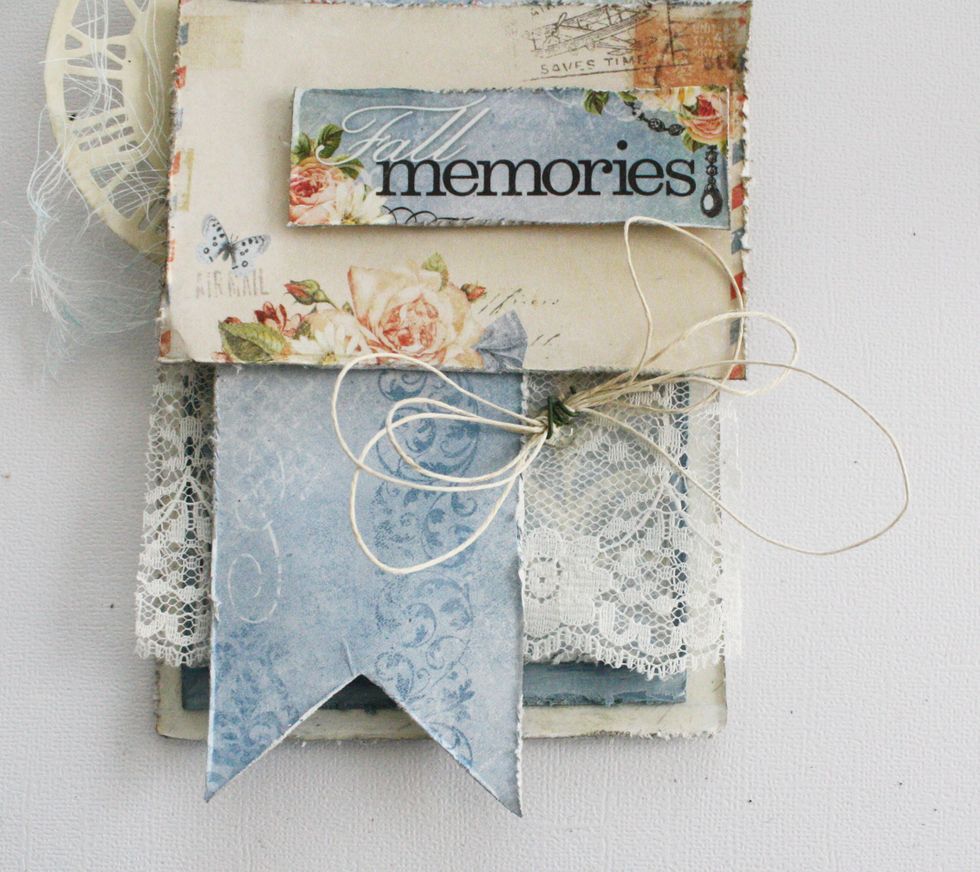
Take some twine and bind it together with a snippet of wire or the stem from paper flowers.
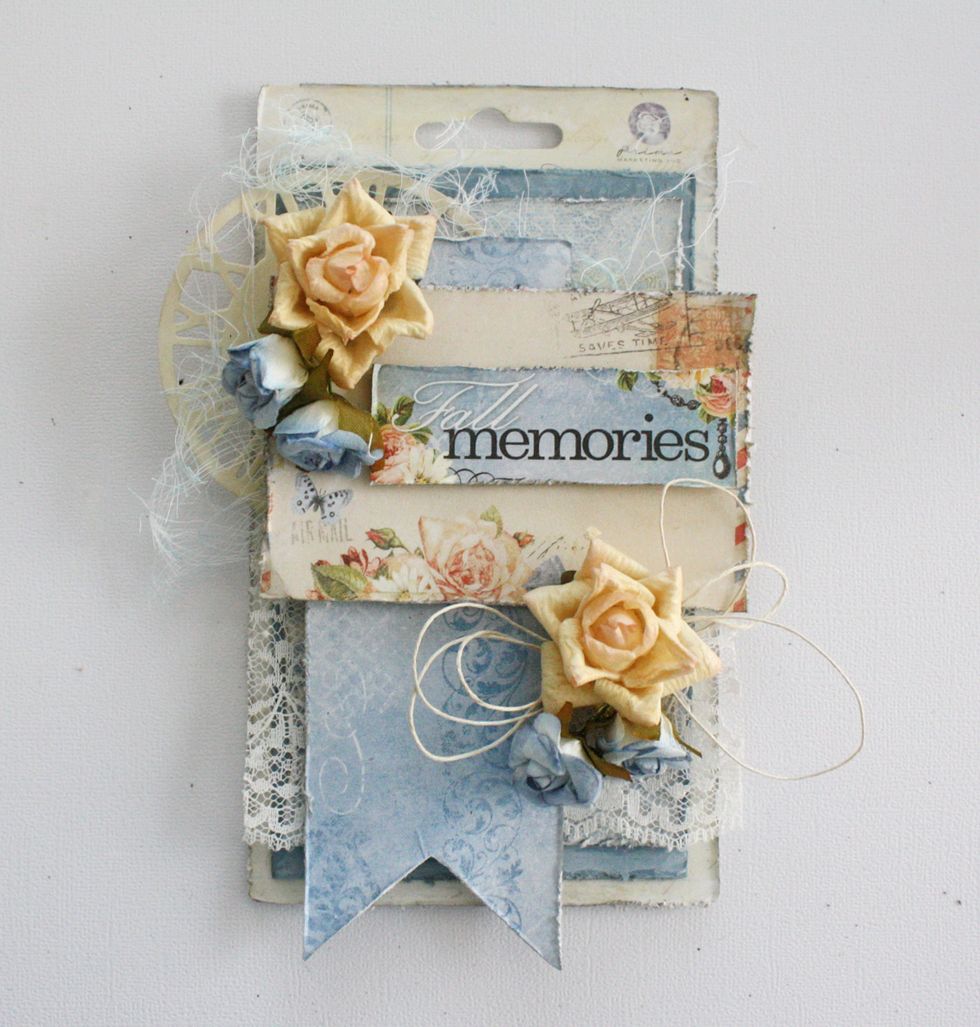
Now add some flowers to the top left and bottom right