The Conversation (0)
Sign Up
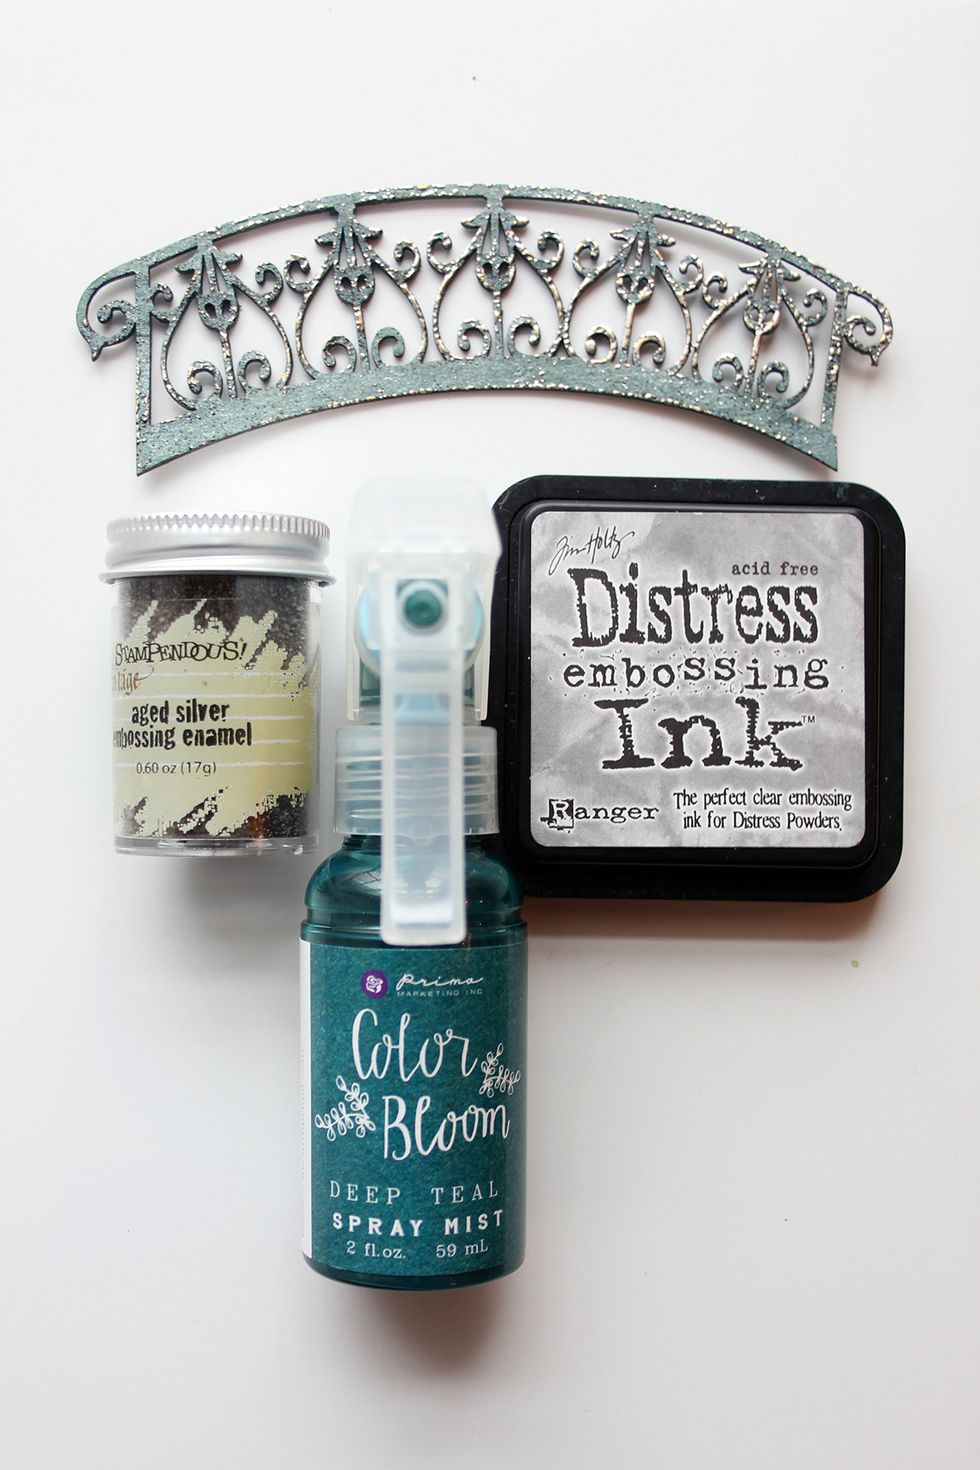
Color all chipboard pieces. Spray Color Bloom over entire piece, dry, Apply embossing ink sparlingly, sprinkle embossing enamel over the pieces and heat using a heat gun.
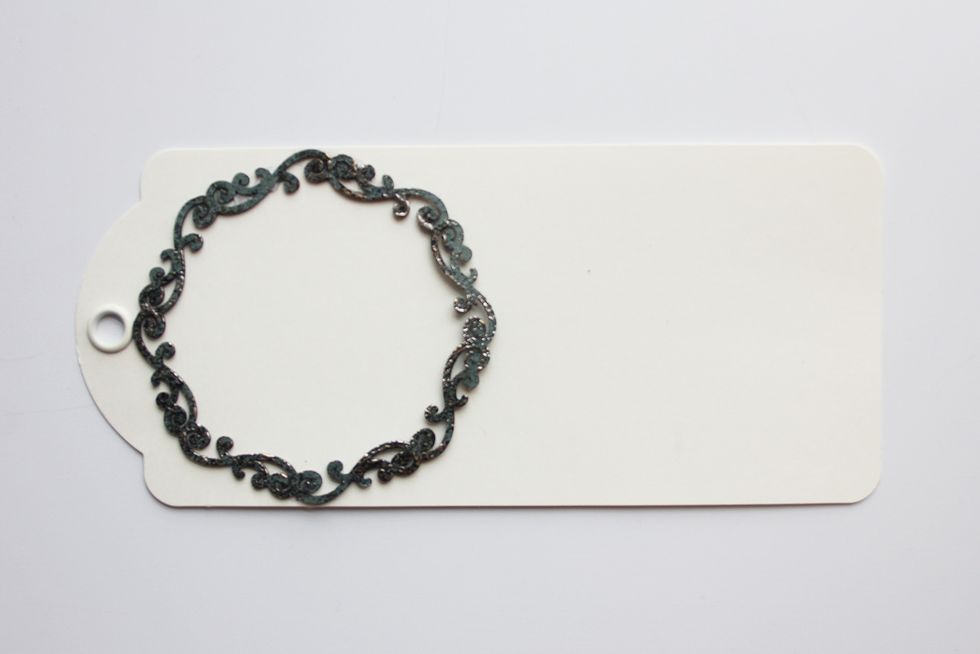
Add circular frame to the left side of the tag.
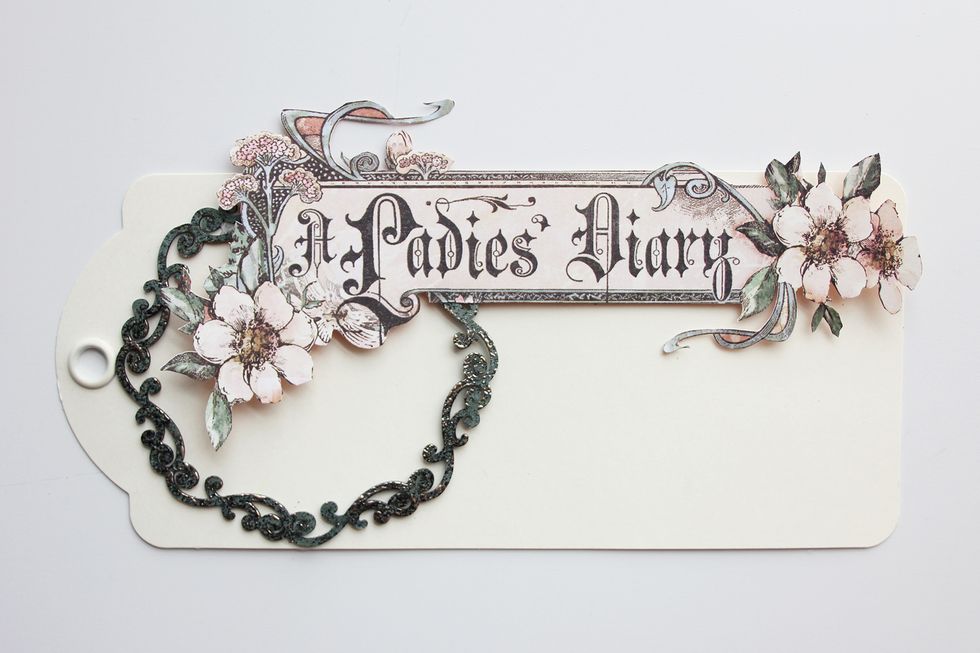
Cut the "A Ladies' Diary" image and apply to the top of the tag using dimensional foam adhesive.
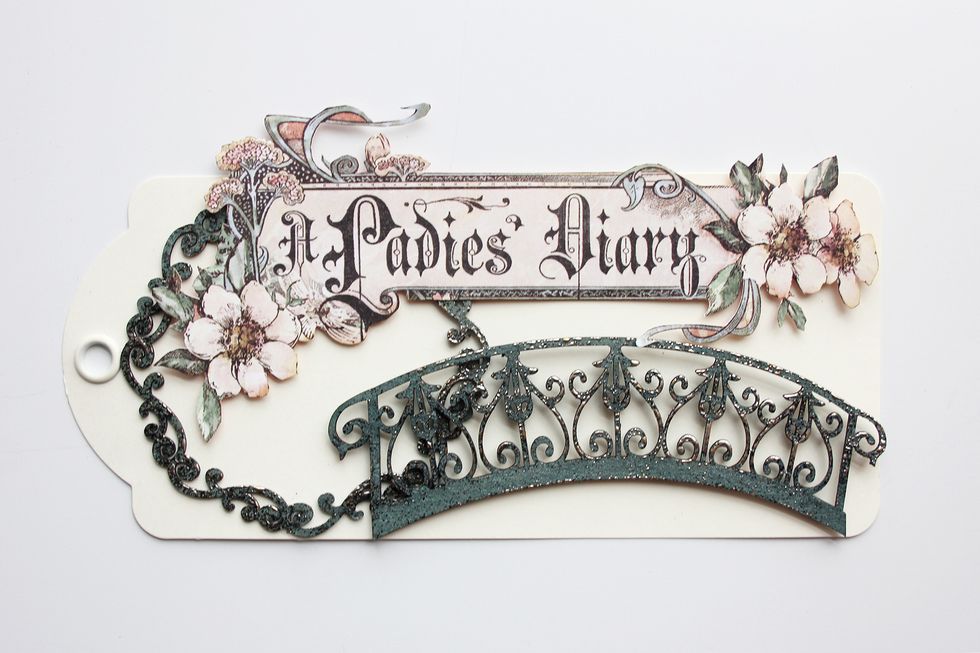
Using dimensional foam adhesive, add the bridge to the lower, right side of the circular frame.
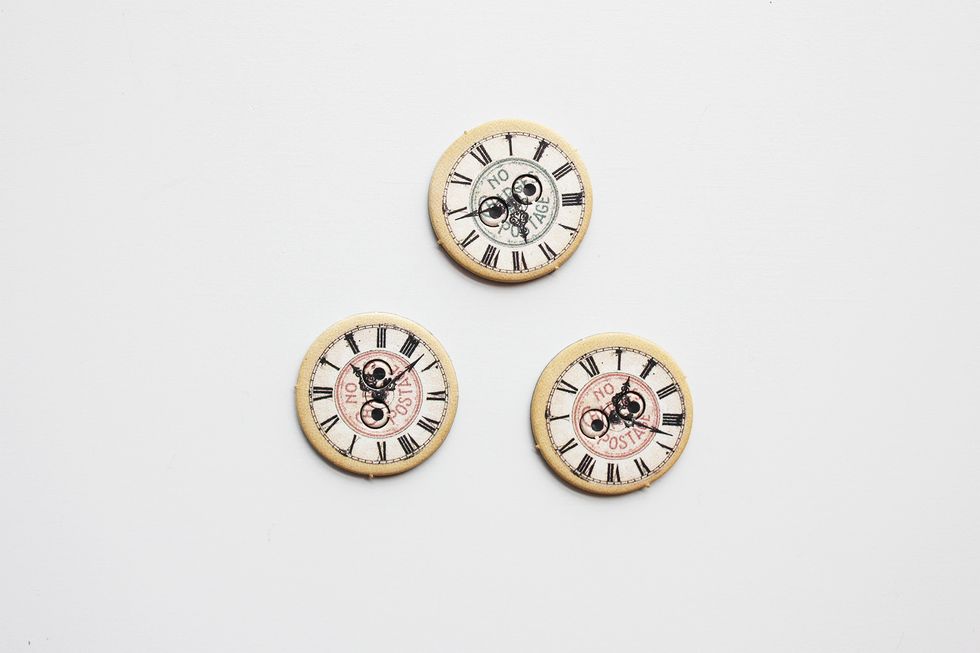
Select three clock pieces from the chipboard sheet.
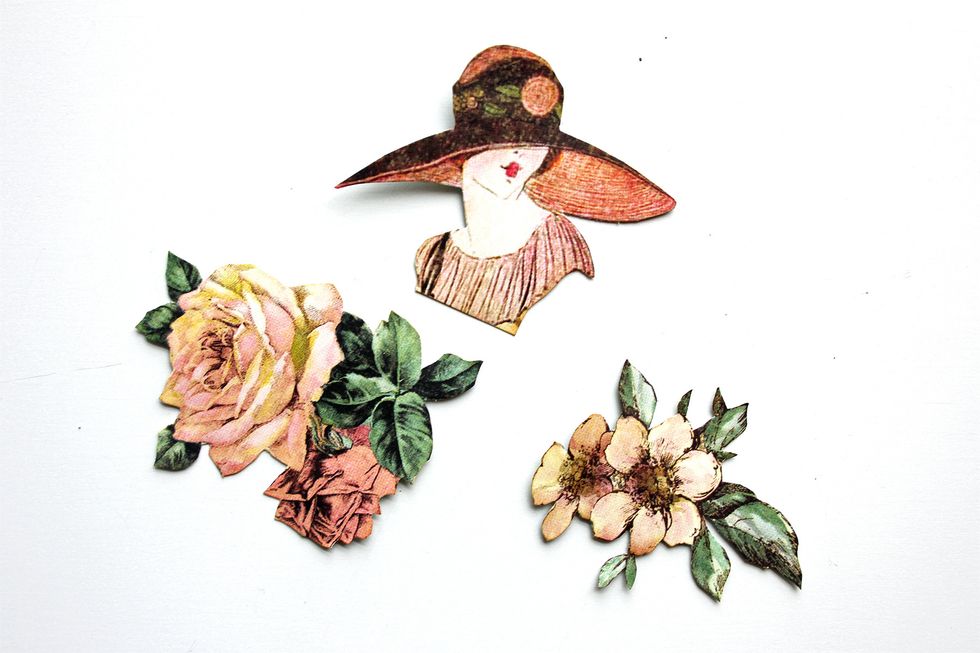
Cut the images shown for the next steps.
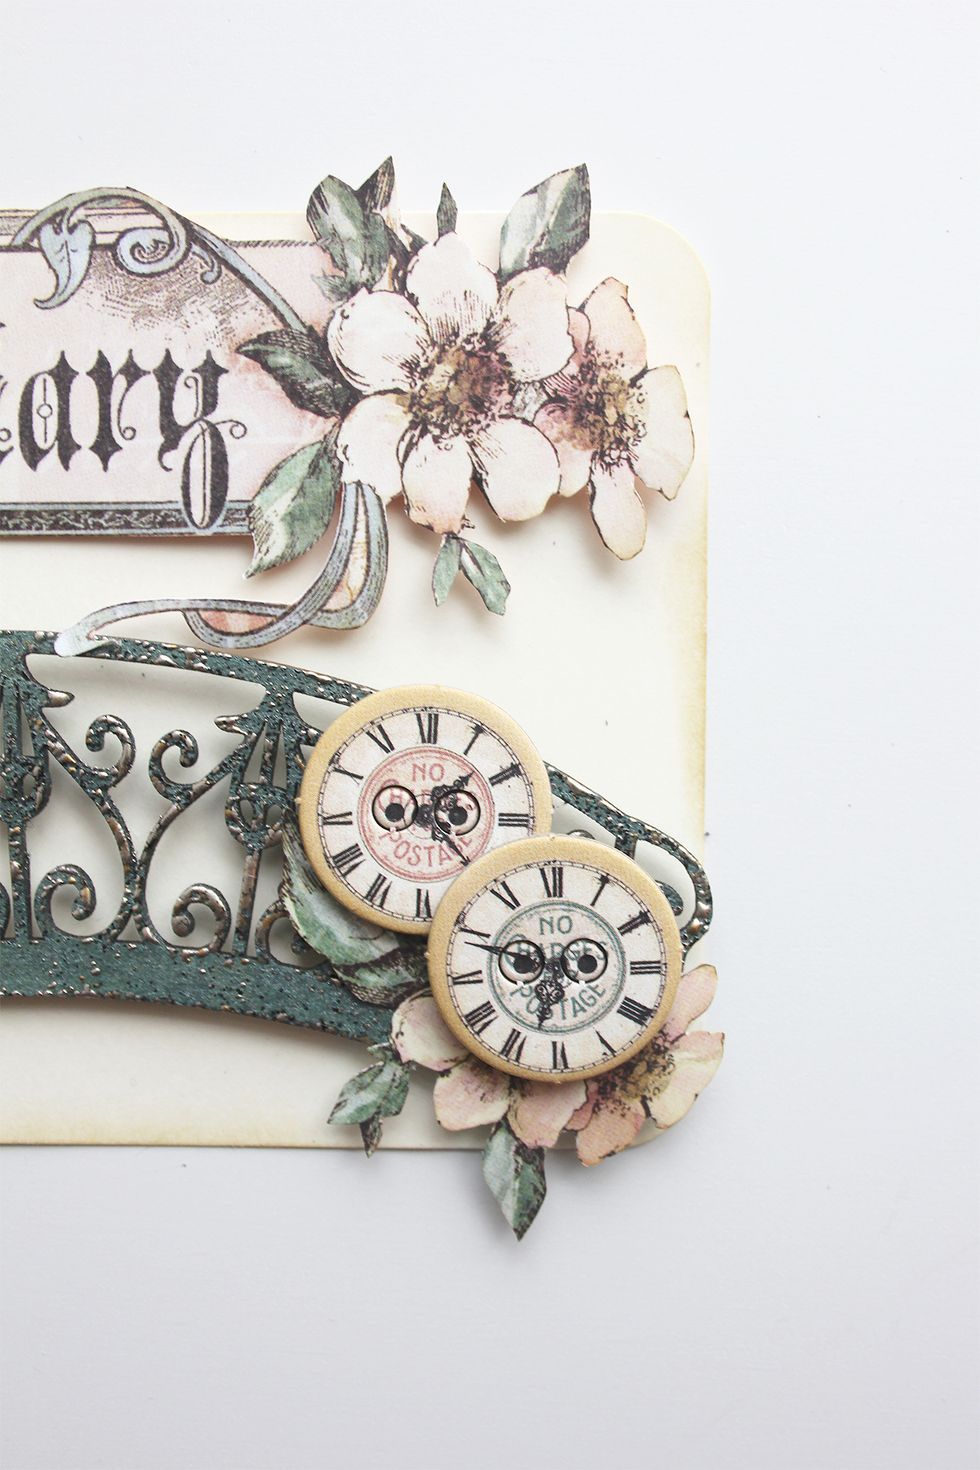
Add two of the clocks along with cut flower images to the right side of the bridge.
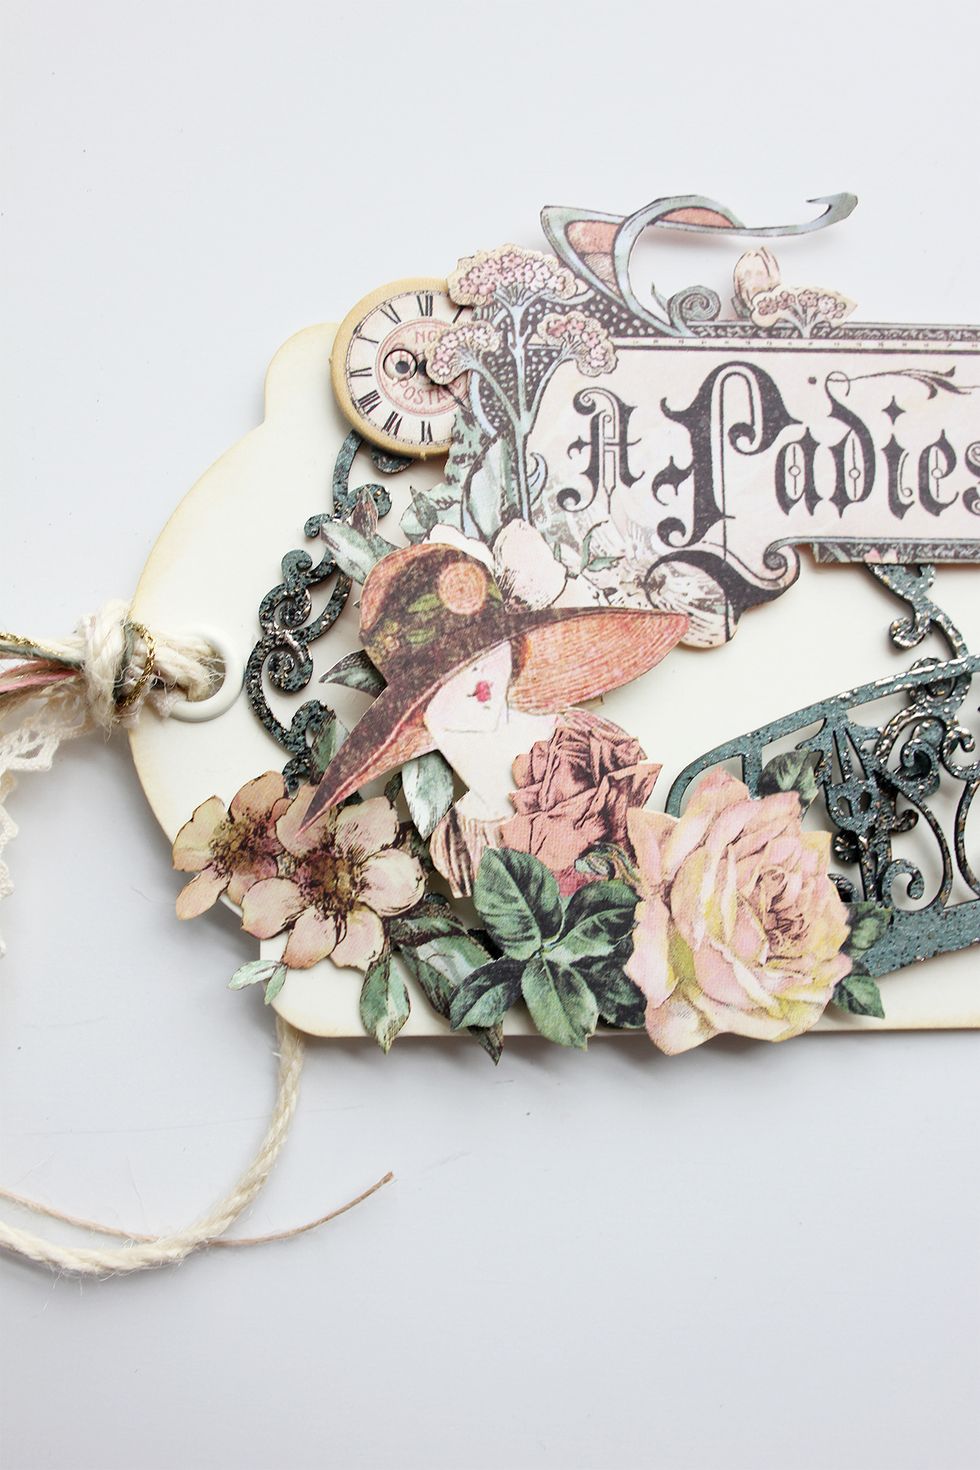
Add the third clock to the top, left side of the tag. Add the remainder of the cut images to the lower left side of the tag.
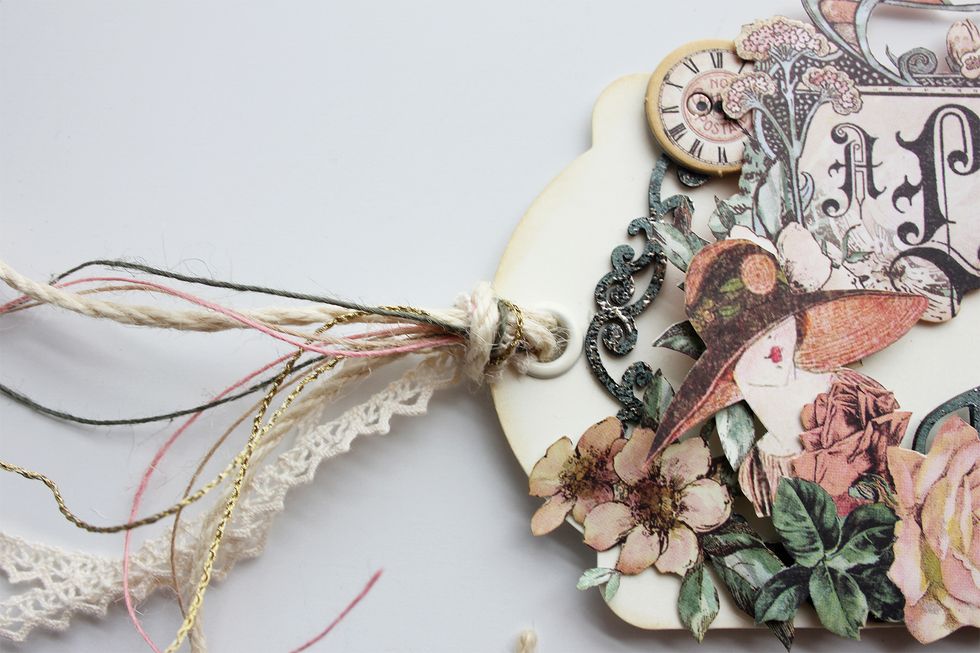
Add lace, twine and jute to the opening as shown.
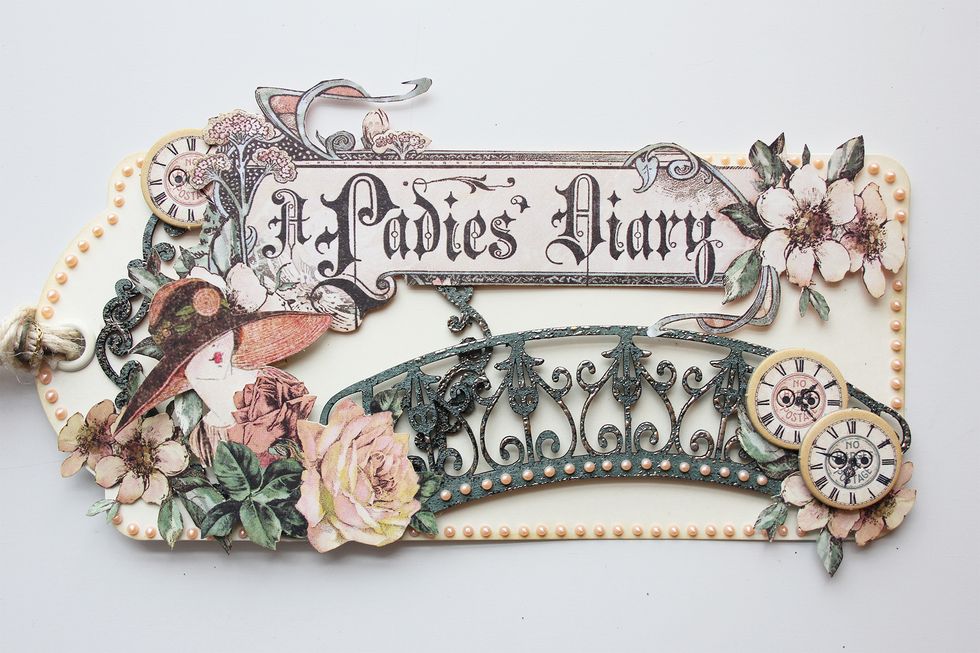
To finish the design, add liquid pearls to the bottom of the bridge and around the outside of the tag.